
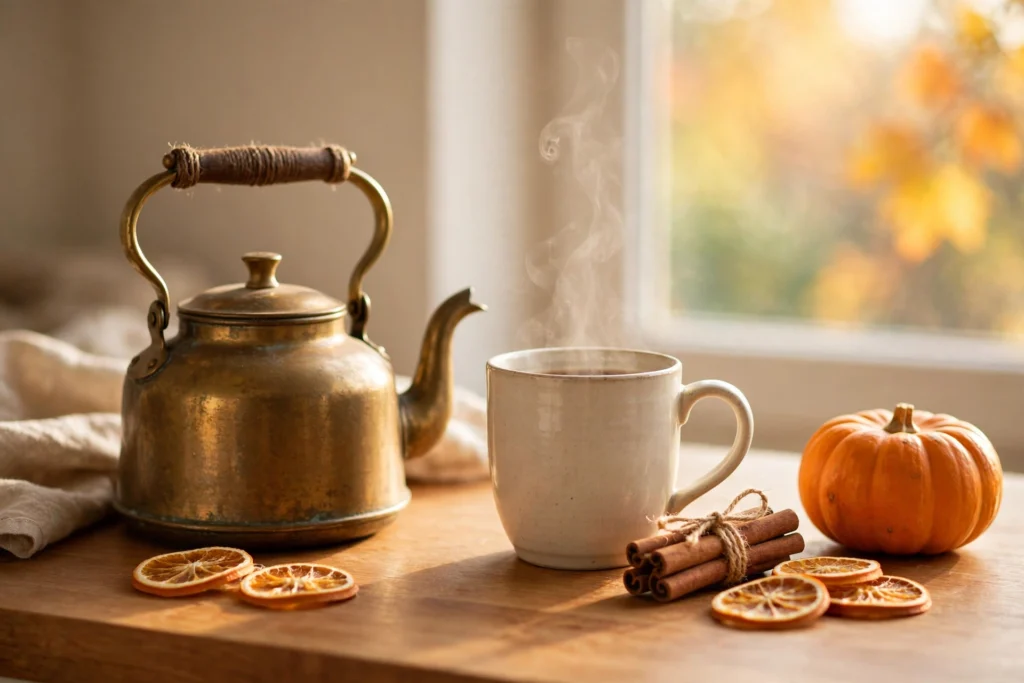
There is a moment every fall morning that I live for. The house is still cool. The windows are fogged at the edges. I wrap my hands around a warm mug and stand in the kitchen doing absolutely nothing for about three minutes. That is the feeling I wanted to bottle when I set up our coffee bar.
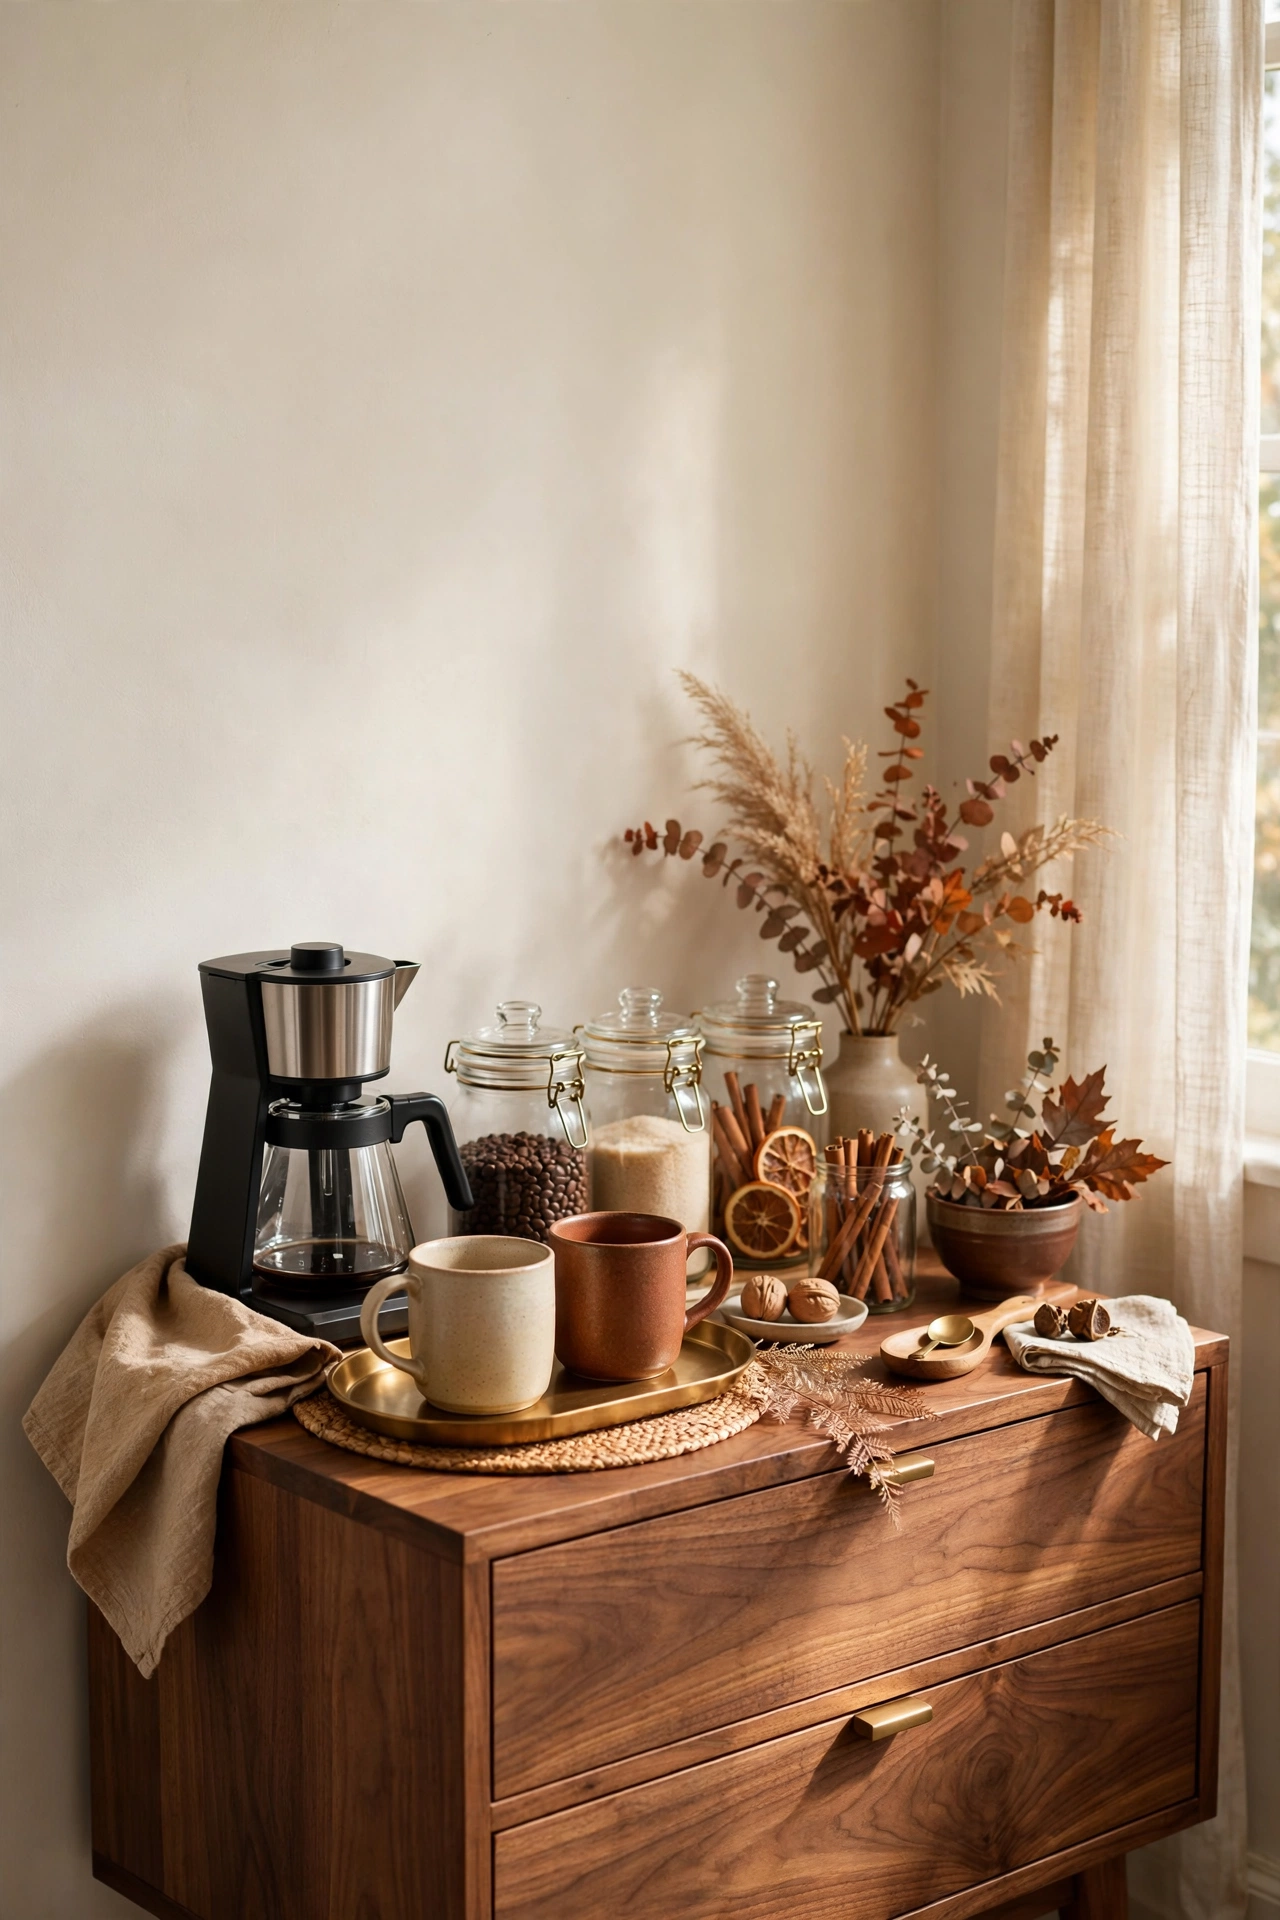
A coffee bar is not a display. It is the first thing you touch in the morning and the last little luxury of the evening. It should feel warm before you even pick up a mug. Warm wood under your hands. A little brass glinting in the early light. The smell of cinnamon hanging in the air.
These are the 19 ideas I used to build ours, from the sideboard it lives on down to the tiny brass spoon that stirs the cocoa. Take the ones you love and leave the rest.
I will be honest with you. The first version of our station was a mess of cords and chipped mugs shoved into a corner, and it stayed that way for two whole falls. Then I gave it one Saturday afternoon, pulled everything off, and started over with just the wood and the brass. That one reset changed how the whole kitchen feels at six in the morning. Start simple and let it grow with you.
Love these ideas? Get more every week.
Join the newsletter for seasonal decor and cozy home inspiration.
Set the base with warm wood
Everything sits on the base, so this part does the heavy lifting. My principle here is simple. If it gets used every day, it earns a permanent spot. A coffee bar is working decor. It should be pretty and practical in the same piece.
1. Start with a Warm Wood Sideboard or Bar Cart
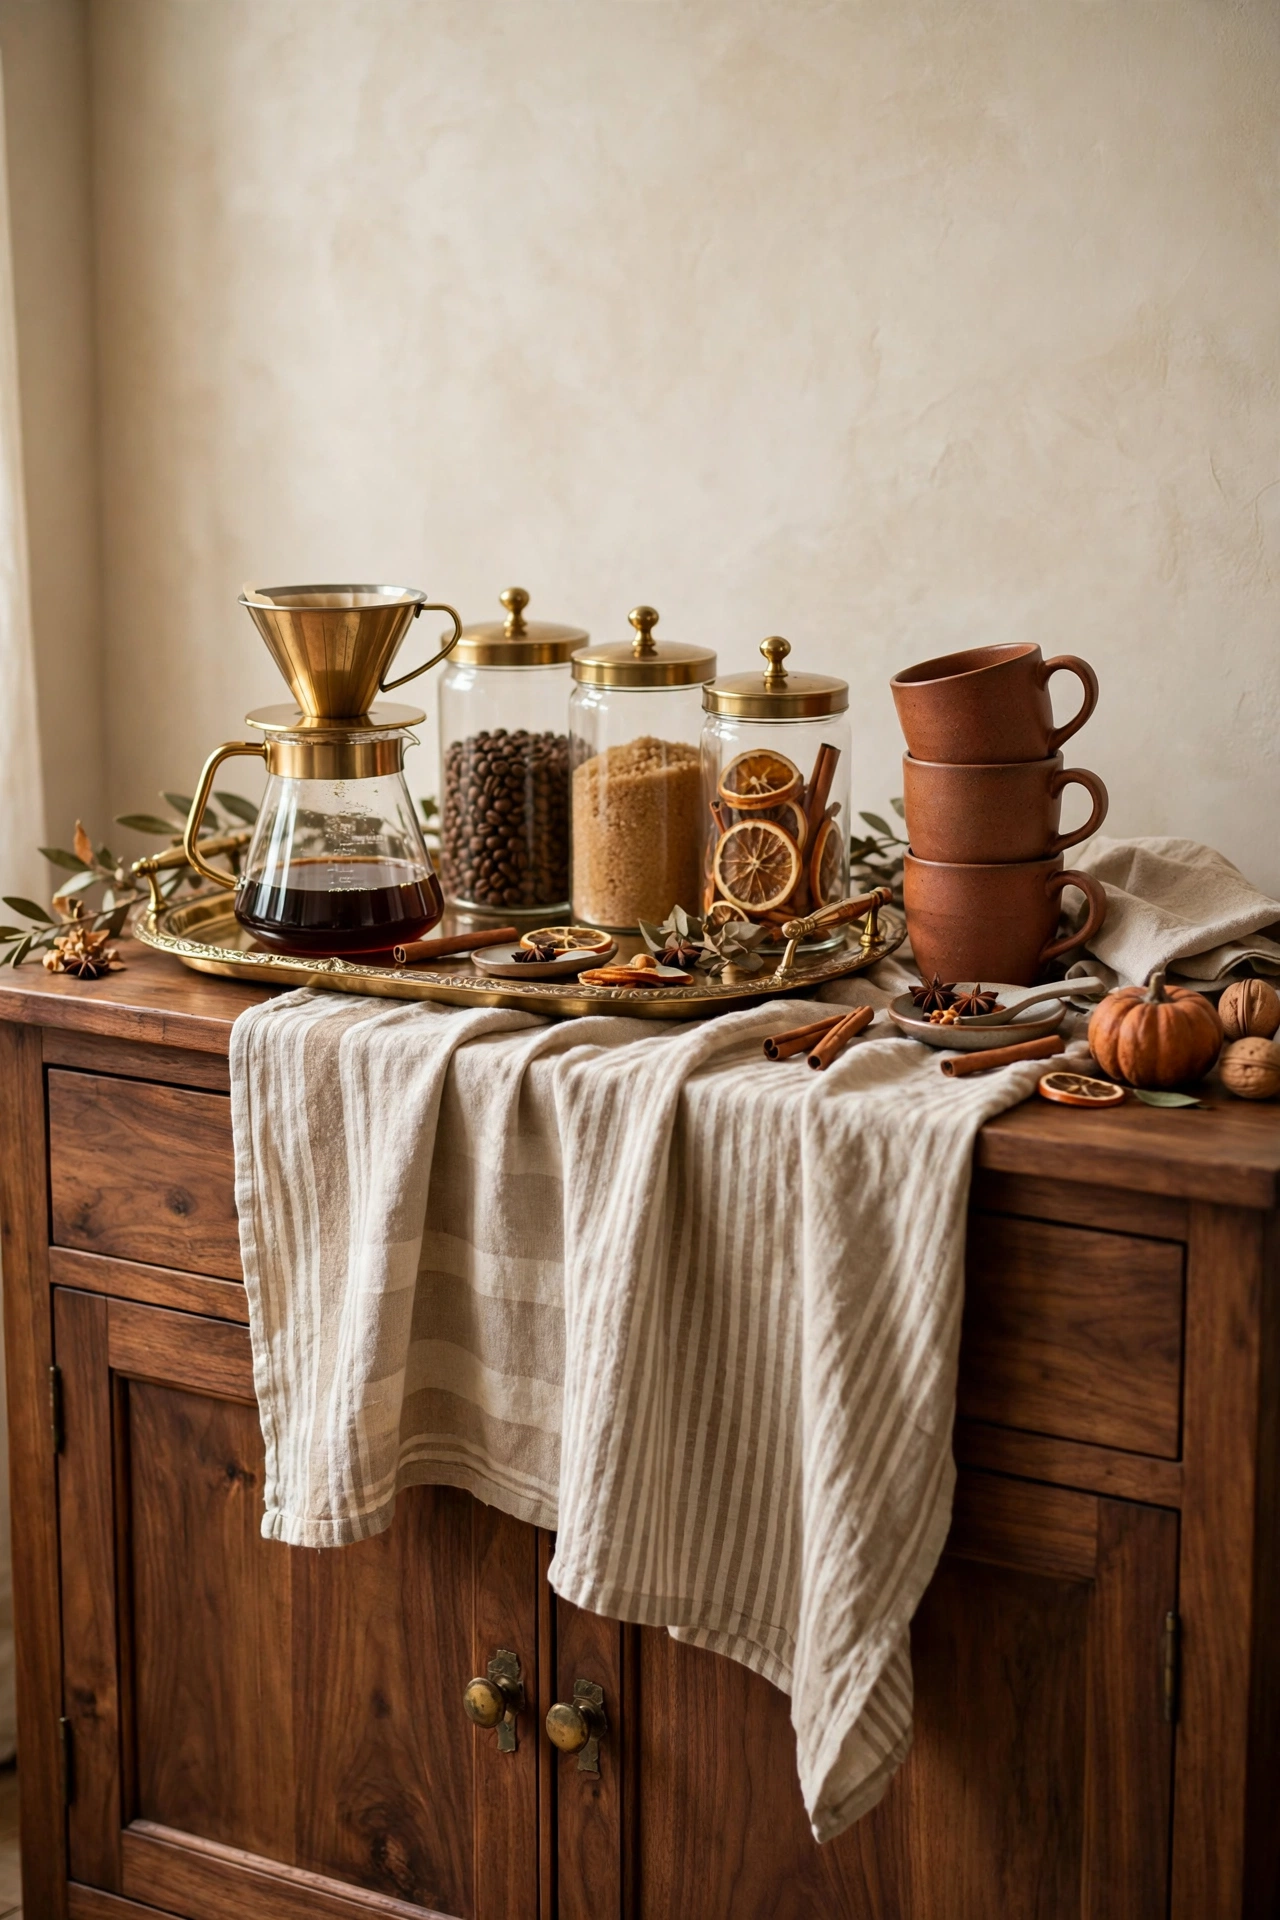
The furniture is the whole station. I use a small warm wood sideboard, but a bar cart works just as well if you are short on space. Look for real wood tones, not the gray washed kind. Honey, walnut, oak. The wood is what makes the whole corner feel warm even in October when the light goes thin and everything else looks cold.
Shop This Look
This post contains affiliate links. If you buy through them, I may earn a small commission at no extra cost to you.
A few favorites featured in the ideas above:
2. Corral It All on One Vintage Brass Tray
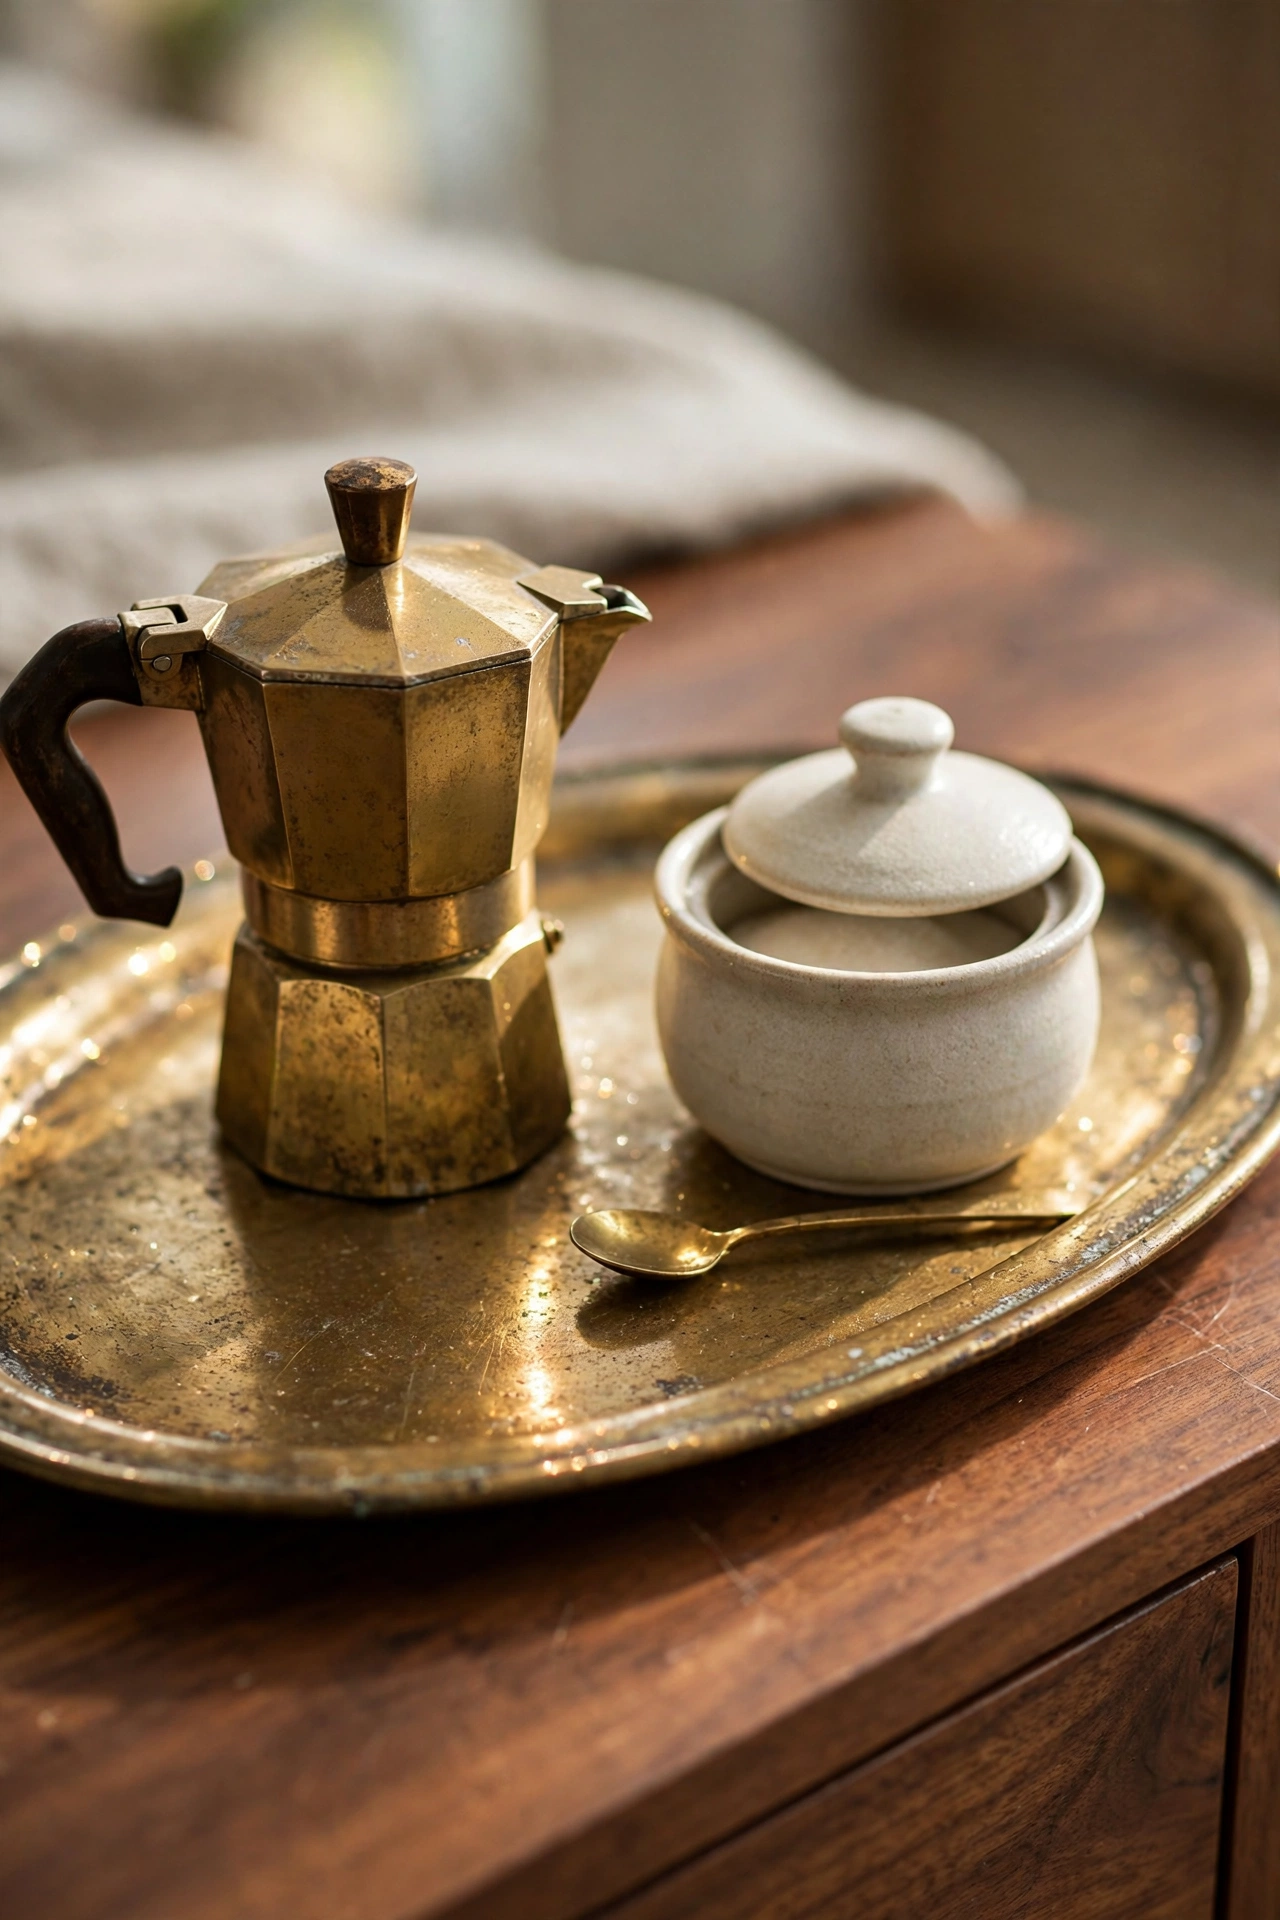
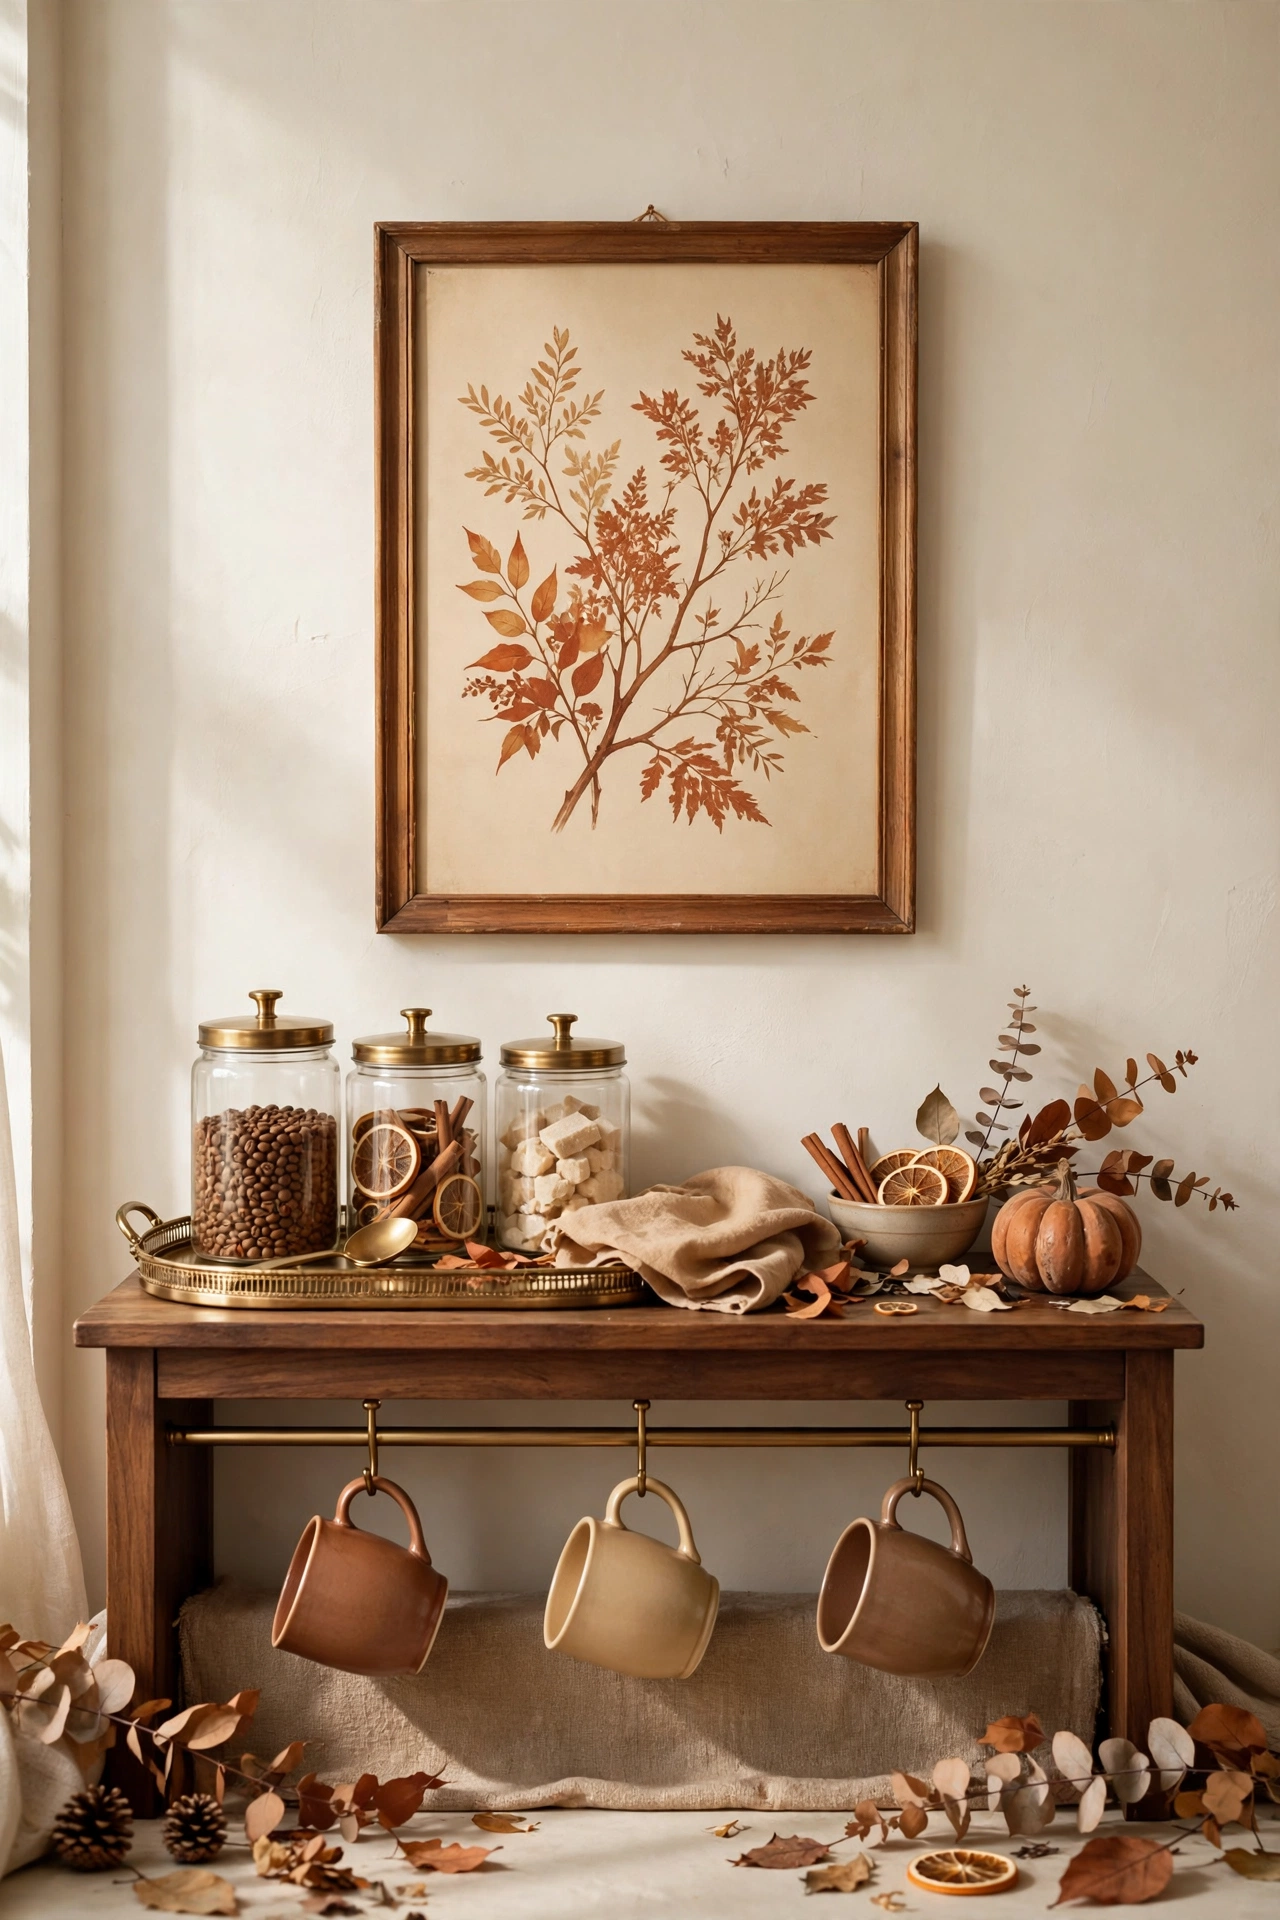
This is my favorite trick in the whole post. Set the coffee maker, the sugar bowl, and the little odds and ends on one vintage brass tray and suddenly you have a styled station instead of a cluttered counter. The tray gives everything a border. Brass is the metal I keep coming back to because it glows in morning light in a way silver never does. Thrift one if you can. The patina is the point.
I found mine at a thrift shop on a rainy Tuesday, with the kind of dull glow you cannot buy new. I polished one corner just to see the shine under the years, then stopped, because the worn spots are the best part. If yours looks too shiny at first, give it a month of coffee rings and fingerprints. It will catch up.
3. Build Height with Wood Risers
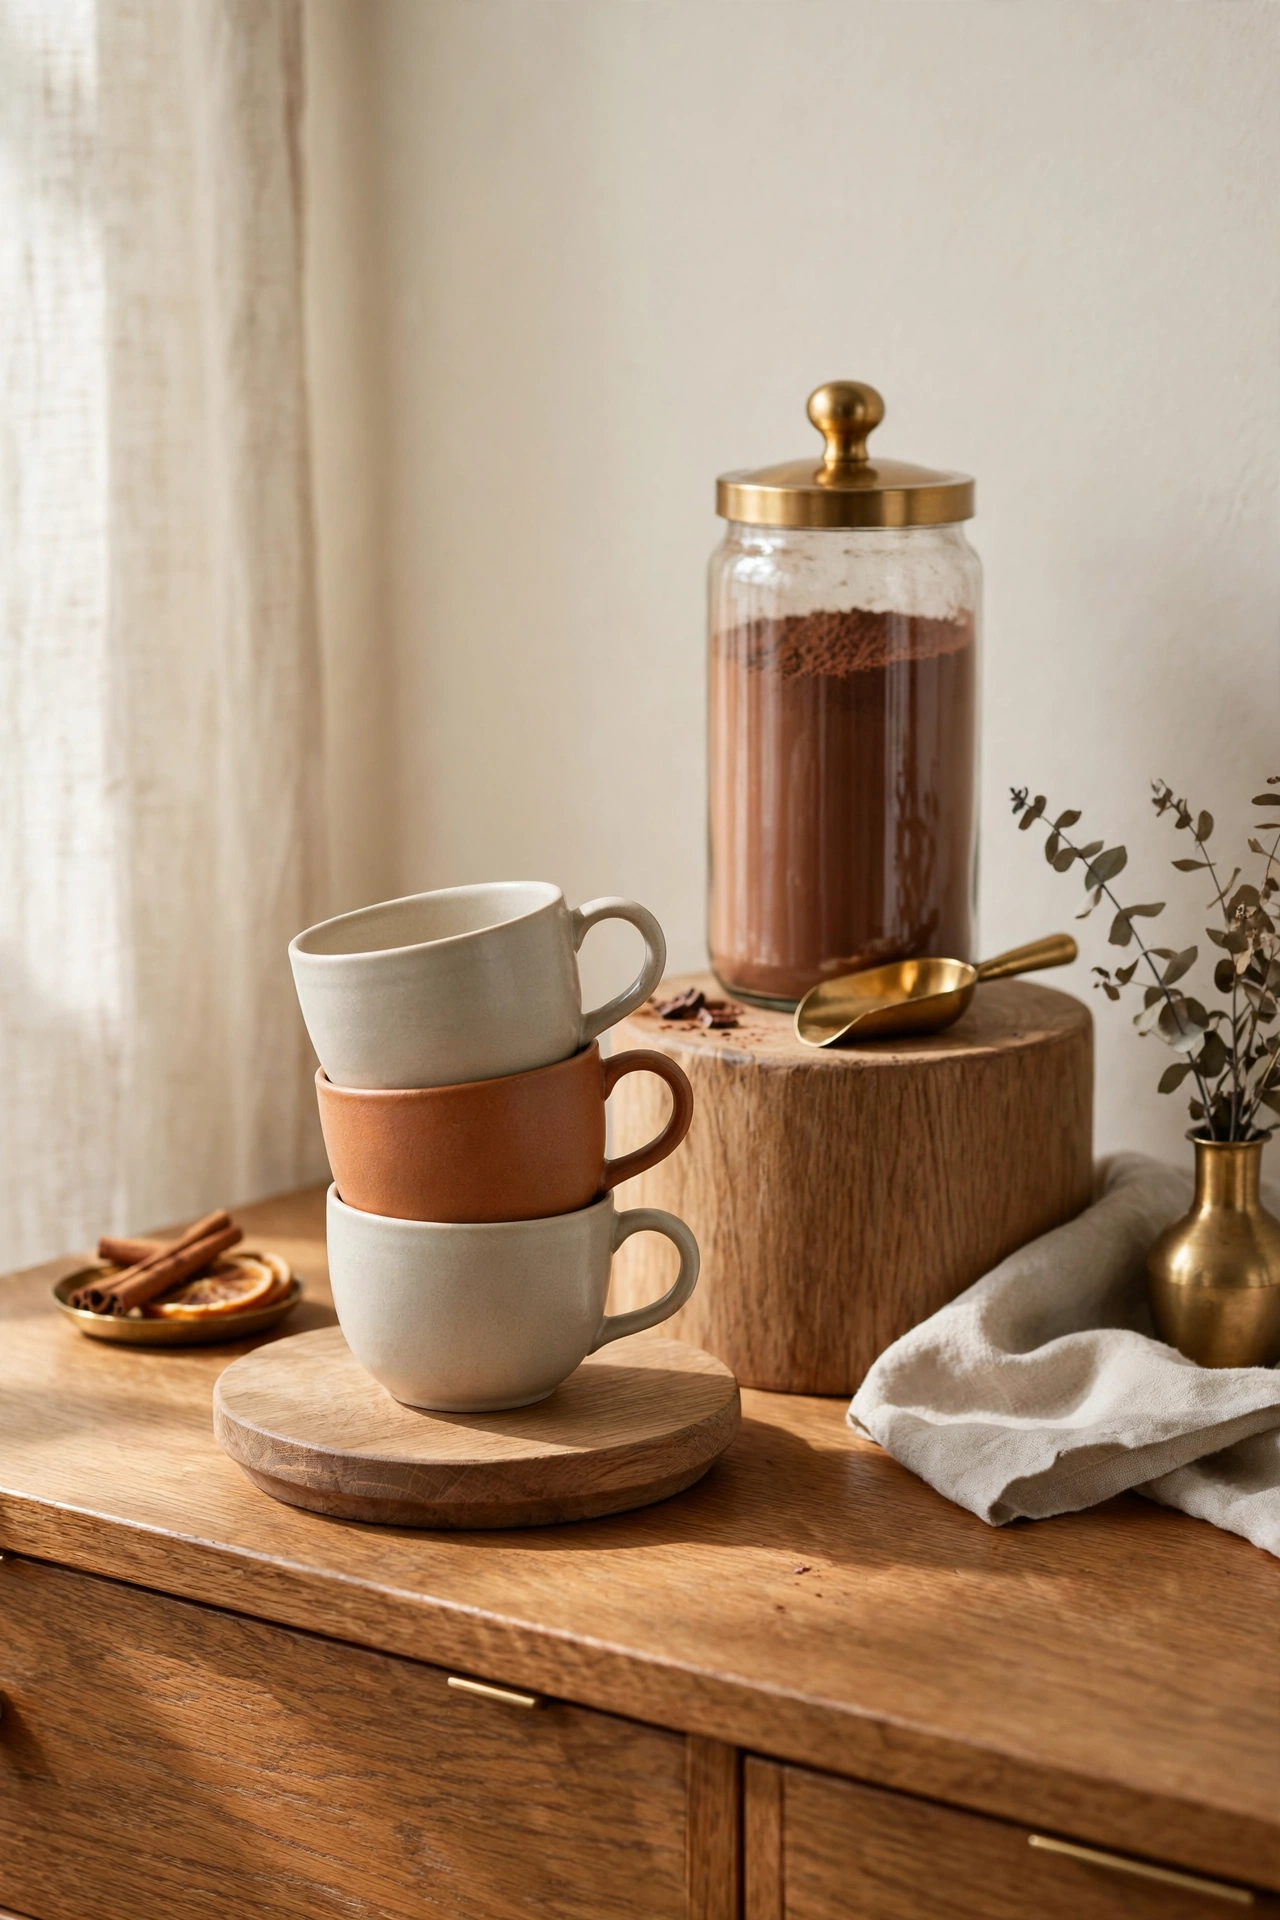
A flat corner reads flat no matter how pretty the pieces are. Height is what makes it feel styled. I tuck a small wood riser under the mug stack and another under the cocoa jar so the eye travels up and down instead of sliding straight across. One tall thing and one low thing on the same tray and the whole thing looks intentional.
4. Lay a Linen Runner Underneath
A runner softens the wood and catches the drips, which matters more than it sounds when coffee is involved daily. I use a striped oatmeal linen runner that hangs just past the edges of the sideboard. It makes the station feel like its own little room inside the kitchen. Washable is non negotiable here. Ask me how I learned that.
The dry clean only stripe was cream with a rust border, and it lasted exactly eleven days before a full mug of cocoa went over. I stood there watching the brown spread and knew I had chosen decoration over real life. The washable oatmeal one has survived two falls now and it looks better for it, soft and a little rumpled in the best way.
Build the coffee corner
The coffee side is the workhorse half of the station. Mine gets used twice a day every single day, so everything here has to earn its place. My rule for this zone is to repeat the brass in three places so it reads as collected, not random. The tray, the mug hooks, and one small brass detail on the brewer itself.
5. Style the Coffee Maker Like It Belongs There
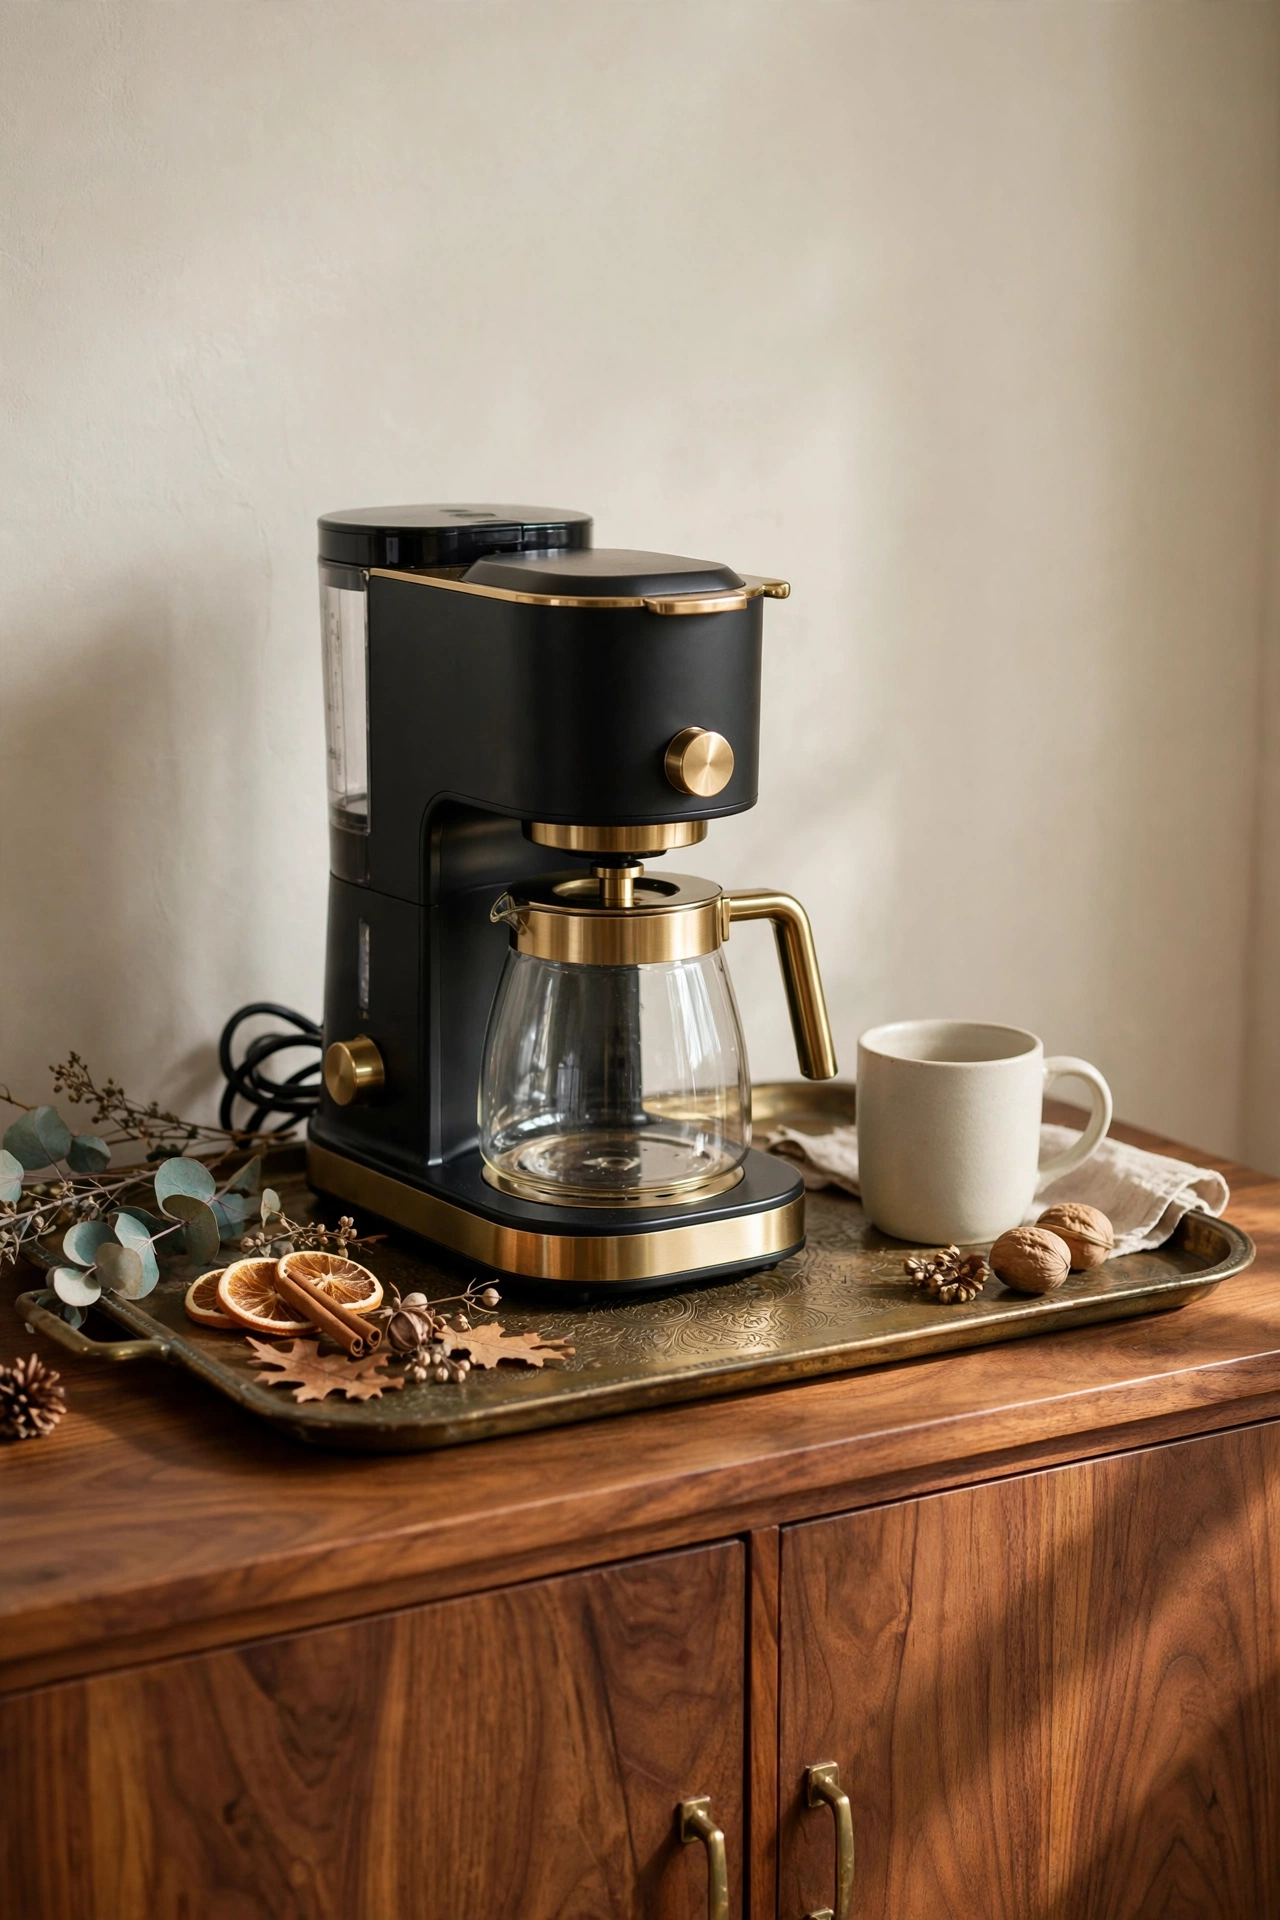
Stop hiding the coffee maker in a cabinet. It is the star of the show, so give it a proper home on the tray with room to breathe around it. I wipe ours down every Sunday and keep the cord tucked behind the tray so it looks calm instead of tangled. A well kept machine on a pretty tray looks better than any gadget hidden away.
6. Hang Mugs on Brass Hooks, Never Stack Them
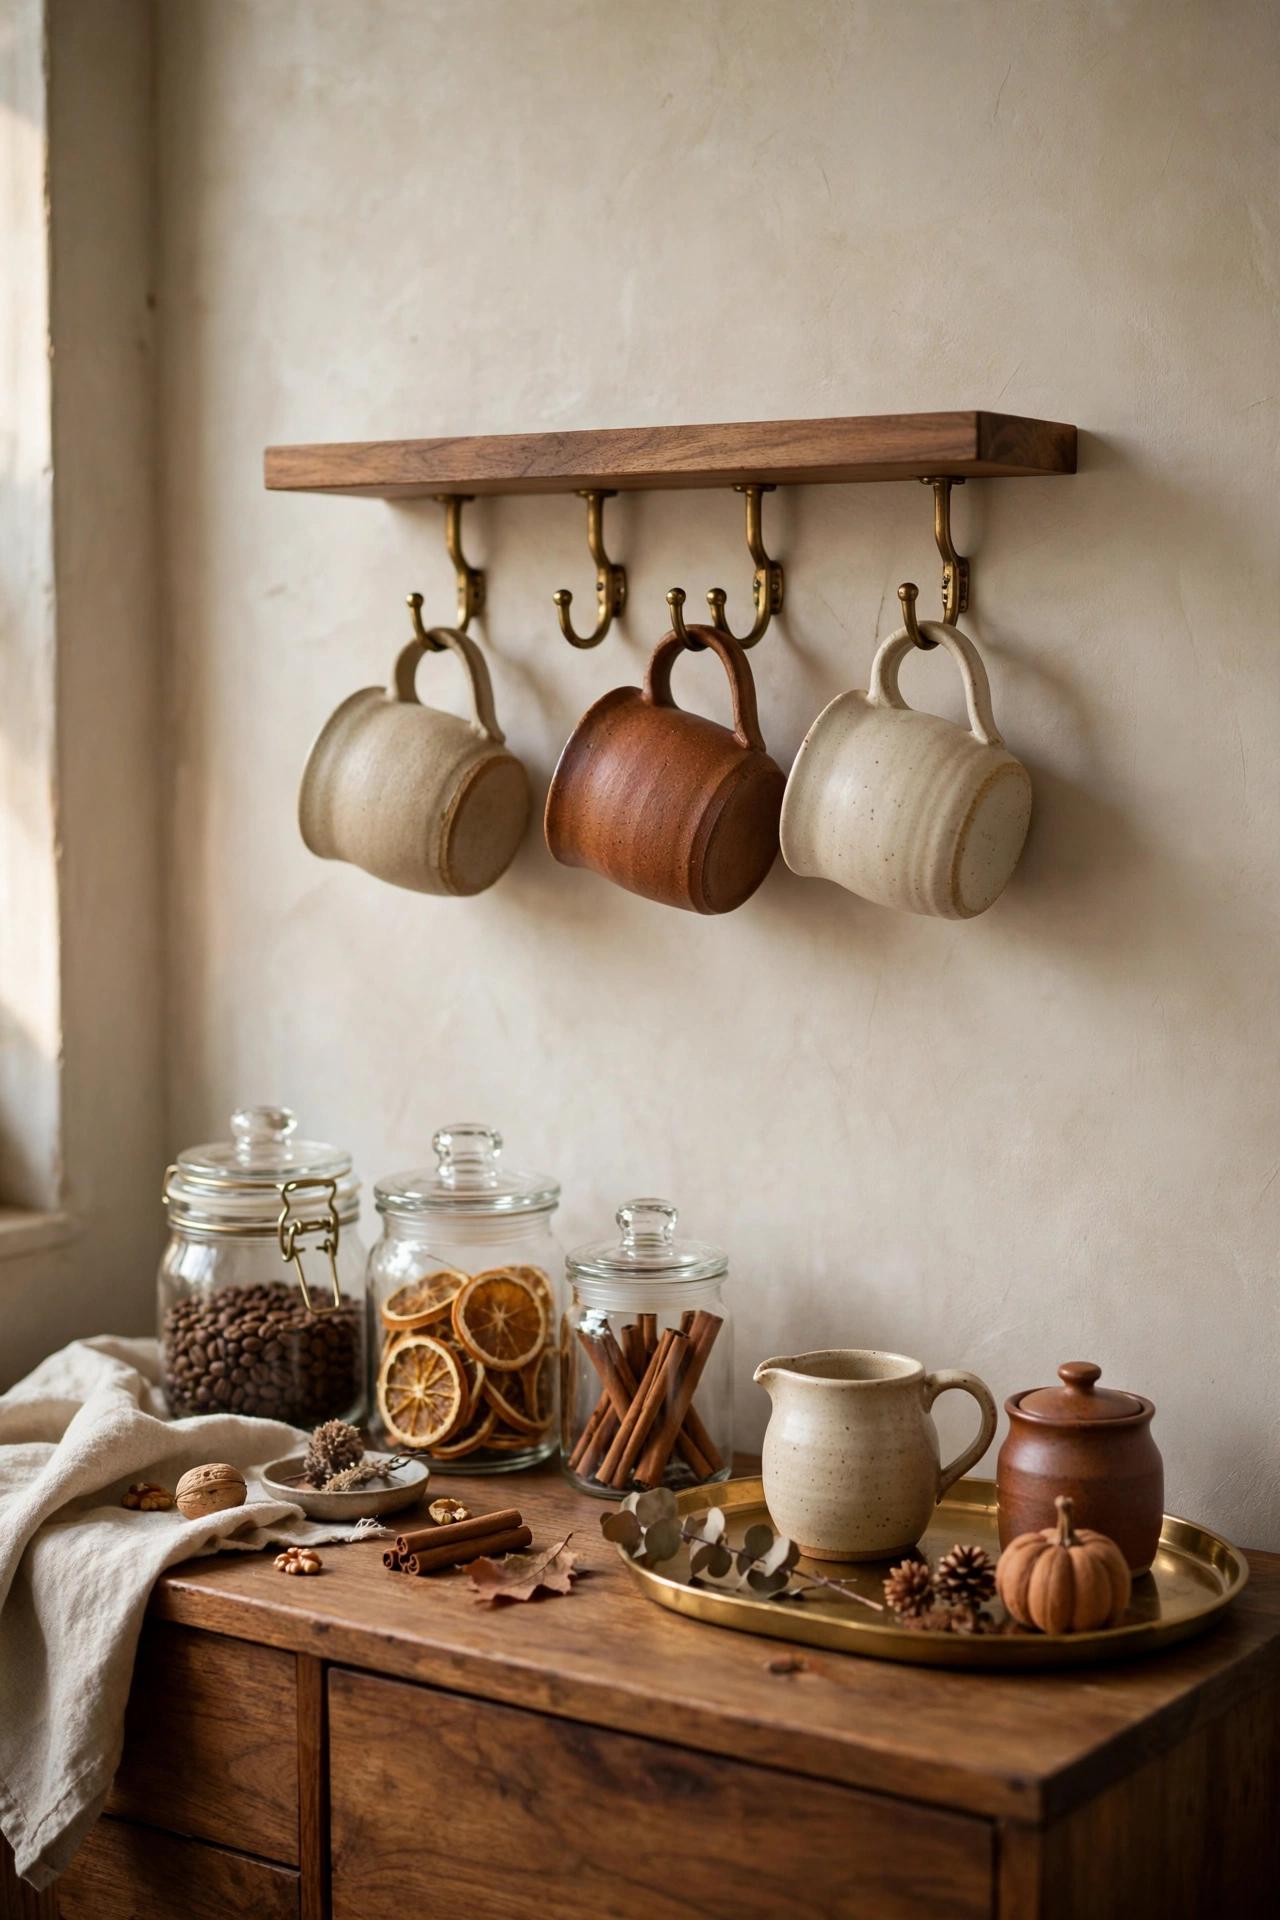
Mugs stacked in a tower look like a dorm room. Mugs hanging from brass hooks under a small shelf look like a cafe. I mounted a little row of brass hooks under a floating shelf and hung our prettiest mugs where we can see them. Pick mugs you actually love looking at. Oatmeal, rust, and cream stoneware in my house. They become the decor.
I swap two of the hooks with the seasons. The pumpkin shaped mug comes out in September and goes back in the box the week after Halloween, and the pine tree one takes its place in December. The everyday oatmeal mugs never move. It is a tiny change that makes the whole station feel fresh without buying a single new thing.
7. Keep Beans and Sugar in a Wood Canister Trio
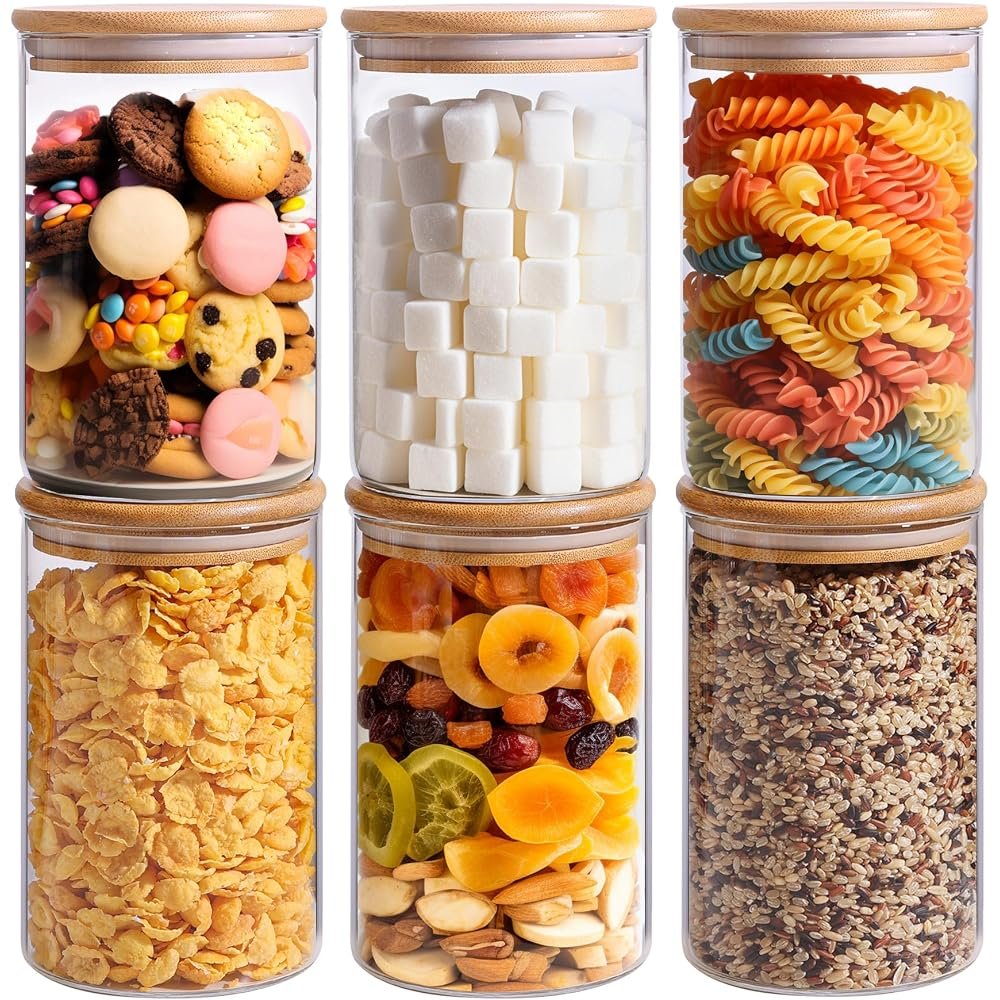
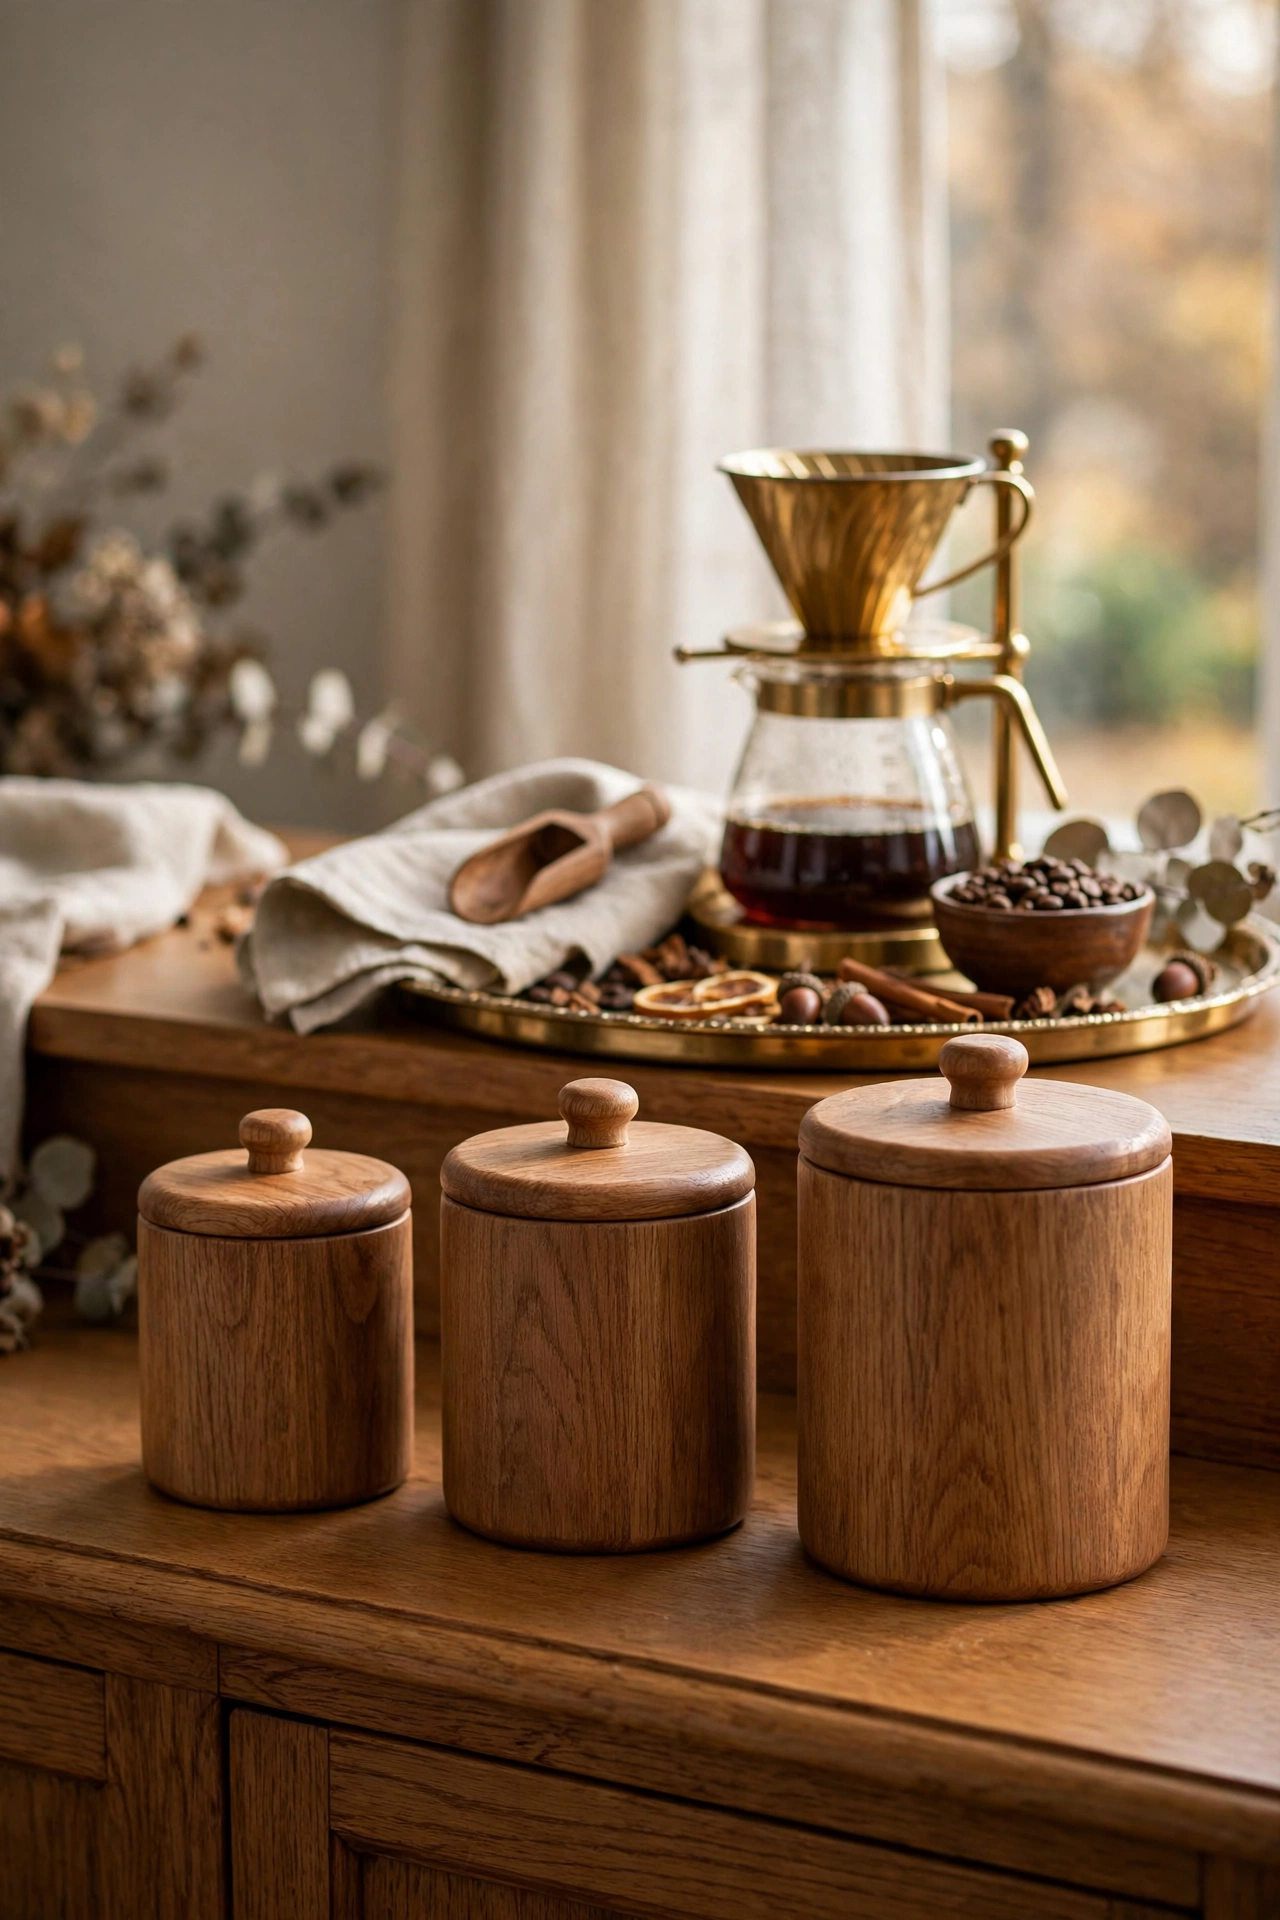
Bags of beans with the tops rolled down are not decor, no matter how good the coffee is. I decanted ours into three matching wood lidded canisters for beans, sugar, and tea bags. Same shape, same wood, three sizes. It is the kind of small upgrade that makes the whole station look twice as expensive as it was.
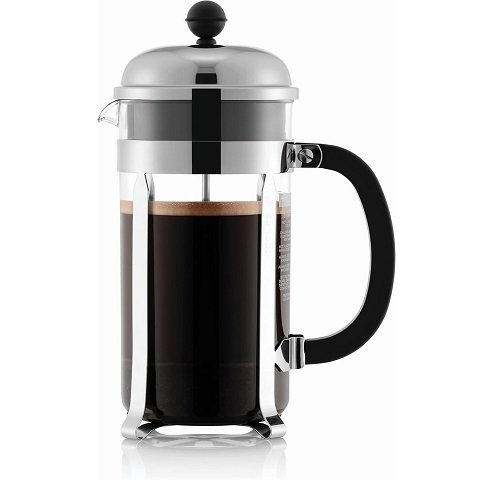
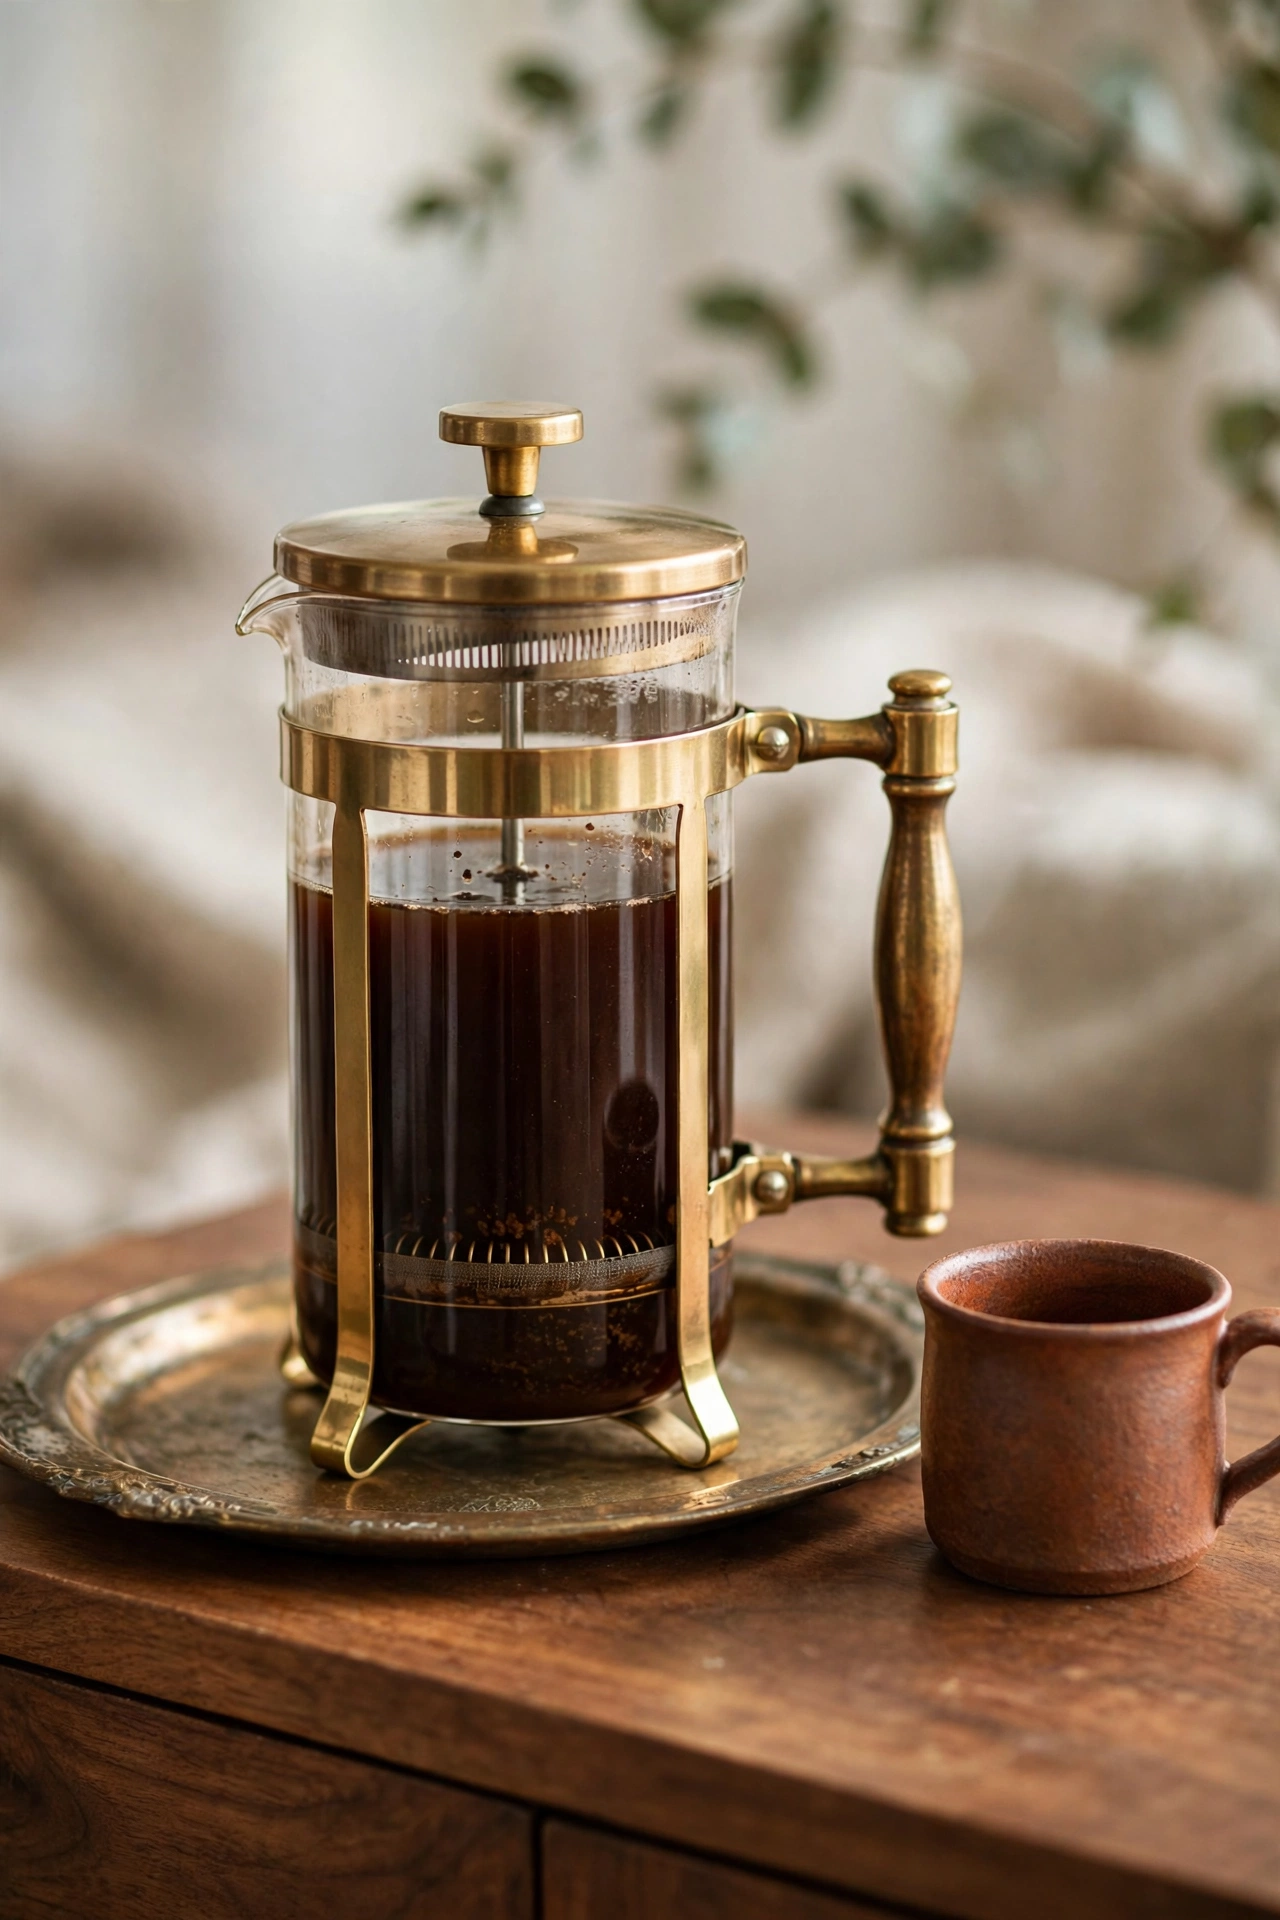
8. Add a Brass Trimmed French Press
A French press with brass trim is the prettiest way to make coffee on slow weekend mornings. Mine lives on the tray next to the machine and gets used every Saturday. The glass and brass look so good with the warm wood that it reads as decor even when it is just sitting there. Bonus. It makes a genuinely better cup than the machine.
Saturday is the only morning I do not rush, so the French press gets the full treatment. Kettle on, beans ground coarse, four minutes on the timer while I stand at the window and watch the street wake up. My husband says the machine coffee and the press coffee taste the same. He is wrong, and we have agreed to disagree forever.
9. Pour Syrups into Glass Pump Bottles
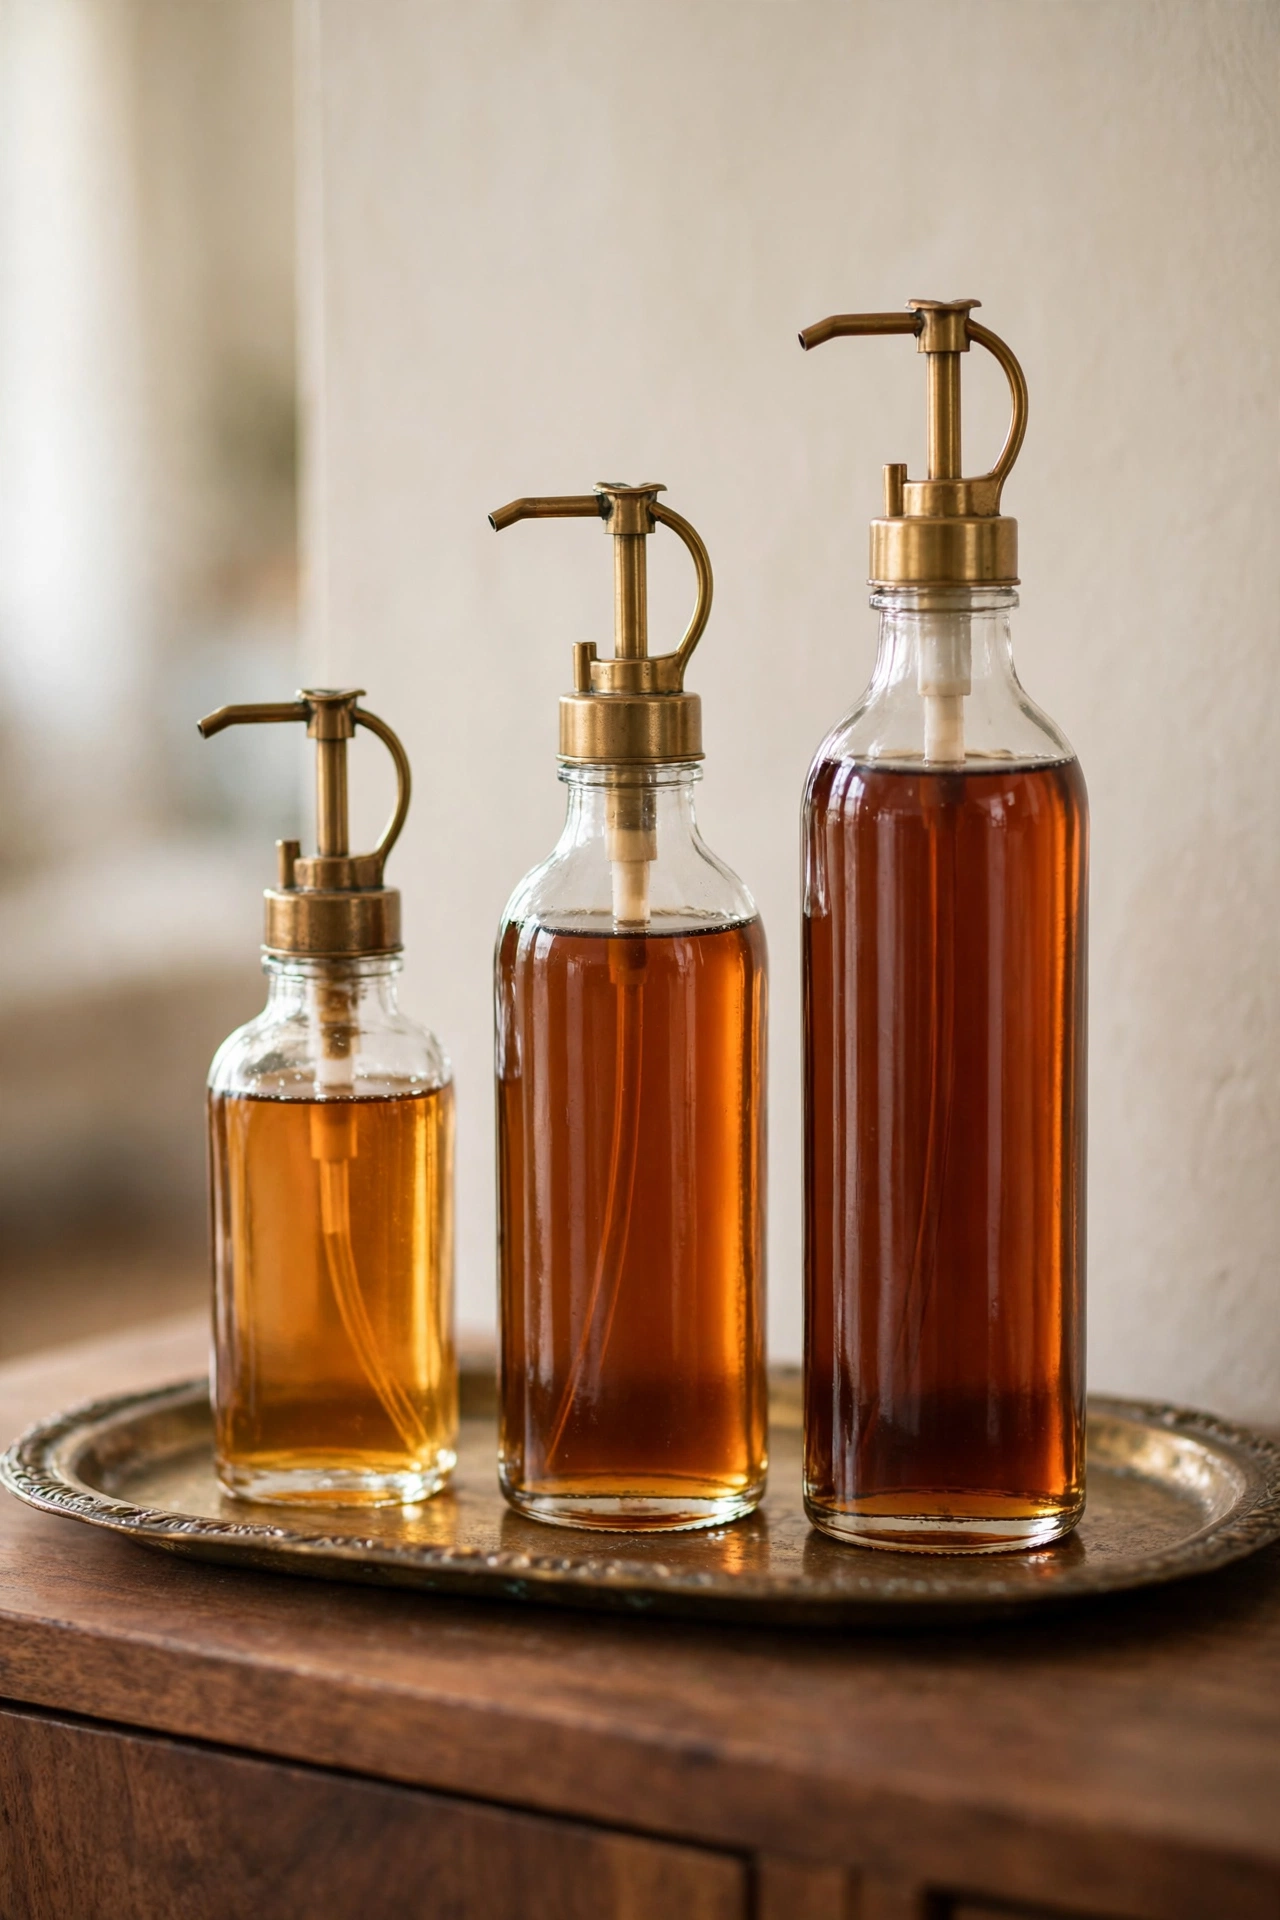
Those tall syrup bottles with the store labels are doing nothing for your station. I pour ours into clear glass pump bottles and line them up smallest to tallest on the back of the tray. Vanilla, caramel, and one seasonal flavor that changes with the month. It looks like a coffee shop and it pours like one too. No sticky drips down the sides.
Add the hot cocoa station
This is the half the kids care about and honestly the half I love most once the evenings turn cold. The cocoa station is where the palette gets to go a little richer. Chocolate brown, rust, deep brass. My principle here is to keep the palette small. Three warm tones plus brass and it will always look pulled together.
10. Fill a Big Glass Jar with Cocoa Mix
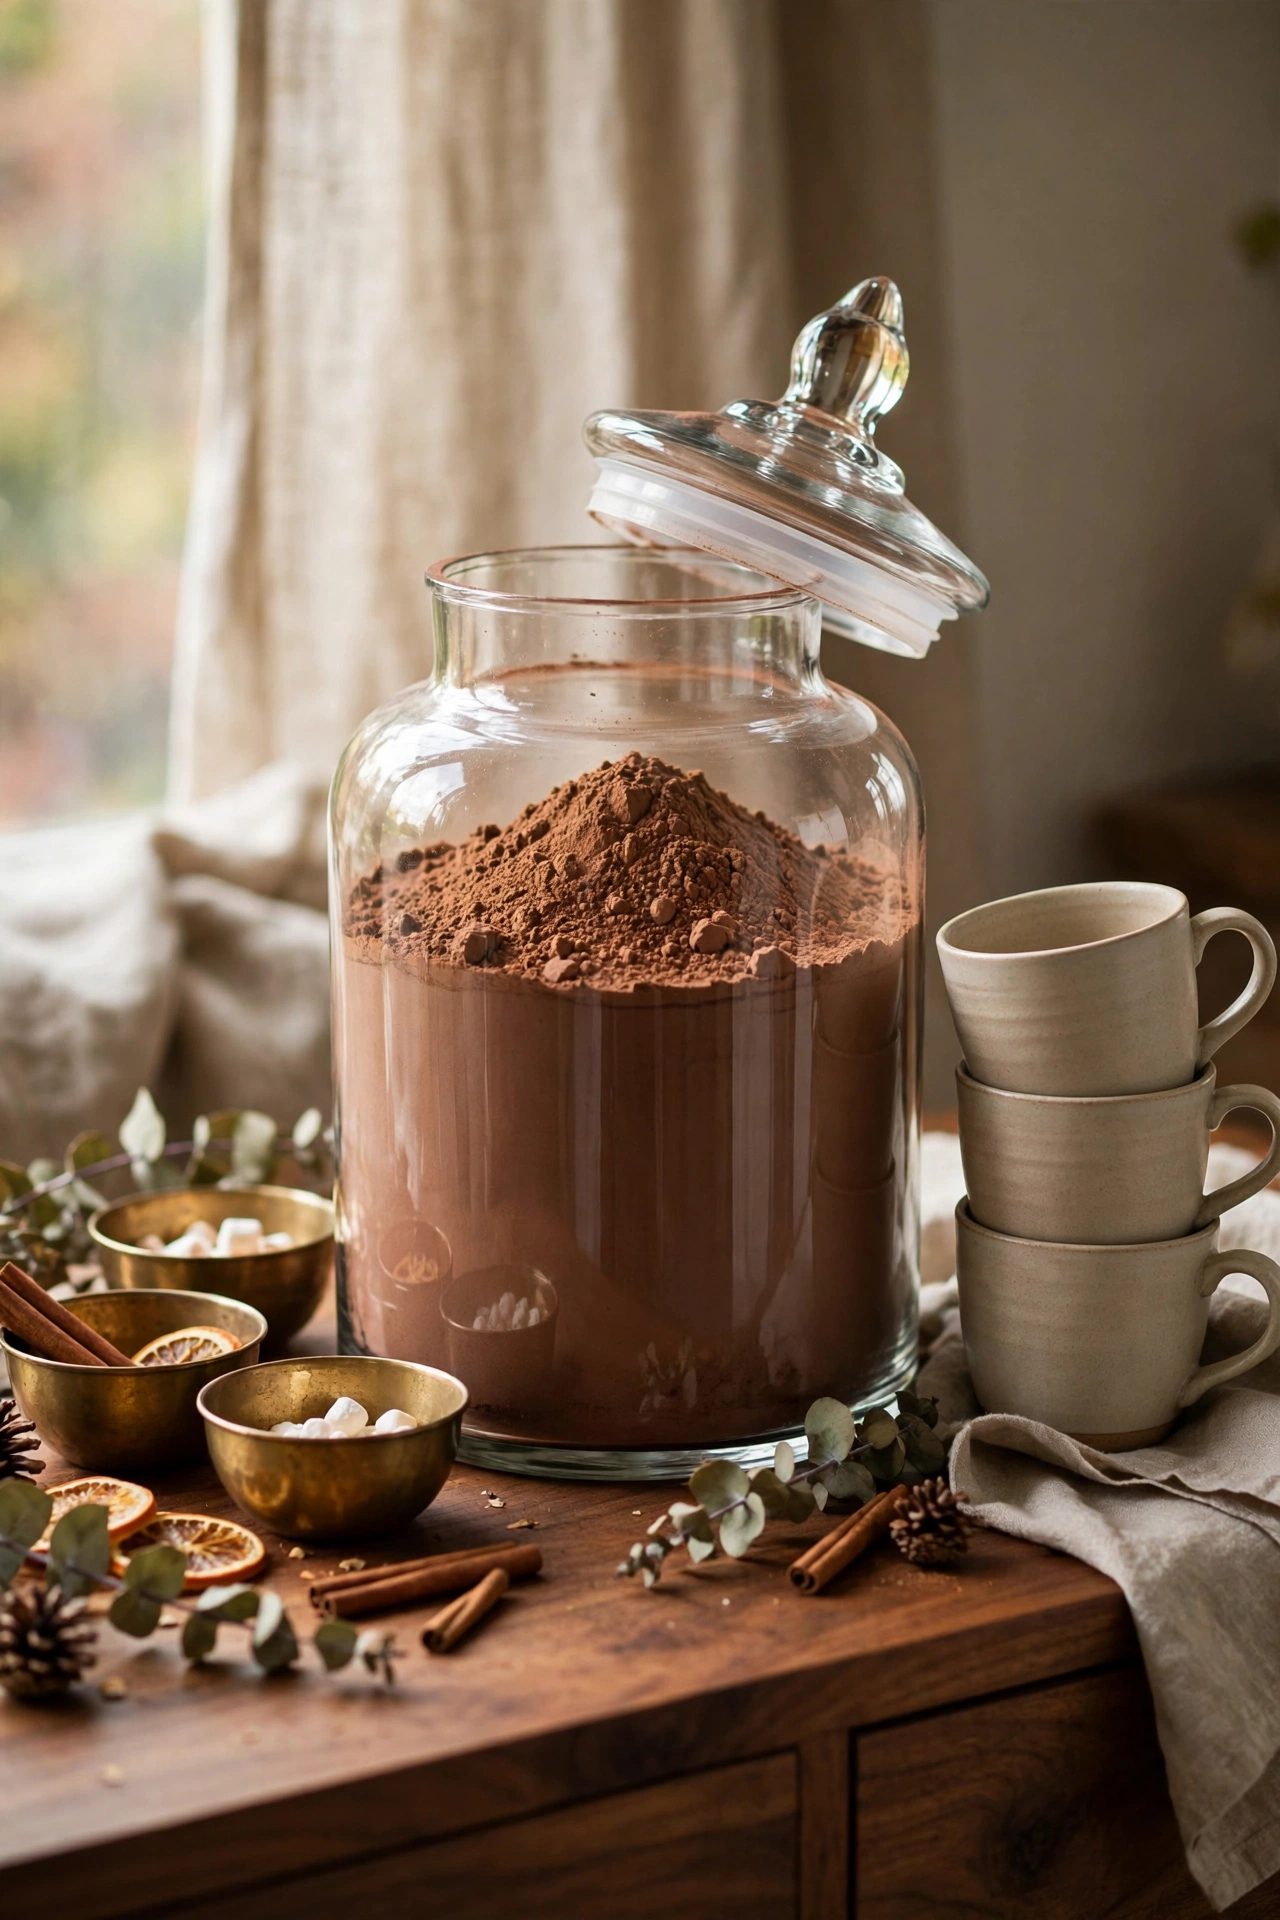
Decant the cocoa mix into a big glass apothecary jar and it becomes the centerpiece. You can see the rich brown powder through the glass and it looks like something from an old fashioned sweet shop. I keep ours front and center with the lid slightly askew for that just used look. Refill it before it gets low. An empty jar is just a jar.
Last year I started mixing my own cocoa instead of buying the packets, and I will never go back. Good cocoa powder, a little sugar, a pinch of salt, and a whisper of cinnamon, all shaken together in the jar. It tastes like the packets only dream of tasting, and the jar looks even prettier filled with something you made yourself.
11. Keep Marshmallows in a Canister with a Brass Scoop
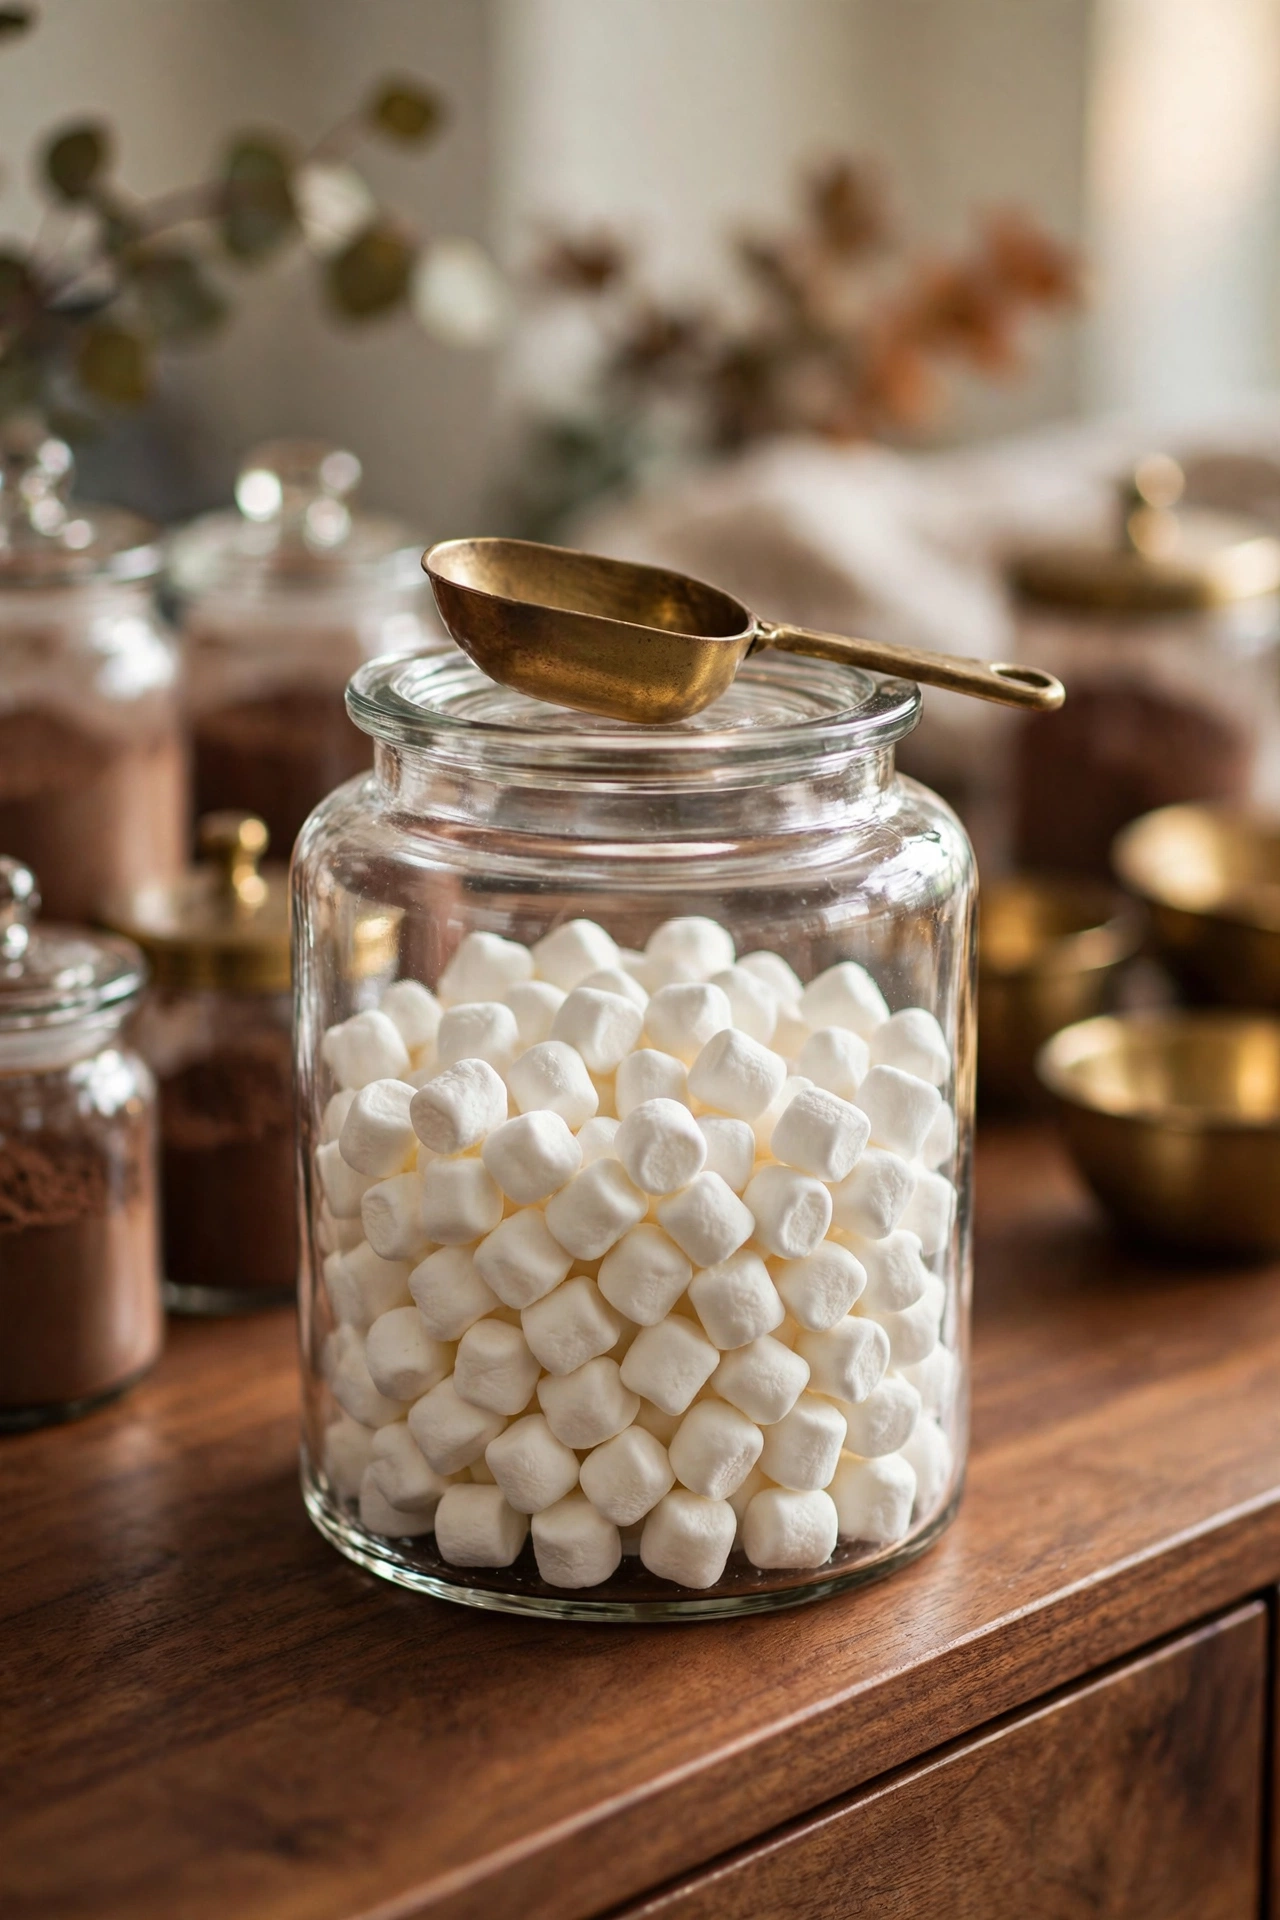
Marshmallows deserve better than the bag. Mine live in a glass canister with a little brass scoop resting on top, and the kids think it is the fanciest thing in the kitchen. The scoop is the detail that makes it feel like a real station instead of a snack shelf. Tiny marshmallows for the cocoa, big ones for toasting if you are feeling ambitious.
12. Set Out Toppings in Little Brass Bowls
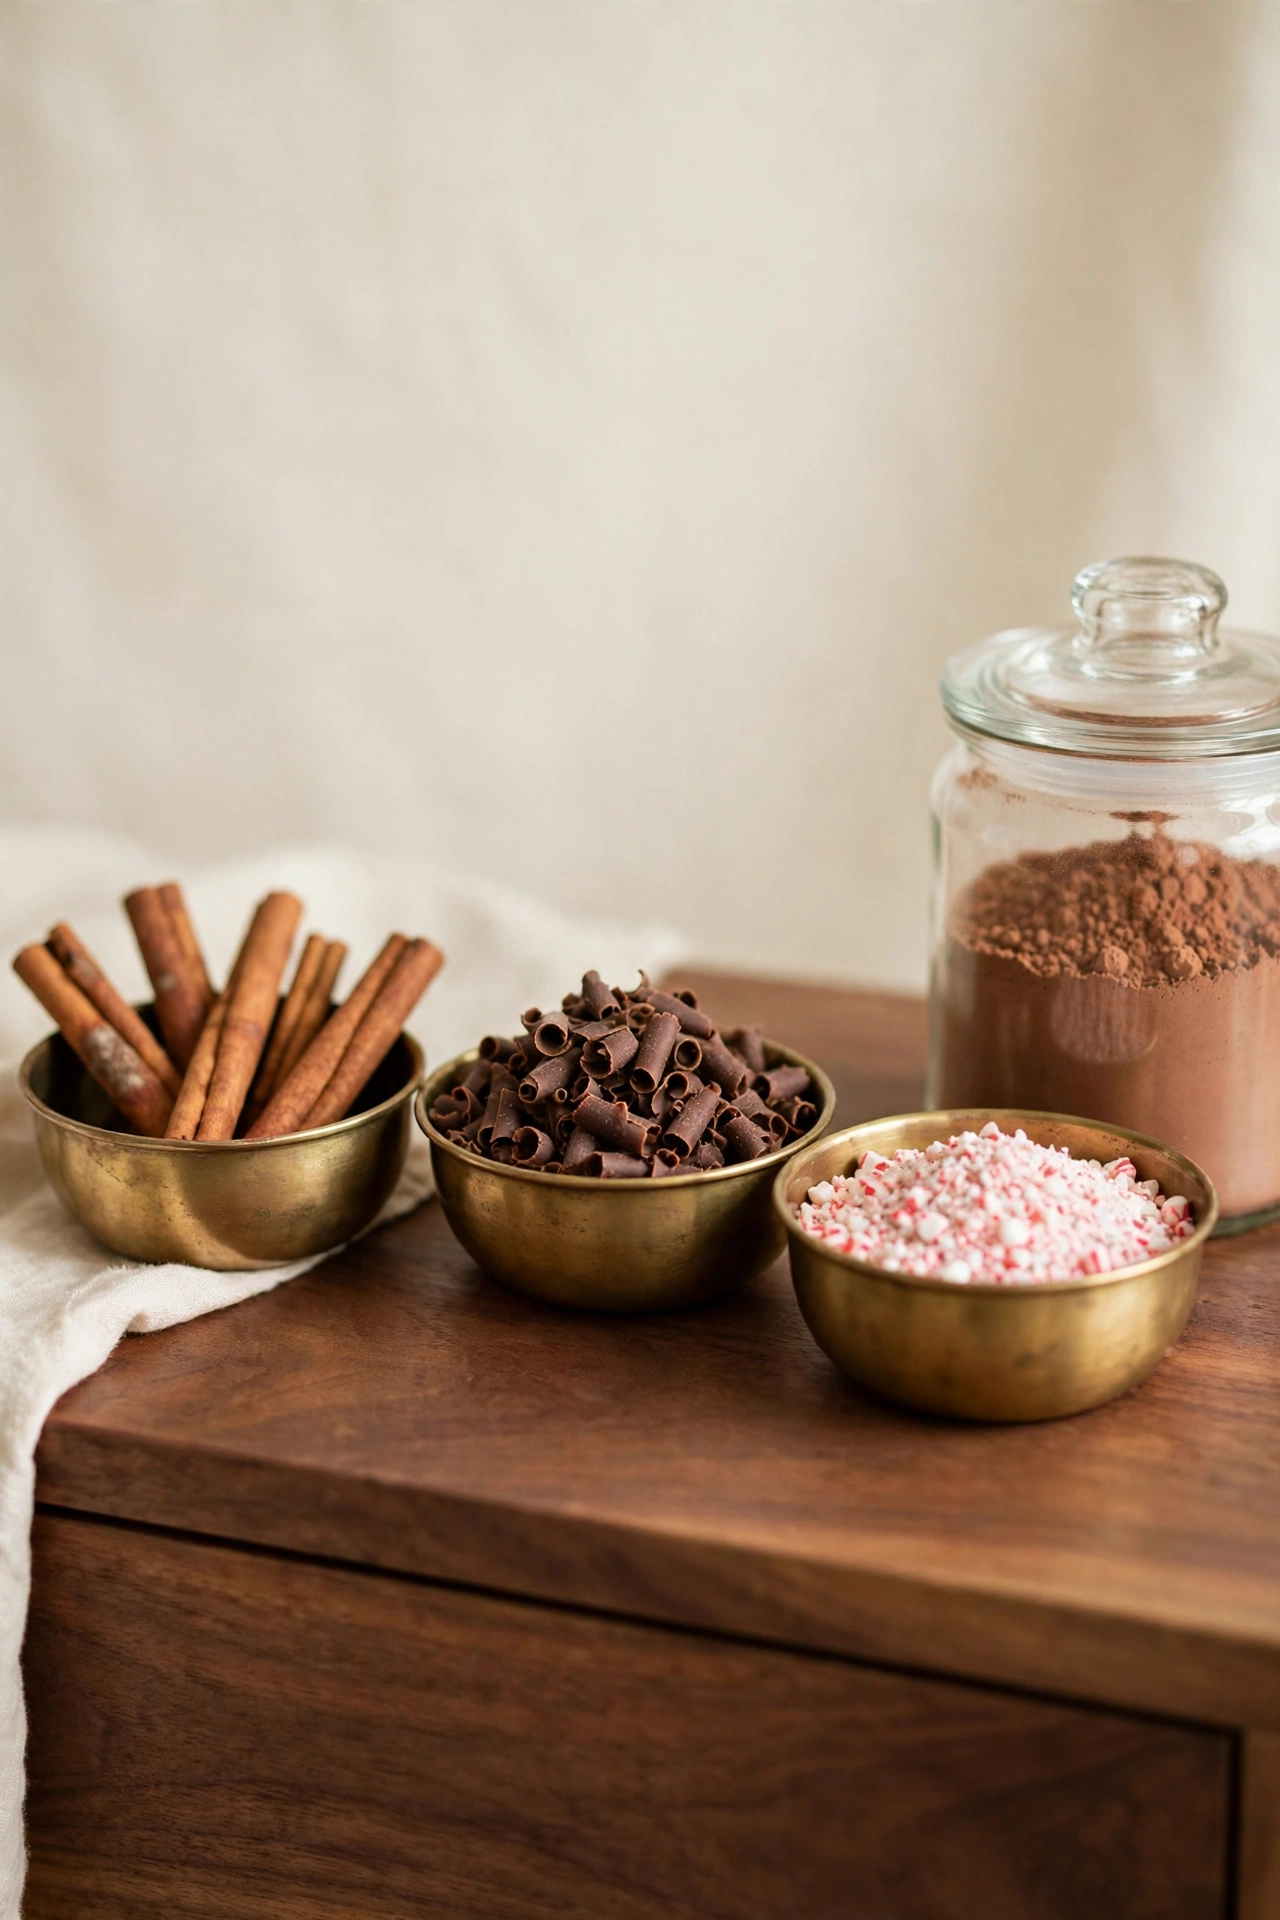
Cinnamon sticks, chocolate curls, crushed peppermint, a little dish of sea salt. I set out three or four toppings in small brass bowls and refill them through the season. Guests go absolutely feral for this, in the best way. It turns offering someone cocoa into a whole experience. The brass bowls are the third brass repeat on my station, which is exactly the point.
My sister in law visited in November and spent five full minutes at the topping bowls before pouring anything, like she was at a dessert bar. She still talks about the sea salt on cocoa. That is when I knew the bowls were staying forever. People remember how a drink made them feel, and a choice of toppings makes them feel a little bit spoiled.
13. Make a Kid Corner with a Step Stool
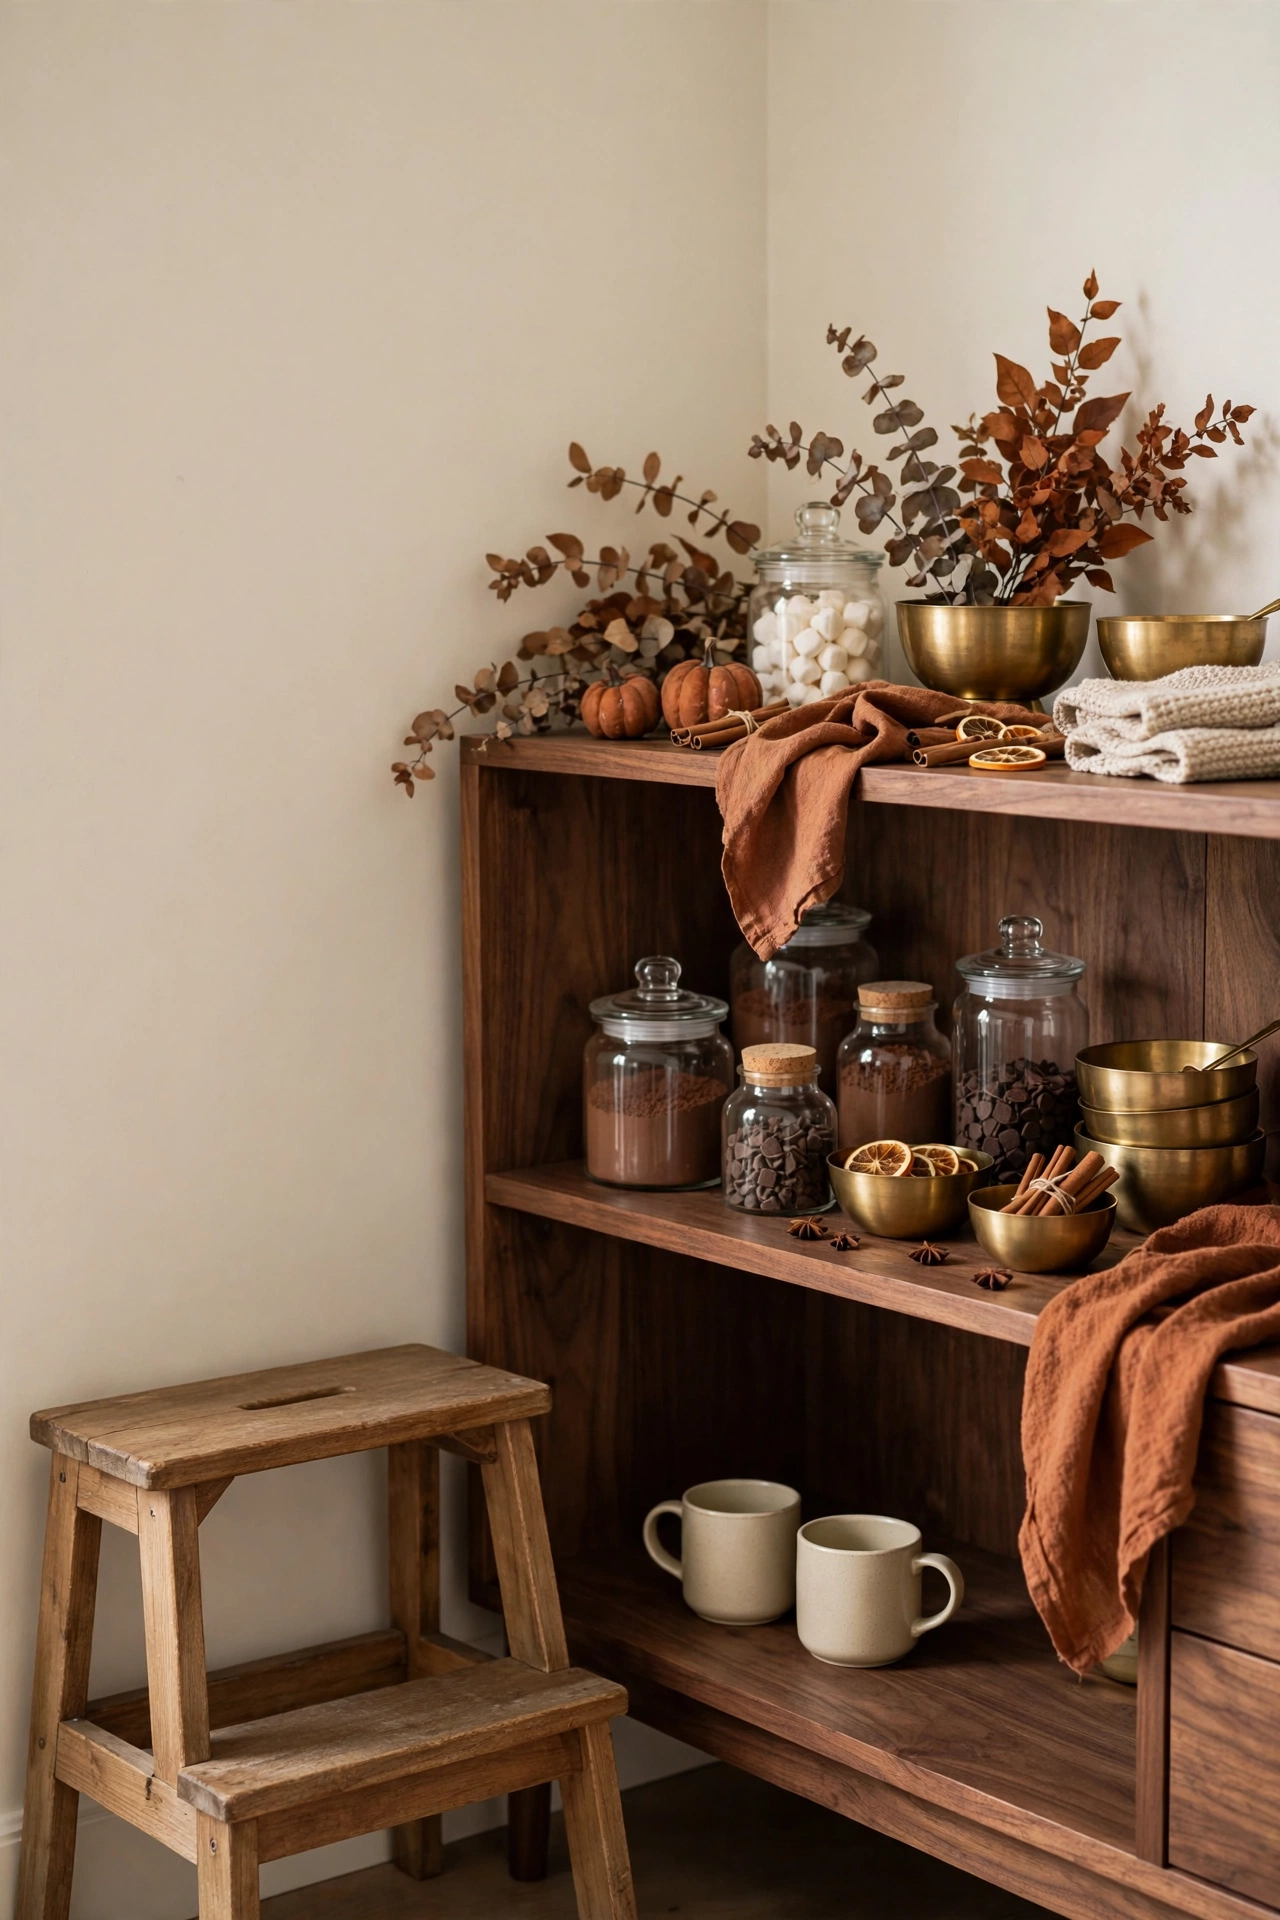
If little ones are going to use the station, make them a spot. I put a small wood step stool beside the sideboard and keep two unbreakable mugs on the lowest shelf where small hands can reach them. The cocoa jar stays up high where only grown ups pour. Everyone gets to be part of the ritual and nothing gets spilled on the rug.
14. Hang a Little Letter Board Menu
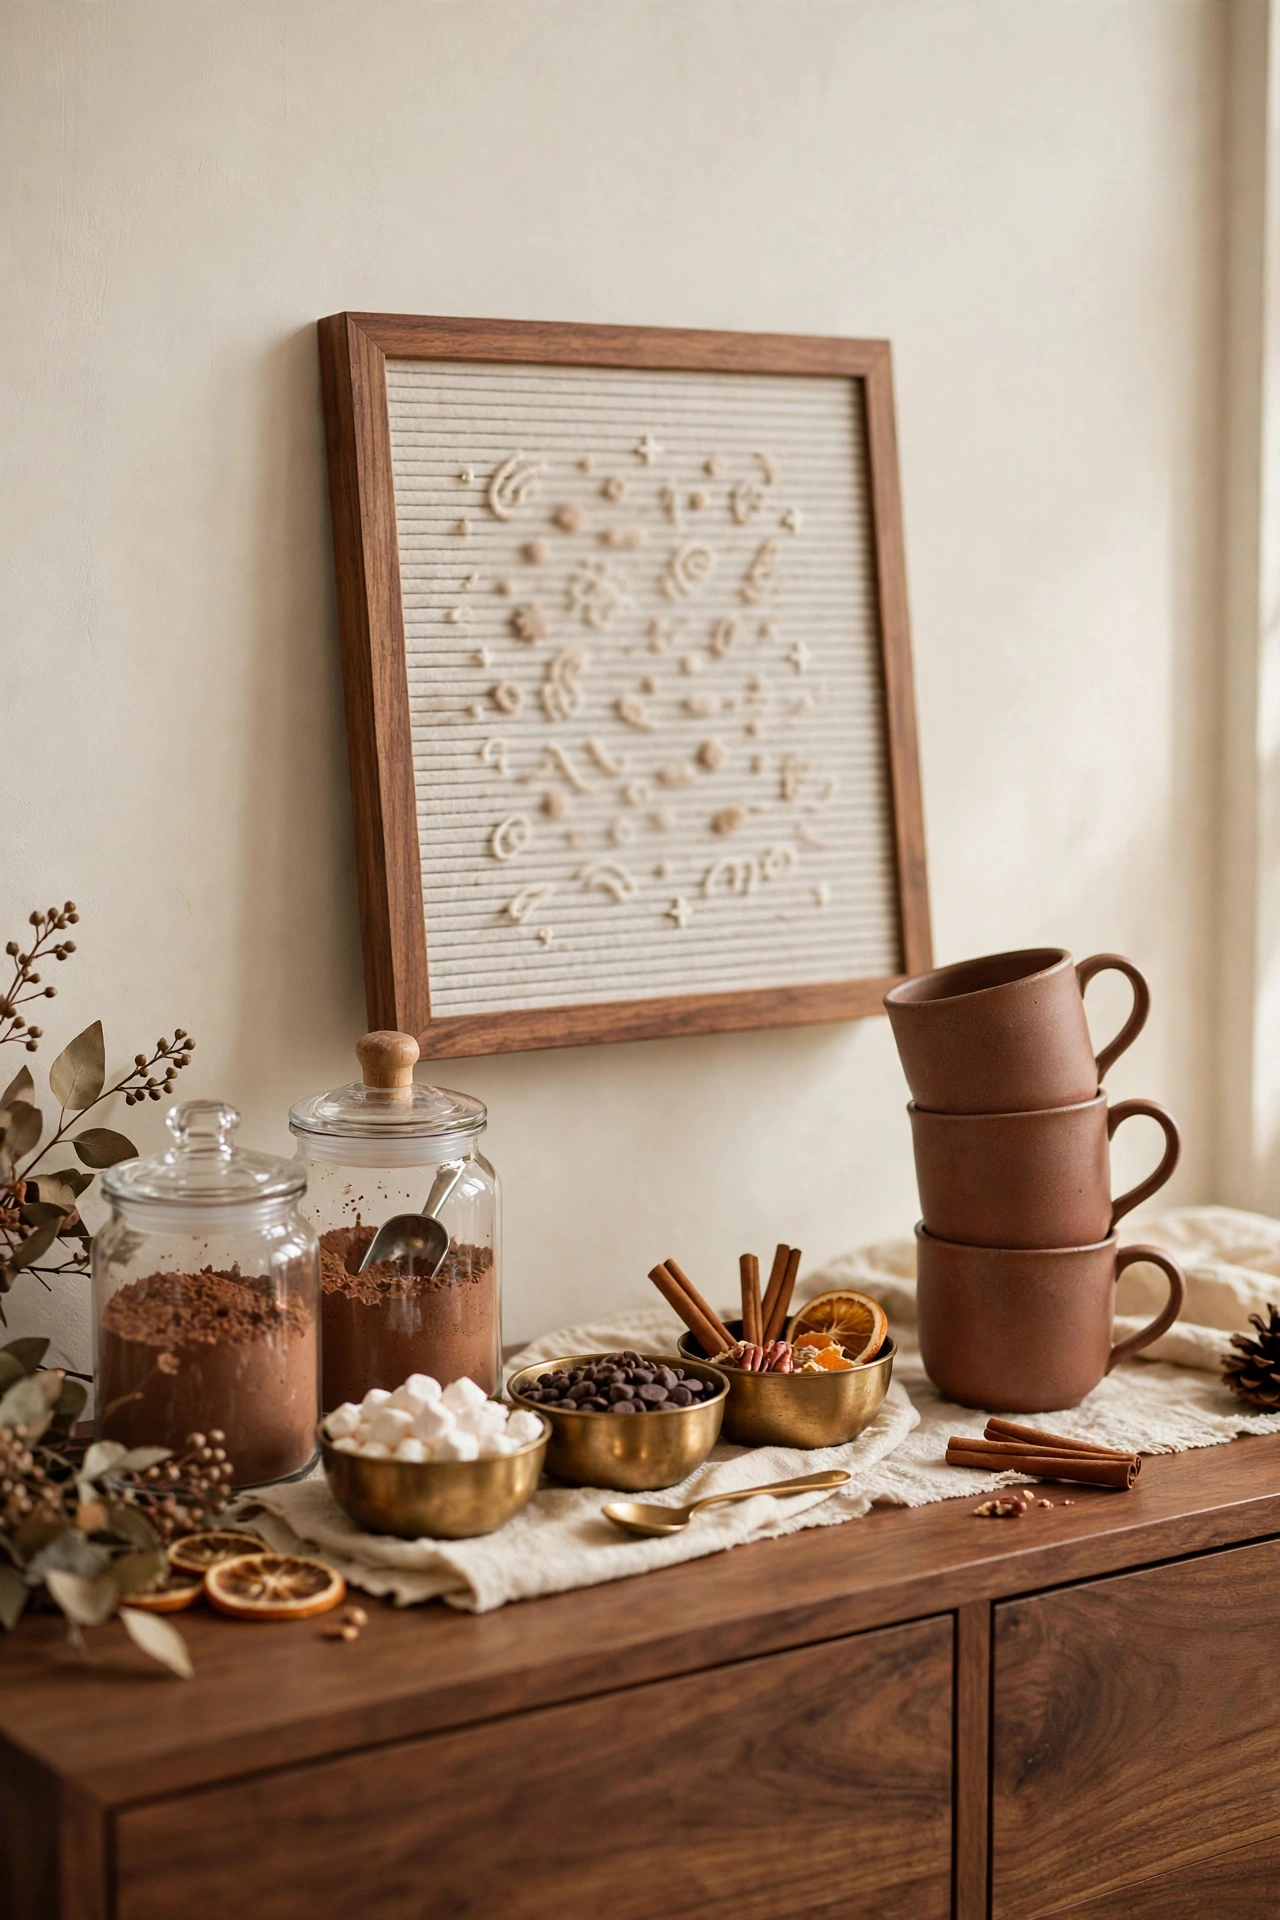
A small letter board that says something like hot cocoa two sugars or the pumpkin spice is strong with this one makes the whole corner feel like a tiny cafe. I change ours with the seasons and the kids fight over who picks the saying. Lean it against the wall behind the jars. It fills the vertical space and it makes people smile before they even pour.
Current kid approved sayings on rotation at our house. Cocoa fixes everything. Warning, may contain snuggles. And my personal favorite from last December, Santa drinks decaf. I let them pick a new one every Sunday and they take the job very seriously. A letter board chosen by a seven year old is never boring, I promise you that.
Layer the finishing touches
This is the part most people skip, and it is the part that makes the station feel finished instead of functional. None of these pieces make coffee. All of them make the corner feel like fall. My last principle is that one tall thing changes everything. A tall branch, a tall lamp, a tall stack. Give the eye somewhere to land up high.
15. Hang Warm Art Above the Station
The wall above the station is begging for something. I hung a small vintage style print in a warm wood frame, all rust and camel tones, and it anchors the whole corner. A little landscape, a coffee quote, a botanical print. Whatever you hang, keep it in the warm palette. One frame is plenty. This is a coffee bar, not a gallery wall.
16. Add Brass Candle Holders for Evening Glow
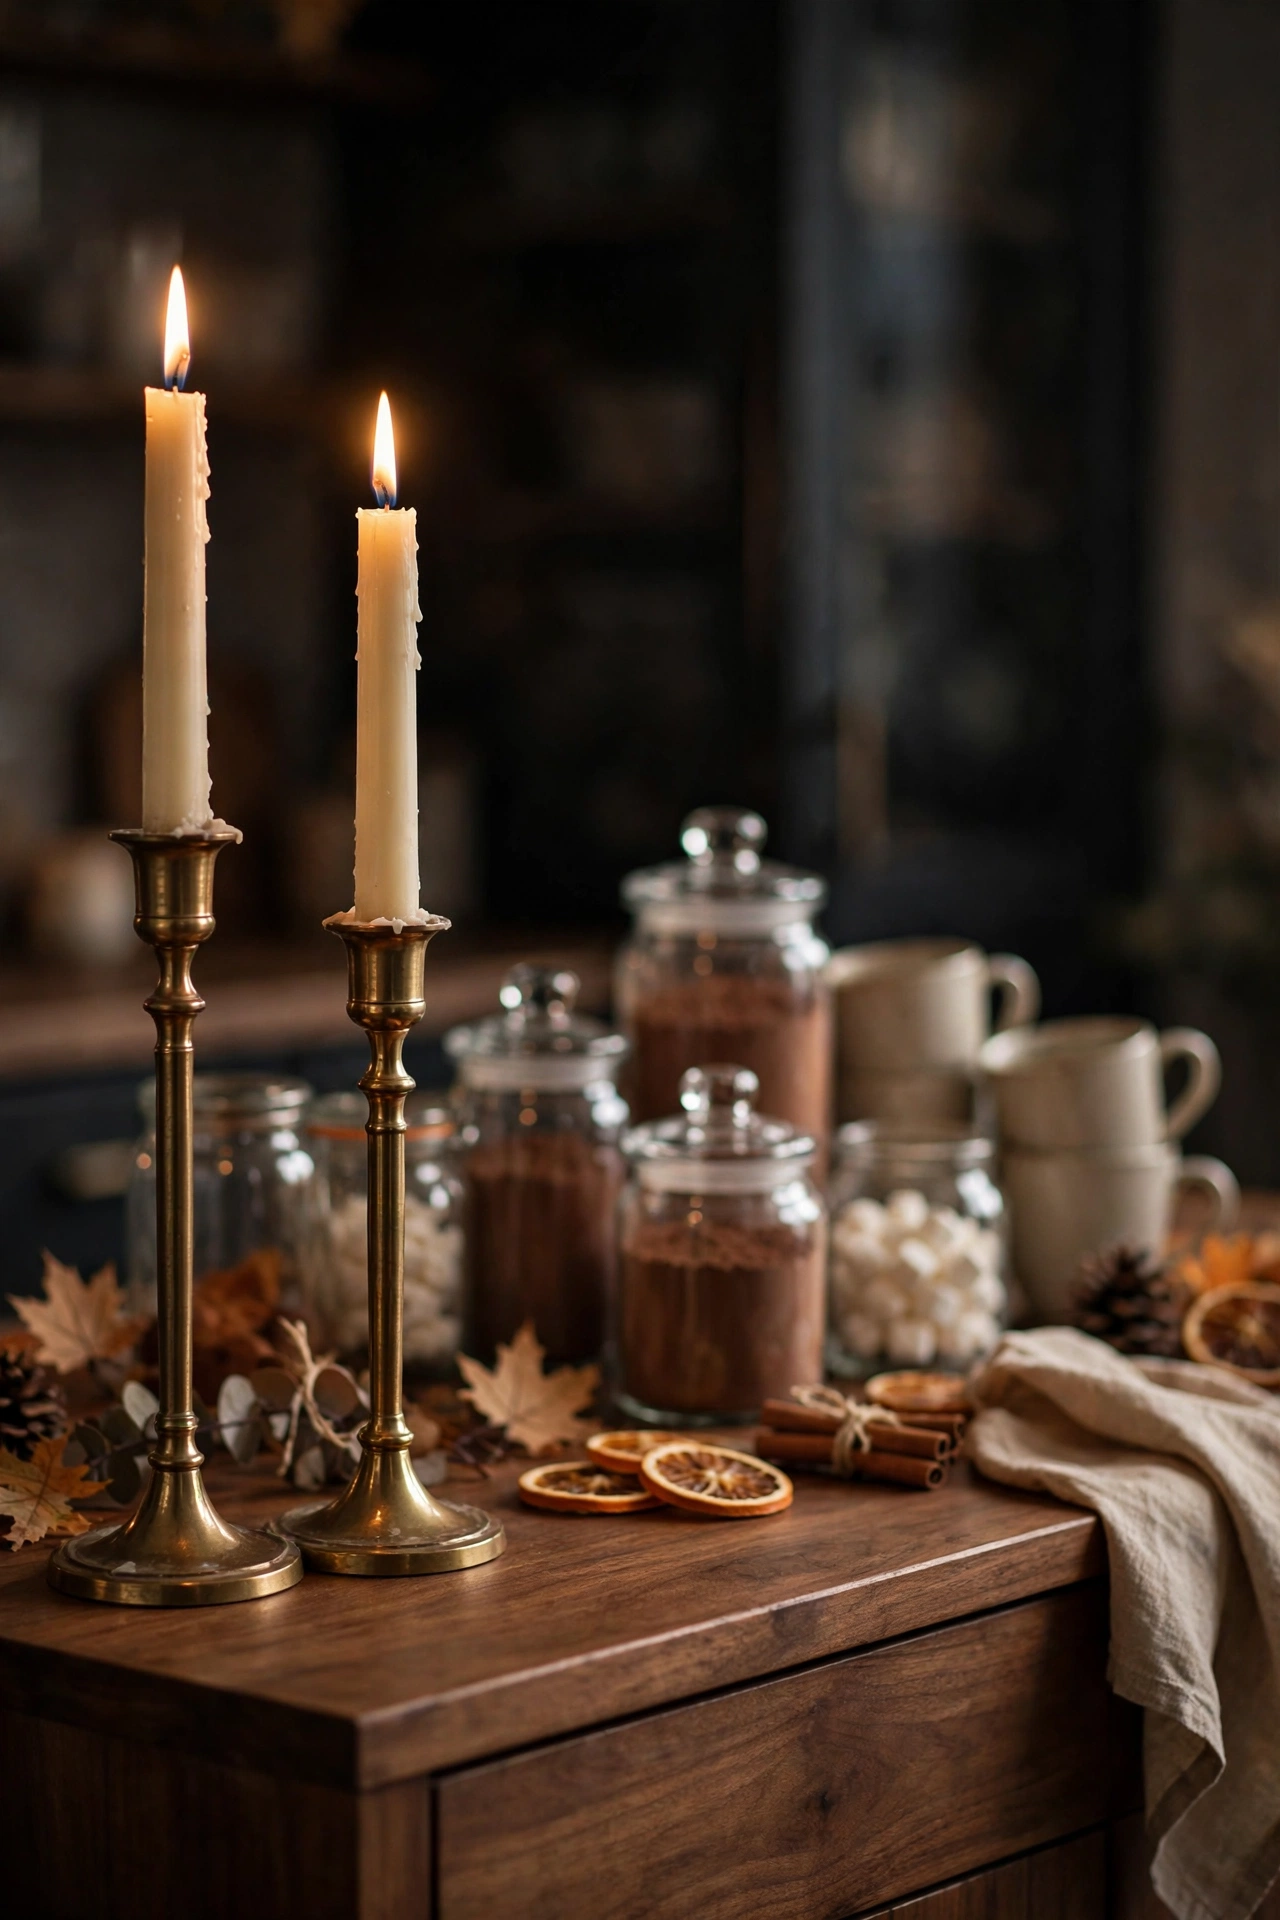
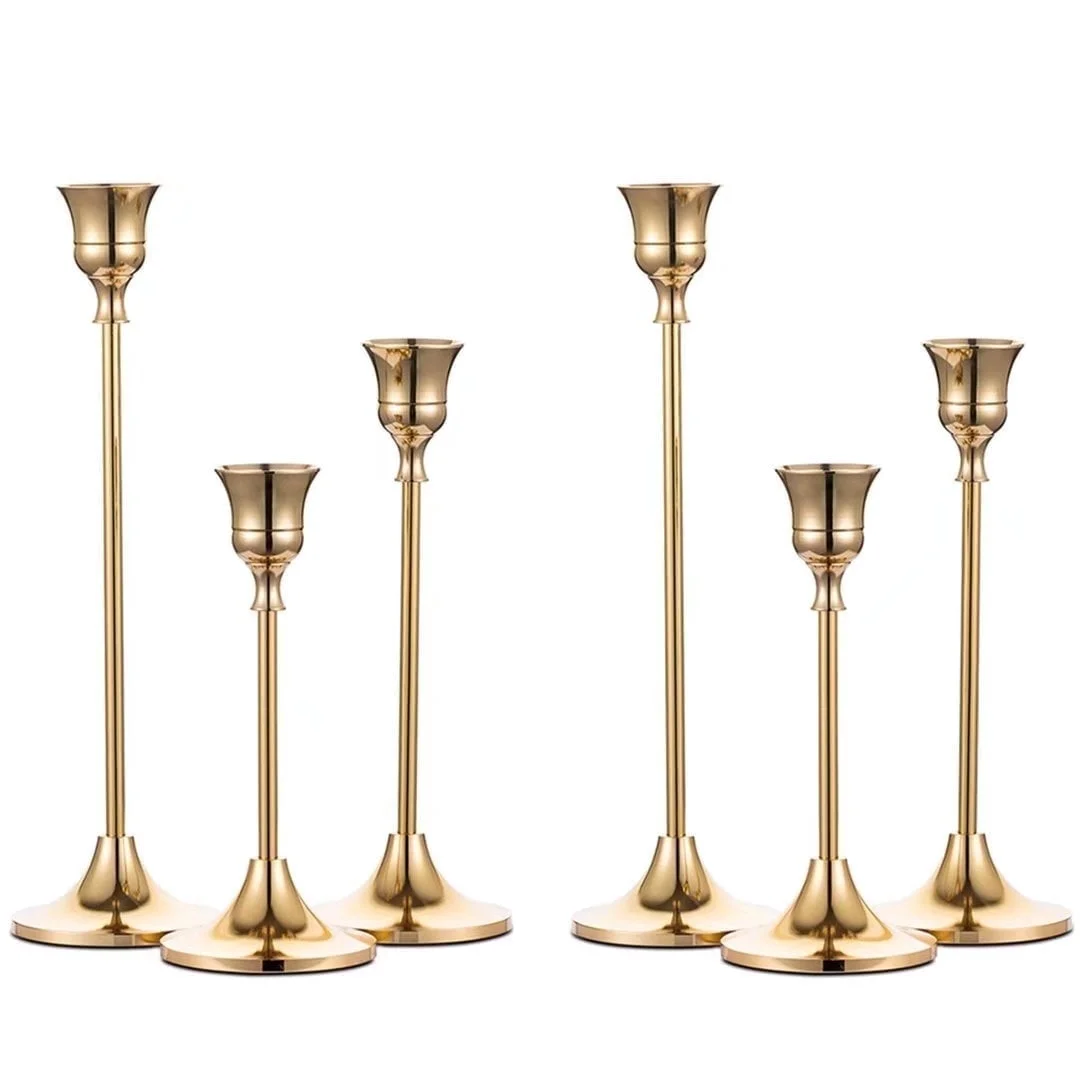
Morning is for the coffee maker. Evening is for the cocoa, and evening needs candlelight. I keep two brass candlesticks on the end of the sideboard and light them when we do cocoa after dinner. The brass catches the flame and throws the prettiest warm light across the jars. It takes ten seconds and it changes the whole mood of the kitchen.
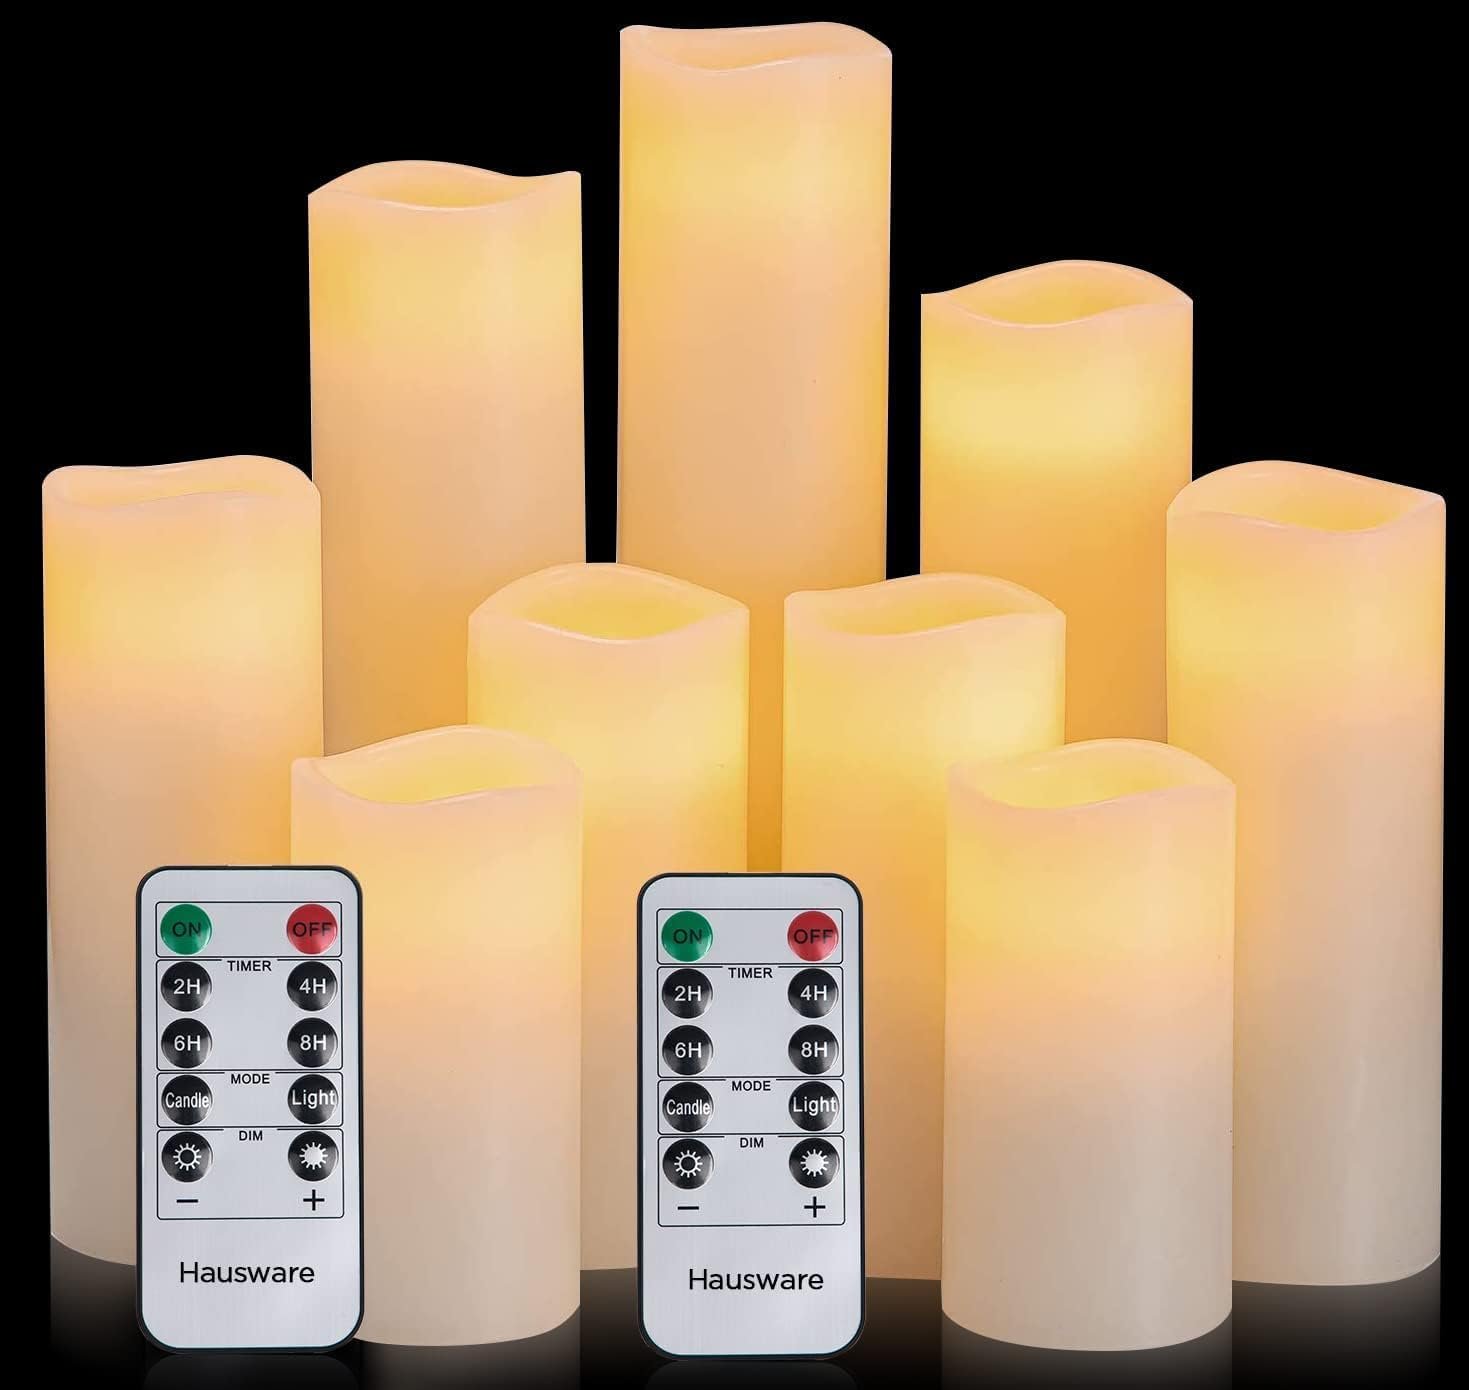
We have a little rule now. When the candles get lit, the phones go away. It started by accident one night when the power flickered, and the kids loved cocoa by candlelight so much it became our thing. Ten seconds to strike a match, and the whole evening slows down. I never expected candle holders to change our family nights, but here we are.
17. Tuck in Dried Botanicals or a Small Pumpkin
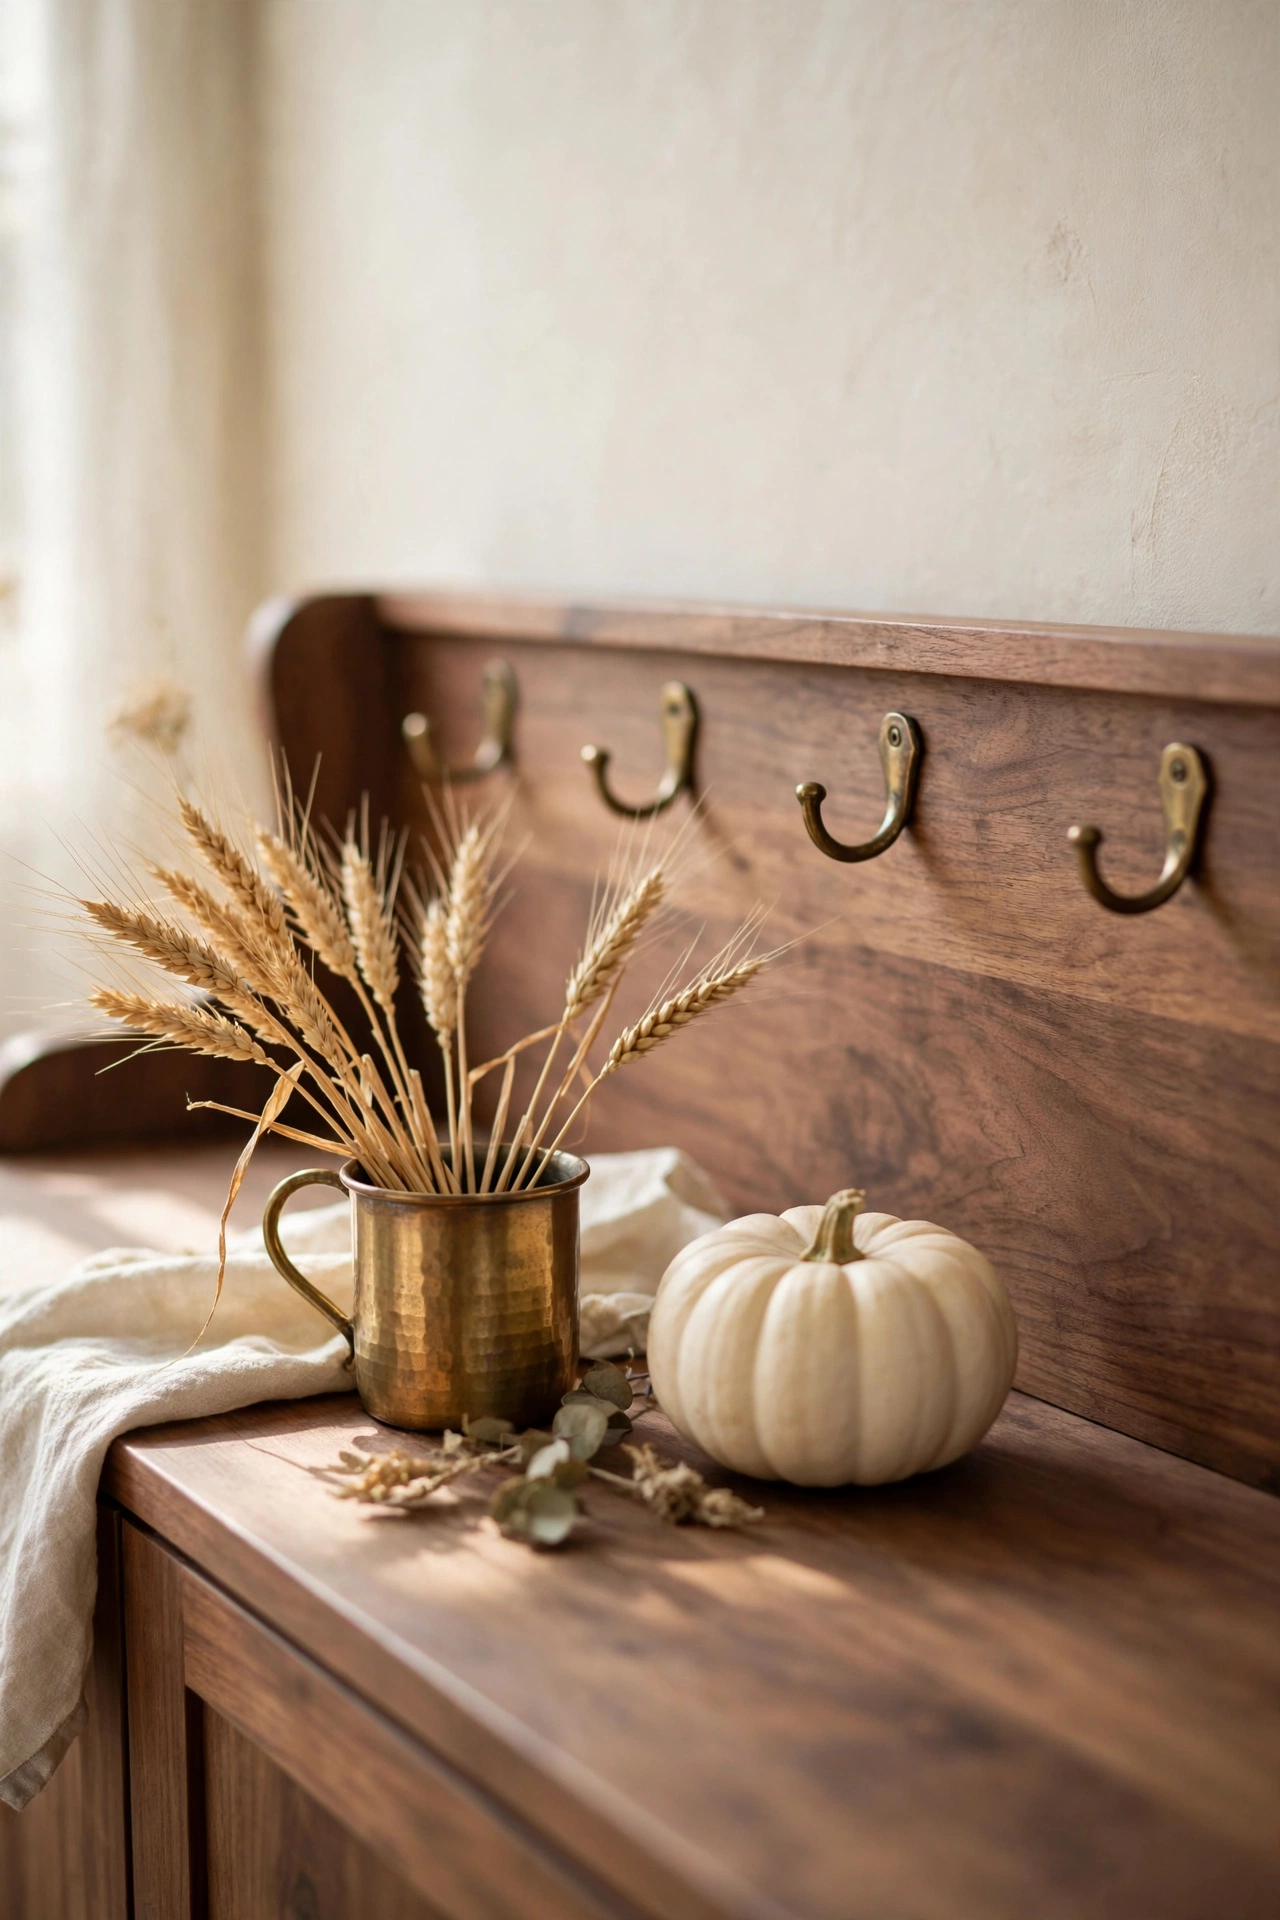
Every styled corner needs something alive, or at least something that was alive once. I tuck dried wheat stems into a small brass cup and set a little white pumpkin beside the mug hooks. Swap the pumpkin for pinecones in November. It is the cheapest idea in this whole post and somehow the one people comment on most.
18. Park a Basket with a Throw Blanket Nearby
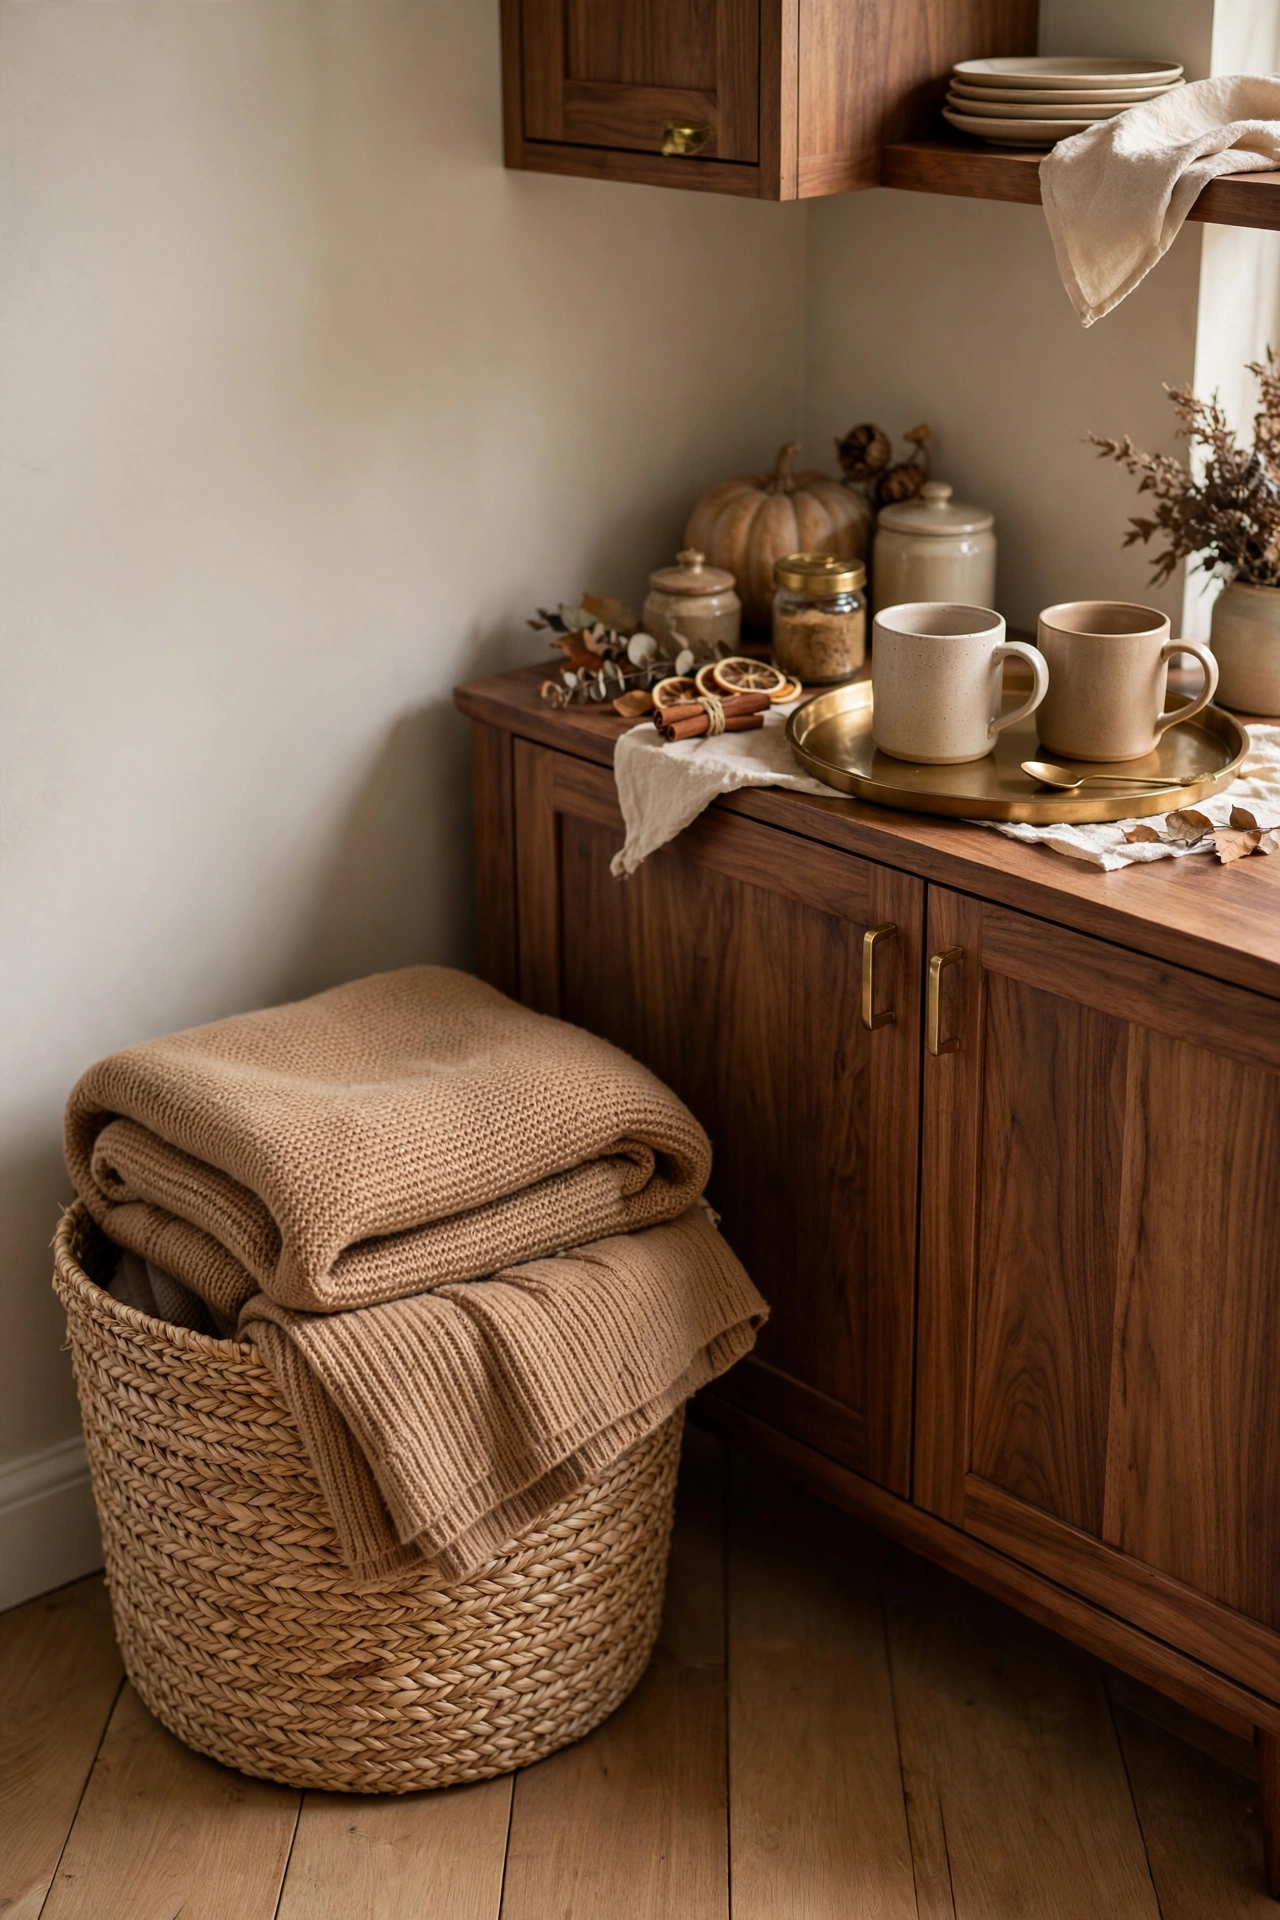
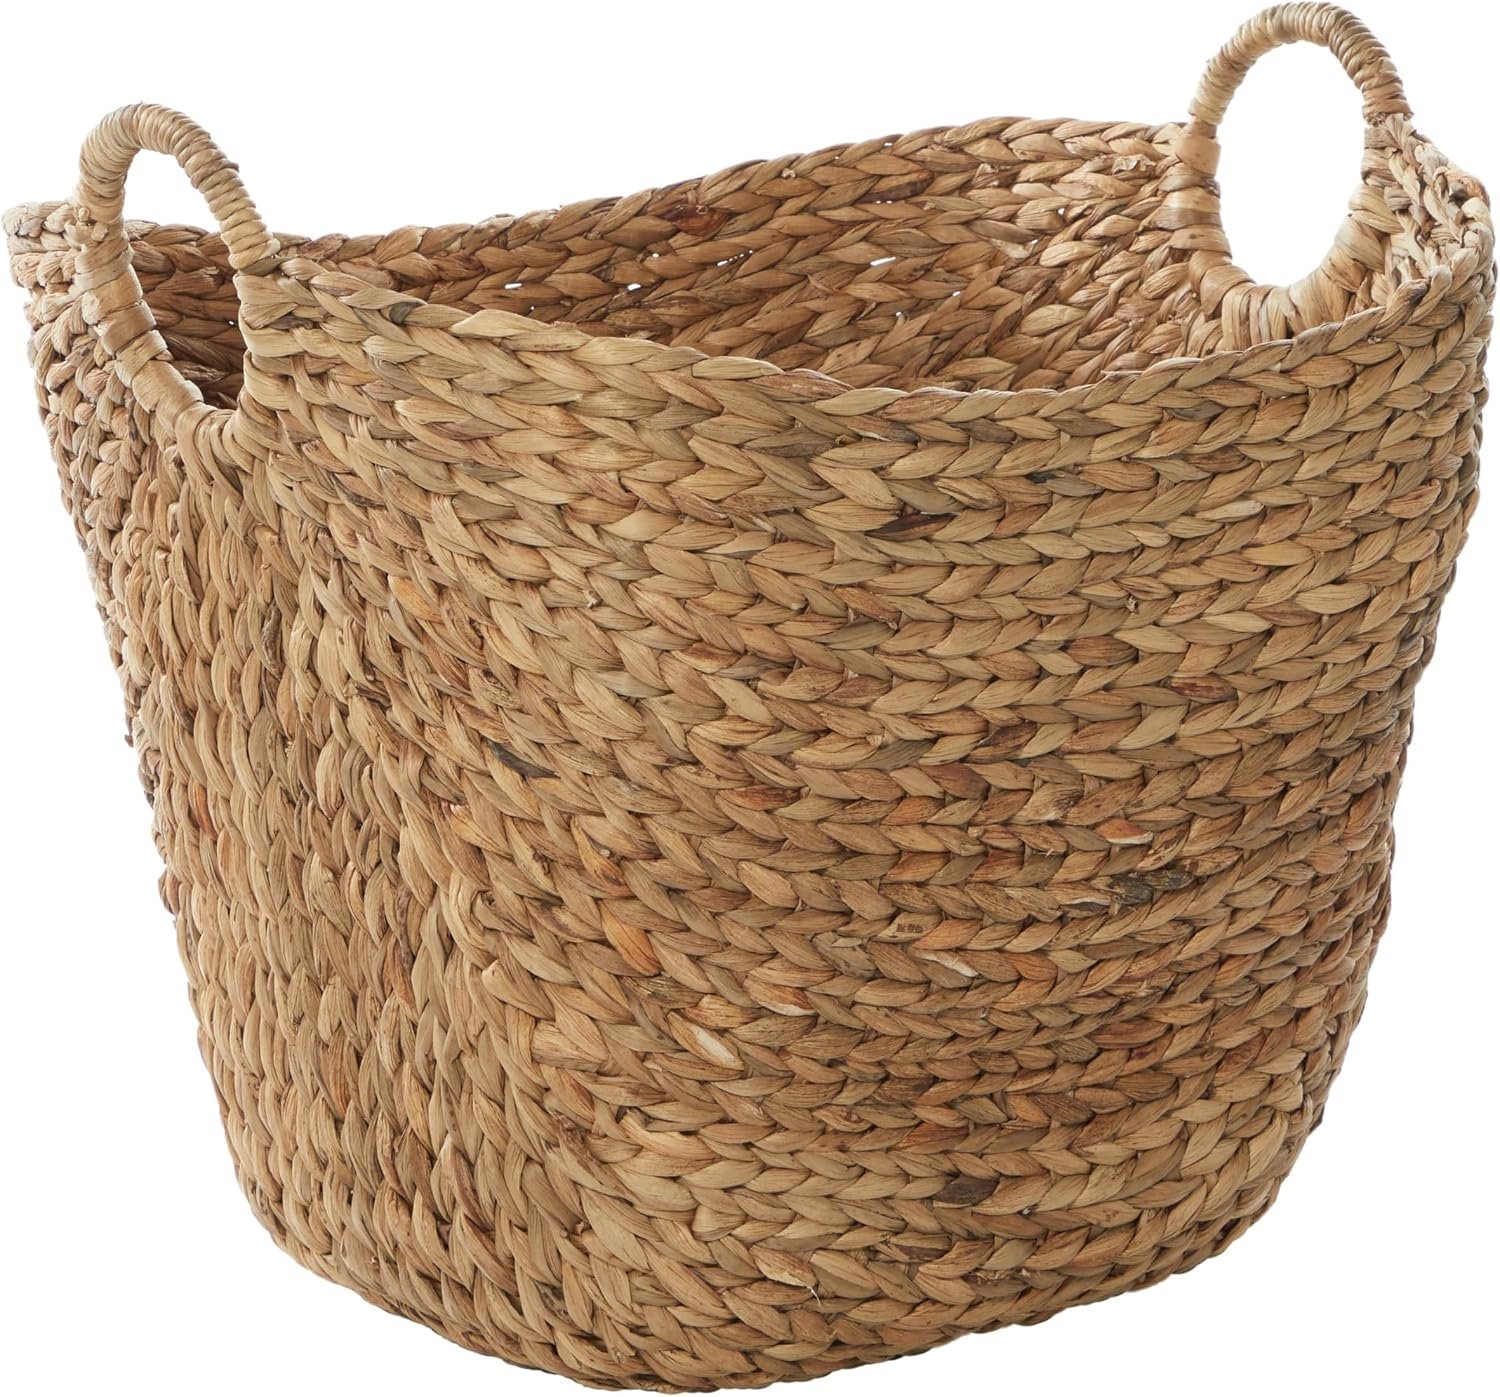
Cocoa tastes better with a blanket. I keep a woven basket with a folded camel throw right next to the sideboard, close enough to grab on the way to the couch. It ties the station to the rest of the living space instead of leaving it stranded in the kitchen. Practical, cozy, and it looks good doing nothing.
19. Finish with Cedar in a Brass Bud Vase
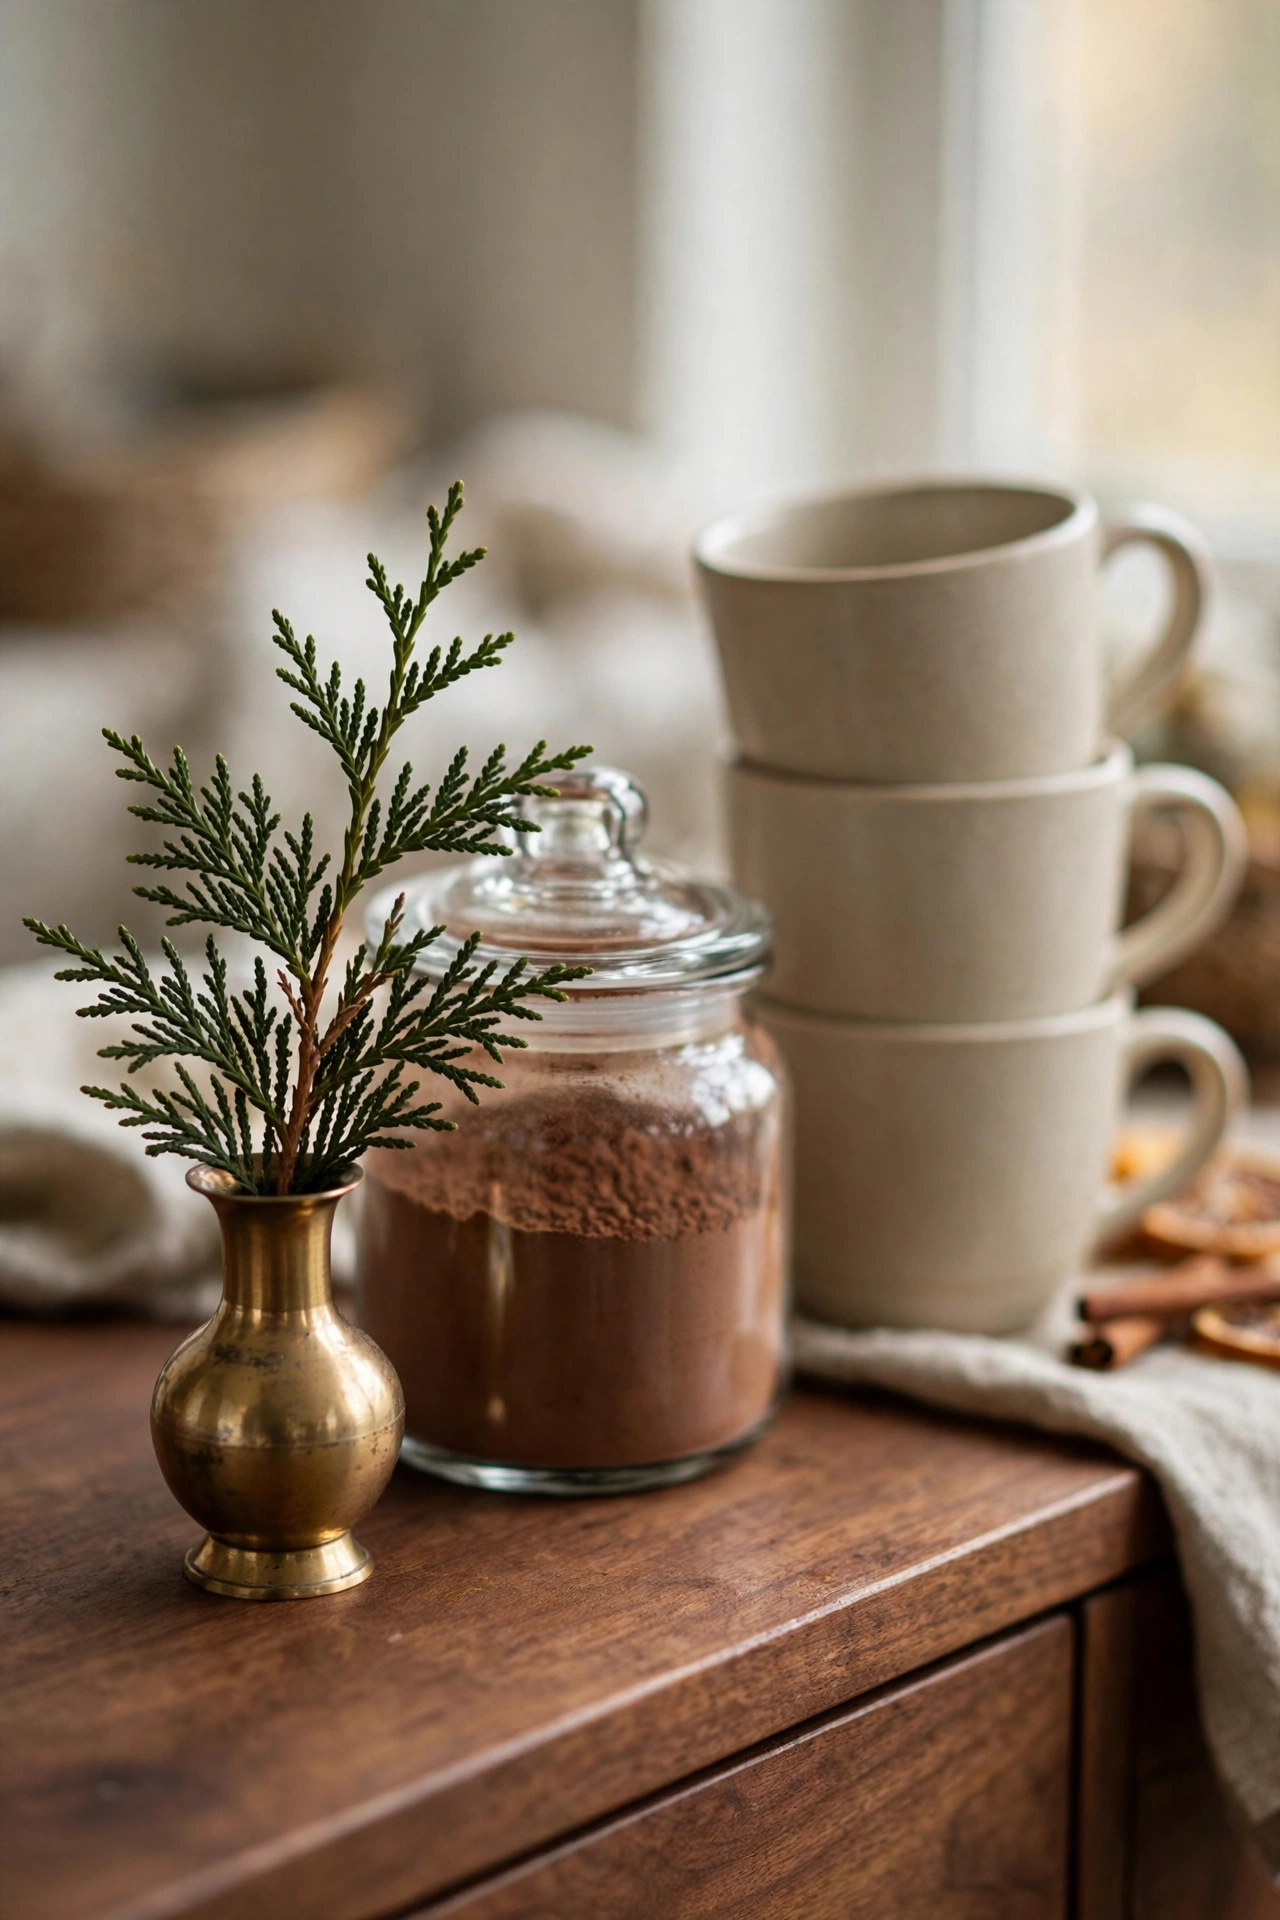
The last thing I added was a sprig of cedar in a tiny brass bud vase, and it is the detail that made the whole station feel done. A little green against all that warm wood and brass keeps the corner from feeling too brown. Eucalyptus works too. One stem is enough. This is a garnish, not a bouquet.
The cedar dries out after a few weeks and starts to look tired, so I just snip a fresh sprig from the tree in our yard whenever it needs replacing. Free greenery forever. In December I swap it for a bit of pine with a tiny pinecone tucked in, and the whole corner smells like Christmas morning. One stem, endless seasons.
More Favorites
This post contains affiliate links. If you buy through them, I may earn a small commission at no extra cost to you.
A few more favorites from the ideas above:

Get Fresh Home Ideas Every Week
Seasonal decor ideas, organizing tips, and cozy home inspiration, straight to your inbox.
More Fall Ideas You Will Love
Keep browsing for more seasonal inspiration:
That is the whole station. Warm wood, vintage brass, cocoa in a jar, and a blanket within reach. Start with the base, build the two halves, then layer the pretty stuff on top. By the time the first real cold snap hits, you will have a little corner of the house that feels like fall every single time you walk past it. And honestly, that three minute morning moment with the fogged windows is worth all of it.
If you only do three things from this whole list, let it be the wood, the brass tray, and the cocoa jar. Those three carry the whole feeling. Everything else is just joy on top. And if your station starts the season a little messy, with cords showing and mugs in the wrong spots, that is fine. Mine did too. The best corners are the ones that get used hard and loved harder. Now go put the kettle on.
Cristina