
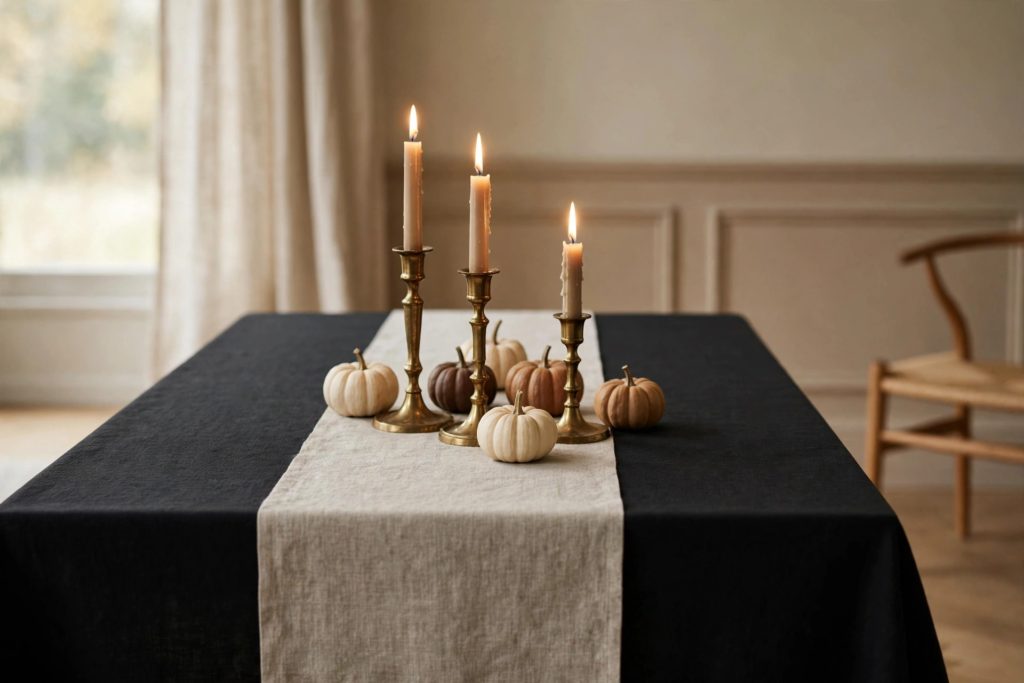
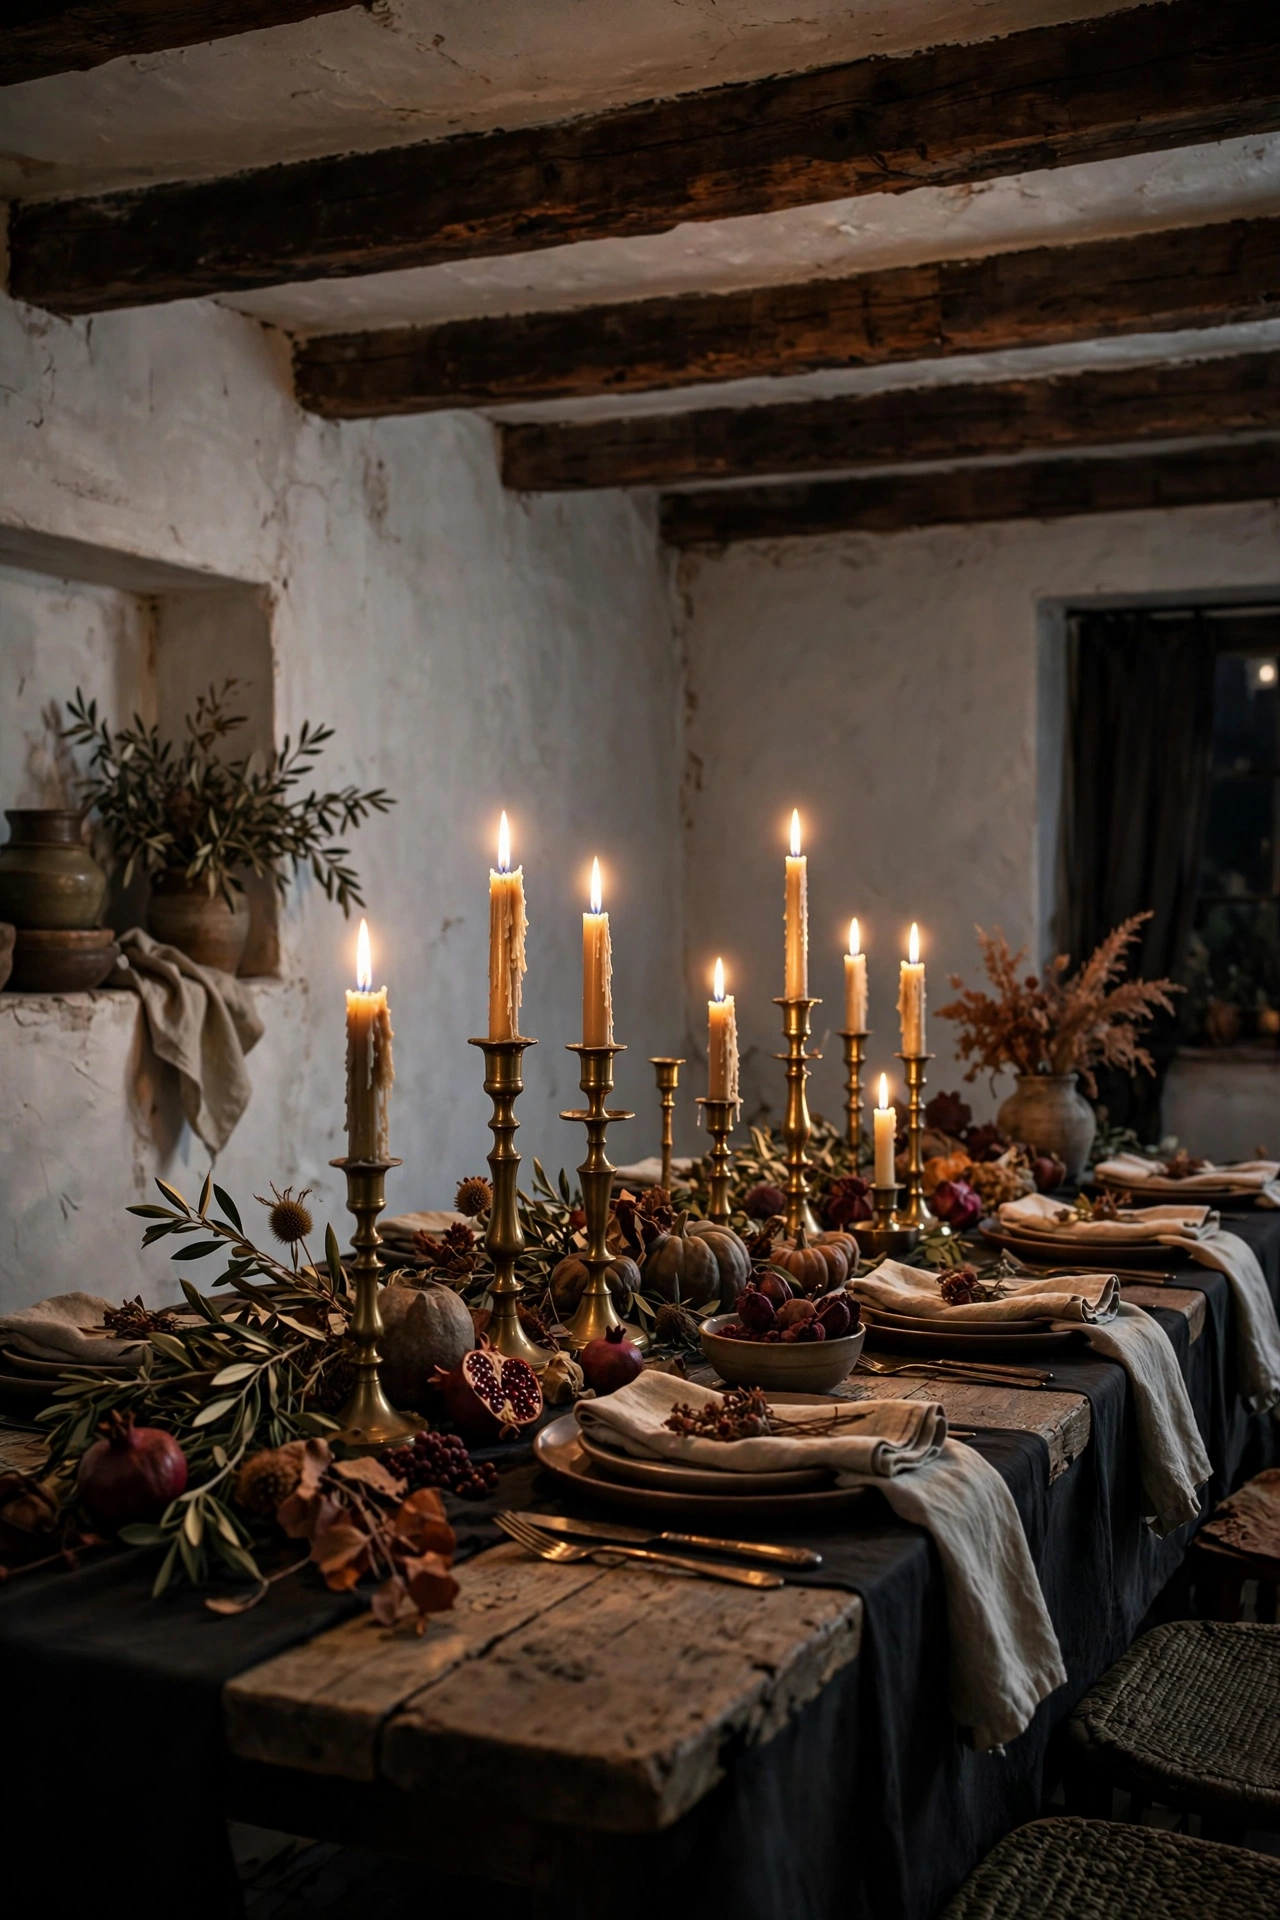
When I picture the perfect Halloween dinner, I do not picture plastic pumpkins or a fog machine in the corner. I picture the room going gold around six. The candles lit before the first guest knocks. The table looking like a still life painting you get to eat at.
That is the whole goal here. Not scary. Just moody in the prettiest way. Matte black under everything, candlelight pooling low across the plates, and little harvest touches that feel collected instead of costumed. You want guests to sit down and exhale. That soft ohhhh when the candles are lit is the sound of a tablescape doing its job.
My approach is simple and I use it every single October. Black first, color second. Keep the light low and the glow warm. And allow one wild thing per table, because one playful moment is charming and ten of them is a theme park.
I start planning the table about a week out, but the actual setting happens the day of, in the late afternoon when the light turns. I put on music, light a test candle to check the mood, and set the whole table before I even think about cooking. By the time guests arrive, the room already smells like rosemary and beeswax, the candles are doing their quiet work, and I am not running around with a matchbook when the doorbell rings. A calm host is the best decoration of all.
Love these ideas? Get more every week.
Join the newsletter for seasonal decor and cozy home inspiration.
Lay the Moody Foundation
1. Start With a Matte Black Tablecloth
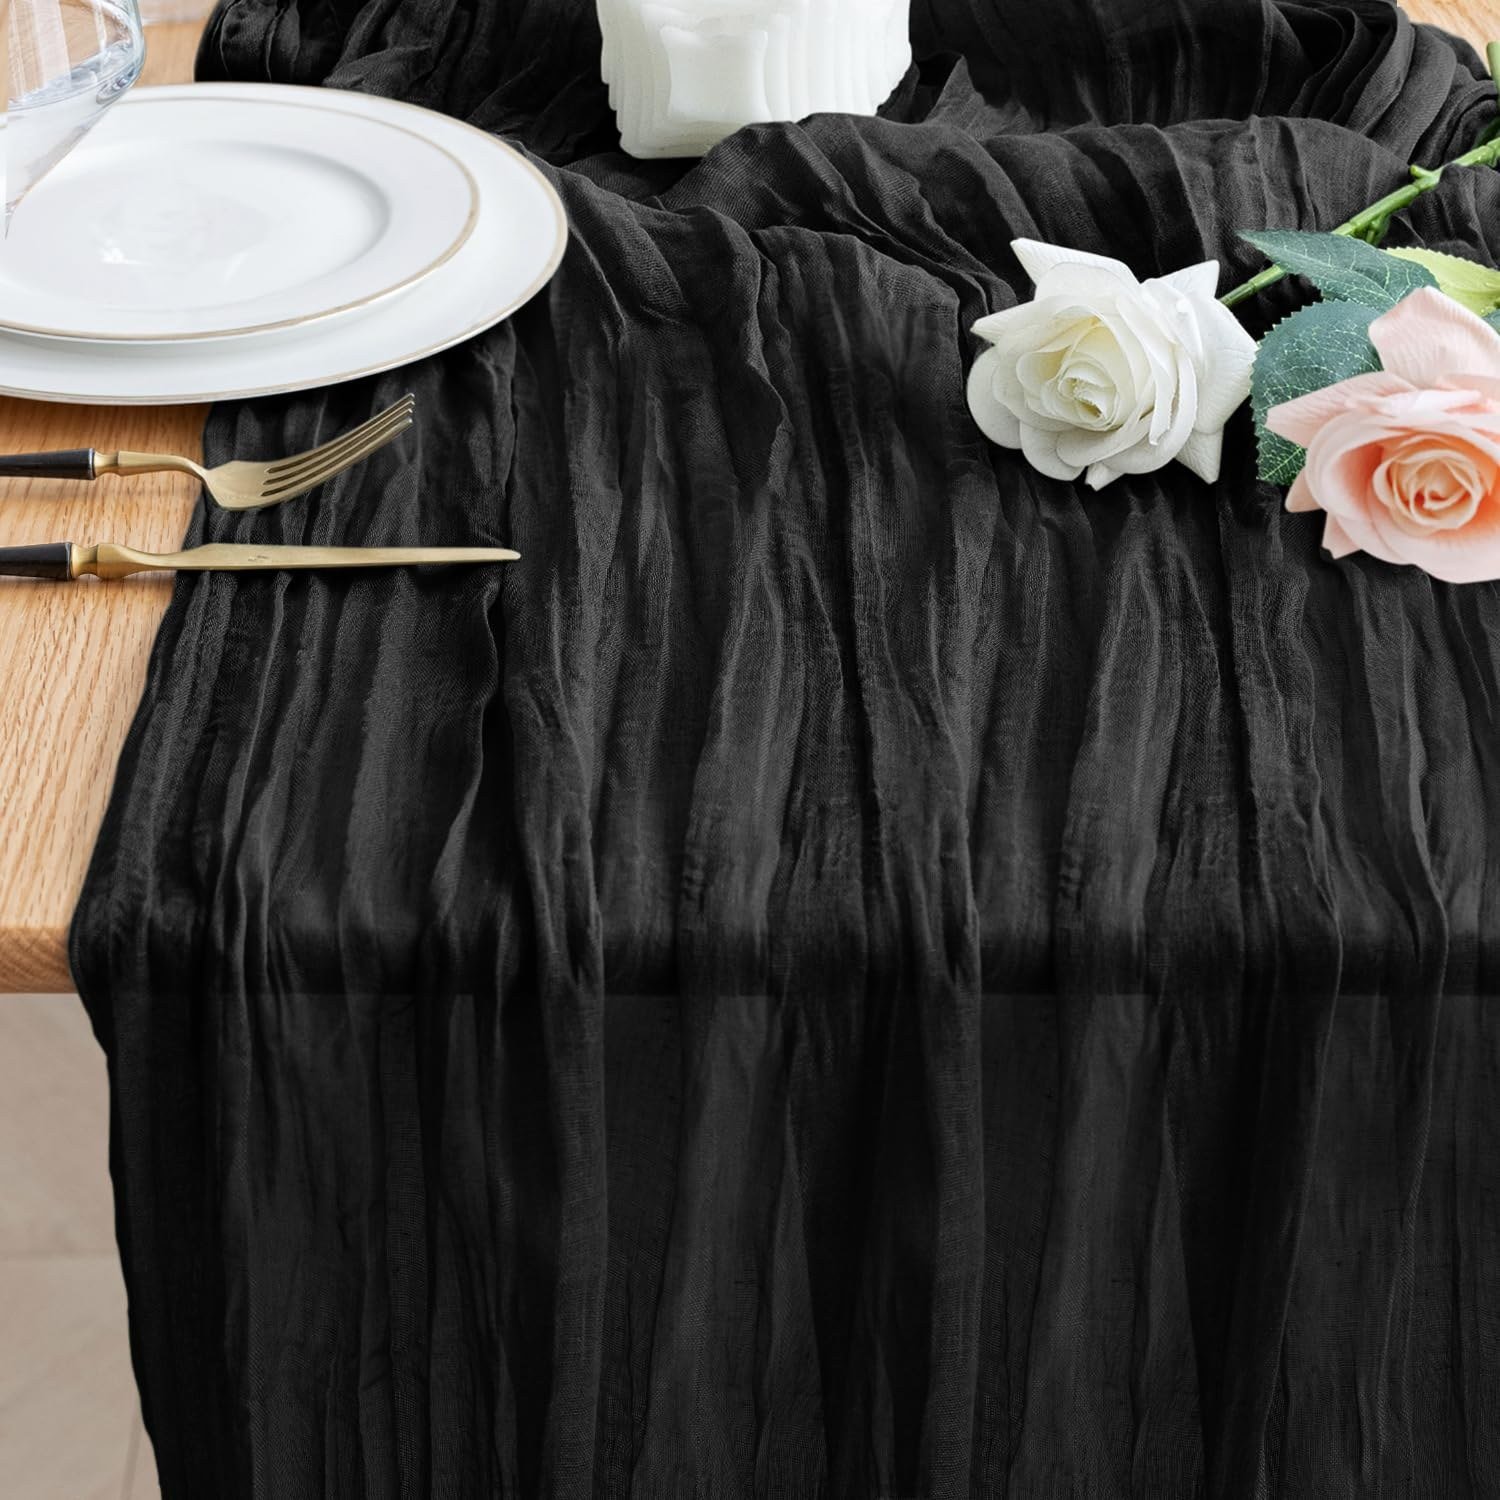
Everything on this table builds on one decision, so make it first. A matte black tablecloth is the anchor for the whole look. It makes candlelight look richer, it makes food look prettier, and it instantly says evening party instead of Tuesday dinner. The matte part matters. Shiny black reads cheap and plasticky. Matte reads expensive and moody. Smooth it over the table and let it puddle just a little at the floor. That is your canvas and it does half the styling work before you set down a single plate. I keep a black cloth folded in the linen closet all year because it works for New Year Eve too, and honestly it gets more use than any other tablecloth I own.
Shop This Look
This post contains affiliate links. If you buy through them, I may earn a small commission at no extra cost to you.
A few favorites featured in the ideas above:
2. Layer an Oatmeal Linen Runner Down the Middle
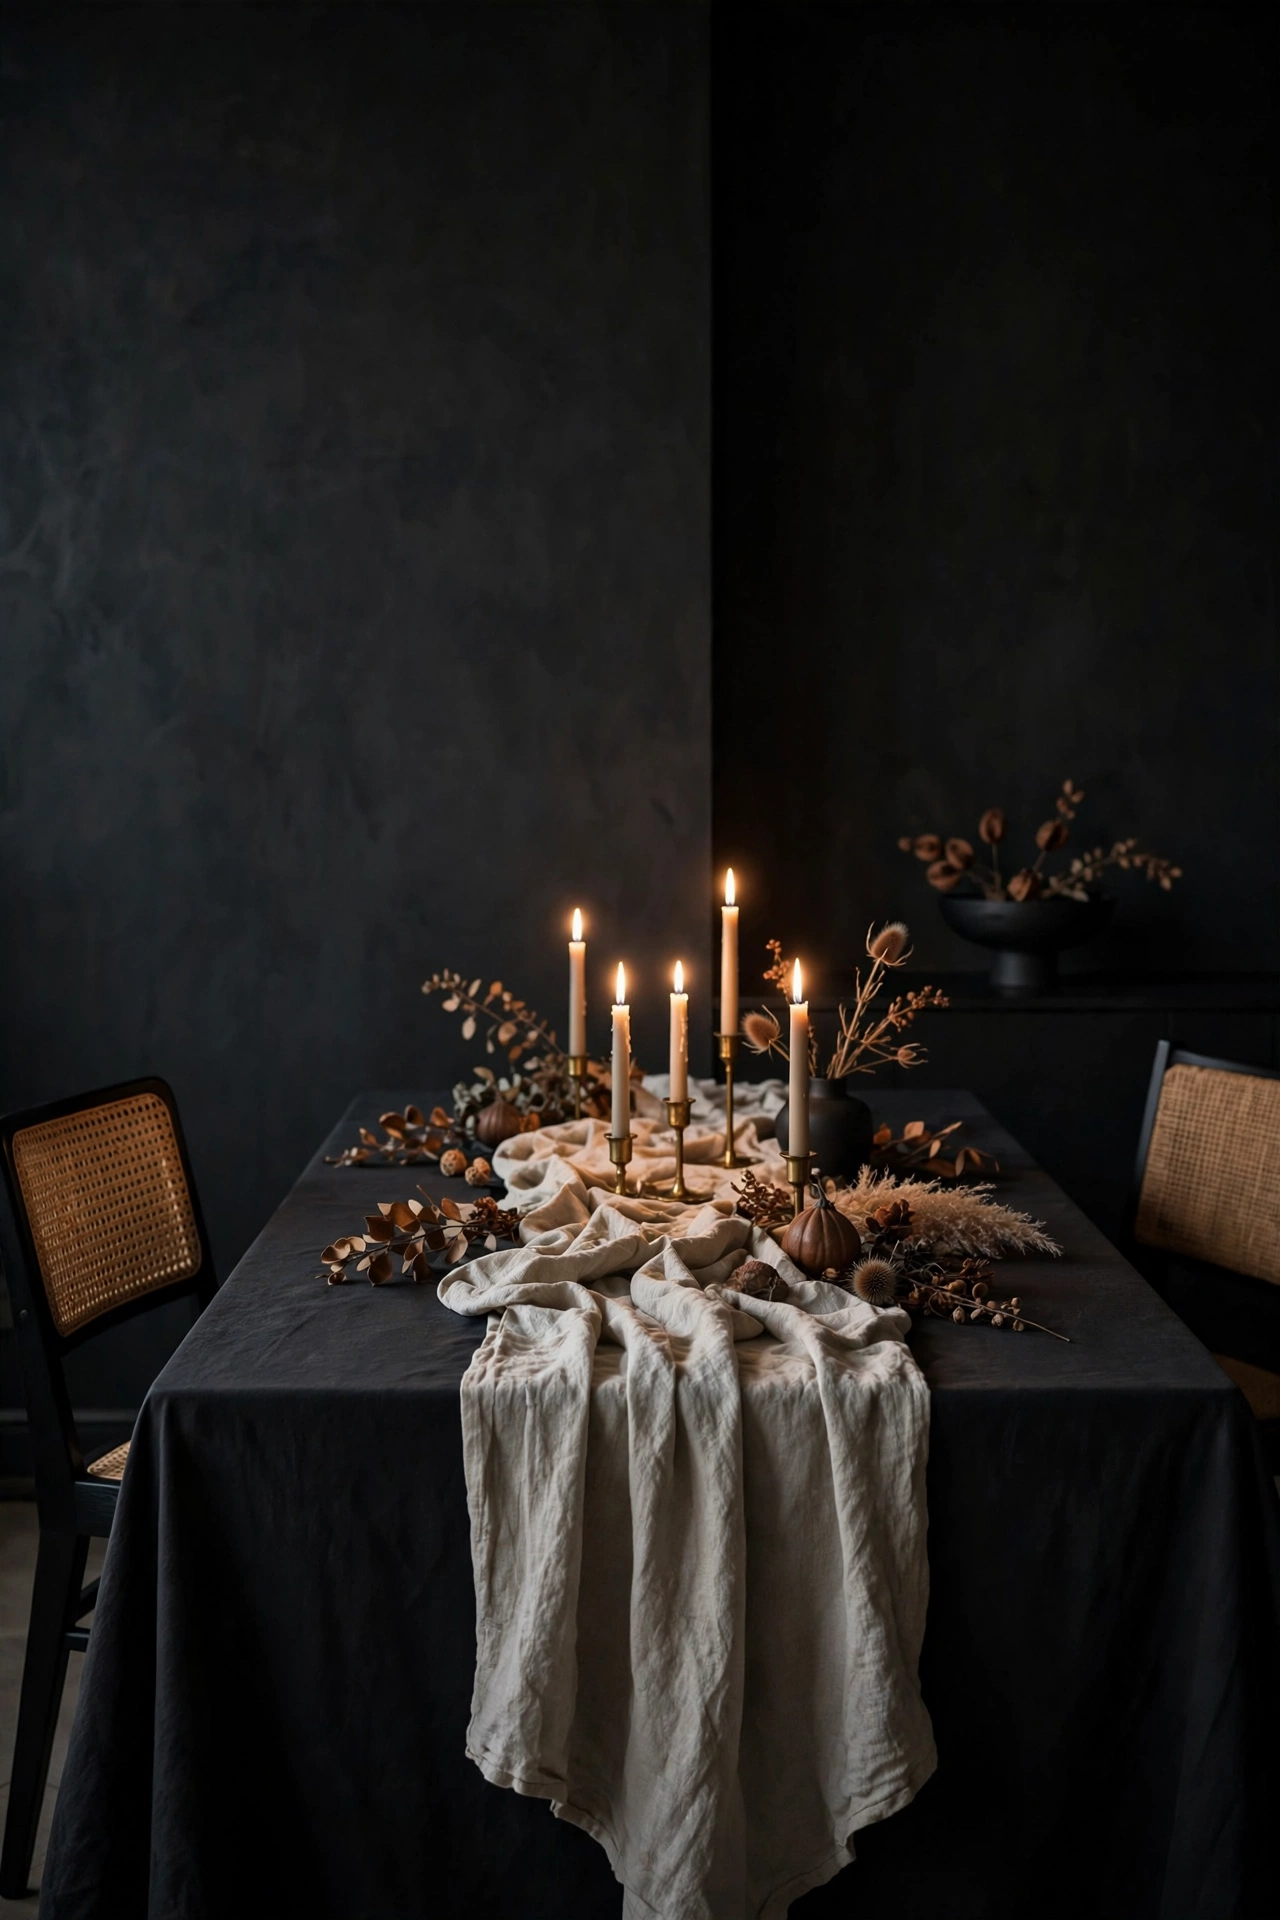
Black on black can go flat, so break it with one soft layer. An oatmeal or camel linen runner down the center gives the candles something to glow against and keeps the table from feeling like a void. I like mine a little wrinkled on purpose. Crisp and starched looks formal. Soft and rumpled looks like someone with great taste lives here. Let the runner hang past the table ends by a foot or so for that relaxed gathered feel. If you only buy one runner this season, make it oatmeal. It goes with literally everything from September through November.
3. Set Matte Black Chargers Under Warm White Plates
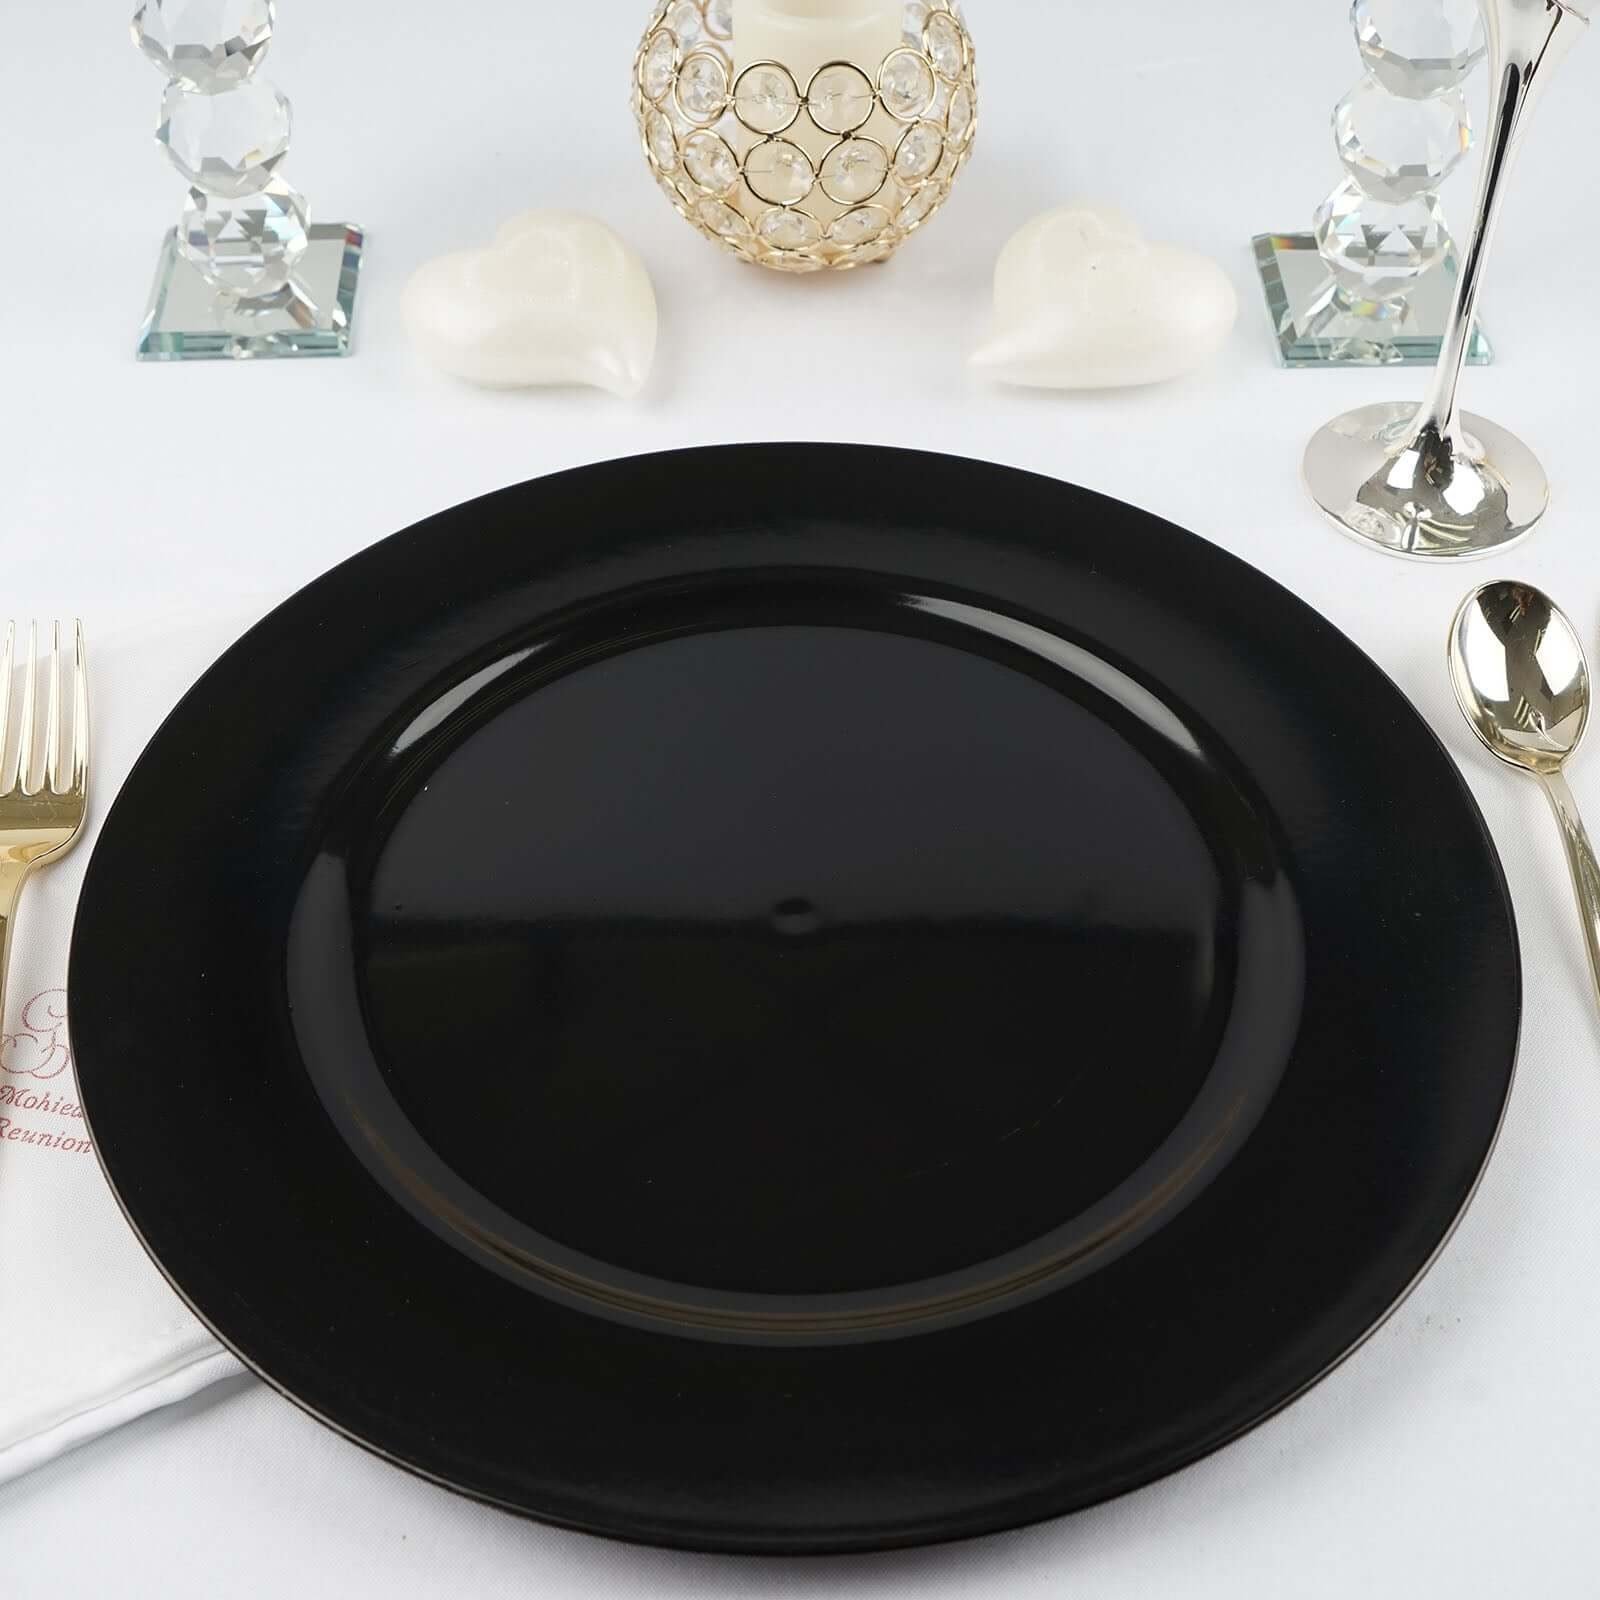
This is the little trick that makes the whole table look expensive. Matte black chargers peeking out from under warm white dinner plates give every place setting depth and drama. The white keeps it from going too dark and the black frames the food like a picture. My rule here is black first, color second. The black charger is the frame, the white plate is the art, and then whatever you serve is the star of the gallery. Even takeout looks like a tasting menu on this combination, which is a sentence I never thought I would write but here we are.
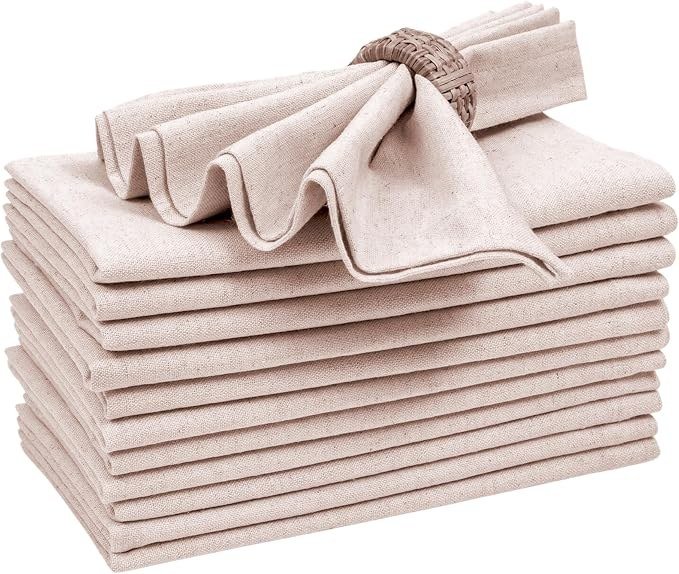
4. Tie Oatmeal Napkins With Twine and a Sprig of Rosemary
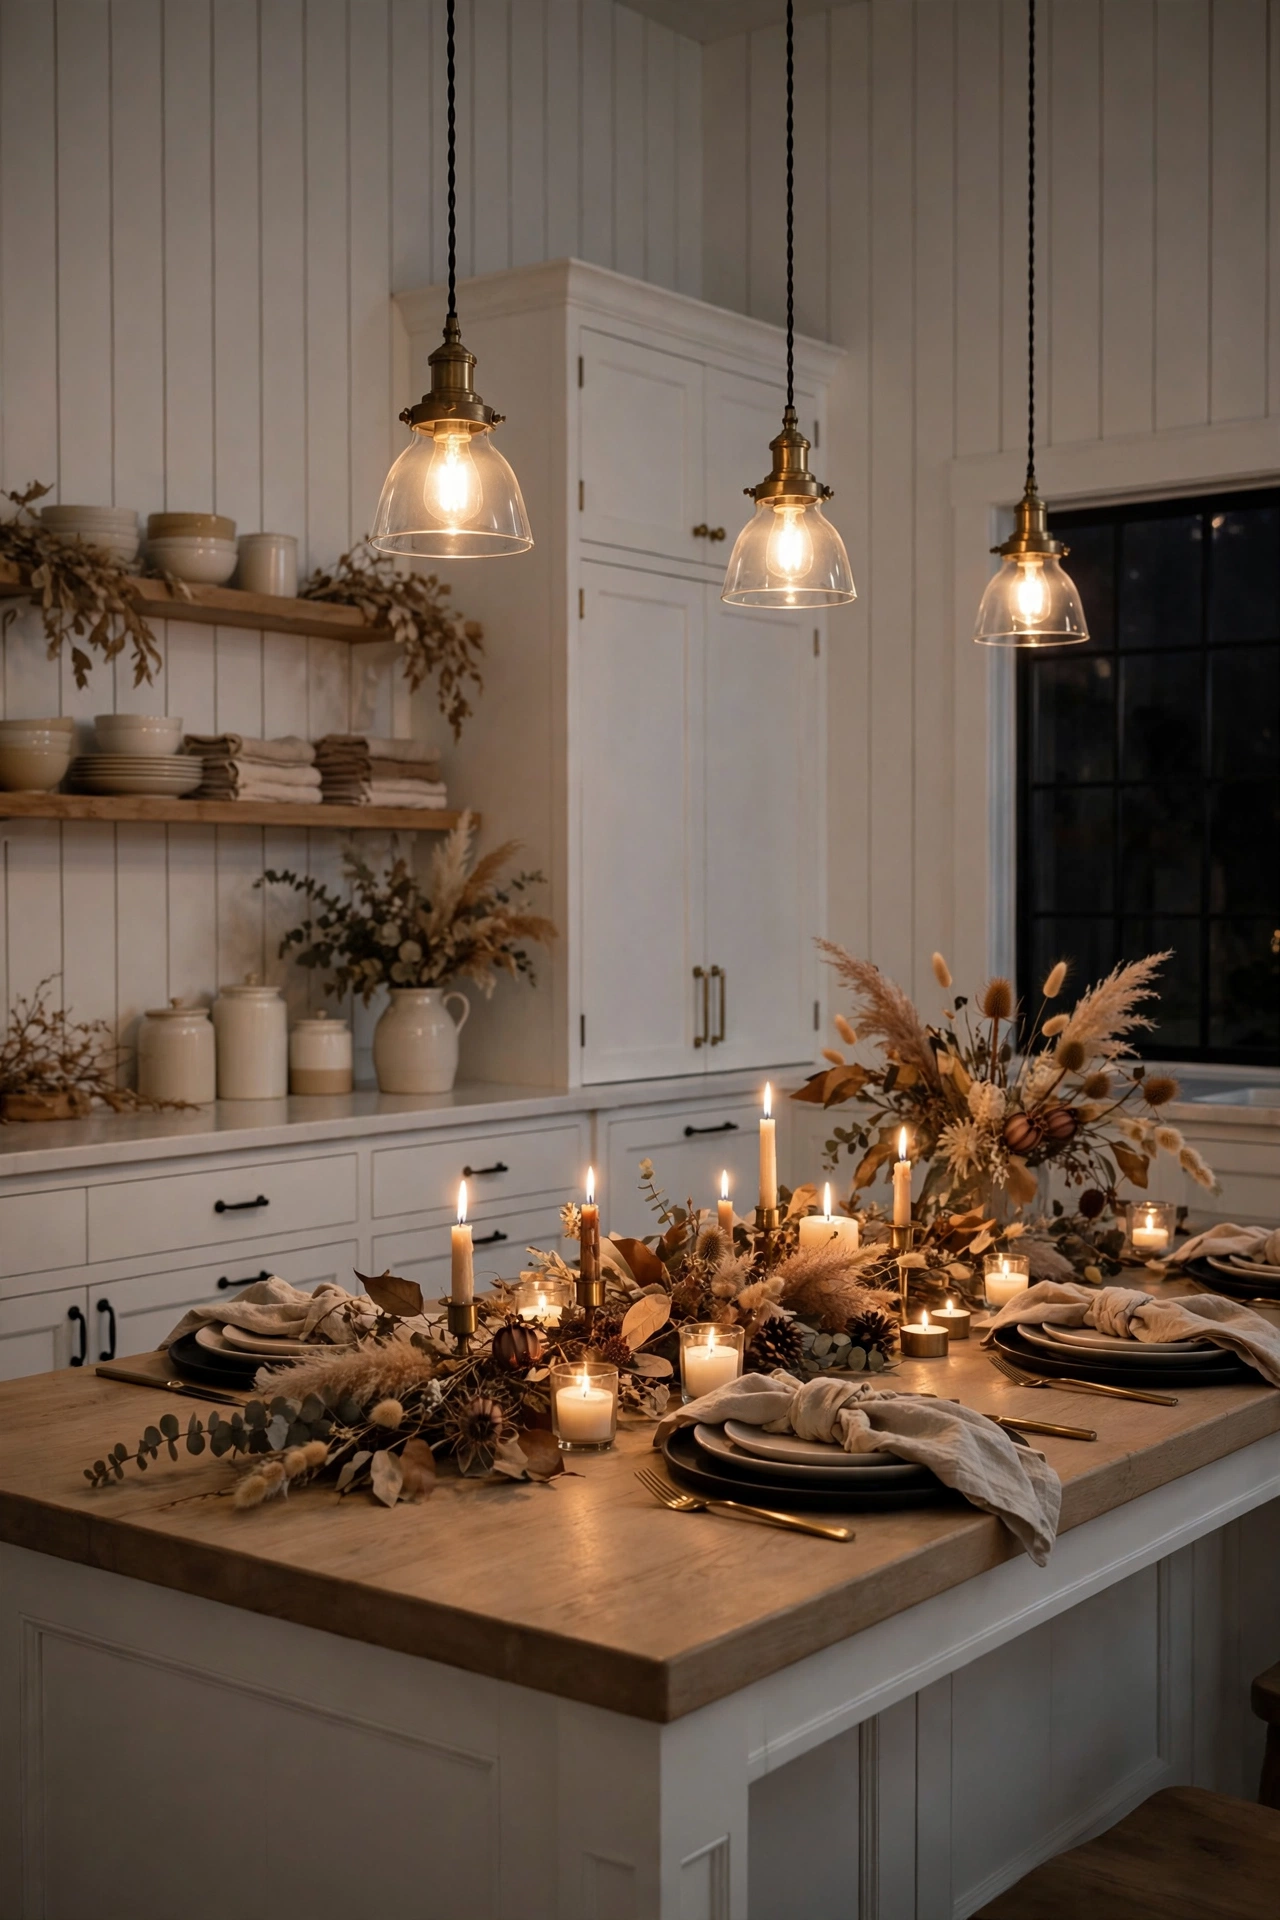
Napkins are the handshake of a place setting. Fold an oatmeal linen napkin into a simple rectangle, wrap it once with plain twine, and tuck in a fresh sprig of rosemary. It takes ten seconds and it makes every guest feel like you thought about them personally. The rosemary doubles as the first scent of the meal. Your guests will pick it up and smell it before they even sit down. I love a detail that works that hard.
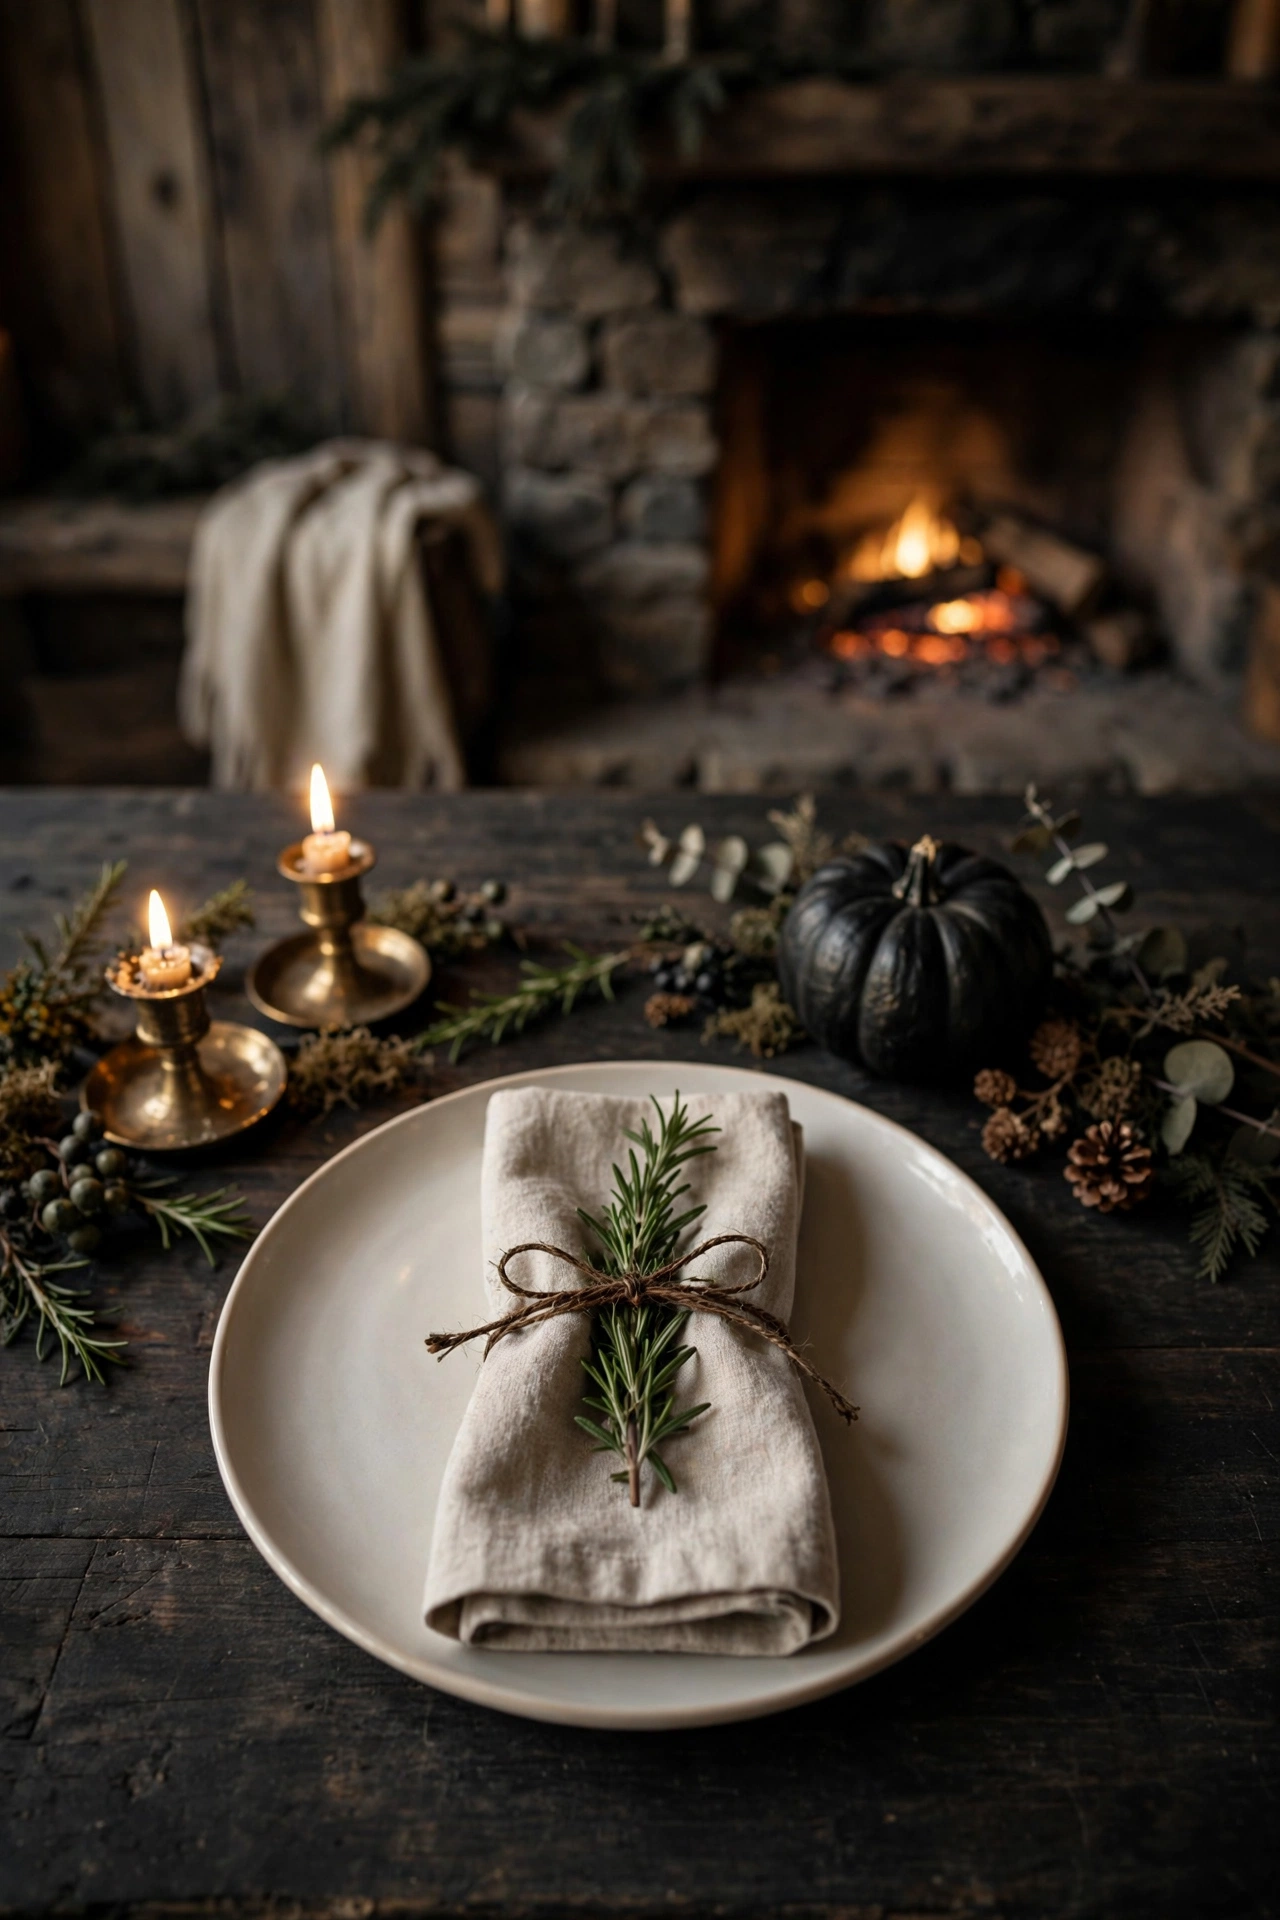
5. Pour Into Amber or Smoked Glass Goblets
Clear glasses disappear on a dark table. Amber or smoked glass goblets hold their own and catch the candlelight like little lanterns. I mixed mine from thrift store finds and no two are exactly alike, and honestly that is the charm. Water, wine, cider, it all looks prettier through amber glass. This is one of those swaps that costs almost nothing and changes the whole mood of the table. I started buying one or two whenever I spot them at the thrift store and now I have a full set that cost less than a single fancy wine glass.
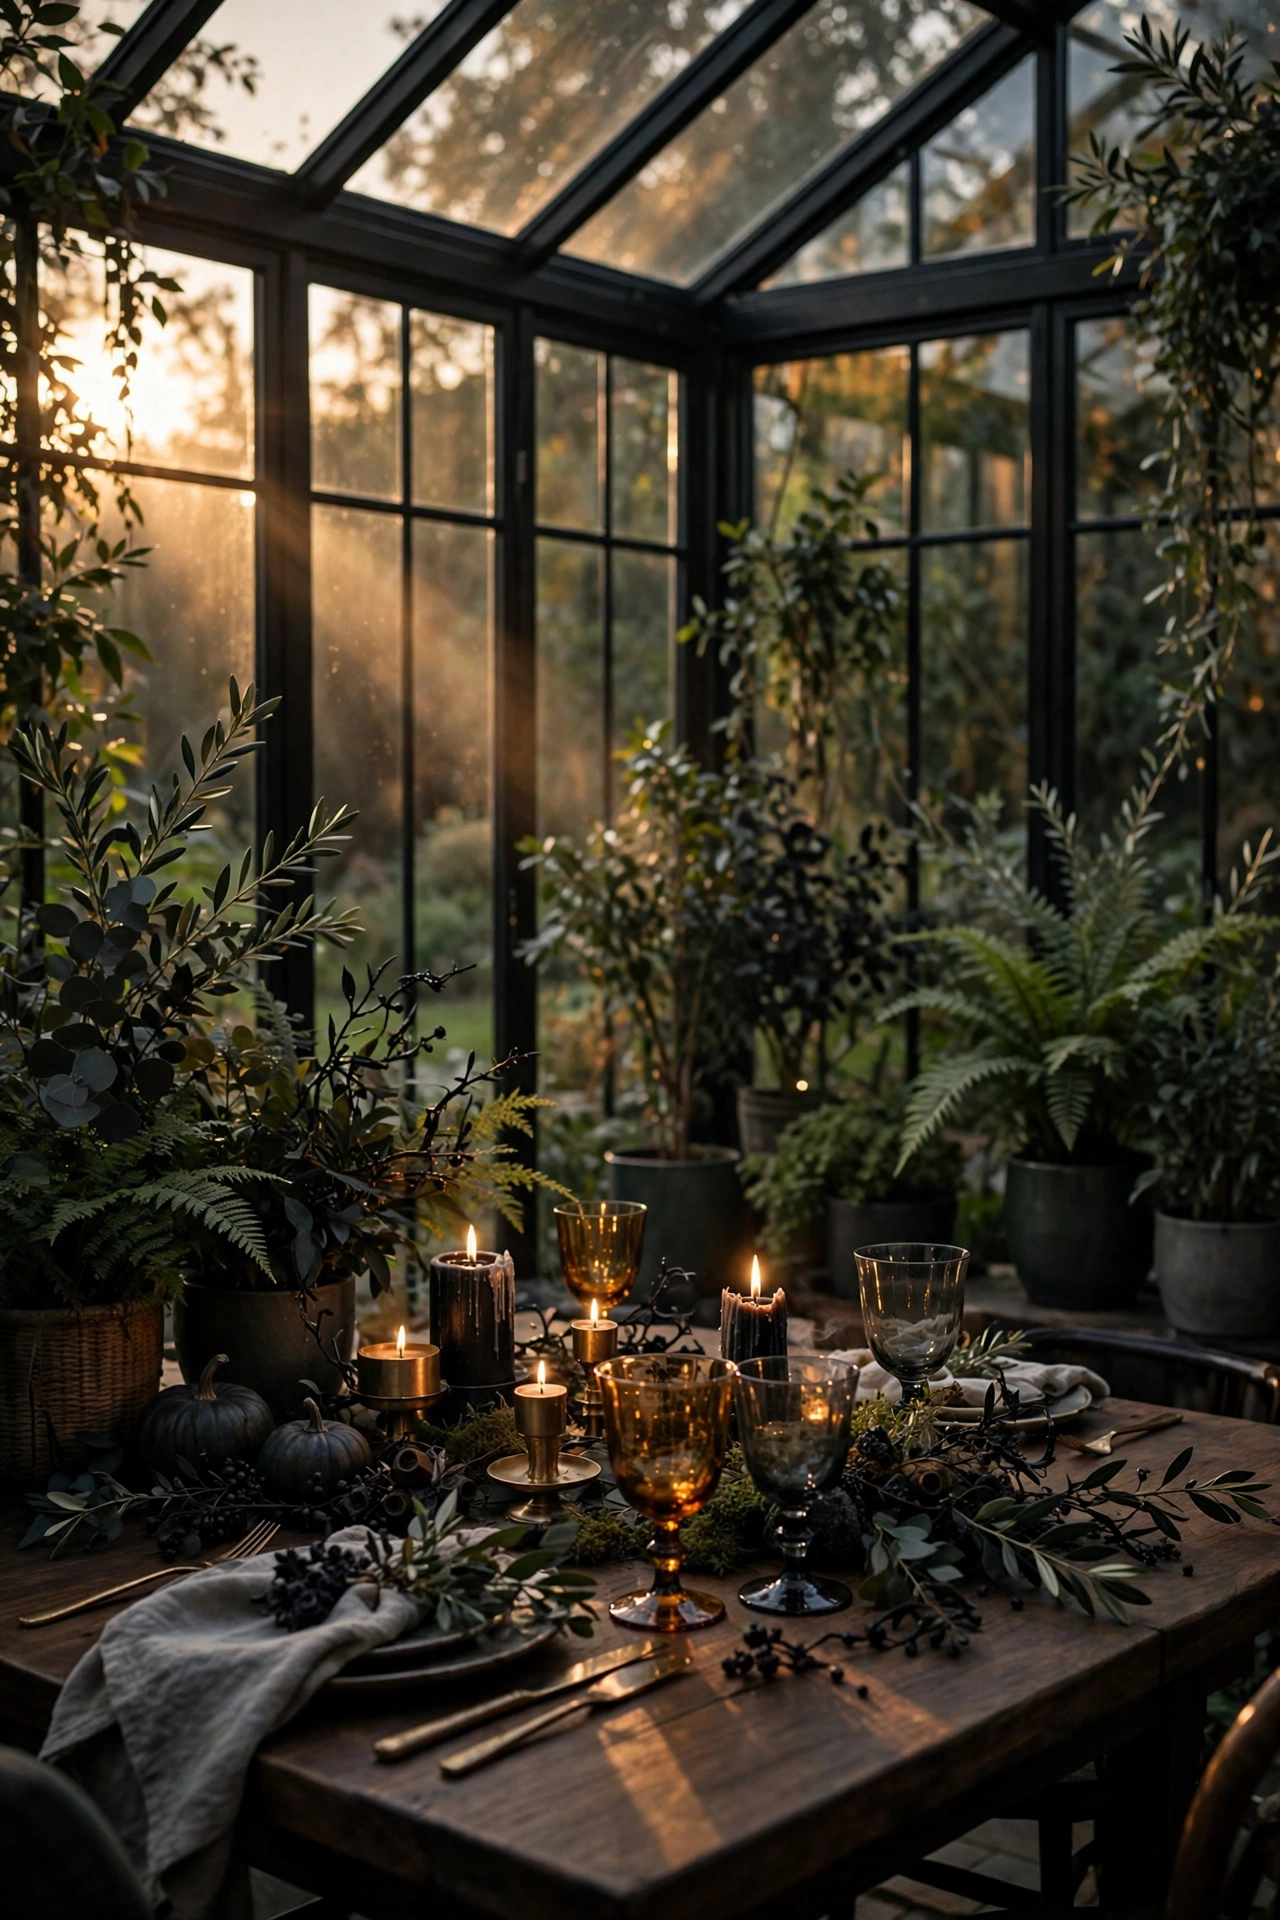
Candlelight Does the Heavy Lifting
6. Mix Brass Candlesticks at Three Heights
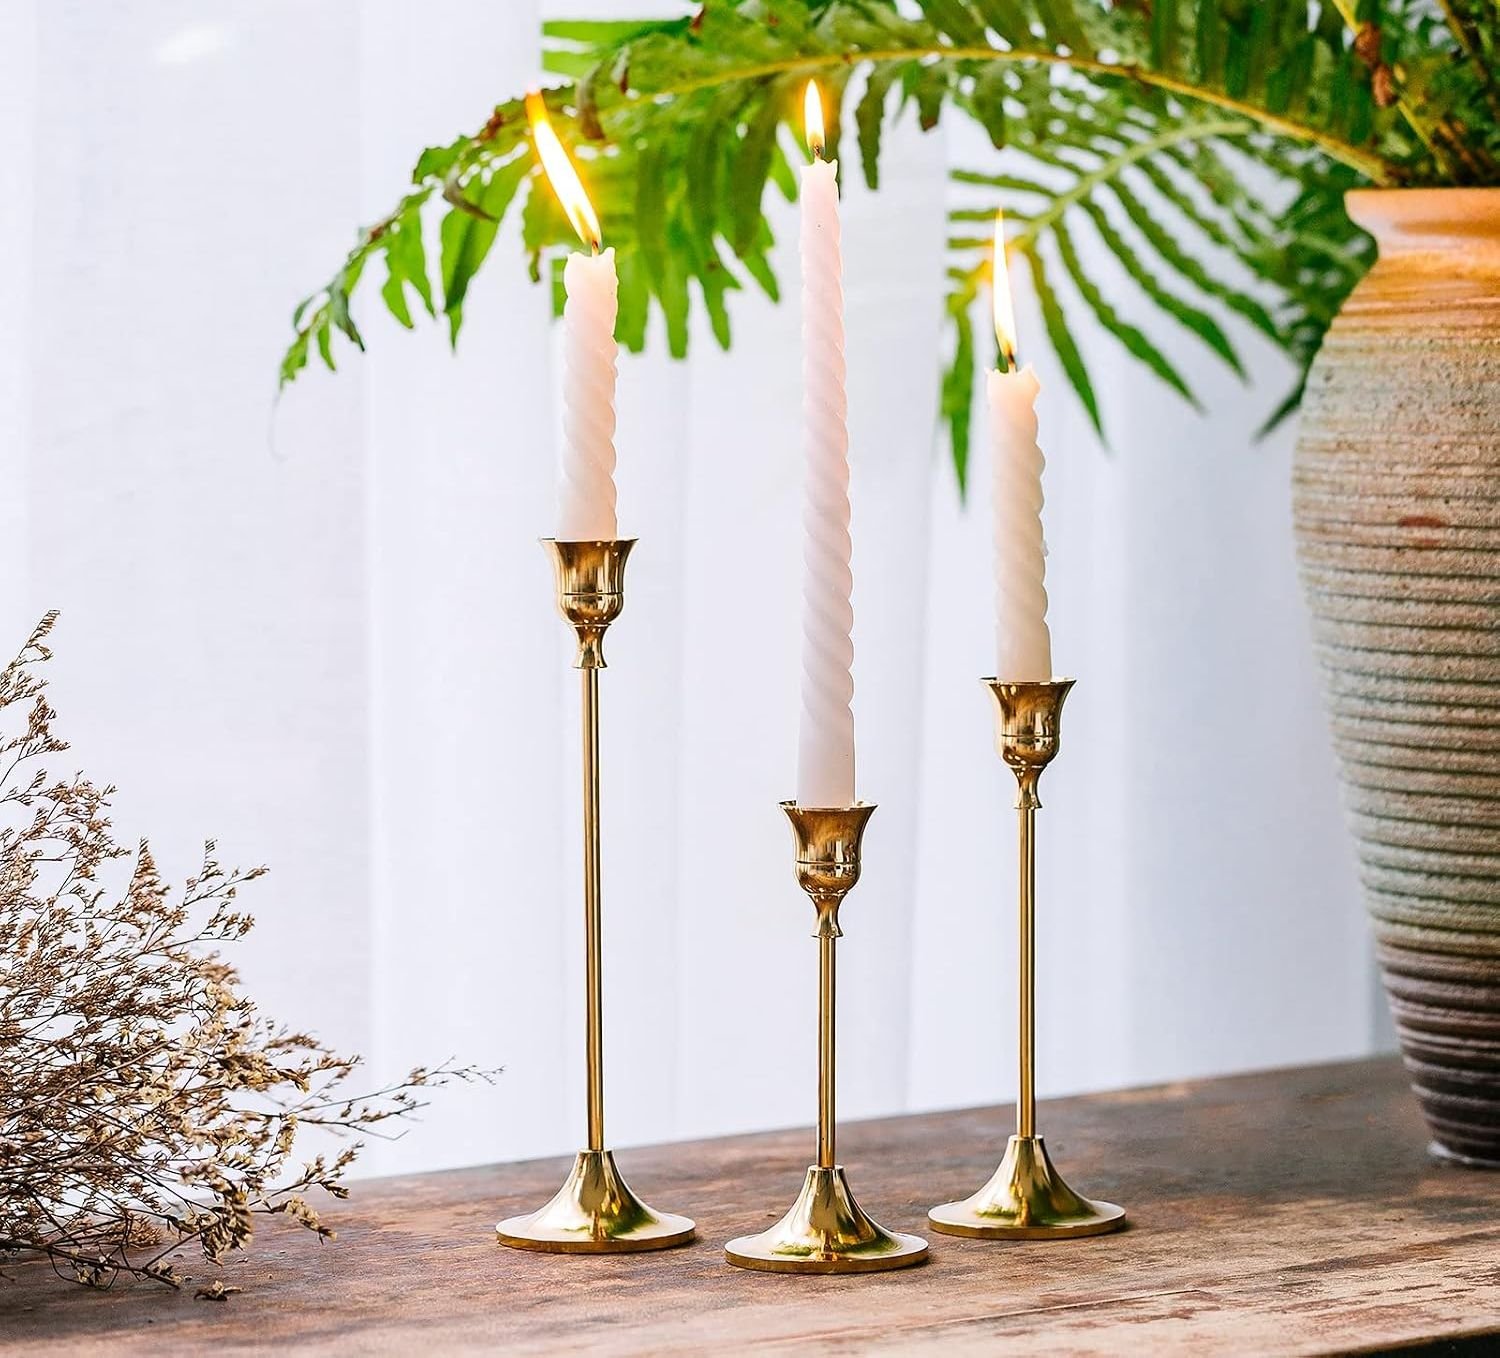
Here is where the magic happens. Gather brass candlesticks in three different heights and line them down the center of the runner. The different heights keep the light dancing instead of sitting in one flat line, and brass warms up the black like nothing else can. Brass against matte black is my favorite color pairing in the whole world of decorating. It reads old and rich and a little mysterious, exactly right for Halloween. I started with three brass candlesticks from a flea market years ago and I have been adding one a year ever since. The collection never matches perfectly and that is precisely why it works.
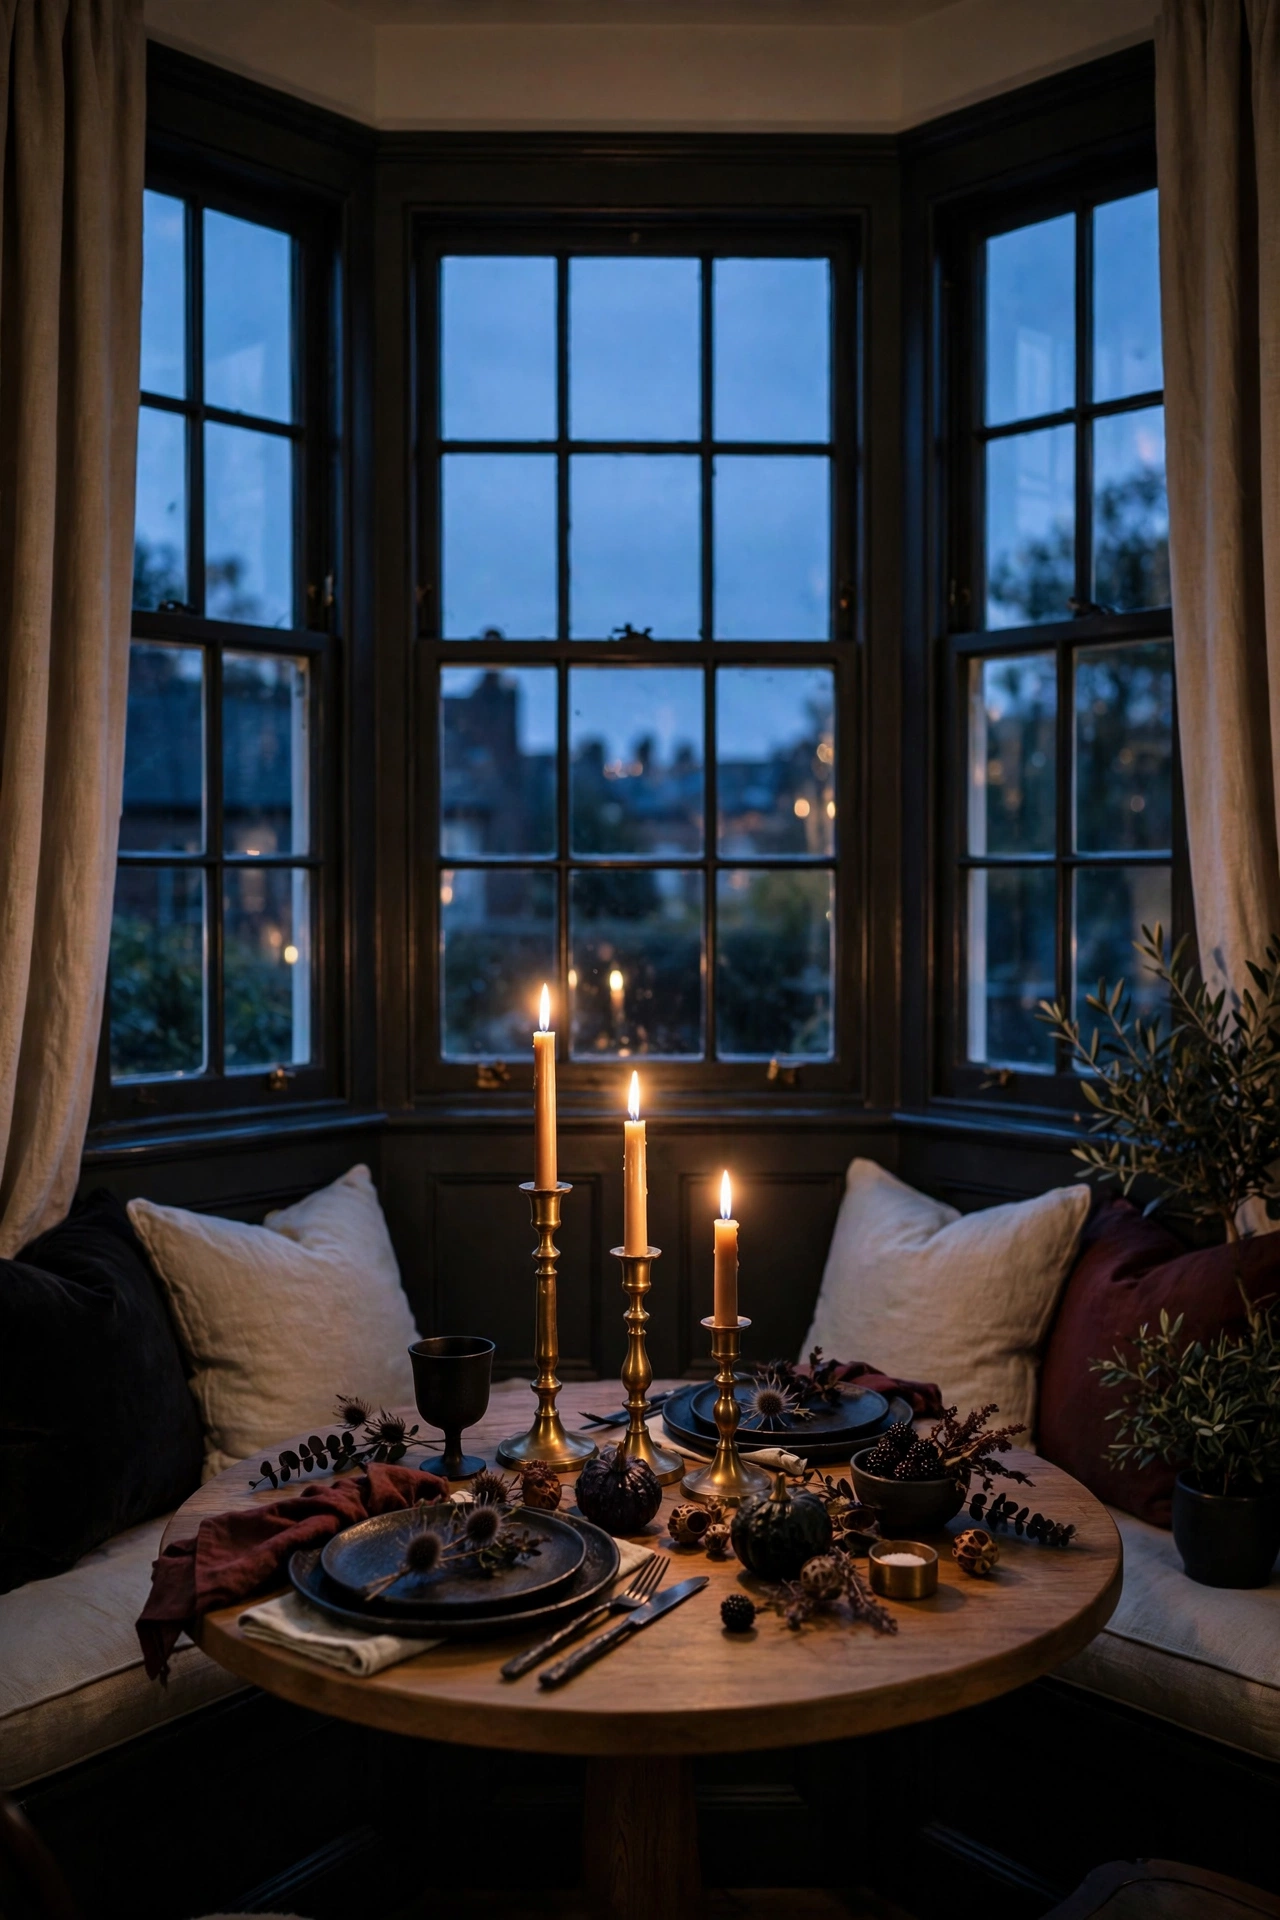
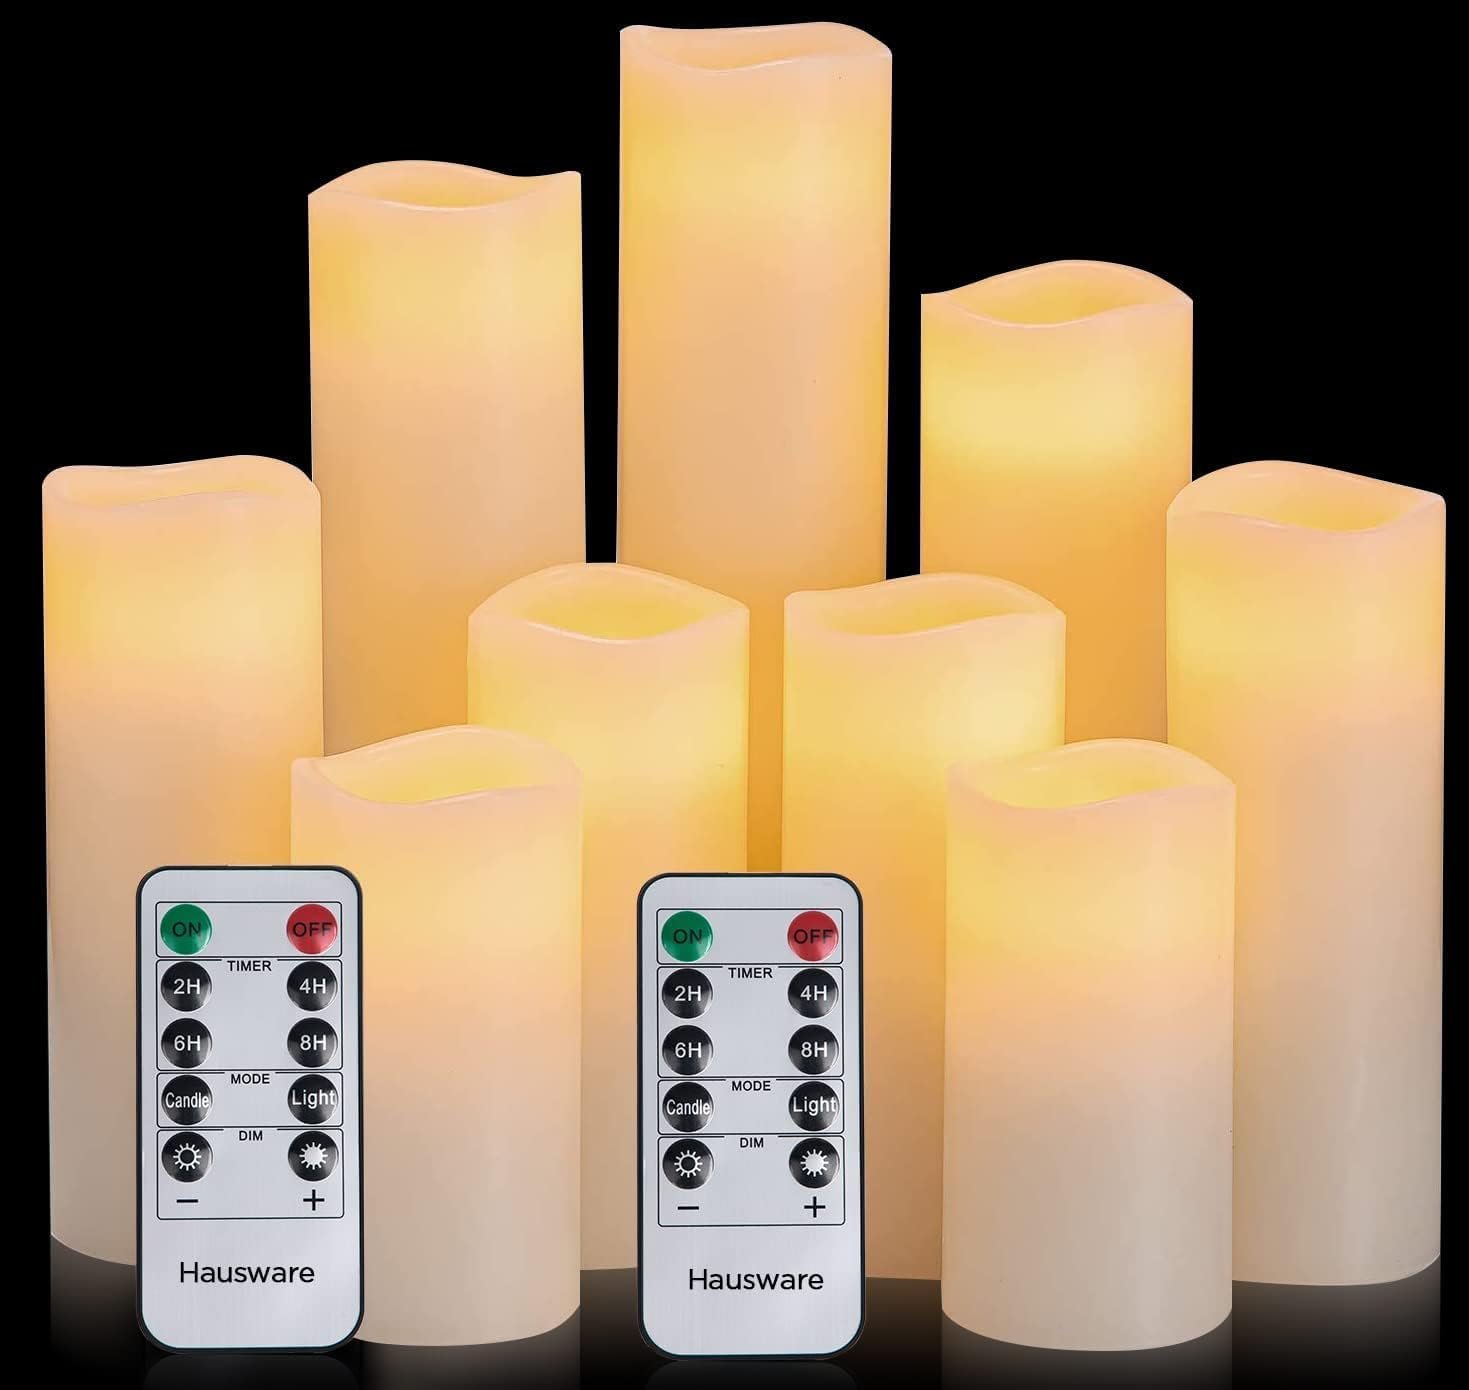
7. Cluster Pillar Candles on a Dark Wood Tray
Not everyone wants to babysit tapers all night, and I get it. A dark wood tray with a cluster of pillar candles gives you the same glow with zero fuss. Group them in odd numbers and let the heights vary by a couple of inches. The tray keeps it all contained so the middle of the table still has room for food. When dinner is over and the plates are cleared, this little cluster becomes the whole centerpiece and it looks intentional all evening.
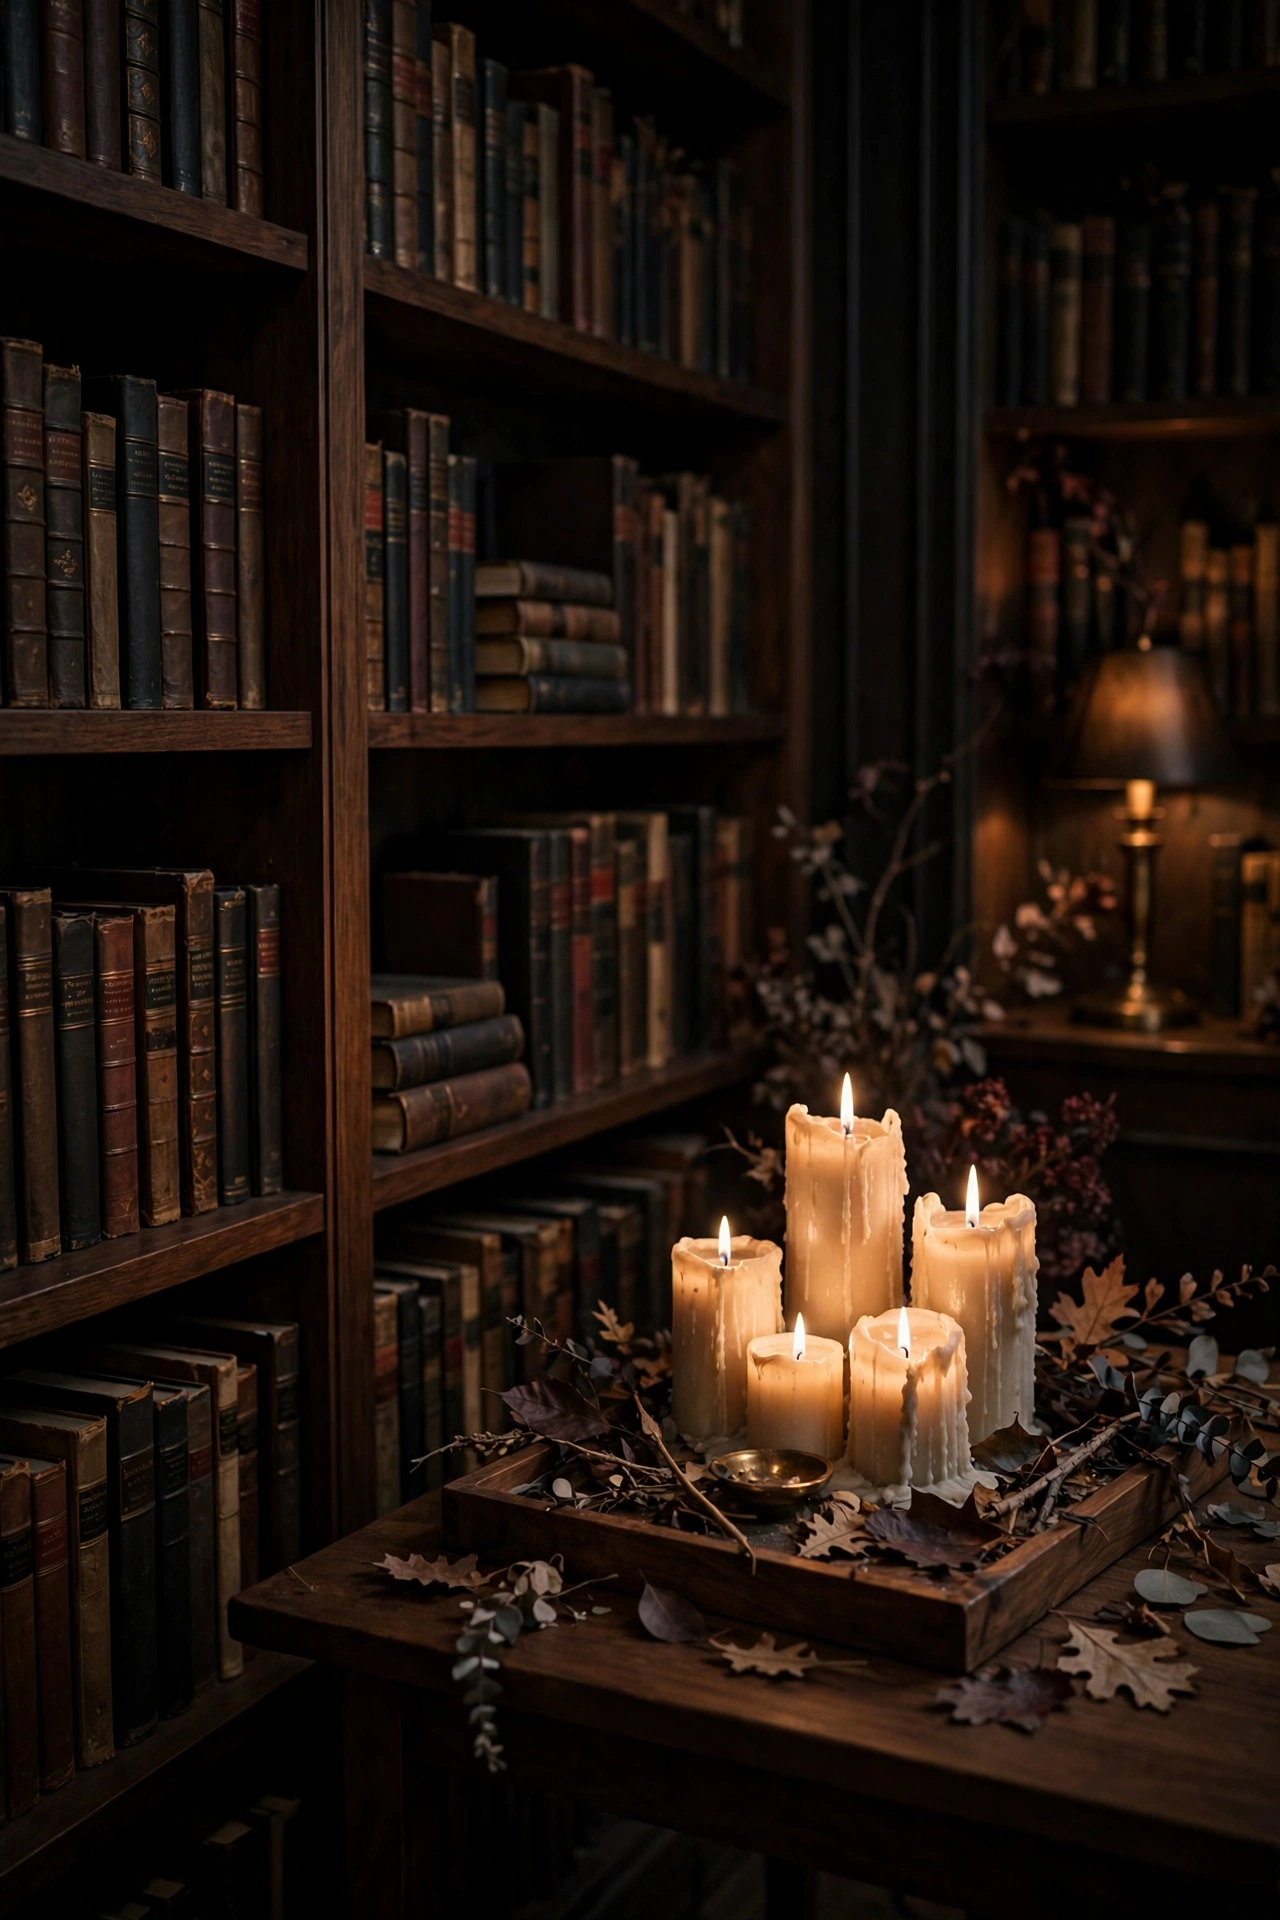
8. Drop Black Cheesecloth Like a Ghost of a Runner
This is the cheapest trick in the whole post and maybe my favorite. A length of black cheesecloth, unrolled down the center of the table and left loose and wavy, looks like a wisp of something spooky froze mid drift. It softens hard table edges and catches candlelight in the folds. Layer it right over the oatmeal runner for texture on texture. Guests always ask what it is and they never guess cheesecloth, which is the best part. A whole bag costs less than a fancy coffee and it is enough for several tables, so this is officially the best value styling trick I own.
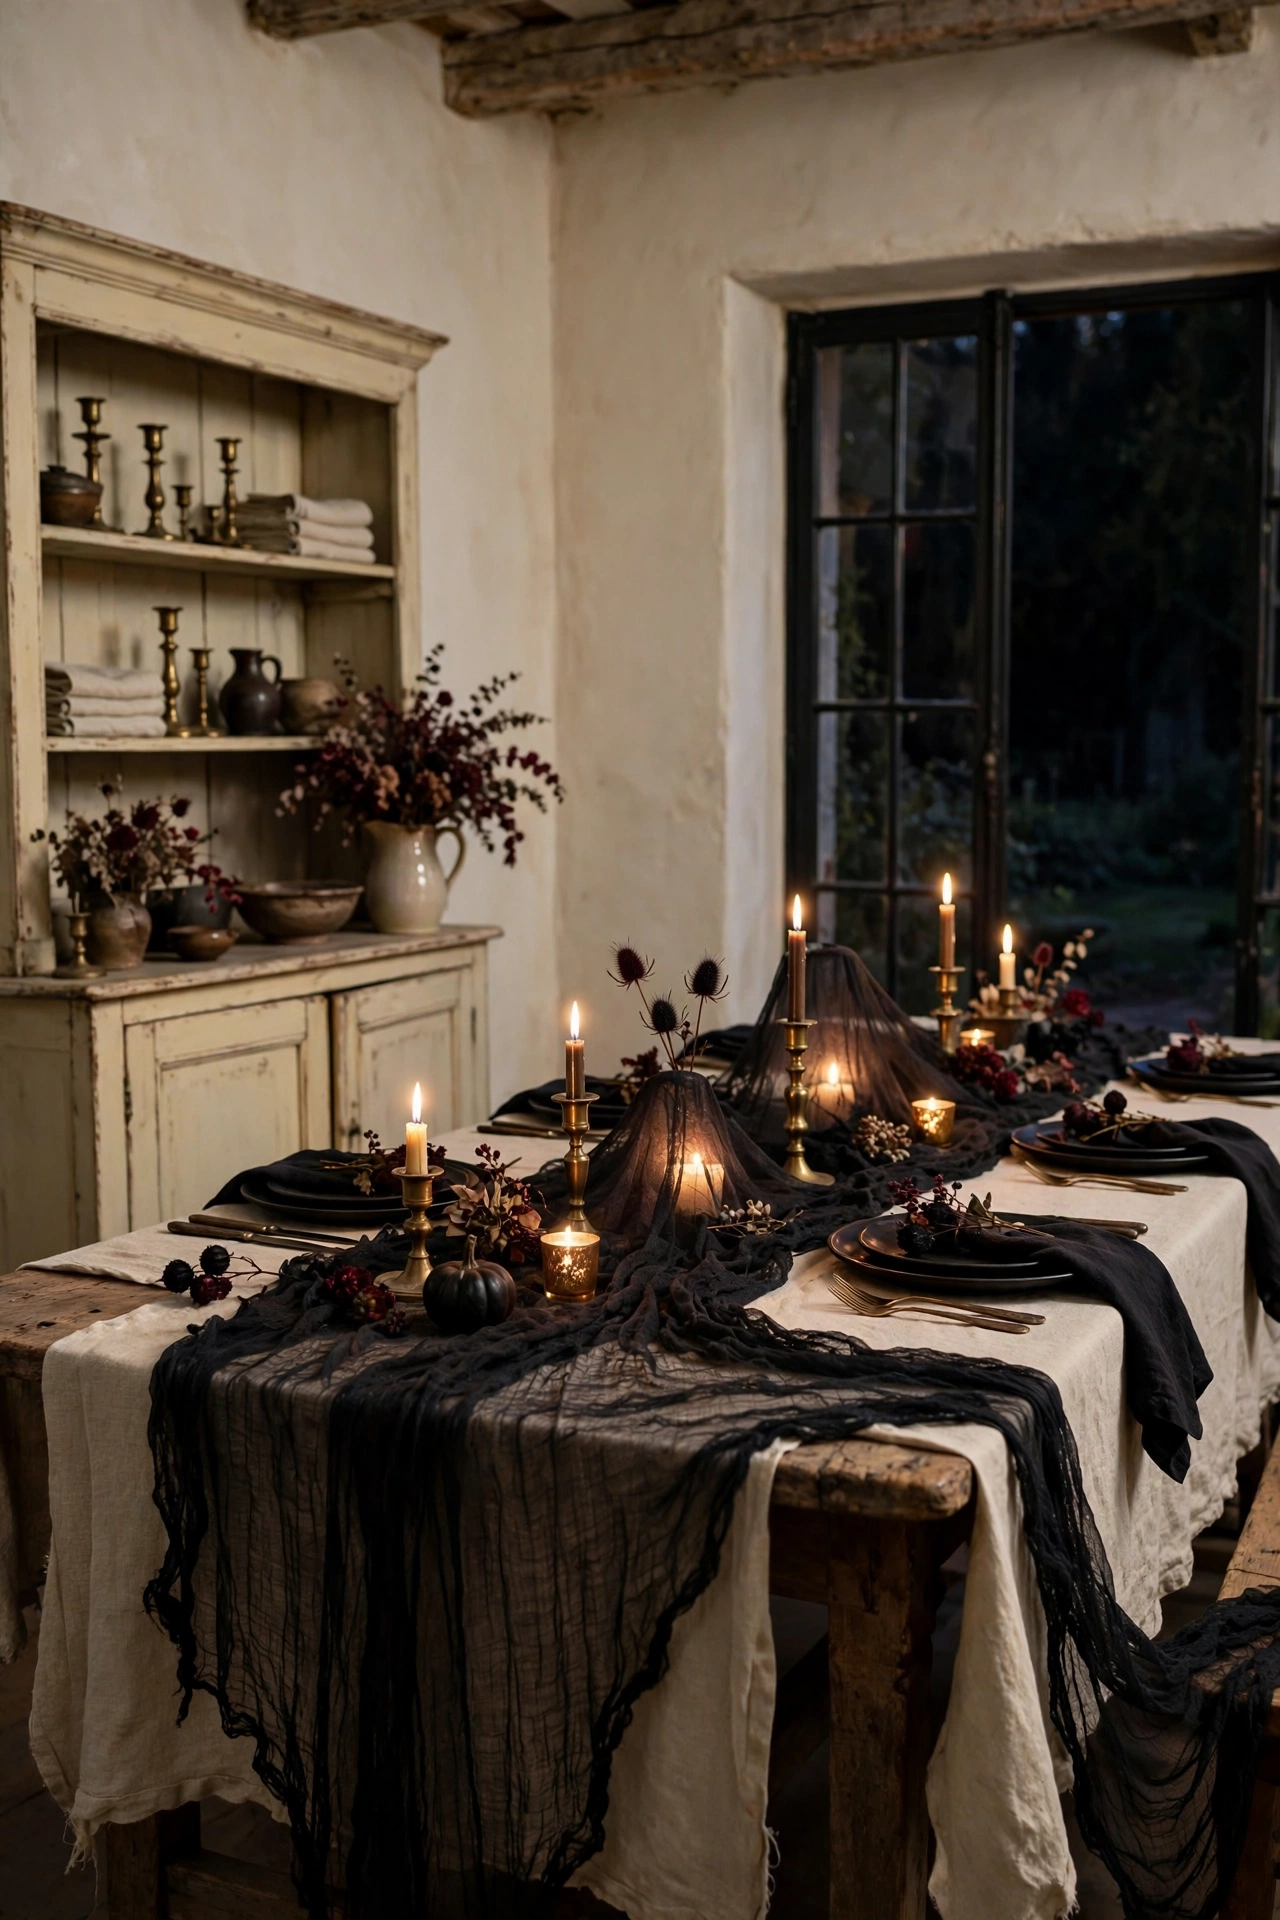
9. Float Candles in Low Glass Bowls
Between the taller candlesticks, tuck in two or three low glass bowls with floating candles. The water doubles the light, the flames sit below eye level so guests can actually see each other, and the whole thing feels like a little spell. I add a few dark berries or a sprig of something trailing in the water for color. Keep the light low and the glow warm. That is the rule and floating candles are the rule in action.
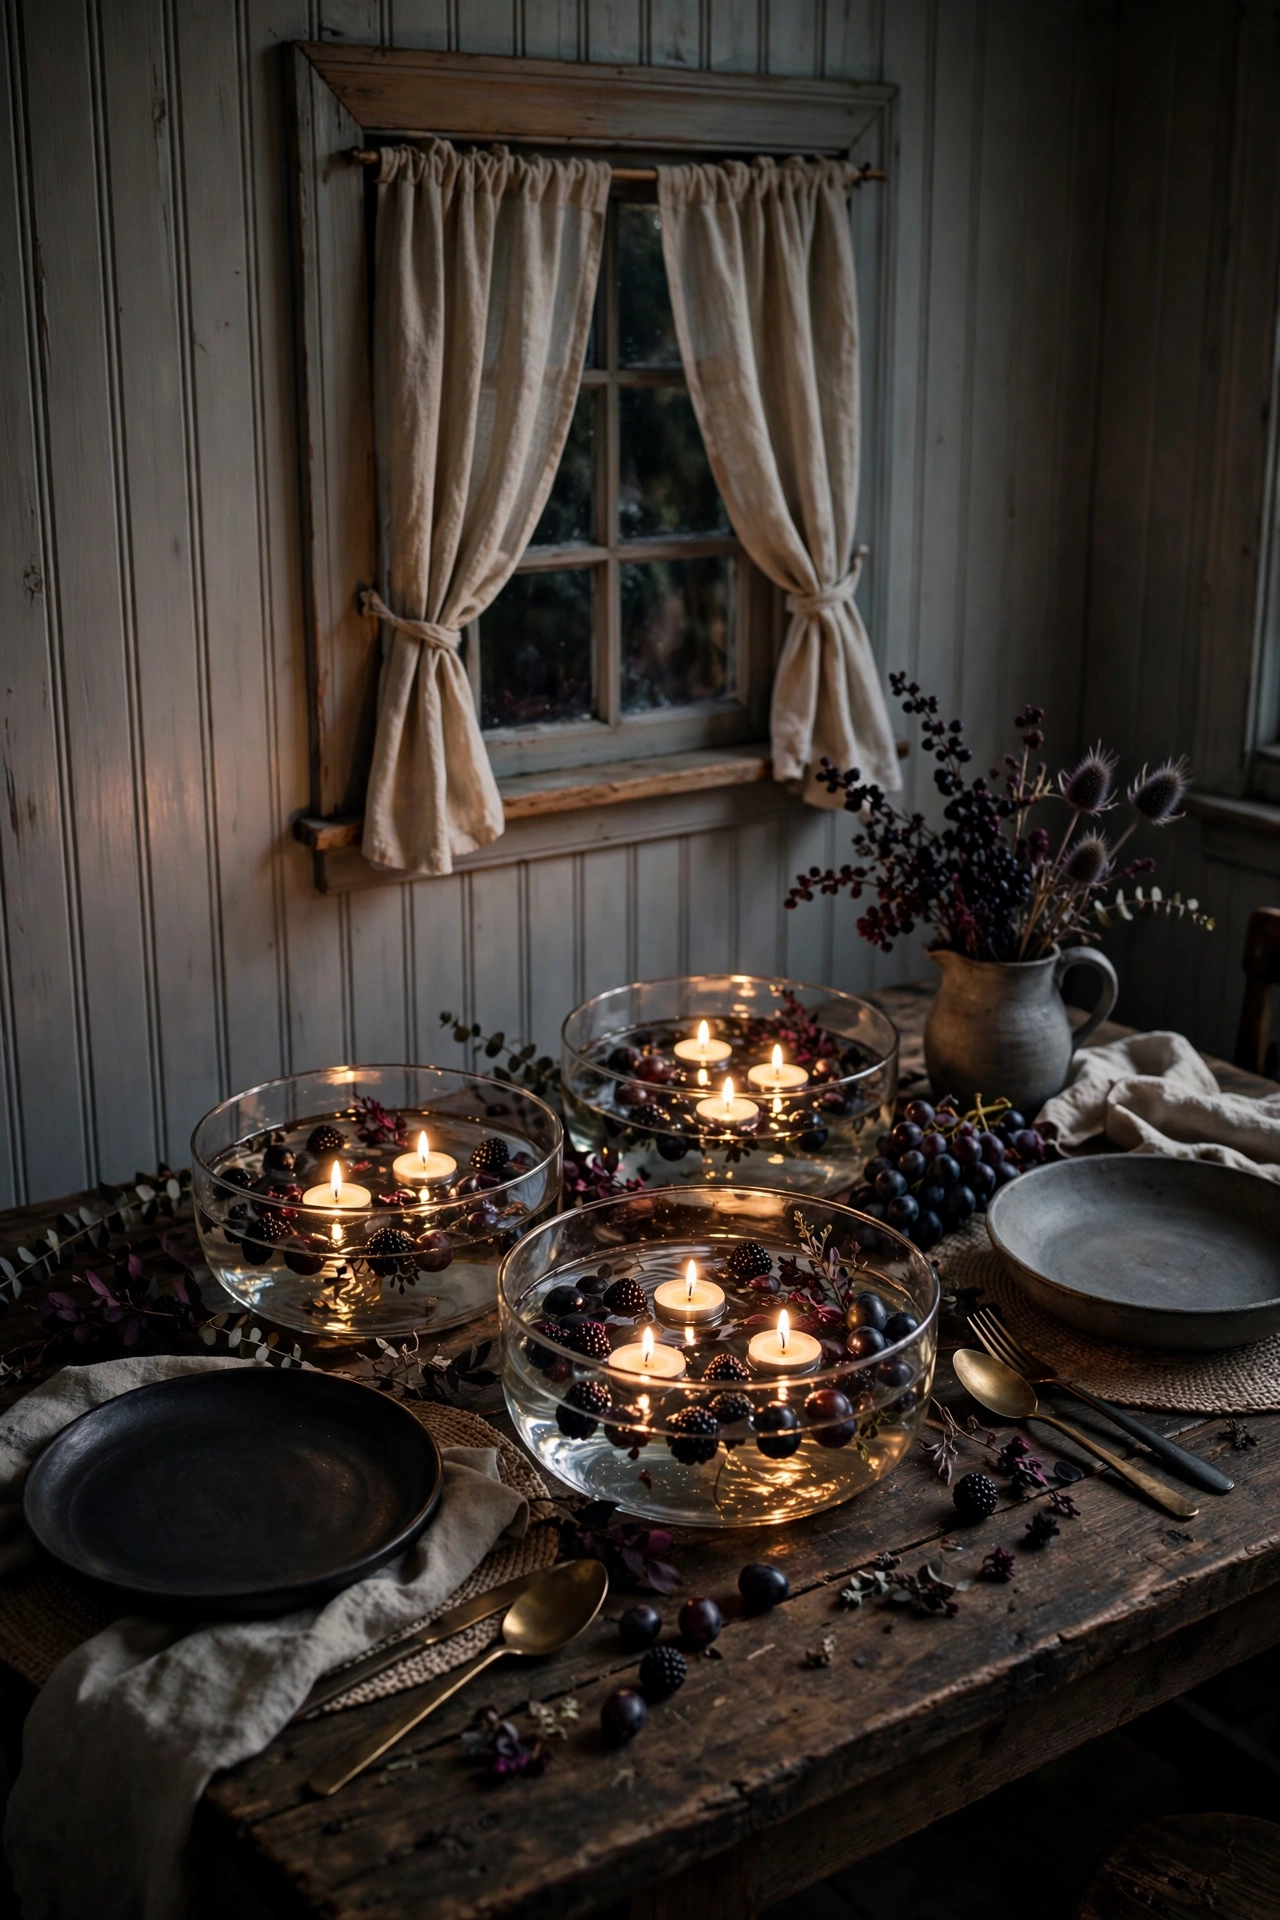
Centerpieces With Character
10. Anchor the Middle With a Low Garland of Dried Eucalyptus
Every great tablescape needs one long low thing tying it all together. A garland of dried eucalyptus laid right down the center does exactly that. It smells faintly wonderful, it needs no water, and the silvery green plays beautifully against black and brass. Keep it low. This is a garland you look across, not over. The candles should poke up through it like they are growing out of a moody little forest. I lay the garland first, before a single candle goes down, because it is much easier to nestle candlesticks into greenery than to thread greenery around candlesticks. Work from the middle outward and let the ends trail a little past the table edge.
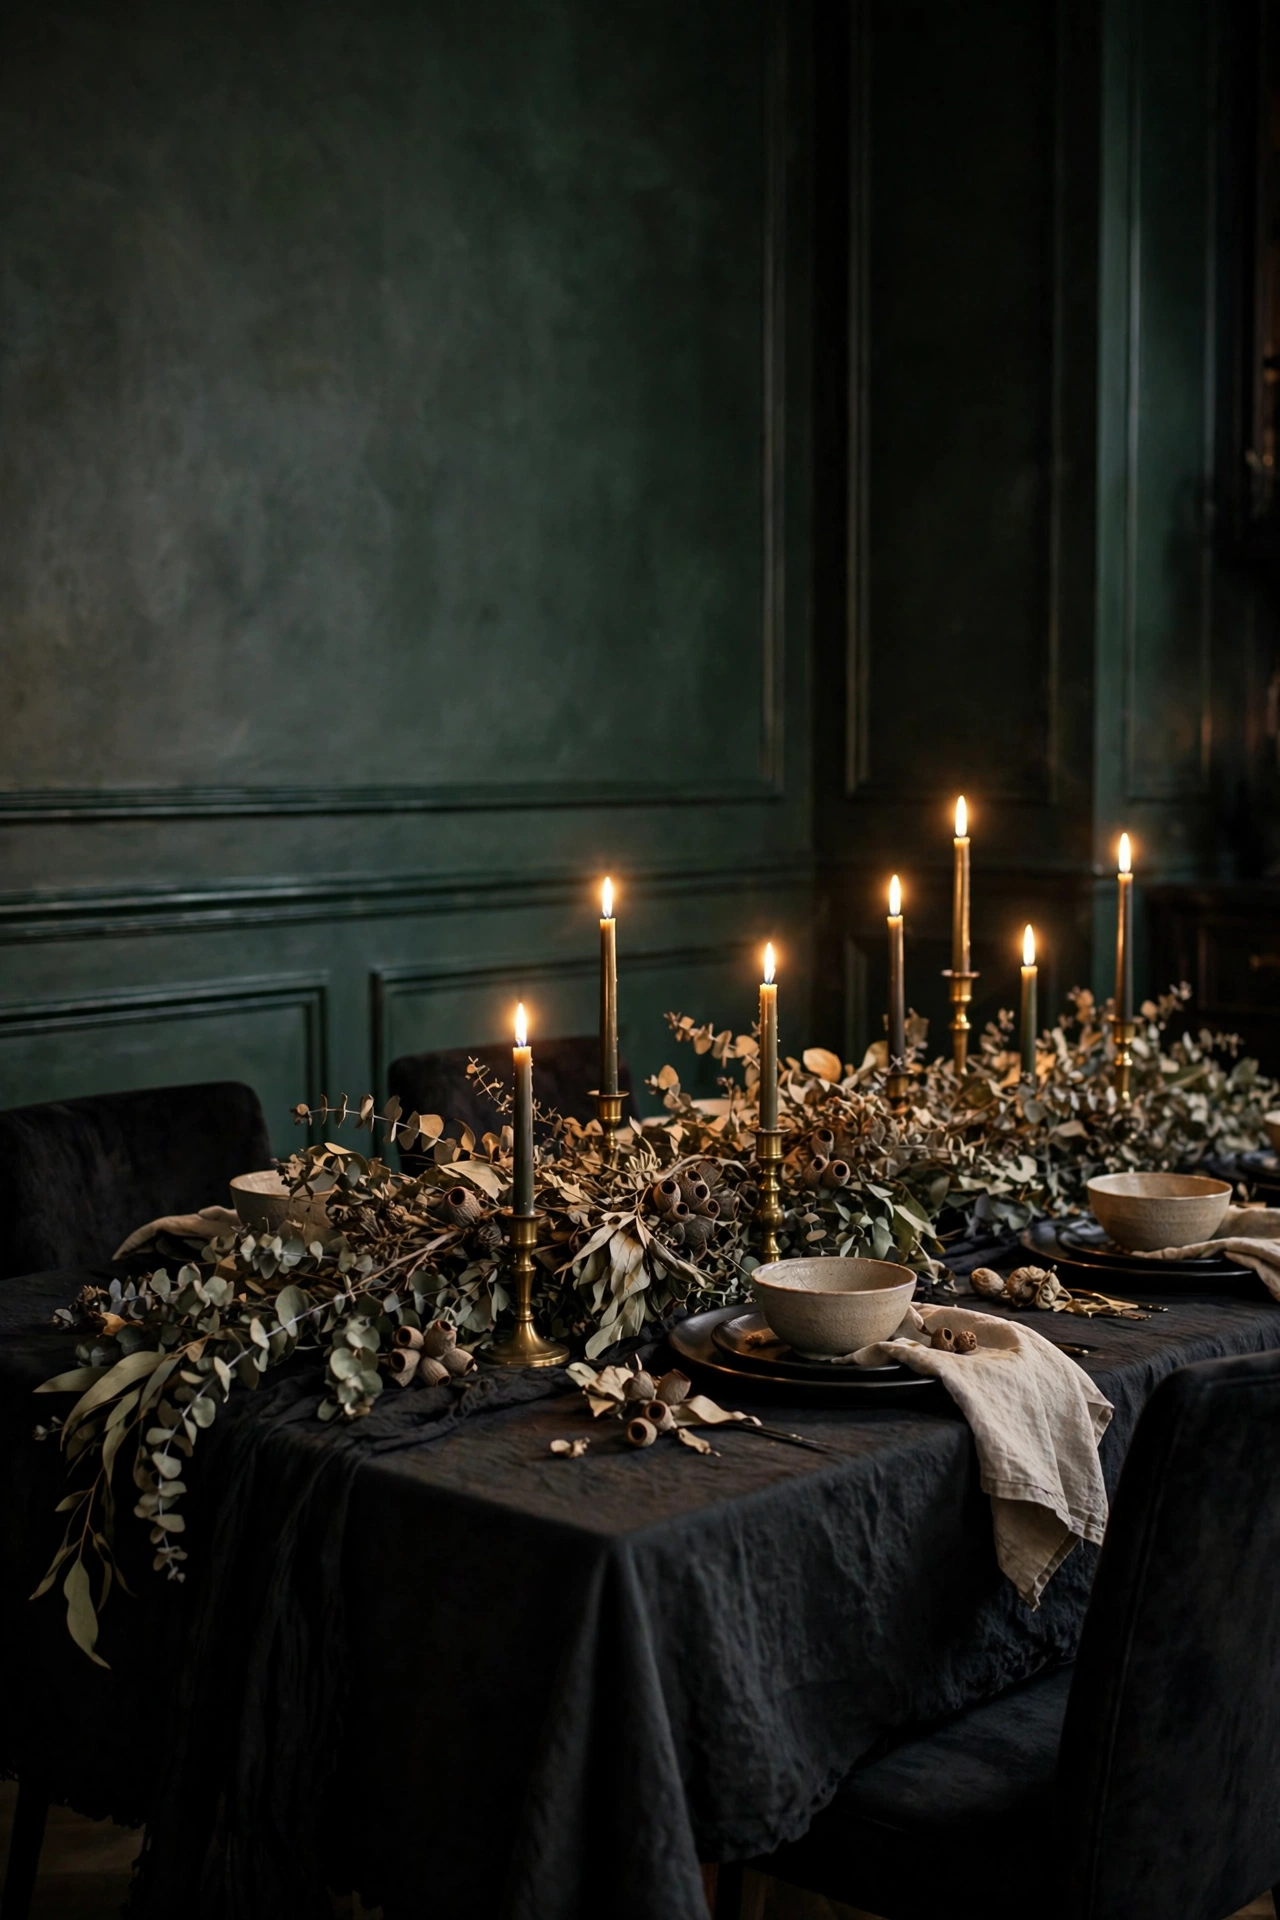
11. Tuck in Burgundy Foliage and Dried Seed Heads
Plain green garland can read a little spring, so give it an October mood. Tuck in sprigs of burgundy foliage, dried seed heads, and anything with a dusky plum tone. Burgundy is the secret color of grown up Halloween. It reads harvest and velvet and candlelit rooms all at once. Just push the stems into the garland loosely. Nothing here should look arranged. It should look found. I keep a little basket of these stems in the pantry all fall and I raid it for the table, the mantel and the front porch. One basket, three jobs.
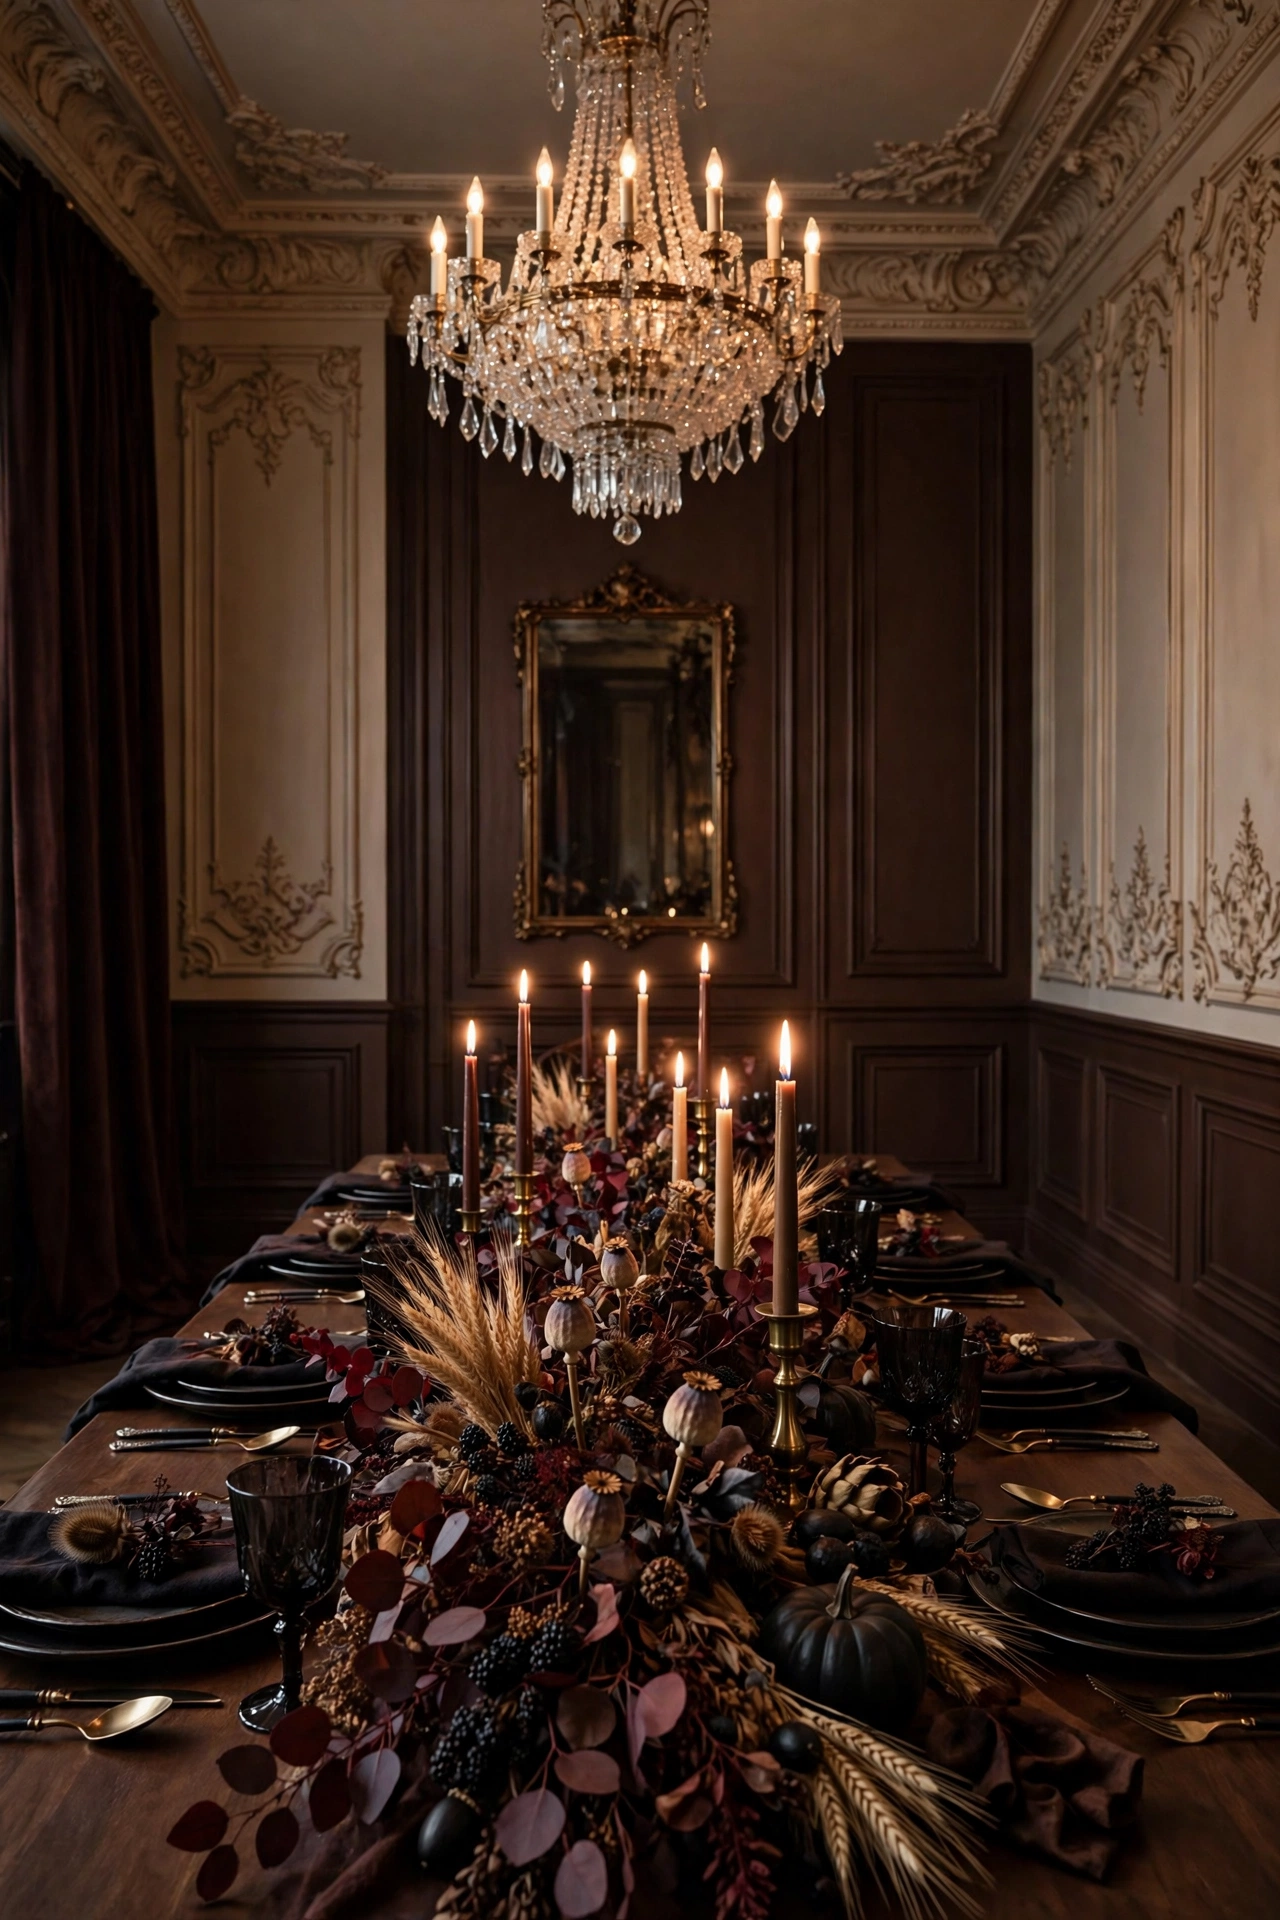
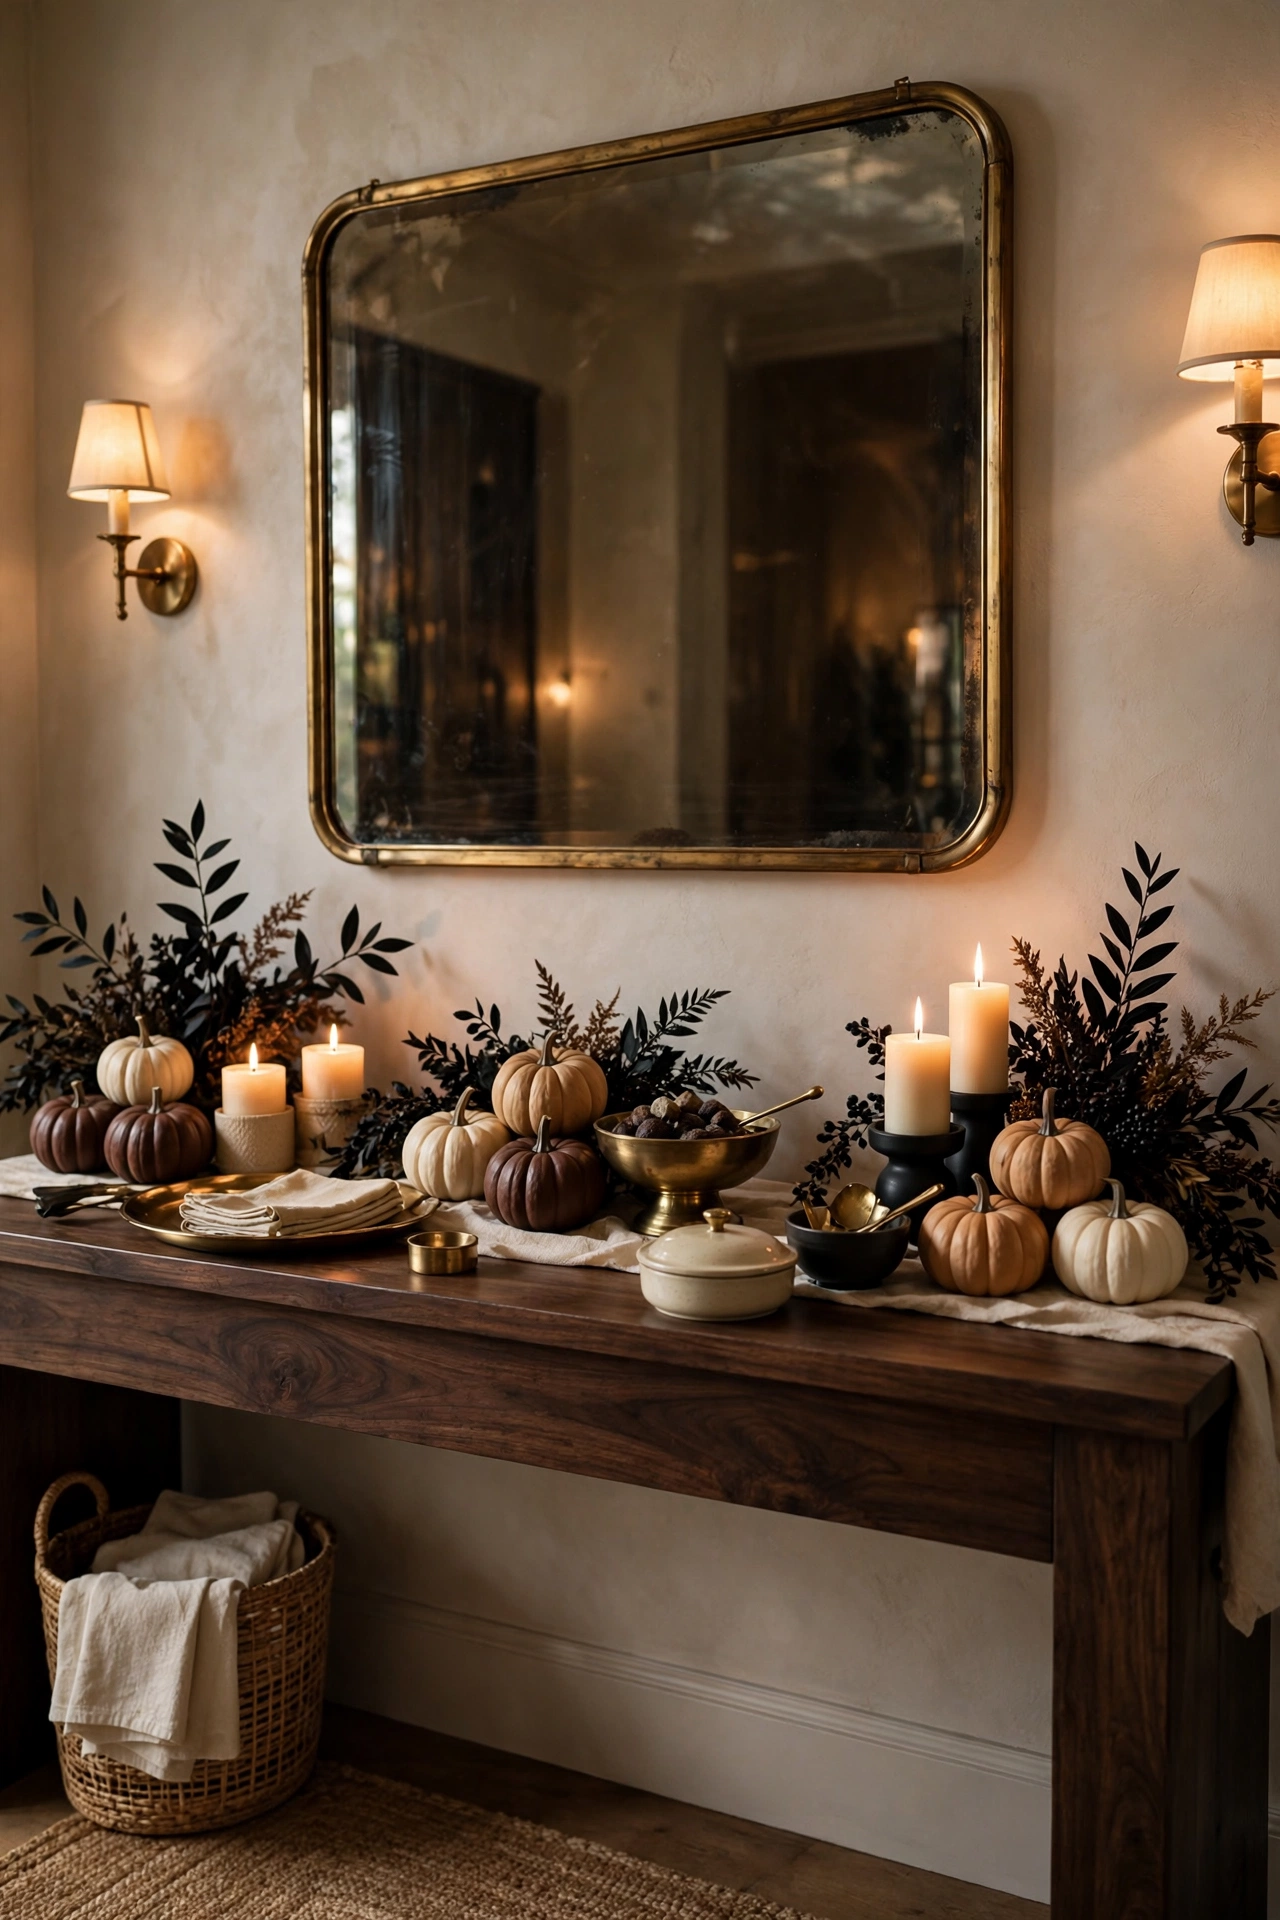
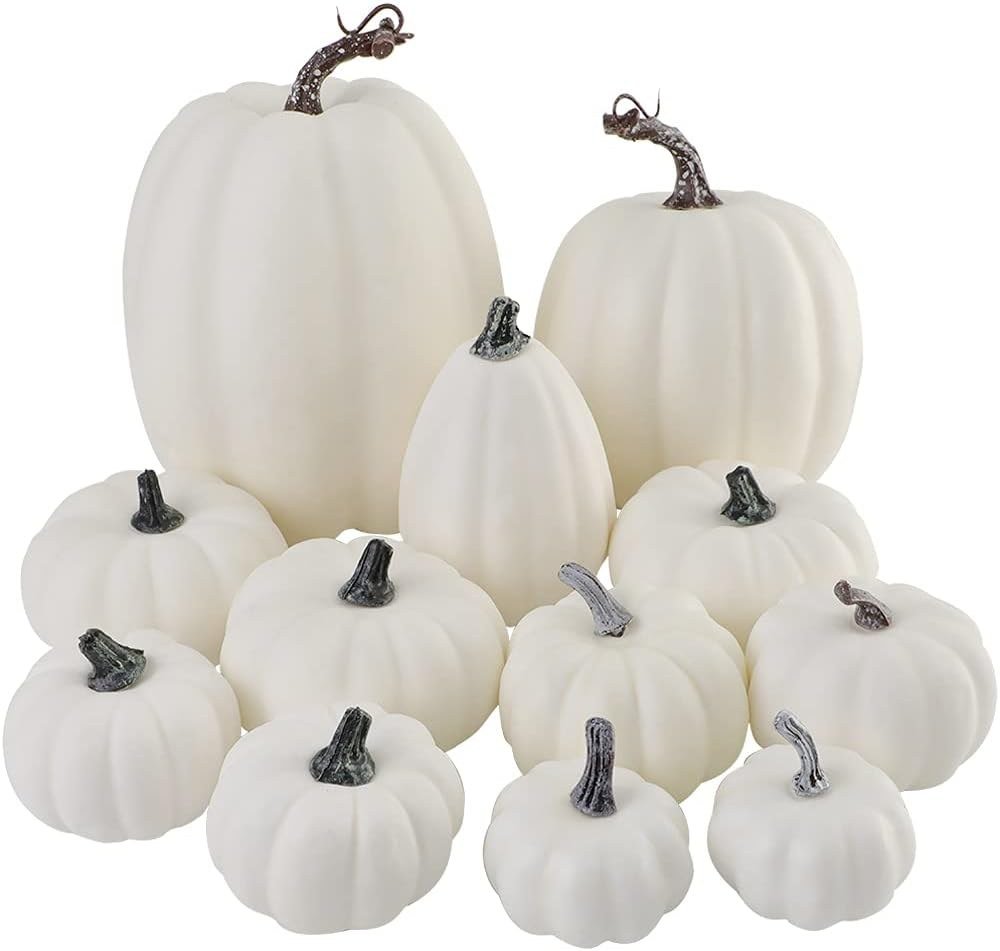
12. Scatter Mini Pumpkins in Chocolate Brown and Camel
Mini pumpkins are non negotiable at a Halloween table, but the color is everything. Skip the orange ones from the grocery store display and hunt for chocolate brown, camel, cream and dusty green varieties. Scatter them in small groups of three along the garland, varying the sizes. They read as harvest, not Halloween aisle, and they look like you have a farmer friend with excellent taste. That is the vibe we are after. I keep a bowl of them on the sideboard all October and just borrow from it on party night, so the table and the room feel like they belong to each other.
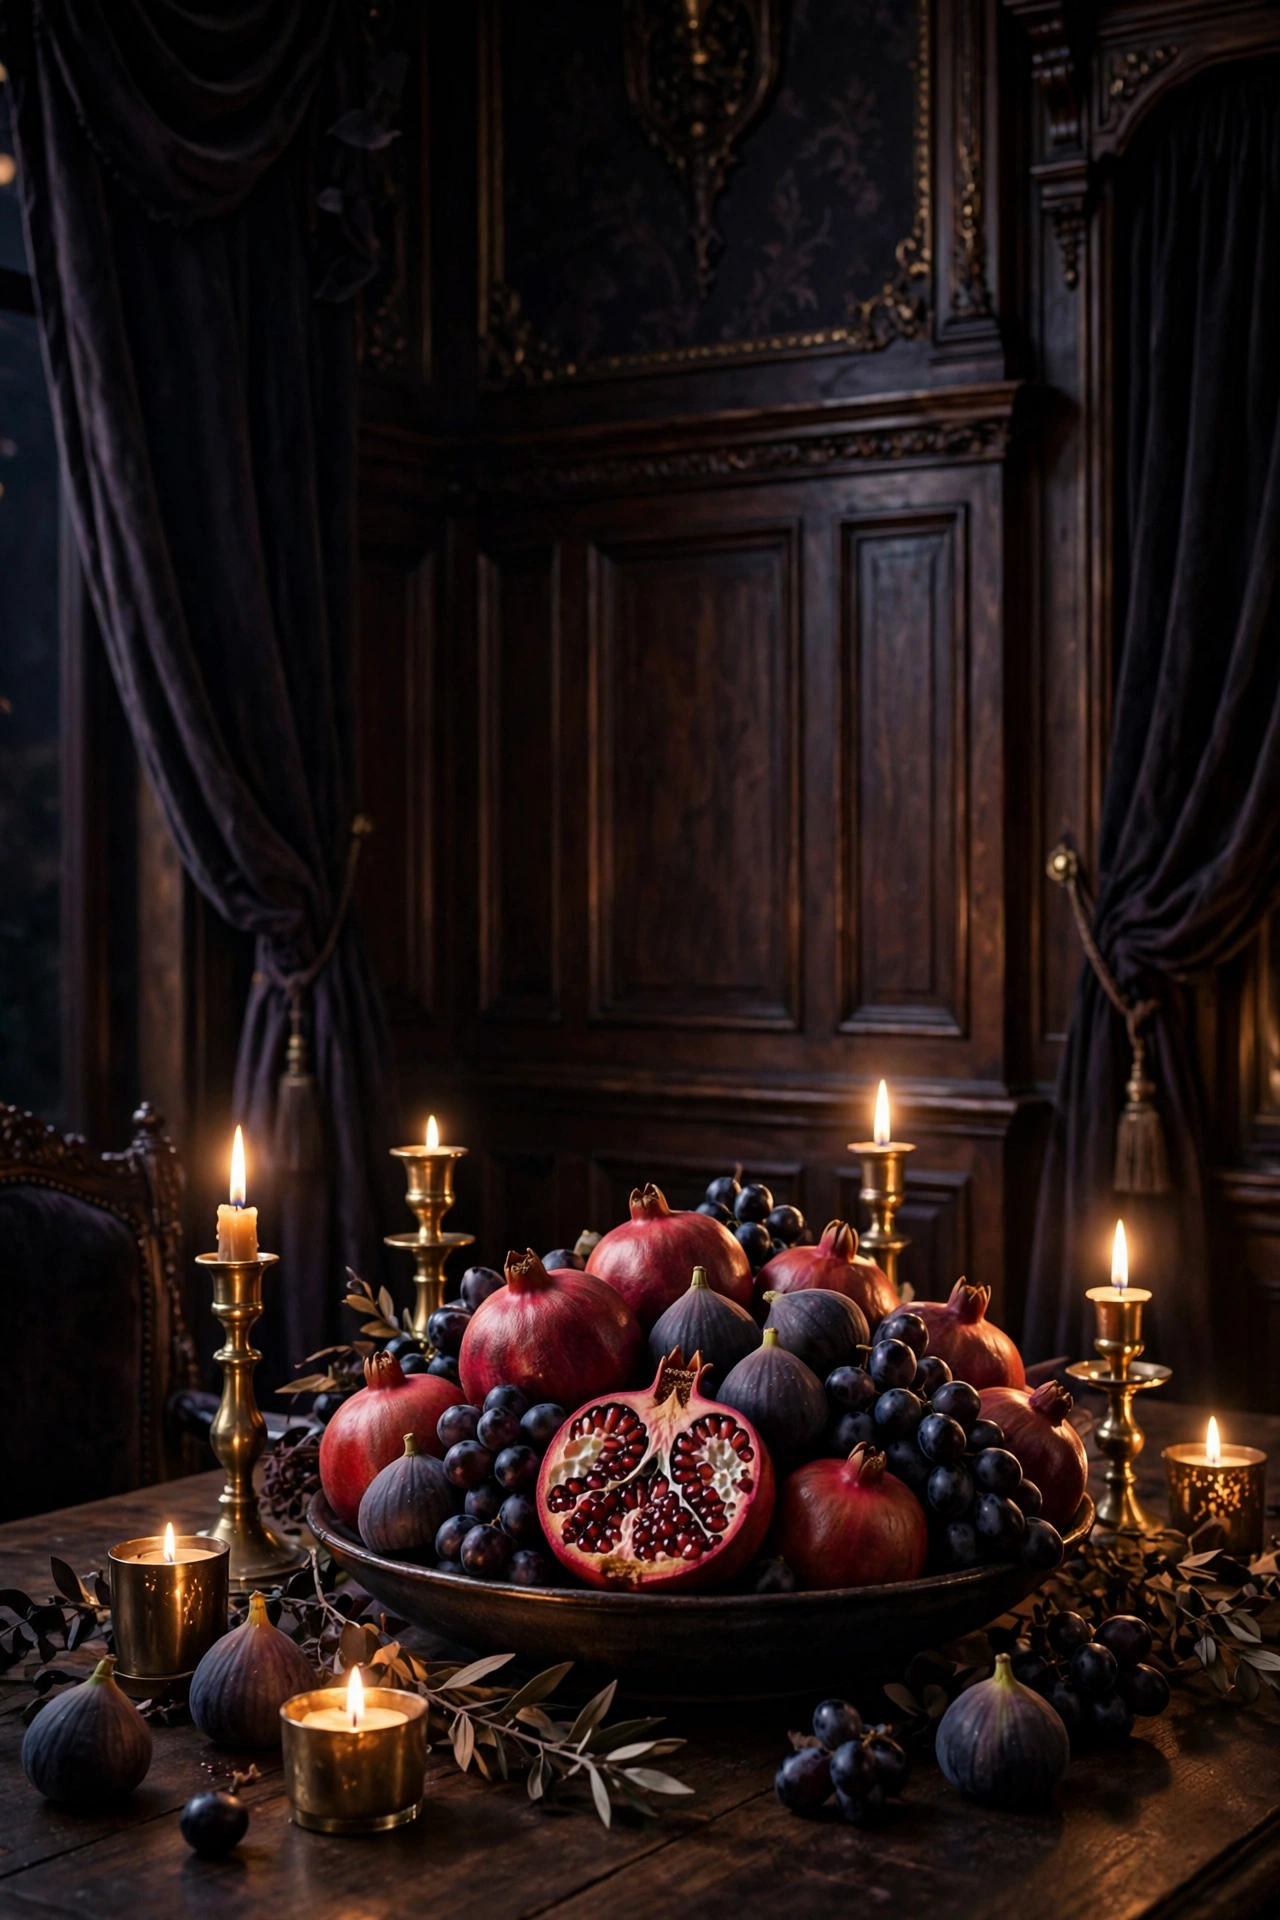
13. Set a Bowl of Pomegranates and Dark Figs as an Edible Centerpiece
When the flowers would be too much, fruit does the job better. A low wide bowl piled with pomegranates, dark figs and a few black grapes is a centerpiece you can eat. The deep reds and purples glow against the black tablecloth like jewels. It looks abundant and a little old world, like a painting of a feast. And when someone gets hungry before dinner, the centerpiece is the snack. That is what I call working decor.
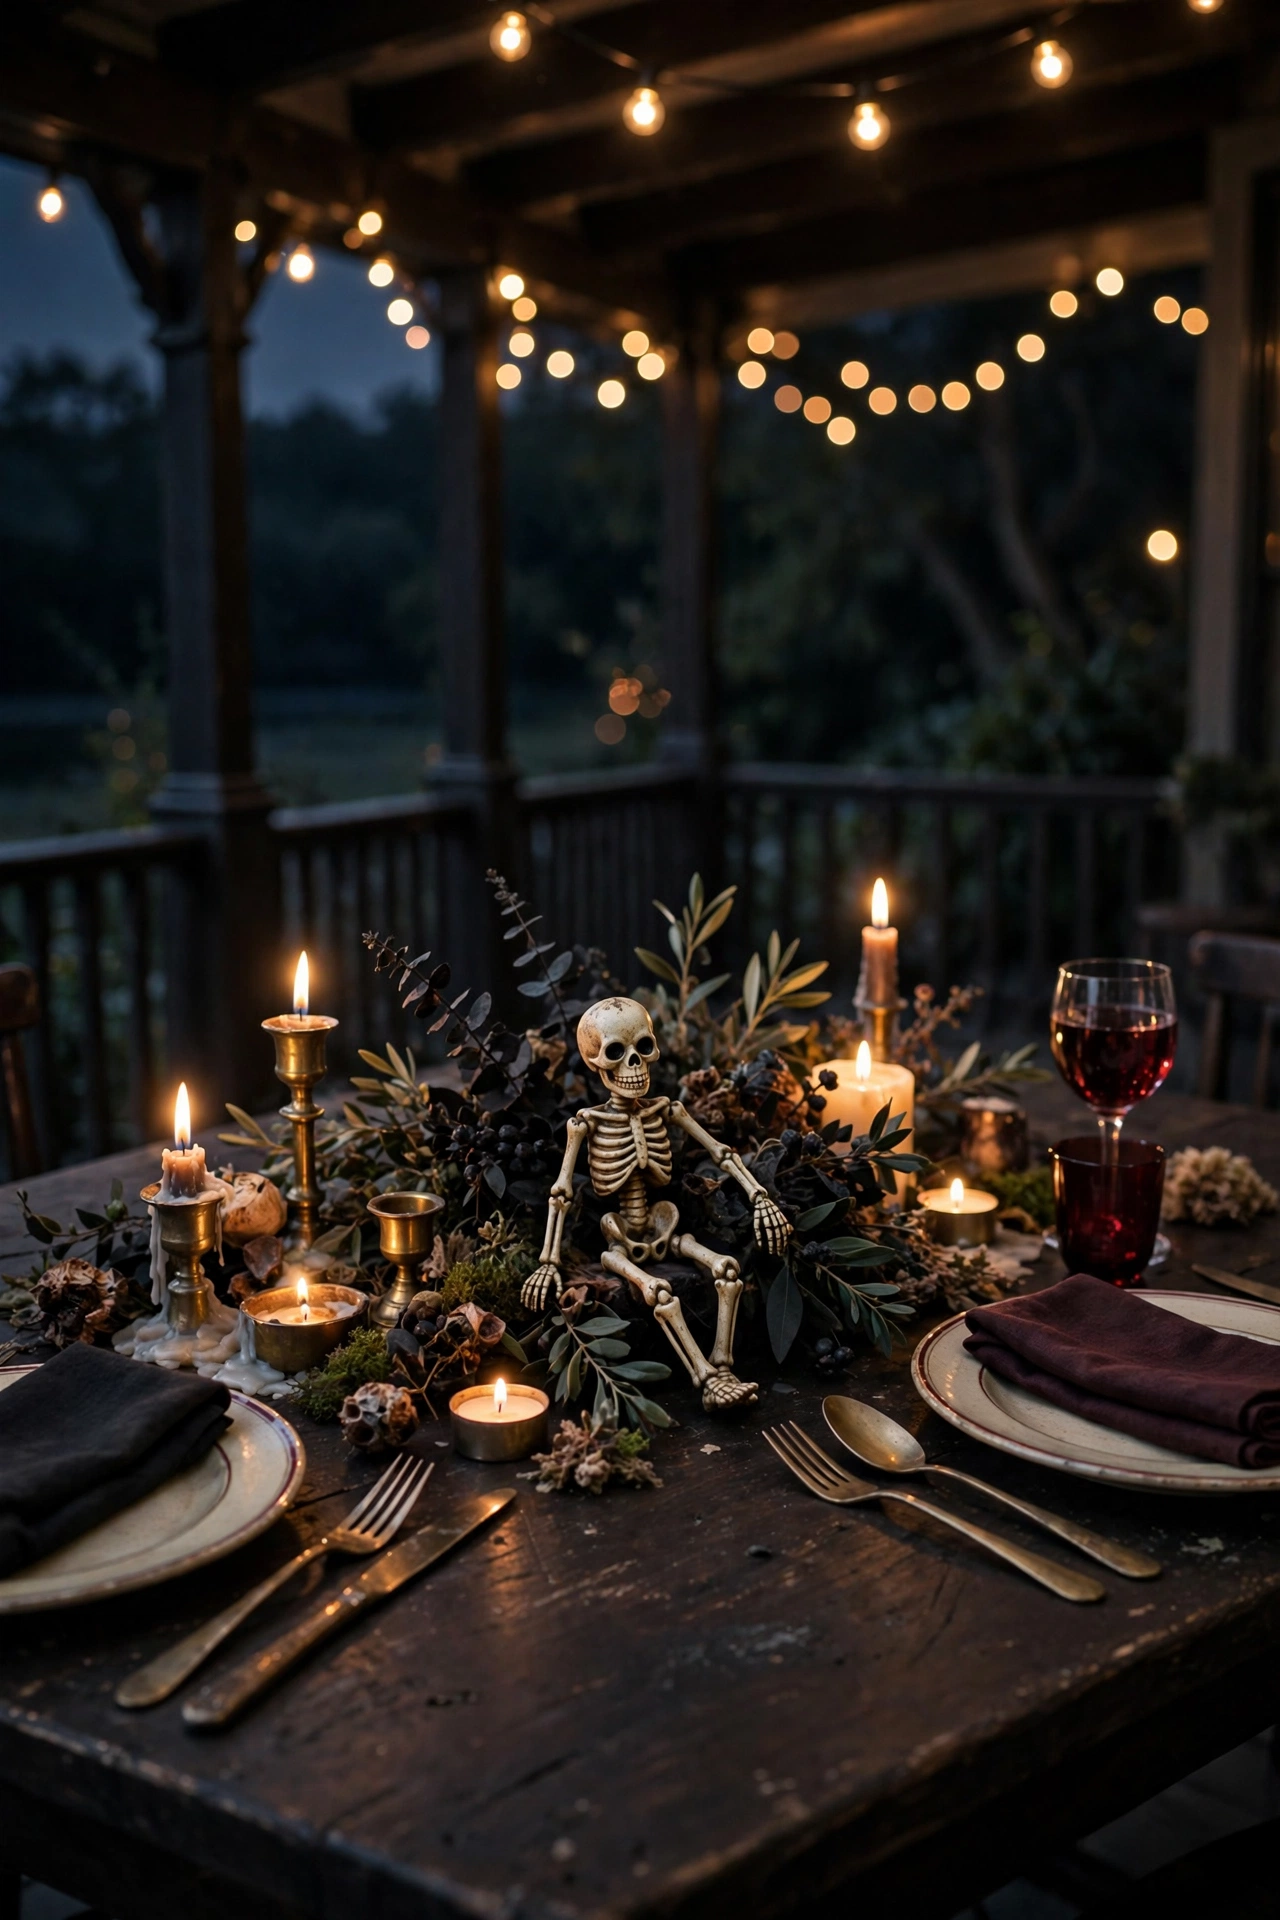
14. Add One Wild Thing, Like a Vintage Skeleton or a Brass Bat
Remember the rule. One wild thing per table. This is where Halloween gets to be Halloween. A small vintage style skeleton perched among the candles, a brass bat tucked into the garland, a little black crow on the runner. Just one. It should make guests smile, not jump. Everything else on the table stays elegant so the one playful piece reads as wit instead of chaos. Pick your wild thing and commit to it. Mine is a small brass bat I found at a vintage market, and he comes out every October like a tiny goth houseguest. Guests always ask about him. Nobody asks about the chargers. The wild thing is the story of your table, so pick one with a little personality.
The Finishing Touches
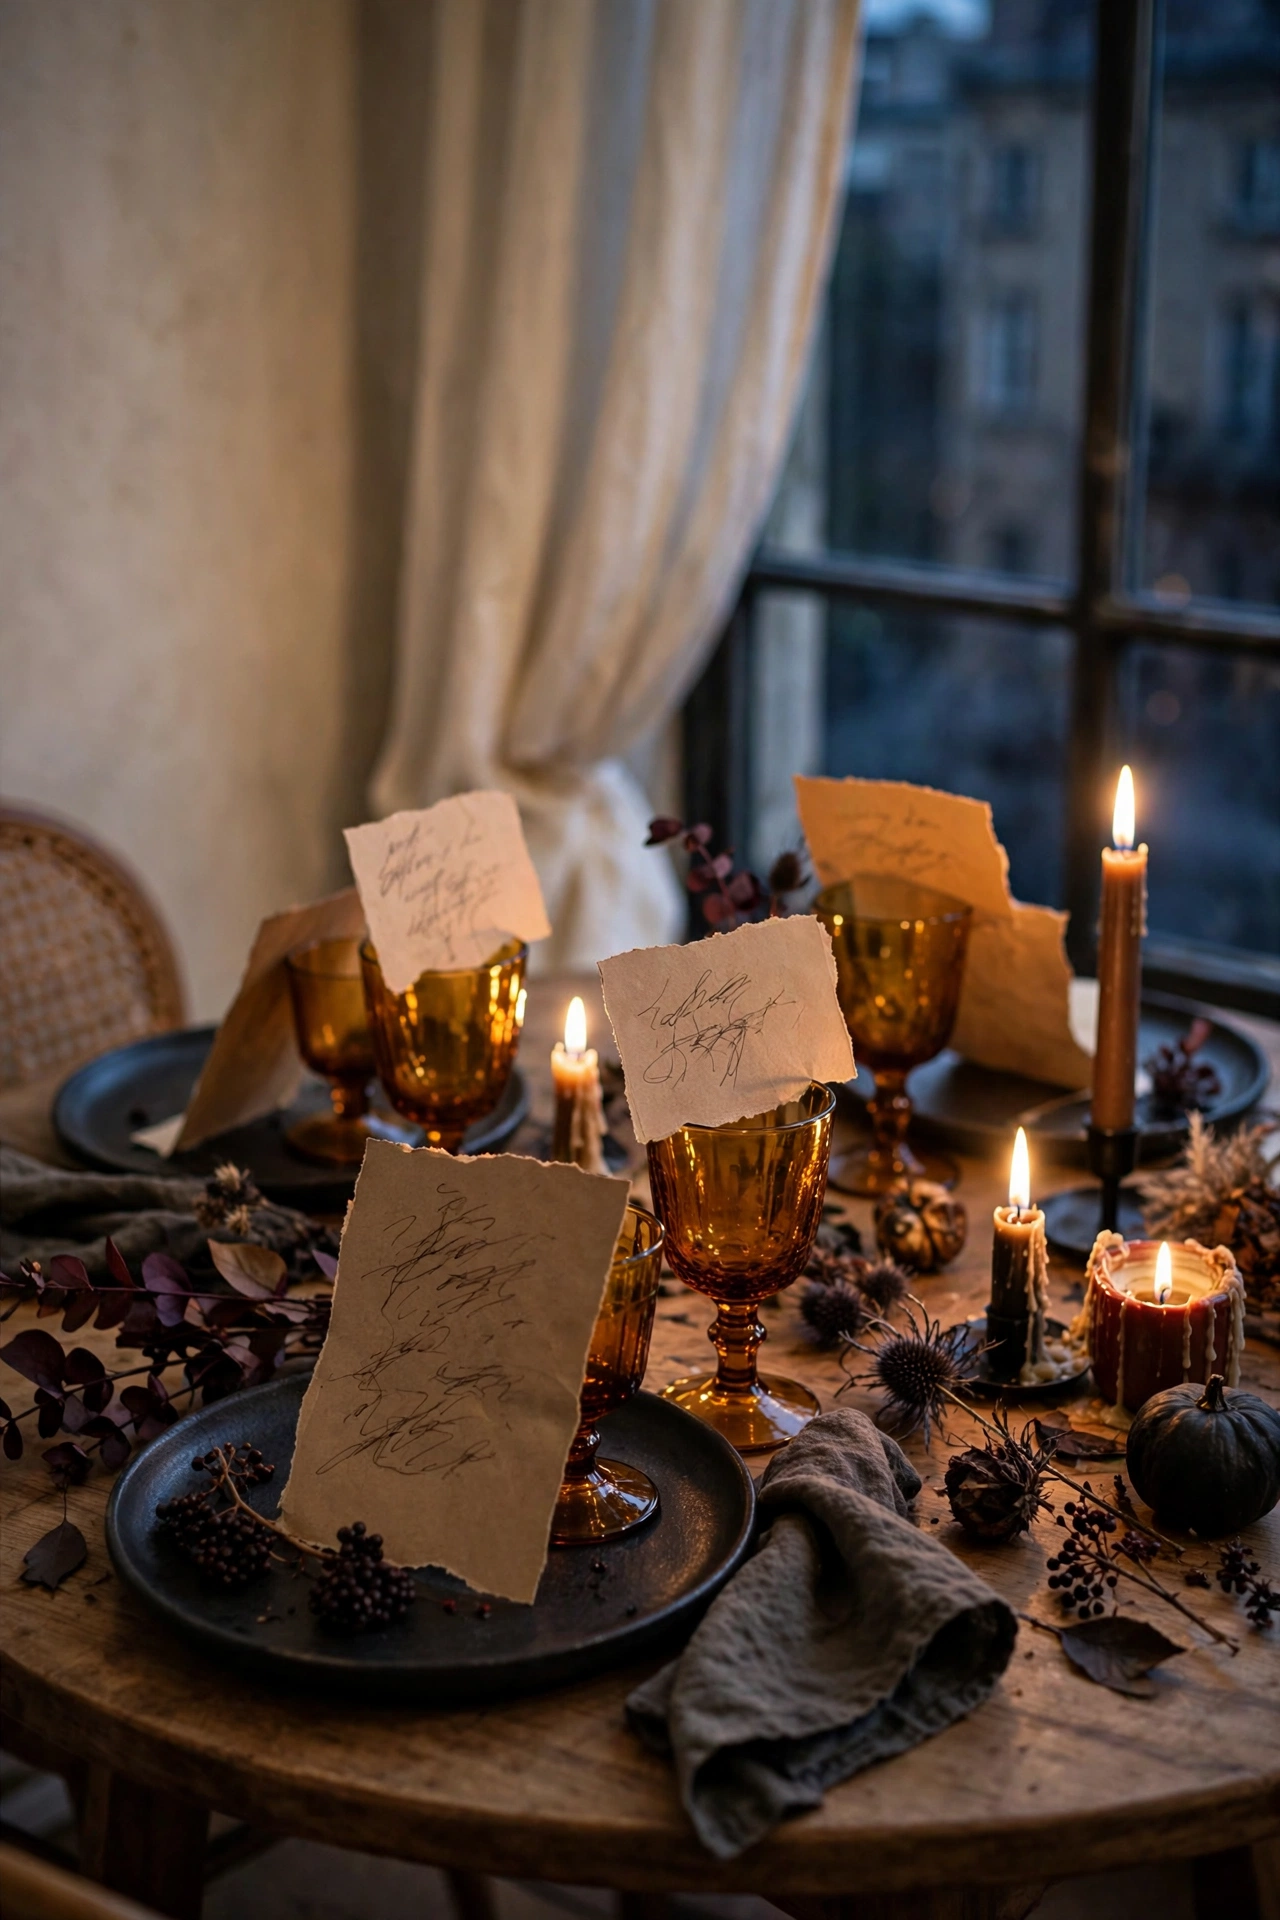
15. Write Place Cards in Loopy Calligraphy on Torn Kraft Paper
Place cards make a dinner feel like an event, and they solve the awkward where do I sit dance. Tear kraft paper into rough rectangles, write each name in your best loopy script with a dark pen, and prop them against the goblets. The torn edges are key. Straight cut cards look office. Torn cards look artful. Your handwriting does not need to be perfect. A little wobble in the letters just makes it feel human. I write mine at the kitchen table the night before with a glass of wine nearby, and I always make two extra in case of smudges. Smudges happen. Extras save the evening.
16. Print Simple Menus on Cream Paper and Stand Them in Brass Holders
If you want guests to feel truly spoiled, print the menu. One cream card per setting, the courses listed simply, stood up in a little brass holder or leaned against the napkin. It builds anticipation for the meal and it doubles as a keepsake people actually take home. Keep the design dead simple. Pretty paper and good food do not need graphic design heroics.
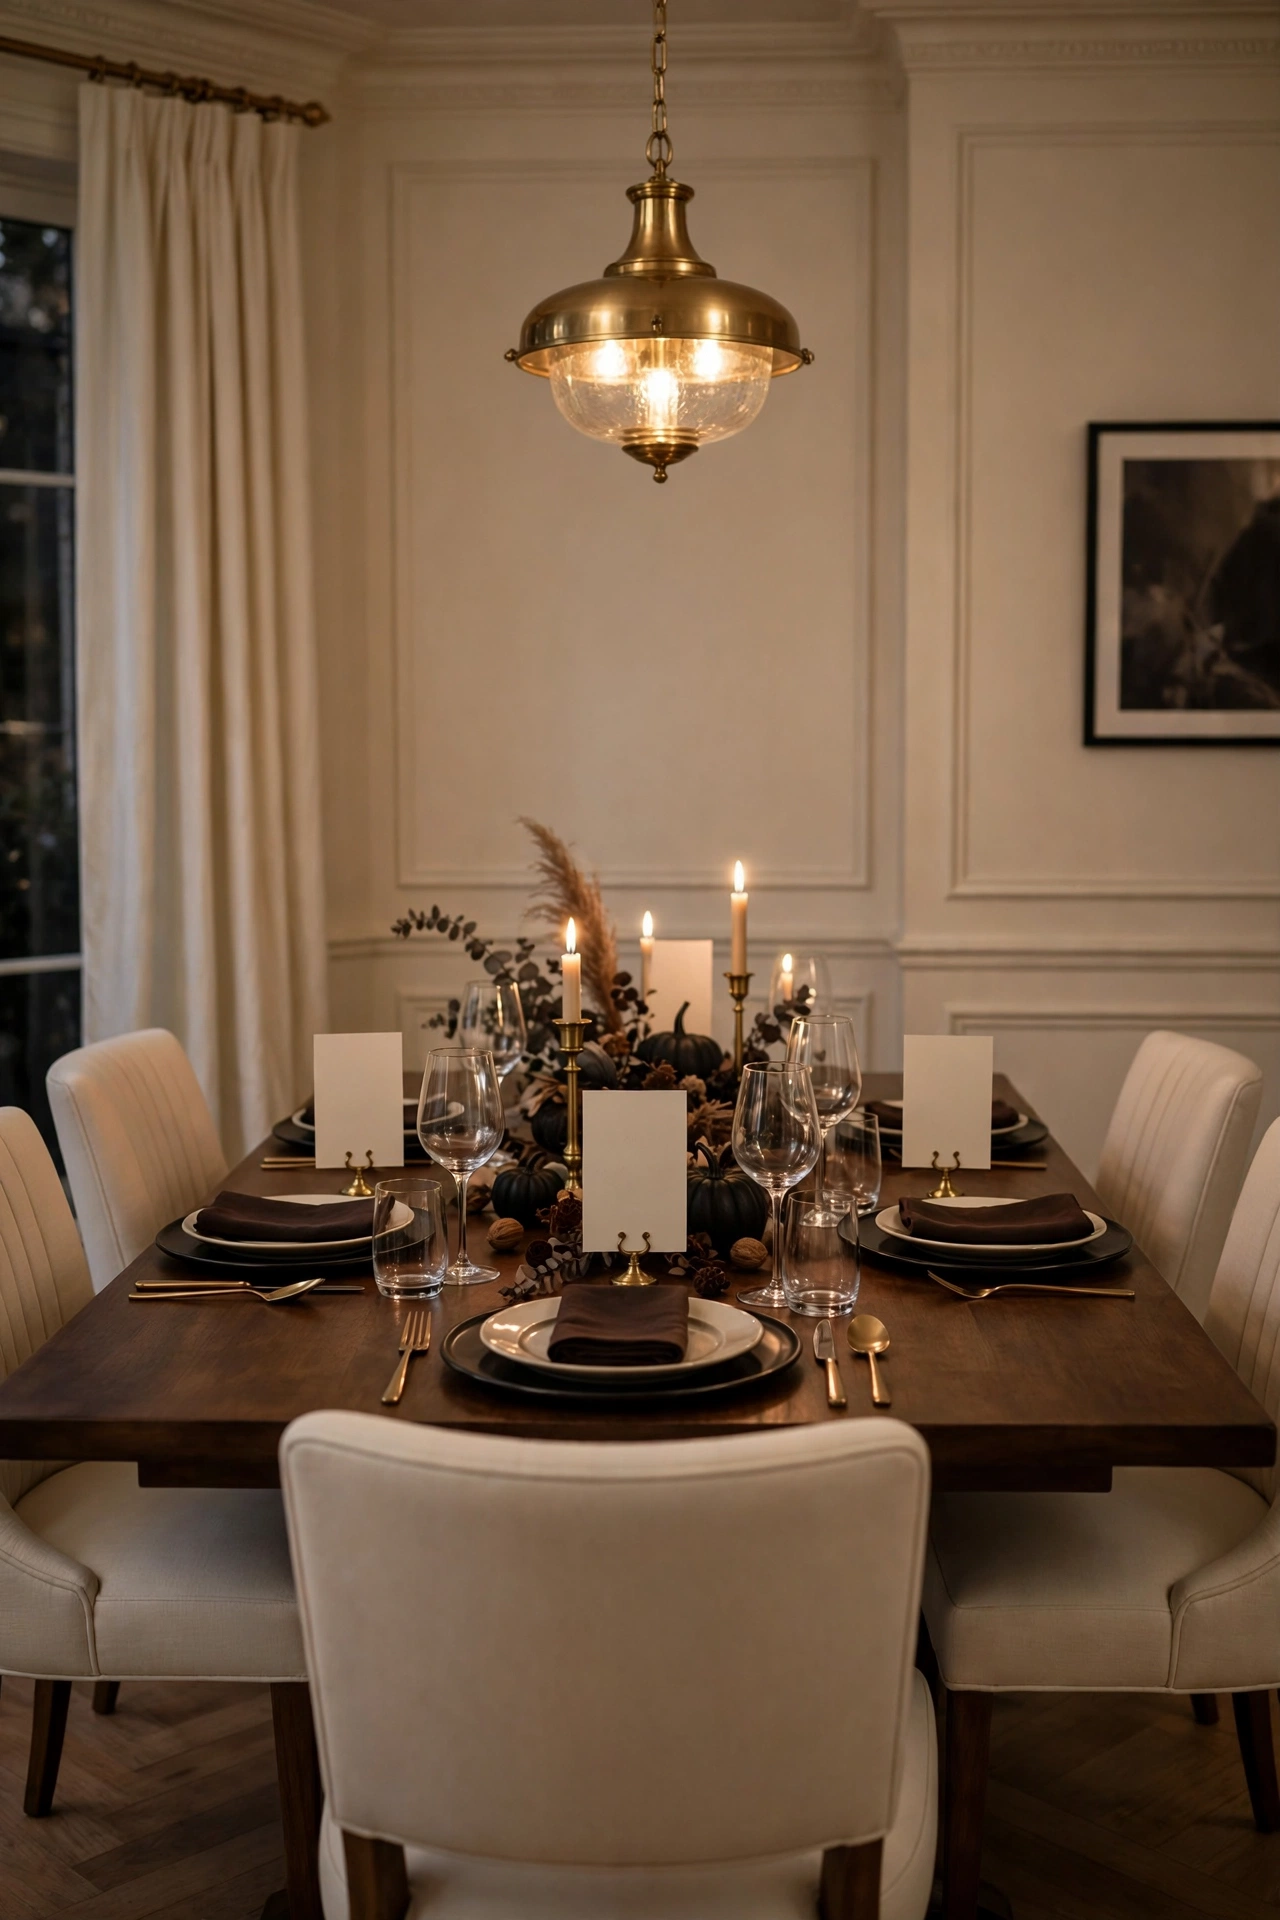
17. Dim the Overheads and Let the Candles Win
This one costs nothing and matters more than everything else. Turn the overhead lights down or off entirely and let the candles do the lighting. A dimmer switch is the best party investment you will ever make. At full brightness a dining room is a dining room. At candlelight it is a memory. I dim mine until the faces across the table glow and the corners of the room go soft and mysterious. That is the mood. That is the whole post in one move. Then I light one candle in the powder room and one in the hallway so the glow follows guests as they arrive. The party starts at the front door, not at the table.
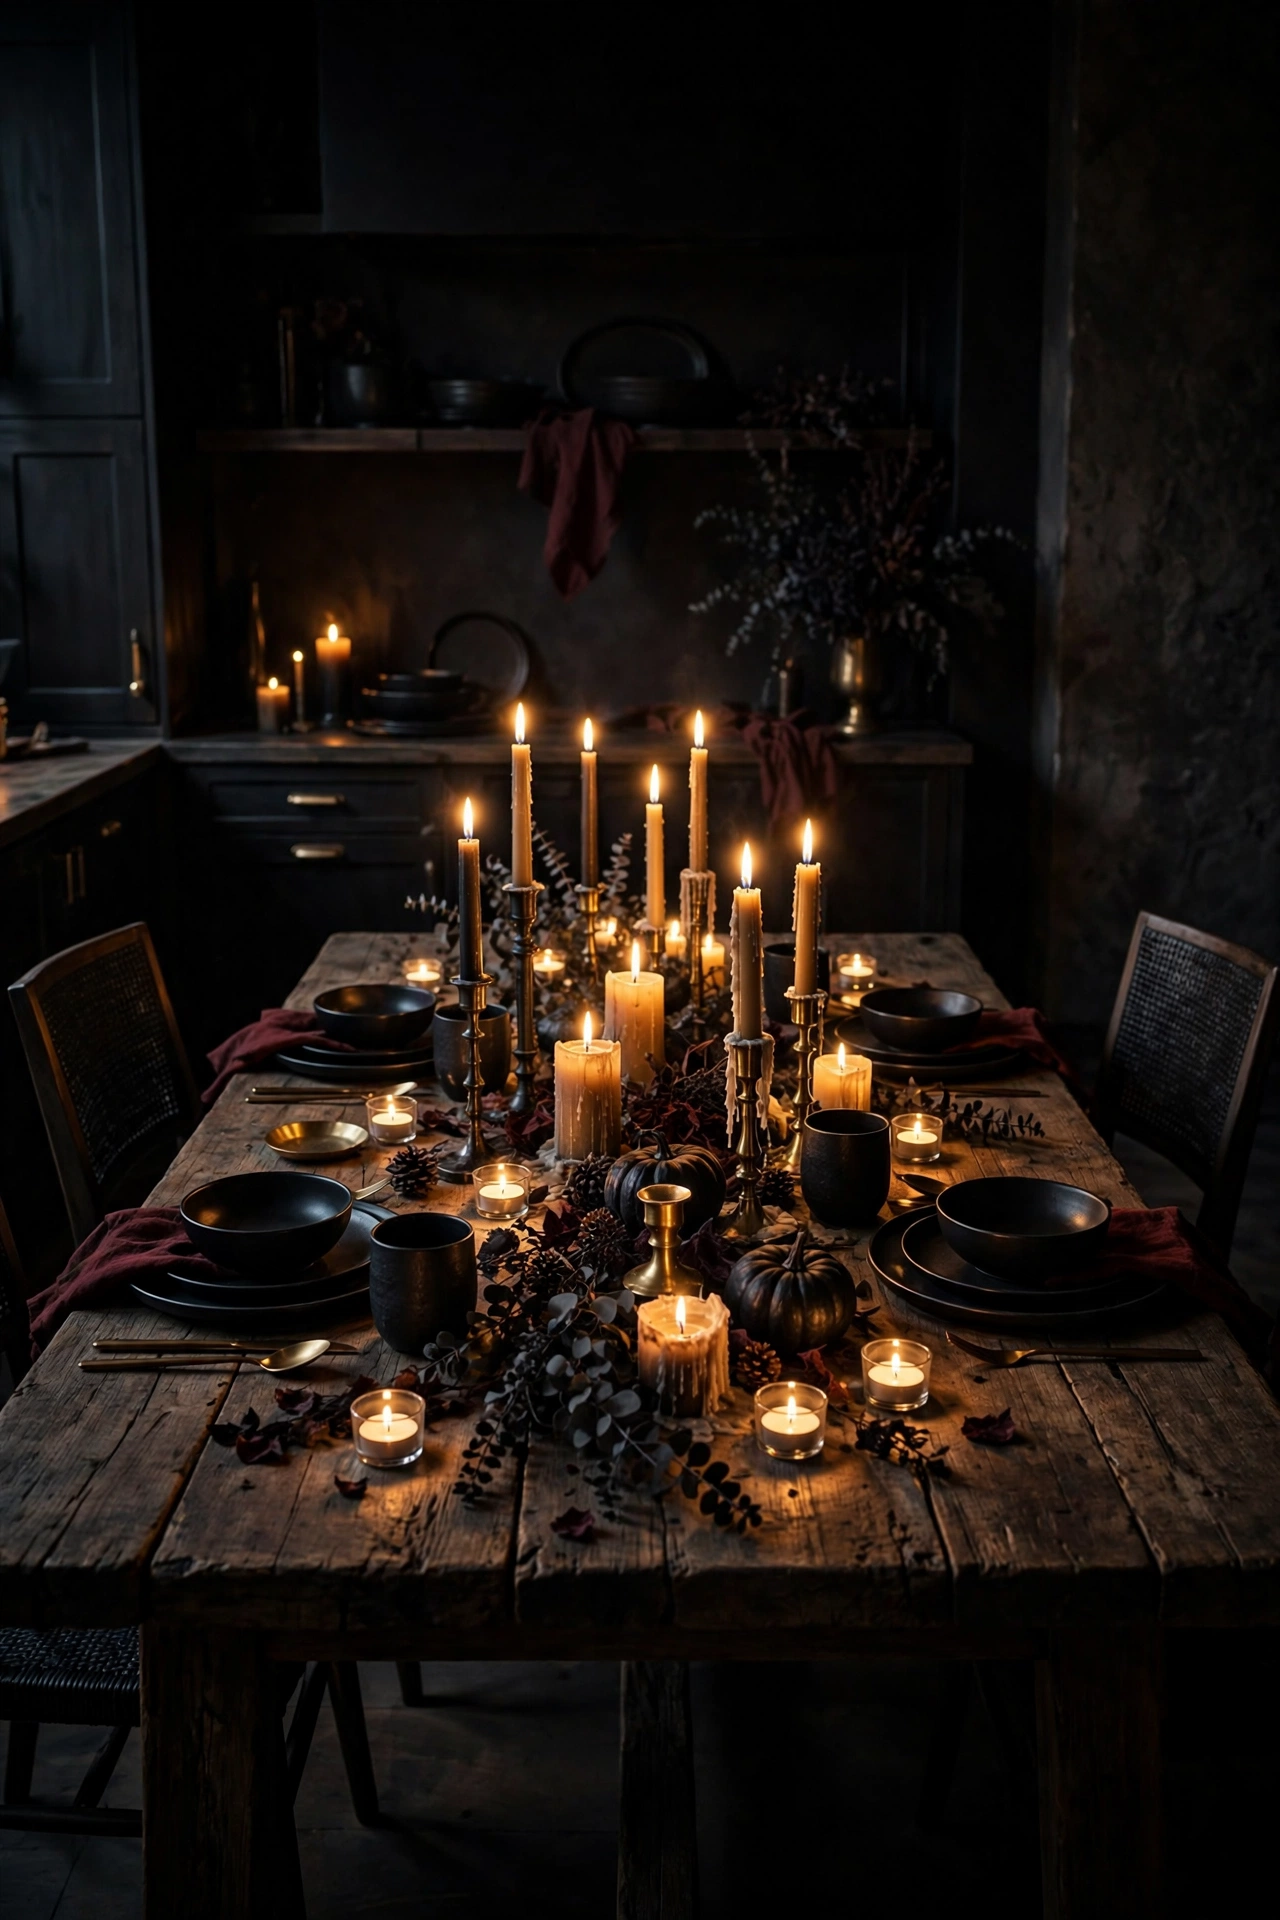
18. Dress Each Chair With a Small Dried Bundle
The table gets all the attention, but the chairs frame every photo. Tie a small bundle of dried wheat, lavender or burgundy stems to the back of each chair with twine. It takes five minutes for the whole table and it makes the room feel finished from every angle. When guests pull out their chairs and find a little bundle waiting, it feels like the party started before they sat down. Details like this are why people talk about your dinners for weeks.
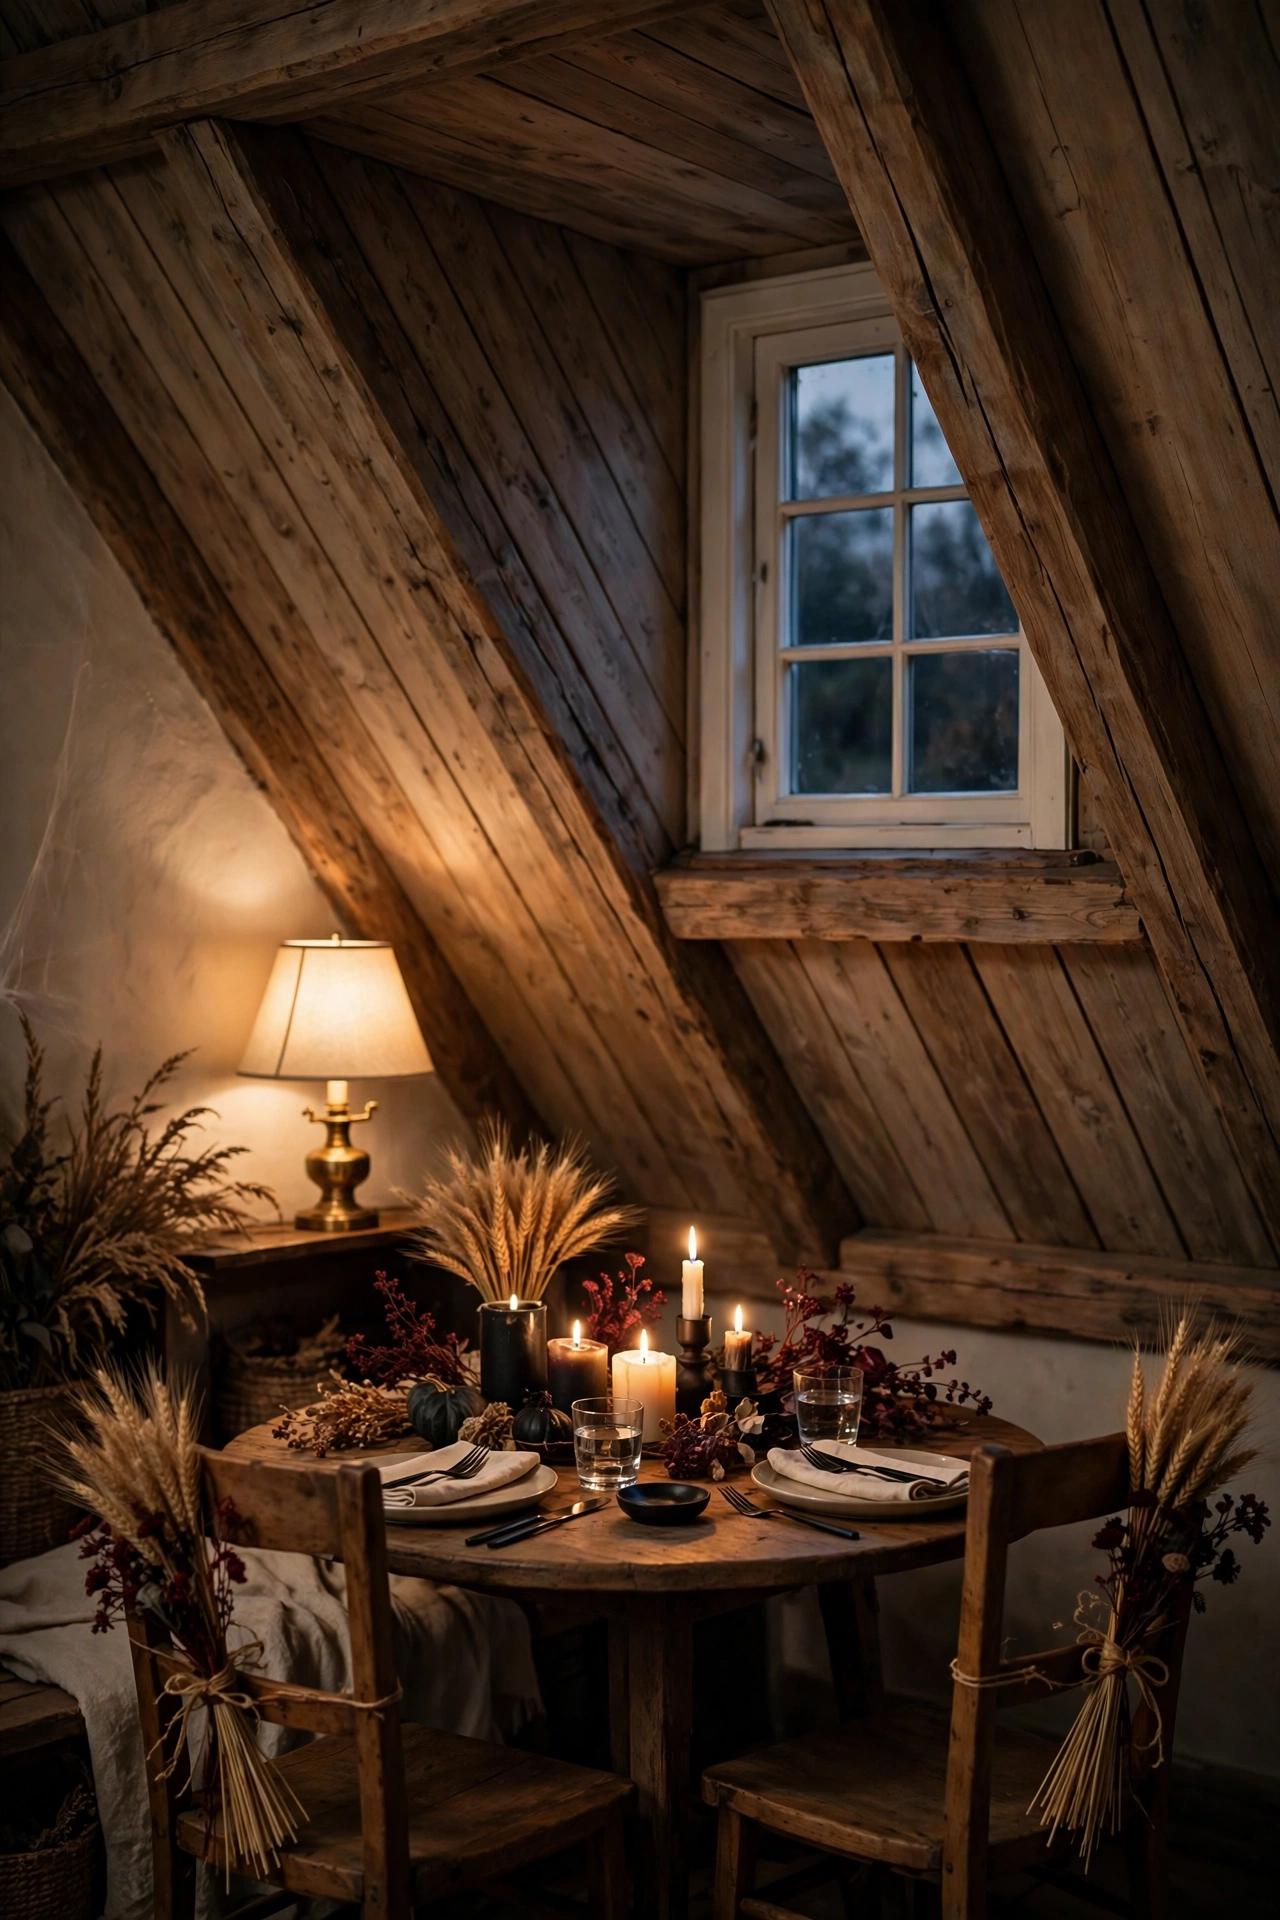
19. End With a Small Favor at Every Plate
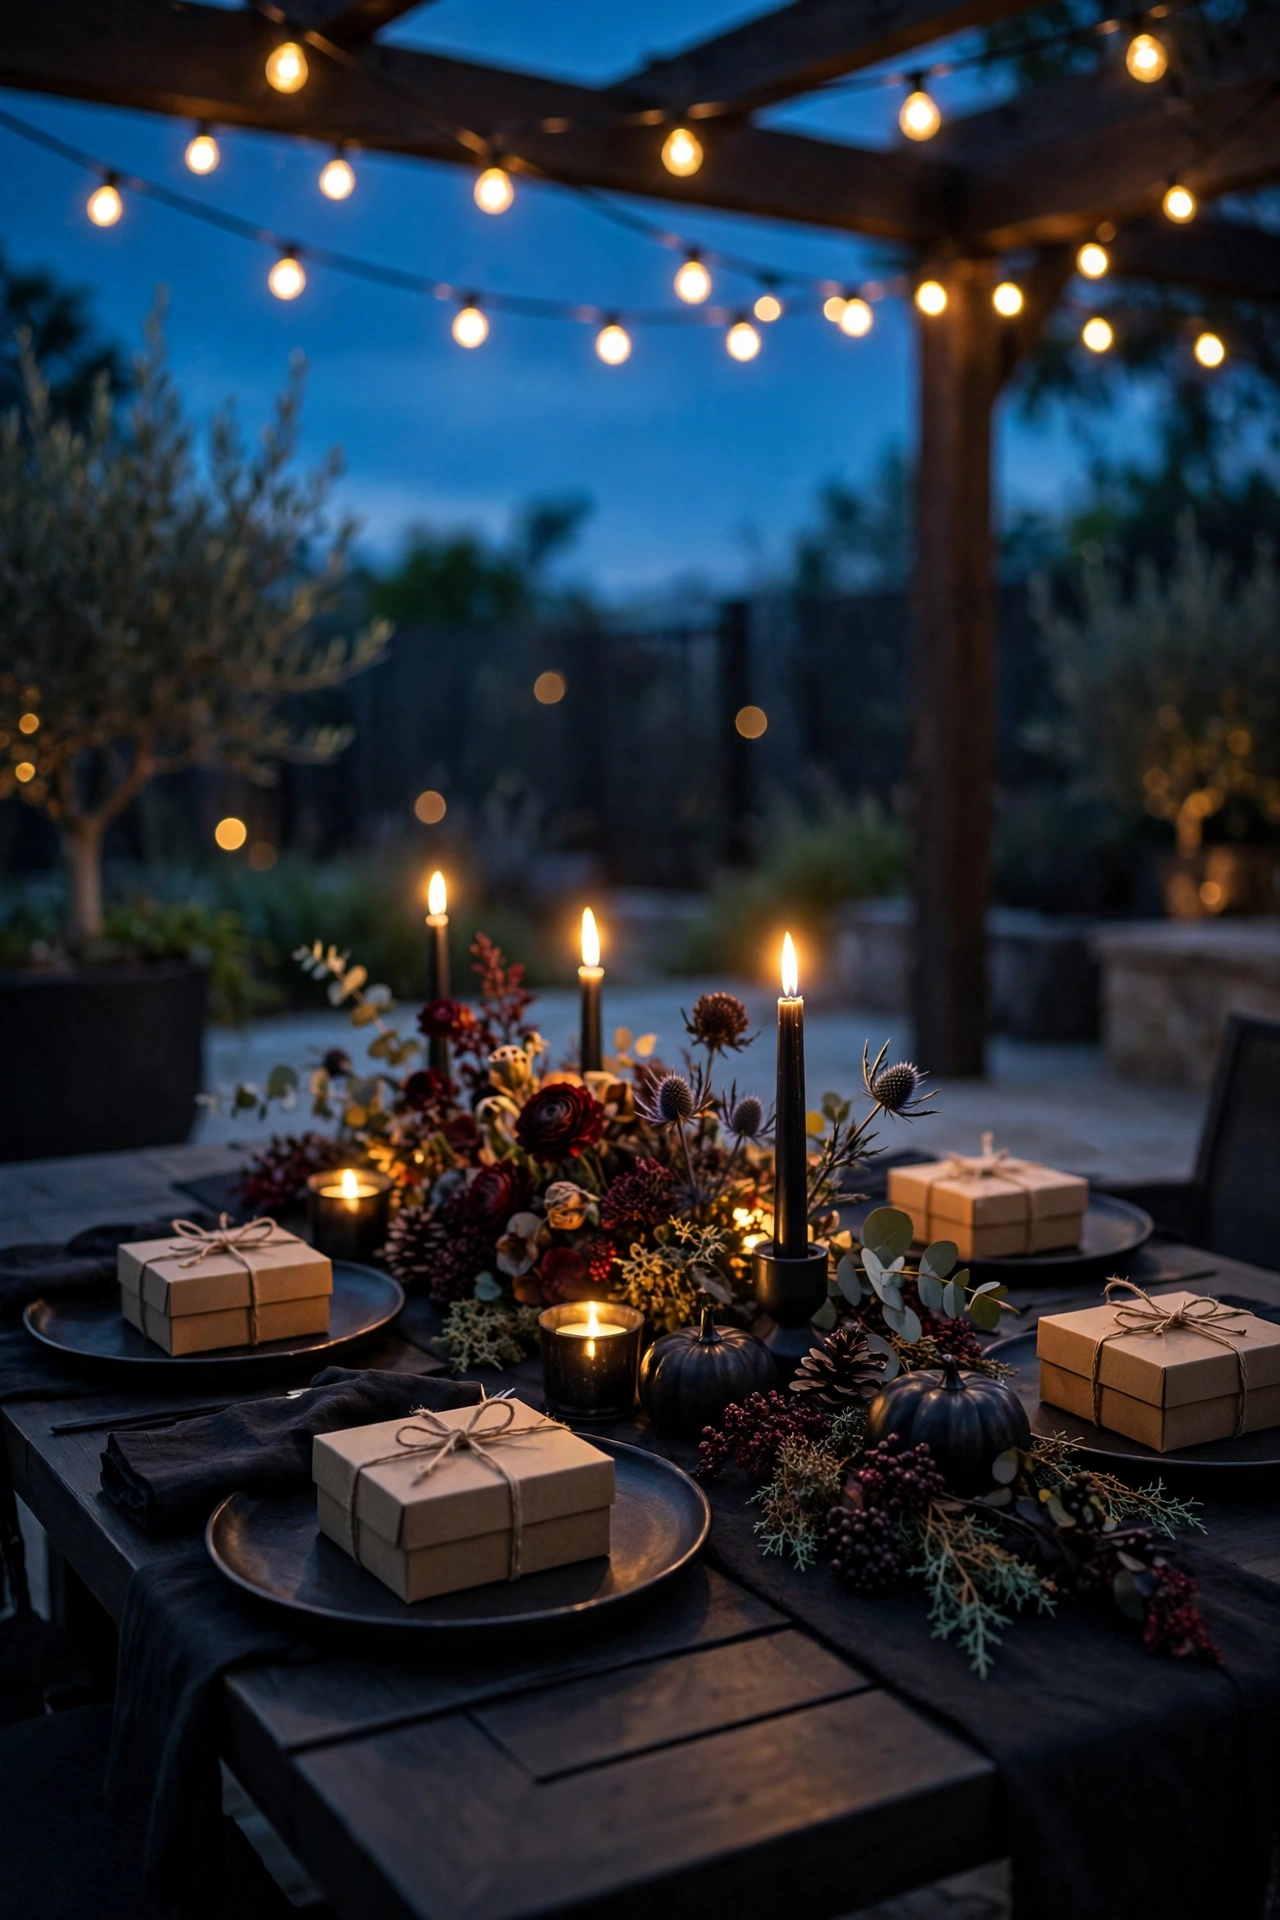
Send everyone home with a little something and your party becomes legend. A small kraft box of good chocolates, a tiny jar of honey with a twine bow, a single fancy cookie wrapped in wax paper. Keep it small and keep it pretty. The favor is the last thing guests touch at your table, so make it the thing they remember on the drive home. Elegant parties end with a gift. Now yours does too. I buy the chocolates in bulk and box them myself the week before, which keeps the cost down and makes each one feel personal. A tiny handwritten tag with a thank you turns a simple favor into a keepsake.
More Favorites
This post contains affiliate links. If you buy through them, I may earn a small commission at no extra cost to you.
A few more favorites from the ideas above:

The best Halloween tables are not the scariest ones. They are the ones where the light is low, the table is dark and glowing, and every guest feels like they walked into something special. If the whole list feels like a lot, start with the black cloth, the brass candles and the dimmer. Those three alone will carry the evening. Then next year, add the garland and the menus and the little favors, and watch your friends start calling your house the Halloween house. That is a title worth earning. Pick your favorite ideas from this list, light the candles early, and let the evening do the rest. And if a guest asks how you made it all look so effortless, just smile. The best tables always look easy, and that is because the planning happened a week ago while the music played.
With love and light
Get Fresh Home Ideas Every Week
Seasonal decor ideas, organizing tips, and cozy home inspiration, straight to your inbox.
More Halloween Ideas You Will Love
Keep browsing for more seasonal inspiration: