
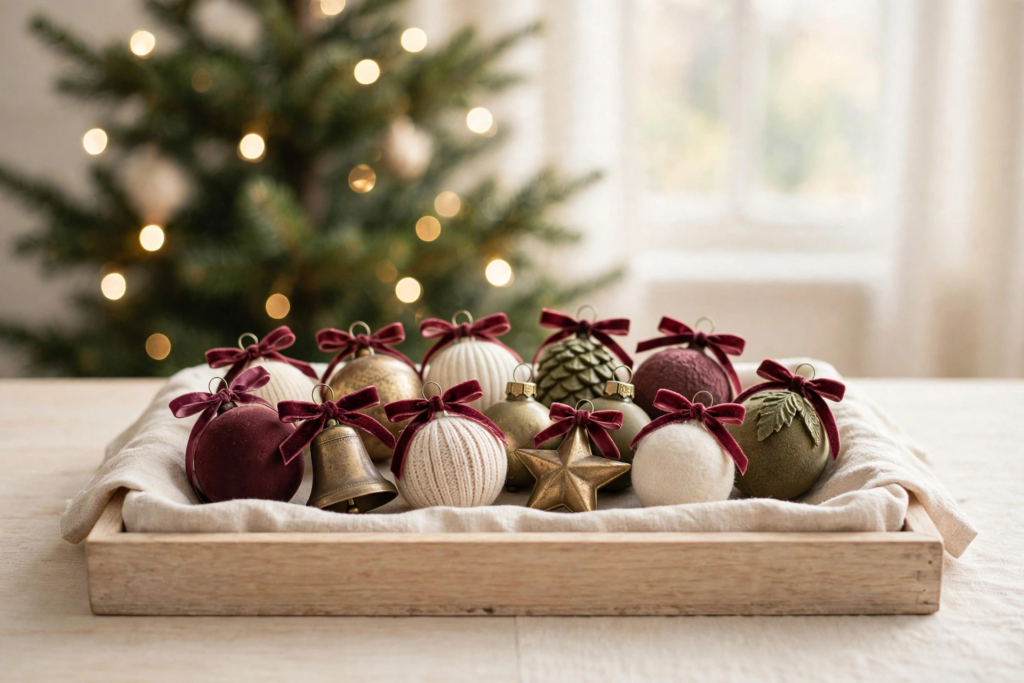
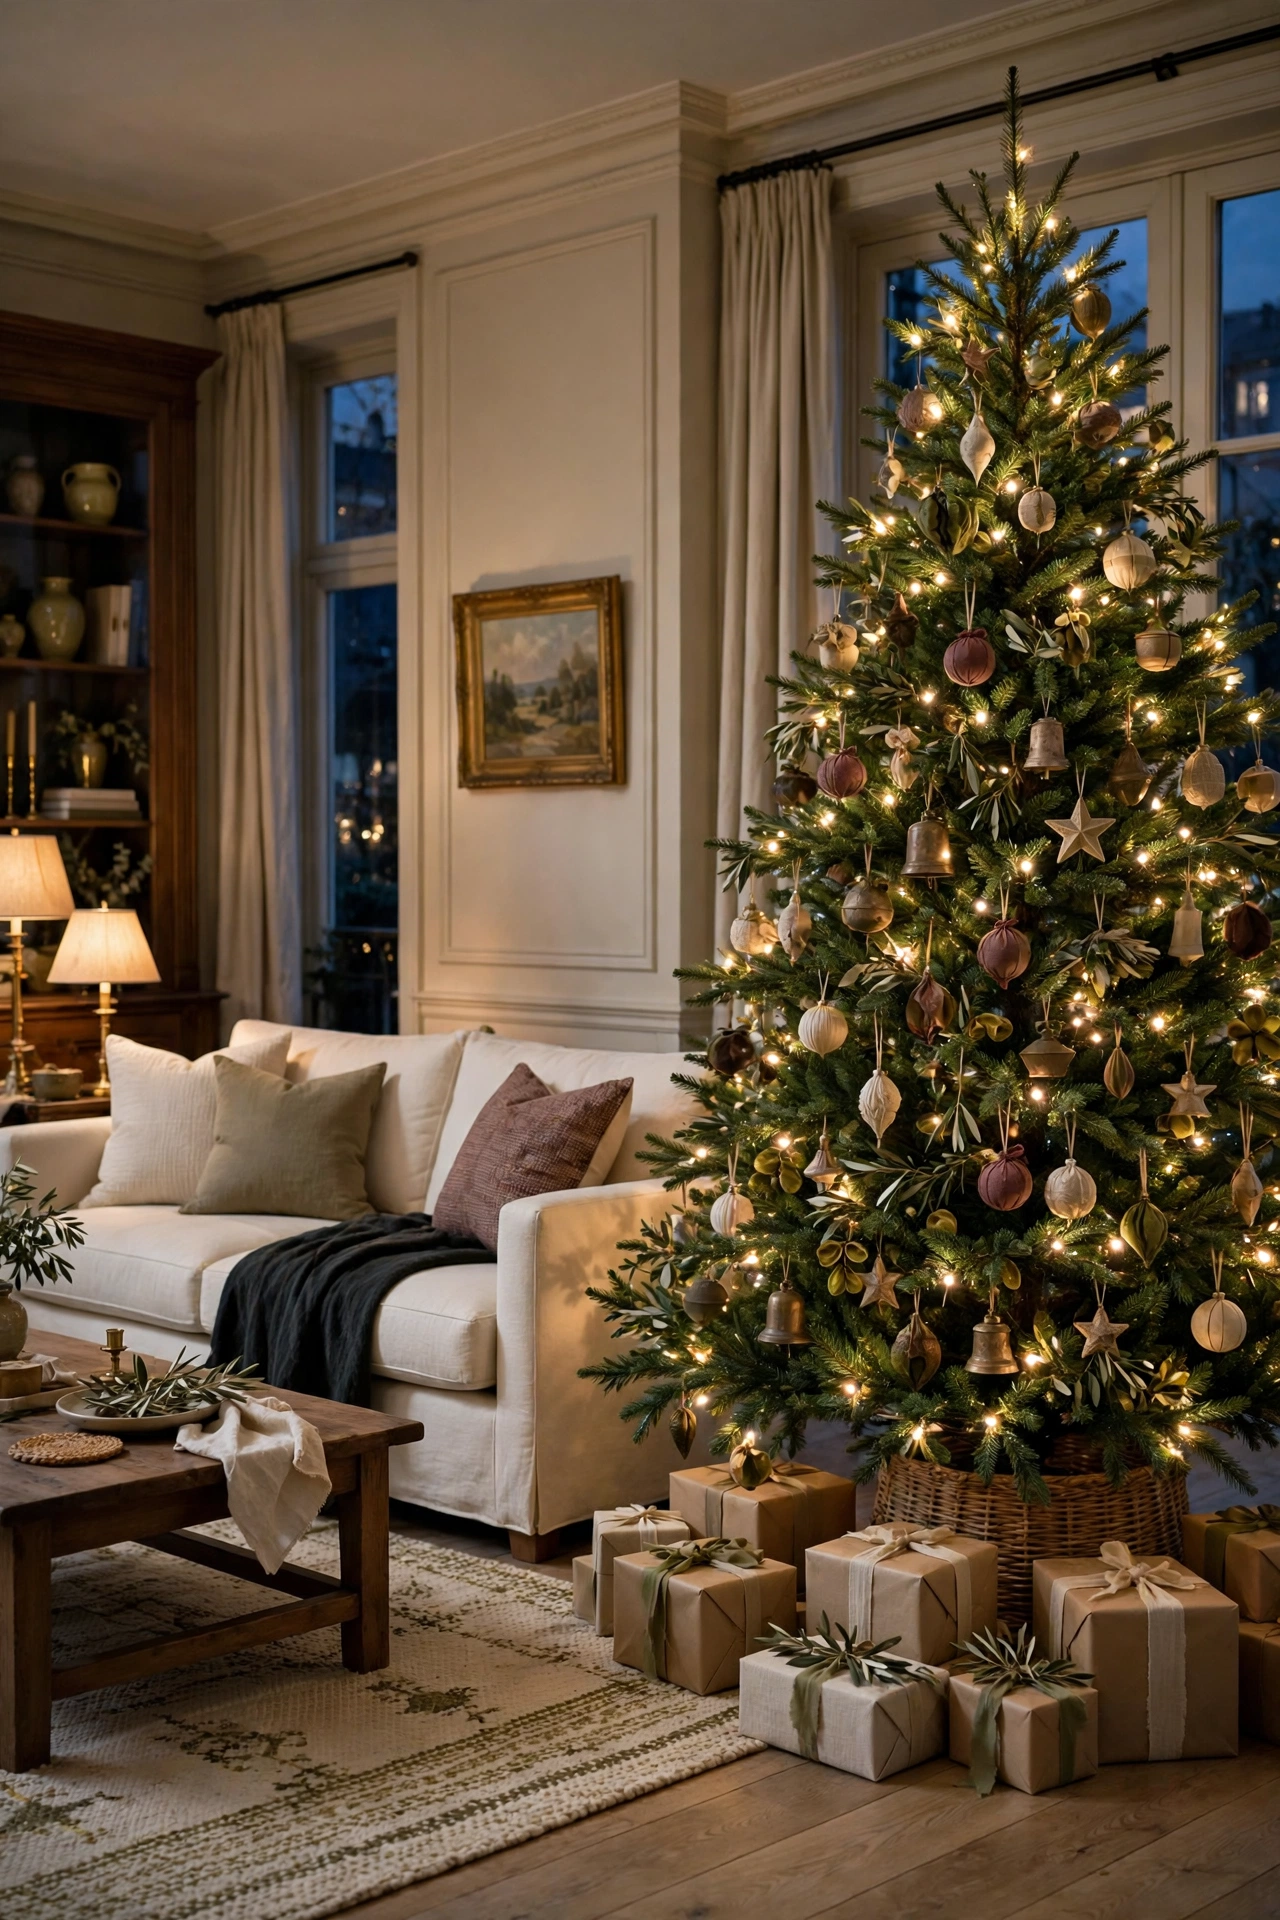
There is a moment I chase every December. The tree lights are on, the lamps are low, and the whole room goes soft and golden. The ornaments catch the light one by one as you walk past. Some glow. Some sparkle quietly. The tree feels calm and rich and a little bit magical, the way the trees in beautiful shop windows feel when you stop on the sidewalk just to look. I want that feeling at home, in my own living room, with my own hands in the story of it. That is the whole point of making ornaments myself. I am not trying to save a few dollars, though I do. I am trying to build a tree that feels collected and personal and still looks like it belongs in a lovely store.
Here is my favorite party trick. Friends come over, they drift toward the tree the way everyone does, and they pick up an ornament and turn it over looking for a price tag or a brand name. Then they ask where I bought it. Almost every ornament they touch was made at my kitchen table, in batches, with paint on my sleeves. I am not a trained artist. I cannot draw a straight line without a ruler and I am not precious about it. What I have learned is that ornaments that look bought are rarely about talent. They are about a few quiet decisions made before the paint even comes out, and a few finishing touches most people skip at the end when they get tired. This guide is those decisions, in order.
This year the look I love most lines up with where Christmas decorating is heading anyway. Artisan glass ornaments, matte ceramics, deep jewel tones, oversized velvet bows and warm cluster lights are everywhere, and every one of those looks can be made by hand for very little money. If you want to see the finished mood I am aiming for, I styled a whole room around it in my elegant Christmas living room ideas, and the ornaments in this guide were made to live on a tree just like that one. I work by four simple principles and you will see them repeat through every step. One palette, many finishes. Matte beside shine makes both look richer. A happy accident repeated ten times stops looking like an accident and starts looking like a design. And the hanger is part of the ornament, never an afterthought. Keep those four in mind and your kitchen table work will fool everyone, in the nicest way.
Love these ideas? Get more every week.
Join the newsletter for seasonal decor and cozy home inspiration.
Start Like a Maker Who Plans to Sell the Illusion
The first five steps happen before a single ornament gets its final color, and they matter more than everything that comes after. Stores plan a collection before they make it. Colors are chosen, blanks are sourced, surfaces are prepared. When I rushed past this stage in my early attempts, my ornaments looked like a school craft fair. When I slowed down and did this part properly, the exact same hands produced ornaments people tried to buy from me. So pour a coffee, clear the table, and give yourself this planning stage without resenting it. It is not the boring part. It is the part where the illusion is actually built.
1. Choose One Palette and Let It Rule Everything
A tight palette is the single biggest reason handmade ornaments read as bought.
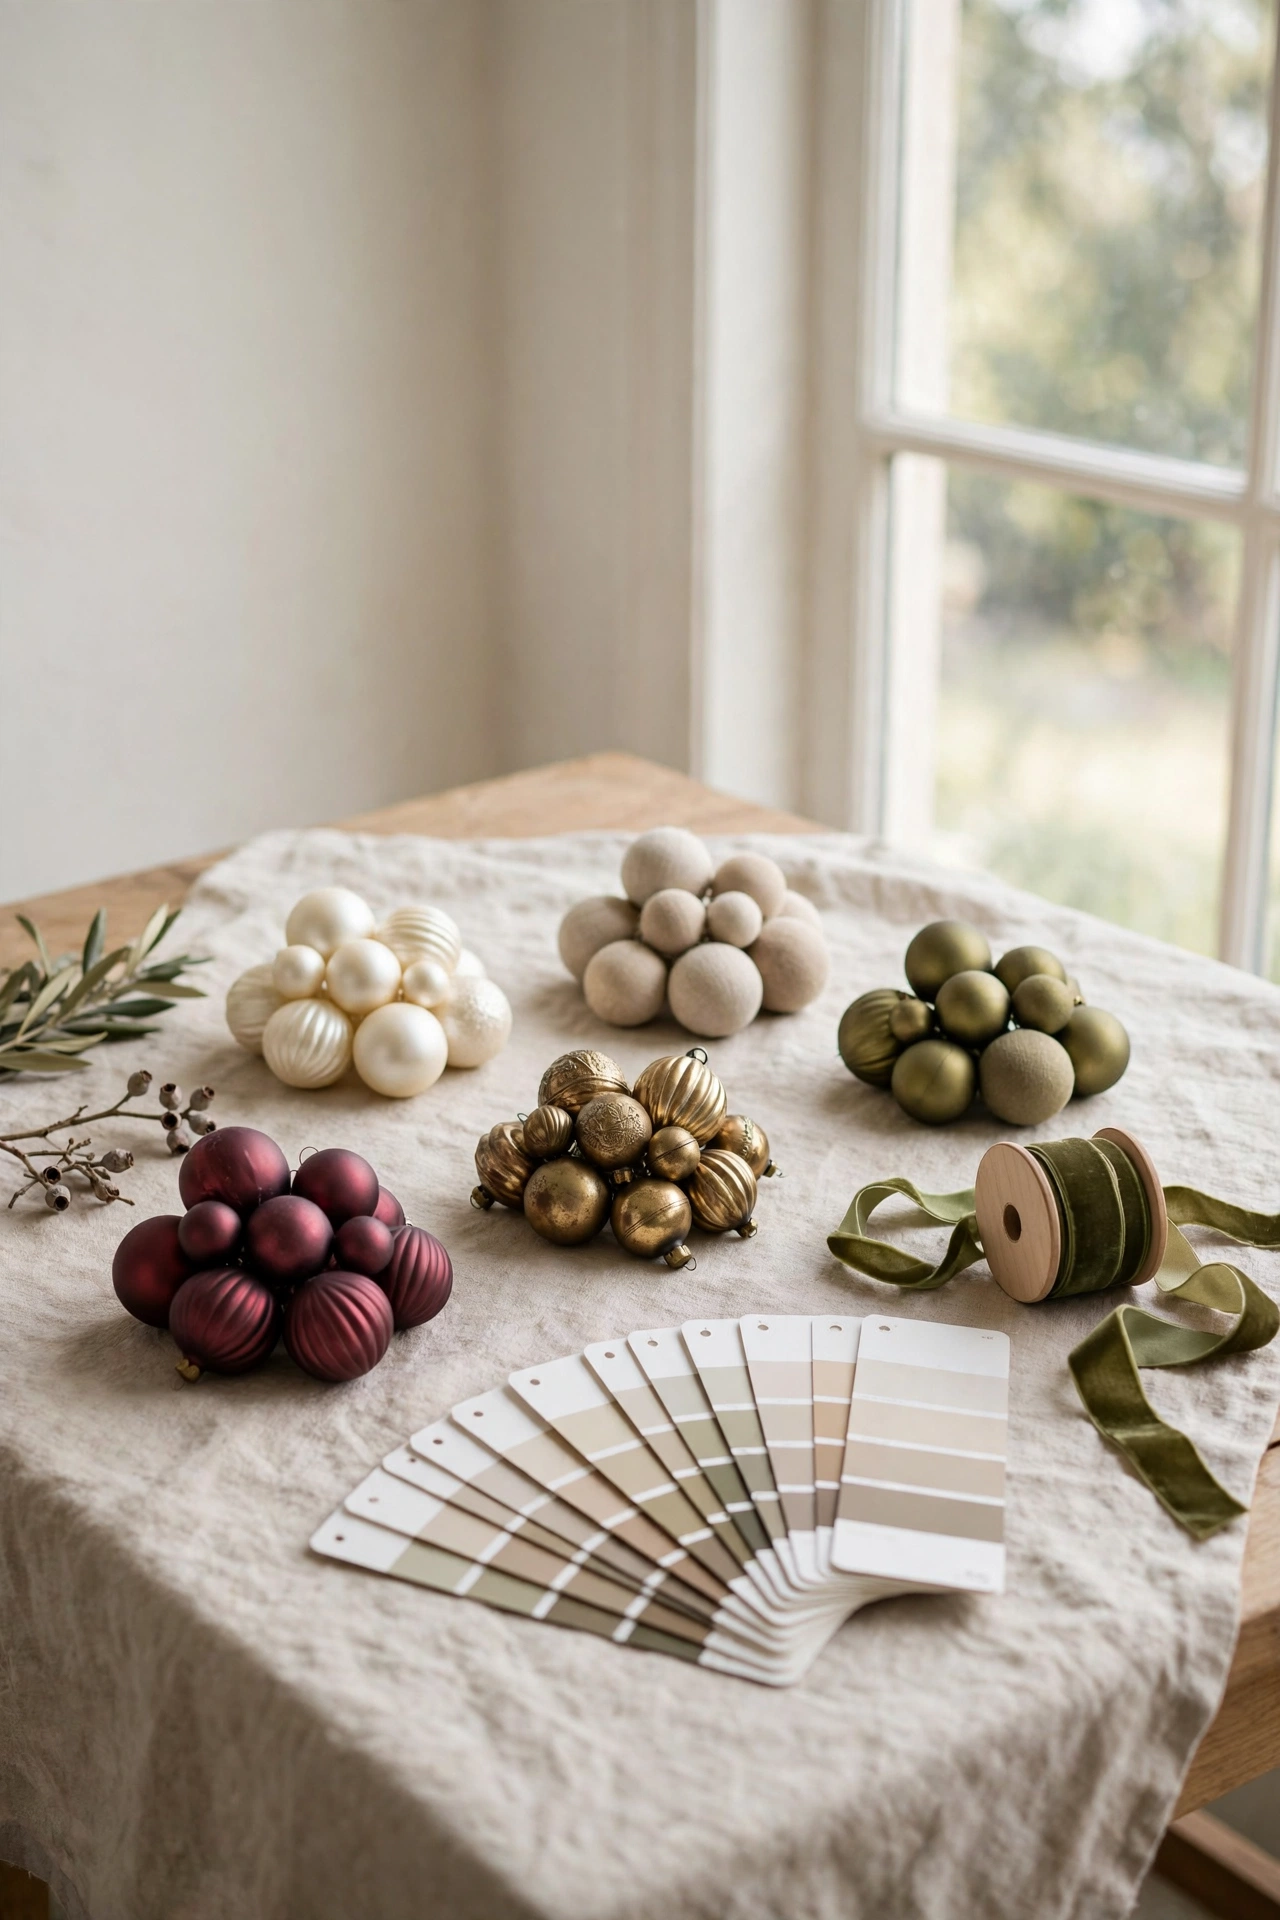
Before I buy a single blank, I choose my colors and I write them down like a promise. My palette this year is burgundy, antique brass, cream, oatmeal and olive, with chocolate brown as the quiet shadow color underneath it all. Five or six colors at most, and every paint, ribbon, glitter and filling I buy has to belong to that list. This is exactly what stores do when they build a collection, and it is why a bought set always looks calm together on a tree. A handmade set fails when every ornament is a new experiment in a new color. The tree ends up shouting in twelve voices at once. When everything shares one palette, even simple ornaments look intentional, and ornaments made weeks apart still look like family. I keep one finished ornament from last year on the table as my color anchor while I work, and if a new idea does not sit happily beside it, the idea waits for another year.
Shop This Look
This post contains affiliate links. If you buy through them, I may earn a small commission at no extra cost to you.
A few favorites featured in the ideas above:

2. Start With Blanks That Already Look Quality
Good ornaments start as good blanks, and no paint can rescue a flimsy one.
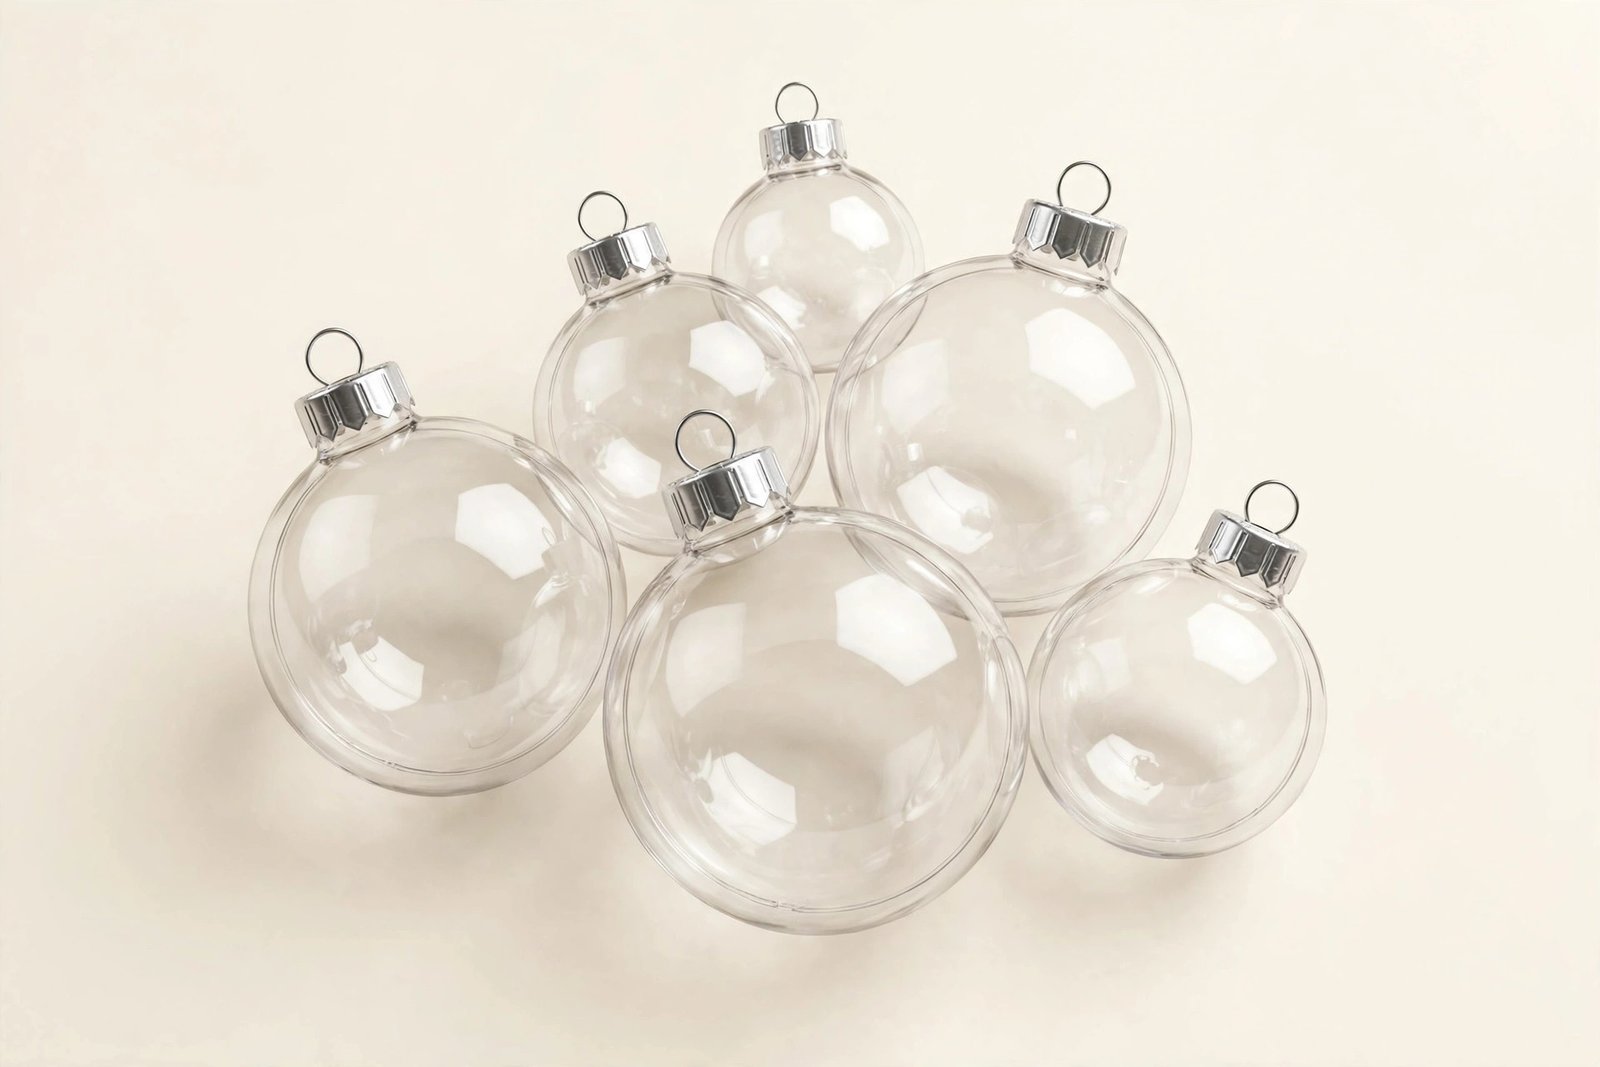
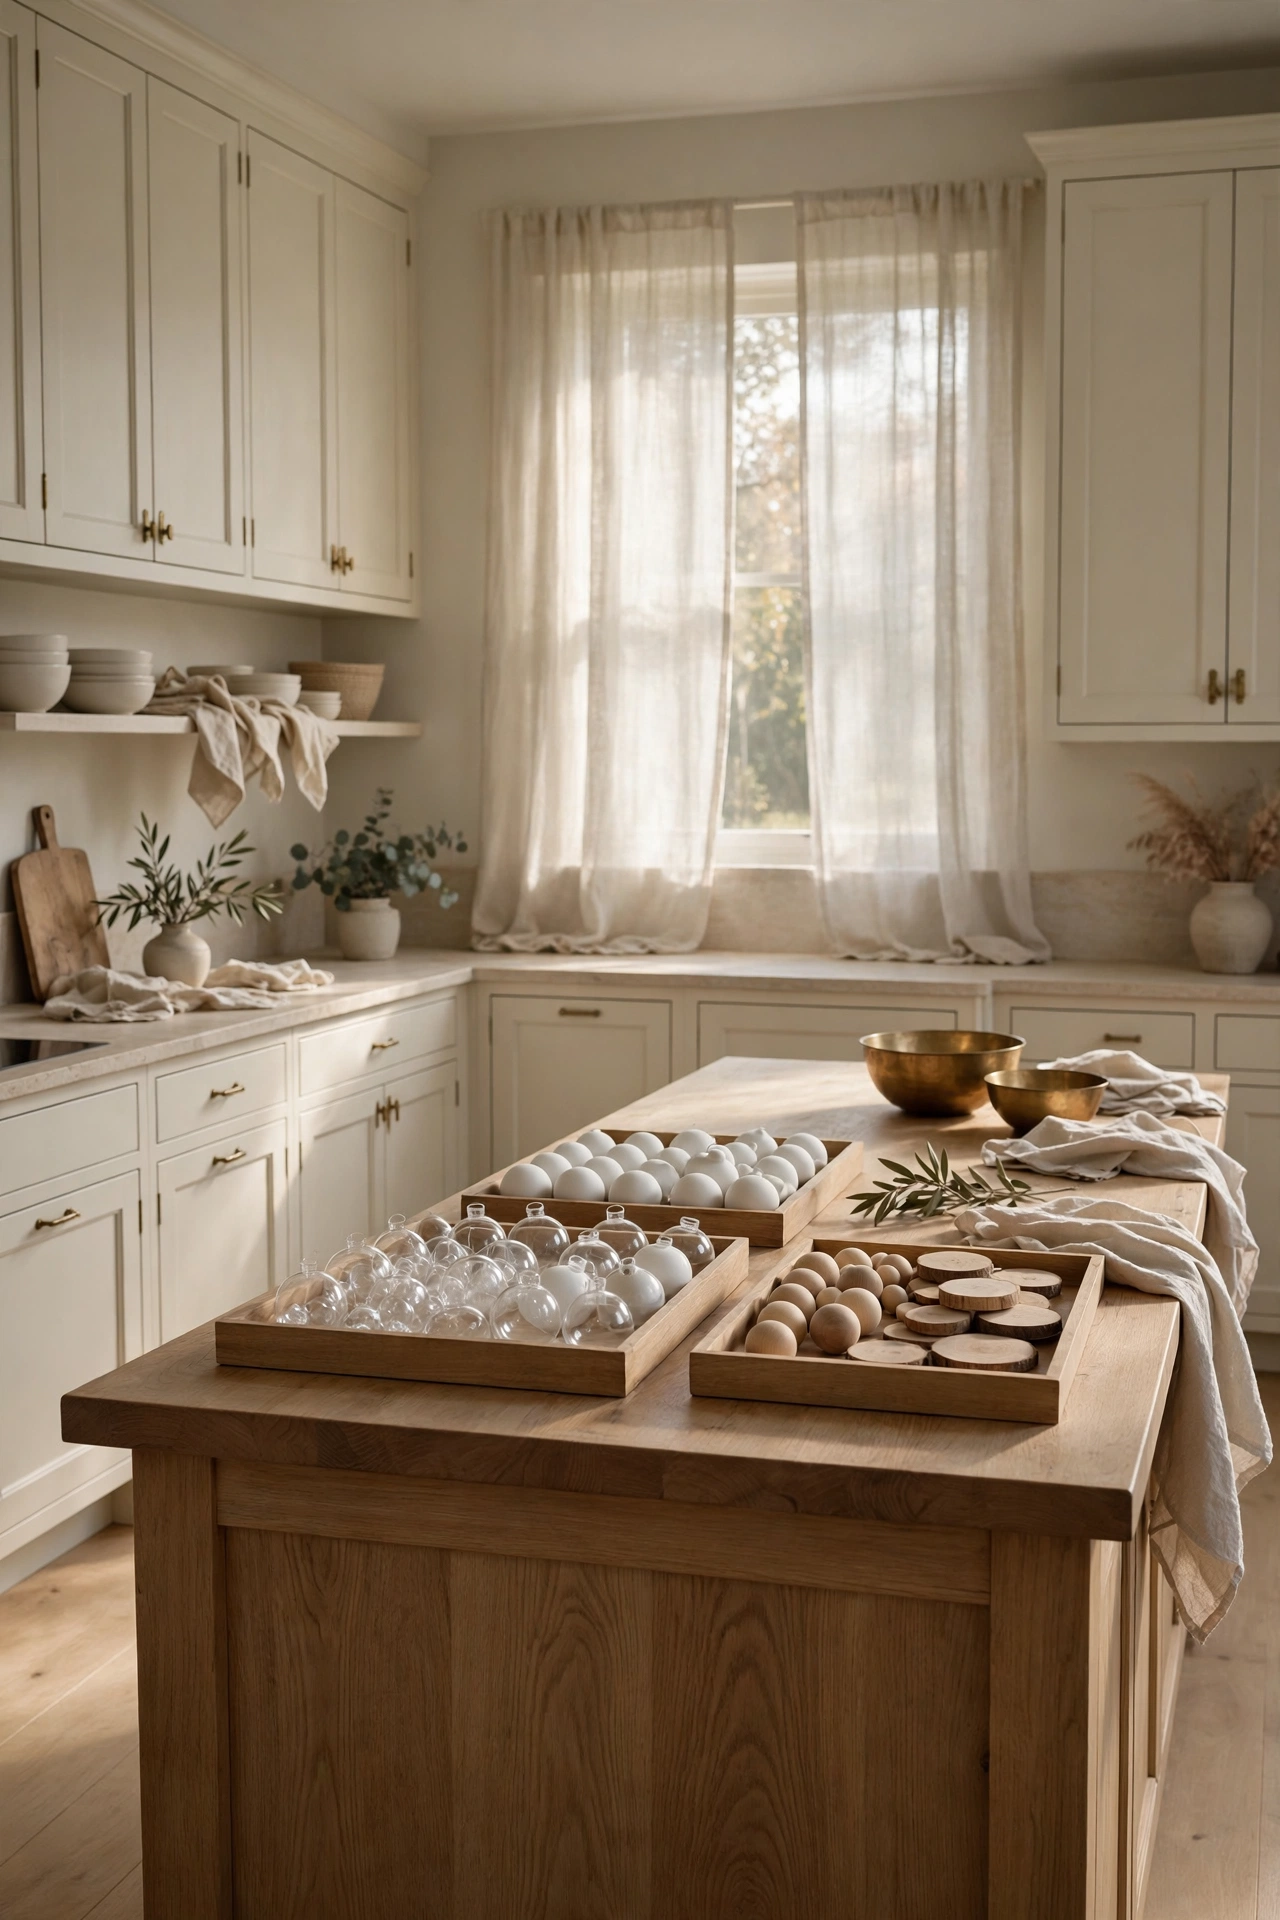
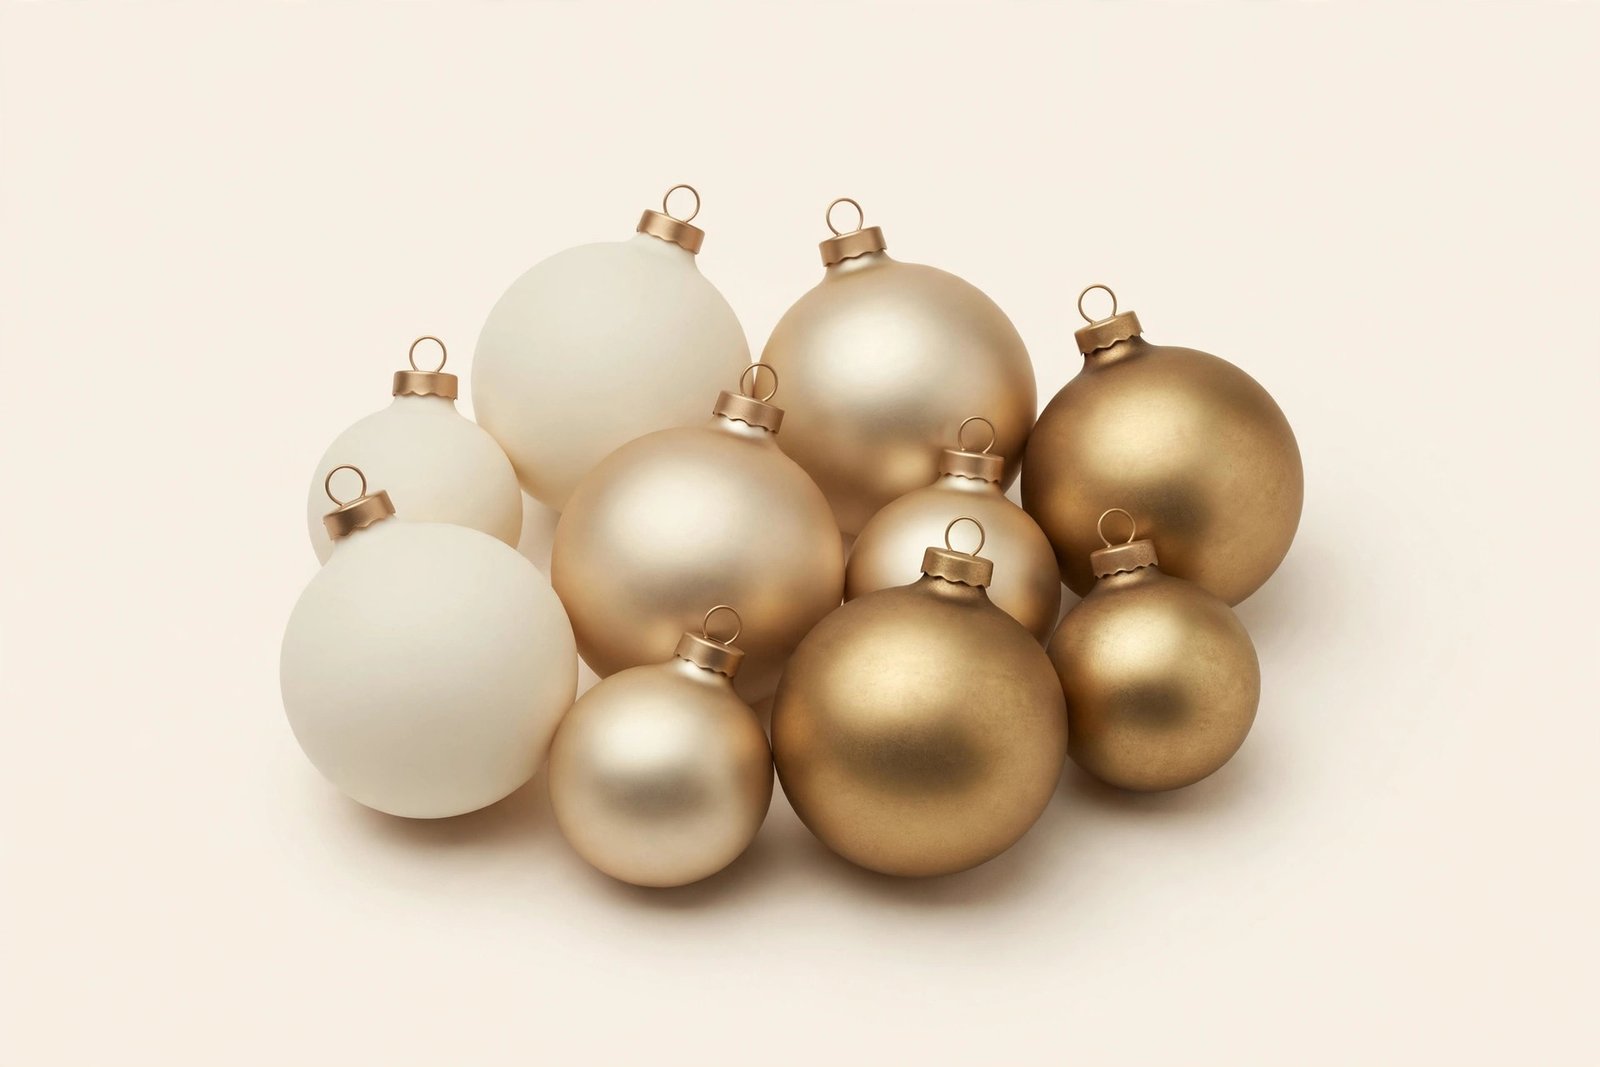
I buy three kinds of blanks and I am picky about all of them. Clear fillable baubles should feel firm when you squeeze them gently, with clean seams and caps that sit straight. Matte ceramic baubles are my secret weapon this year because matte ceramics are the finish every boutique is selling, and a plain ceramic blank already looks expensive before I touch it. Wood balls and wood slices should be smooth, with no splinters and no sticky sap spots. Run your thumb over every blank before it goes in your basket, the same way you would check fruit. Thin plastic that flexes and crackles will always look thin and cheap on the tree, no matter how lovely your paint job is. It costs only a little more to start with blanks that have some weight and a clean surface, and that small upgrade shows in every photograph and every evening glow for years. I would rather make twelve good ornaments than thirty flimsy ones, every single time.
3. Clean and Prime Every Blank Before Paint Touches It
Paint fails on dirty plastic, and most craft disappointment is really a prep problem.
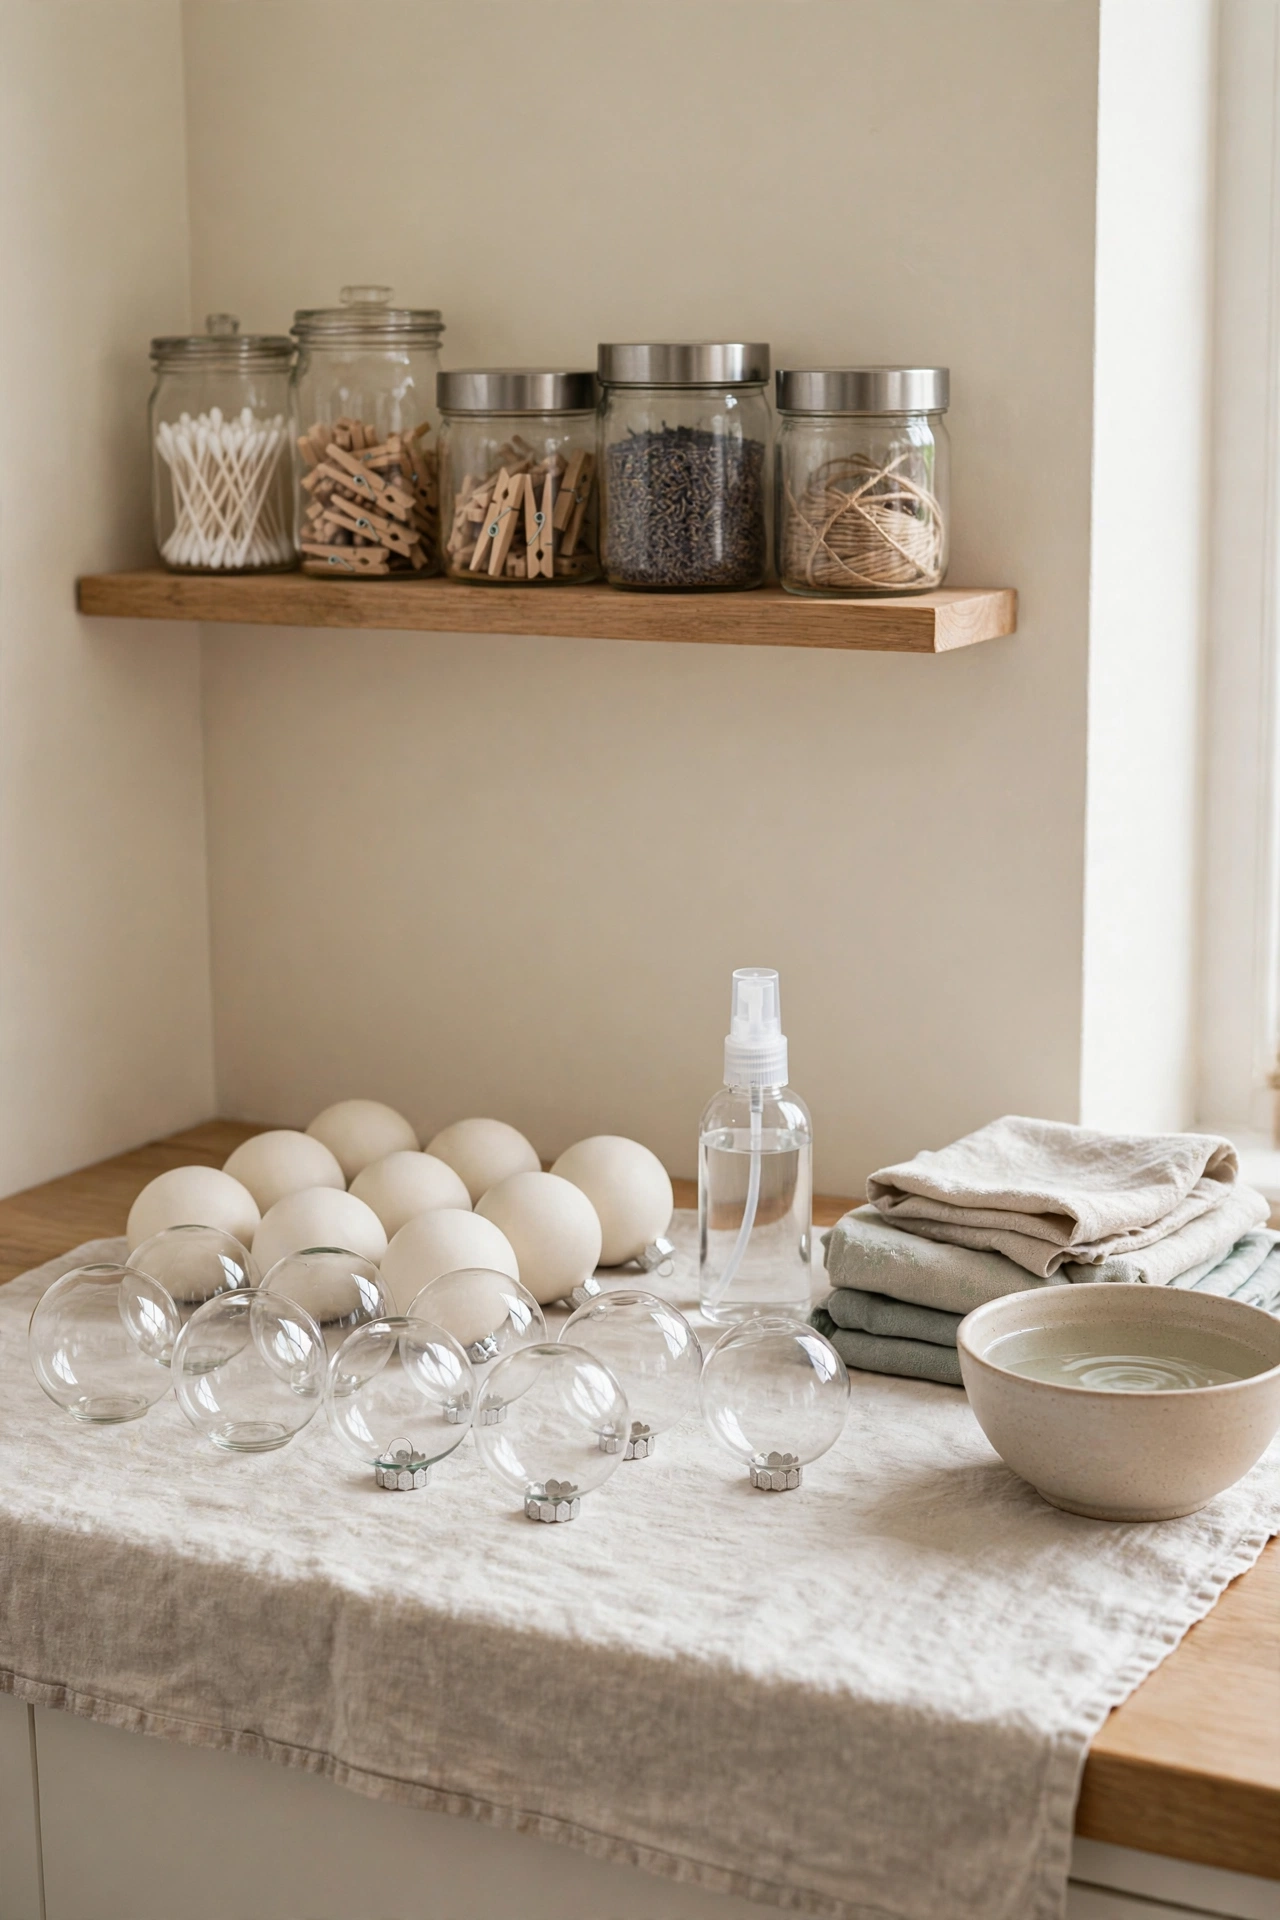
Blanks come home covered in factory dust, fingerprints and a faint oily film from packaging, and paint slides right off that film in sad little flakes a week later. So every blank gets washed in warm water with a drop of dish soap, rinsed, and left to dry fully on a linen towel. Glass and ceramic get a quick wipe with rubbing alcohol once they are dry. Wood slices get a light sand with fine sandpaper and a brush off, which takes seconds and makes paint glide instead of snag. Then comes the step almost nobody does at home and every maker does. A thin coat of primer, or a first coat of matte paint used as primer, gives color something to grip. It feels like a delay when you are eager to start. It is the reason my oldest handmade ornaments still look fresh after five Christmases in a storage box while my first rushed batch peeled by January.
4. Mix Muted Colors Instead of Using Paint Straight From the Pot
Craft paint straight from the pot is almost always too bright for a grown up tree.
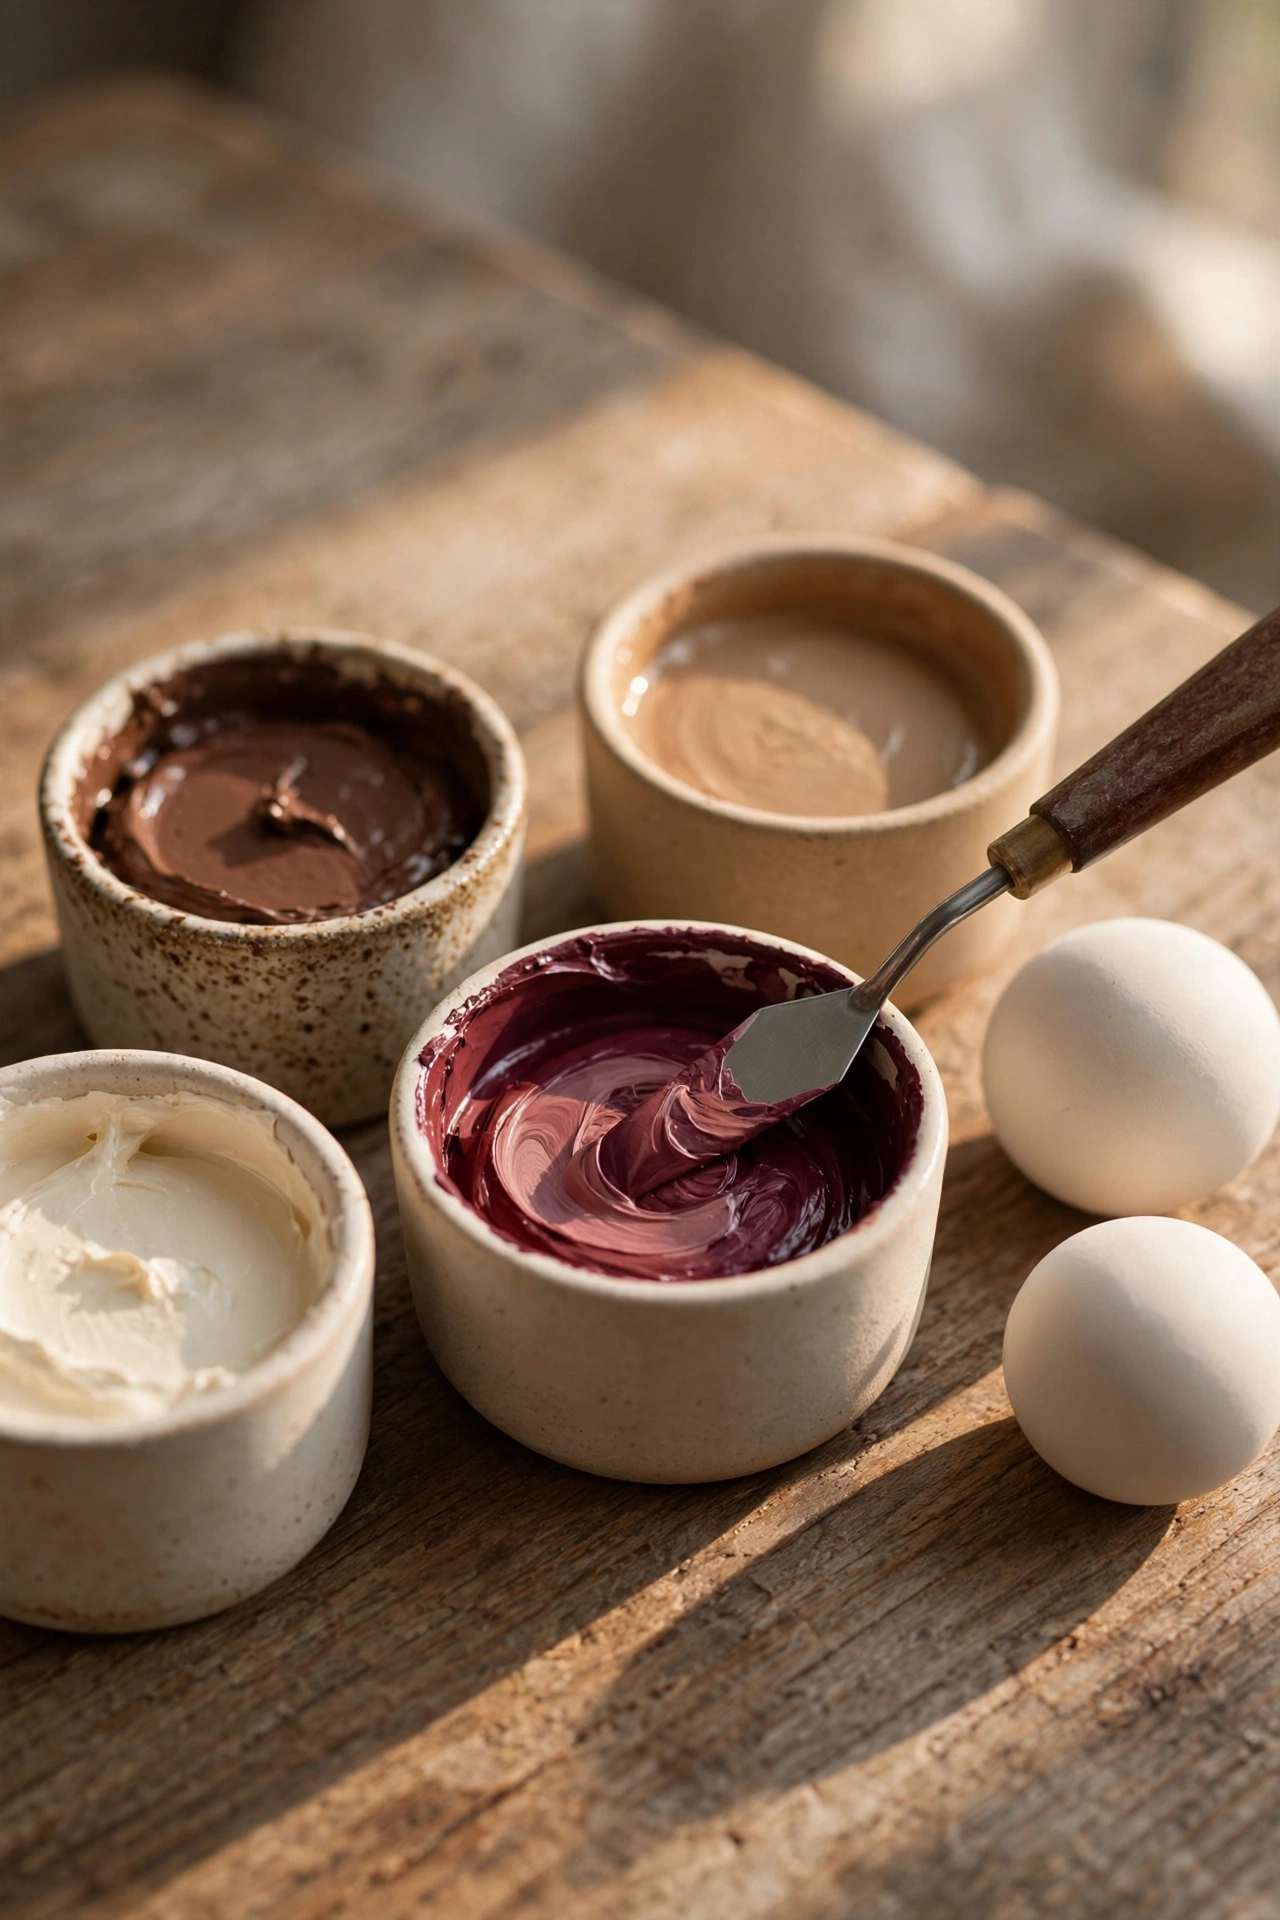
This is the step that changed everything for me. Pot colors are mixed for kids craft kits and classroom posters, so they come out bright, flat and a little bit loud. Boutique ornaments live in muted, dusty, complicated colors. The fix is easy and weirdly fun. I mix every color myself in small pots. Burgundy becomes burgundy plus a dot of chocolate brown and a whisper of black. Cream gets a drop of camel so it reads warm instead of stark. Olive gets a touch of gray so it sits quietly beside the tree instead of fighting it. I keep a notebook page for each mix, written in plain words like two parts burgundy, one part brown, a pea of black, because next year I will want these exact colors again and my memory will absolutely lie to me. Test each mix on the inside of a cap or on a spare blank and let it dry before you judge it, because paint dries darker and duller than it looks wet. Ten minutes of mixing buys you colors nobody can buy in a pot, and that is a large part of the artisan look.
5. Paint in Thin Layers and Honor the Drying Time
Two thin coats look like a factory finish. One thick coat looks like homework.
Every beginner, including past me, tries to cover a blank in one generous coat. Thick paint drips, pools at the bottom, shows every brush mark and dries with a lumpy skin that catches light in all the wrong places. Thin paint behaves. I thin my acrylic with a few drops of water until it moves like single cream, then I paint a coat so light it looks almost embarrassed, let it dry fully, and paint a second. A third if the color is pale. Between coats the ornament hangs from a branch stand or rests cap down in an egg carton so nothing touches the wet surface. The drying wait is real, about twenty minutes a coat, and I use it the way bakers use rising time. I make tea. I prep the next batch. I line up ribbons. What I never do anymore is hold a half dry ornament to check it, because a fingerprint pressed into tacky paint is forever. Patience at this stage is invisible in the process and completely visible in the result, which is the definition of a store finish.
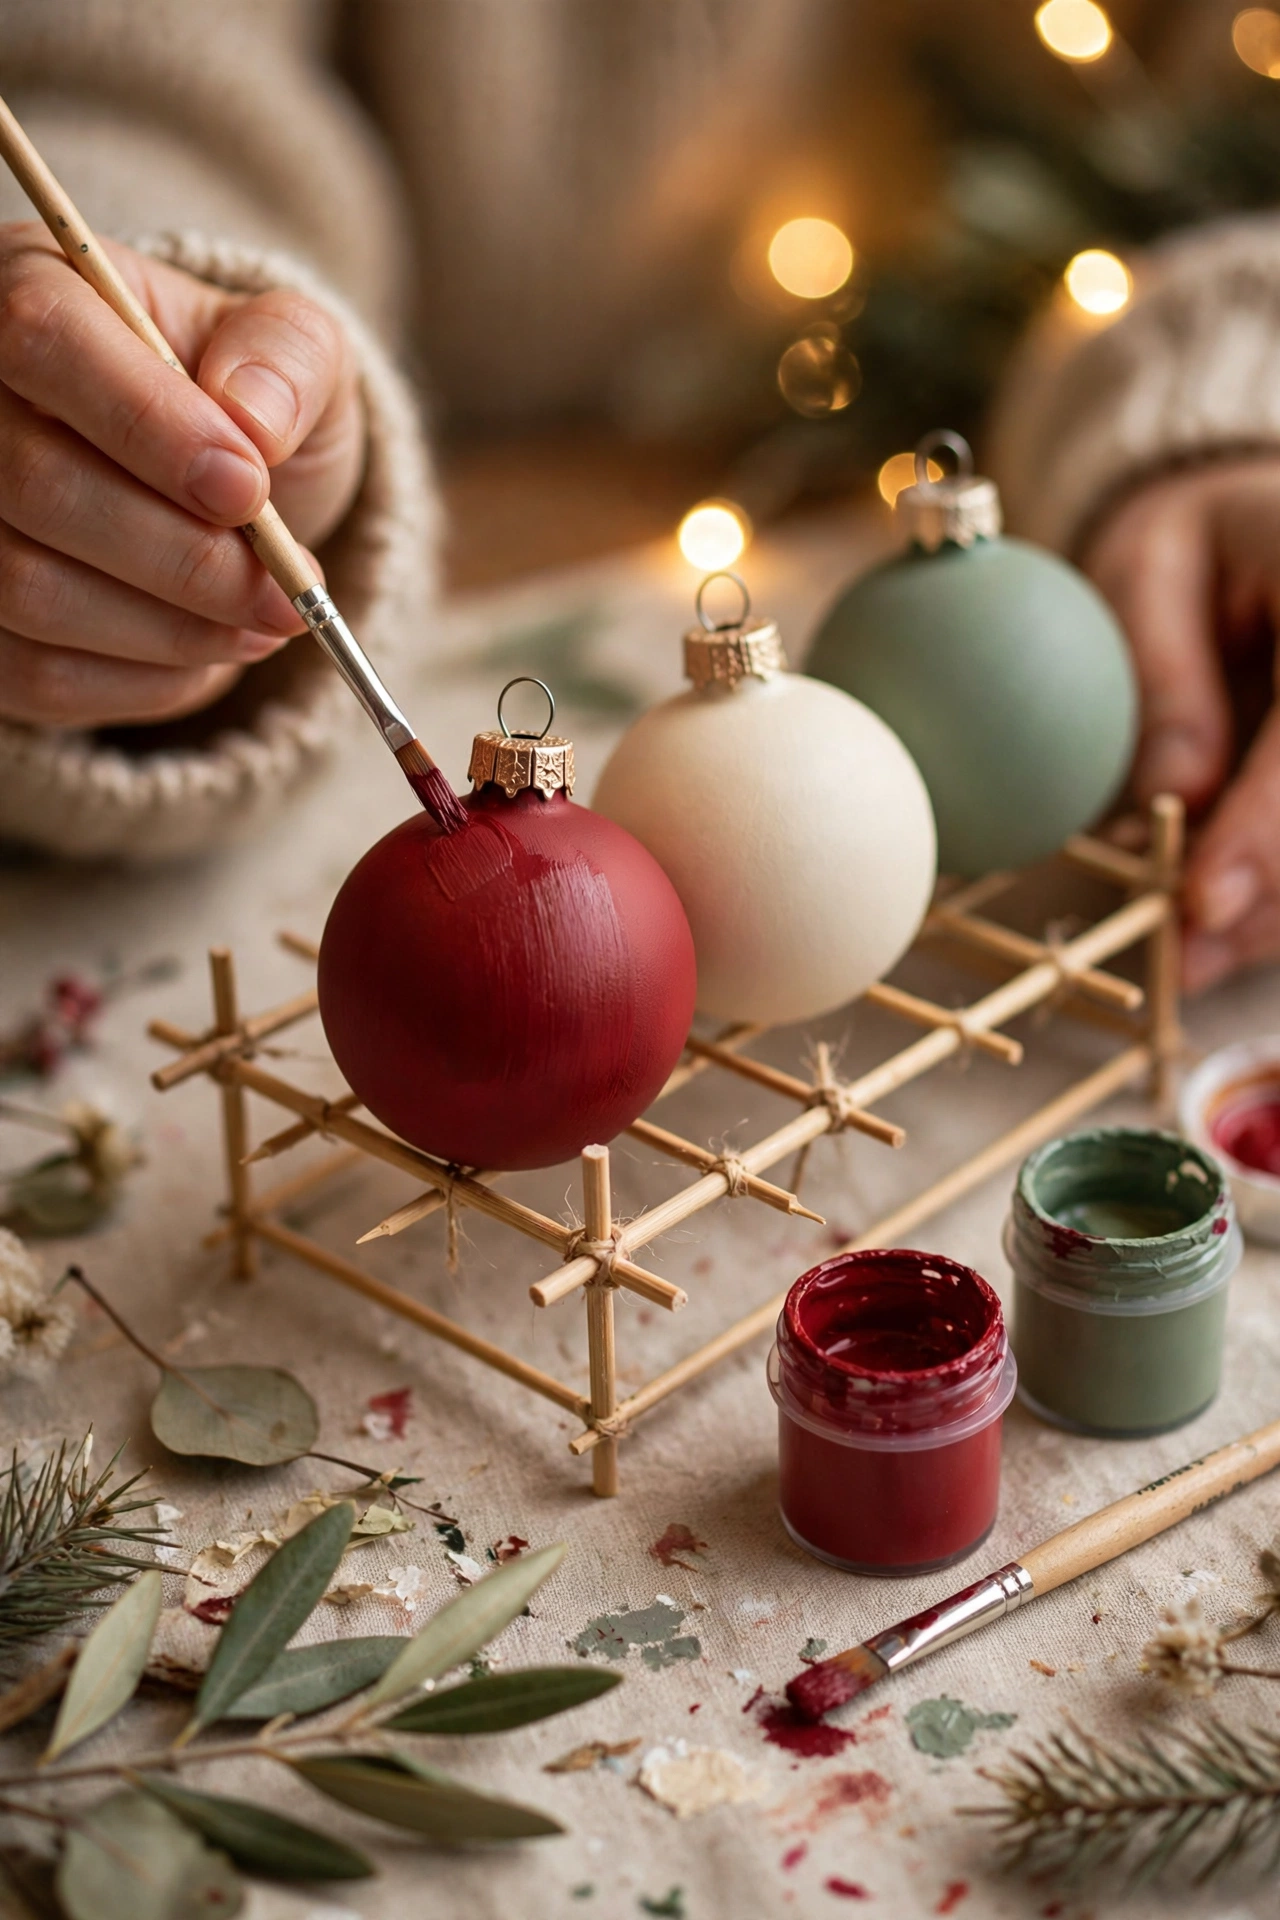
Color and Surface Tricks Borrowed From Boutique Shelves
With the foundations done, this is the playful middle of the project, the finishes themselves. I learned most of these by standing in shops turning expensive ornaments over in my hands and asking myself one question. What did the maker actually do here. The answers were almost always simpler than I expected. A matte surface. A fleck of metal. A print under a clear coat. None of it needs special talent. All of it needs the slow foundations from the first five steps underneath it, which is why the order of this guide matters. Pick two or three finishes from this section for your first year rather than attempting all six. A tree built on two finishes done well looks curated. A tree built on six finishes done in a rush looks confused.
6. Fake Velvet With Matte Paint and a Soft Touch
Matte paint with the shine killed is what your eyes read as velvet.
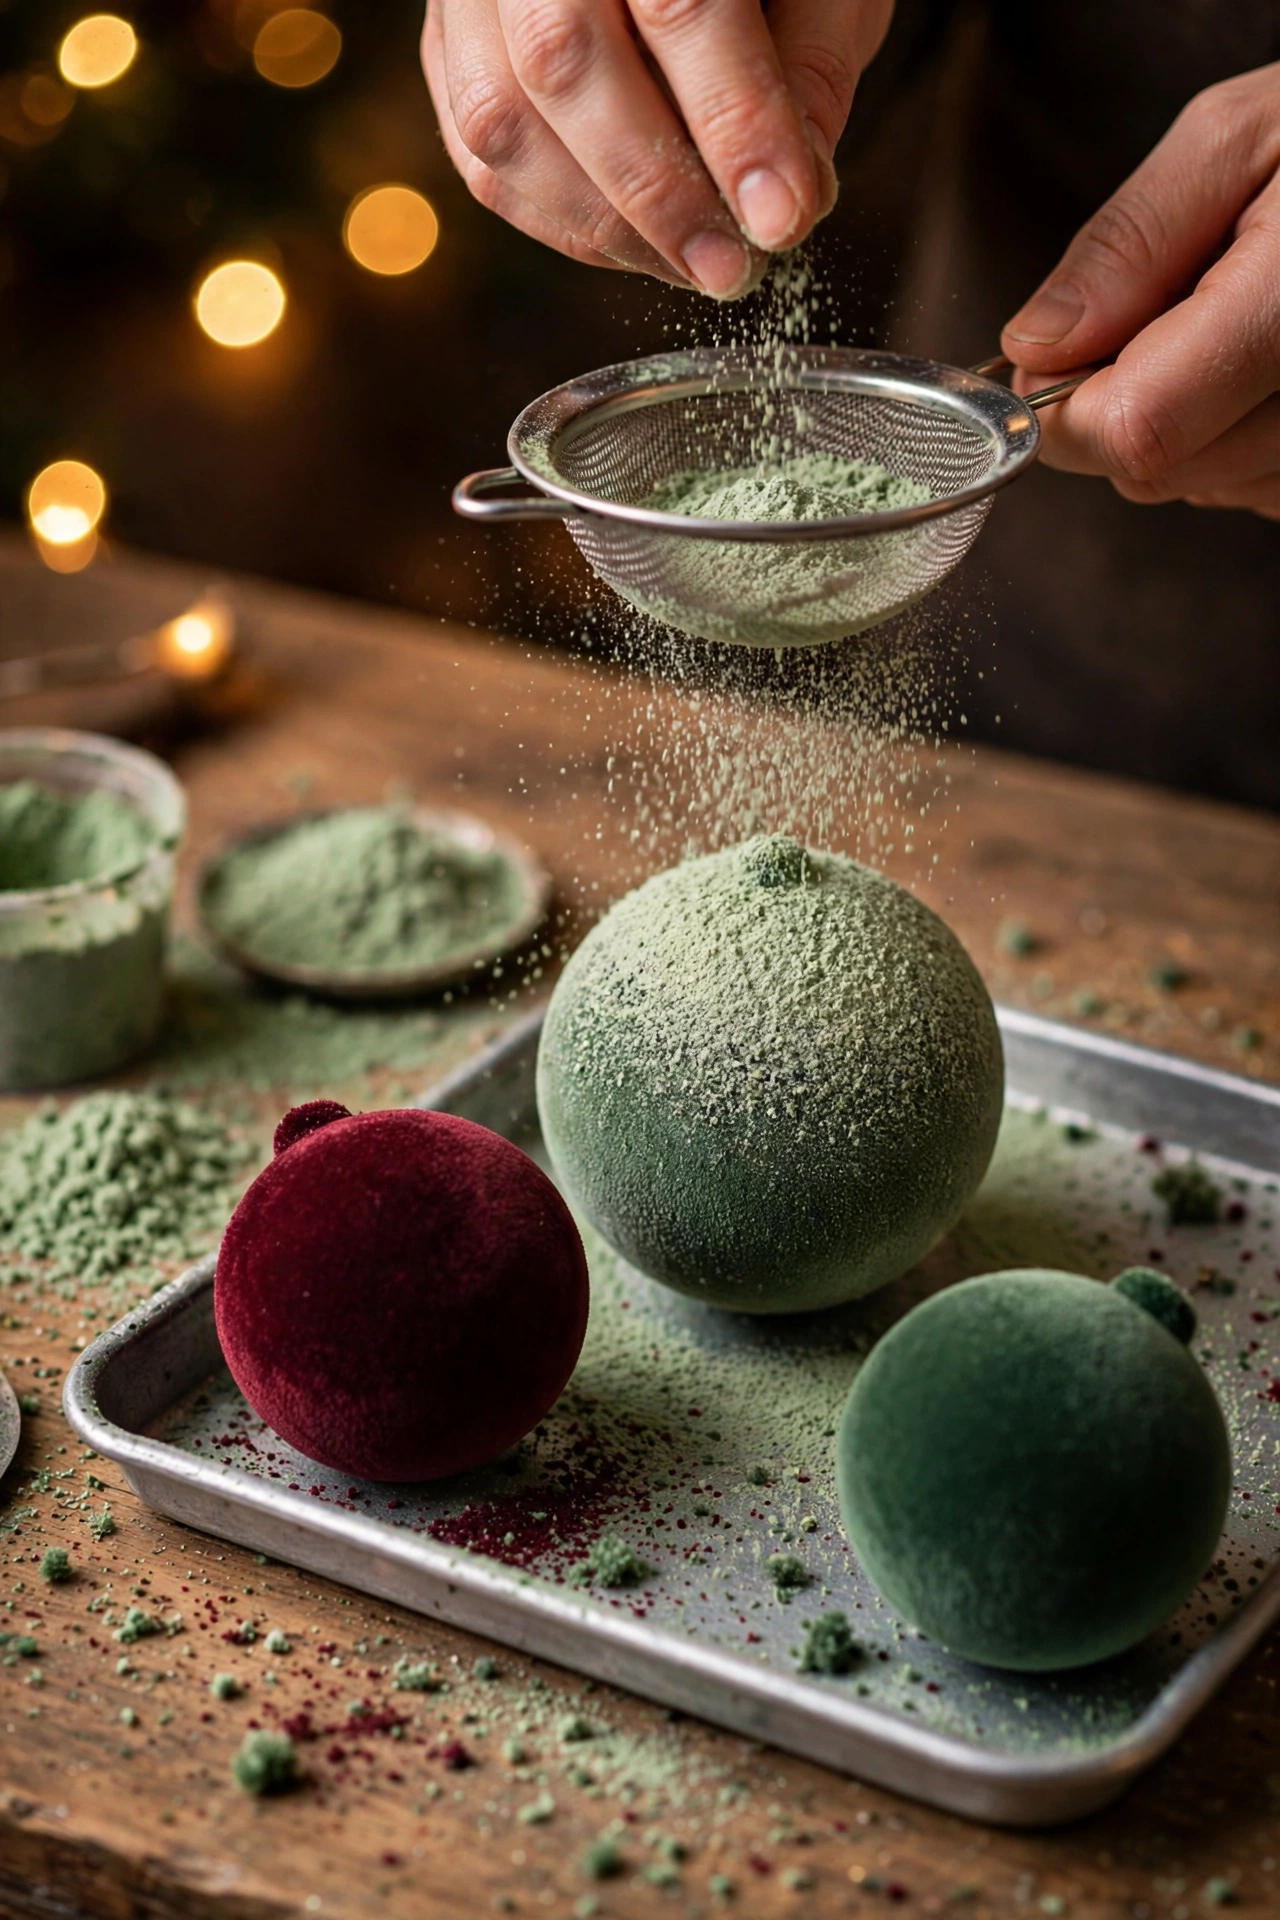
Velvet ornaments are the ones everyone reaches for in stores this year, helped along by the oversized velvet bow trend that has taken over Christmas styling. Real velvet flocking kits exist, but I get ninety percent of the effect with paint alone. The trick is a truly matte finish in a deep color, burgundy or chocolate brown or olive, applied in those thin patient coats from step five, then left completely alone. No gloss sealer. No sparkle. The flat surface drinks the light the way velvet does, and beside the glow of tree lights it looks plush and expensive. If you want to go one step further, a dusting of matte flocking powder pressed onto the final tacky coat gives a genuine soft nap you can feel with your thumb. I save these for the outside edges of the tree where lamplight hits them, because that is where their softness shows best. They are also the most forgiving finish for beginners, since a matte surface hides small brush marks that a glossy one would announce to the whole room.
7. Pour and Swirl for Marbled Ornaments With No Two Alike
A slow swirl of three muted colors gives you marble that nobody can copy.
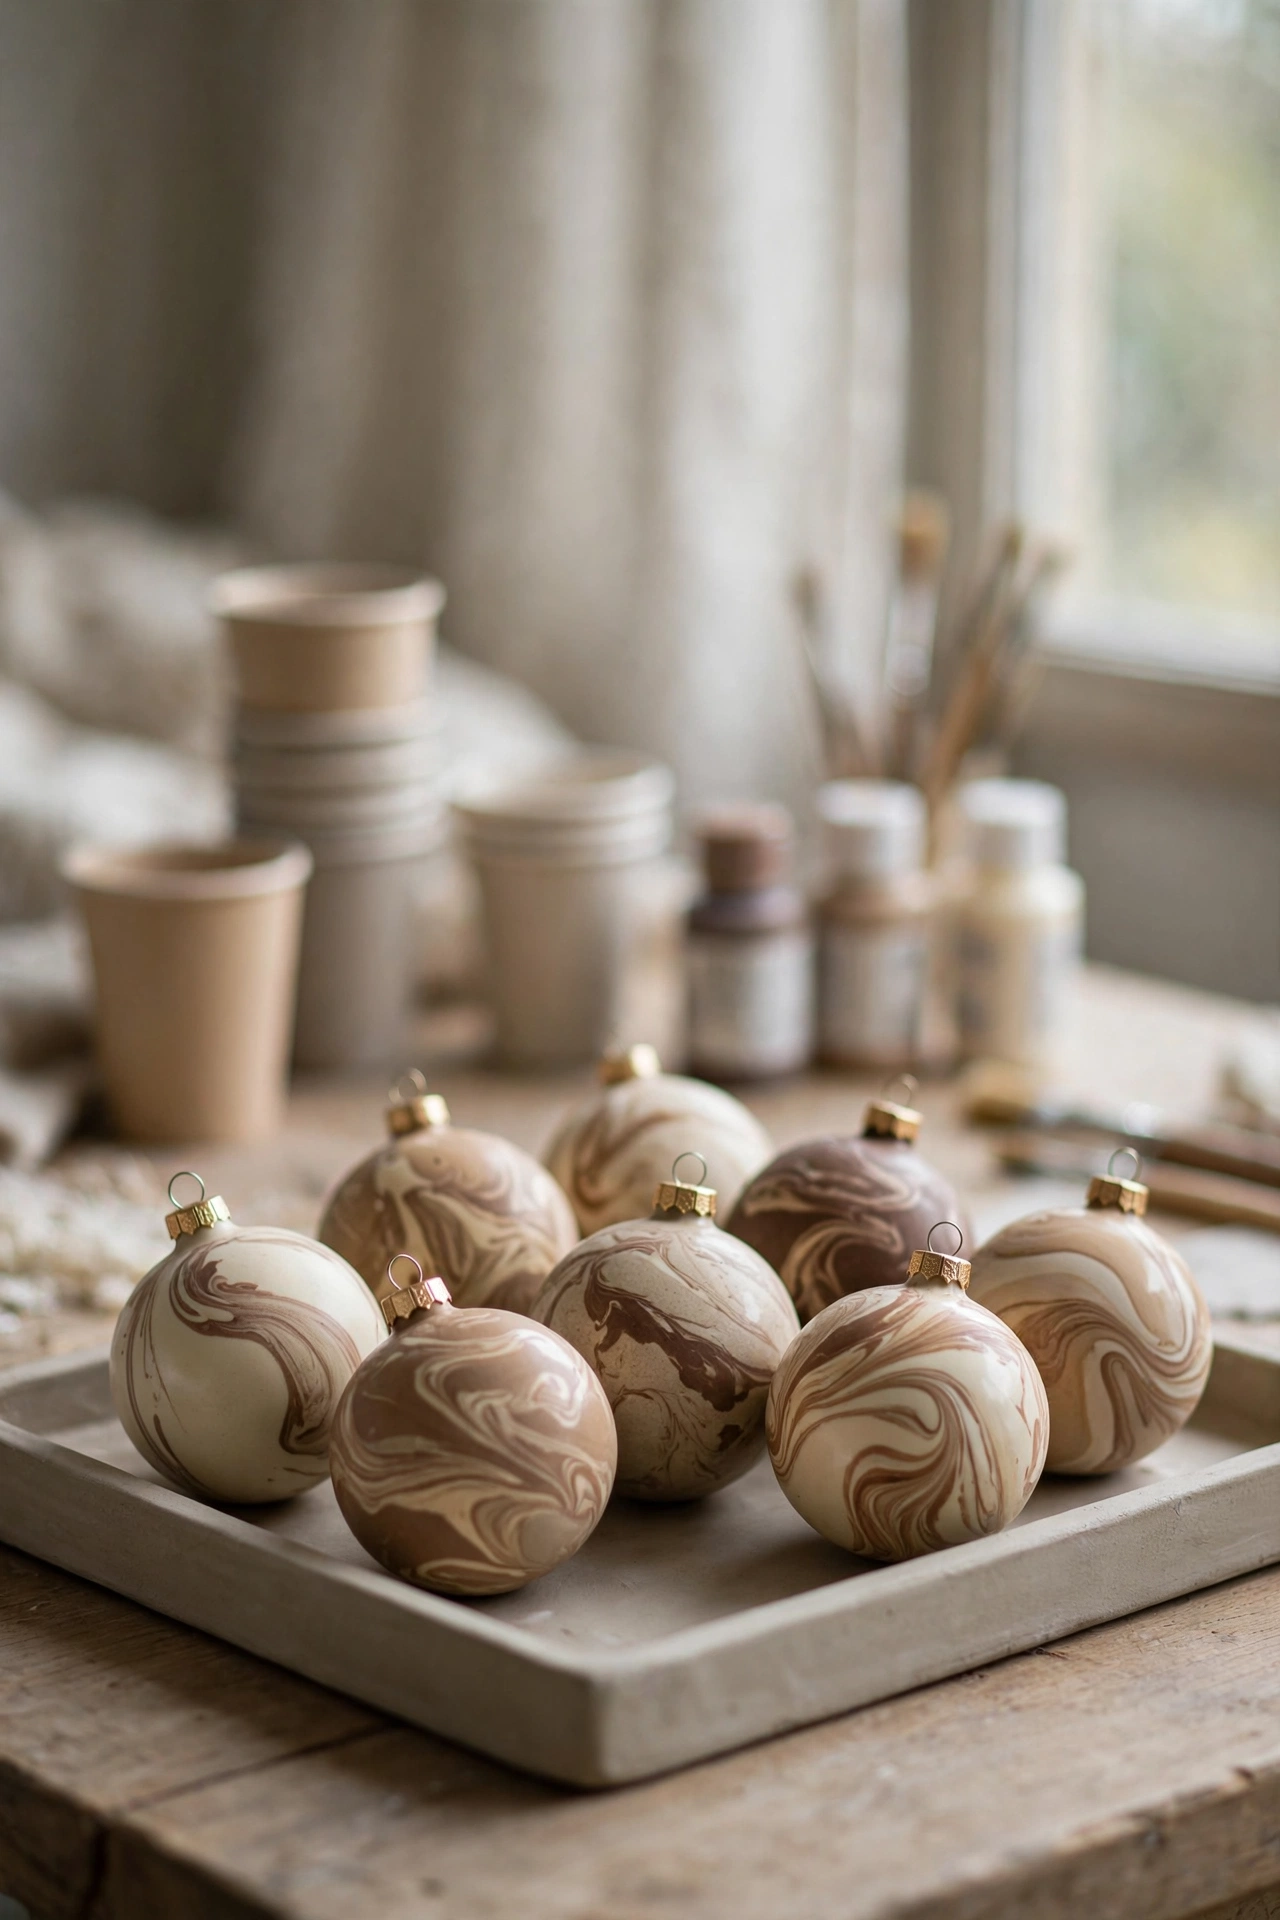
Marbled ornaments are my answer when someone says handmade all looks the same. These genuinely cannot repeat. I remove the cap from a clear bauble, drip in two or three spoonfuls of my muted paints in cream, camel and chocolate, then roll the bauble slowly in my hands so the paint crawls around the inside in soft rivers. Gravity does the artwork. I just steer. When the inside is covered, the bauble goes cap down over a paper cup overnight so the extra paint drains out, because a pool left inside will crack as it dries and spoil the glass smooth look. The paint belongs on the inside for this finish, and that one choice is why these look bought. Inside paint seen through clear walls has depth and shine built in, like real artisan glass ornaments, while the outside stays perfectly smooth to the touch. Every batch surprises me, and the ornaments that come out a little wild are always the ones guests ask about first.
8. Add Gold Leaf in Small Flecks, Never a Full Coat
A whisper of gold reads as luxury. A shout of gold reads as costume.
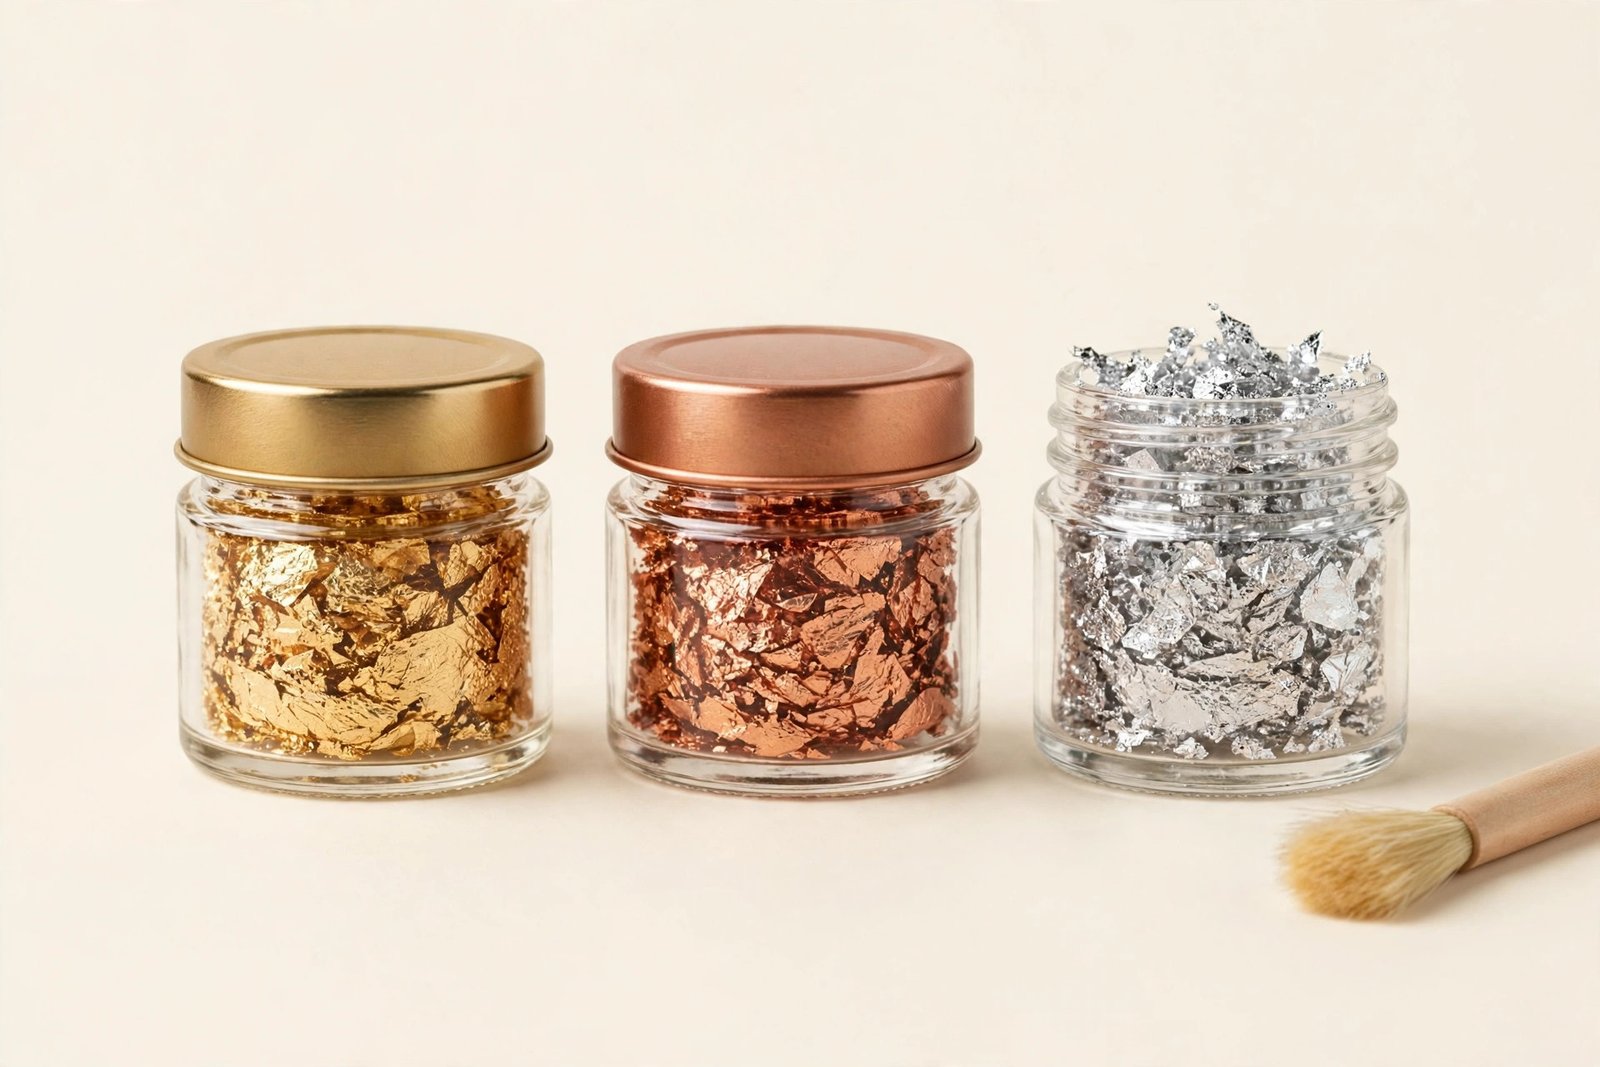
Gold leaf is the finish that makes visitors lower their voices a little, and it is also the easiest one to ruin with enthusiasm. I paint the ornament first in cream or burgundy and let it dry completely. Then I brush tiny patches of craft glue in places where wear would naturally happen, around the cap, along one side, in one soft cluster. When the glue turns tacky, I press on flakes of imitation gold leaf, let them sit, and brush the loose pieces away with a soft dry brush. What remains is broken, irregular, ancient looking metal that catches light in sparks. The secret is restraint and irregularity. Real aged metal never covers evenly, so my flecks never do either. A fully gilded ornament looks like a chocolate wrapper. A mostly painted ornament with gold worn into its edges looks like something found in a small European shop. I use the same gentle touch on my table styling, and I keep a bowl of these on the dining table, styled after the looks in my fall tablescape ideas, and it gets asked about at every single dinner.

9. Paint Tiny Botanicals With the Smallest Brush You Own
One simple leaf shape, repeated calmly, looks like a designer print.
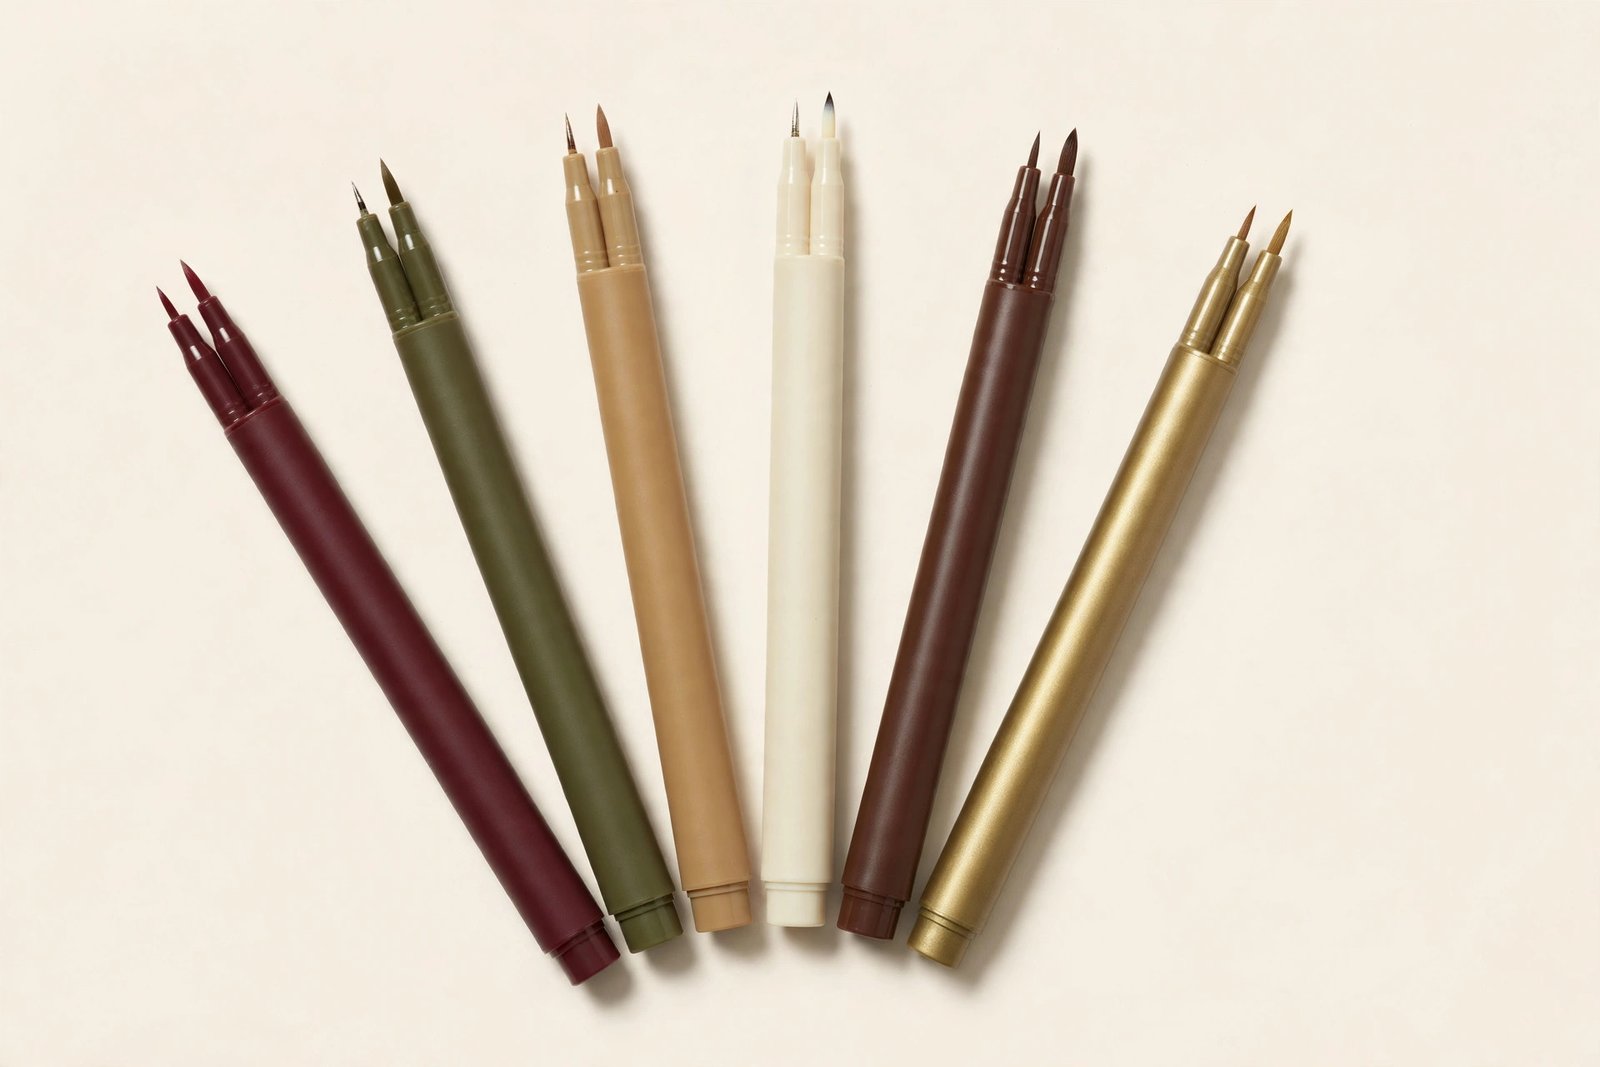
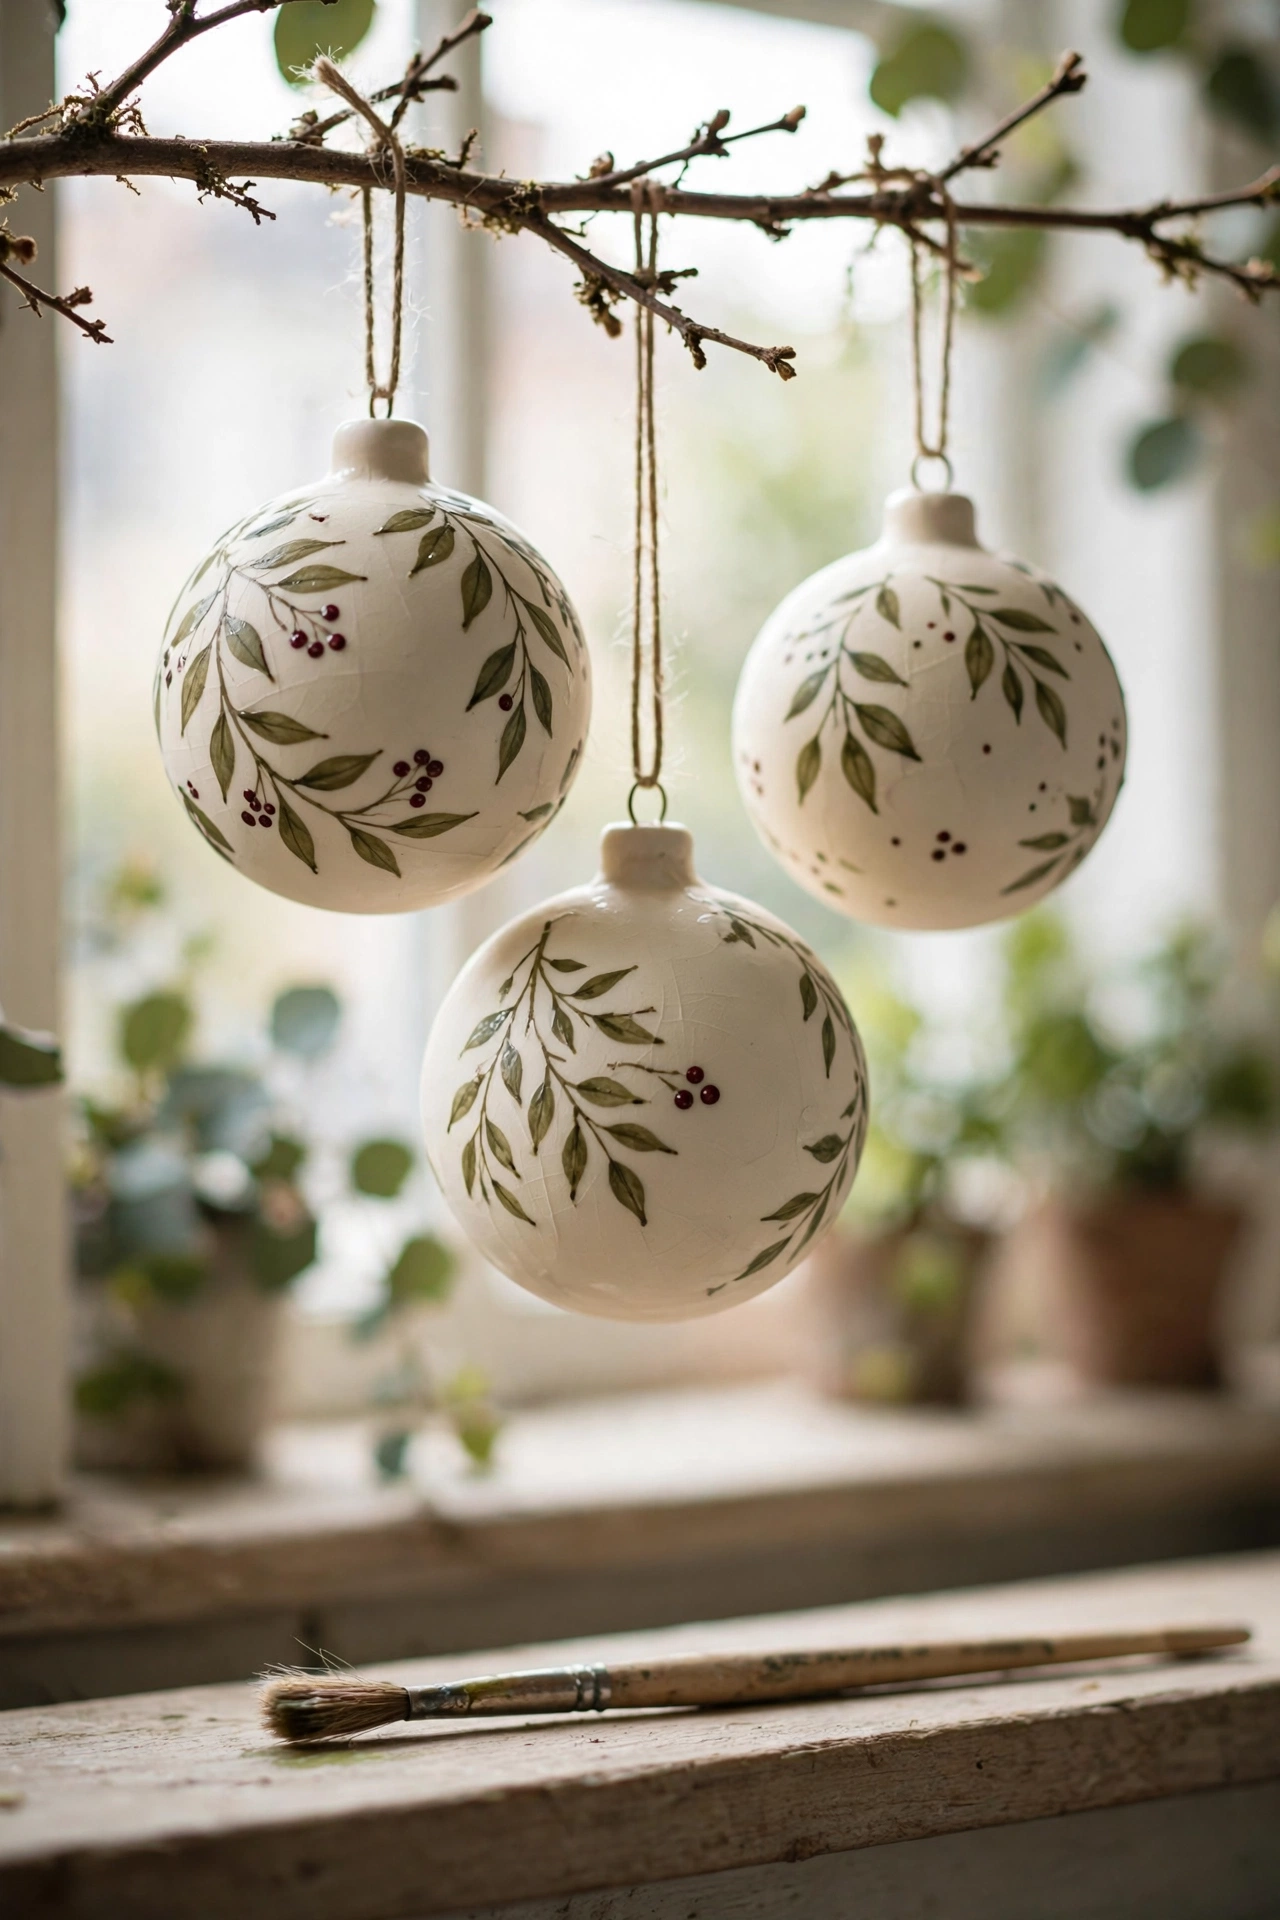
Hand painted ornaments sound like the step where talent is required, so let me talk you down. I cannot paint a rose. I can paint one small leaf, and that is the whole technique. A leaf is two curved strokes meeting at a point, with one line down the middle. Practise twenty of them on paper while the kettle boils and your hand will learn the shape. Then paint a loose sprig of those leaves in olive on a cream ceramic blank, add three tiny burgundy dots as berries, and stop. The power of this finish is repetition and restraint. The same simple sprig on twelve ornaments becomes a print, and prints are what designers sell. Paint pens help here more than brushes do for most people, because the flow is steady and the line stays even. If a sprig goes wrong, wipe it off with a damp cotton bud while it is wet and begin again on a clean spot. Nobody will ever know, and the finished set will look like it came from a studio shelf.
10. Decoupage With Paper Napkins for an Artisan Print
A pretty napkin under a clear coat becomes a print nobody can place.
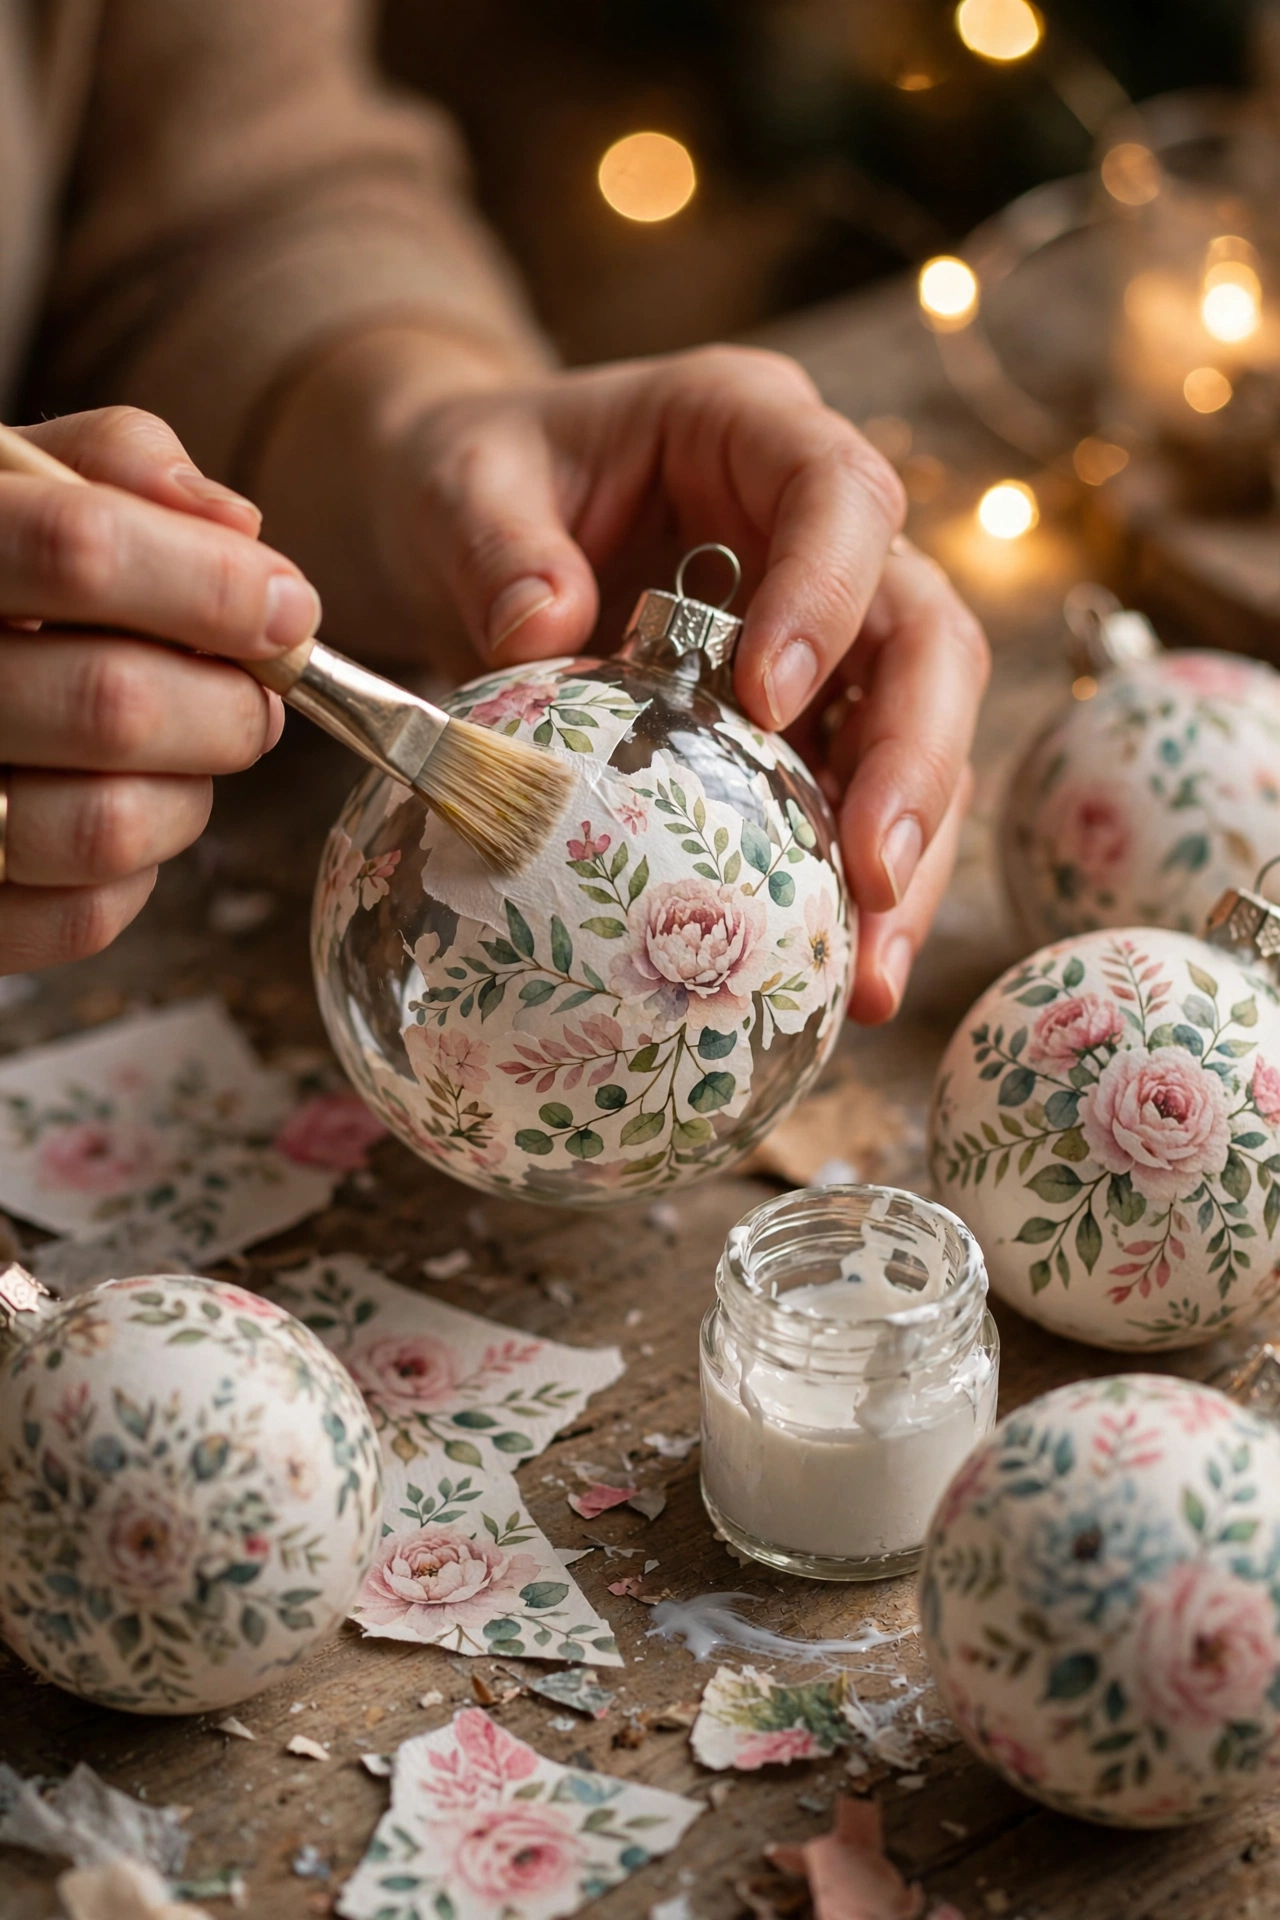
Decoupage is the oldest trick in this guide and still the one that fools the most people. Beautiful paper napkins carry prints designed by real illustrators, florals, birds, botanical studies, and the thin top layer of a napkin melts onto a curved bauble almost without wrinkles. I separate that printed layer, tear my motif out with soft edges rather than cutting it, because torn edges vanish under the coat while cut edges show as lines. The motif goes onto a cream painted blank with a thin layer of decoupage glue, smoothed outward from the center with a soft brush, then sealed with two more thin coats once dry. On the mantel these read as hand painted porcelain from across the room. I tuck them along the garland with the same styling I used in my fall mantel decor ideas, just swapped into Christmas colors, and the effect carries from one season to the next without buying a thing. Choose napkins in your palette only. A beautiful print in the wrong colors is still the wrong print.
11. Put the Glitter Inside the Bauble, Not on Your Floor
Glitter sealed inside clear walls sparkles forever and sheds never.
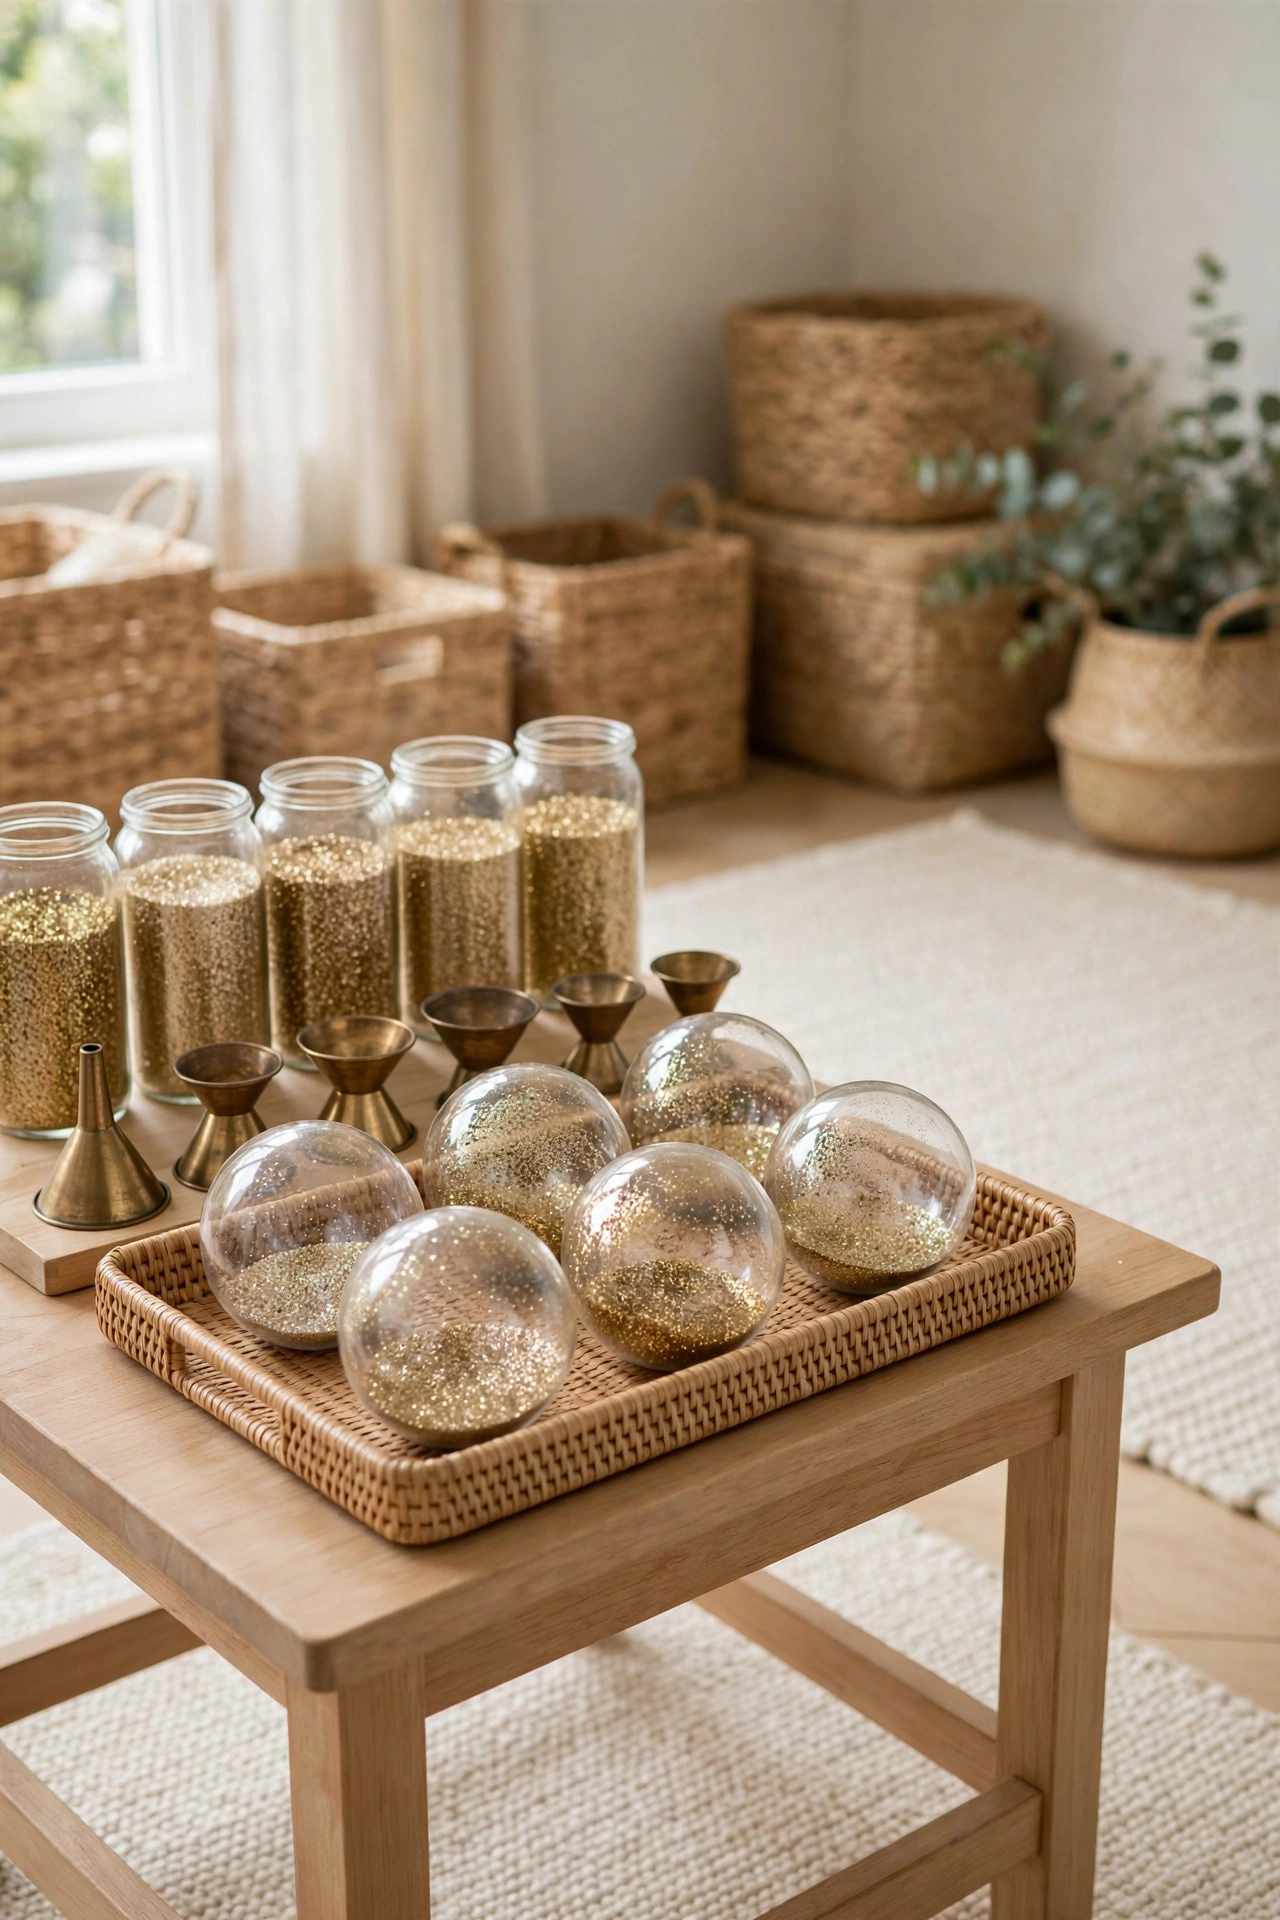
I have a firm house rule after one memorable year of finding glitter in the butter dish in March. Glitter goes inside the ornament or it does not go on at all. The method is simple. A clear bauble gets a small drizzle of clear craft glue or floor polish swirled around its inside until the walls are coated, the excess drains out, then a spoonful of fine glitter goes in and the bauble rolls slowly until every wall is covered. Cap back on, and the sparkle is sealed behind a smooth surface where no toddler, pet or storage box can knock it loose. Color choice matters more than glitter quantity here. Champagne, antique gold and soft copper glitter look like candlelight made solid. Bright silver and rainbow mixes look like party supplies. Fine glitter also beats chunky glitter, because it coats evenly and glows rather than flashes. These are the ornaments I hang deepest in the tree near the lights, where their sealed sparkle does the work of a second set of lights.
Fill, Wrap and Build Ornaments From What Nature Gives You
The finishes in this section cost the least and charm the most, because they trade paint for texture. Dried slices of orange, tiny pinecones, salt that sparkles like snow, slices of real wood, scraps of linen and velvet left from other projects. These are the ornaments that make a tree feel gathered over time rather than bought in one afternoon, and gathered is the feeling at the heart of Christmas styling right now. They are also wonderfully forgiving for kids and beginners to help with, because nature supplies the beauty and we mostly supply the arranging. Keep the palette rule in force here too. Natural materials already live in cream, camel, olive and chocolate, which is exactly why they sit so happily on a muted tree.
12. Fill Clear Baubles With Dried Botanicals and Pantry Treasures
A clear bauble is a tiny display case, and restraint is what makes it elegant.
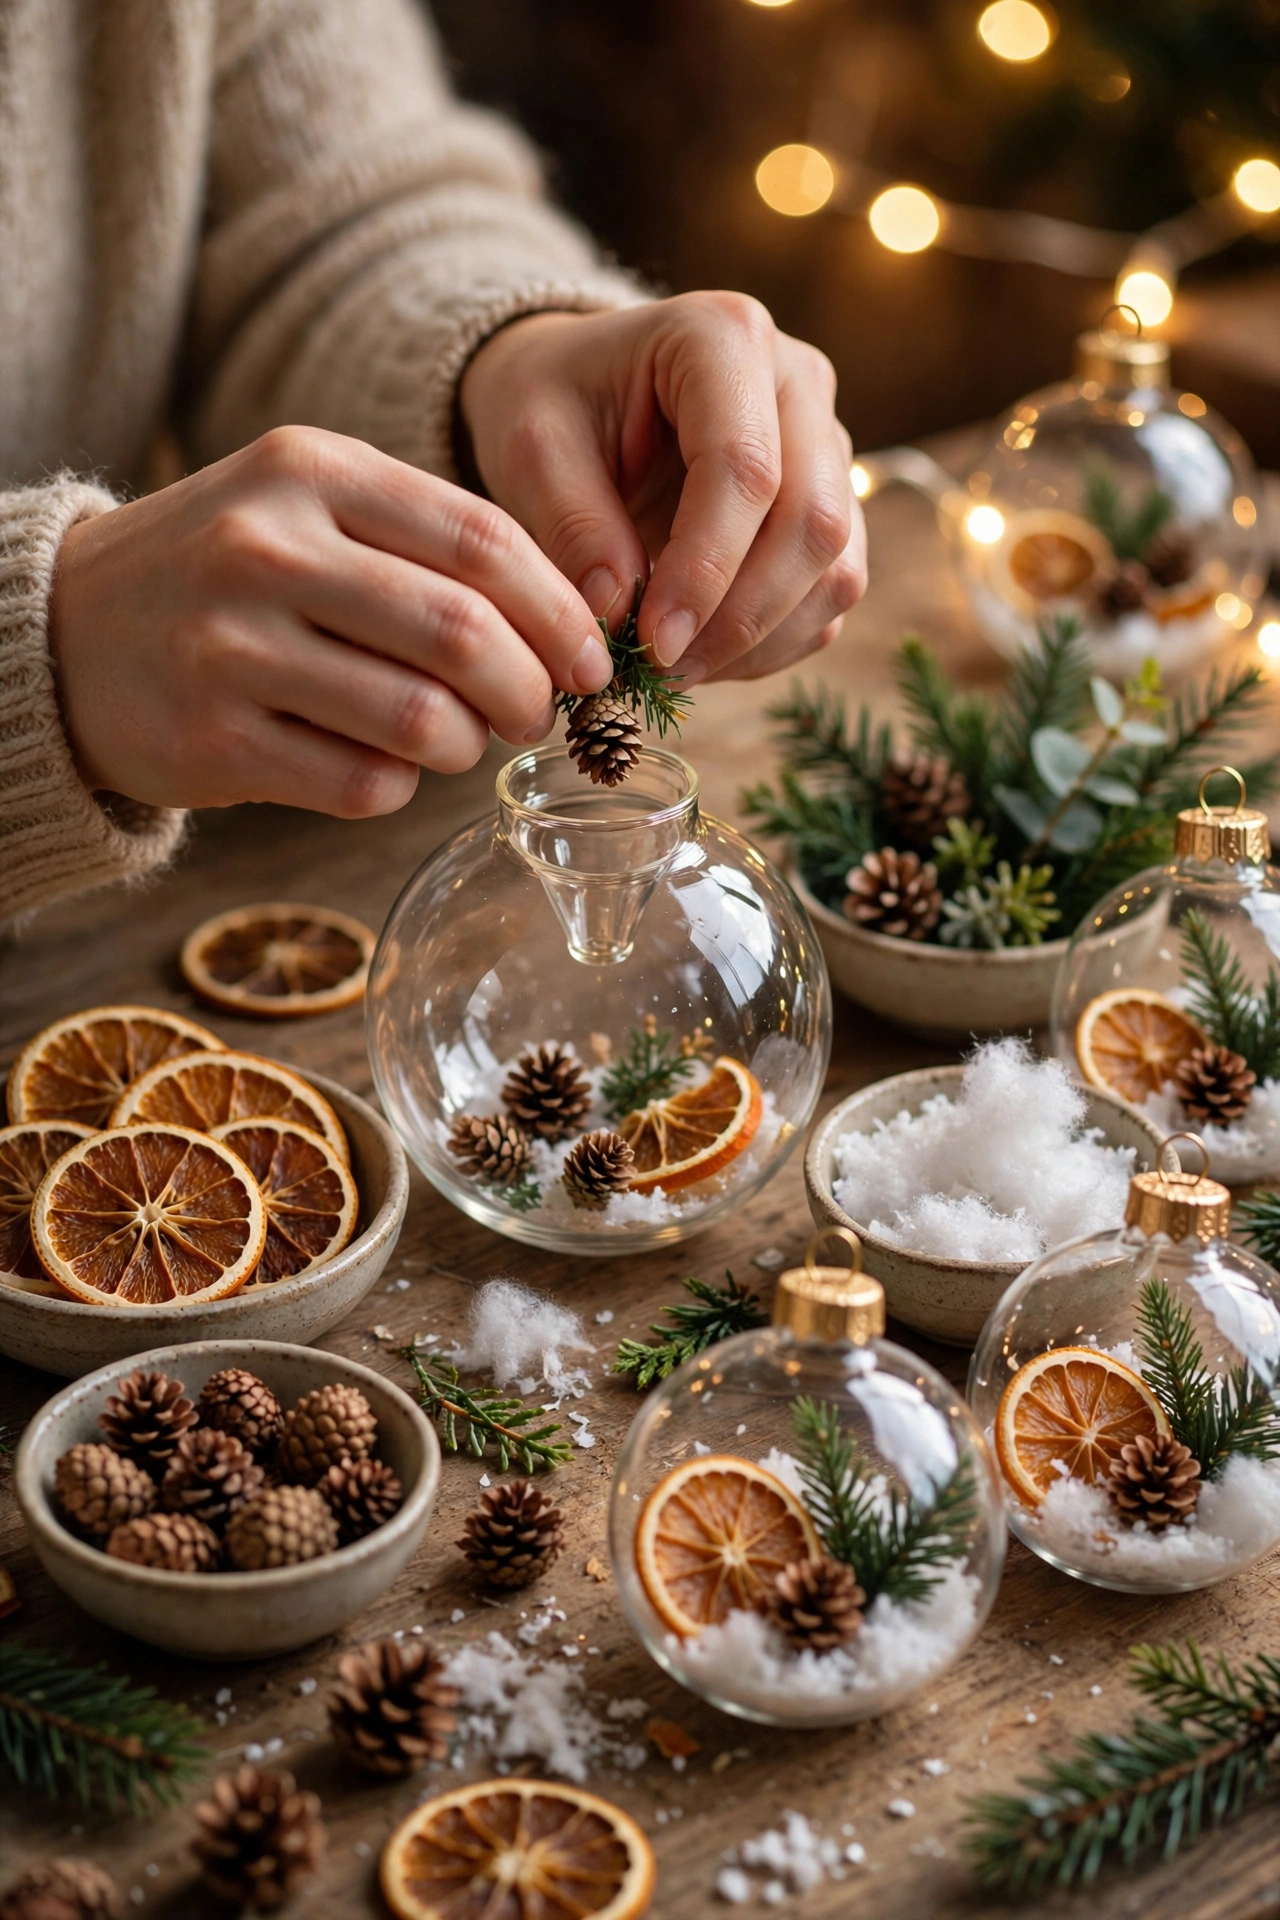
Filled baubles fail in one predictable way. People stuff them. A bought display bauble holds very little, chosen carefully, with air around it. I fill mine about a third full at most. Dried orange slices folded gently, a few star anise, one tiny pinecone, a sprig of dried greenery, a cinnamon stick snapped to fit. I build each one on the table first, look at the little arrangement, remove one thing, and only then put it inside. Curled wood shavings or a spoonful of faux snow make a soft bed that holds pieces apart so each one can be seen. Because the fillings are light, these ornaments can hang on real branch tips without dragging them down, and because everything inside is dry, they store beautifully and come out next year looking exactly as they went in. Guests always lean in close to these, and close looking is the highest compliment a tree can get.
13. Roll Ornaments in Epsom Salt for a Fresh Snow Finish
Coarse salt over white paint sparkles like real snow and costs pennies.
The snow ornaments in expensive shops are usually just texture plus white, and the texture is easy to steal. I paint a blank matte white and let it dry. Then I brush on a coat of decoupage glue in sections and roll the ornament in a shallow dish of Epsom salt, which has big irregular crystals that catch light the way fresh snow does. A gentle press, a shake to drop the loose grains, and the section is done. Once the whole ornament is covered and dry, a light spray of clear matte sealer locks the crystals in place so they survive handling and storage. The finish looks best in groups of three or five on the tree, like snow that landed in one corner. It also photographs beautifully, which matters if your tree ends up in family cards. Table salt is too fine and reads as dust, and sugar is a mistake I only made once, for reasons involving ants that I will leave to your imagination.

14. Turn Wood Slices Into Painted Keepsakes
Real wood, a painted center and a twine loop is the whole rustic recipe.
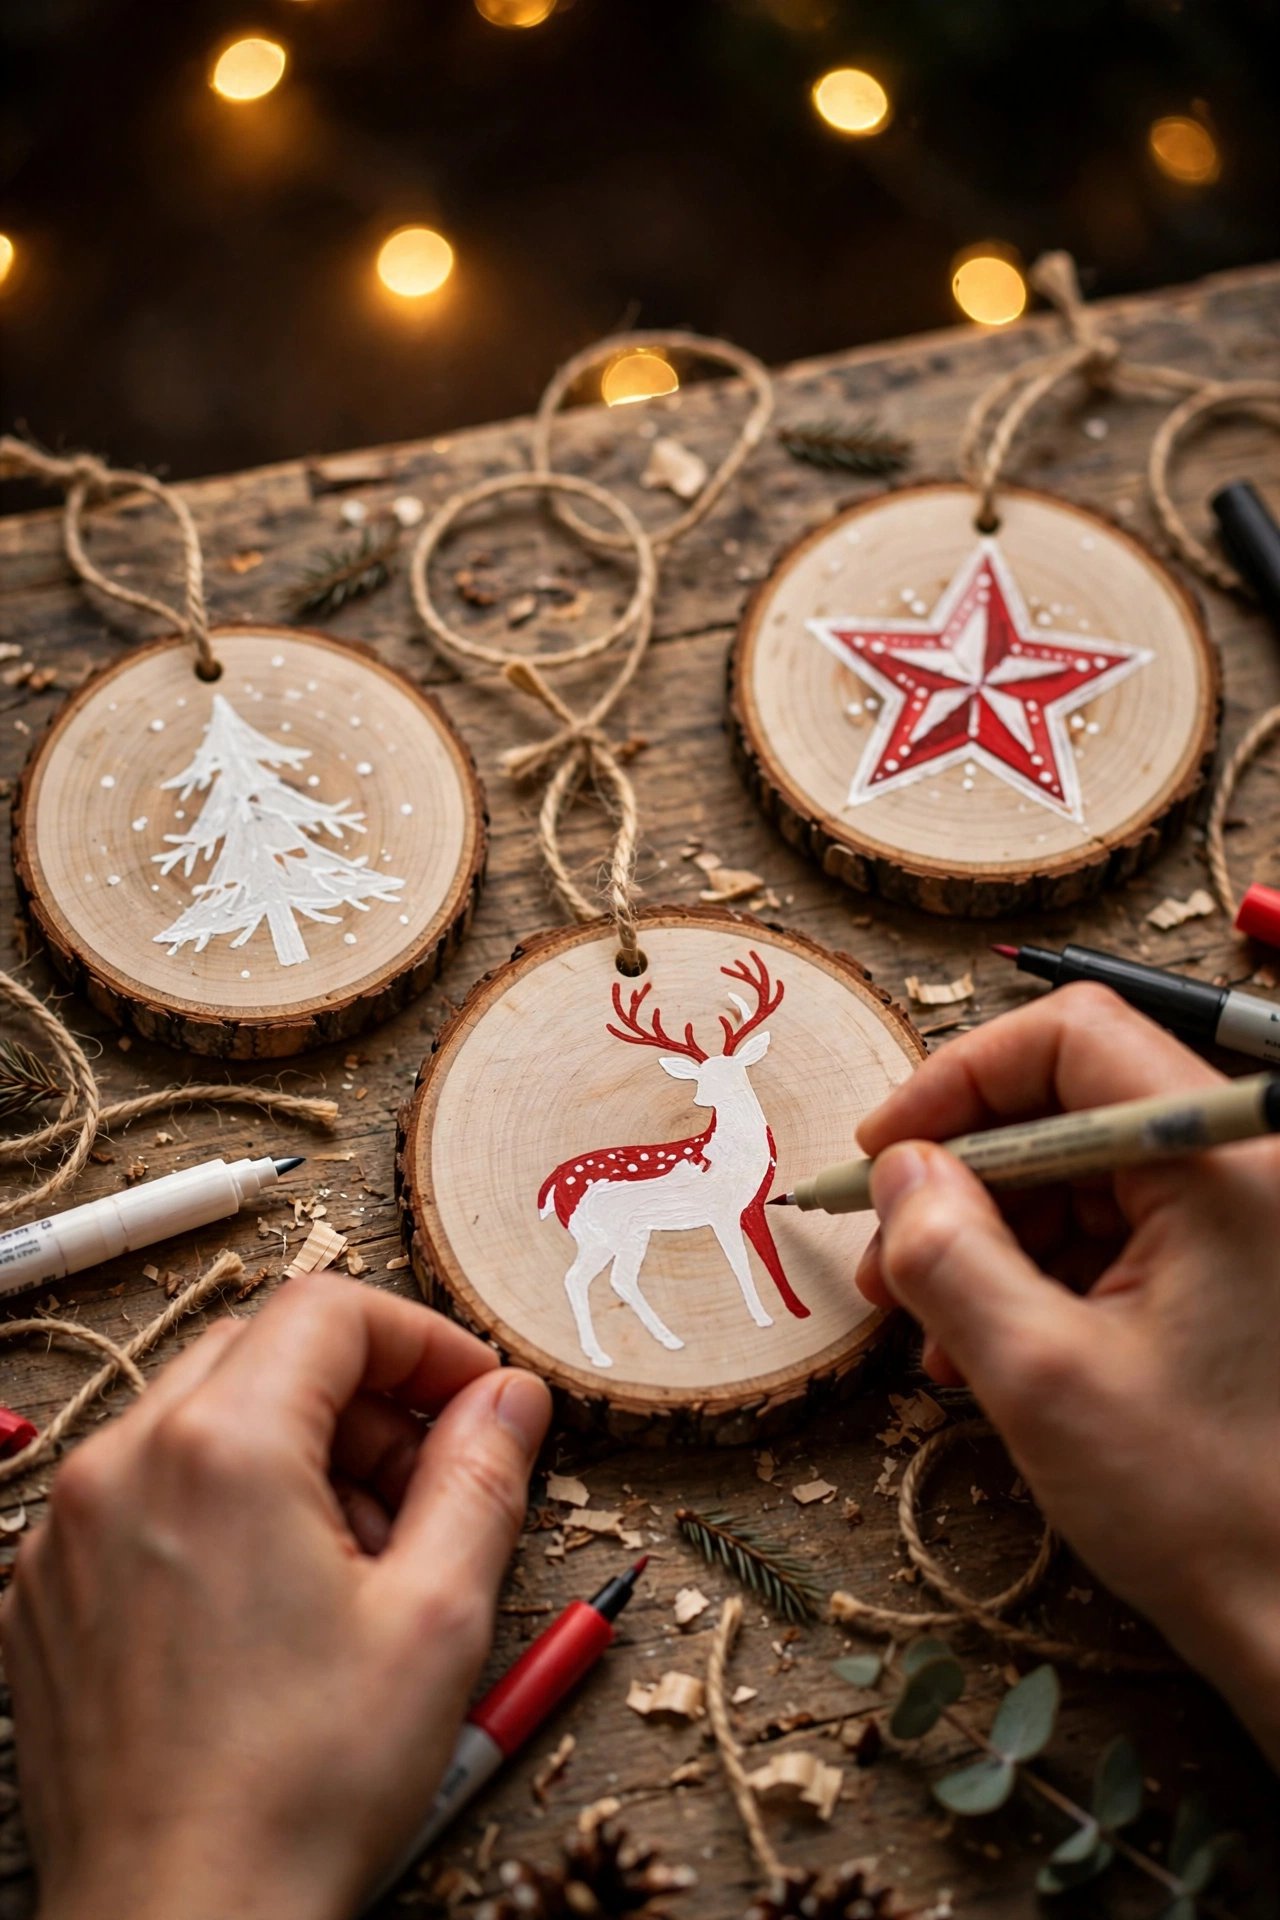
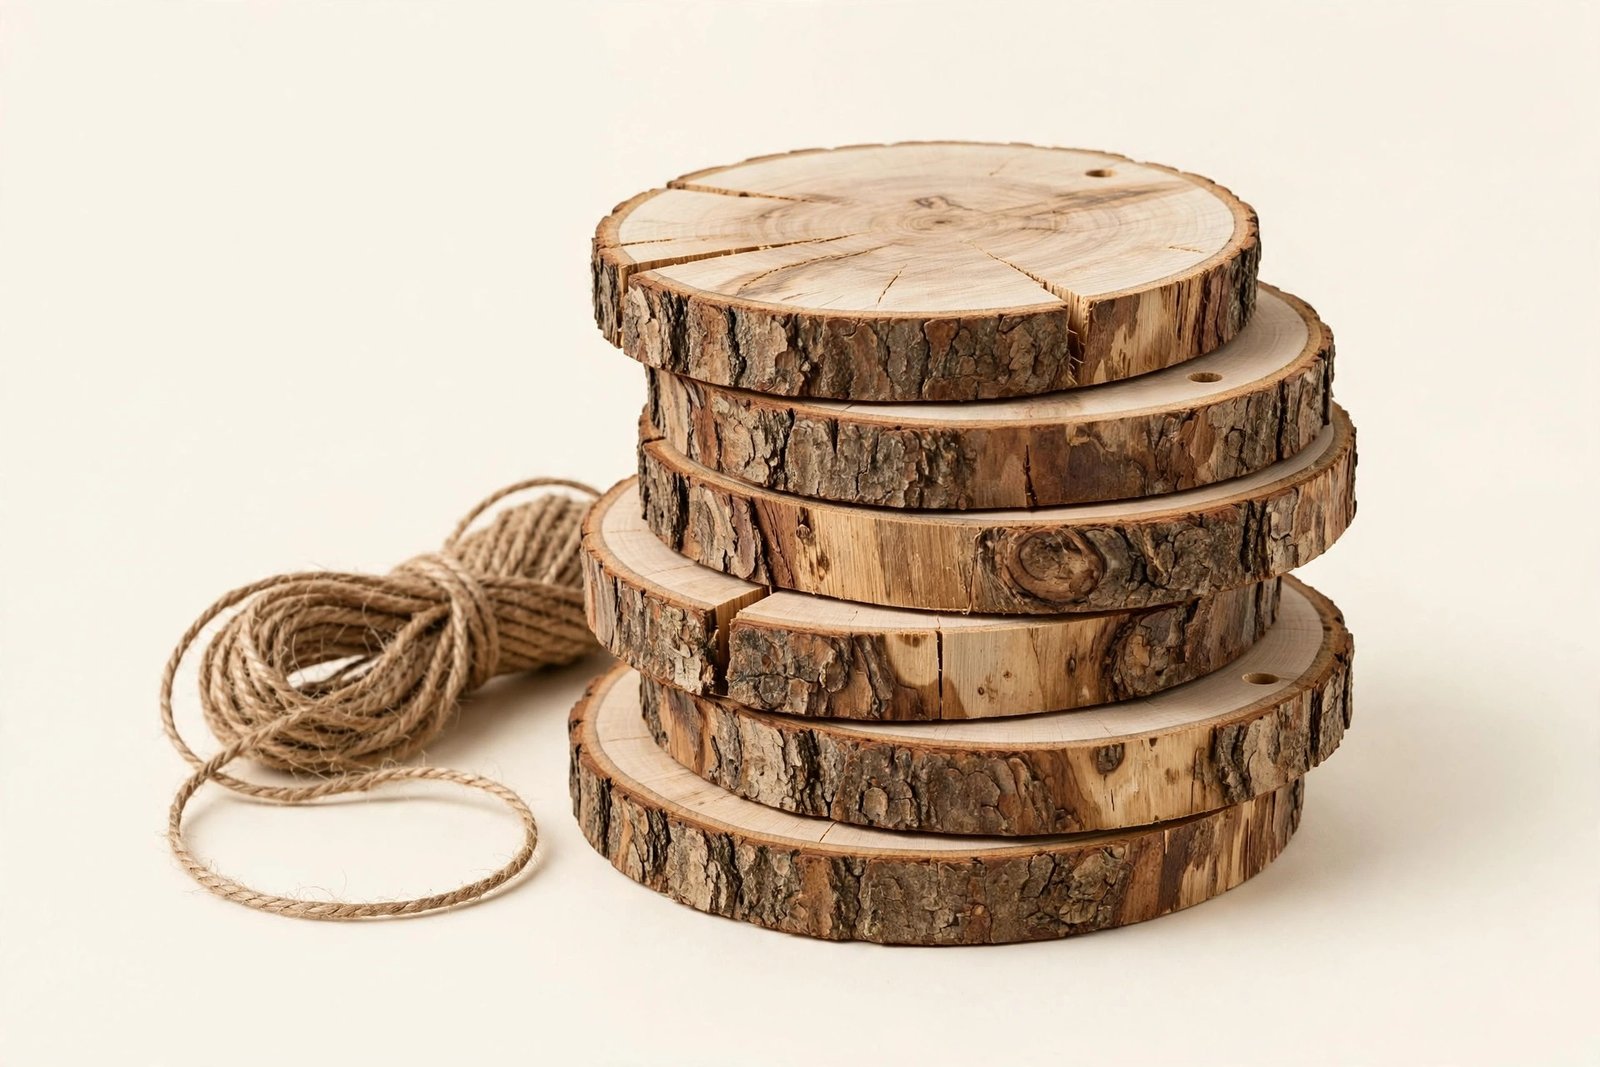
Wood slice ornaments are the ones friends ask to take home, so I always make extras. A slice with its bark edge left natural already looks like it came from a craft market. I sand the face smooth, paint a soft circle of cream or burgundy in the center and leave a ring of bare wood showing, because that bare ring is what makes it read as wood rather than as a painted disc. Inside the circle goes one small motif from step nine, a leaf sprig, a star, a tiny tree, or a single gold initial. The bark stays unpainted and unsealed so it keeps its rough honesty, while the painted face gets one clear coat for protection. These hang beautifully from jute twine and they stack flat in a box with tissue between them, which makes them the easiest ornaments I own to store. They also make the best gifts in this whole guide, especially with a year written in small gold numbers on the back.
15. Wrap Baubles in Linen and Velvet Scraps
Fabric hides a tired old bauble completely and adds the softness trees need.
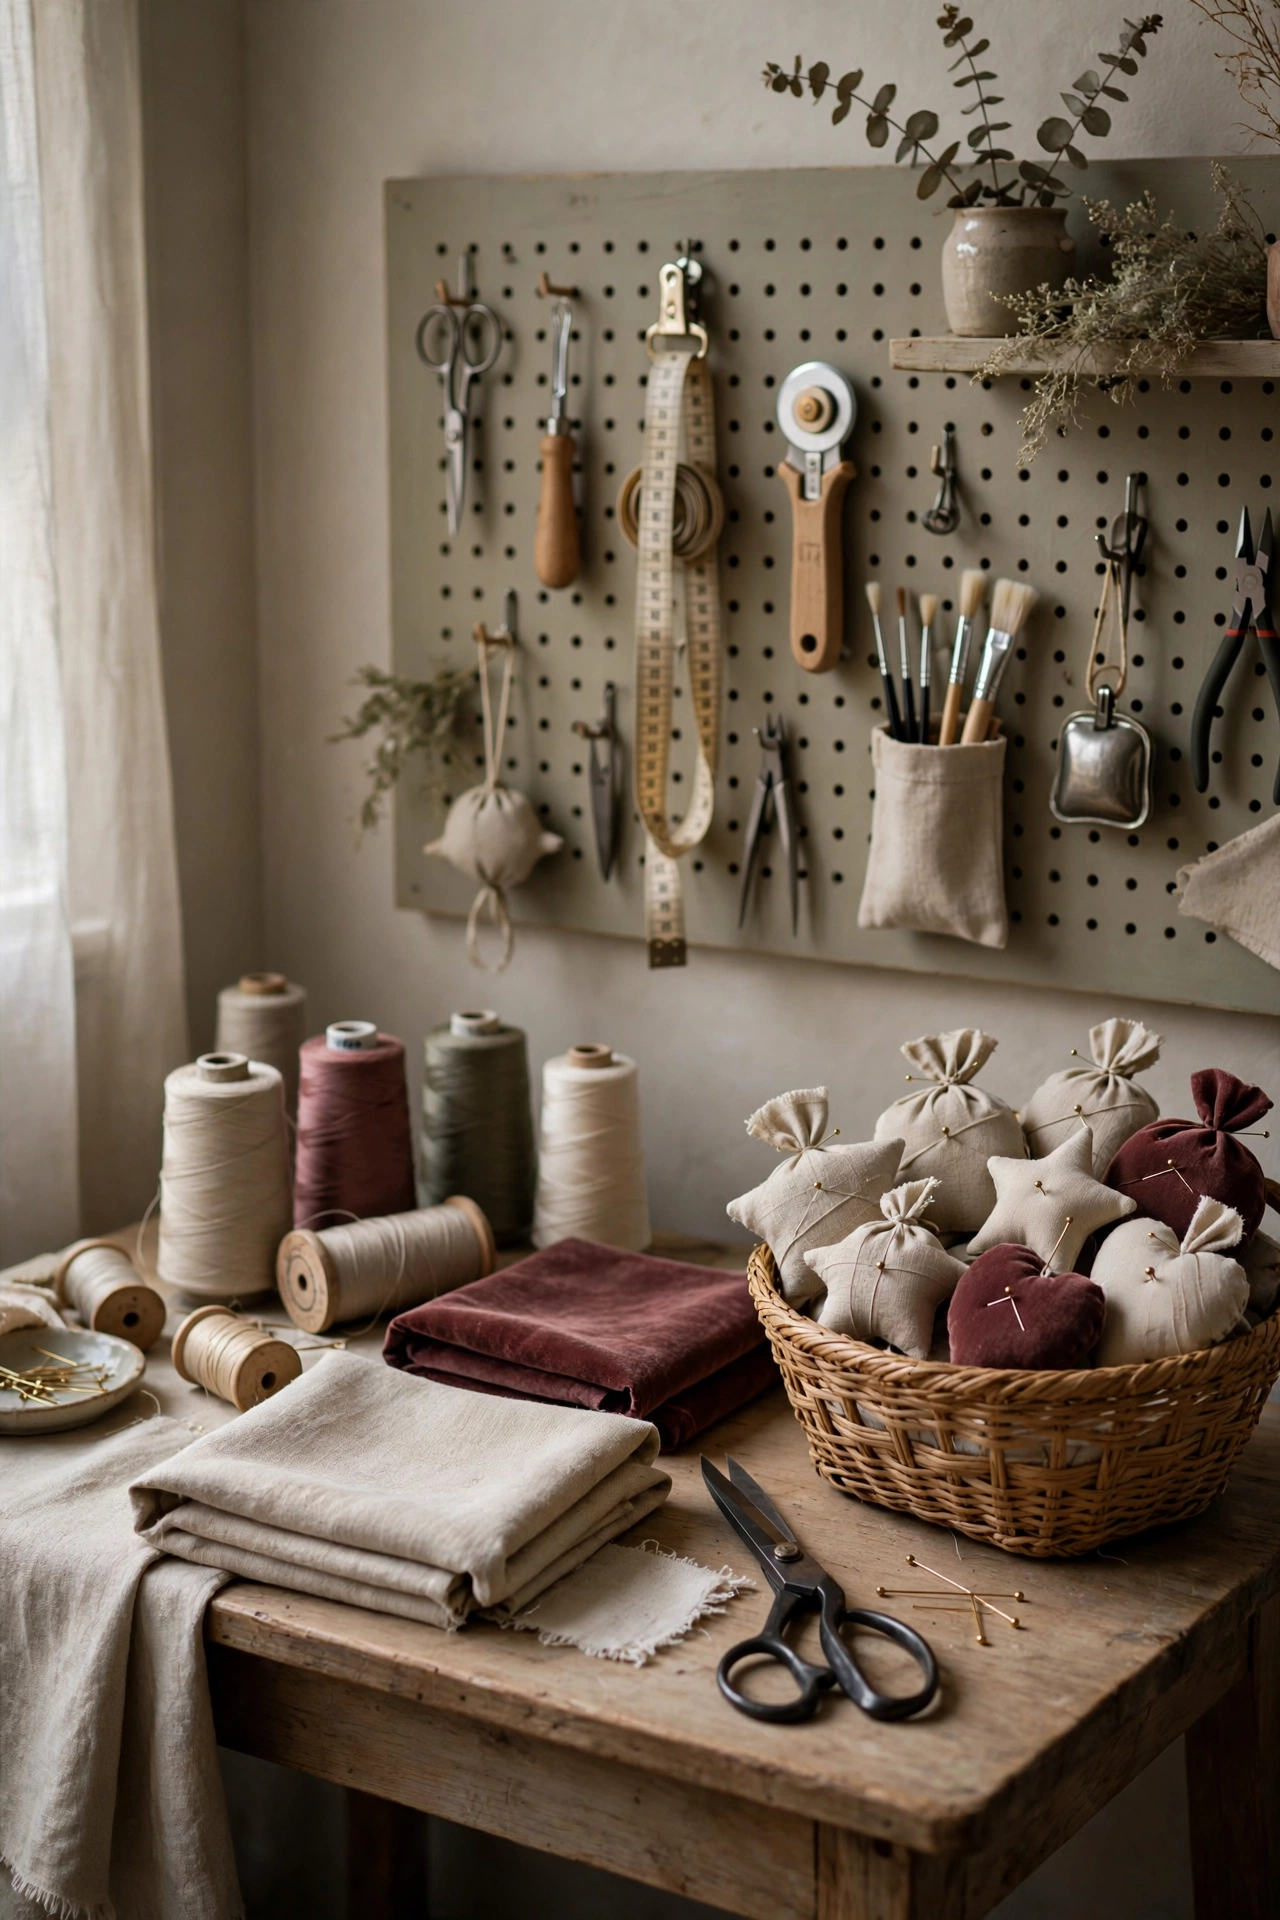
Every home has a few ugly ornaments, the free ones, the faded ones, the colors that matched a tree from ten years ago. Fabric wrapping is their second life. I cut squares of natural linen or velvet, set the bauble in the center with its cap removed, gather the fabric up smoothly around it, and secure the gather at the top with a tight wrap of thin wire or thread before the cap goes back on over it. Linen gives a calm, matte, almost ceramic softness. Velvet scraps give pure luxury and use up the ends of the ribbon spools from my bow making. The seams gather at the top where the cap and ribbon hide them, so no sewing skill is needed at all. A tree needs soft things on it to balance the glass and metal, and these give that softness in your exact palette because you chose the fabric. Old curtain samples and worn table runners have both given me beautiful wraps, so look in your own linen drawer before you buy a thing.
16. Letter One Word or Initial in Gold for Gifts
One gold initial turns a five minute ornament into a keepsake with a name on it.
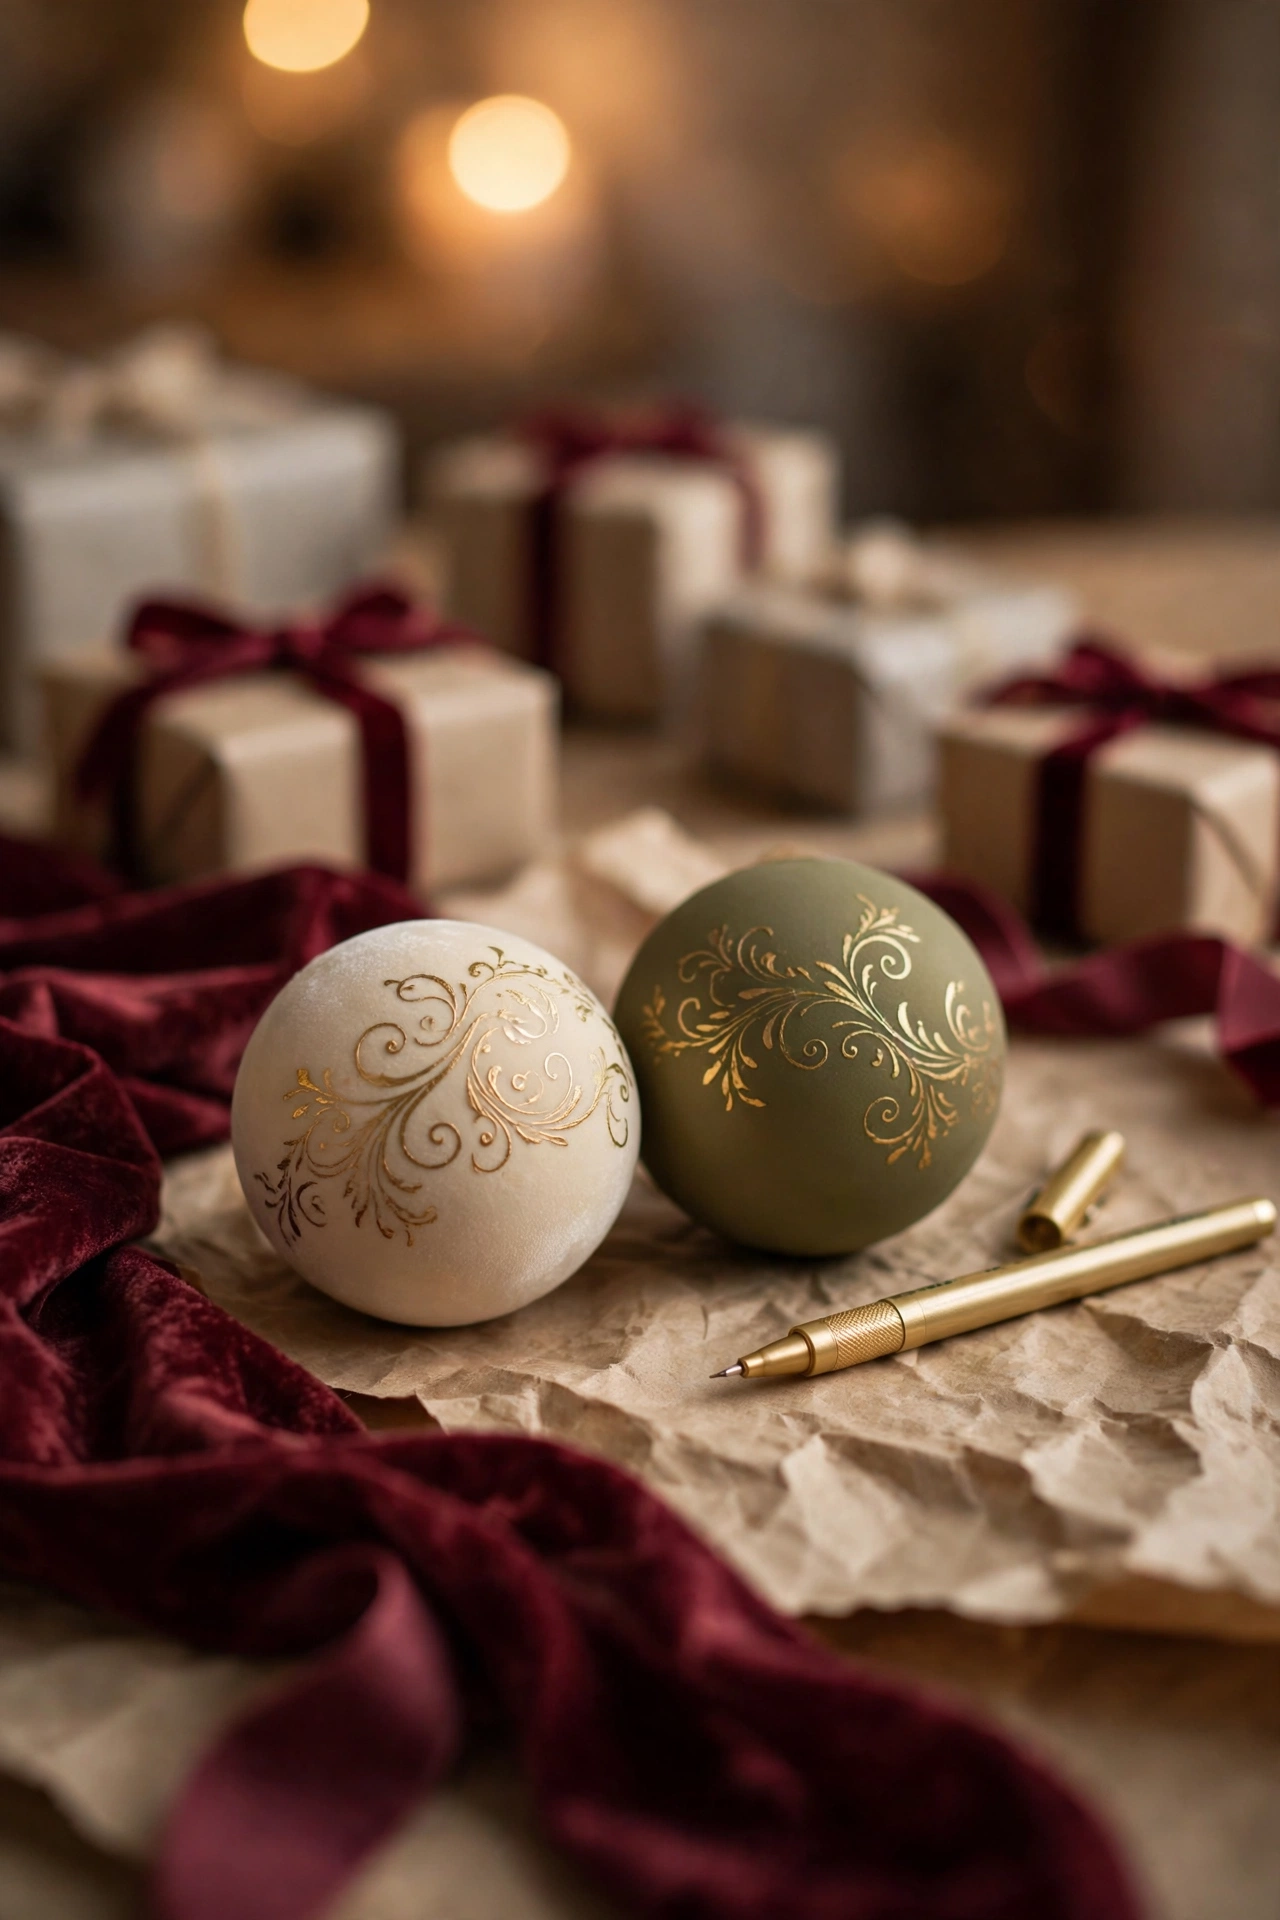
Lettered ornaments are the highest value gifts I make, measured in thanks per minute spent. A matte bauble in burgundy or cream, one initial in gold paint pen, a velvet ribbon at the cap, done. Hosts, teachers and neighbours receive them as if they came from a personalisation counter. The craft is in the lettering, and the secret is to cheat kindly. I practise the initial on paper at the exact size, I mark two faint dots on the bauble to set the height, and I write slowly with a fine tip metallic paint pen, turning the ornament rather than my wrist so the curve works with me. Short words work too, joy, noel, peace, written small and low on the bauble with space around them. Space is what makes lettering look expensive. A crowded ornament looks eager. A single calm initial with room to breathe looks like it was commissioned, and in a way it was, by you, for someone you like.
Finish, Hang and Style Them Like a Store Display
You now own a table full of ornaments that could pass in a shop. This last section protects that work and then presents it, because presentation is half of what stores sell. I have watched people make beautiful ornaments and then hang them on cheap wire hooks, store them loose in a grocery bag, and scatter them on the tree with no plan, and in each case the craft quietly stopped looking bought. The final three steps are short, unglamorous and completely decisive. Do not skip them just because the painting felt like the real work. This is the real work, the part where handmade becomes heirloom.
17. Replace Every Hanger With Velvet Ribbon
The hanger is part of the ornament, and ribbon is the upgrade your eye notices first.
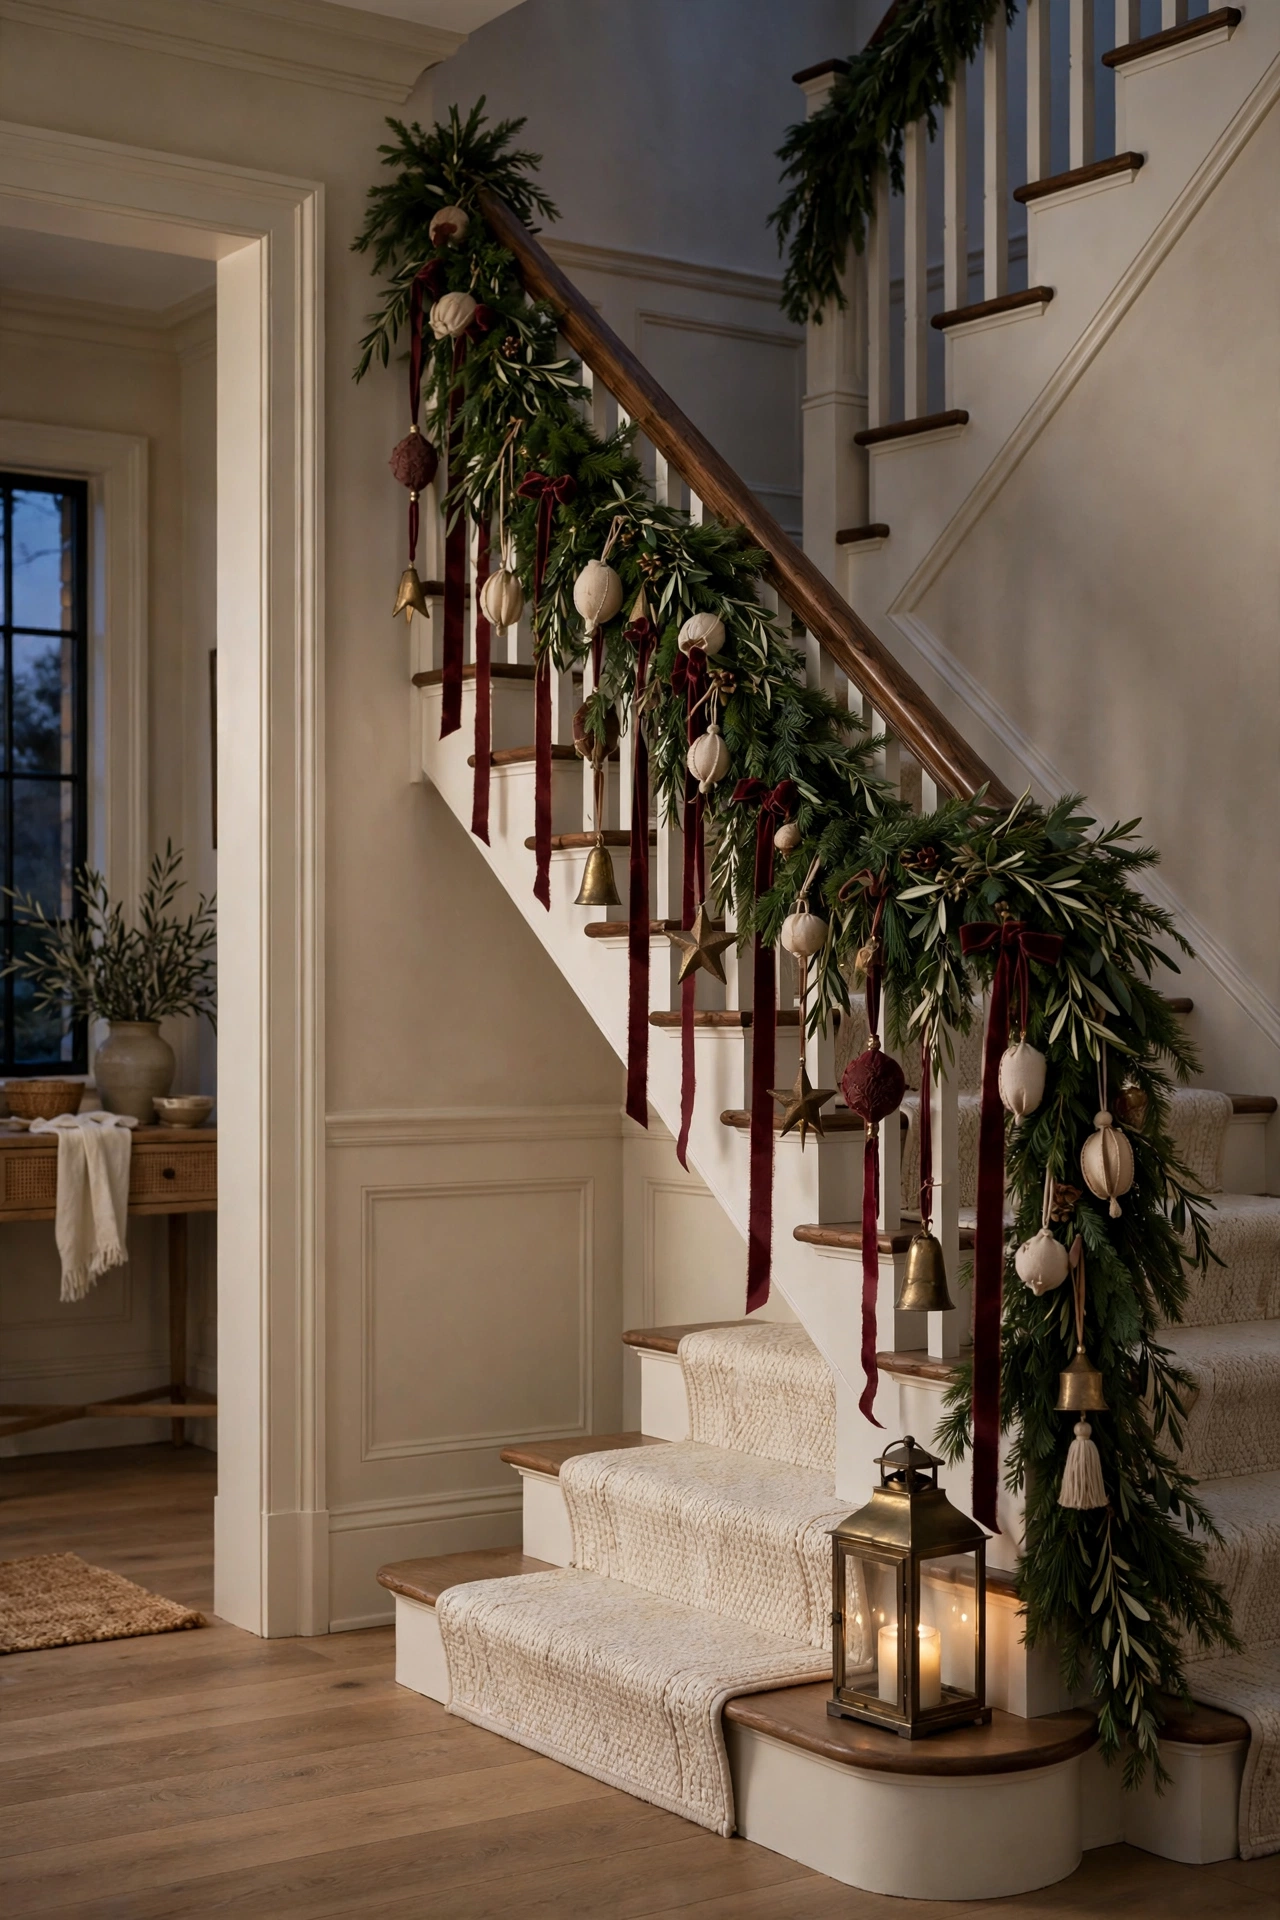
Standard wire hooks and the thin gold strings ornaments come with are the loudest tell that a tree was decorated in a hurry. I remove them all. Every ornament in this guide hangs from a loop of narrow velvet ribbon in burgundy or oatmeal, tied in a simple knot or a small bow at the cap. The ribbon does three jobs at once. It hides the cap join where handmade work looks roughest. It adds the soft texture that this year of oversized velvet bows is all about. And it lets me set each ornament at exactly the height its branch needs, because I tie the loop to fit the spot instead of accepting whatever length a hook allows. On the staircase garland I let the ribbon tails hang long and uneven, which looks lush and romantic. On the tree I keep loops short and tidy so ornaments sit into the branches instead of dangling off them. One spool covers a whole tree, and the change in the room is out of all proportion to the cost.
18. Seal Each Finish So It Survives Storage and Next Year
An unsealed ornament is a one season ornament, no matter how pretty it is today.
Paint, leaf, paper and salt all need a clear coat matched to their finish, and this is the step that decides whether your work becomes a collection or a memory. Matte ornaments get matte sealer. Marbled and glitter insides need nothing, since the walls protect them, which is another quiet win for inside finishes. Gold leaf gets a gentle clear coat so the flecks do not rub away in the box. Decoupage gets its final coat as part of the technique itself. I spray sealers outdoors or in the garage, in light coats, holding each ornament by its cap loop so my fingers never touch the finish. Then everything cures for a full day before it goes near tissue or a storage box, because sealer that feels dry can still grab paper and peel. Wrap each ornament in plain tissue, store them in a divided box in one layer where you can, and your January self will thank your November self every single year.
19. Hang in Clusters and Layers, Then Step Back and Edit
Stores hang ornaments in clusters with breathing room, and that rhythm is the final illusion.
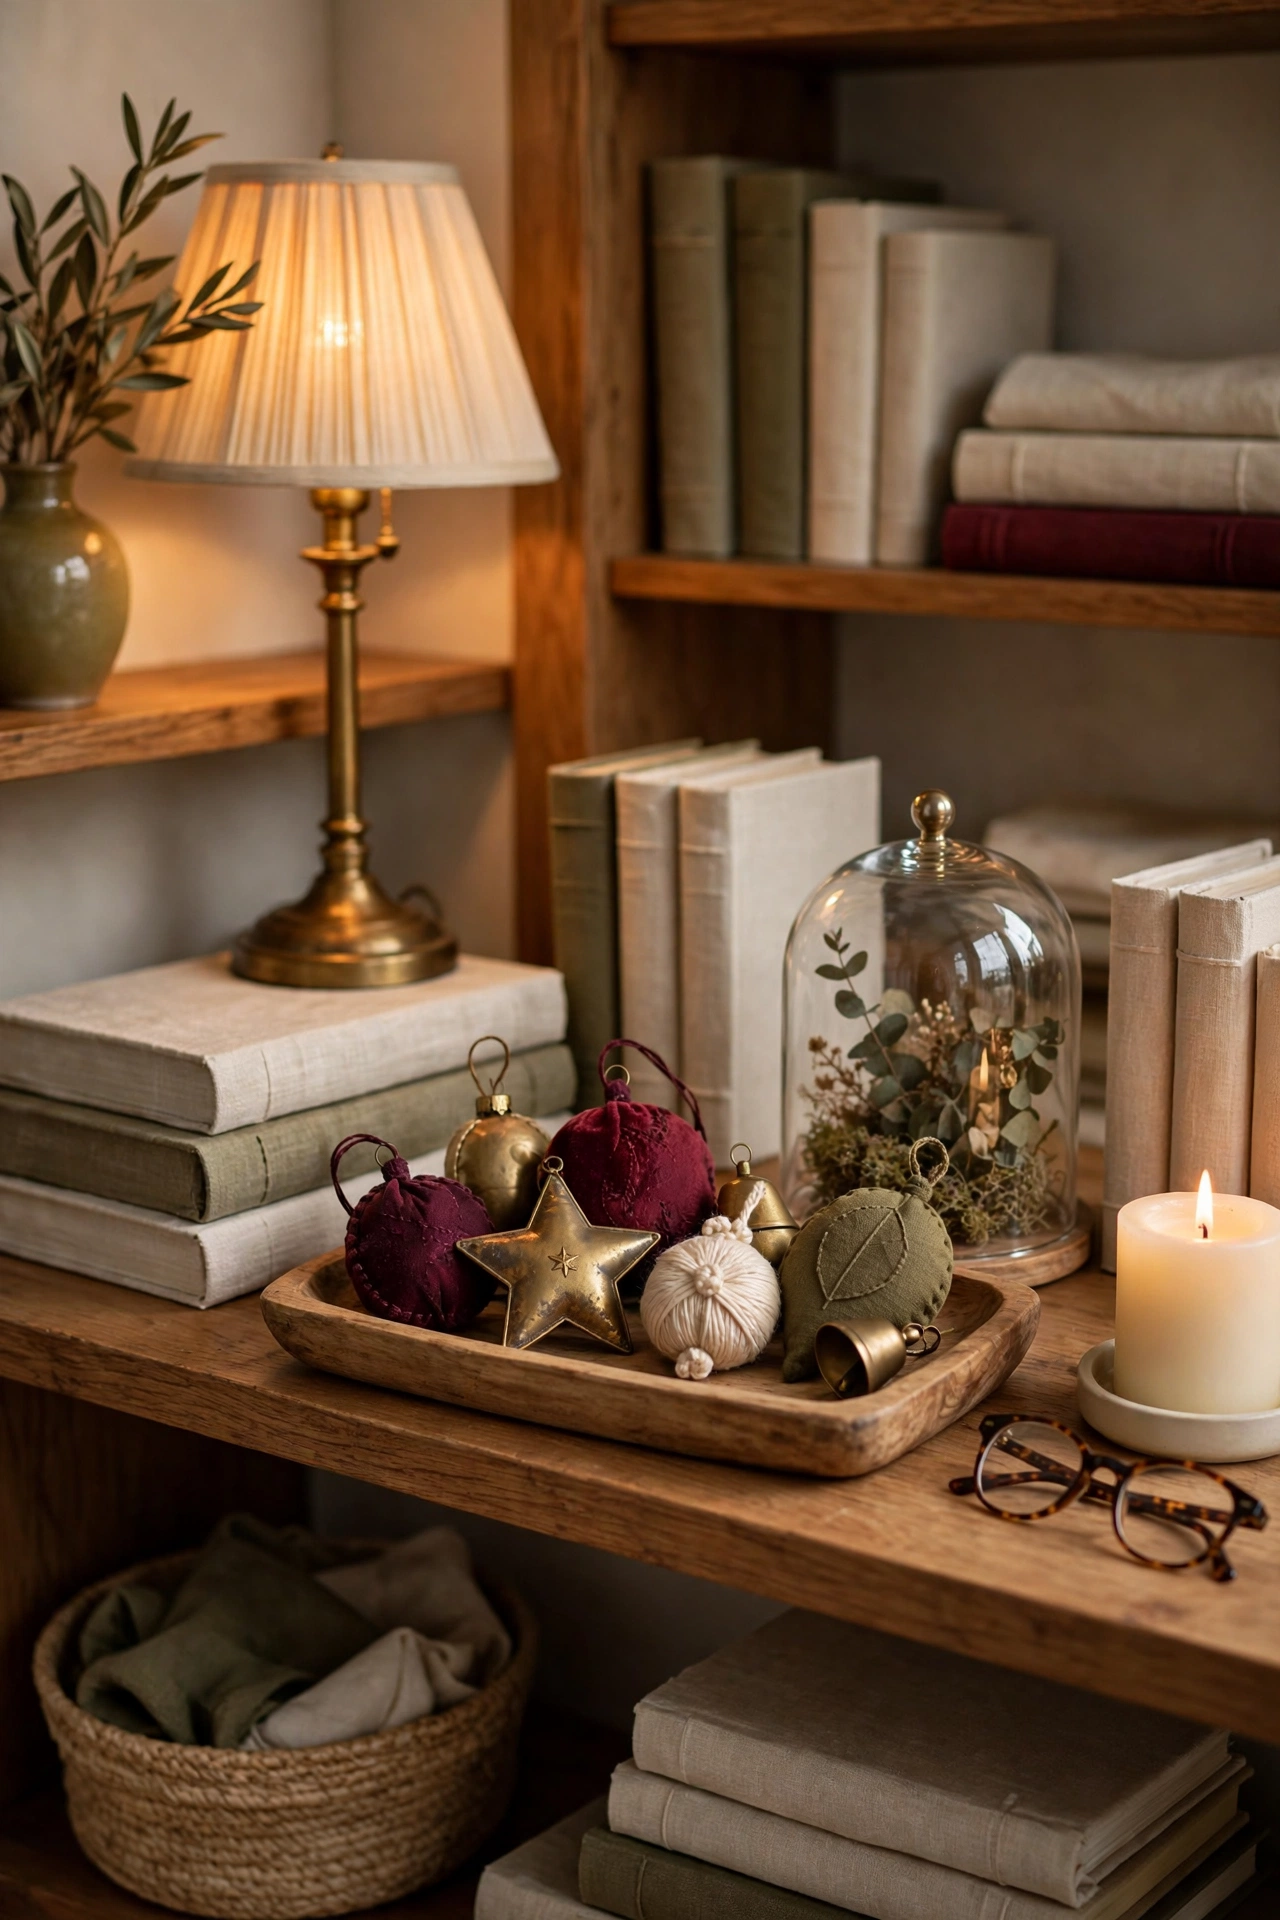
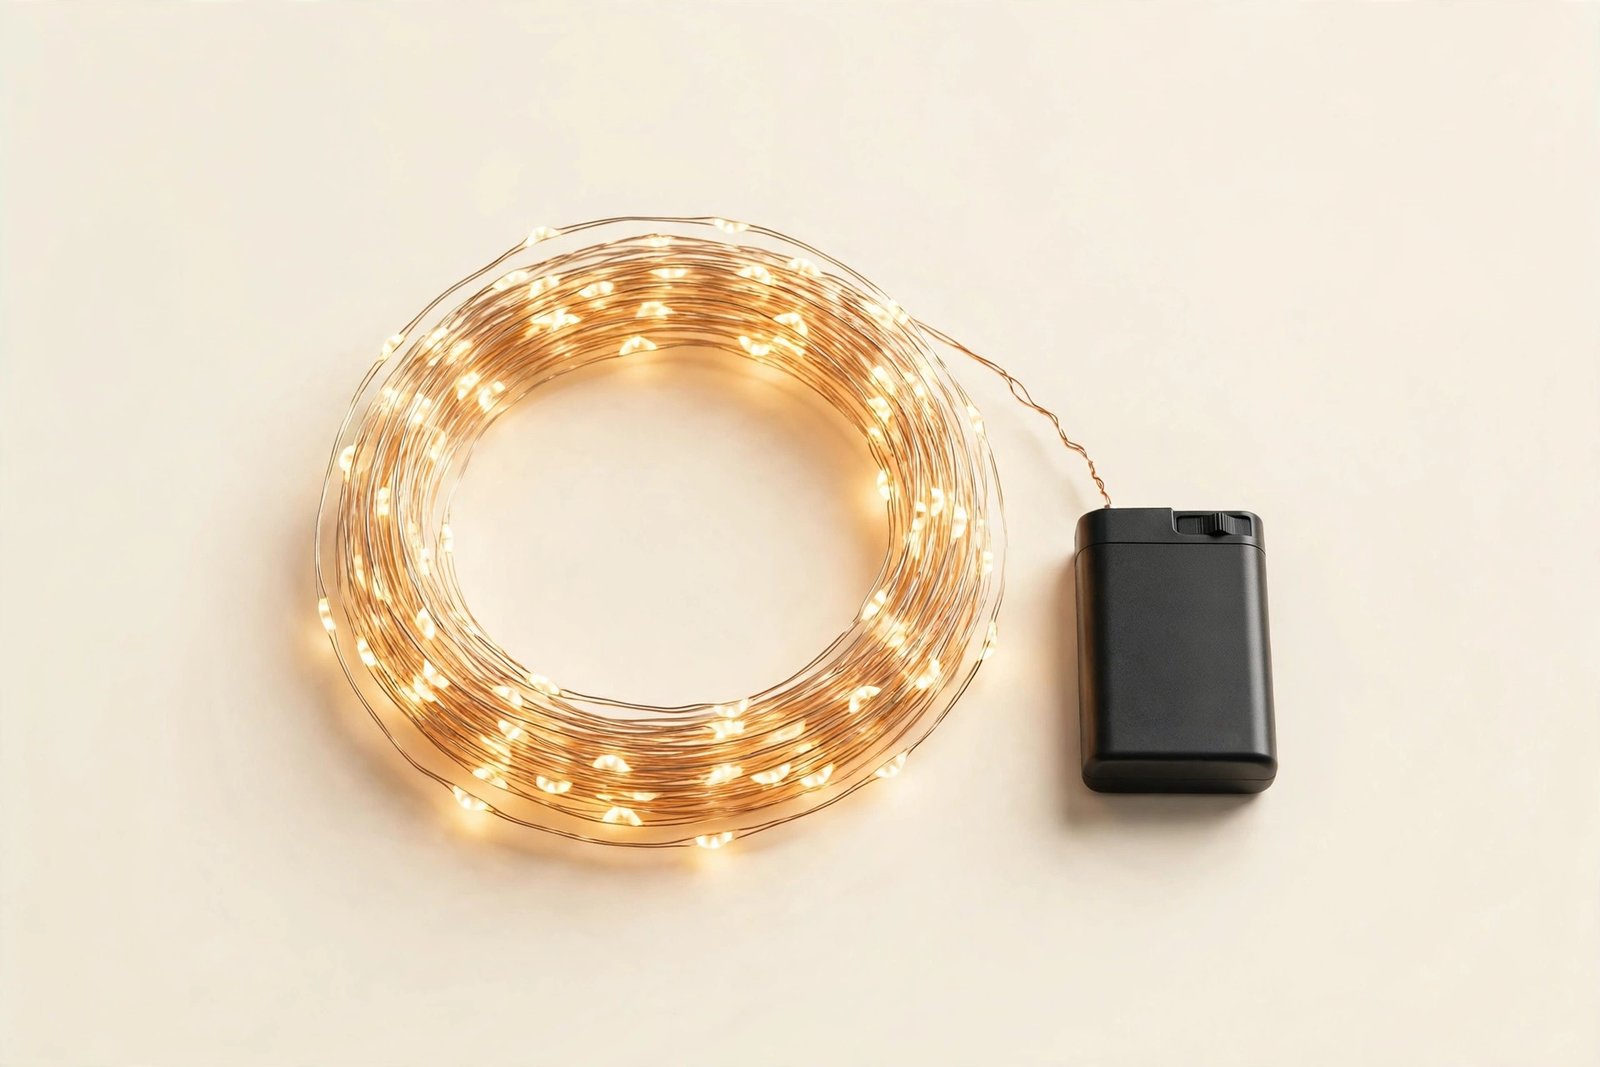
Decorating day is where the store look is won or lost, so I hang my handmade ornaments the way visual teams hang shop trees. First the large quiet ornaments go deep inside the tree near the trunk, where they fill the dark gaps and make the tree look full. Then the medium ornaments hang at the middle depth in loose clusters of three, one high, one low, one tucked, never in straight lines or even spacing. The smallest and sparkliest pieces, the glitter insides and gold flecks, live on the outer tips near the warm cluster lights where they can catch and throw the glow. I work one finish at a time around the whole tree so nothing pools in one corner. Then I do the most important thing in this entire guide. I step back across the room, sit where guests will sit, and edit. One ornament moves. One cluster breaks up. One bare patch gets the piece that was shouting somewhere else. Ten quiet minutes of editing is the difference between a decorated tree and a styled one, and it costs nothing but attention.
More Favorites
This post contains affiliate links. If you buy through them, I may earn a small commission at no extra cost to you.
A few more favorites from the ideas above:
So here is where I land after years of glitter in the butter dish and paint on every sleeve I own. Ornaments that look bought are not made by different hands than yours. They are made by the same hands, working a little slower, choosing a palette before a paint pot, and refusing to skip the quiet finishing steps at the end. Start with one finish this year. The velvet look if you want forgiving, the marble if you want magic with no skill attached, the wood slices if you want gifts people keep. Make a dozen. Hang them with ribbon. Watch a friend turn one over looking for a price tag, and enjoy that moment fully, because you earned it at your own kitchen table.
Next year you will add another finish, and the year after that another, and one December you will realize your tree has become the collected, personal, quietly beautiful thing you pictured at the start. That is the real gift of making them yourself. A bought tree is finished the day you pay for it. A made tree keeps growing with your family, one small batch of ornaments at a time.
With love and light
Get Fresh Home Ideas Every Week
Seasonal decor ideas, organizing tips, and cozy home inspiration, straight to your inbox.
More Christmas Ideas You Will Love
Keep browsing for more seasonal inspiration: