
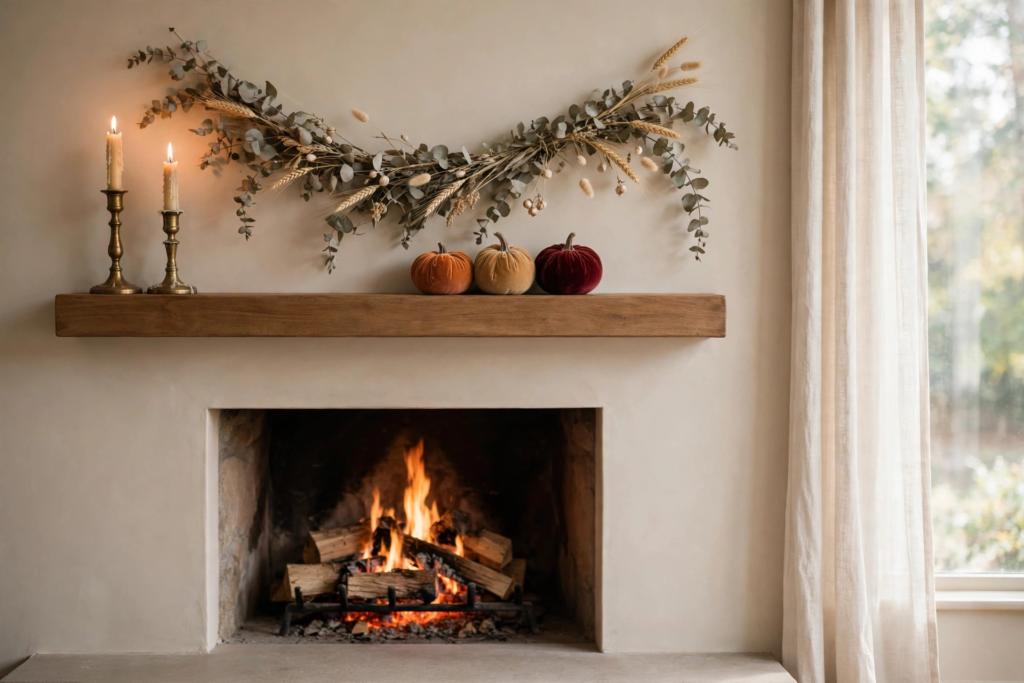
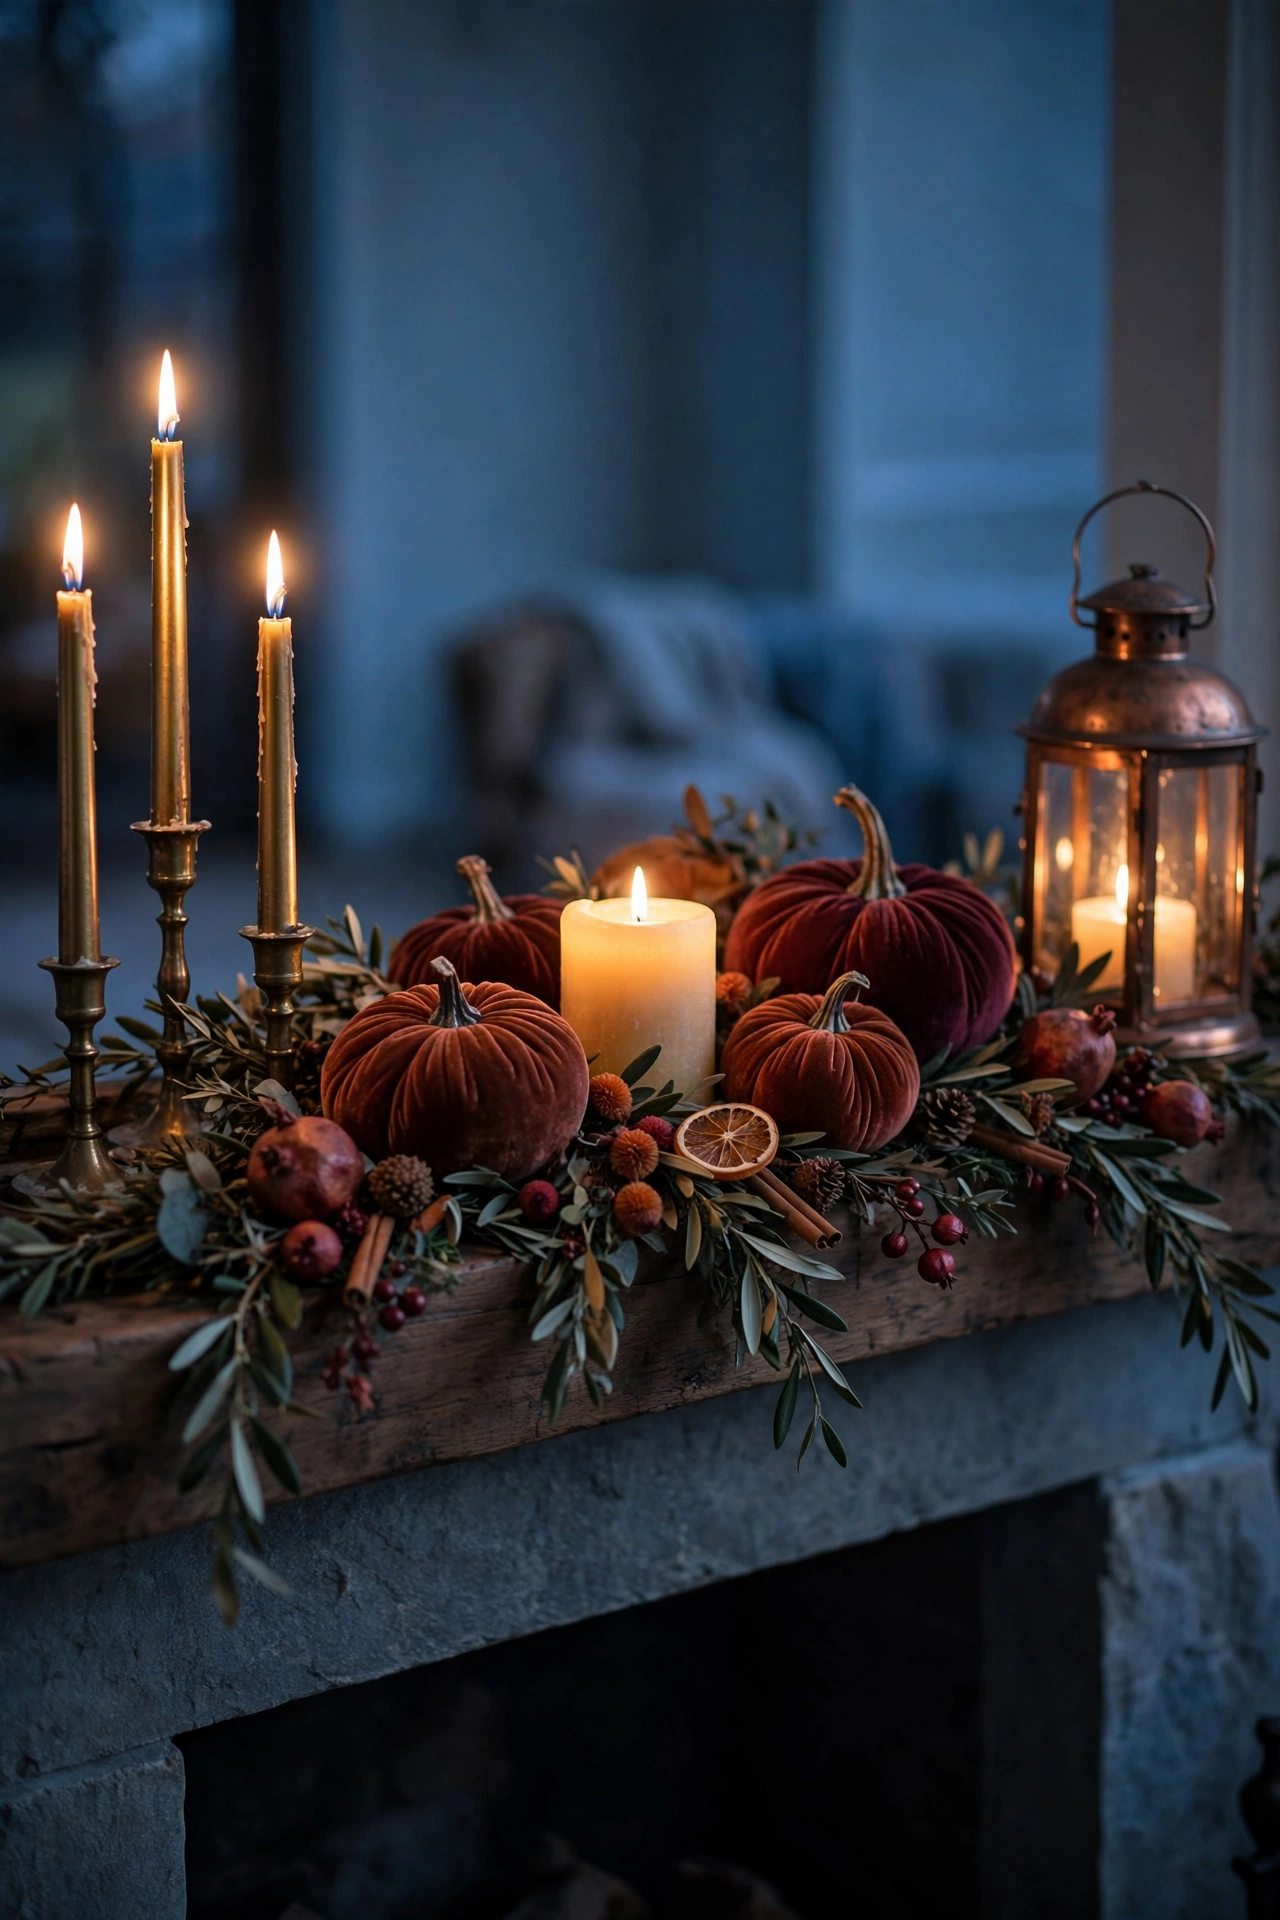
Picture the room at about six in the evening. The light outside has gone soft and blue. Inside, the mantel is glowing. Two tapers are lit. A garland spills a little over one edge. A few velvet pumpkins sit low and quiet, and the whole fireplace wall looks like it is breathing out. Nobody is analyzing it. It just feels right, the way a room feels right when someone who loves it has touched it.
Now picture the other version, because I have lived this one too. A mantel that collected things all year. A candle from spring. A framed photo leaning at a tired angle. A vase that was always a bit too small. Nothing wrong with any single piece, and yet the whole shelf reads as clutter the second you walk in. I used to fix that feeling by buying more things. More things never fixed it. Order fixed it.
That is what this post really is. Not a shopping list. An order of operations. I style my mantel the same way every fall, in five steps, in about forty minutes, and the order matters more than the objects. Clear it. Soften it. Anchor it. Layer it. Light it. When you work in that order, each step makes the next one easy, and you stop long before the mantel gets crowded. If you are a beginner, this order is your best friend. It makes the decisions for you.
A few honest preferences before we start, because they shape everything below. I would rather have fewer pieces with better texture than a shelf full of small decorations. I would rather have one garland that drapes well than three that fight. And I almost never buy a full matching set of anything. A mantel that looks collected over time will always beat a mantel that looks ordered in one click. We are going for calm and warm, not perfect.
The palette I use is the one I reach for all season. Rust, camel, oatmeal, olive, chocolate brown, and burgundy, with brass for the glow. No bright orange anywhere. Those muted tones are why the room feels sophisticated instead of theme parky, and they are forgiving. Almost any piece in that family will sit happily next to the others. If you want to see that same palette worked across a whole room, my muted fall living room ideas are a good companion to this guide.
I also lean on four simple rules through all five steps. You will see them come up again and again. Rule one, repeat a color in three places so it looks intentional. Rule two, add texture before you add more decor. Rule three, work in odd numbers, because threes and fives look collected and even numbers look like a store shelf. Rule four, style in a triangle, tall at one end, low in the middle, medium at the other end. Hold those four rules loosely in your mind and the steps below almost do themselves.
One more thing, and I mean this. Shop your house first. Before I style anything, I walk around with a basket and gather candidates. Candlesticks from the dining room. A stack of old books. A bowl. A small framed print from a hallway. Half of my favorite mantel every year is pieces that already lived here, just moved to a better seat. The fireplace is the heart of the room in fall. It deserves the good pieces you already own.
Love these ideas? Get more every week.
Join the newsletter for seasonal decor and cozy home inspiration.
The 5 Steps at a Glance
If you are a skimmer, here is the whole method on one screen. Step one, clear the mantel completely and clean it. Step two, lay a soft foundation with a garland or a runner. Step three, place one strong anchor and build your height. Step four, layer the middle with texture and the season. Step five, add the glow, then edit like you mean it. That is it. Everything after this is me walking beside you while you do it, with the little details that make each step land.
What You Need Before You Start
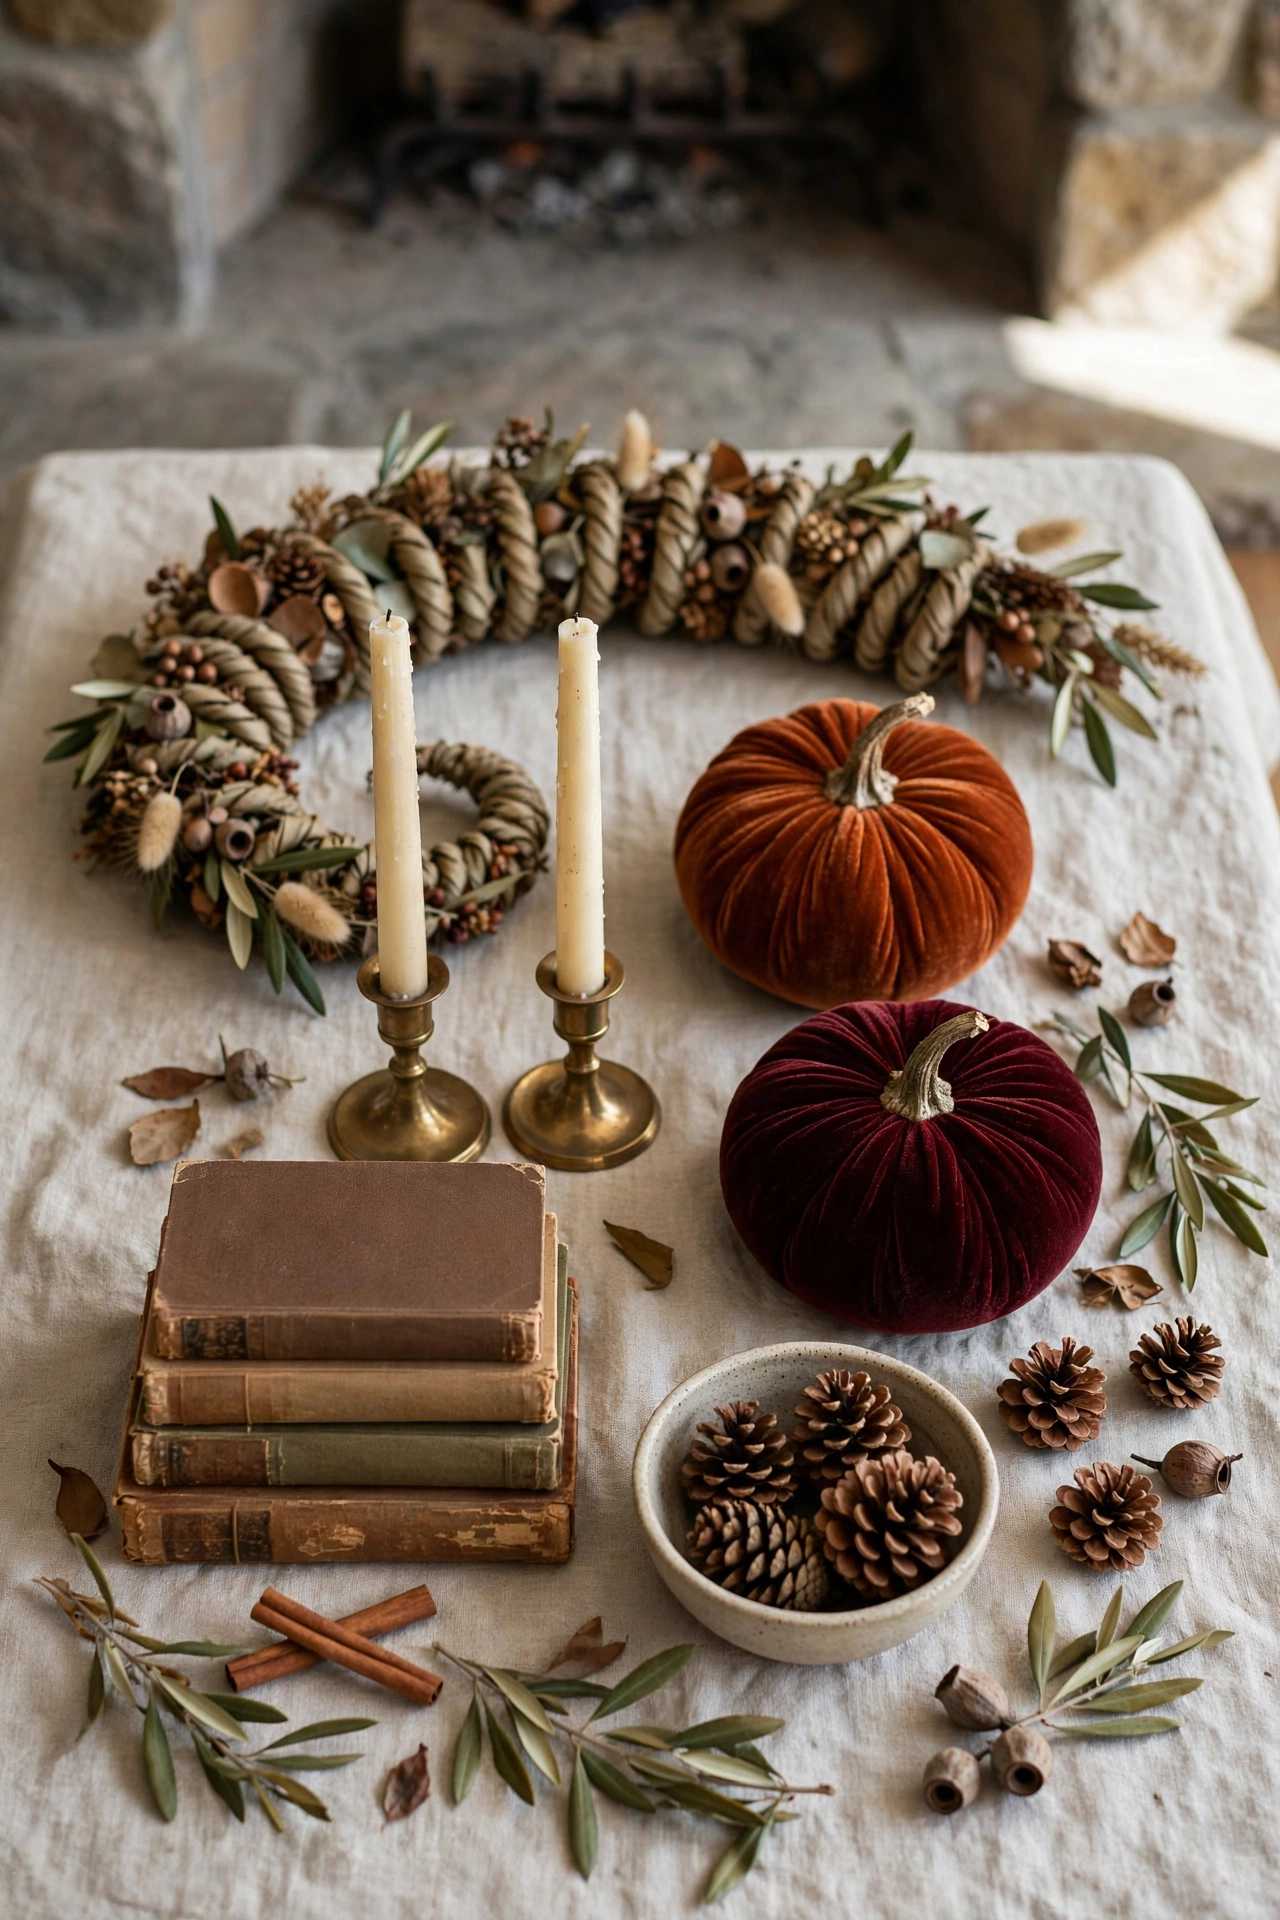
You do not need much, and you may need nothing new at all. Gather a garland or a length of linen for the base. One tall pair, like candlesticks or branches in a vase, for height. A few low seasonal pieces, like velvet or real pumpkins, gourds, or a bowl of pinecones. Something with texture, like a stack of books, a woven basket, or a bead garland. Candles for glow, real or flameless. And one personal piece, a framed photo or a small print, because a mantel with nothing personal on it looks like a hotel.
Lay it all on the coffee table or the floor in front of the fireplace before you begin. Seeing everything at once stops the two classic mistakes. The first is building the whole mantel around a piece you later realize is the wrong scale. The second is forgetting a favorite piece in a closet and finding it in November. A quick note on scale, because beginners get tripped here. Most mantels look best with pieces that are a little bigger than you think. Small items disappear on a wide shelf and read as clutter from across the room. When in doubt, go one size up and use fewer pieces.
Step 1: Clear It All Off and Start With a Clean Shelf
Takeaway: Take everything off the mantel, clean the shelf, and live with it empty for ten minutes before you style a single thing.
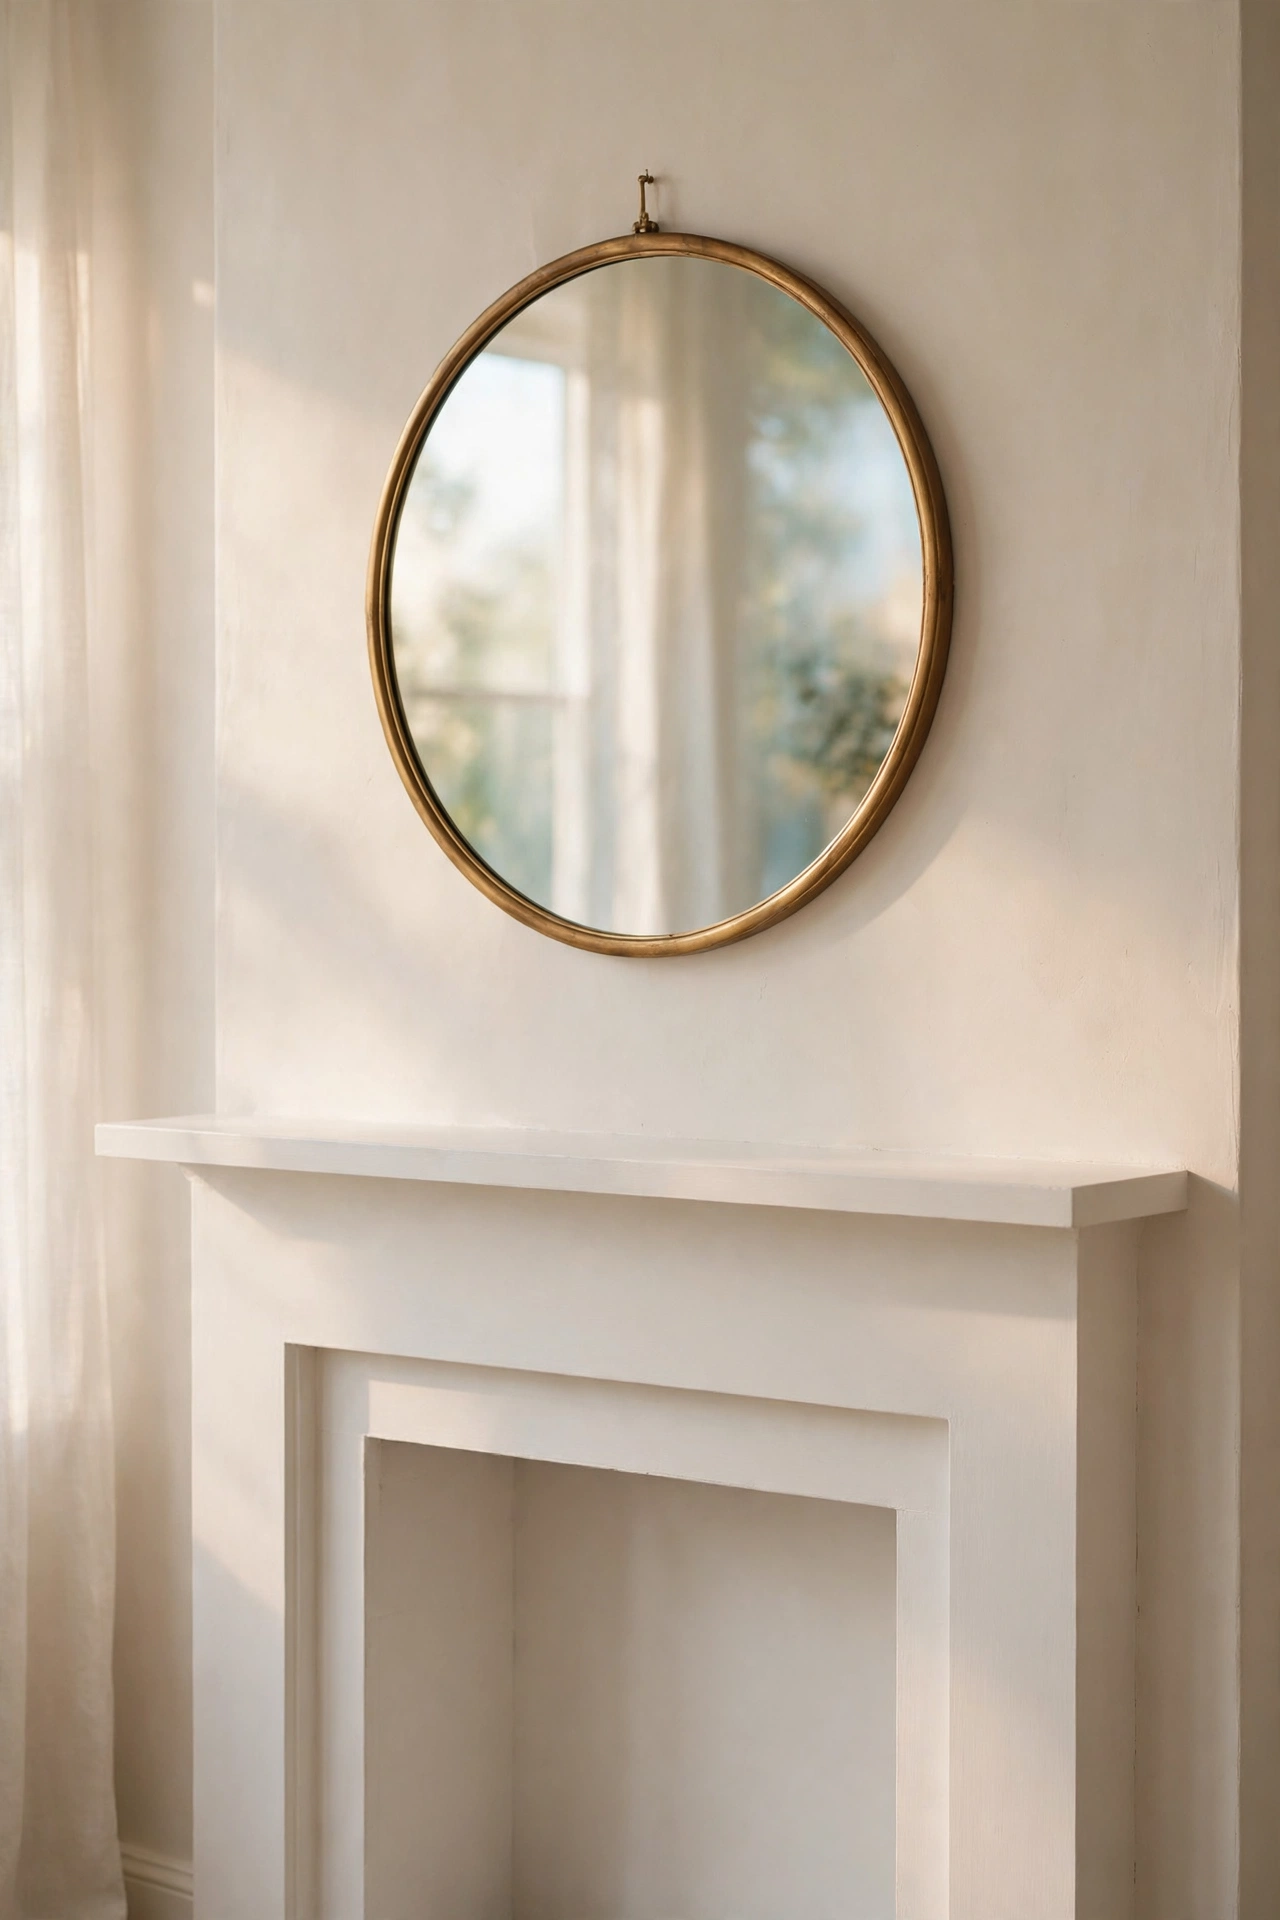
I know. This is the step everyone wants to skip, and it is the step that changes everything. As long as last season is still sitting on the shelf, you are not styling. You are negotiating. Every old piece argues for its spot, and your new plan gets bent around objects you never actually chose for this season. An empty mantel ends the argument. It also shows you the truth about your fireplace. Its real width. Its real color. The art or mirror above it, and how much space you honestly have to work with.
So take it all off. Everything. Put the everyday pieces in a box in another room so they cannot creep back out of habit. Then clean the shelf properly. Dust it. Wipe it down. You will be shocked how much ash and dust a mantel collects, and styling on top of dust makes even beautiful pieces look tired. If your mantel is wood, this is also the moment to notice the tone of it, because that tone is part of your palette whether you planned it or not. A warm walnut shelf wants brass and burgundy. A white painted shelf can carry deeper tones like chocolate and olive.
Now the hard part. Leave it empty for ten minutes. Make tea. Sit in your usual chair and look at the bare fireplace. Notice where your eye goes. Notice the mirror or the art above it, and whether it is hung at a kind height or floating too high, which is the most common mantel problem I see. Your decor should feel connected to whatever hangs above it, close enough to look like one composition. If there is a big lonely gap between the shelf and the frame, you now know your styling needs height, and step three will fix it on purpose instead of by accident.
This empty pause does one more thing. It tells you what the room actually misses. Sometimes I clear the mantel and realize the room does not need more fall. It needs warmth and light. That year, my mantel stays simple, all garland and candles. Other years the bare shelf looks cold and plain, and I know I can layer with a happy heart. Let the empty shelf vote. It is wiser than any shopping cart.
Shop This Look
This post contains affiliate links. If you buy through them, I may earn a small commission at no extra cost to you.
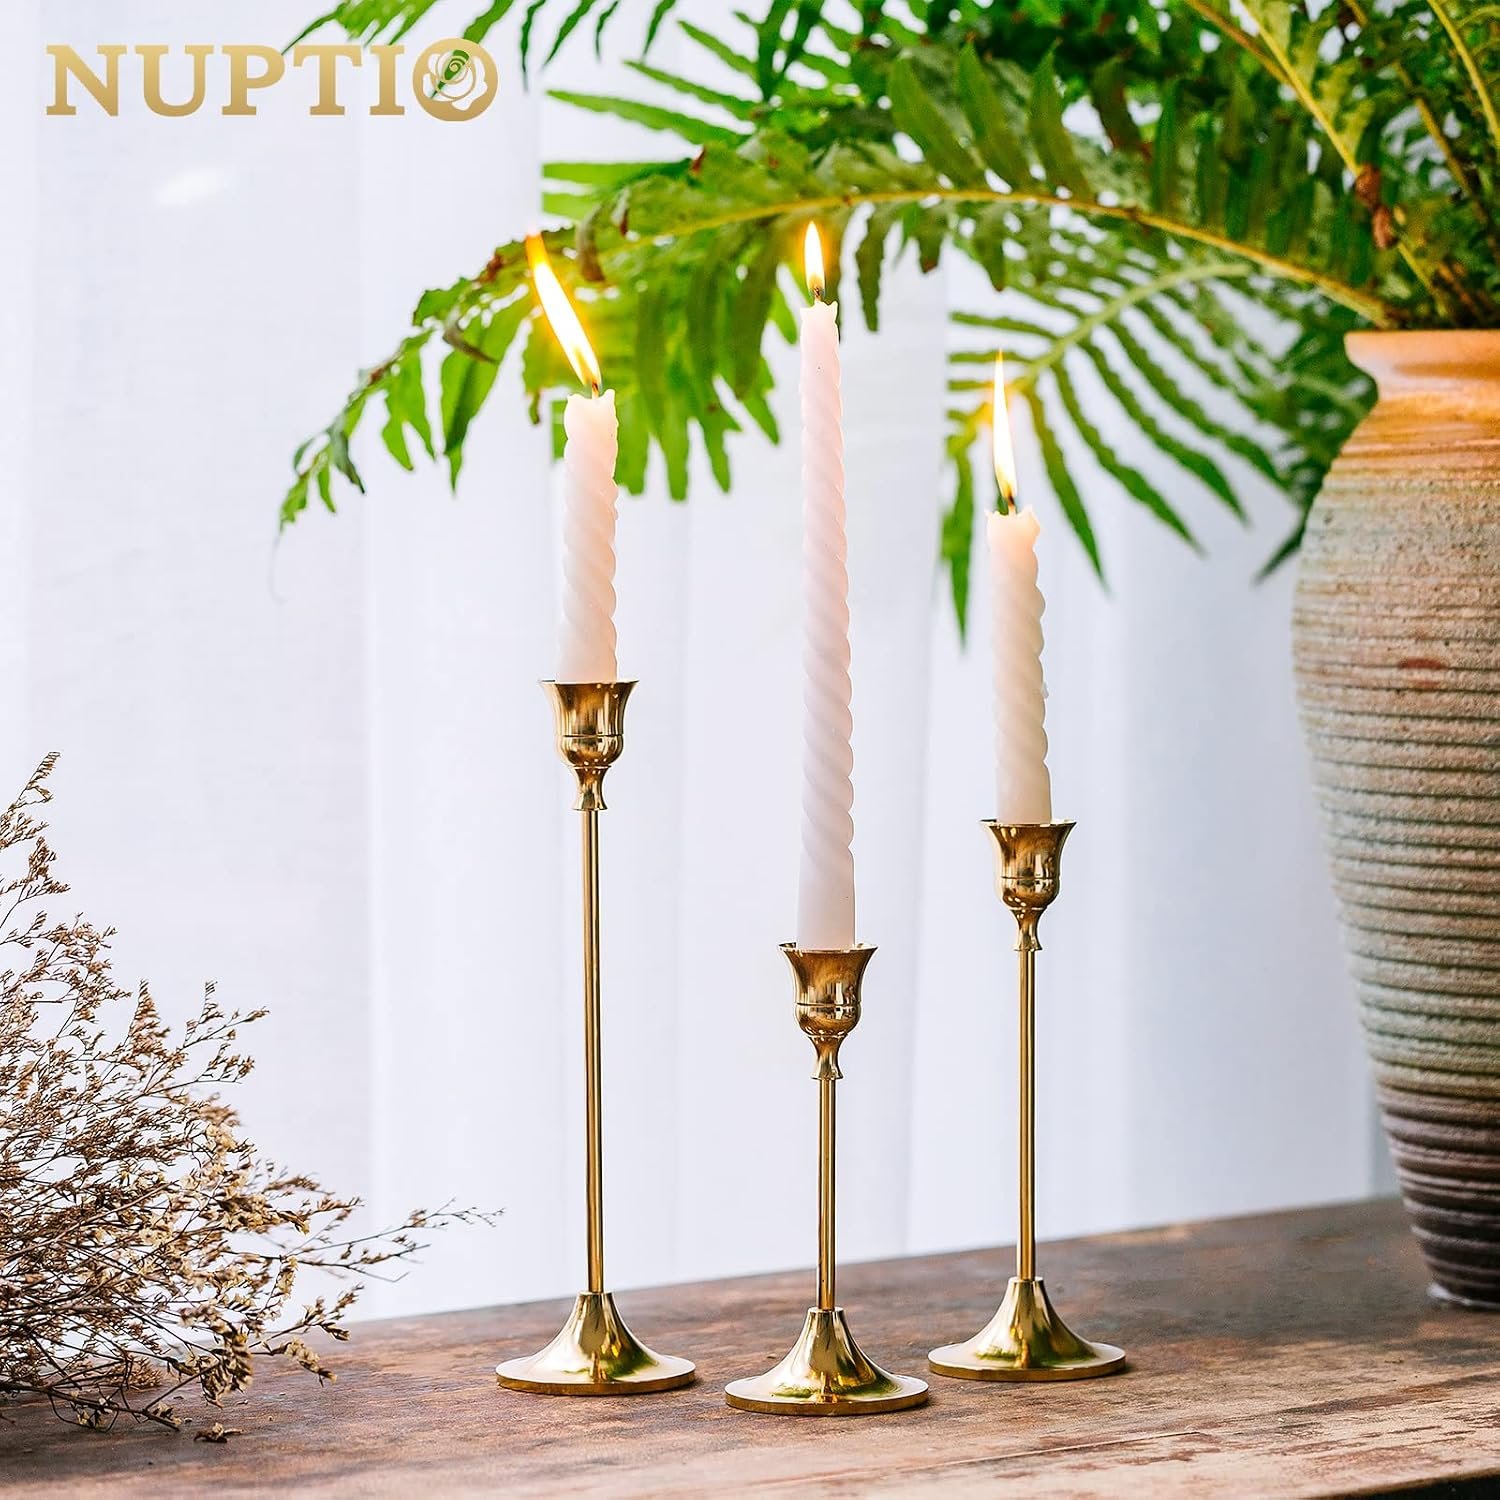
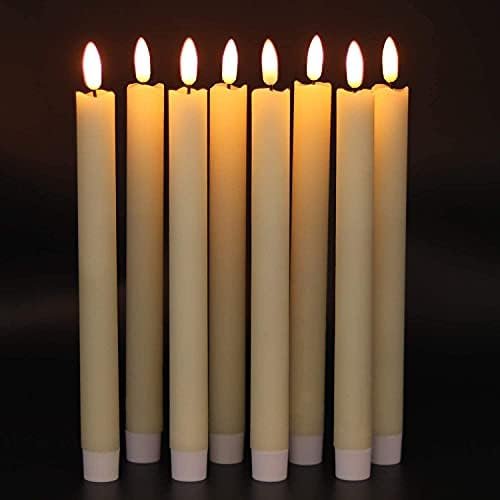
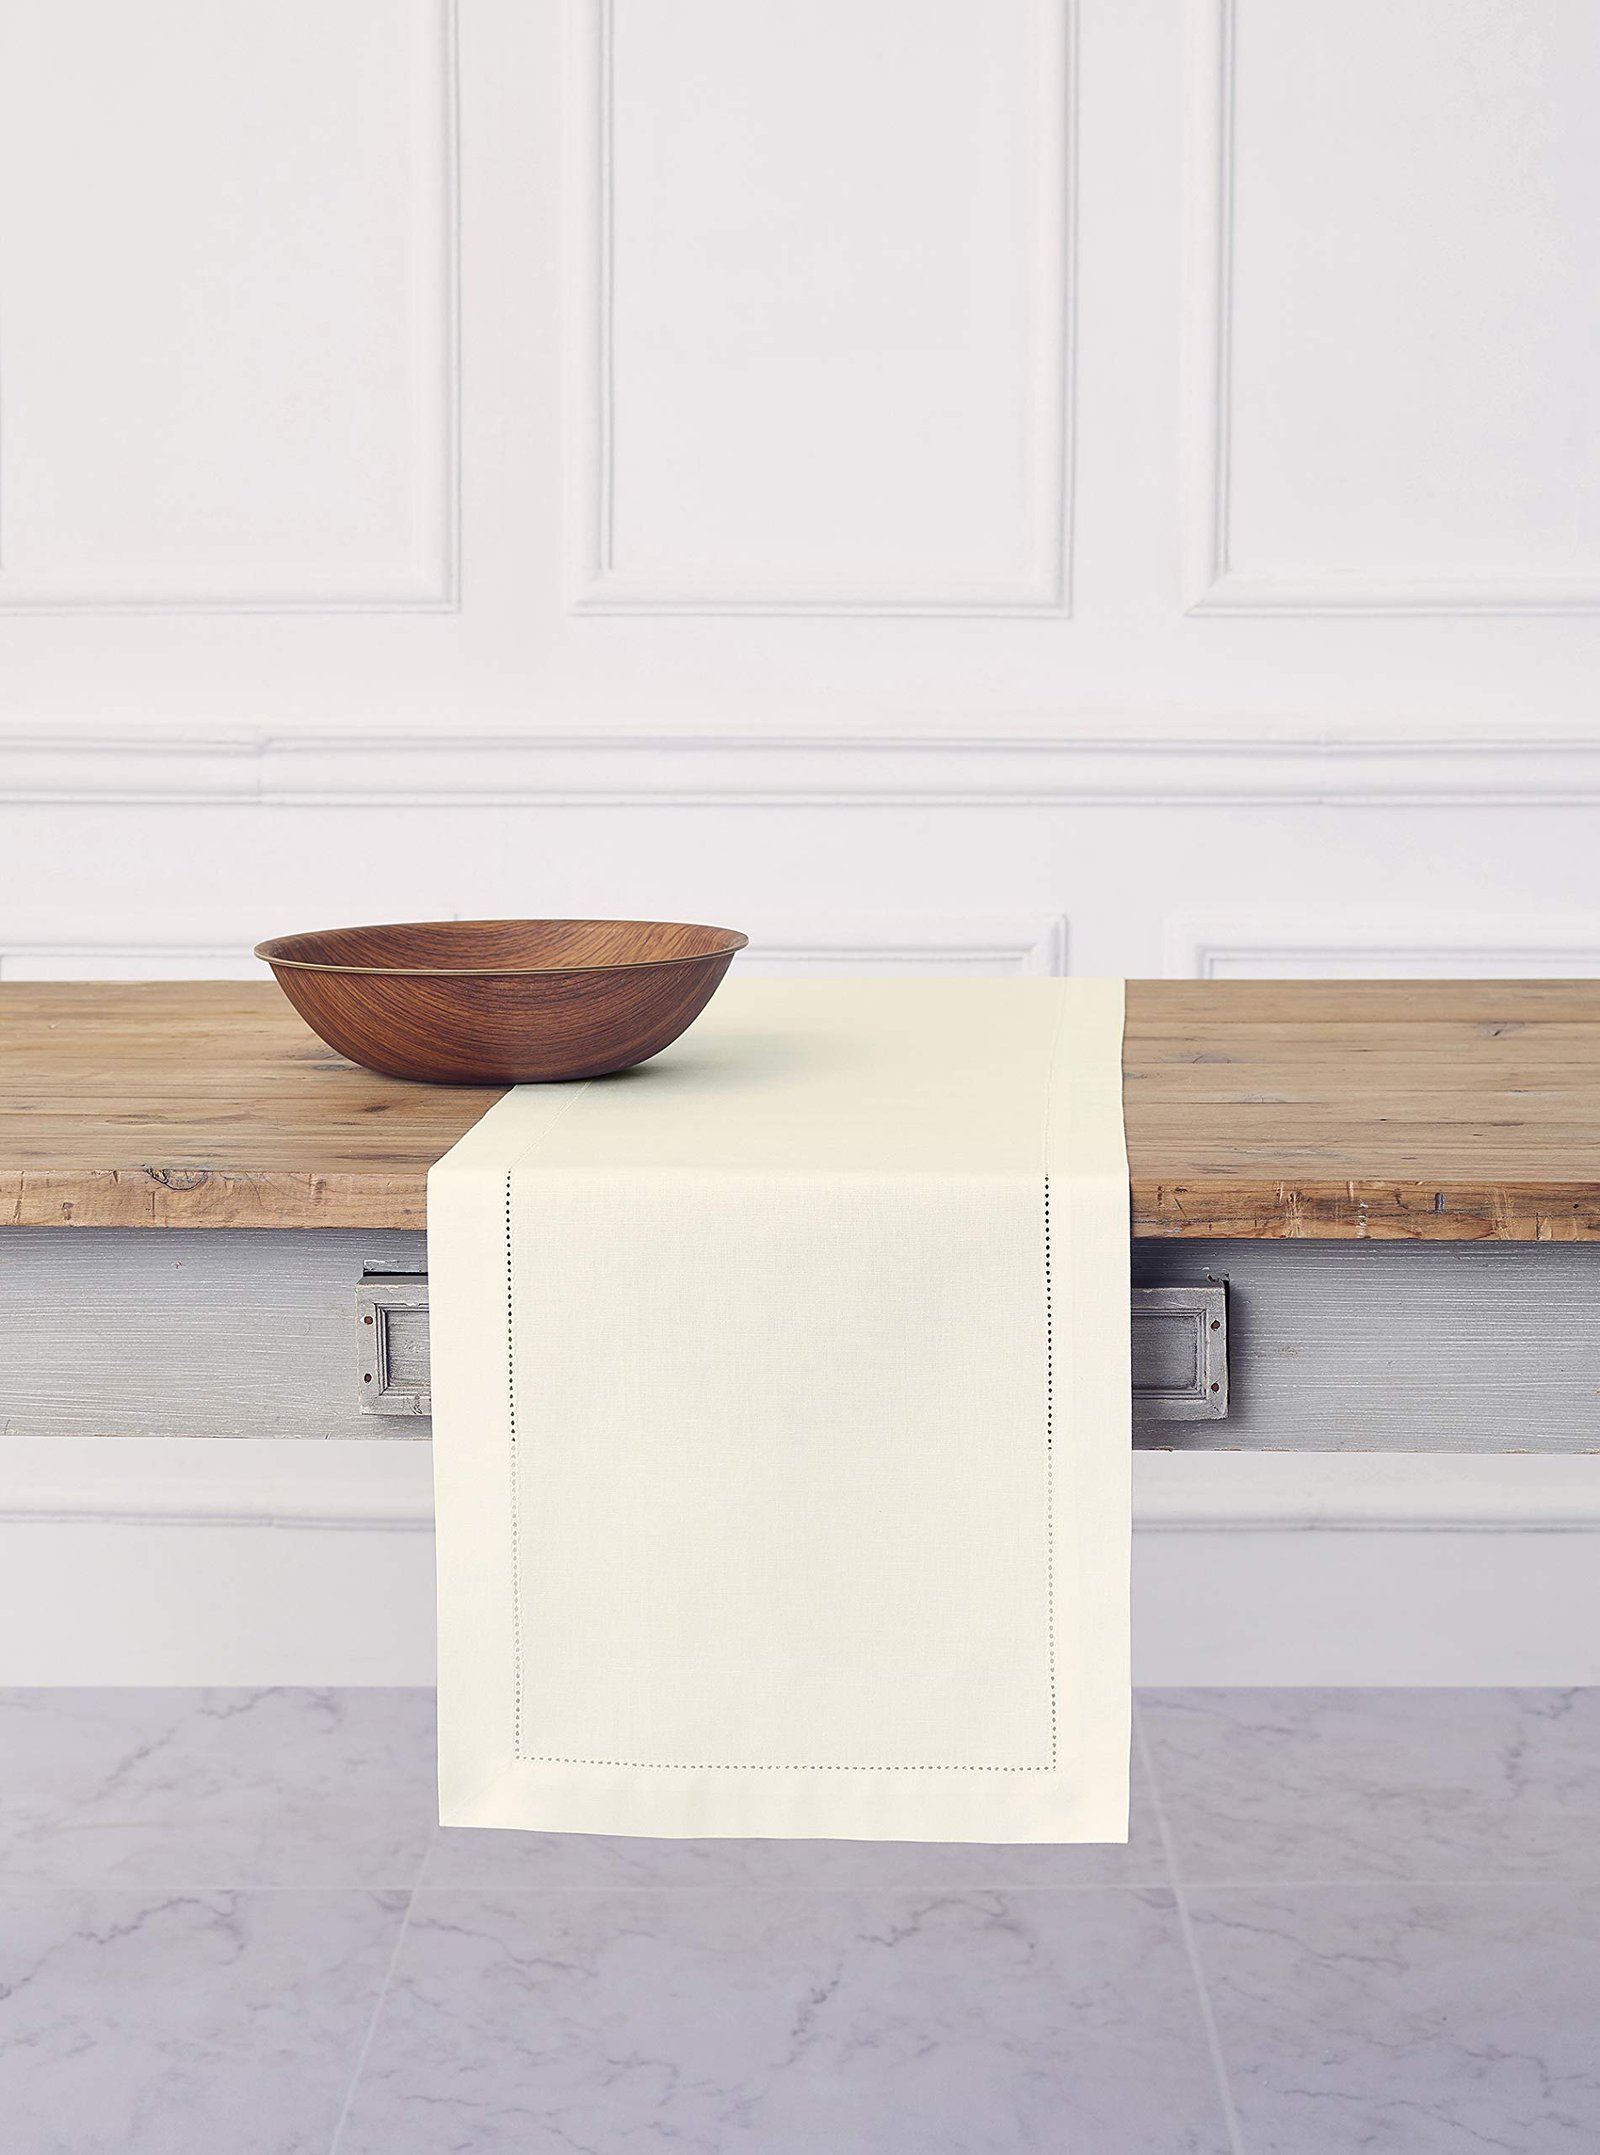
A few favorites featured in the ideas above:
Step 2: Lay the Soft Foundation First
Takeaway: Give the mantel one soft layer, a garland or a linen runner, before any hard object goes on the shelf.
Every mantel I love has something soft under everything else. Hard shelf, hard candlesticks, hard frames. Without a soft layer, all those straight edges and solid surfaces add up to a mantel that feels stiff, like it is dressed in a suit. A garland, or even a simple length of washed linen draped along the shelf, breaks the hardness. It gives the eye a gentle path to travel and it makes everything you place next feel chosen rather than parked.
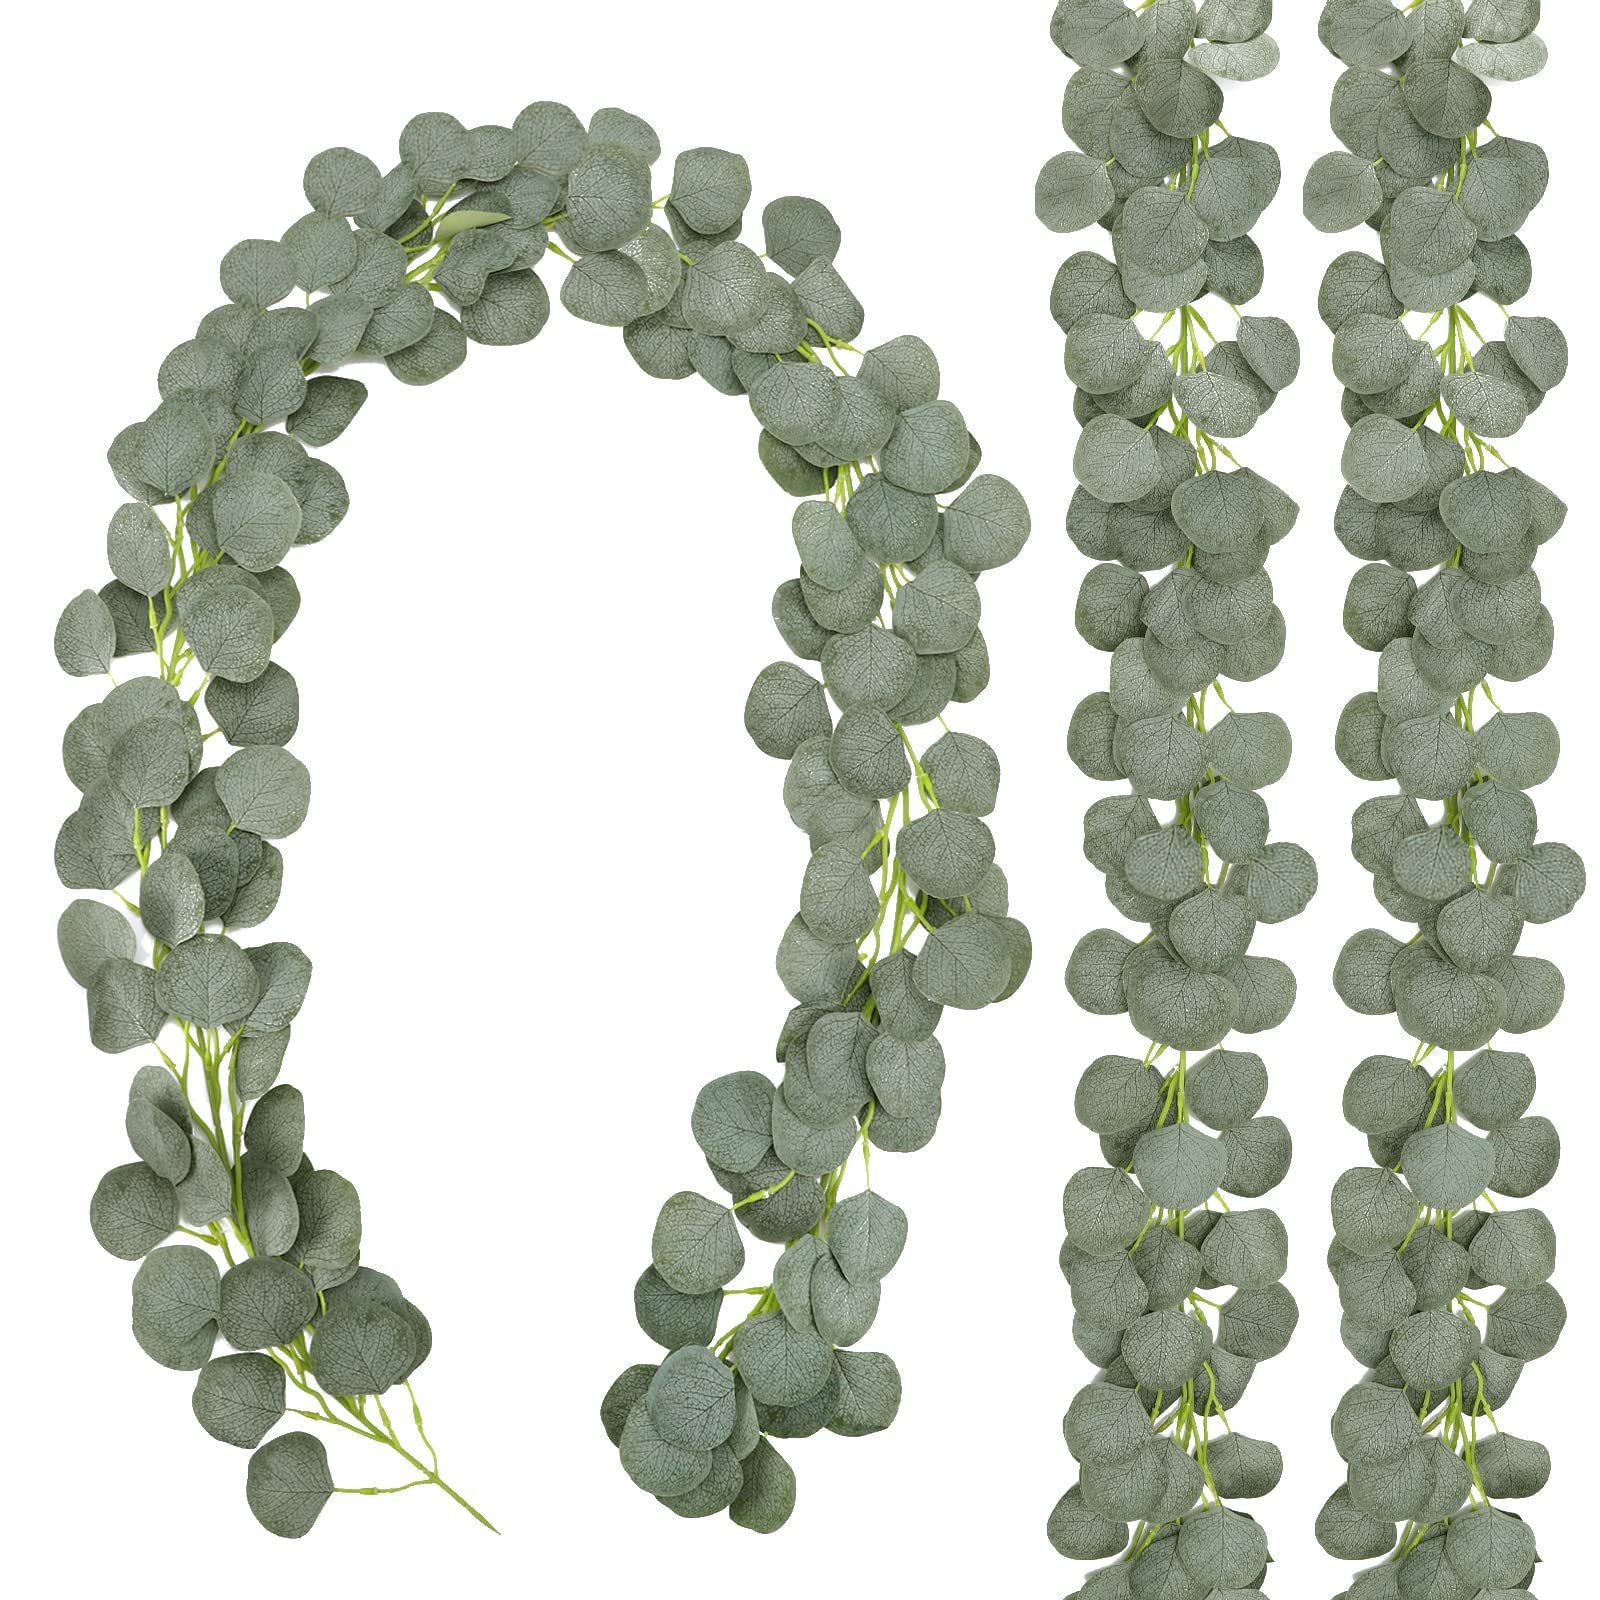
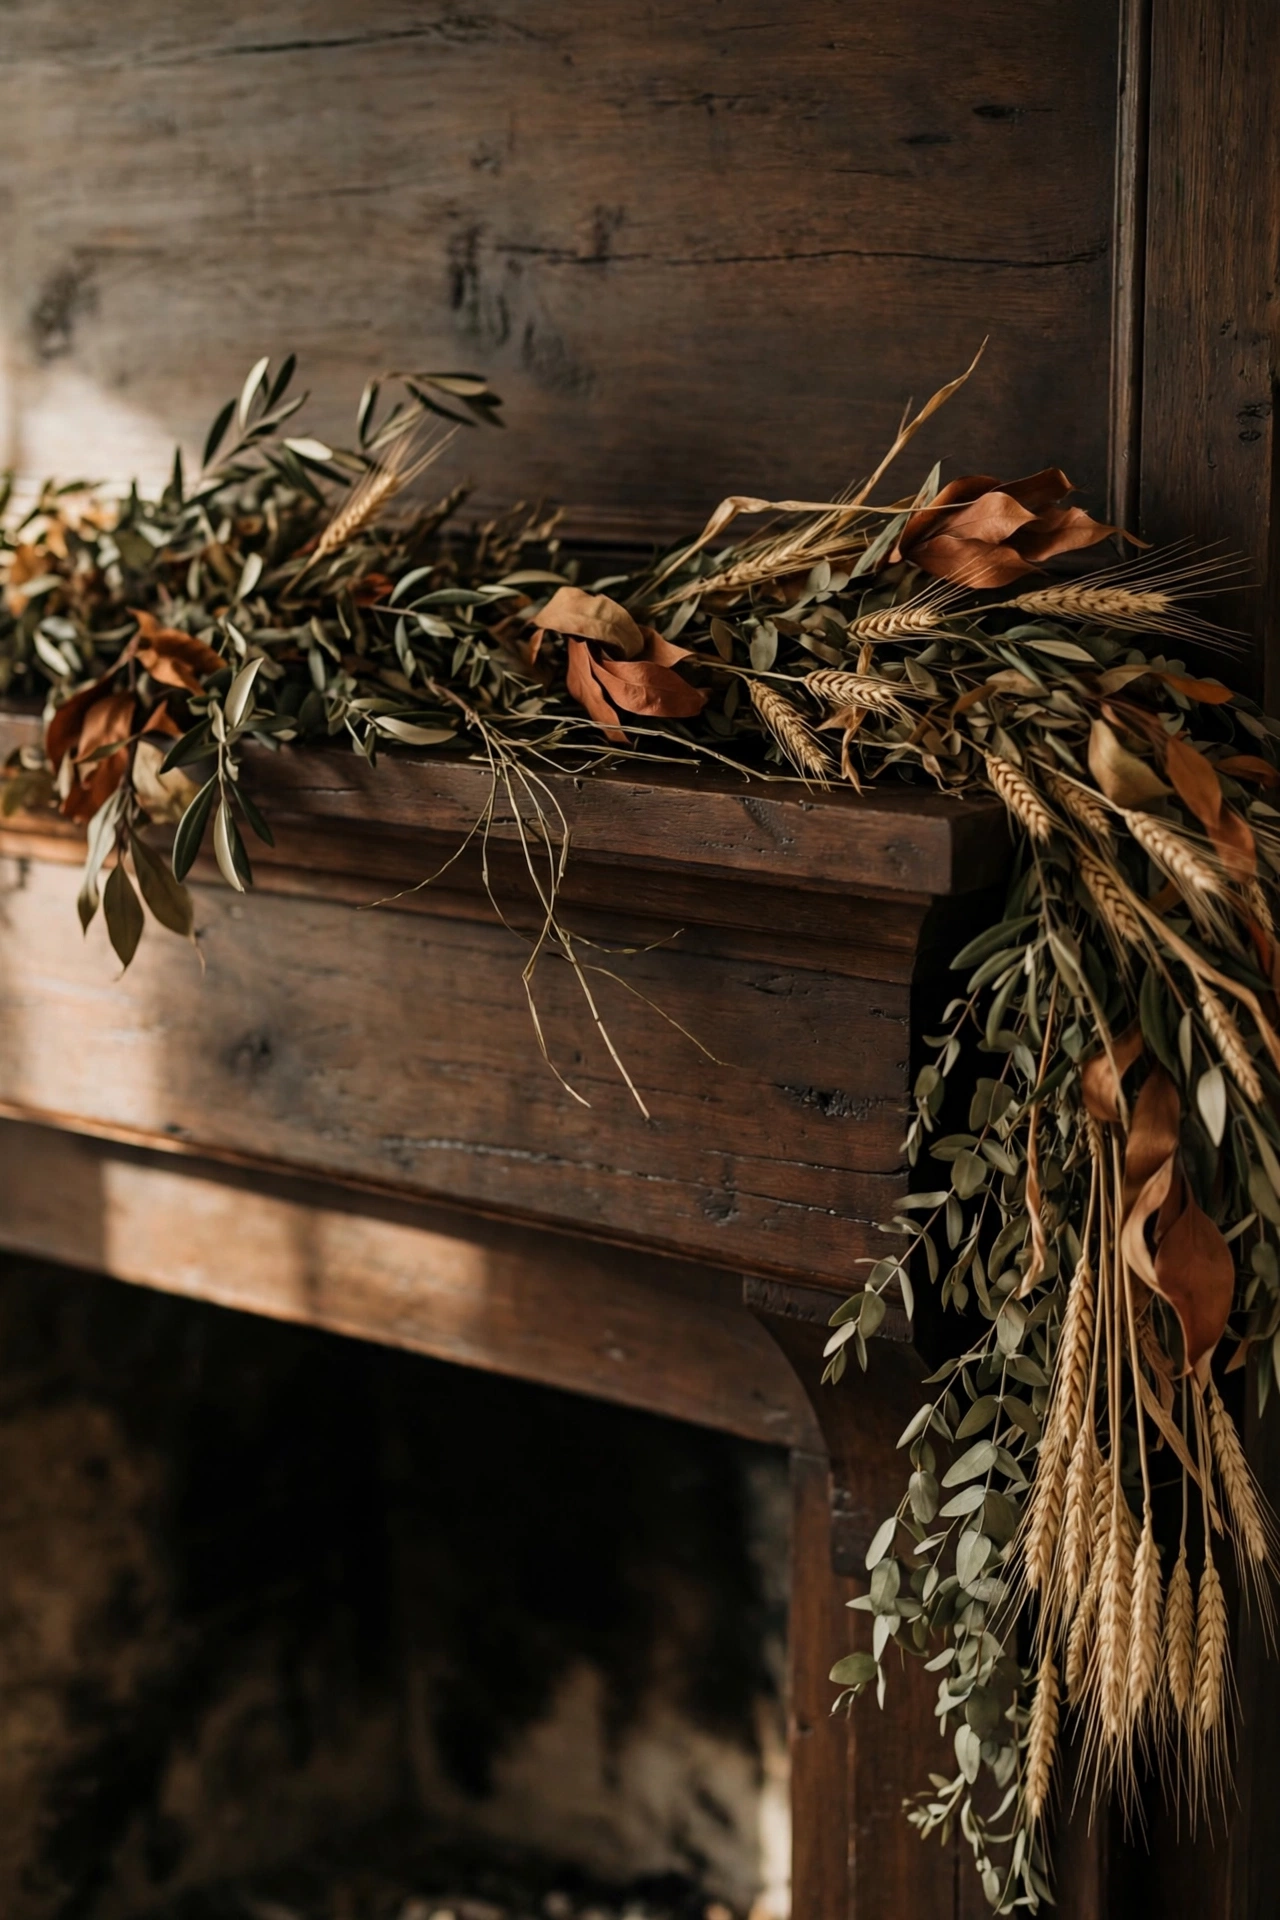
My first choice is a garland, and I will tell you exactly how I place it, because garland placement is where beginners lose the plot. Do not lay it straight and flat like a rope. Push it back toward the wall in the middle and let it spill forward and down at one end, or both ends if your mantel is long. That gentle swag, fuller at the ends and quieter in the center, is what makes a garland look like it grew there. Fluff it. Pull a few stems forward. Tuck a few back. Real greenery is never even, and even is what makes fake garland look fake.
Choose the garland for texture first and color second. Dried and preserved styles in olive, rust, and wheat tones sit beautifully in our palette and they do not drop needles or need water. Eucalyptus in a muted sage is another favorite of mine, especially against a dark fireplace surround. Whatever you choose, one garland is enough. Two garlands layered together can work on a very long mantel, but for most of us it tips from lush to heavy fast.
If garlands are not your thing, the linen option is genuinely lovely. Drape a washed linen runner along the shelf and let the ends hang a little past the edge, soft and uneven. It reads quieter and more modern than a garland, and it is a kind move if your fireplace surround is already busy stone or brick that does not need competition. I use the linen in years when I want the candles and pumpkins to do all the talking.
Whichever soft layer you pick, place it now, before the anchor, before the pumpkins, before anything. Building on top of the soft layer is what weaves the whole mantel together. Pieces tucked slightly into a garland look like one composition. Pieces placed beside a garland look like a row of objects. That difference is the difference between styled and stored.
Step 3: Place One Strong Anchor and Build Your Height
Takeaway: Put your tallest, strongest piece at one end of the mantel, not in the center, and let it set the height for everything else.
Here is the mistake I made for years. I put the biggest piece in the middle, because the middle felt important. Then I tried to balance matching pieces on both sides, and the mantel turned into a stiff, symmetrical lineup that looked like it was standing at attention. The fix changed my mantels forever. The anchor goes at one end. Off center is alive. Centered is a shrine.
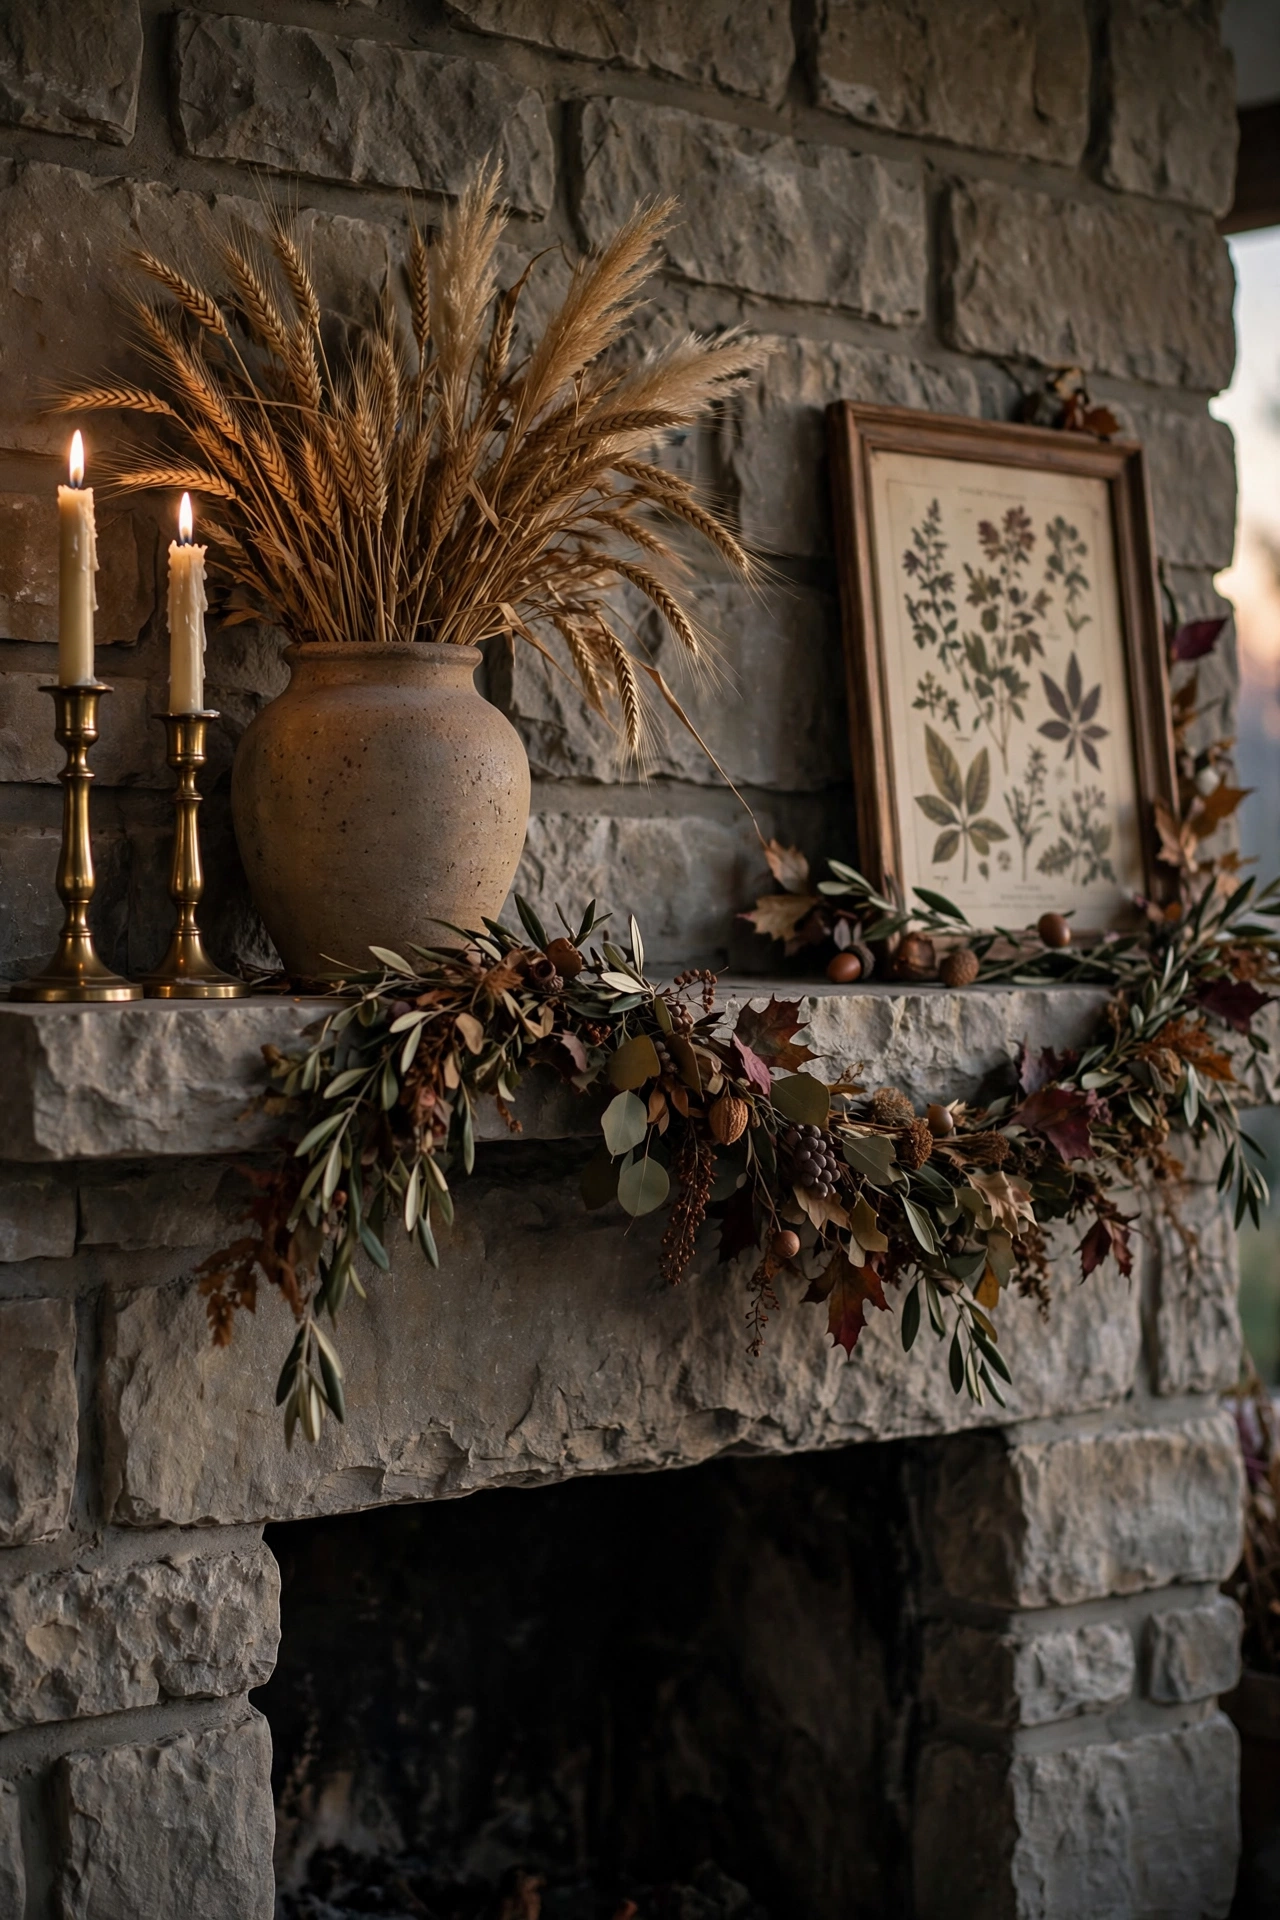
Your anchor is your tallest and most substantial piece. A pair of tall brass candlesticks. A generous vase of dried branches or wheat. A lantern with real presence. A stack of art books with a small sculpture or pumpkin on top. Choose one. Just one. Two anchors compete, and a mantel with two stars has no star. Place it at one end, a few inches in from the edge, and step back. That tall moment gives the whole composition its skyline and tells every other piece how tall it is allowed to be.
Now build the triangle. Tall at the anchor end. Low in the middle. Medium at the far end. The far end might be a shorter candlestick trio, a medium vase, or a framed print leaning against the wall. Leaning art is a gift on a mantel, by the way. It feels relaxed, it fills the gap between shelf and wall that we noticed in step one, and you can swap it seasonally without new nail holes. If you lean a print, let your anchor relate to it. Similar tones. A shared color. This is rule one doing quiet work, repeating a color in three places so the whole shelf feels planned.
Height has one safety rule and one comfort rule. The comfort rule is sight lines. Sit in your usual chair. Nothing on the mantel should block a face across the room or crowd a television if one hangs above the fireplace. The safety rule is simple and serious. Keep garlands, dried stems, and anything flammable well away from the firebox opening and from real flame. If you light your fireplace, dried decor moves back and up, or it moves off the mantel entirely. Cozy is the goal. Careless is not a style.
If your mantel is narrow, and many are, go taller instead of wider. Height gives you the drama without eating the shelf. Tall candlesticks, a slim vase with branches that reach up, art hung a touch lower to meet them. A narrow mantel styled tall looks elegant. A narrow mantel styled wide looks crowded, and crowded is the one thing we are here to avoid.
Step 4: Layer the Middle With Texture and the Season
Takeaway: Fill the space between your anchor and your far end with a few low, textured, seasonal pieces in odd numbers, and stop while it still looks calm.
This is the fun step, and the dangerous one. Steps one to three gave you a calm structure. Step four is where the season arrives. Pumpkins, gourds, pinecones, a bowl of nuts in the shell, dried oranges if you love them, a small stack of books with cloth spines. The trick is not finding pretty things. The trick is choosing a few, placing them in loose groups, and walking away while the mantel still breathes.
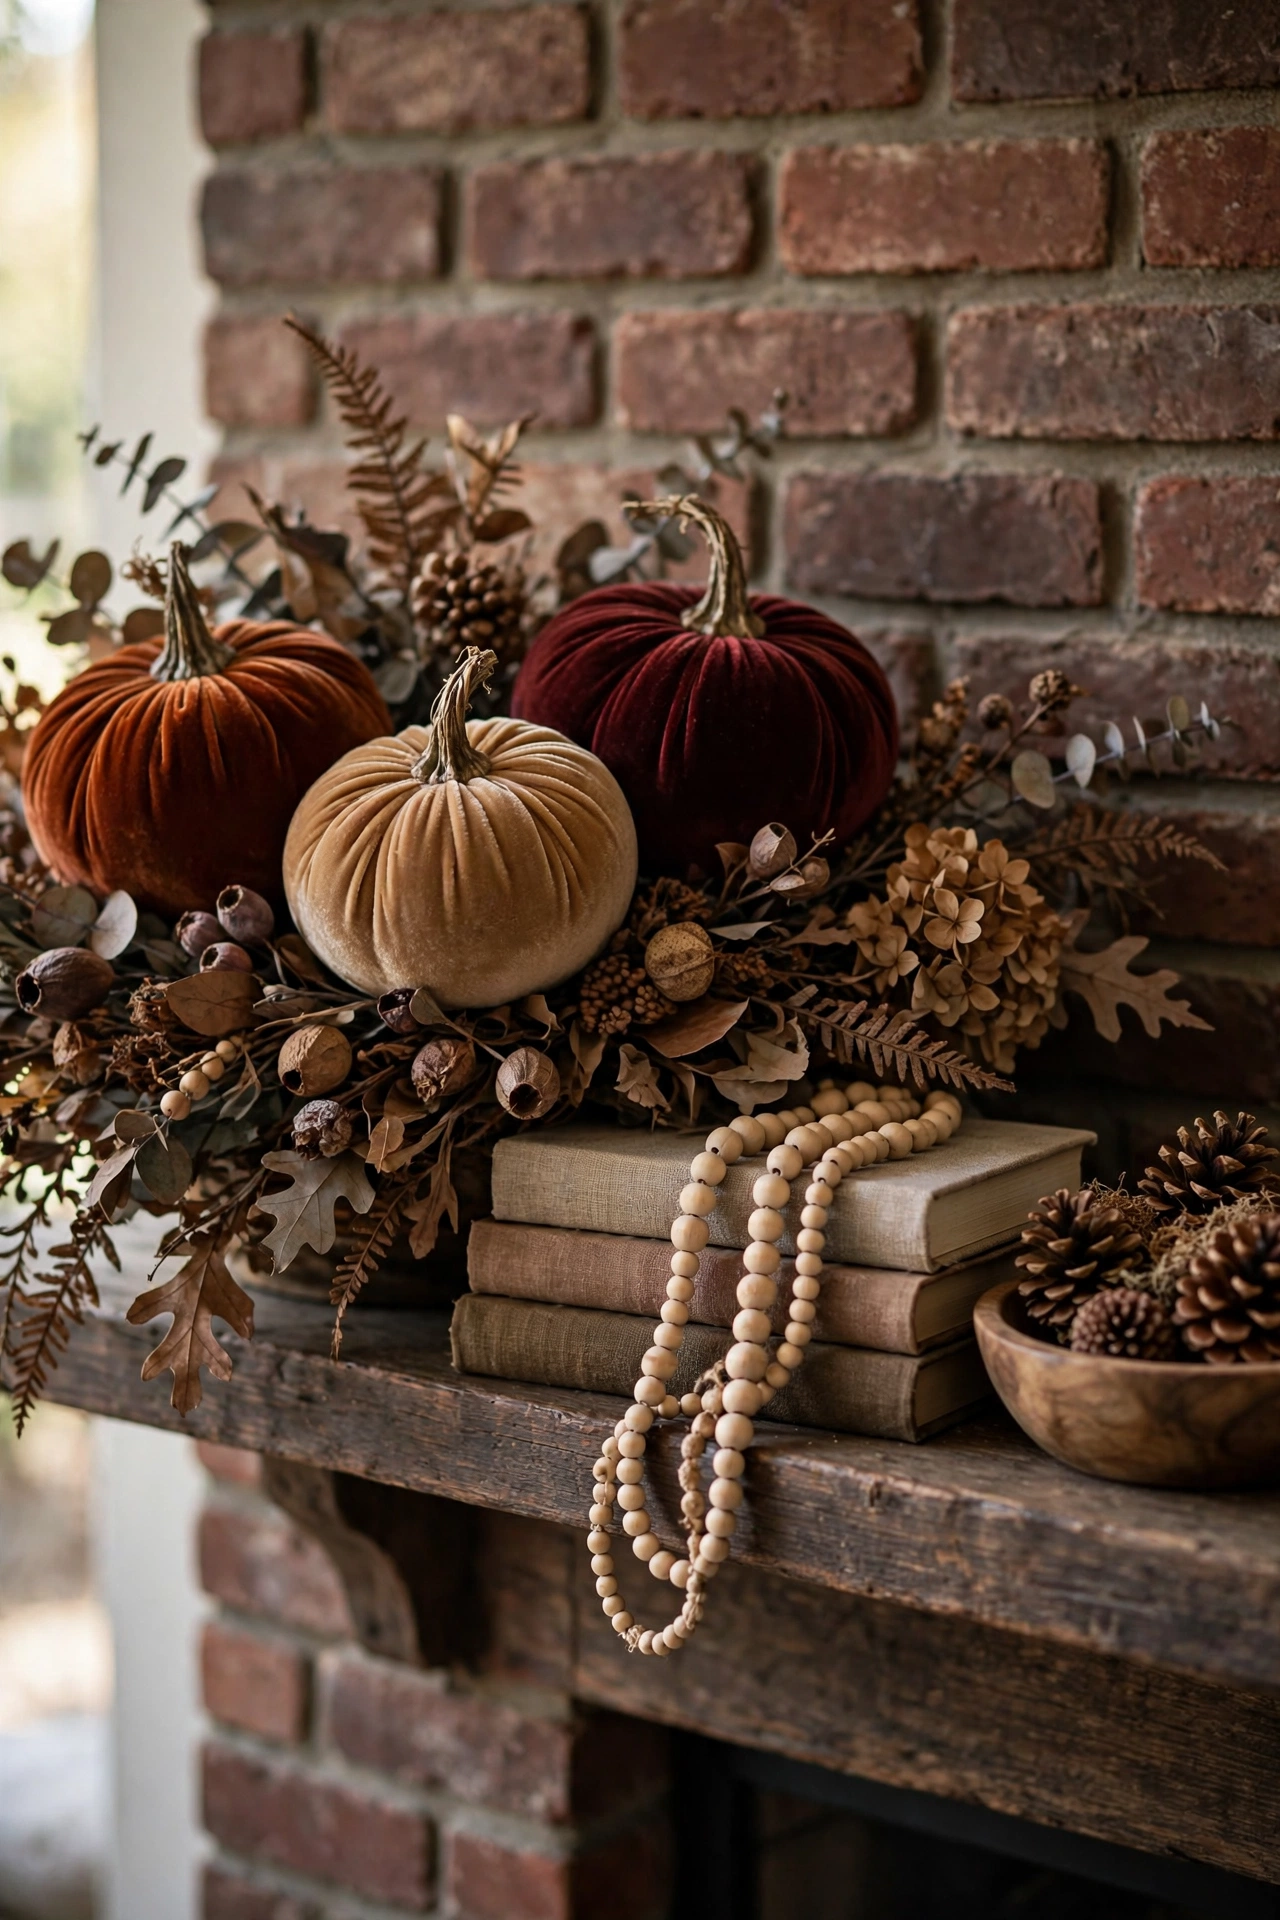
Work in odd numbers and loose clusters. A group of three velvet pumpkins, low in the middle of the mantel, tucked slightly into the garland so they look nestled rather than placed. A pair is fine if a third element joins them, like a small candle or a sprig of stems laid beside them. Groups read as one idea. Singles scattered along the shelf read as a yard sale. I keep coming back to that because it is the single most useful styling truth I know. Cluster, then space. Cluster, then space. The spaces are part of the design.
Texture does the heavy lifting in this step, so reach for contrast. Velvet against wood. Rough pinecones against smooth ceramic. A woven basket or a bead garland draped over the books. Matte against a little brass shine. If everything on your mantel is the same finish, the grouping will look flat no matter how pretty each piece is. When I am stuck, I ask one question. What here is soft, what here is rough, and what here shines? If I can answer all three, the layer is done.
Color stays disciplined. Your low layer is where rule one earns its keep. If your anchor end has burgundy, repeat burgundy here in a pumpkin or a book spine, and once more at the far end. Three quiet repeats and the whole mantel looks intentional, even though you placed each piece in seconds. Keep the low layer low, below the midpoint of your anchor height, so the triangle from step three survives. And keep the season honest. I would rather see three beautiful pumpkins than fifteen small ones. Abundance is a feeling, not a head count.
For more layering ideas in this exact spirit, my fall mantel decor ideas collect nineteen full looks you can borrow pieces from, and they pair with this guide like a picture book pairs with a recipe.
Step 5: Add the Glow, Then Edit Like You Mean It
Takeaway: Finish with warm candlelight at two or three heights, then remove one thing. The edit is what makes it look designed.
A fall mantel without glow is a sentence without a period. It is fine. It is just not finished. Candlelight is what turns your styling into a feeling at six in the evening, when the room goes blue and the mantel starts to glow. Place candles at two or three heights so the light feels layered, a taper up in your anchor zone, a pillar or votive low in the middle cluster, perhaps a lantern at the far end. Light travels across the garland and catches the brass and the velvet, and suddenly every quiet choice you made all afternoon starts to shine.
Let me be practical about flame, because I have strong feelings here. If your fireplace works and you use it, flameless candles on the mantel are my honest recommendation. The good ones are real wax with a warm flicker and a timer, and they glow every evening at the same hour without you touching a match. That timer is a small luxury I did not expect to love this much. The house lights its own mantel at dusk. It feels cared for. If your fireplace is decorative only, real candles are lovely, and the same safety rule from step three applies. Flame stays far from dried garland and stems, always, no exceptions for a pretty photo.
Once the glow is placed, comes the step inside the step, the one that separates styled from stuffed. The final edit. Stand across the room, in the doorway if you can, and look at the mantel the way a guest sees it. Squint a little. Somewhere on that shelf there is one piece too many. There almost always is. Find the piece your eye keeps snagging on, the one that argues with its neighbors, and take it away. Put it in another room where it can be the star of a smaller stage. Then look again. The calm that settles over the mantel when the extra piece leaves is the whole lesson of this guide. Restraint is not the absence of style. Restraint is the style.
Live with it for one evening before you judge it. Mantels are evening creatures. Style in daylight, but decide at dusk, with the candles lit and the lamps low. If the mantel makes you exhale when you walk in with tea, you are done. If some corner nags at you, it is usually one of three things. A height that needs raising, a color that needs one more repeat, or a cluster that needs its space back. Small fixes, all of them, because your order was right from the start.
More Favorites
This post contains affiliate links. If you buy through them, I may earn a small commission at no extra cost to you.
A few more favorites from the ideas above:


Three Variations Worth Knowing
Every home argues with the standard advice a little, so here are the three situations readers ask me about most. If you have a television above the mantel, keep the styling low and wide. Garland, low pumpkins, candles at the ends, and nothing tall competing with the screen. Think of it as a frame for the fireplace, not a display. The mantel will look calm and the room will still work on movie night.
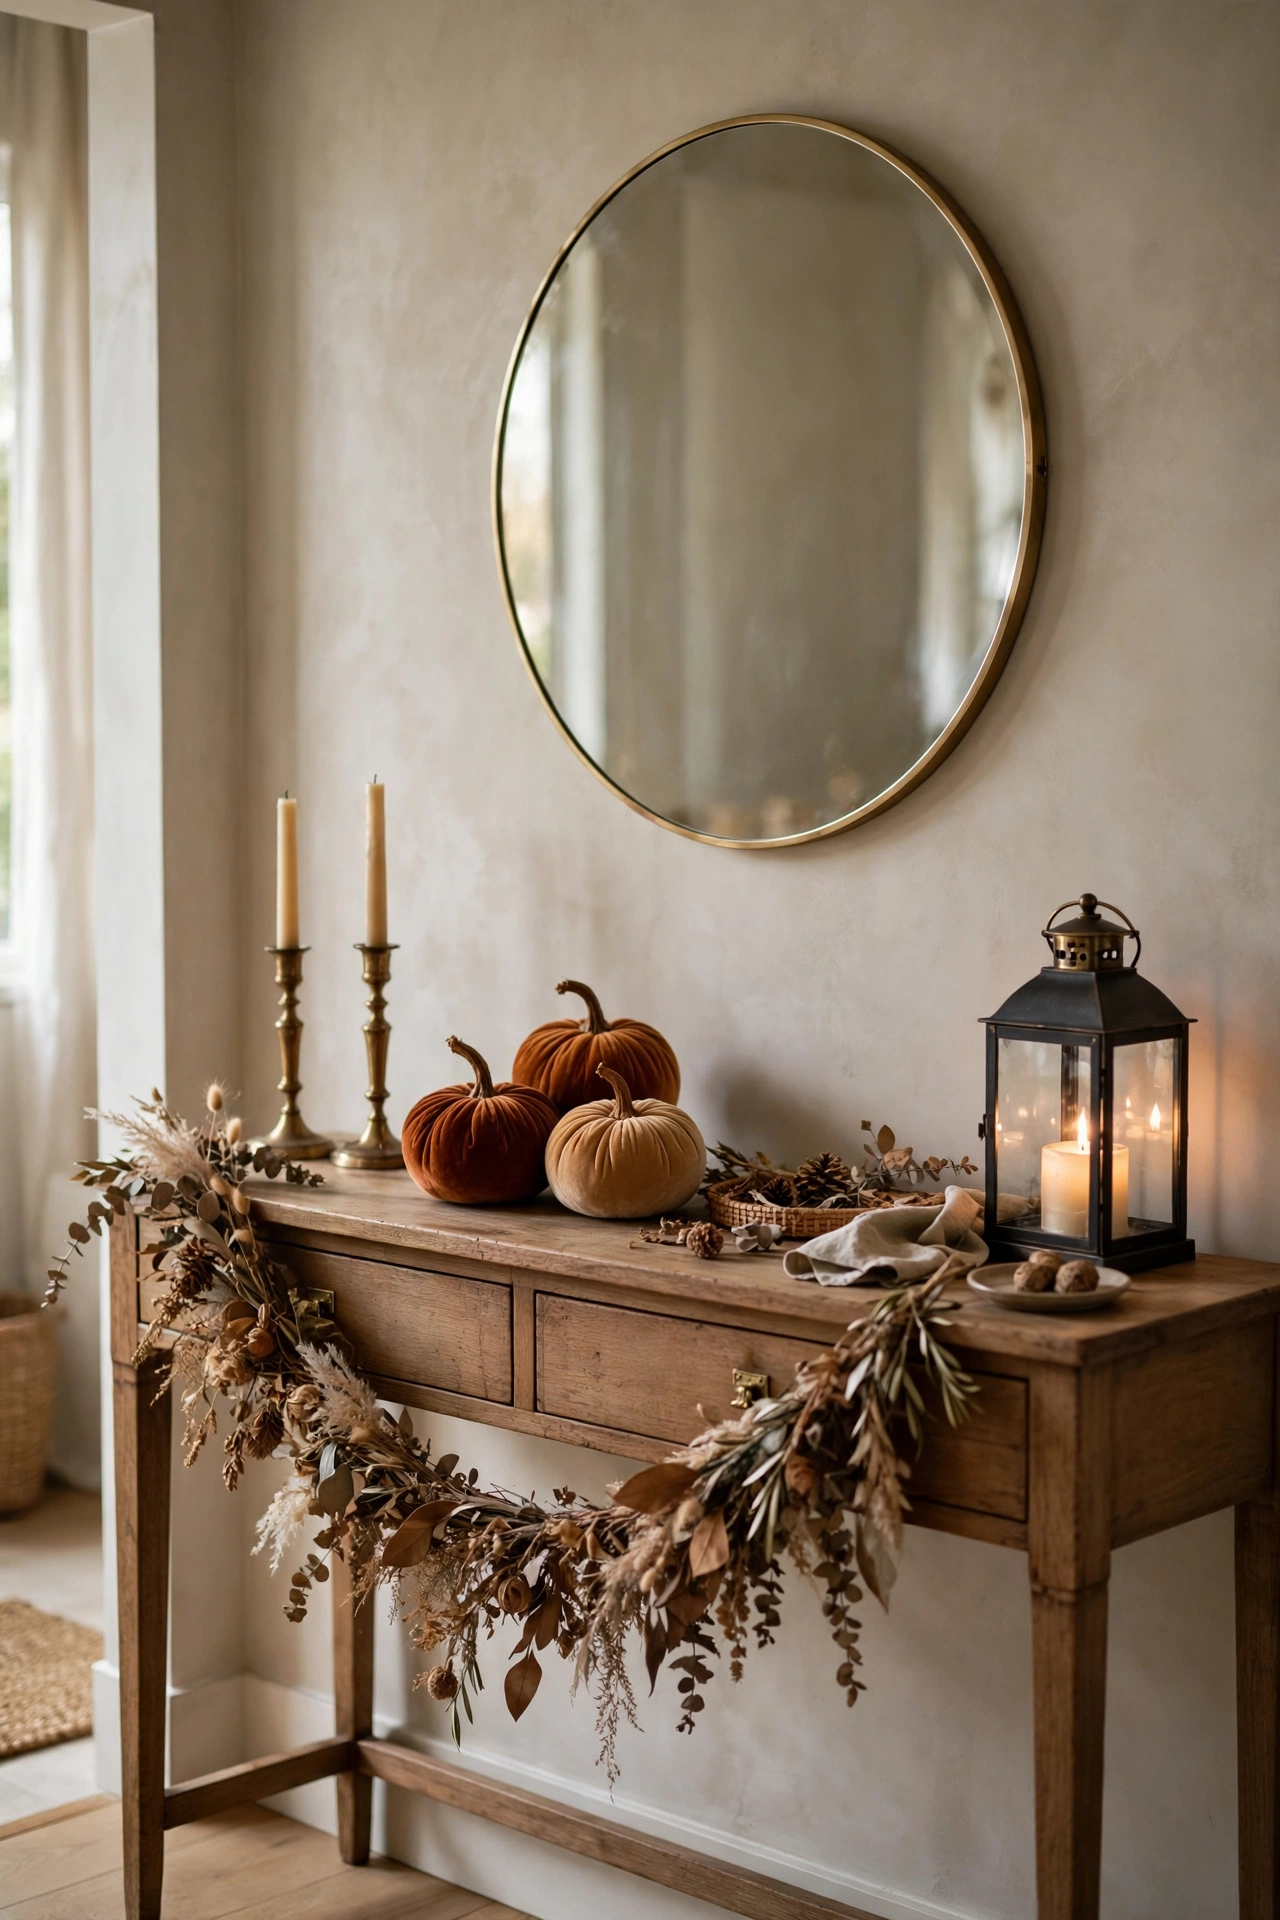
If you do not have a fireplace at all, you still get a mantel moment. A console table, a wide shelf, or the top of a low bookcase can be styled with the exact same five steps. Clear it, soften it, anchor it, layer it, light it. The method never cared about the fireplace. It cares about order and glow. Some of my favorite fall displays I have ever styled were on a plain entryway console, the same spirit as the looks in my fall front entryway ideas.
If your mantel is tiny, think in minis with discipline. One slim garland. One pair of candlesticks. Three small pumpkins and nothing more. A small mantel styled with restraint looks like a jewel box. A small mantel styled with ambition looks like a storage shelf. Choose the jewel box.
Mistakes I See on Beginner Mantels
A quick roundup, because naming them helps you skip them. Symmetry that is too perfect, which makes the mantel feel stiff and formal. Pieces that are all the same height, which flattens the skyline. Too many small things, evenly spaced, which reads as clutter from across the room. A palette that wanders, one bright orange pumpkin crashing an otherwise muted arrangement. And the quietest mistake of all, styling in the wrong order, decorating first and editing never. You now know the order. Trust it, even when step one feels boring. Especially when step one feels boring.
A Last Word Before You Light the Candles
Here is what I hope you take from this guide. A beautiful mantel is not about having the right things. It is about doing simple things in the right order and stopping at the right moment. Clear it. Soften it. Anchor it. Layer it. Light it. Five steps, forty minutes, and a room that greets you at dusk like an old friend. Next year you will not even think about it. Your hands will just know the order, the way they know a favorite recipe.
When your mantel is done, take a photo at dusk with the candles lit. Not for anyone else. For you, in November, when life gets busy and the mantel still looks calm, as proof that small order in one place can hold a whole season together. And if you are carrying this cozy mood to the table next, my Thanksgiving tablescape ideas use this same palette and the same love of candlelight.
With love and light
Get Fresh Home Ideas Every Week
Seasonal decor ideas, organizing tips, and cozy home inspiration, straight to your inbox.
More Fall Ideas You Will Love
Keep browsing for more seasonal inspiration: