
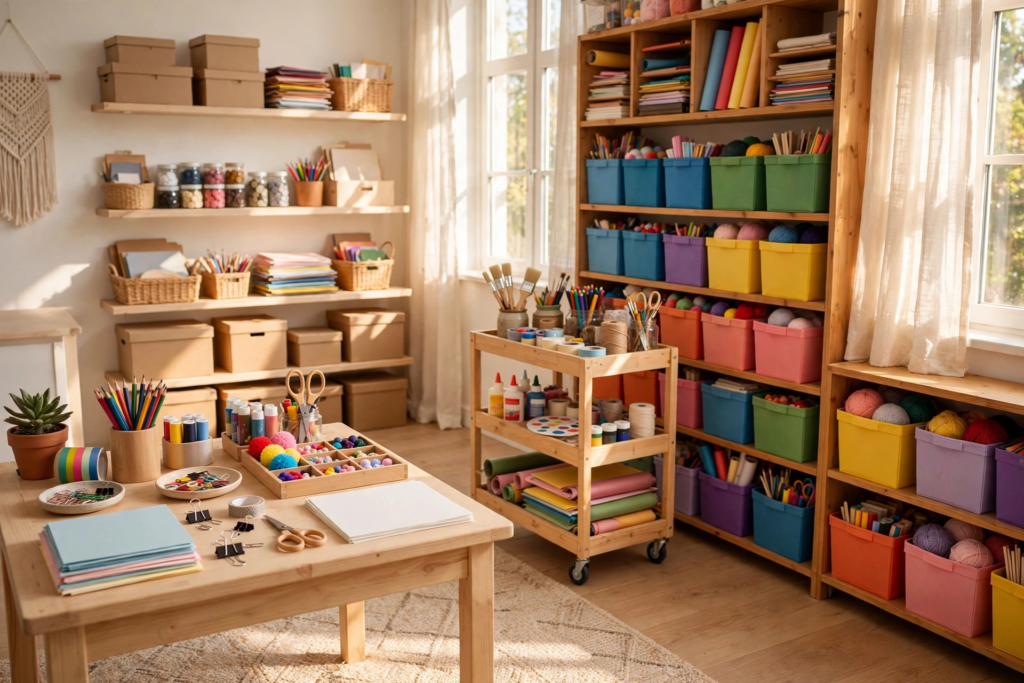
If you have ever found glitter in your coffee, mama, you are in the right place. Craft supplies have a way of multiplying in a house with kids. One minute you buy a single box of crayons, and the next you are stepping on a rogue bead in the hallway at midnight while a glue stick has somehow migrated into the bathroom drawer. It is not your fault. Kids are creative, and creativity is gloriously messy.
Here is what I have learned after years of finding googly eyes in the couch cushions. The problem is not the crafting. We want our kids to make things, to paint and glue and build and imagine. The problem is that most of us never set up a system for the supplies. They live in a junk drawer, a grocery bag, and that one bin where everything goes to disappear. No wonder cleanup feels impossible.
These nineteen ideas are the systems that finally tamed the chaos in our house. Rolling carts that park the supplies exactly where you need them. Labeled bins even a four year old can use. A five minute reset that keeps everything from sliding back into glitter anarchy. Nothing here needs a dedicated craft room or a big budget, just a few smart containers and a simple plan.
Start with the three ideas that solve your biggest headaches and build from there. If the paper pile is your nemesis, jump straight to the paper tower. If tiny things are scattered everywhere, the compartment boxes will change your life. And if your craft corner lives in a bedroom, my post on 19 Cozy Fall Bedroom Ideas has lovely inspiration for keeping that space calm and cozy too.
One promise before we start, mama. Every idea here is kid tested and mom approved for real life. No perfect studio setups that fall apart the minute a seven year old walks in carrying glitter glue. Just practical systems that let your kids create freely while you keep your sanity. Let us tame this glitter explosion together.
Love these ideas? Get more every week.
Join the newsletter for seasonal decor and cozy home inspiration.
1. Park It All on a Rolling Art Cart
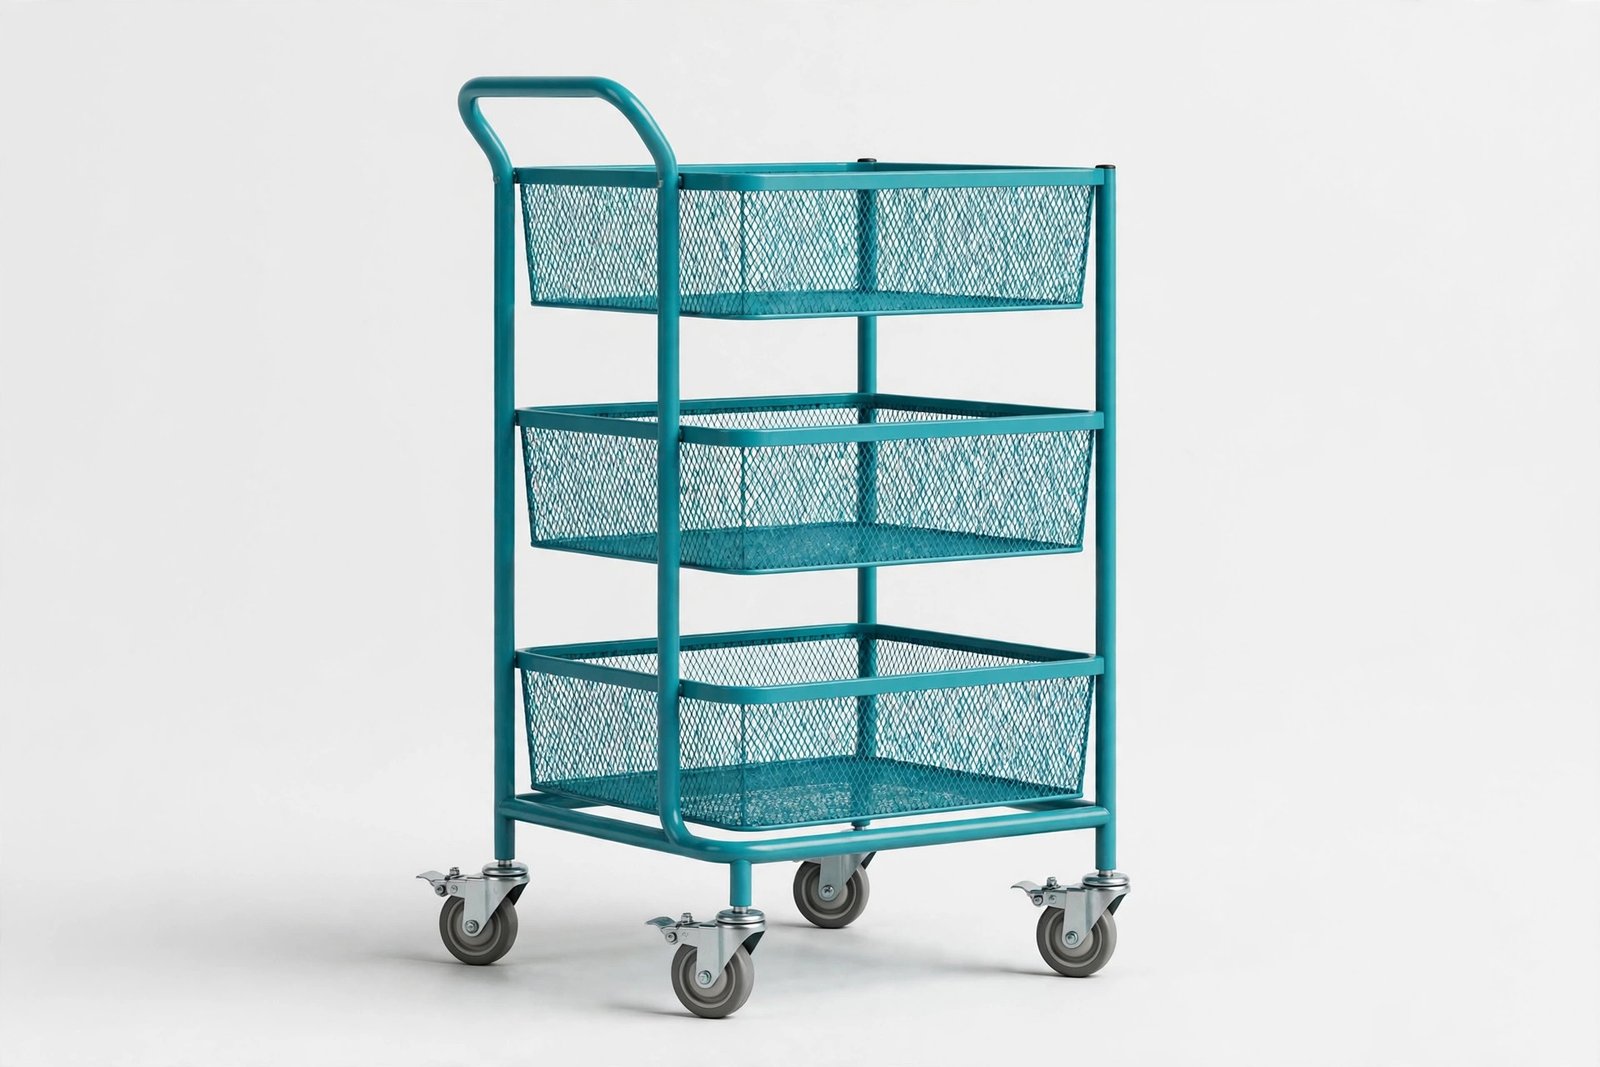
A rolling art cart is the closest thing to a magic wand in craft supply organization, mama. Instead of supplies living in five different spots around the house, everything parks on one cart that rolls to wherever the creating happens. Kitchen table today, living room floor tomorrow, sunny porch on a Saturday afternoon. The kids roll it out, make their masterpiece, and roll it back when they are done. It turns cleanup from a scavenger hunt into a single trip. Even toddlers can push a lightweight cart, which means they can genuinely help with the reset instead of watching you do it.
Stock it like a little craft station on wheels. The top basket holds the daily tools like crayons, washable markers, kid scissors, and glue sticks, all within easy reach. The middle shelf is perfect for paper, coloring books, and sticker sheets, the flat stuff that slides in nicely. The bottom basket takes the messy supplies like paint bottles, playdough tubs, and the glitter you only allow under direct supervision. Everything has a designated shelf, so nothing ends up shoved in a random drawer. When each category has a home, kids learn the system without even realizing it.
Choose a cart with locking wheels so it stays put during enthusiastic painting sessions and does not roll away mid masterpiece. Deep baskets beat shallow trays because supplies stay contained when the cart moves across the room. Teach the kids the golden rule from day one: the cart gets rolled back to its parking spot when craft time ends. That one habit alone will cut your daily pickup in half. Pick a parking spot that is out of the main walkway but easy to reach, like the end of a hallway or beside the craft table, so putting it away feels effortless.

Shop This Look
This post contains affiliate links. If you buy through them, I may earn a small commission at no extra cost to you.
A few favorites featured in the ideas above:

2. Hand Them a Portable Craft Caddy
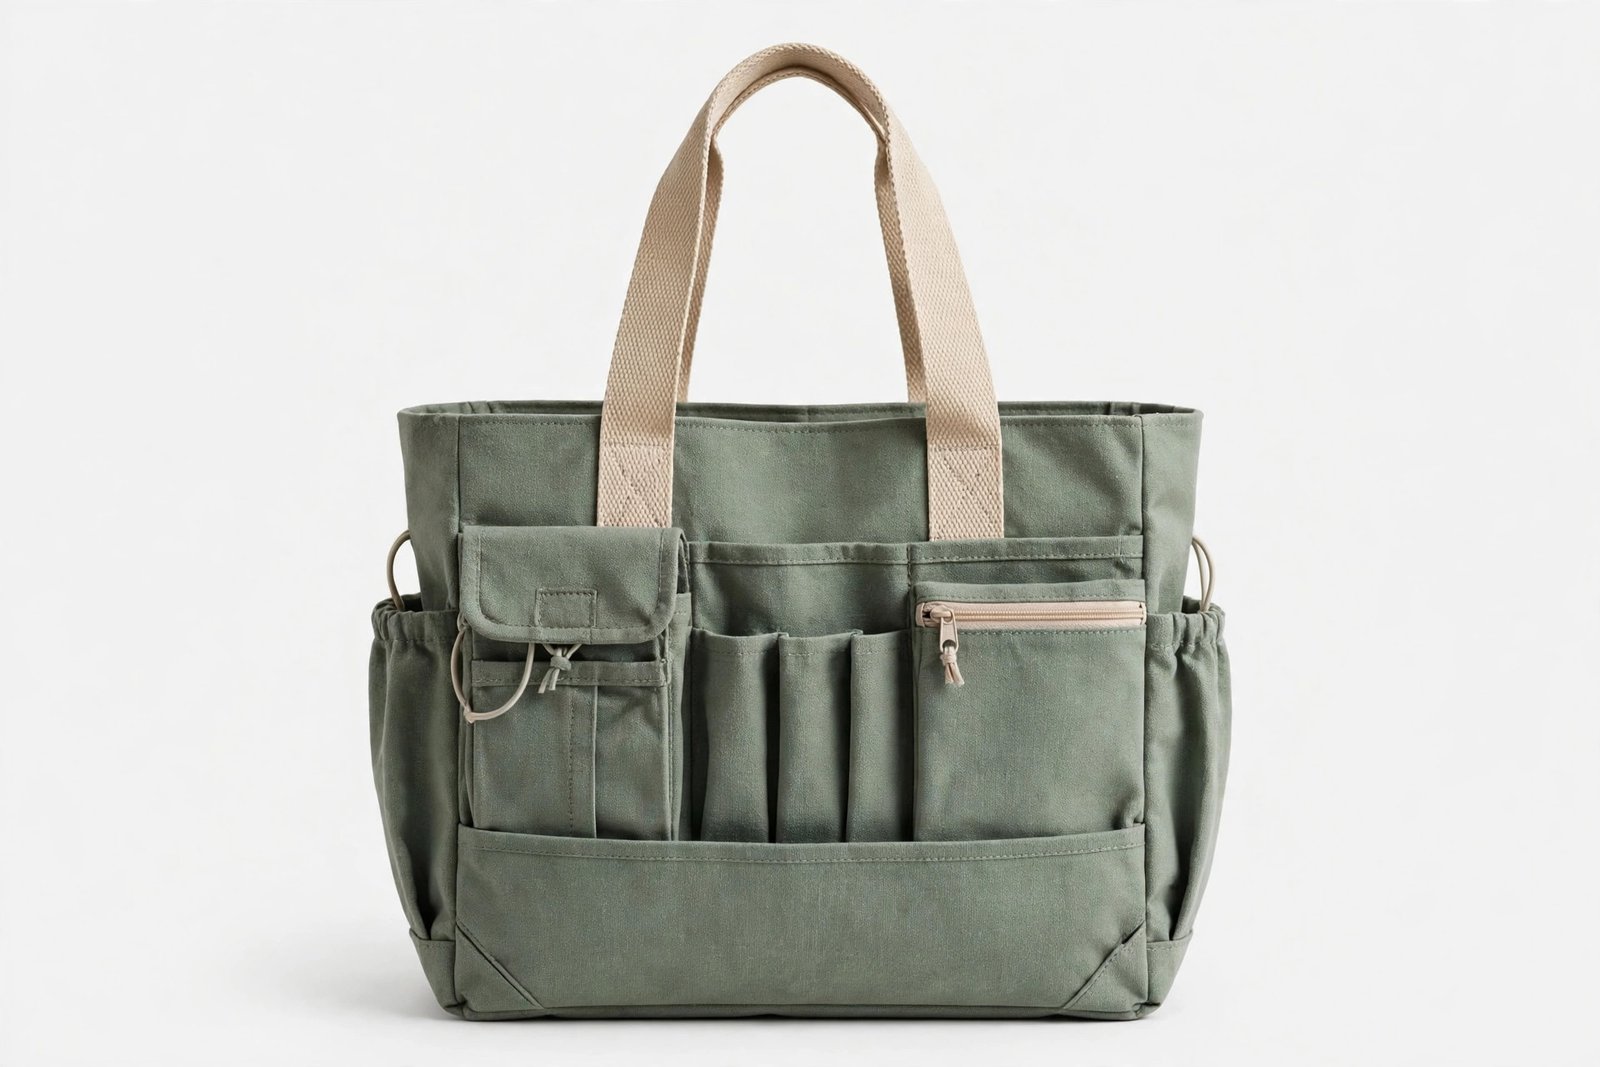
Some kids do their best creating at the kitchen table, some on the living room rug, and some at grandma’s house on Sunday afternoon. A portable craft caddy with a sturdy handle lets the supplies travel to the kid instead of the other way around. Each child grabs their caddy, settles wherever inspiration strikes, and carries everything back in one trip when they are finished. No more six trips ferrying fistfuls of markers while a glue stick rolls under the couch. It is such a simple shift, but it completely changes the rhythm of craft time in a busy house.
The trick is keeping the caddy stocked with current project supplies, not the entire craft stash. Load it with the markers for this week’s coloring obsession, the glue and scissors for the school project, and a small pad of paper for free drawing. Refill it on Sunday night while you are resetting the house for the week ahead. When the caddy only holds what they are actually using, it stays light enough for little arms to carry comfortably. A caddy that weighs a ton just gets abandoned in the hallway, so keep it lean and current.
This is also a genuine peacekeeper for siblings sharing one table. Each kid gets their own caddy in their own color, which ends approximately ninety percent of the she took my scissors drama. They learn to keep track of their own tools, and you get to skip refereeing craft supply disputes every single afternoon. Personal caddies also make it easy to spot who left their supplies out, because the color gives them away. Accountability has never been this colorful or this painless for mom. Assign caddy colors at the start of the school year and the system runs itself for months.

3. Label Every Bin in Plain Sight
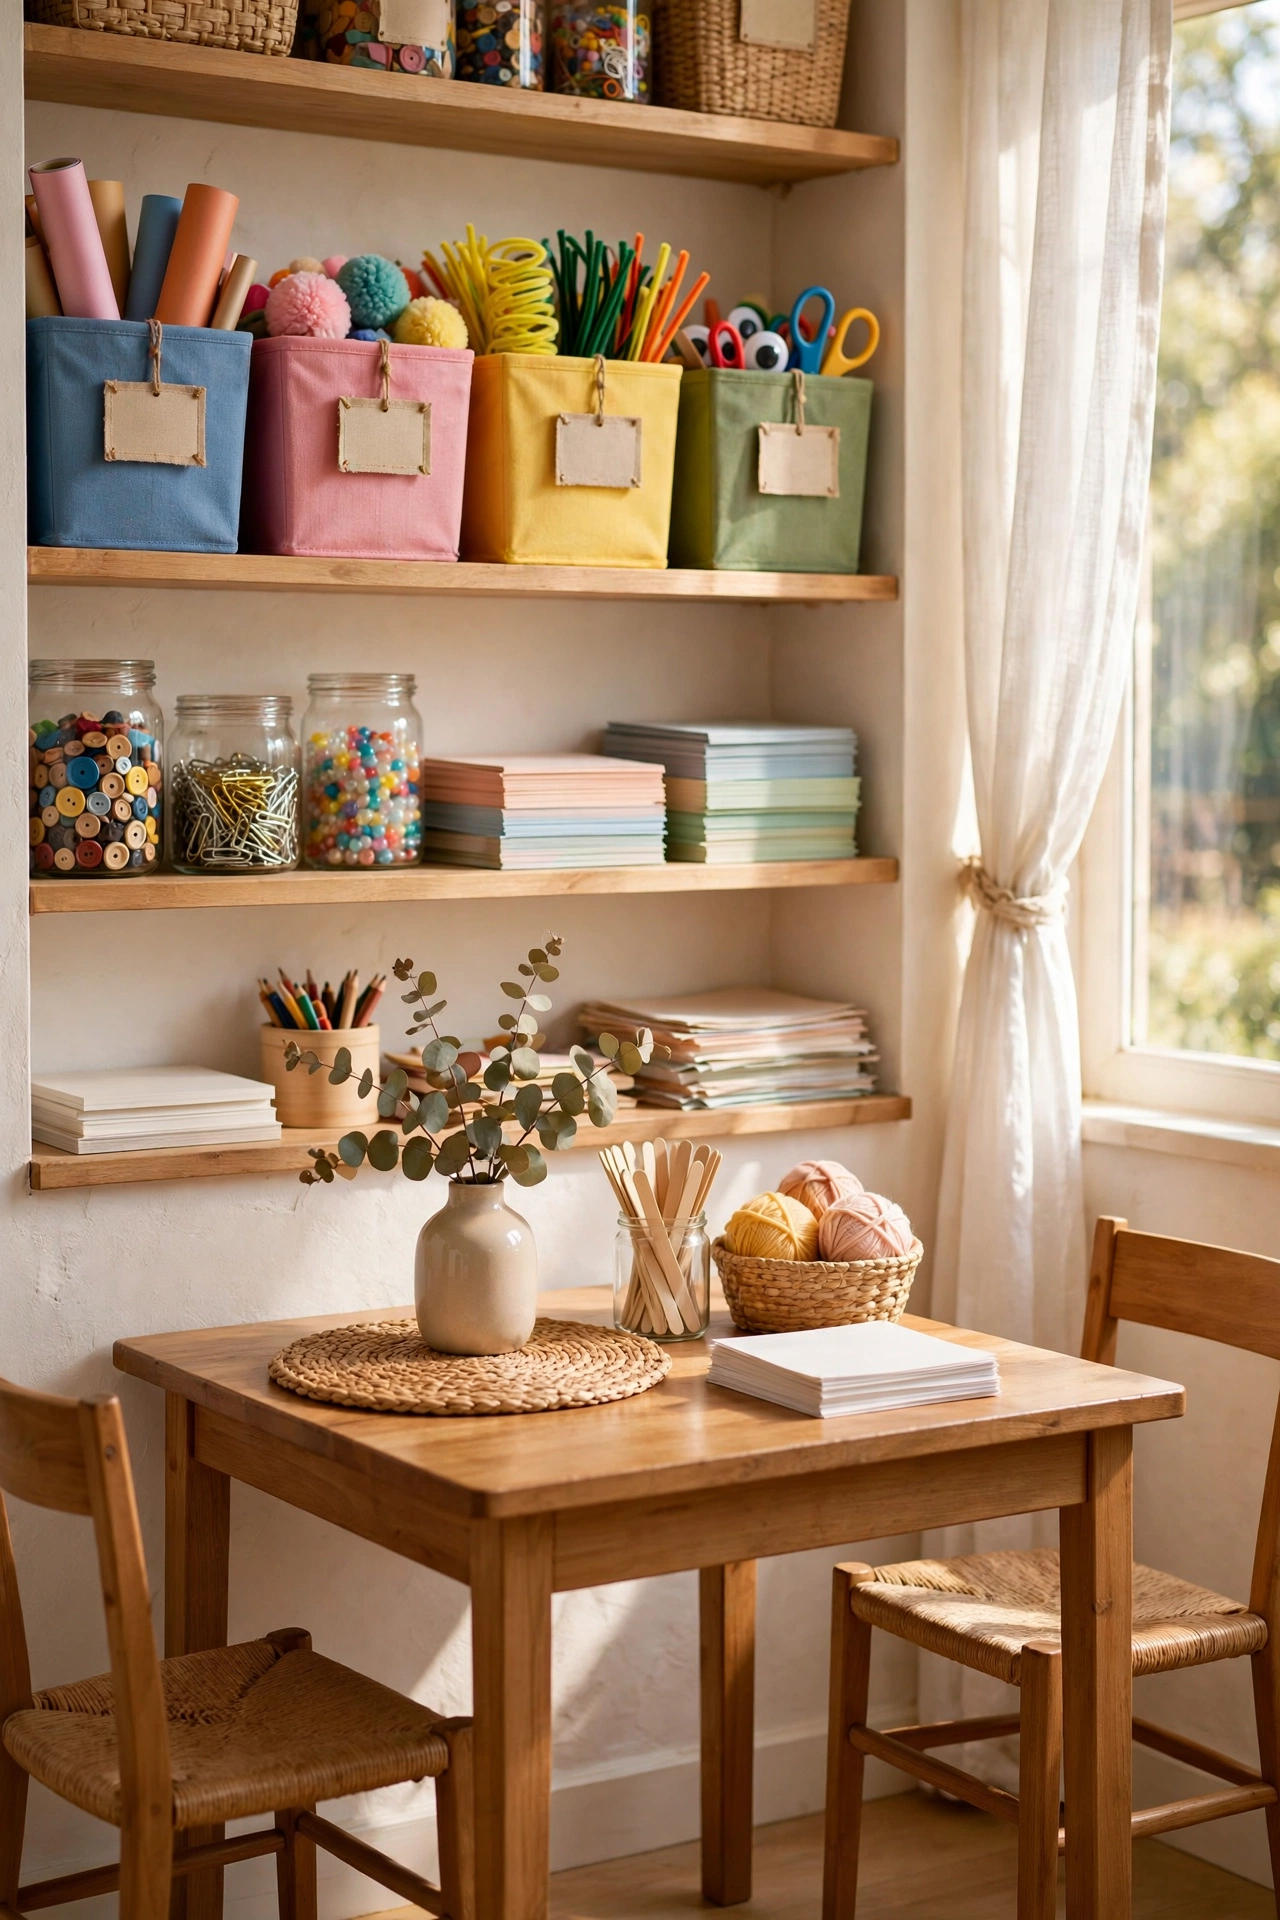
Labels are the difference between a system that works and a system that lasts about three days, mama. When every bin says exactly what lives inside, kids stop asking you where things go and start putting them away all by themselves. The magic is not fancy, it is just clarity. A bin that says crayons gets crayons. A bin with no label gets whatever happened to be closest when cleanup started. Labels turn guessing into knowing, and knowing into a habit that sticks even on the most chaotic days. It takes an afternoon to label everything and pays you back every single day after.
For little ones who cannot read yet, picture labels are everything. Snap a photo of the bin’s contents with your phone, print it, and tape it to the front of the bin. Big kids can handle words, but pictures never hurt and they make the shelves look absolutely adorable. Keep labels big, bold, and at kid eye level so they actually get used. For more labeling inspiration that ties your whole home together, take a peek at my post on 19 Warm Minimalist Living Room Ideas for Fall, because the same simple principles work beautifully on craft shelves too.
Make labeling a fun project you do together on a rainy afternoon. Let the kids draw the pictures or pick the label colors, and they will feel real ownership over the system. Kids protect systems they helped build, which means the labels stay on and the bins stay sorted. When supplies change over time, and they absolutely will, just swap the label for a new one. A system that is easy to update is a system that survives real life with kids, seasons, and ever changing obsessions. Keep blank labels and a marker in a junk drawer so updates take thirty seconds.
4. Use the Back of the Door
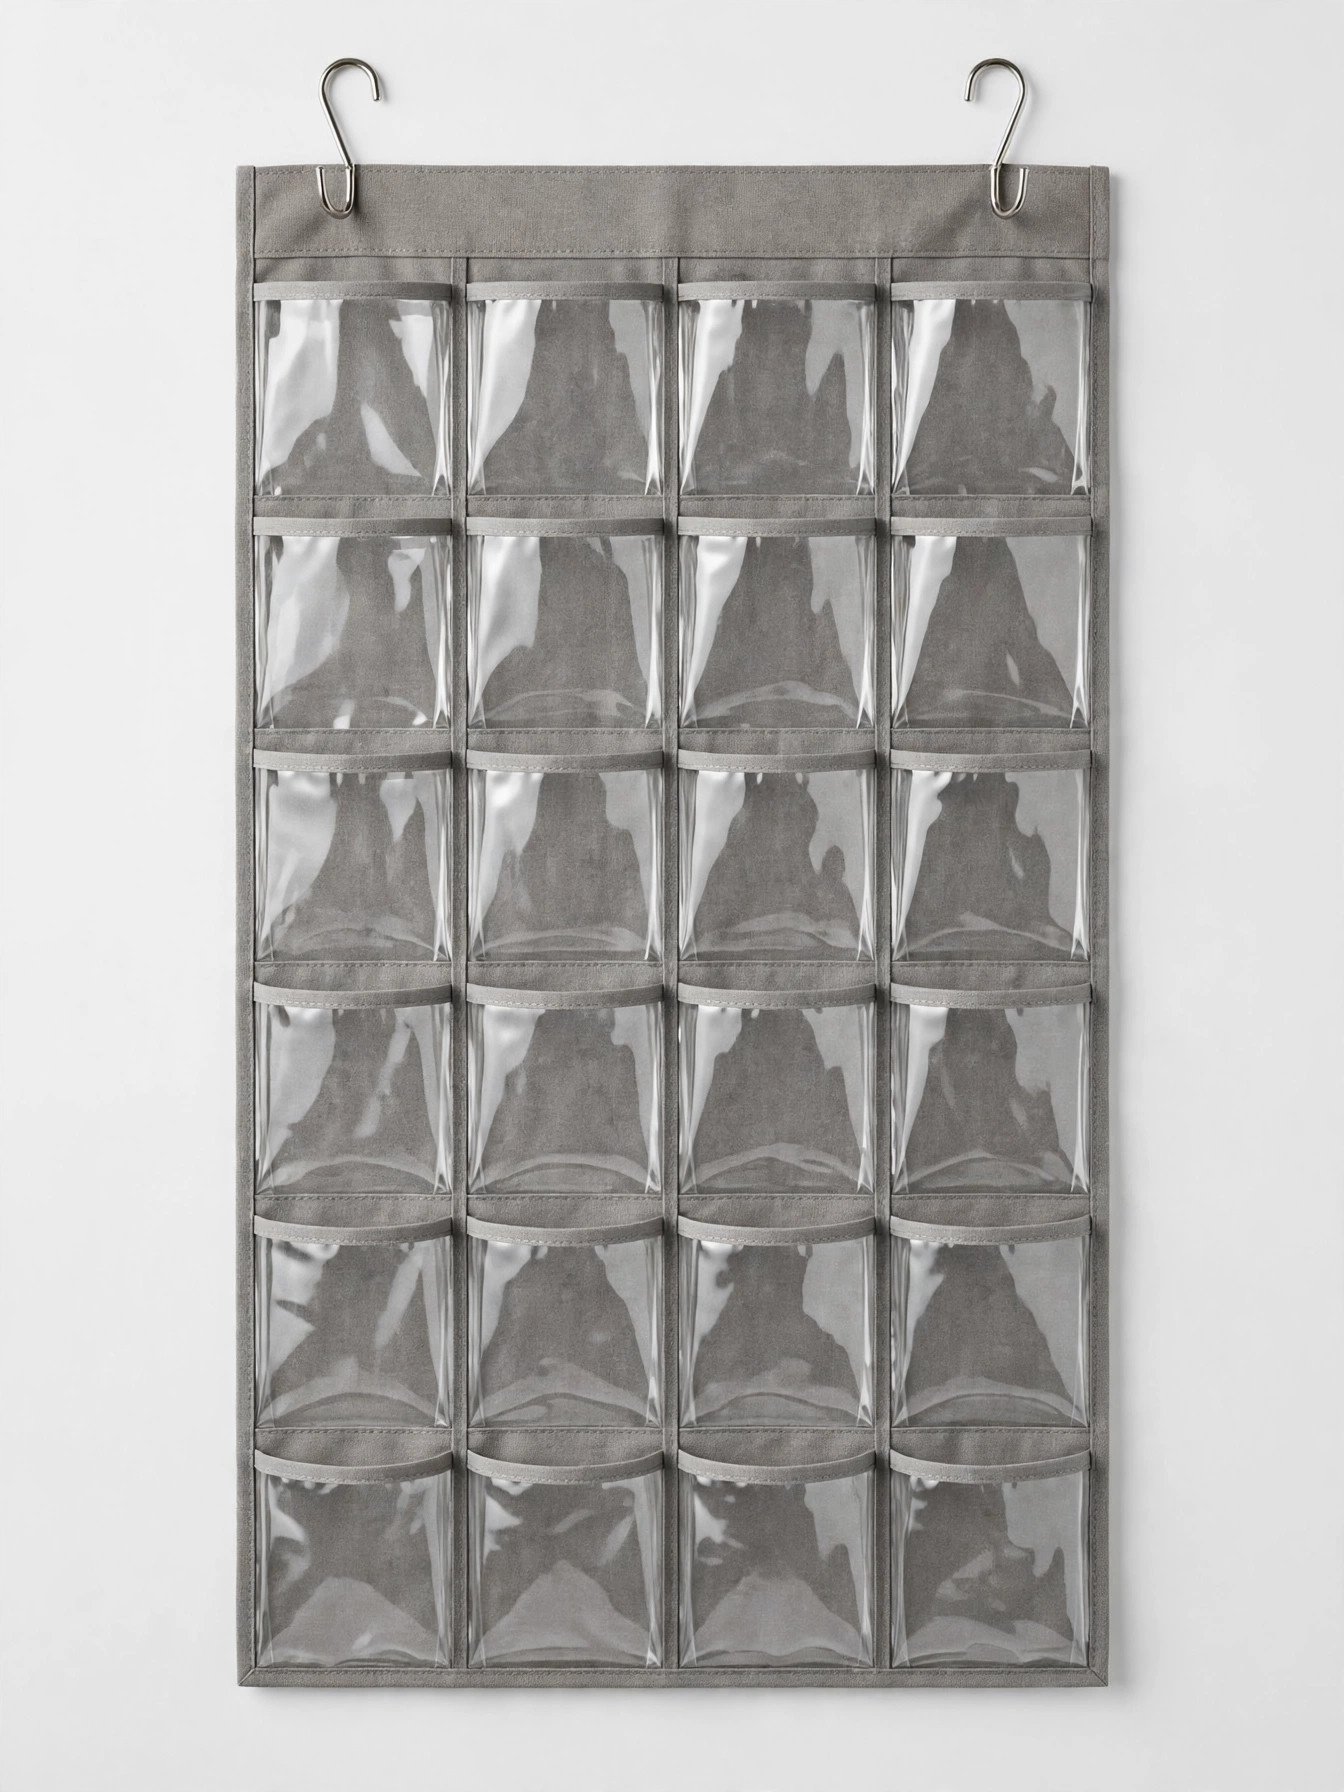
The back of the playroom door is square footage you are already paying for and probably ignoring completely. An over the door organizer with clear pockets turns that blank surface into a craft supply command center without using a single inch of floor space. Coloring books, sticker books, glue sticks, and washable markers each get their own visible pocket. It is like adding a whole extra shelf to the room without buying furniture or drilling a single hole in the wall. Renters love this one because it leaves zero marks when you move out.
Clear pockets are non negotiable here, mama. The whole point is seeing what you need and grabbing it without digging through a deep bin. Assign the top rows to mom only items like the hot glue gun and sharp fabric scissors, up where little hands cannot reach. The middle rows belong to the kids at their eye level, filled with their everyday supplies. The bottom rows hold the bulky stuff like coloring books and paper pads. Everyone knows exactly where their things live, and restocking becomes obvious at a glance.
This works on playroom doors, closet doors, and bedroom doors, anywhere with a few inches of clearance when it closes. Choose an organizer with sturdy metal hooks that fit your door thickness, because a door that will not close properly will drive you bananas within a week. One organizer can hold an astonishing amount of supplies for very little money. It is one of the highest impact, lowest effort upgrades in this entire list, and it takes about two minutes to hang. Measure your door thickness first so the hooks sit snugly without wobbling.

5. Roll In a Drawer Unit for the Little Stuff
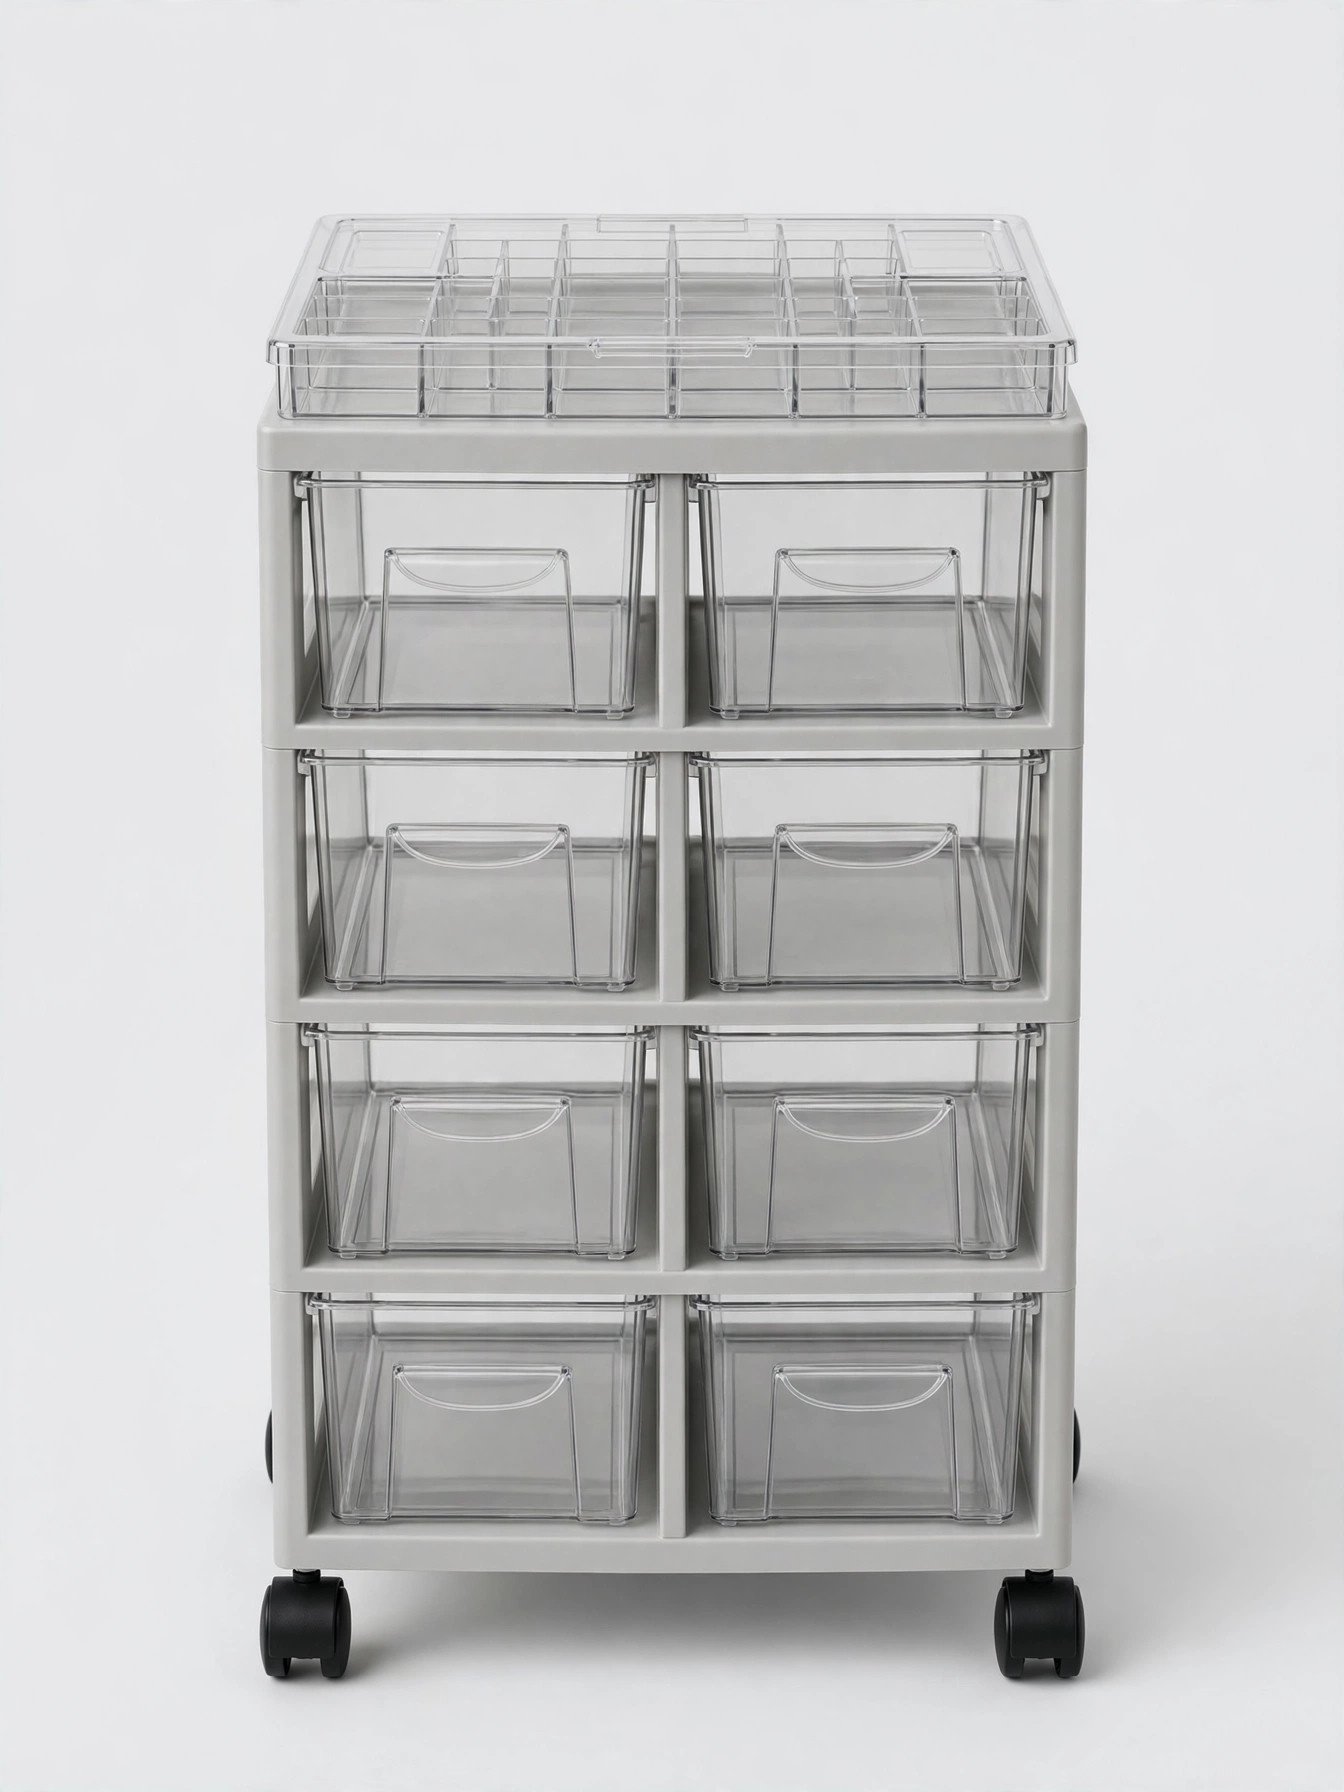
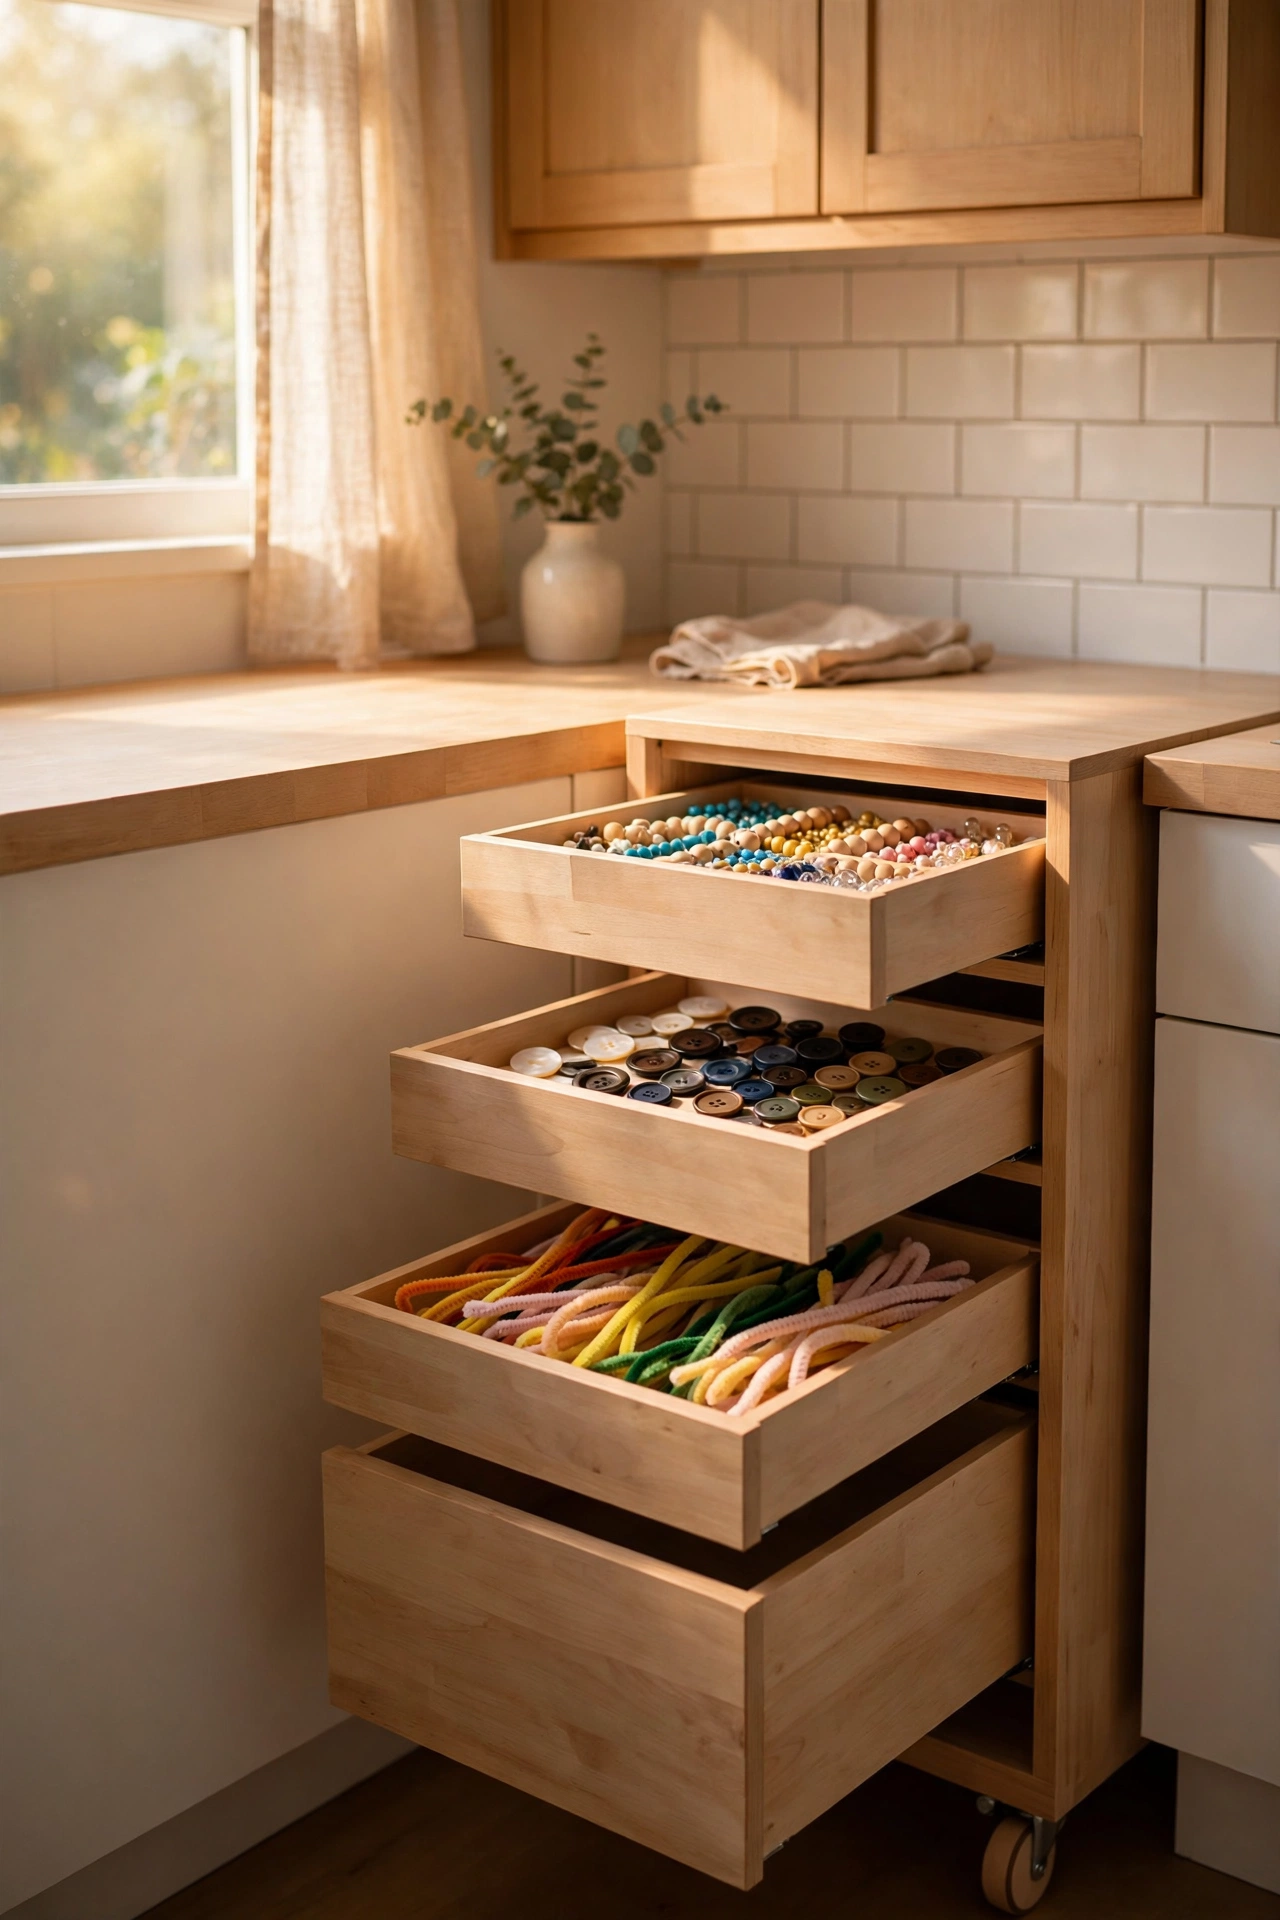
Beads, buttons, pipe cleaners, googly eyes, sequins. The little stuff is what defeats most craft organization, because it does not fit neatly in big bins and it escapes everywhere the moment you turn around. A slim rolling drawer unit is the answer. Each tiny category gets its own drawer, and the whole unit tucks beside a counter or desk until craft time begins. It is the difference between a bead explosion and a bead collection, and your floors will thank you every single day. Start with the categories you already own before buying any new containers.
The rolling part matters more than you would think. Roll it out when the kids want the bead collection, roll it back when they are done. The drawers keep everything sorted and visible, especially if you choose clear drawers or add simple labels to solid ones. One drawer for pony beads, one for buttons, one for pipe cleaners, one for googly eyes. You get the idea. The categories stay separate, the supplies stay findable, and nobody has to dump anything out to find what they want. Clear drawers work best because kids can see contents without pulling anything out.
Kids love having permission to pull out just the drawer they need instead of dumping a whole bin on the table. It feels official, like working in a real art studio. Keep the drawers shallow so little hands can see everything inside without digging to the bottom. Resist the urge to combine categories to save space, because one category per drawer is the golden rule that keeps this whole system working month after month. Let kids decorate their drawer labels with stickers and doodles so the whole unit feels like theirs.
6. Stack Trays Instead of Spreading Out
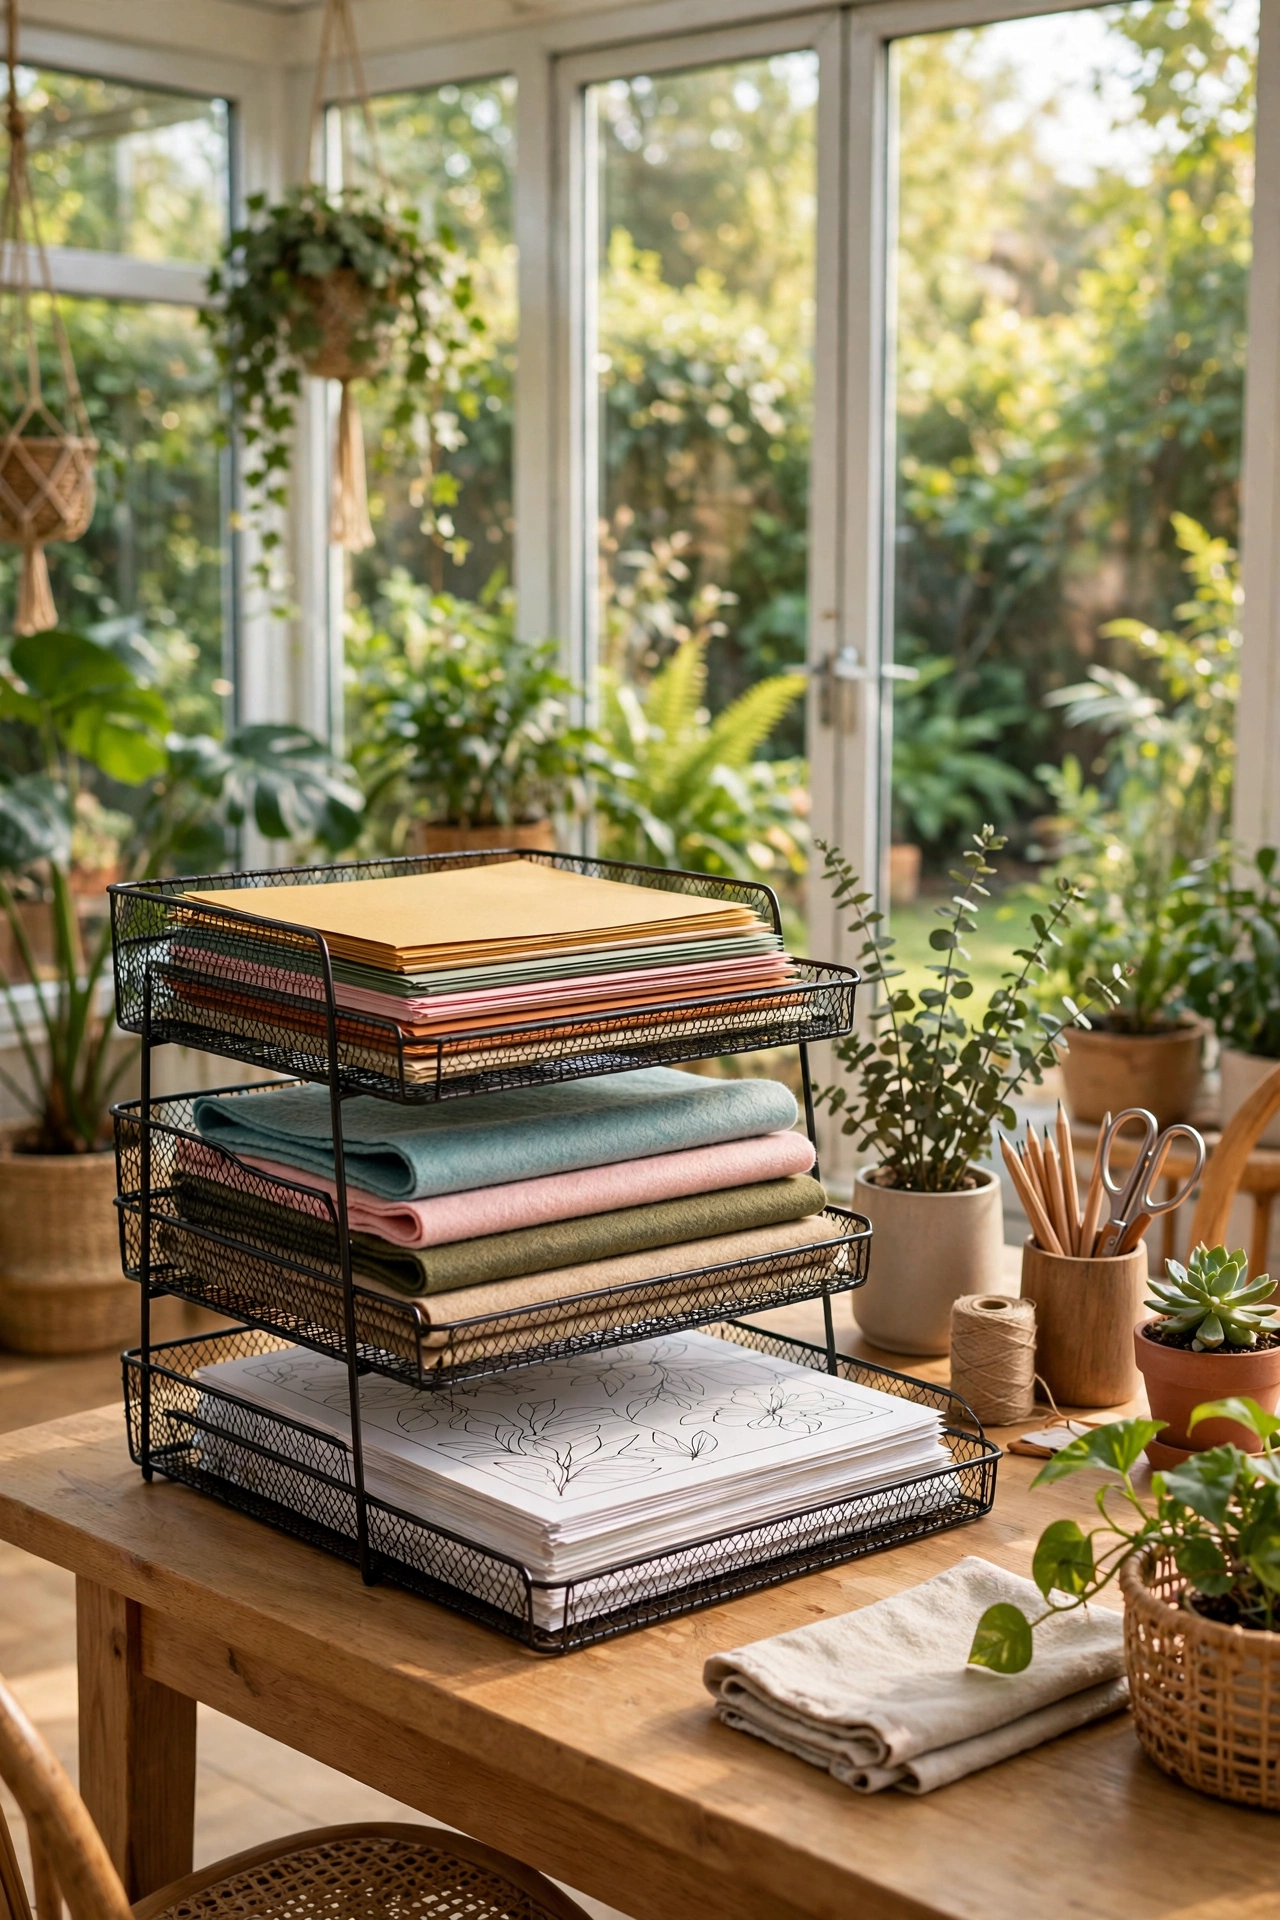
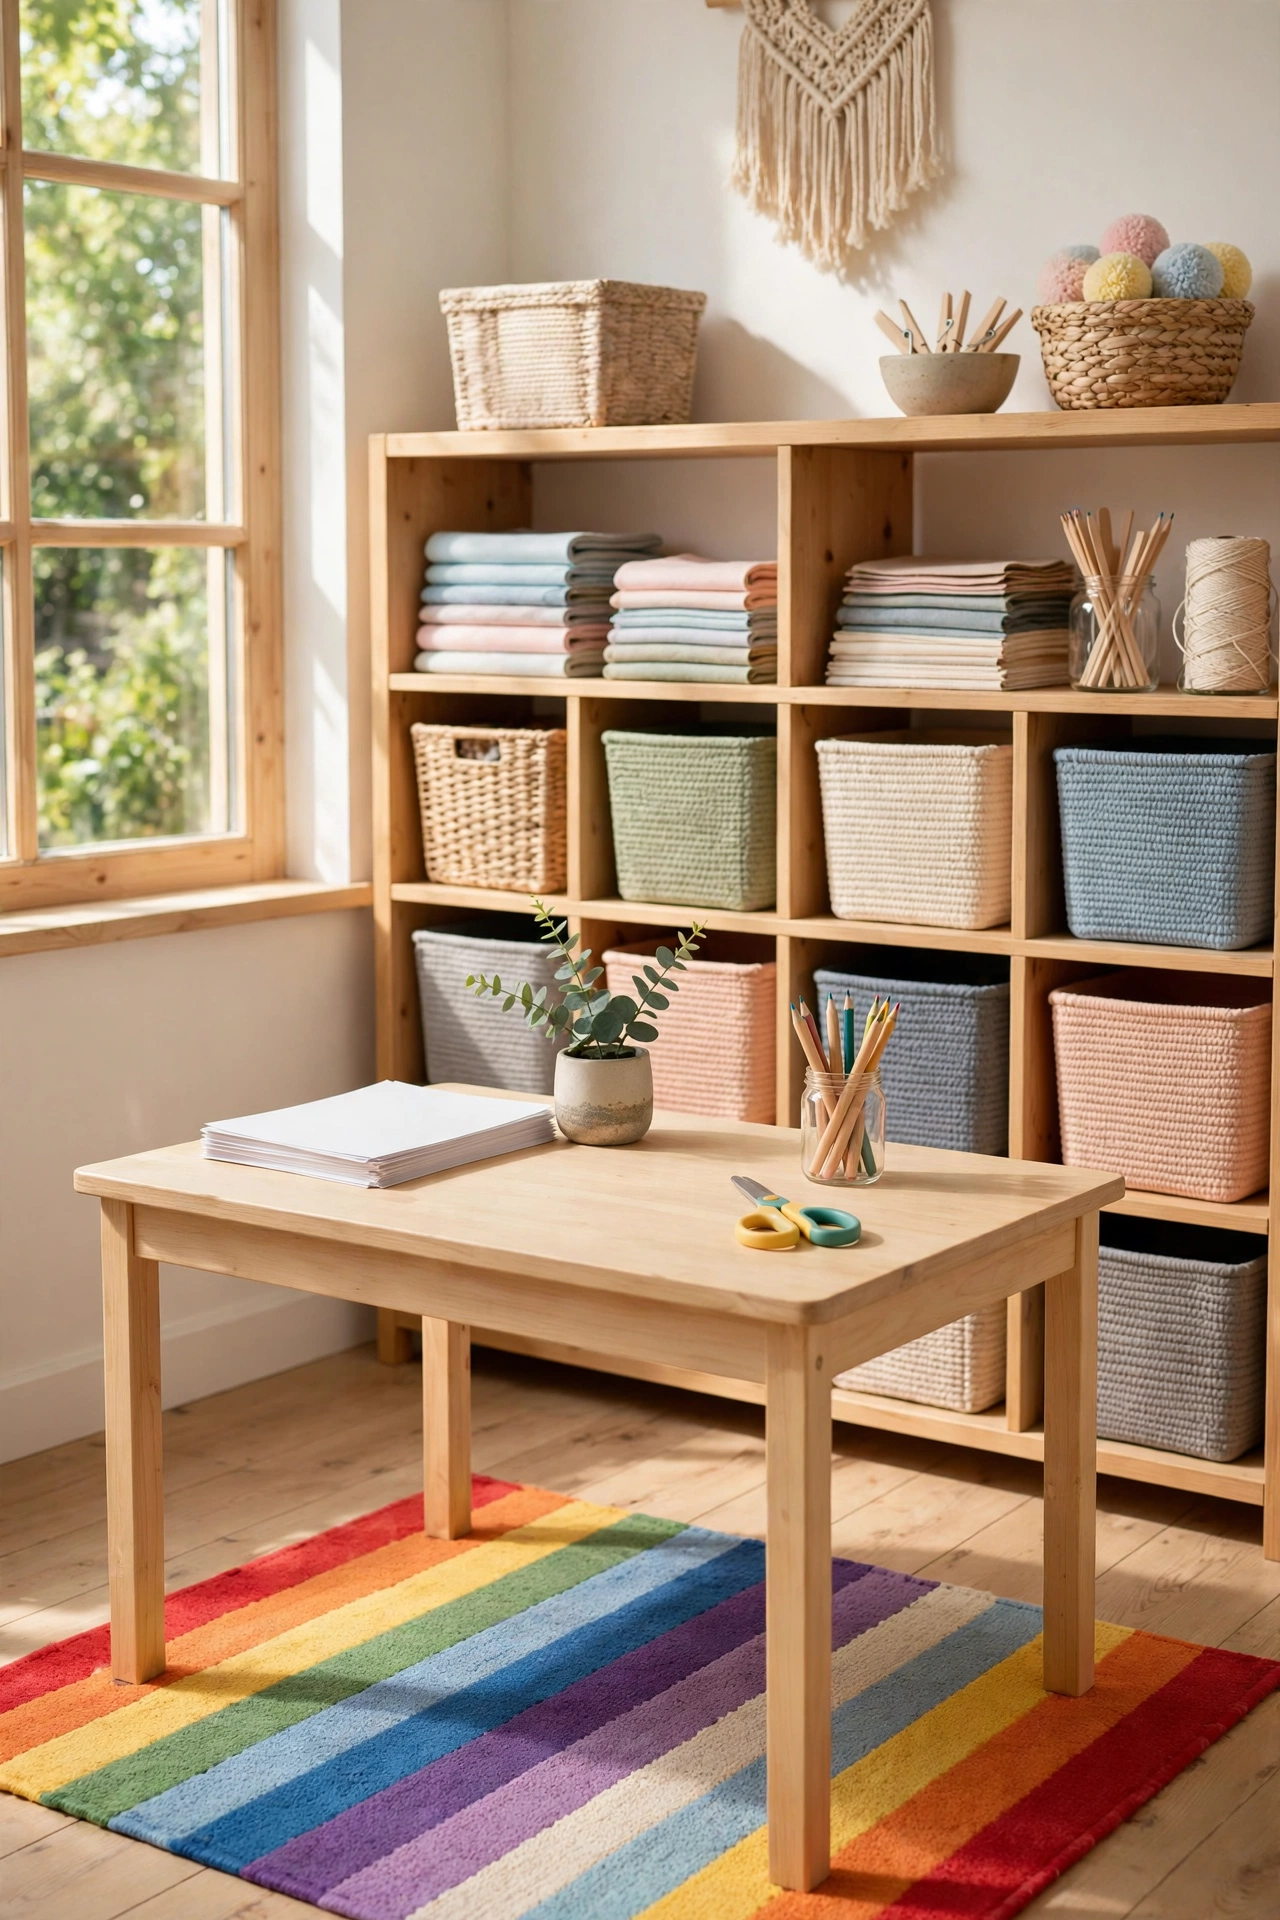
Paper is the silent multiplier of craft chaos. Construction paper, coloring pages, felt sheets, sticker sheets. They start in a neat pile and end up fanned across every flat surface in the house within days. Stackable letter trays fix this by giving paper a vertical home instead of a horizontal sprawl. Each tray holds one paper type, and the trays stack into a tidy tower on the table or shelf. Vertical storage is the unsung hero of small space organizing, and paper is where it shines brightest. A ten dollar set of trays can tame a paper explosion that felt hopeless.
Sort the trays the way your kids actually craft. One tray for construction paper sorted by color, one for coloring pages, one for felt sheets, one for the half finished projects they absolutely refuse to throw away. Kids can see every option without unstacking a pile, which means they grab what they want and put the rest back where it belongs. Revolutionary, I know. The visibility is what makes it work, because out of sight paper might as well not exist to a seven year old. Rotate the trays seasonally so holiday paper does not hog space all year.
This also teaches a genuinely useful life habit. When the tray is full, something has to go before more comes in. Old coloring pages get recycled, scraps get tossed, and the paper collection stays at a size your house can actually hold. It is gentle decluttering built right into the system. Kids learn that keeping things tidy is just part of having things, and that lesson will serve them in every room of the house for years to come. Praise the filing habit specifically and kids will keep doing it proudly.
7. Hang a Pegboard for Tools
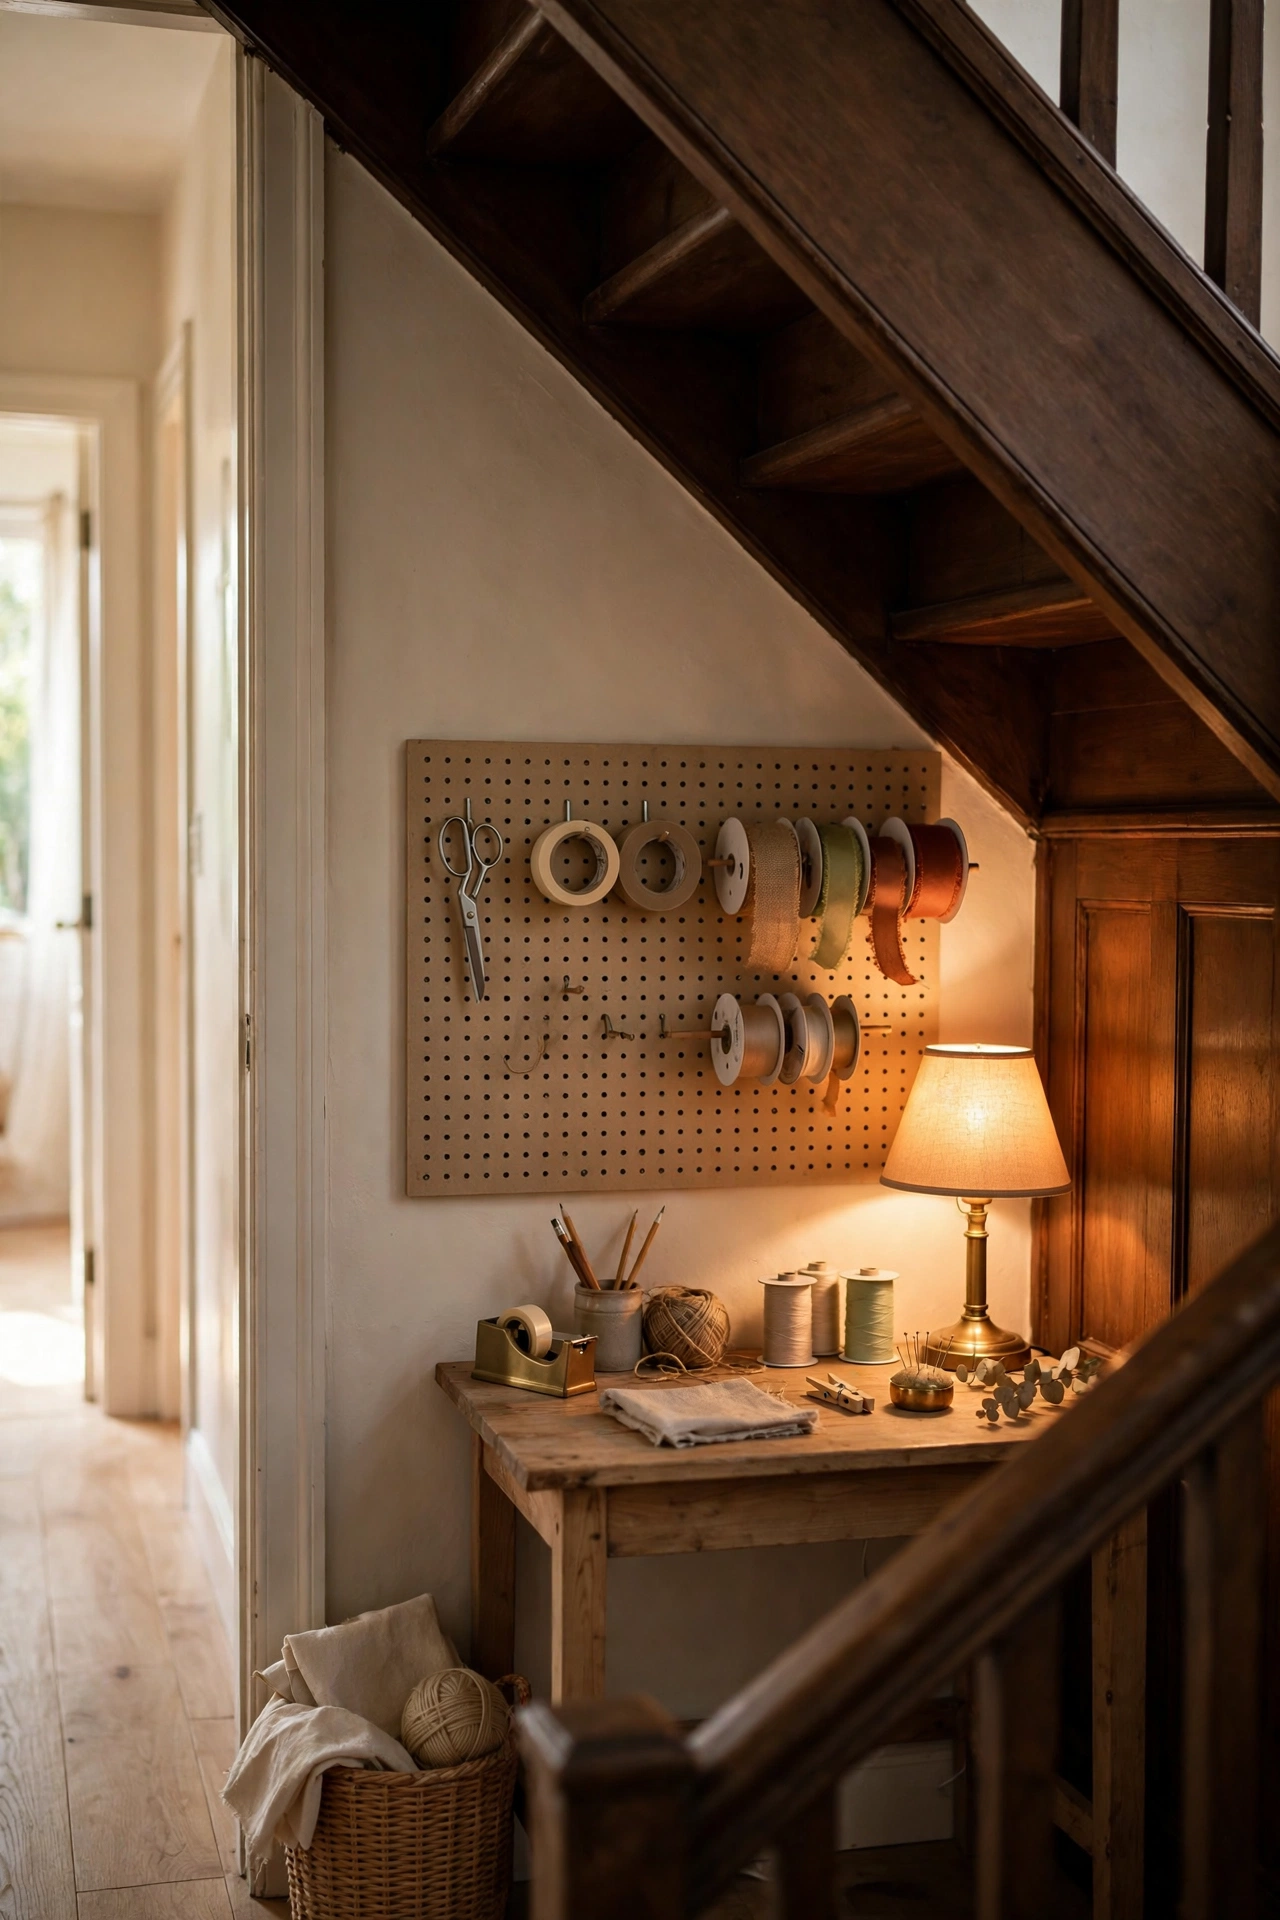
Scissors, tape rolls, ribbon spools, rulers, and hole punches have one thing in common. They are awkward and tangly in bins, and absolutely perfect on a pegboard. Hanging tools on the wall gets them off the table, where kids can see every option at a glance. No more digging through a tangled drawer for the scissors while the glue dries and the project stalls. Everything hangs in plain sight, ready to grab and easy to return when the creating is done. Mount it low enough that kids can reach their zone without a step stool.
Set the board up in clear zones that make sense to little brains. Kid tools like safety scissors, washable tape, and ribbon go at their height, where they can reach everything independently without climbing. Mom tools like sharp scissors and the hot glue gun live up high, out of reach but still visible so you always know where they are. Add little cups and bins that hang from hooks for the small stuff. Suddenly the wall is doing the storage work of three drawers, and the desk stays clear for actual creating.
Kids genuinely love pegboards because everything is on display like a real workshop. Outline each tool with a marker right on the board so every hook has a designated home. When a tool is missing, the empty outline makes it obvious at a glance. Cleanup becomes a matching puzzle instead of a chore, and puzzles are infinitely more fun for little brains. You will be amazed how quickly they learn to hang everything back in its outlined spot. Rearrange the layout together each season to keep the board feeling fresh.
8. Give Each Kid Their Own Cubby
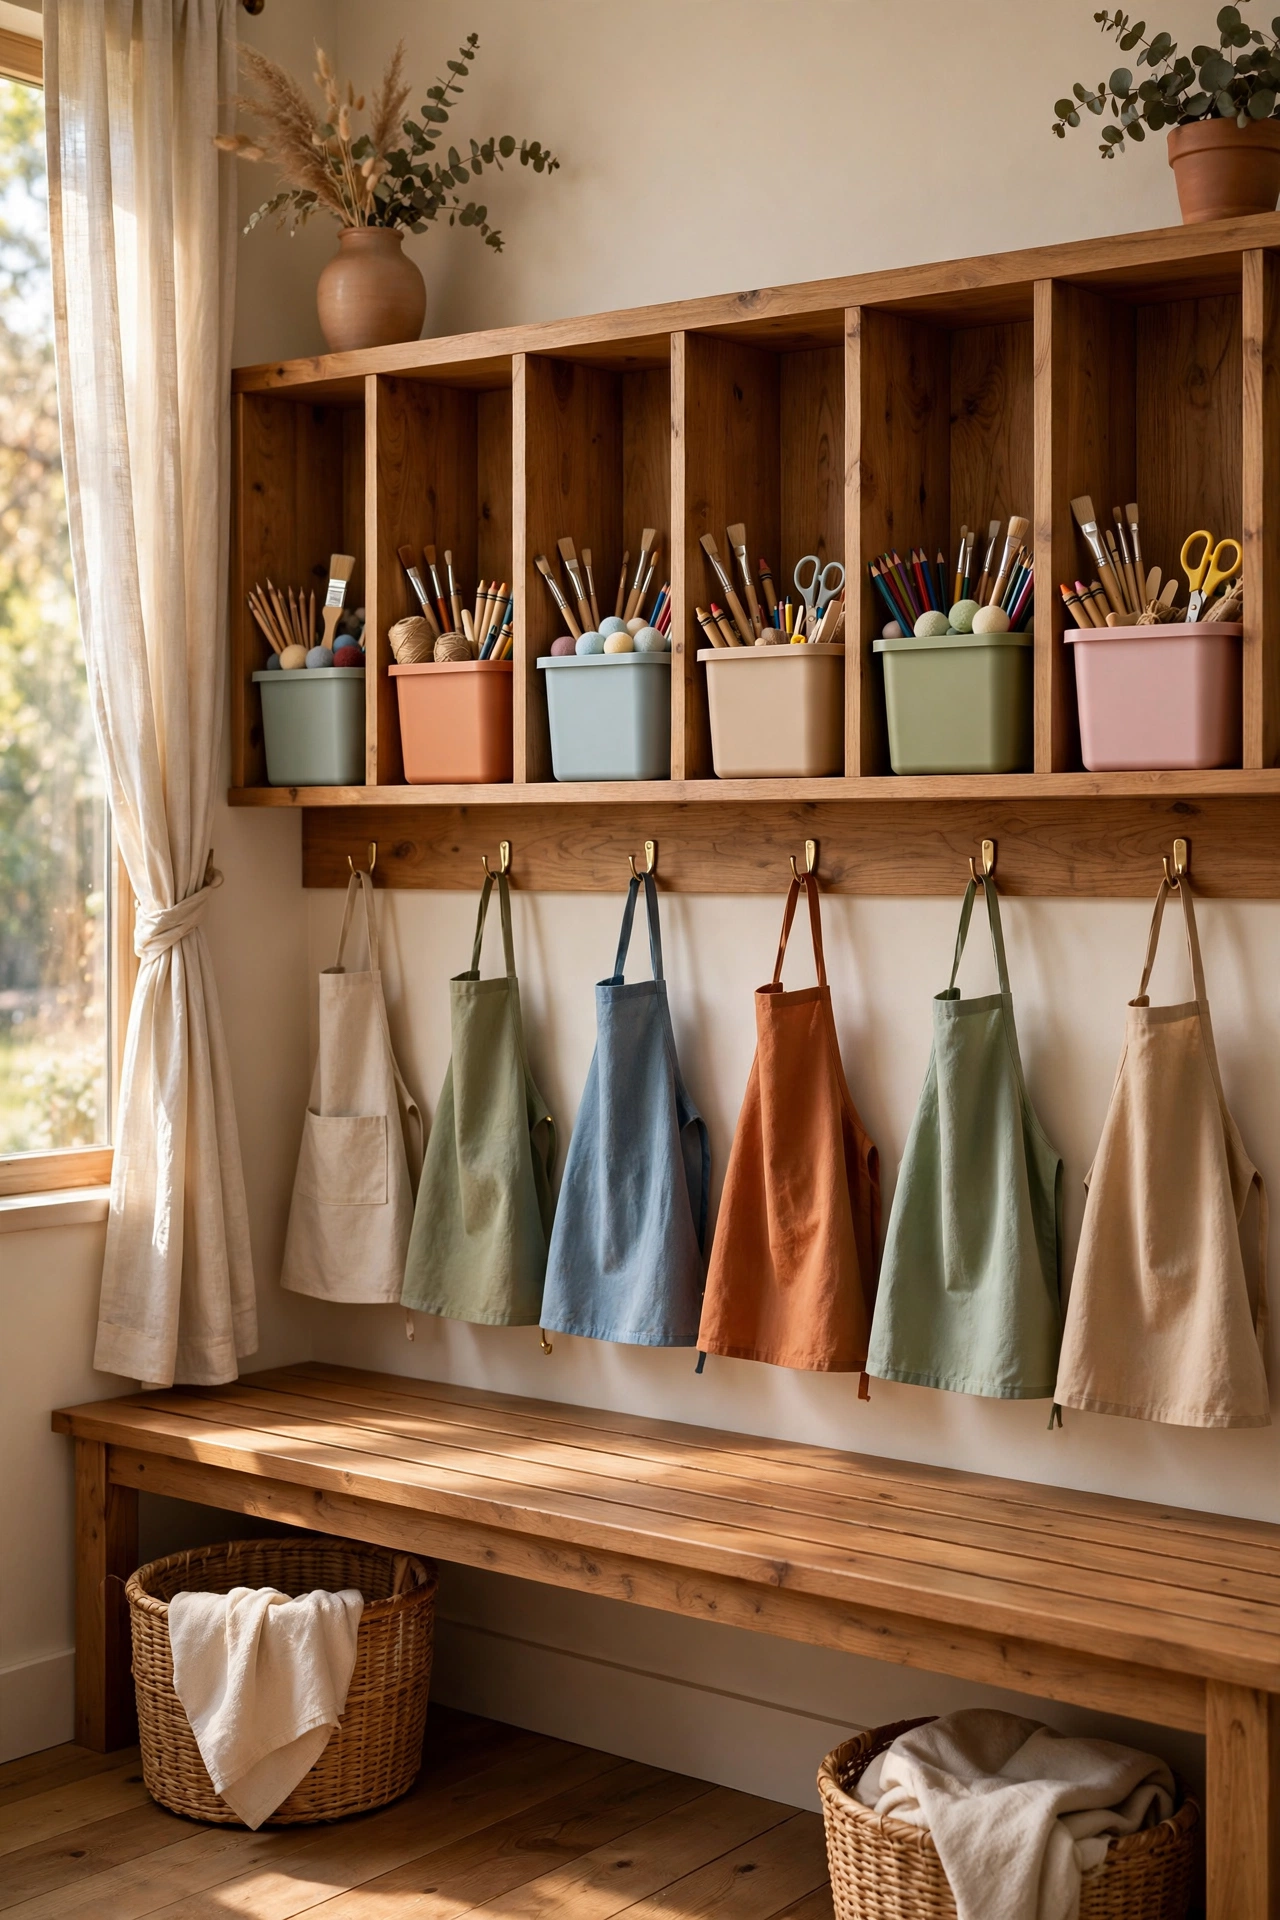
Nothing starts a sibling standoff faster than shared craft supplies. She used my markers. He lost my favorite scissors. Sound familiar, mama? Giving each kid their own cubby ends the turf wars for good. One cubby per child holds their personal bin, their apron, and their current project. What is in your cubby is yours, full stop, no negotiations needed. Boundaries make siblings kinder to each other, and craft time is absolutely no exception to that rule. It costs nothing to assign the cubbies and the peace is immediate from day one.
The cubby does not need to be fancy or expensive to work beautifully. A cube shelf, a labeled bin on a bookshelf, even a sturdy box on the closet floor does the job. Label it with their name or a photo so there is zero confusion about ownership. Inside goes their caddy, a smock or old t shirt for messy projects, and a tray for whatever masterpiece is currently in progress. Personal space, even a small one, feels like a very big deal to a kid. Let them decorate the cubby front so it feels truly personal.
The real magic here is psychological. When kids own their space, they take care of it without being asked twice. Cleanup stops being a vague clean up the craft stuff and becomes put your things in your cubby. Specific, doable, and over in two minutes. Even toddlers can manage their own cubby when the system is this simple. You are not just organizing supplies, you are teaching responsibility in the most painless way possible. Check cubbies during the weekly reset and celebrate the tidy ones out loud so the habit sticks.
9. Corral Crayons in Clear Jars
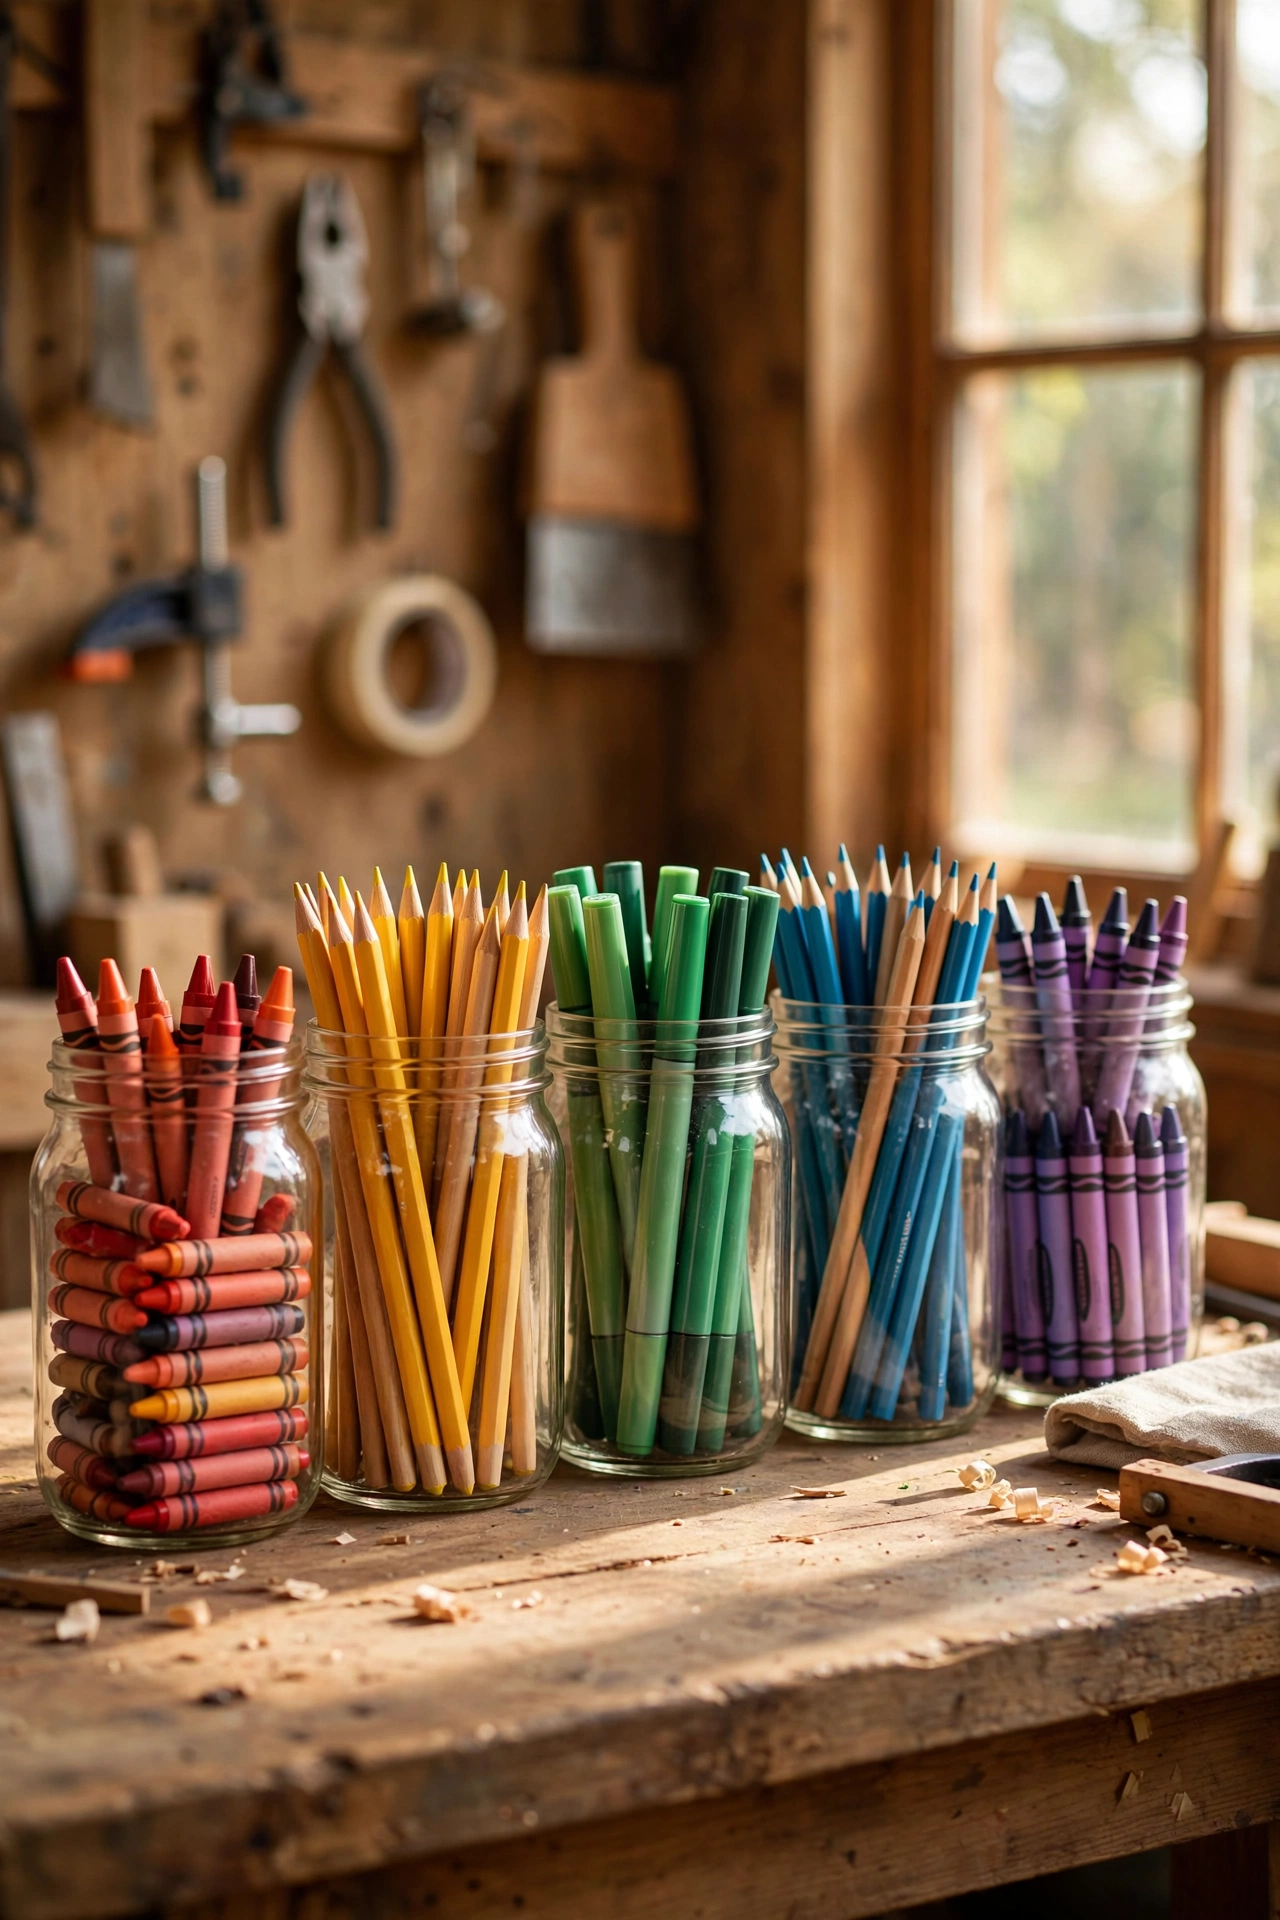
Crayons live in one of two states in most houses. Brand new in the box, or a jumbled mountain in a bin where every color hides at the bottom. Clear jars sorted by color fix this beautifully. Kids can see the exact shade they want and grab it without dumping the whole collection across the table. It is a small change with an outsized impact on daily craft time, and it looks absolutely adorable lined up on the shelf. Start with the colors you have most of and add jars as the collection grows.
Use short, wide jars so little hands can reach the bottom without tipping the whole thing over. Sort by color family, with reds and pinks together, blues and greens together, and so on down the rainbow. Line the jars on a shelf, a windowsill, or a lazy susan that spins for extra fun. It looks like a tiny art supply shop, and kids treat supplies better when the setup feels special. Presentation matters more than we think, even for something as humble as crayons. A spinning tray makes the jars accessible from every side of the table.
Broken crayons deserve their own jar, labeled for melting projects later. Peel them, toss them in, and one rainy day you can make those fun multicolor crayon shapes together in silicone molds. Nothing gets thrown away, nothing gets lost, and the crayon chaos finally has a system that a five year old can actually maintain independently. Waste becomes a future project, which is honestly the best kind of recycling there is. Kids love the melting day itself, so save it for a rainy afternoon when everyone is stuck inside together.
10. Sort Tiny Things in Compartment Boxes
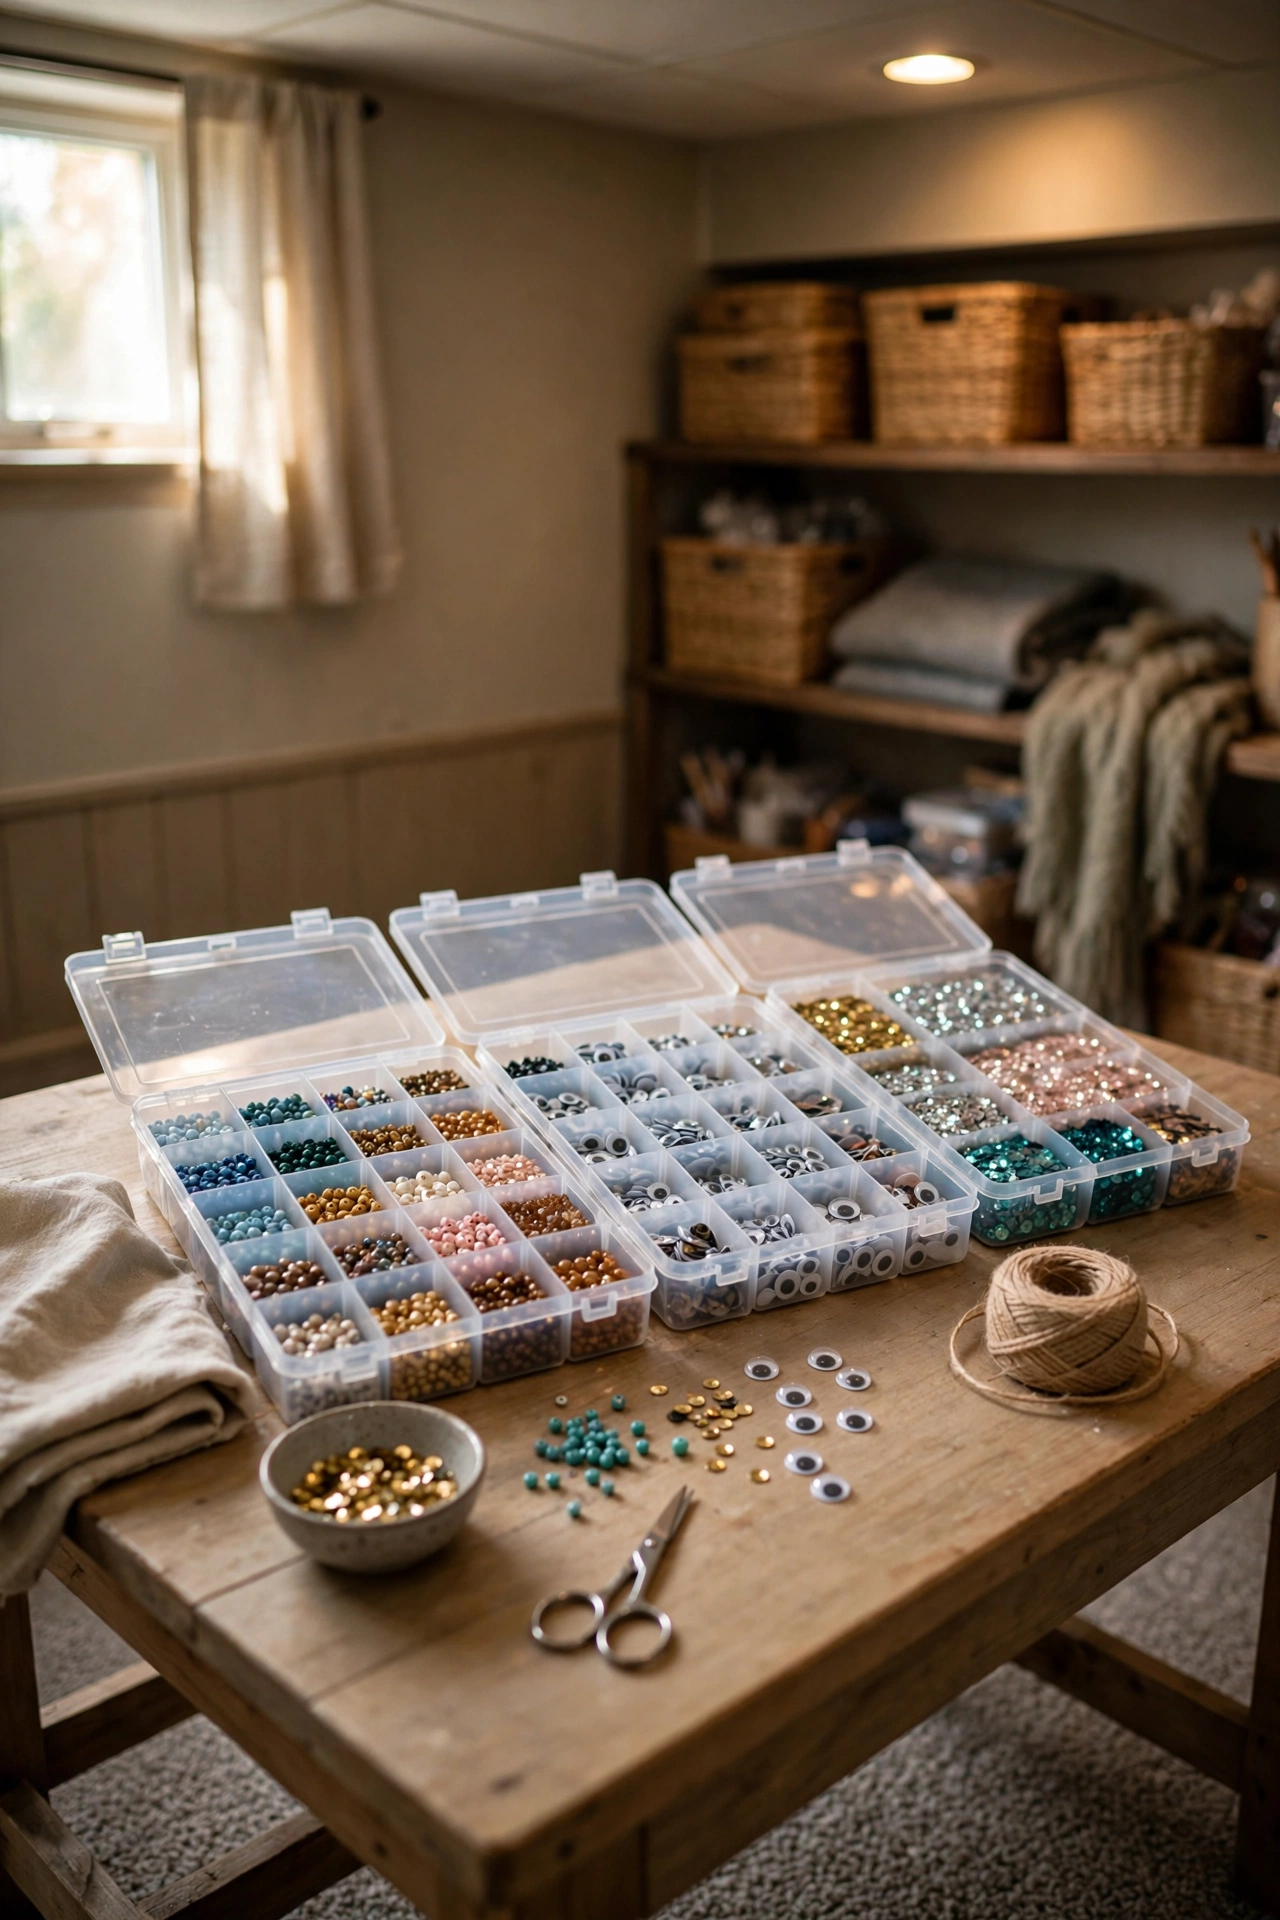
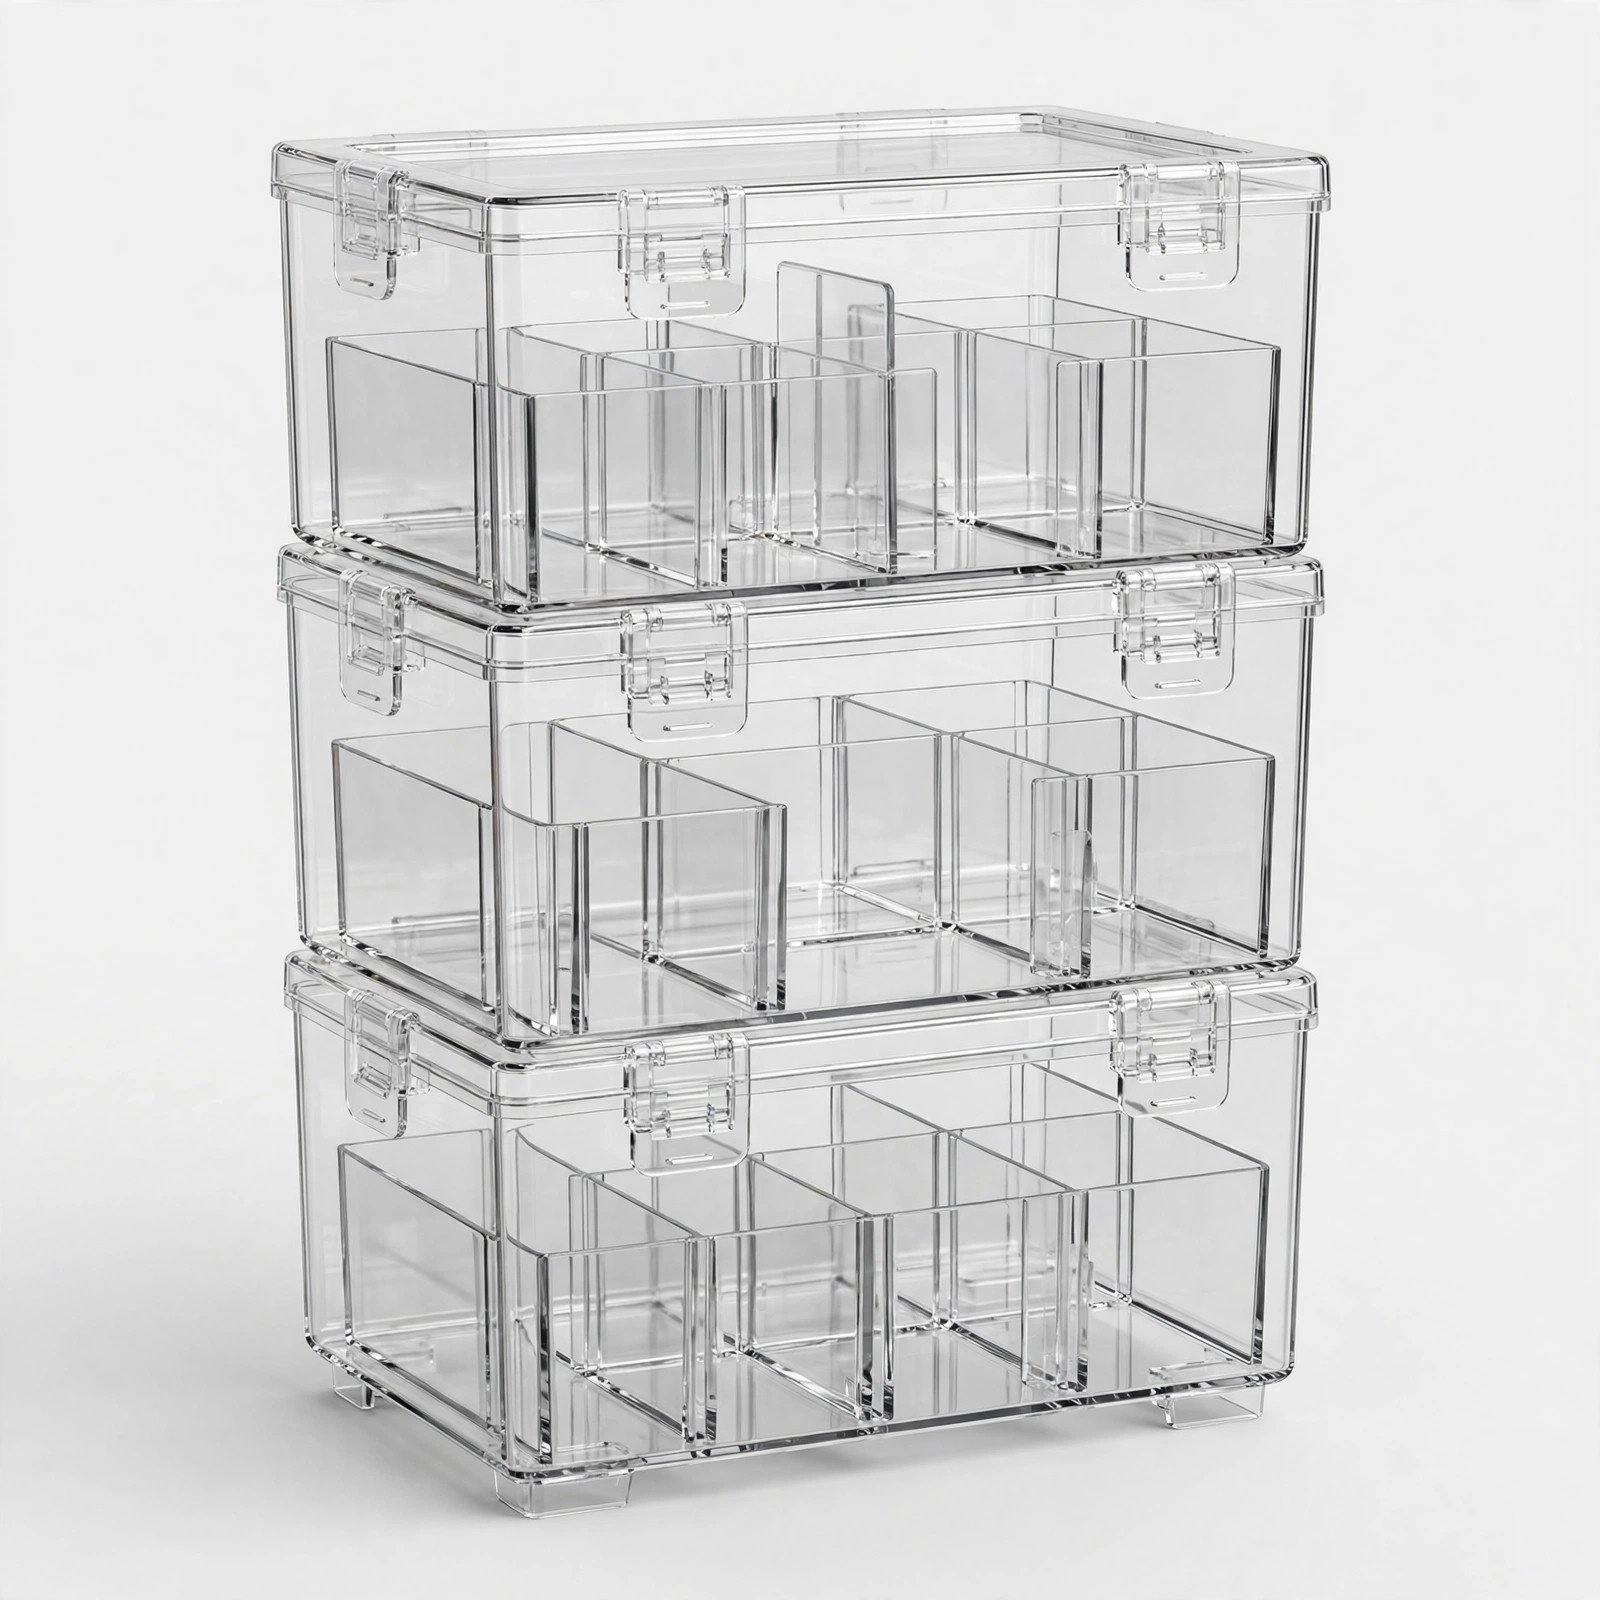
Beads, sequins, googly eyes, buttons, and gems are the glitter of the small supply world. Lovely in the project, absolute mayhem everywhere else. Compartment boxes with snap shut lids and adjustable dividers are the only thing standing between you and a bead migration across your entire house. Each tiny treasure gets its own little room with walls, and the walls actually hold. Your vacuum will finally get a well earned day off. Buy the compartment boxes before the next bead kit arrives as a birthday gift and thank yourself later.
Look for boxes with dividers you can move, because collections change constantly. Today it is pony beads, next month it is perler beads, and the box adapts in seconds. Clear boxes are best since kids can see what is inside without opening six lids to find one thing. One box per craft type keeps everything findable. Beads in one, sequins and gems in another, buttons in a third. Simple categories, consistently maintained, zero digging required. Stack the boxes with the most used on top so daily favorites are easiest to grab.
The snap lid is the true hero of this whole idea. A box with a flimsy lid is just a future spill waiting to happen, and we all know the sound of a bead box hitting tile flooring. Good latches mean kids can carry their collection to the table safely and put it away just as safely. Spills drop from weekly disasters to rare accidents. Spend the extra few dollars on sturdy latches, because your floors and your sanity are absolutely worth the investment. Test the latches in the store by giving the box a gentle shake first.
11. Turn a Closet Into a Craft Zone
No spare room for a craft area? Steal a closet. A small reach in closet with a fold down table becomes a complete craft zone that vanishes when the doors close. Shelves hold the labeled bins, the table folds down for creating, and when craft time ends you fold it all away. Guests would never know a glitter factory operates behind those doors. It is the ultimate small space solution for creative kids and tidy loving moms alike. Even a shallow coat closet can work with slim bins and a fold down shelf.
Set it up simply and affordably. Bins and baskets on the existing shelves hold all the supplies within easy reach. A small fold down or drop leaf table mounts at kid height for the work surface. A battery operated puck light stuck to the top shelf solves the darkness problem that makes closets feel cave like. A rolling cart can live inside too, rolling out for bigger projects and parking back inside at night. Everything has a home within arm’s reach. Command hooks inside the door hold aprons and smocks without any drilling.
This is a game changer for apartments and small homes where a dedicated craft table would eat the entire living room. The kids get a real creative space that feels like their own secret studio, and you get a living room that does not look like a craft store exploded. Everybody wins, especially your sanity on the days when surprise visitors knock and you need the house to look calm in thirty seconds flat. Keep a small trash bin inside the closet so paper scraps never migrate out to the hallway floor.

12. Hide It All in a Craft Armoire
Some of us craft at the dining table and would like the dining room to look like a dining room the rest of the time. Enter the craft armoire. A simple wardrobe or cabinet with doors becomes a full craft station inside, and when the doors close, it is just furniture. The mess exists only when you say so. It is organization by disguise, and it works beautifully in shared living spaces where the craft zone has to disappear for dinner. Thrift stores are full of affordable armoires waiting for a second life.
Outfit the inside like a mini studio designed for real kids. Shelves hold the labeled bins, the paper tower, and the caddies, all arranged for easy grabbing at kid height. The back of the doors can hold a small pegboard or pocket organizer for tools like scissors and tape. When the kids want to create, they open the doors and everything is right there waiting. When they are done, supplies go back on the shelves and the doors close on the chaos. Open, create, close, done. A printed inventory taped inside the door helps kids remember where things live.
This works beautifully in a living room, family room, or even a hallway nook. Choose an armoire with adjustable shelves so the setup can grow with your kids’ changing interests over the years. It costs far less than built ins, moves with you if you relocate, and keeps the craft explosion contained to exactly one piece of furniture. One cabinet, total containment, zero visual clutter when it matters most. Choose solid doors over glass fronts if you want the mess fully hidden. Locking doors are a bonus if toddlers roam the house.

13. Build a Grab and Go Outdoor Kit
Outdoor crafting is the best kept secret of motherhood, mama. Sidewalk chalk, bubbles, and watercolor sets make zero mess in your house when they happen on the porch or at the park. A grab and go kit packed and waiting by the door turns I am bored into outdoor creativity in about thirty seconds flat. Fresh air plus art is a combination that never disappoints, and your floors stay completely spotless through all of it. Chalk art washes away with the next rain, which kids find completely magical every time.
Use a handled tote or caddy that lives by the back door, always packed and ready to go. Sidewalk chalk in a zipper bag, a bottle of bubbles, a travel watercolor set with a water brush, and a pad of thick paper that can handle paint without buckling. When the weather is nice, the kids grab the kit on the way out. The porch becomes the art studio, the driveway becomes the canvas, and the only cleanup is shaking out the tote. A spare tote in the car means spontaneous park craft sessions happen too.
Restock the kit every Sunday during your weekly reset. Toss dried out markers, replace broken chalk stubs, and check the bubble supply before it runs out mid fun. This one habit means the kit is always ready, which means you will actually use it instead of forgetting it exists. An outdoor kit that is half empty and forgotten helps nobody, but a stocked one gets grabbed constantly all summer long. Let kids help with the Sunday restock so they learn to notice what is running low and care for their own supplies.

14. Make Cleanup Part of the Setup
Here is the mindset shift that changes everything, mama. Cleanup does not start when crafting ends. It starts before the first crayon comes out of the box. When you set up the protection first, the splat mat down, the scrap bin out, the damp cloth nearby, cleanup is already halfway done before anyone makes a single mess. It feels backwards until you try it, and then it feels like absolute genius. Say each step out loud while you set up together so the kids absorb the whole habit just by hearing it.
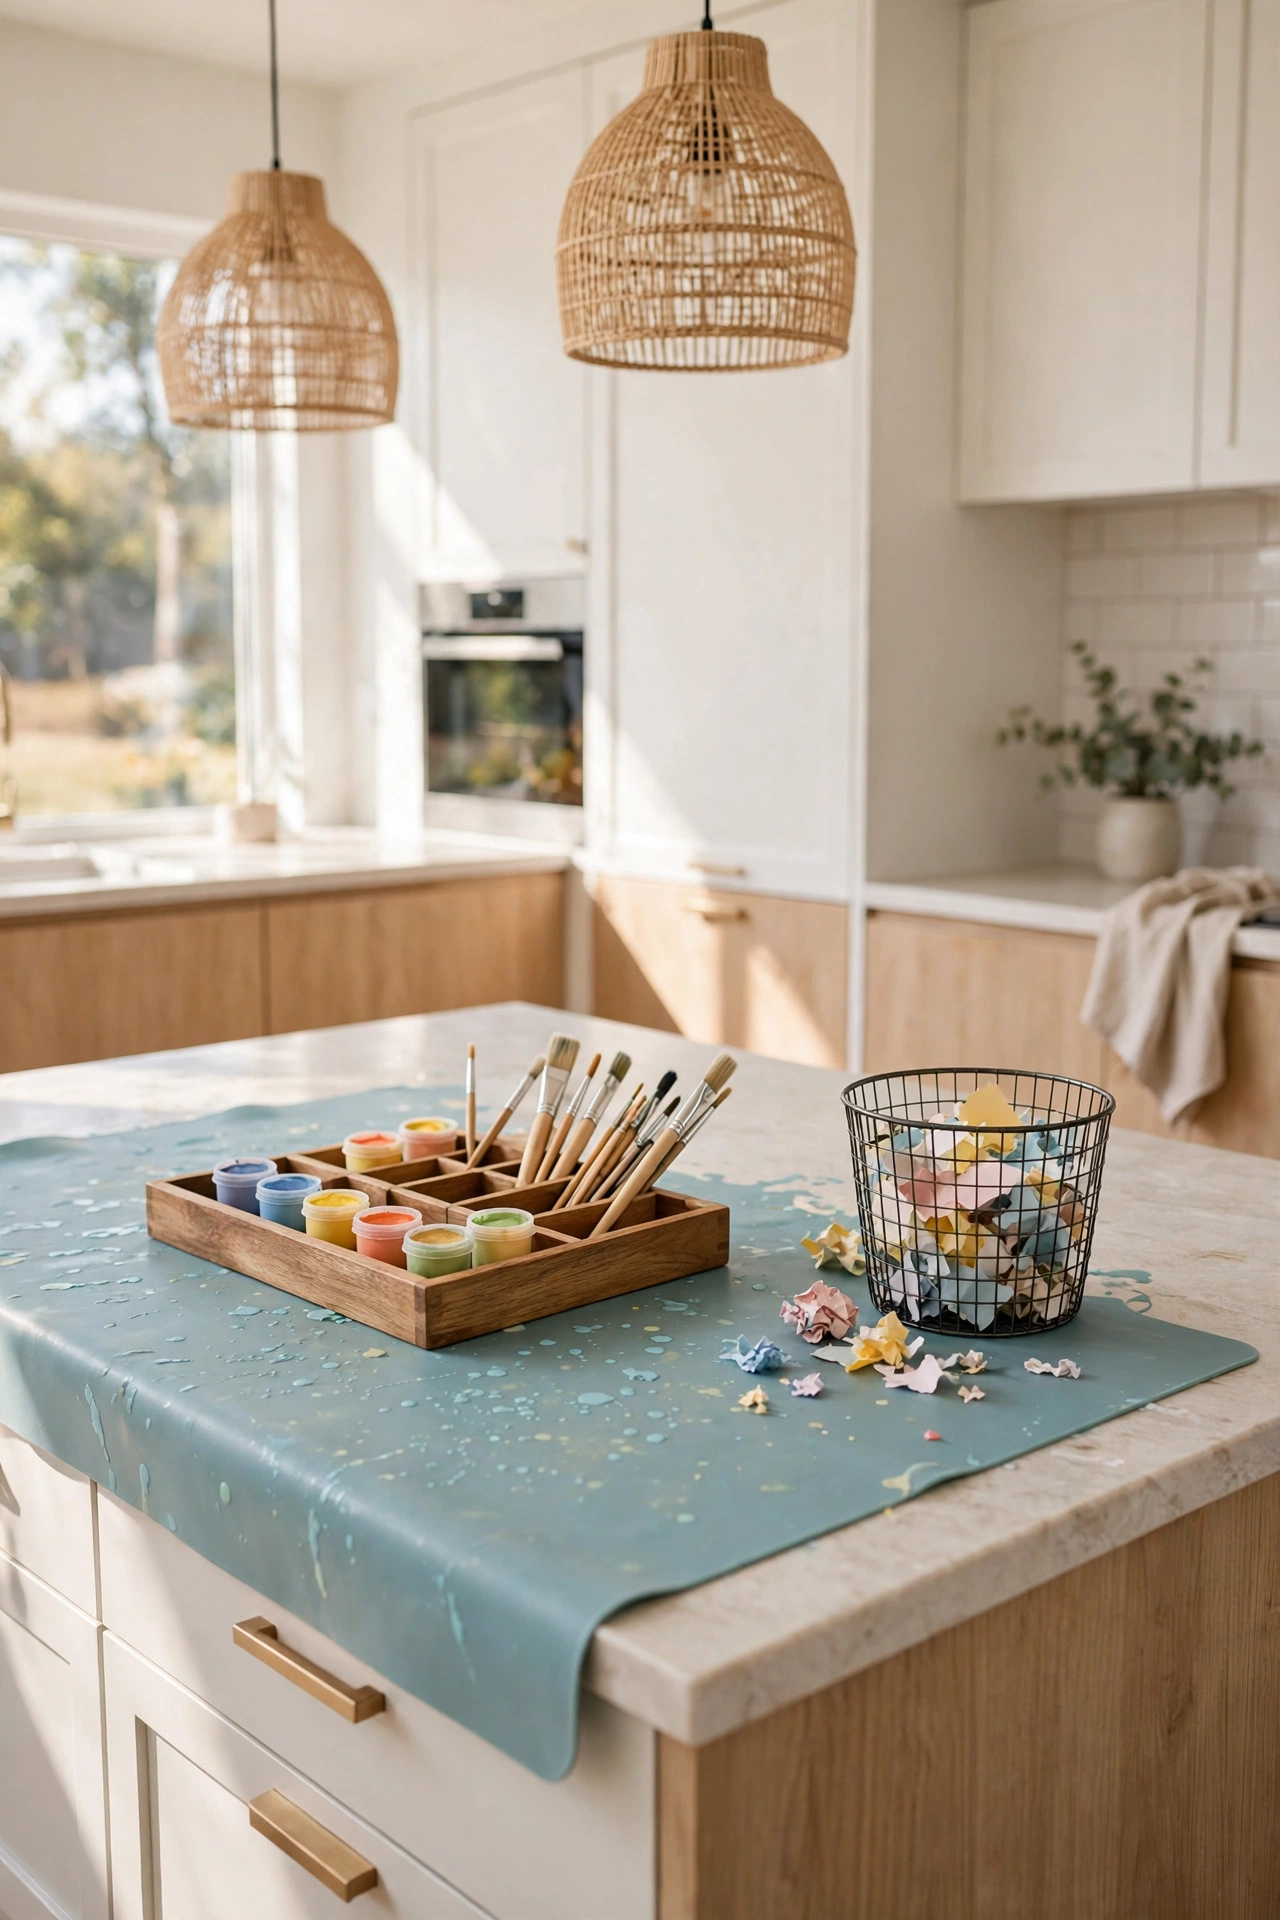
Keep a dedicated setup kit wherever crafting happens most in your house. A washable splat mat or an old shower curtain liner protects the table. A small bin catches paper scraps and failed attempts. A damp cloth handles sticky fingers before they touch anything else. Kids lay the mat, set out the bin, and then they create. It takes one minute and saves twenty minutes of scrubbing later. That is a trade any busy mom will take every single time. Store the setup kit right with the craft supplies so it never gets forgotten.
Teach the kids that setting up the protection is part of crafting, not a punishment before the fun starts. The same way painters tape before they paint, we mat before we make. When protection is just what we do, nobody argues about it, and your tables and floors survive to see another day. This single habit will save your furniture, your rugs, and quite possibly your relationship with your dining table. Kids who learn this protective setup habit now will take good care of their own homes and belongings someday too.
15. Display Art, Then File It
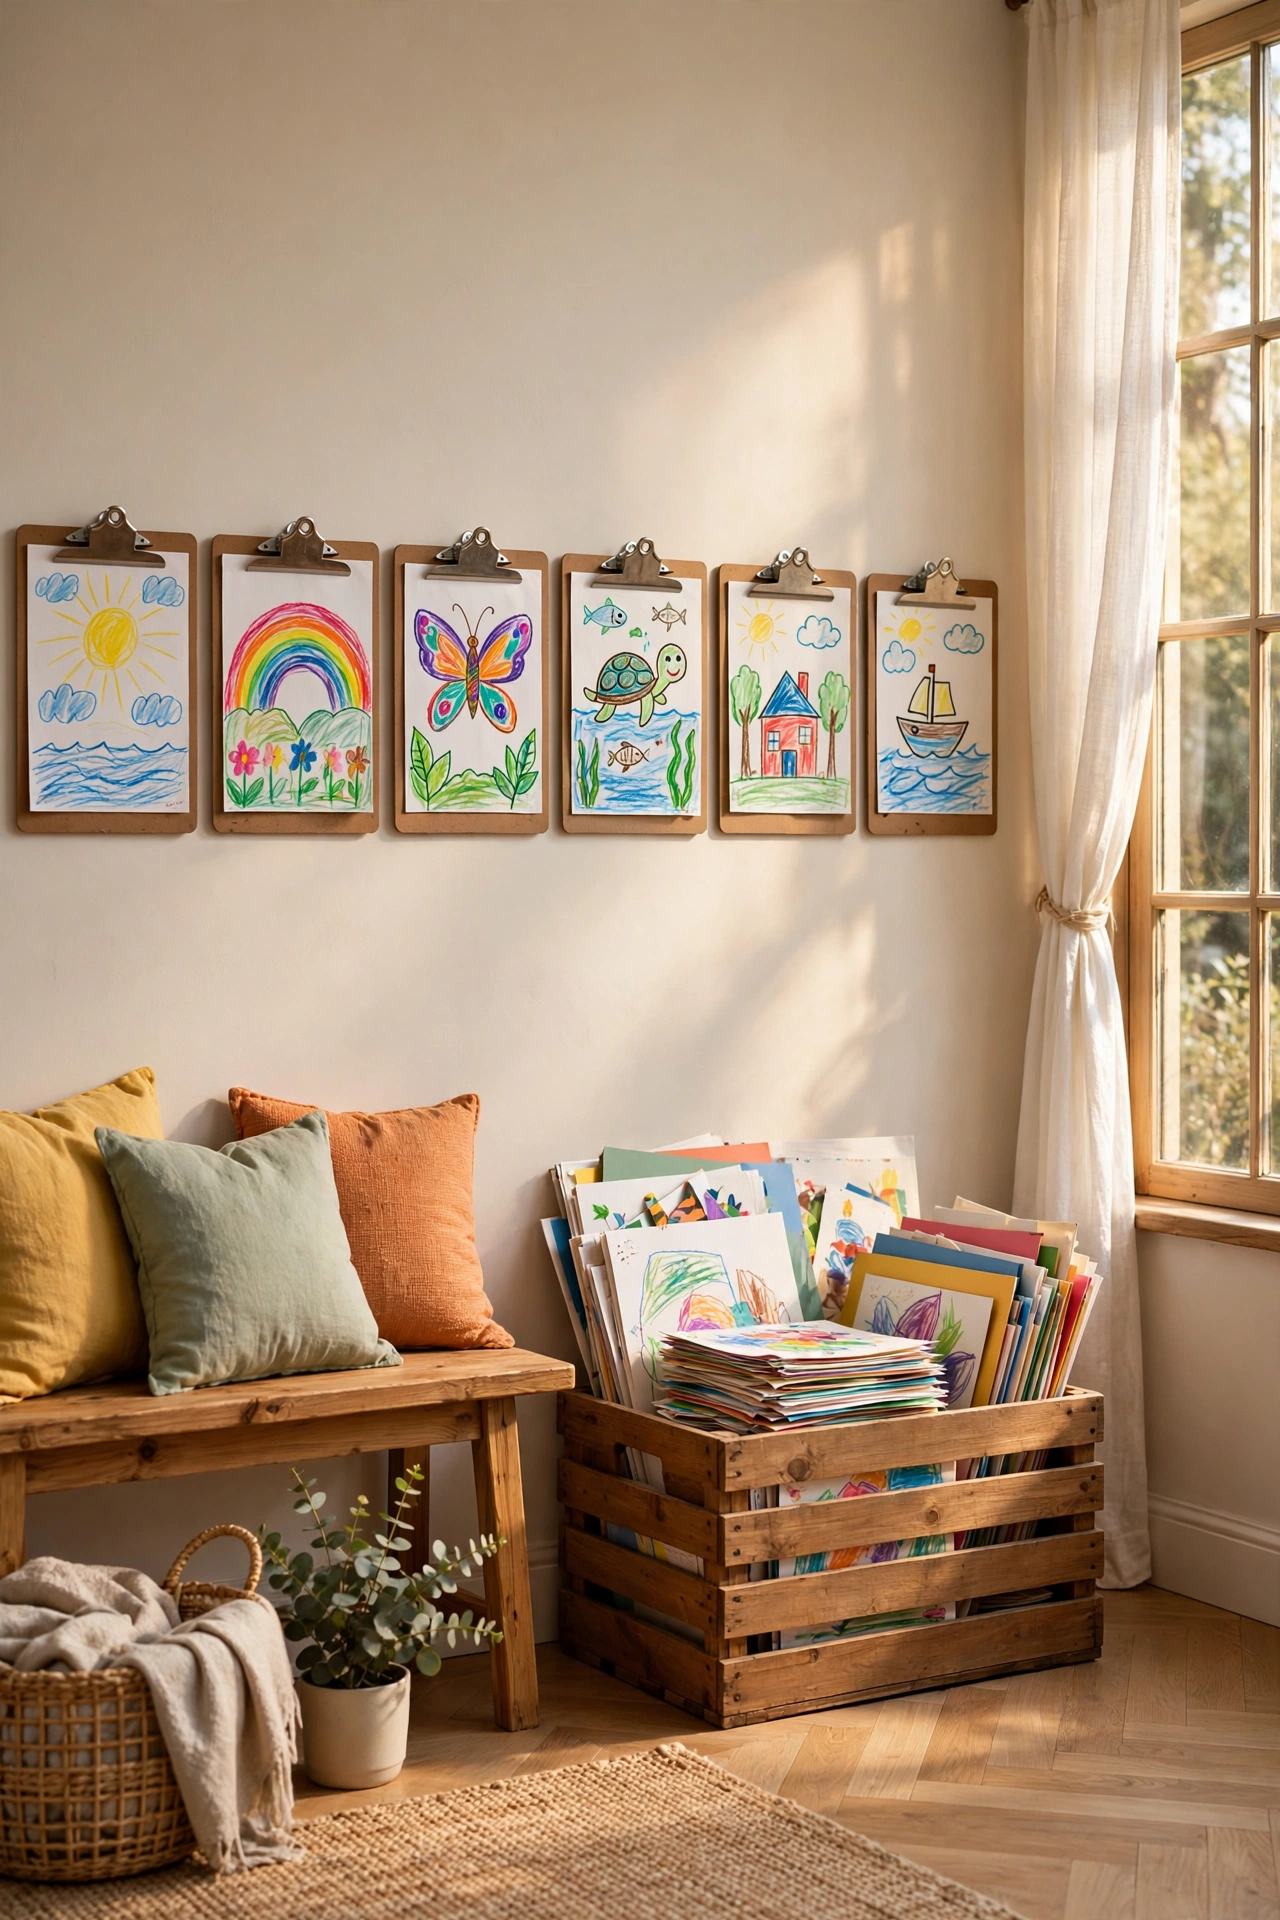
Kids produce art at an astonishing rate, and every single piece feels precious to them. The display wall honors that beautiful fact. Clipboards, a wire with clips, or a simple gallery rail in the entryway gives current masterpieces a place of honor. The kids see their work celebrated every time they walk past, and the fridge door finally gets a well earned break from magnet duty. It is a small gesture that means the world to a little artist. Guests always comment on it, which makes the kids beam with pride.
The system only works with the second half, though, and that half is just as important as the first. Rotate the display weekly or whenever it gets full. Each child gets a filing crate or portfolio for the keepers, with one folder per school year working beautifully. The rest gets photographed for the memory folder and then recycled without guilt. Digital memories, zero paper piles, and a display that always feels fresh and current instead of buried. Label each folder with the school year so the archive stays organized forever.
Let each kid choose one piece a month for a special frame that stays up longer than the regular rotation. Having a say in what gets kept teaches them to curate instead of hoard, and the framed pieces become the sweetest decor in your entire house. Years from now, those framed kid paintings will be your favorite things on the walls. Start the gallery now and watch it become a treasured family tradition. Date the back of each framed piece with a pencil so you remember exactly when it was made.
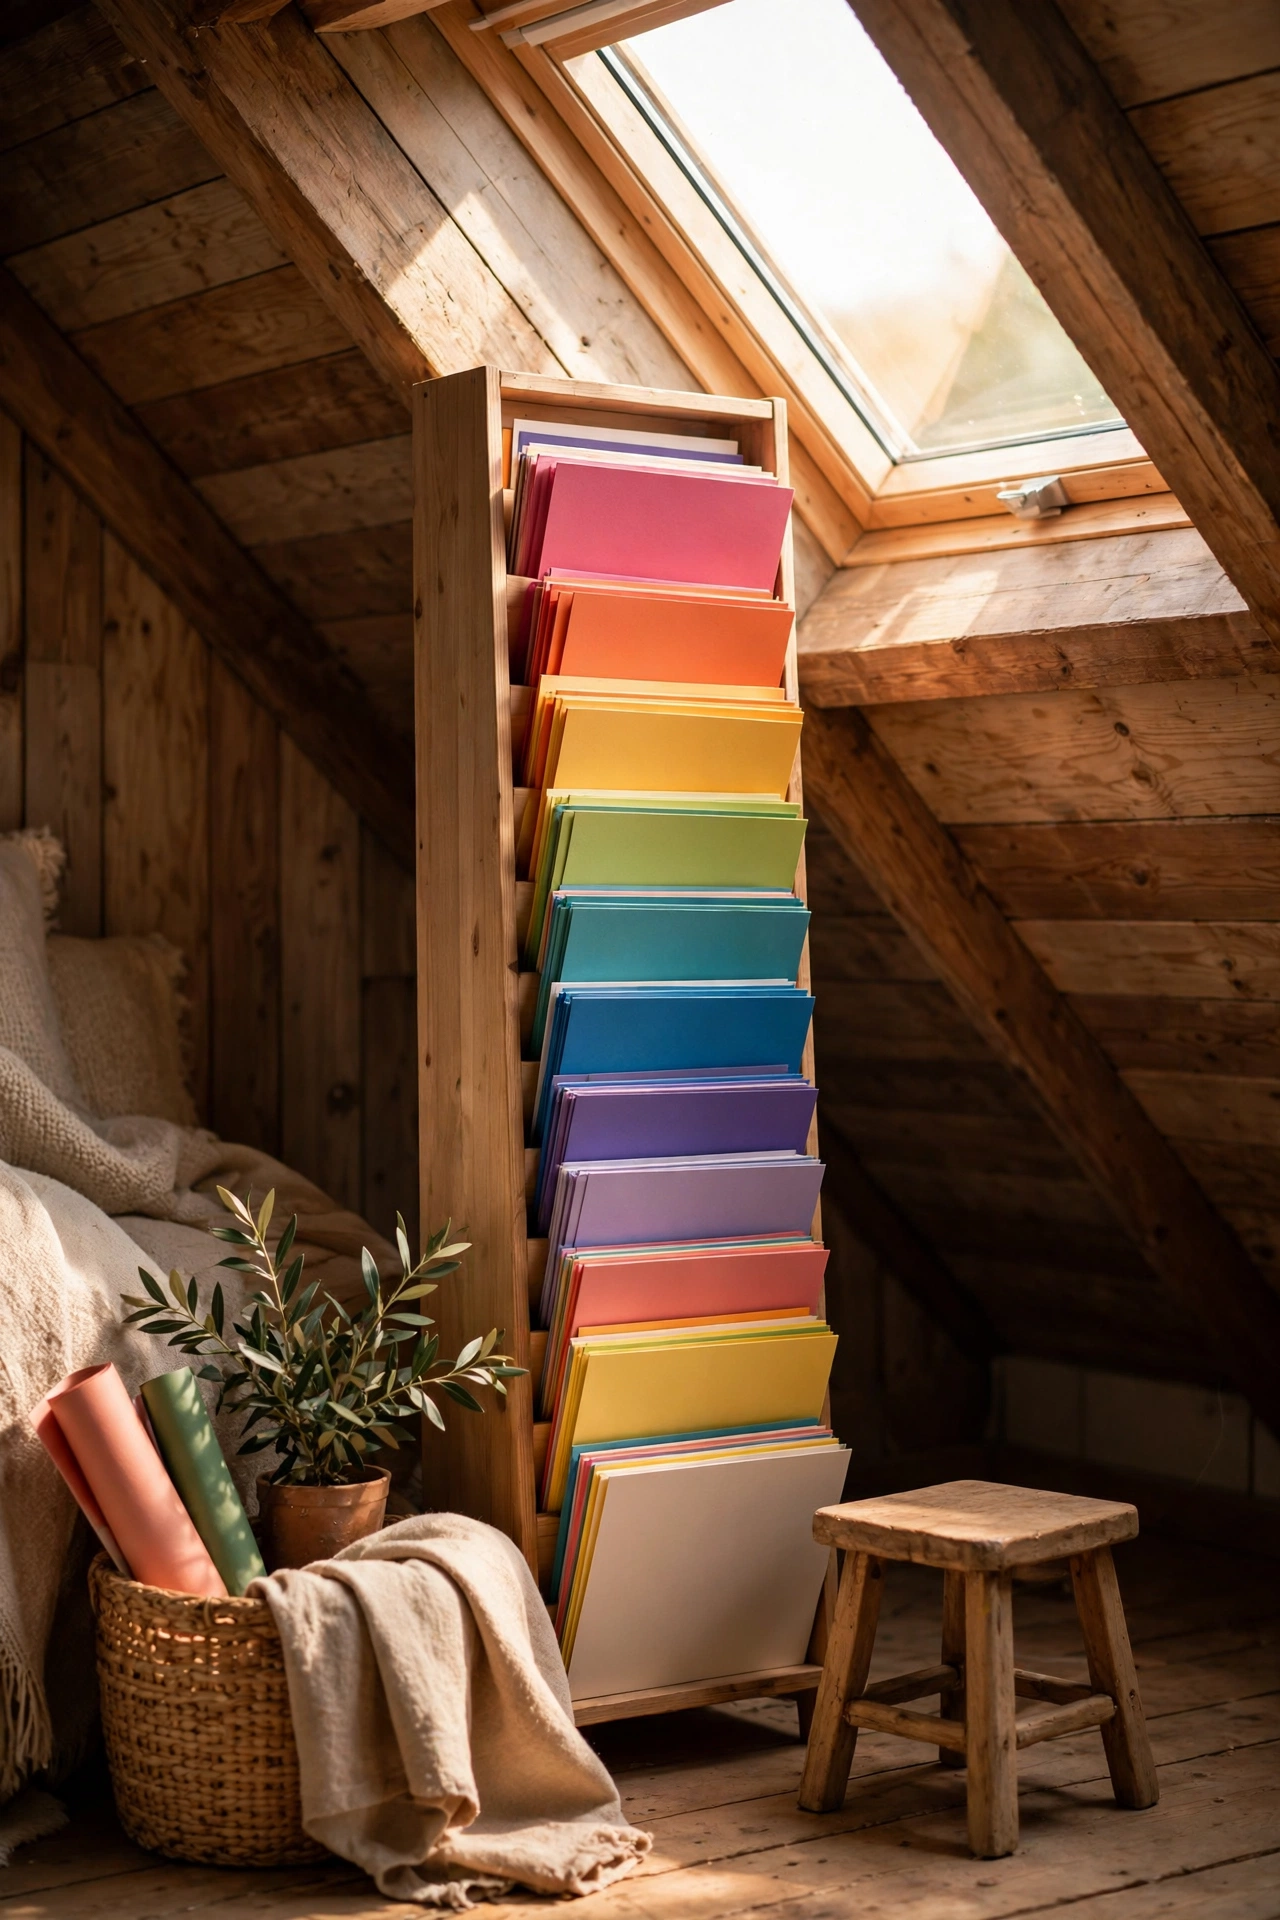
16. Store Paper Upright in a Tower
Paper stored in flat piles has a tragic life cycle. The good sheets hide at the bottom, everything gets bent and crumpled, and kids dig through the stack making a bigger mess just to find one sheet. A tall narrow tower of vertical paper sorters ends all of that for good. Paper stands upright, visible and grabbable, like files in a cabinet. You can see every single option without touching anything else, which changes everything. For paper heavy households like ours, it is honestly the fastest win in this entire list.
Sort the slots the way your family actually crafts. Construction paper by color in the wide slots, cardstock in one slot, coloring pages in another, and a dedicated slot for scrap paper that is still usable on the back. The tower fits in a corner, a closet, or beside the craft table, taking up barely any floor space while holding an impressive amount of paper. Small footprint, huge capacity, total visibility. It is the rare storage piece that does everything right. Anchor tall towers to the wall if toddlers might try to climb them.
Kids actually file paper back into slots, because sliding a sheet into a slot is easier than restacking a pile neatly. It is one of those rare systems that is genuinely less work than making the mess in the first place. For a calm, organized feel in the rest of your home too, my post on Organic Modern Living Room Ideas That Make the Entire Space Feel Grounded and Calm shows how small dedicated zones keep every room peaceful. Zones work everywhere, not just in the craft corner. Show grandparents the system too so craft time at their house stays tidy.
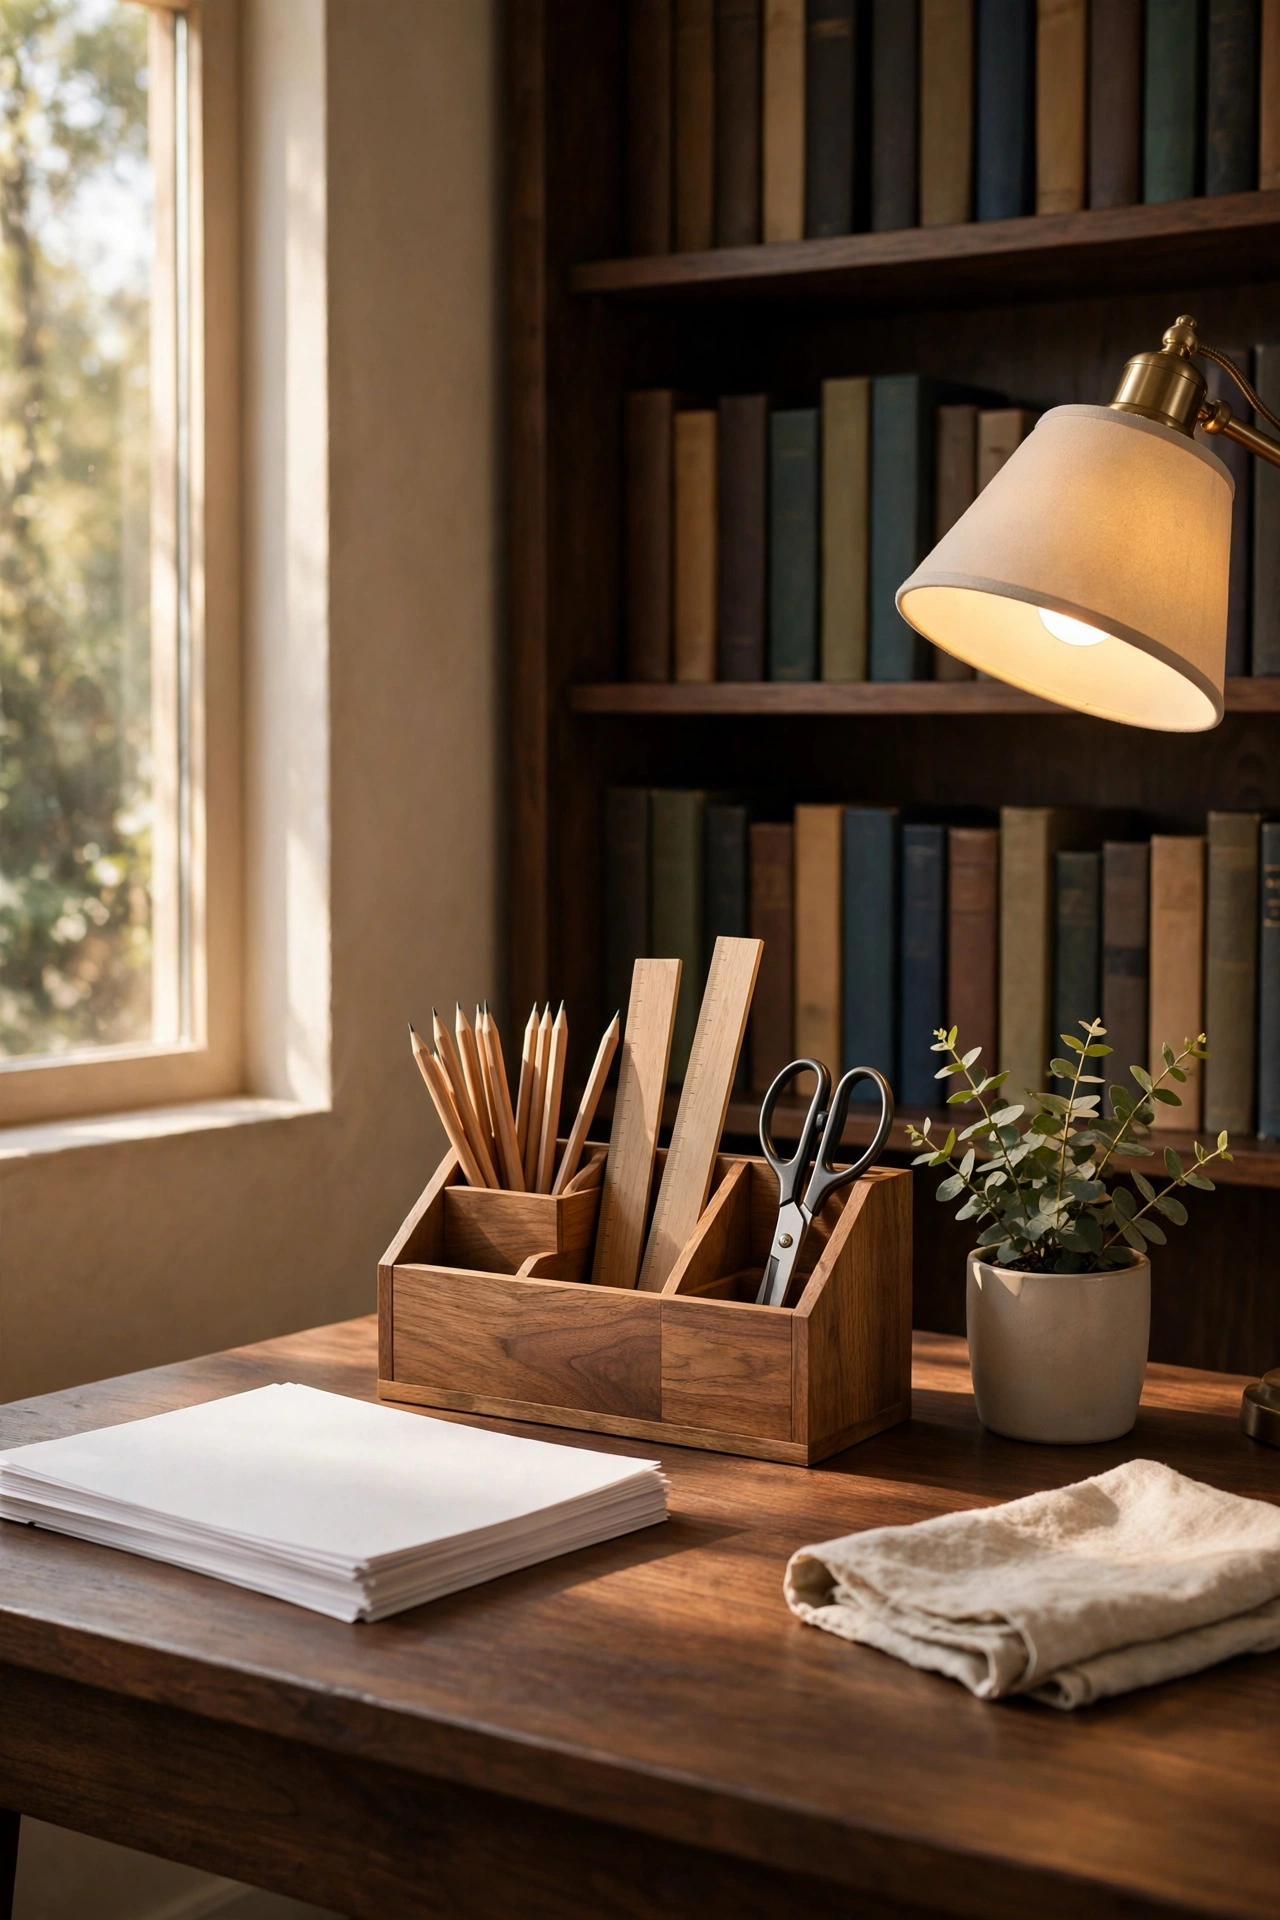
17. Tame the Desk with a Desktop Organizer
The craft desk has a natural tendency toward chaos. Pencils roll off the edge, scissors vanish under paper piles, rulers migrate to other rooms entirely. A desktop organizer with compartments for each tool type ends the slow drift for good. Pencils in their slots, scissors in their cup, rulers in their groove. Everything visible, everything reachable, nothing rolling away at the worst possible moment. Order on the desk means calmer creating for everyone. A clear and organized desk also means homework gets finished faster with far fewer distractions pulling focus.
Choose one with a mix of tall cups for long tools and shallow compartments for small stuff like erasers and pencil sharpeners. A little drawer is a bonus for extras like lead refills and special stickers. If two kids share a desk, give each their own smaller organizer in their signature color. Personal zones prevent the slow creep of one kid’s supplies into the other’s half, which prevents approximately one argument per day. That alone is worth the price. Label each section with a label maker for a polished look kids respect.
Do a quick tool audit once a month during your regular reset. Dull pencils get sharpened or tossed, dried out markers go in the recycling, and broken crayons join the melting jar from idea nine. A two minute audit keeps the organizer functional instead of letting it slowly become a junk tray. Maintenance is the unglamorous secret behind every organizing system that actually lasts past the first month. Put the monthly tool audit on the family calendar so it actually happens every month without you having to remember it yourself.
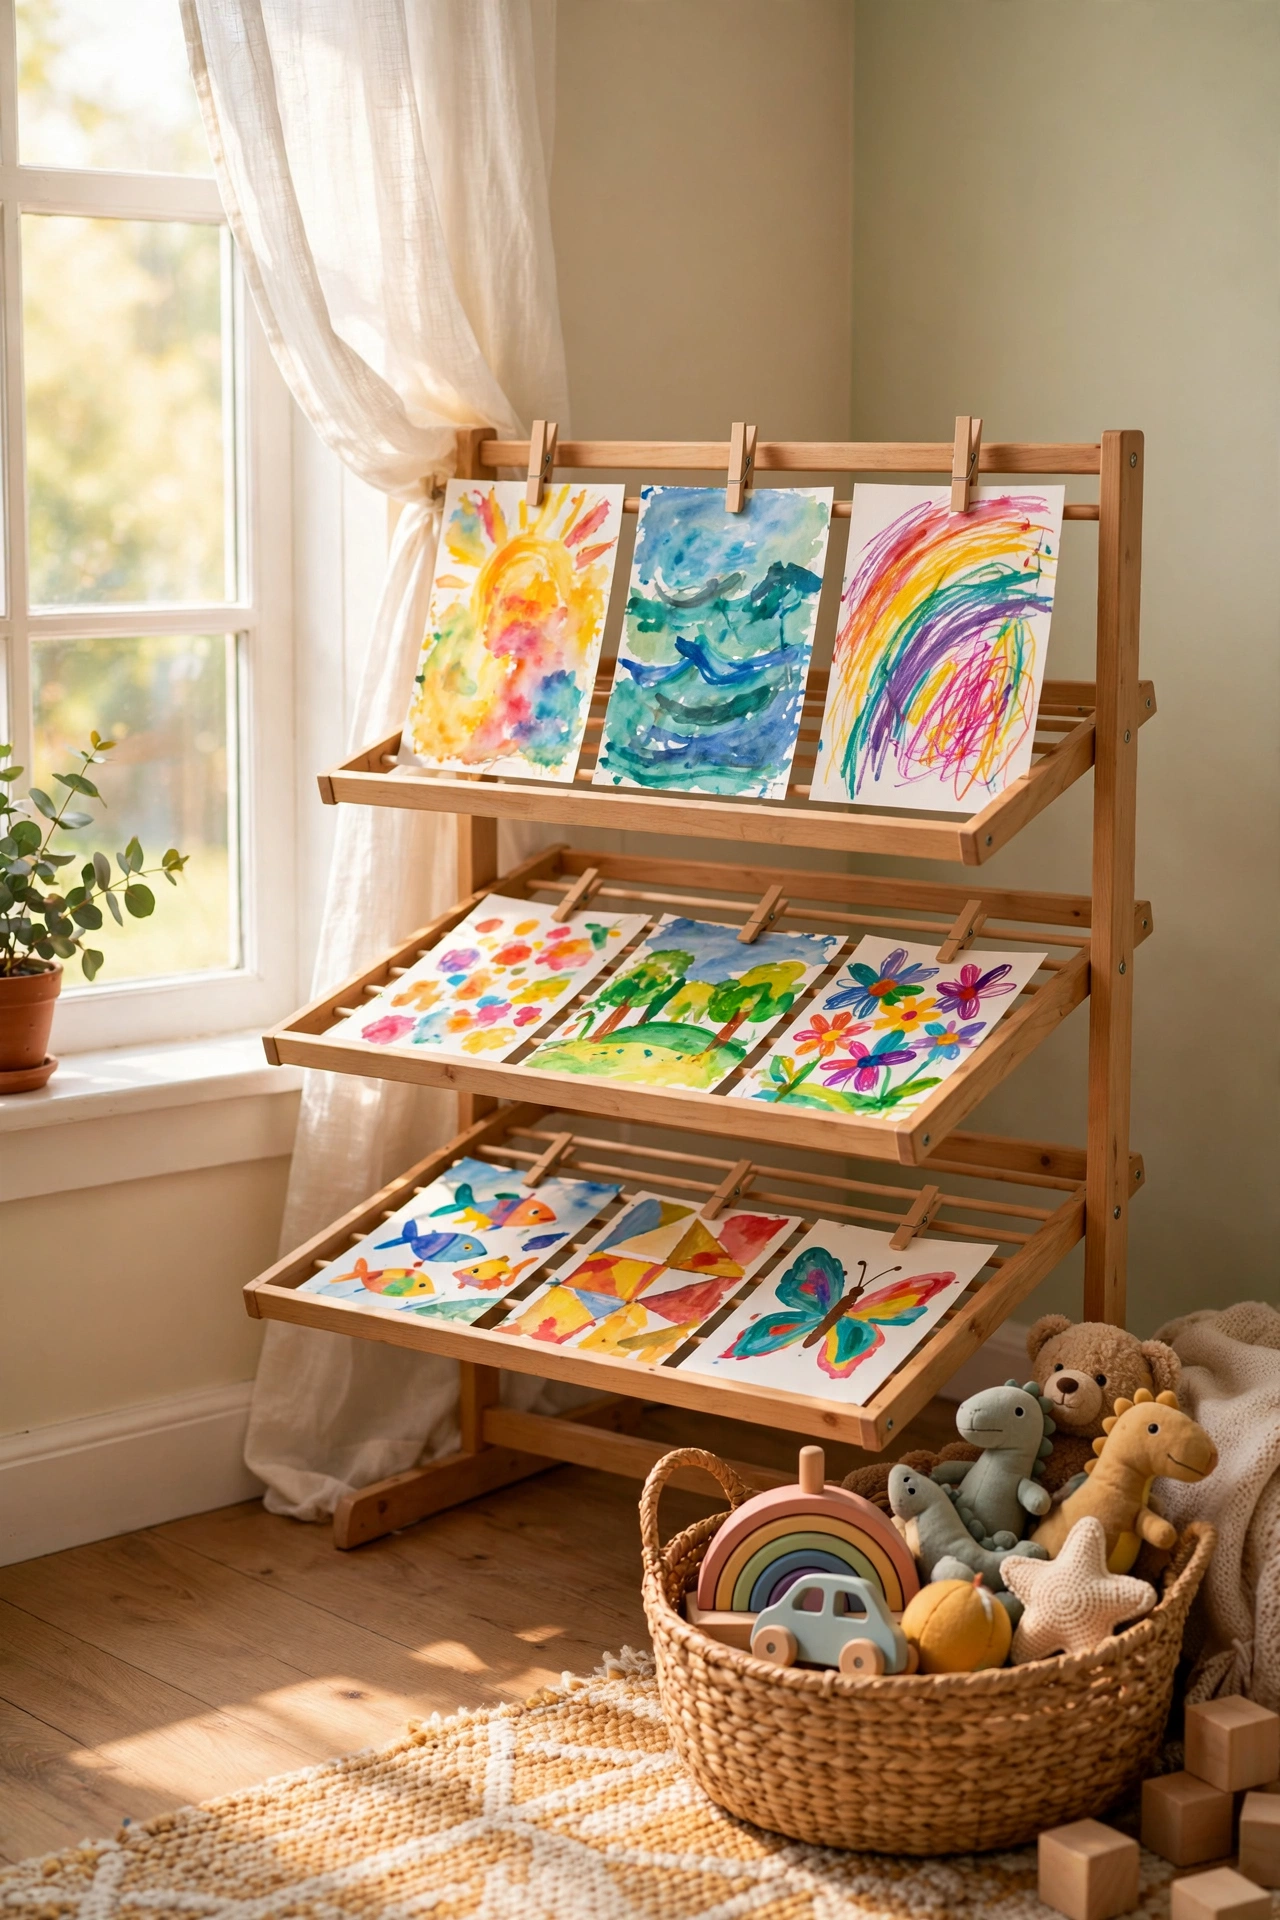
18. Dry Artwork Without the Floor
Wet paintings have a way of colonizing every flat surface in the house. The kitchen table becomes a no touch zone, the counter holds three drying masterpieces, and someone always sits on one despite the warnings. A tiered drying rack gives wet art a proper home with airflow between layers, so paintings dry flat instead of stuck to your furniture. It is such a simple fix for such an endlessly annoying problem. Most drying racks fold completely flat for easy storage, so yours only needs to appear on the biggest art days.
Look for a rack that stacks or folds flat, because you only need it on heavy art days. Kids place their own paintings on the racks, which teaches them to handle wet work carefully and take pride in the whole process. No more carrying a dripping painting across the room while searching for a safe spot. The spot is the rack, always the rack, and everyone knows it. Consistency is what makes systems stick with kids of all ages. Number the shelves with stickers so each kid knows which level is theirs.
This is especially wonderful for watercolor days and glue heavy collages that need hours to dry properly. Art dries flat and uncurled, which means it actually looks good enough to display on the gallery wall from idea fifteen. Flat dry art also files neatly into the portfolio instead of becoming a crumpled mess. The drying rack quietly upgrades the quality of everything your kids make, and it protects your furniture at the same time. The same rack also works beautifully for drying homemade cards, gift tags, and all those holiday ornaments.
19. Do a Five Minute Reset After Craft Time
Every system in this post works beautifully until real life happens, which is why the five minute reset matters more than any single idea, mama. When craft time ends, set a timer for five minutes and everybody resets together. Supplies go back to their labeled homes, scraps go in the bin, and the table gets a quick wipe. Five minutes, all hands on deck, and the room is ready for whatever comes next. It is the glue holding all nineteen ideas together. Consistency beats intensity here, so aim for daily rather than perfect.
Five minutes is short enough that kids will actually do it without a meltdown, and regular enough that the craft area never reaches disaster level. Make it fun with a reset playlist or a race against the timer. Assign each kid their zone so nobody stands around wondering what to do. One does the crayon jars, one does the paper tower, and you handle the table wipe. Teamwork makes the five minutes fly by, and the kids start to take real pride in the reset. Time them once and celebrate when they beat their own record.
The reset is also when you restock for tomorrow. Notice the glue stick is dead, the construction paper is gone, the bead box needs refills. Jot it on the grocery list right then while you are thinking of it. Five minutes of resetting and restocking means tomorrow’s craft time starts with everything ready instead of a frustrating hunt for supplies. Future you will be so grateful that present you took those five minutes. Tape the running grocery list to the fridge door so restock items never get forgotten mid week.
More Favorites
This post contains affiliate links. If you buy through them, I may earn a small commission at no extra cost to you.
A few favorites featured in the ideas above:


You do not need all nineteen ideas, mama. You need the three that fix your biggest pain points, and then the five minute reset to keep them working. Start with the rolling cart or the labeled bins, because those two alone will change how craft time feels in your house. The rest can come later, one small upgrade at a time.
Crafting with kids is supposed to be joyful, not stressful. A few smart systems turn it from the activity you dread into the one your kids beg for. And on the weeks when the glitter escapes anyway, because kids and life, just run the reset and begin again. No guilt, no perfection required.
Which idea are you trying first? I would love to hear what works in your house, because every family finds their own twist on these systems. Happy organizing, mama.
With love and light
Get Fresh Home Ideas Every Week
Seasonal decor ideas, organizing tips, and cozy home inspiration, straight to your inbox.
More Organization Ideas You Will Love
Keep browsing for more seasonal inspiration: