
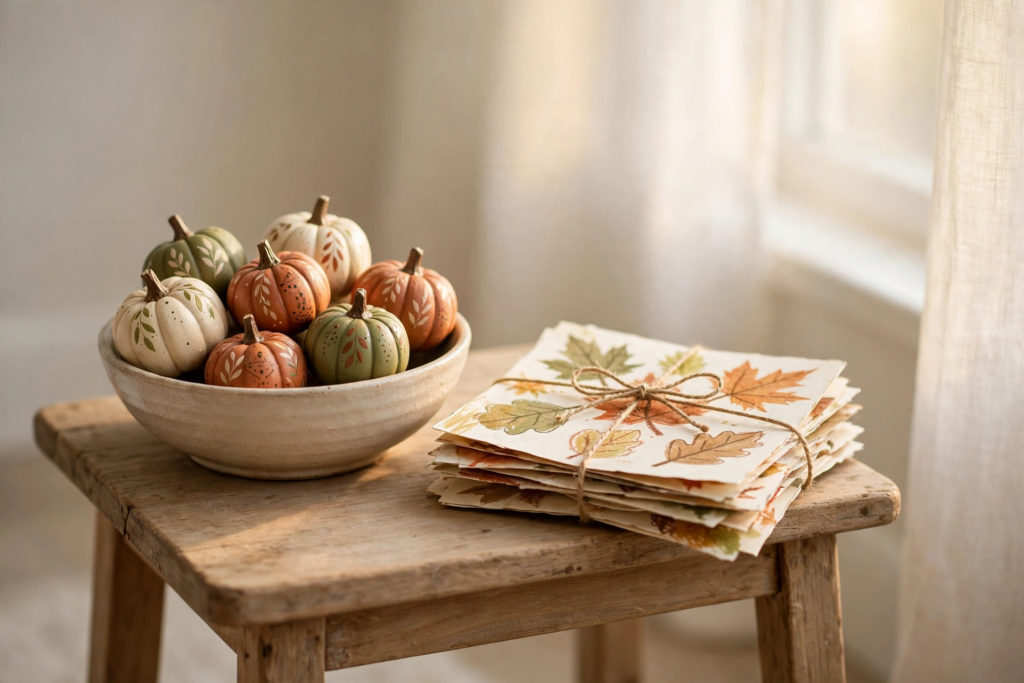
There is a particular kind of magic that happens at the kitchen table in October. The light goes golden around four o clock, somebody tracks in a pocketful of leaves, and suddenly the whole house smells faintly like cinnamon and washable paint. That is the feeling I chase with fall crafts for kids. Not the Pinterest perfect kind where everything looks store bought. The real kind, where little hands are busy, the table is covered in nature, and the finished pieces actually look good enough to keep out.
I have learned a few things over the years, mostly by getting them wrong first. Nature is the best craft supply aisle, and it is free. One palette repeated everywhere is what makes kid crafts look like decor instead of clutter. And if you contain the whole project to one surface, the house still feels calm when you are done. These nineteen ideas follow all three rules. They are simple, they use things you mostly already own, and every single one ends with something you will genuinely want to display.
Love these ideas? Get more every week.
Join the newsletter for seasonal decor and cozy home inspiration.
Nature Crafts, Straight from the Backyard
1. Leaf Rubbing Art That Looks Like Real Art
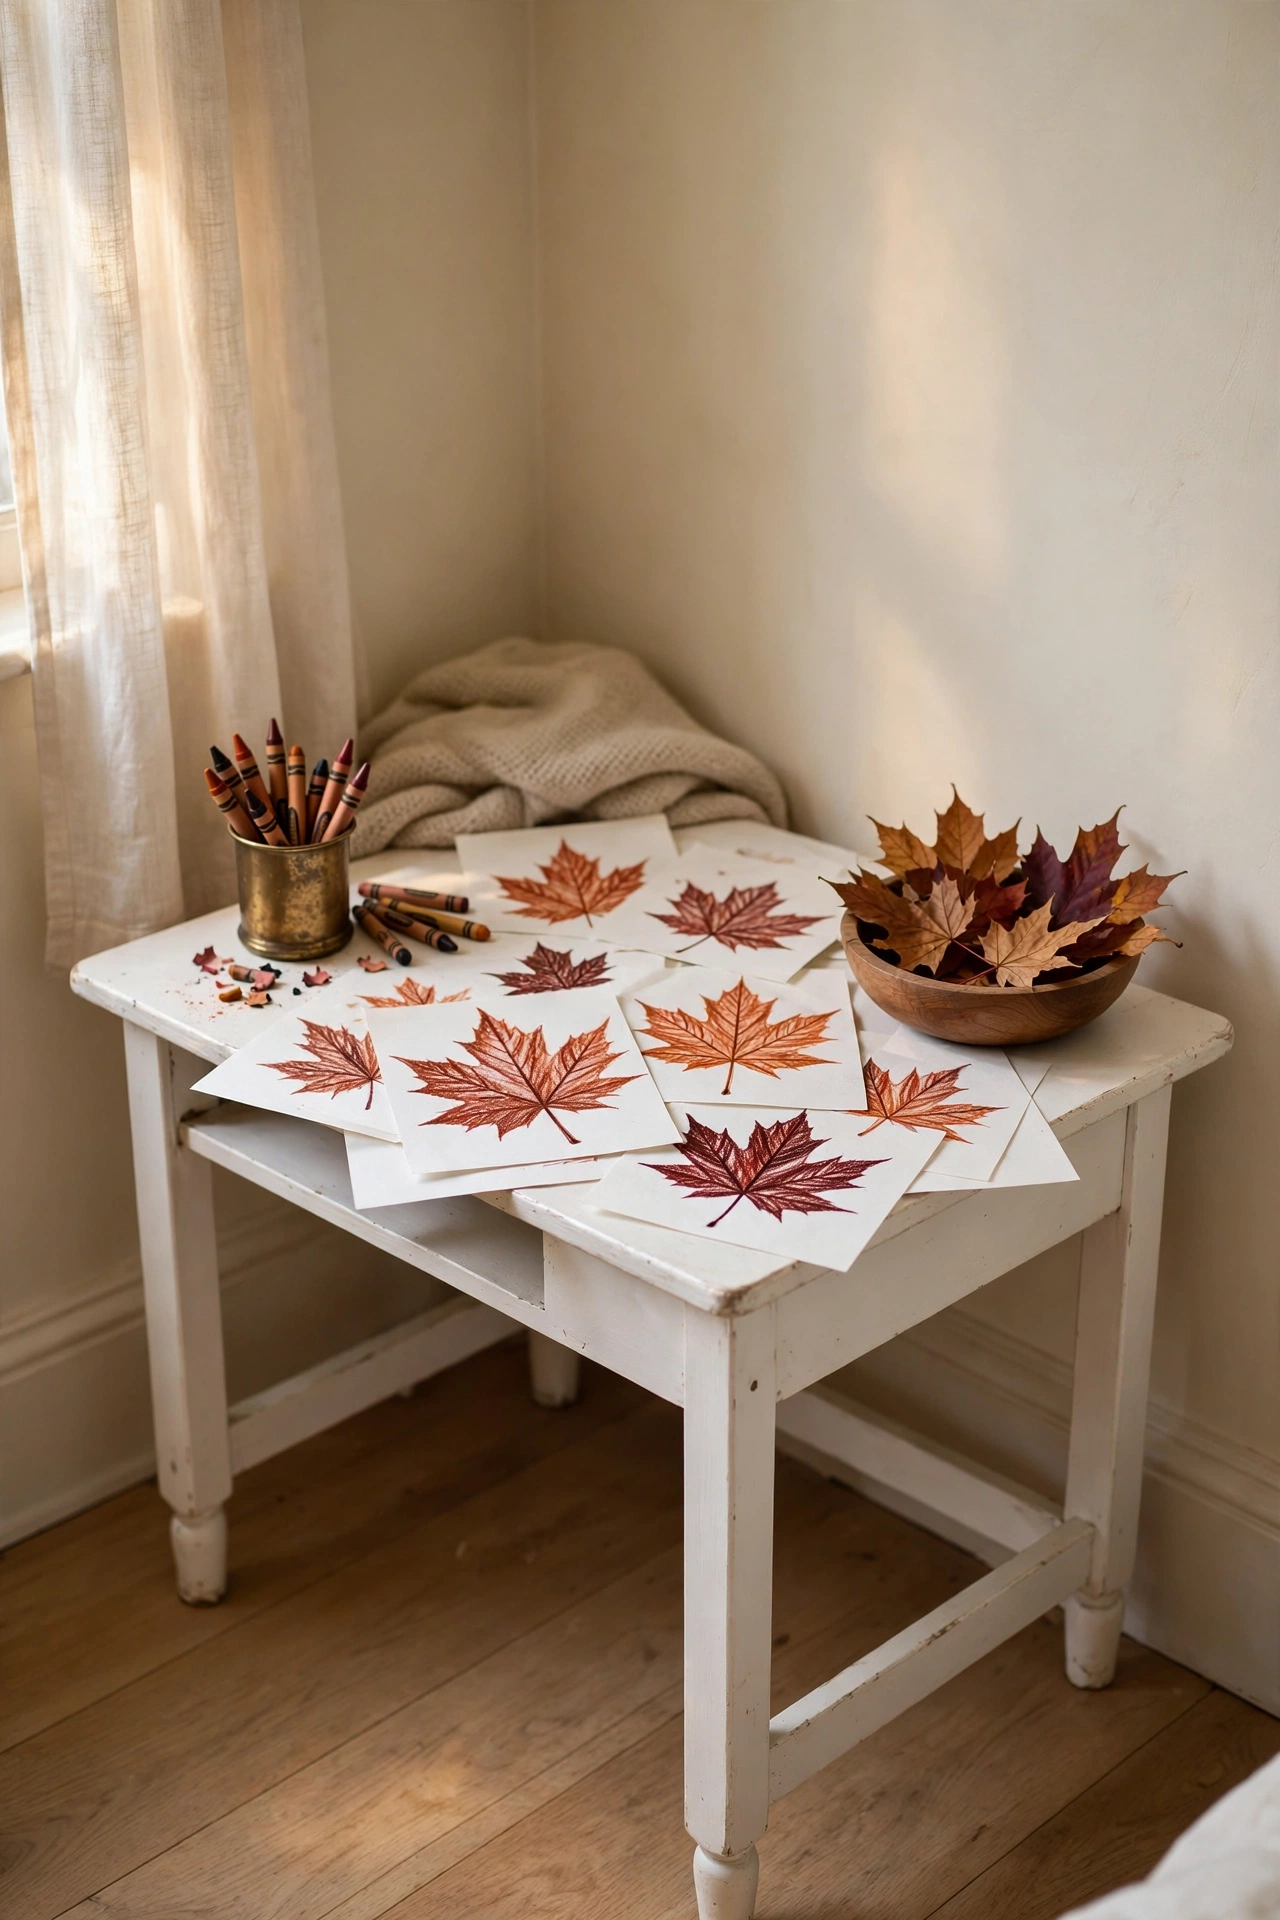
This is the craft I start with every single fall because it never fails and it costs nothing. Head outside with the kids and gather leaves with strong veins, the bigger and bumpier the better. Lay a leaf vein side up under a sheet of plain white paper, then rub over it with the side of a crayon in rust, burgundy, or olive. The leaf appears like a little miracle and the kids gasp every time, even the ones who have done it before. I frame the best ones in simple wood frames and hang them in the hallway. Grouped together in one palette, they honestly look like a gallery wall. Keep the crayons to your chosen fall colors and skip the neon box entirely, because one palette repeated everywhere is the whole secret.
Shop This Look
This post contains affiliate links. If you buy through them, I may earn a small commission at no extra cost to you.
A few favorites featured in the ideas above:
2. Painted Leaf Garland for the Mantel
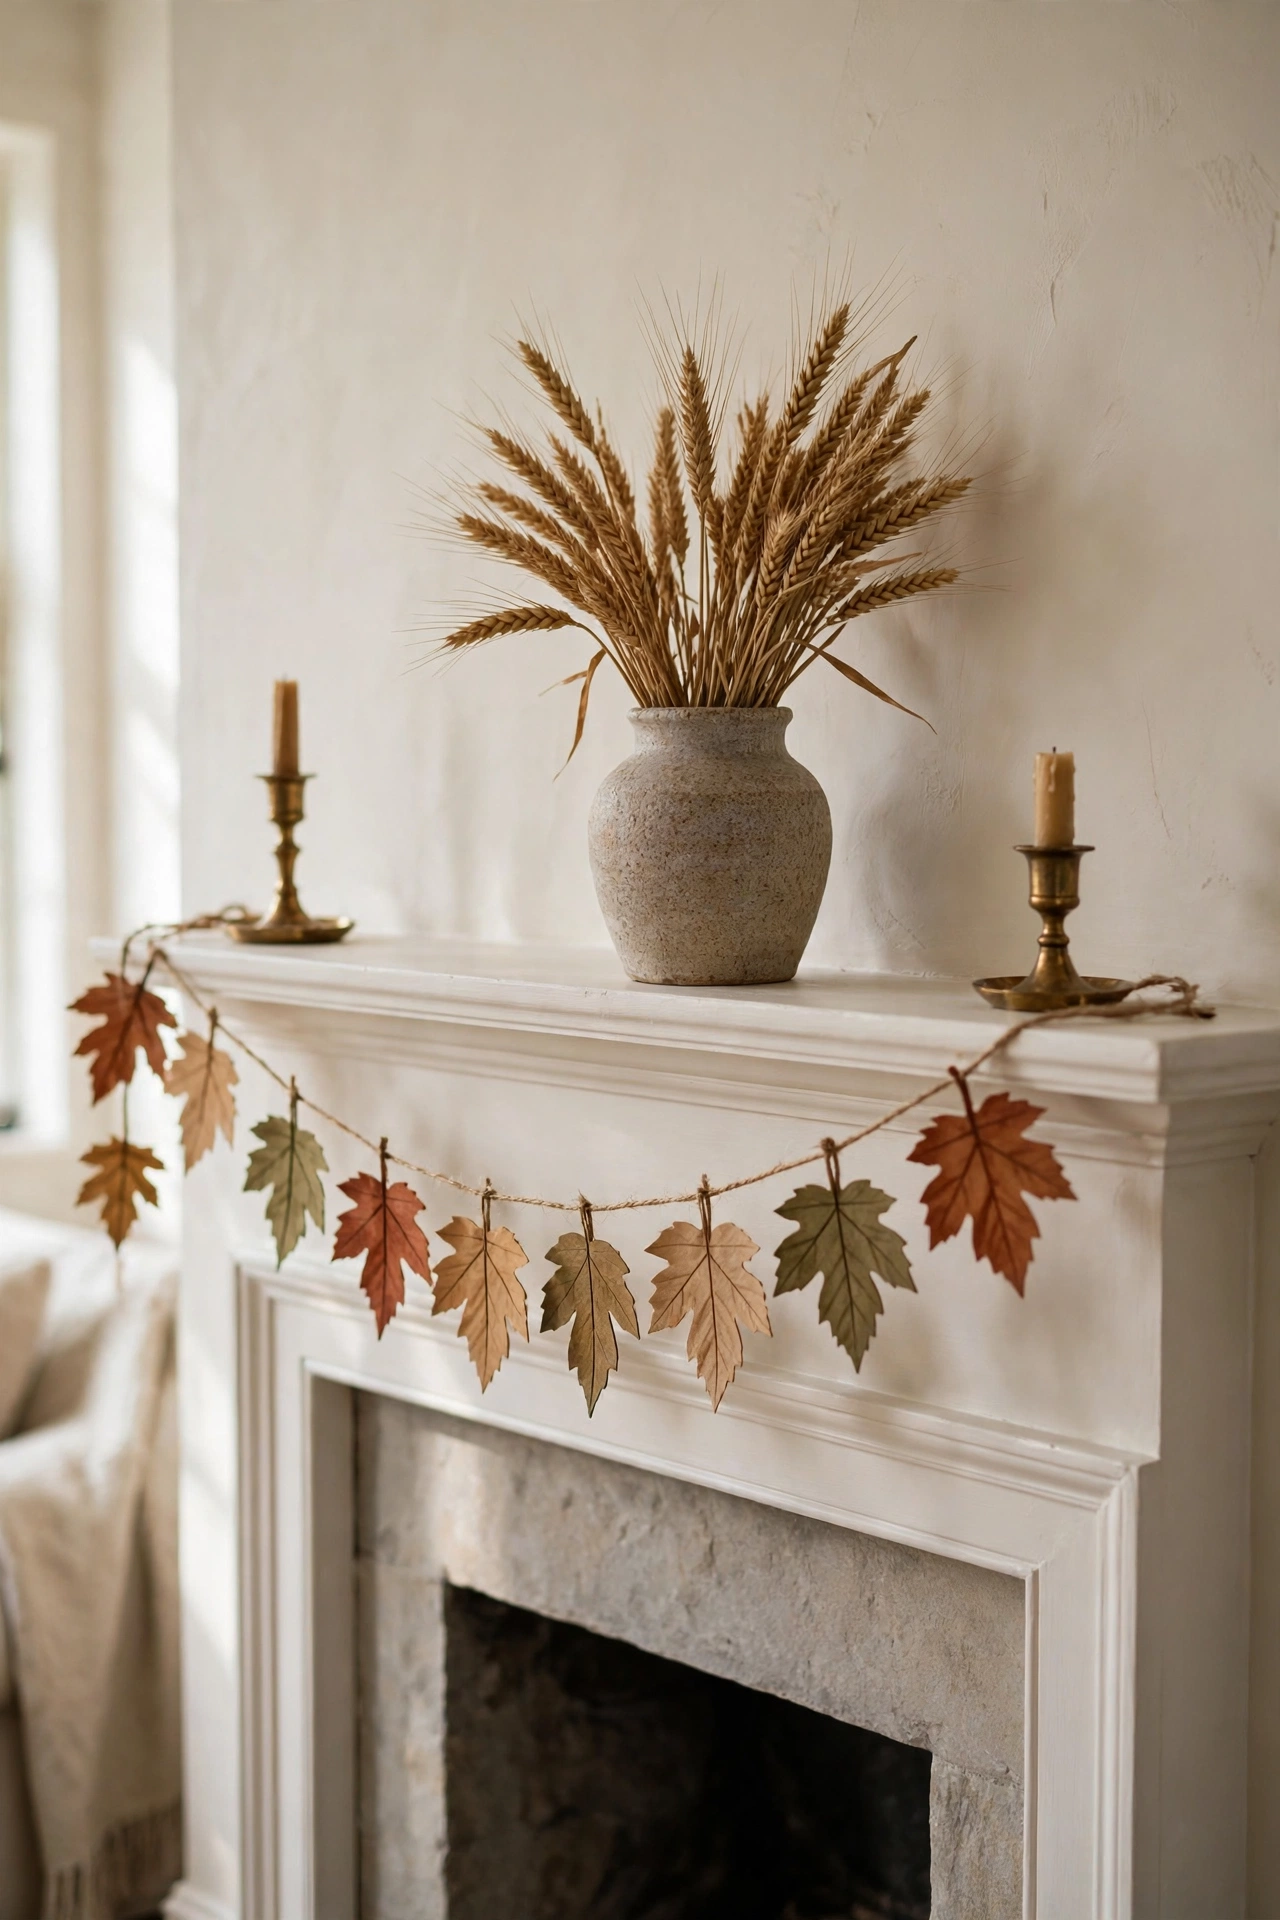
Collect a basket of large flat leaves on your next walk, the kind with good surface area like maple or sycamore. Set the kids up with small brushes and washable paint in rust, camel, and olive, and let them paint one side of each leaf however they like. Dots, stripes, full coverage, it all works. Once dry, punch a tiny hole near each stem and string them on twine with a little spacing between leaves. Drape it across the mantel or a doorway and stand back. It reads as real fall decor, not a kid project, because the palette does all the heavy lifting. I have kept one of these up from October straight through Thanksgiving and nobody guessed it was made by a six year old.
3. Pinecone Hedgehogs
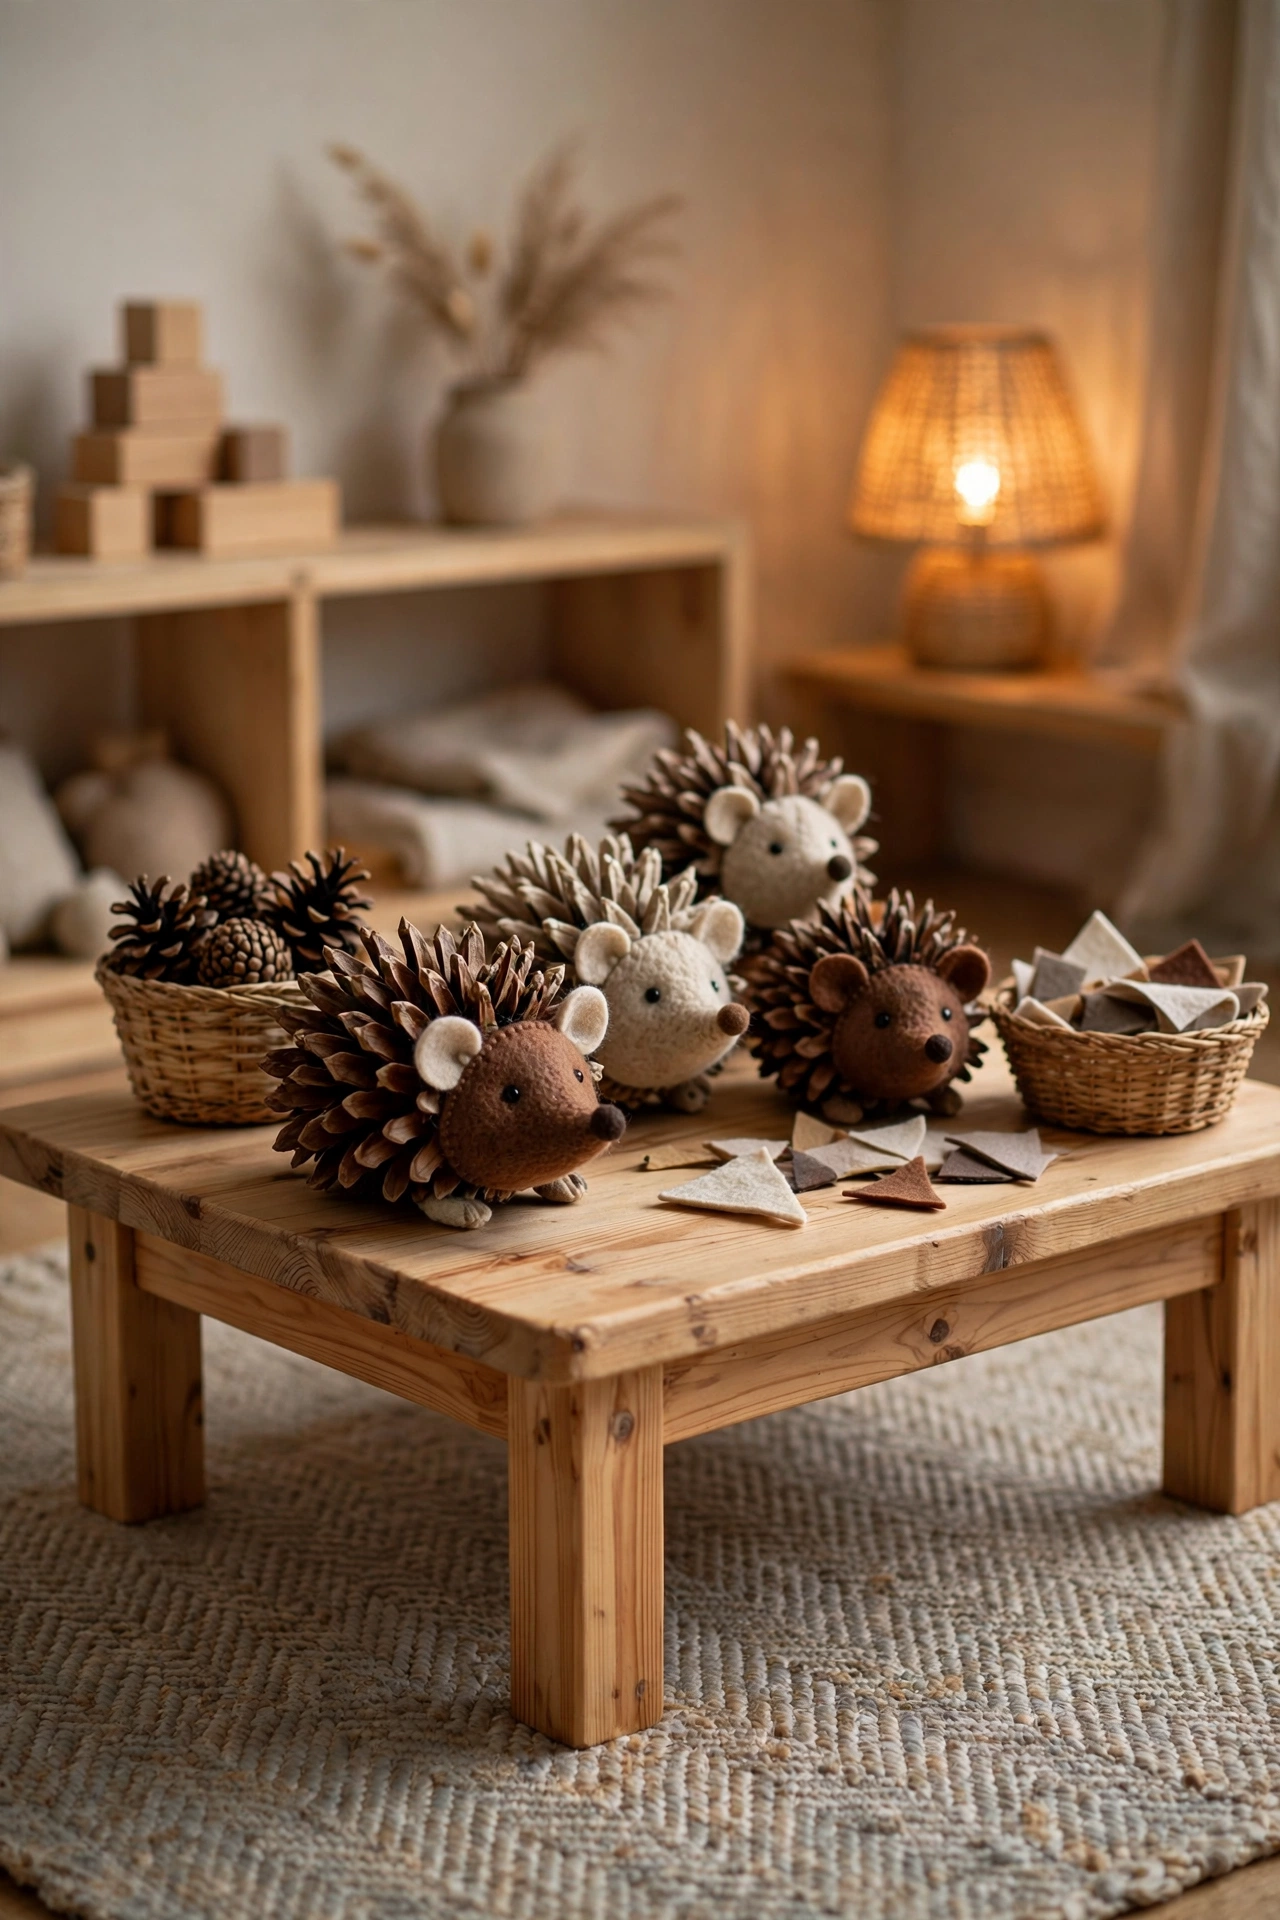
There is something about a pinecone hedgehog that makes every kid proud, and it takes about ten minutes. Glue a small felt triangle on the narrow end of a pinecone for the face, add two tiny black beads or dots of paint for eyes, and cut little felt feet if you are feeling ambitious. The pinecone scales become the hedgehog spines all on their own, which is why this craft looks so good with so little effort. Line the finished family up on a low shelf or the coffee table and they become instant fall decor. Use felt in oatmeal, camel, and chocolate brown and they will blend right into your autumn styling instead of screaming craft project.
4. Pressed Leaf Suncatchers
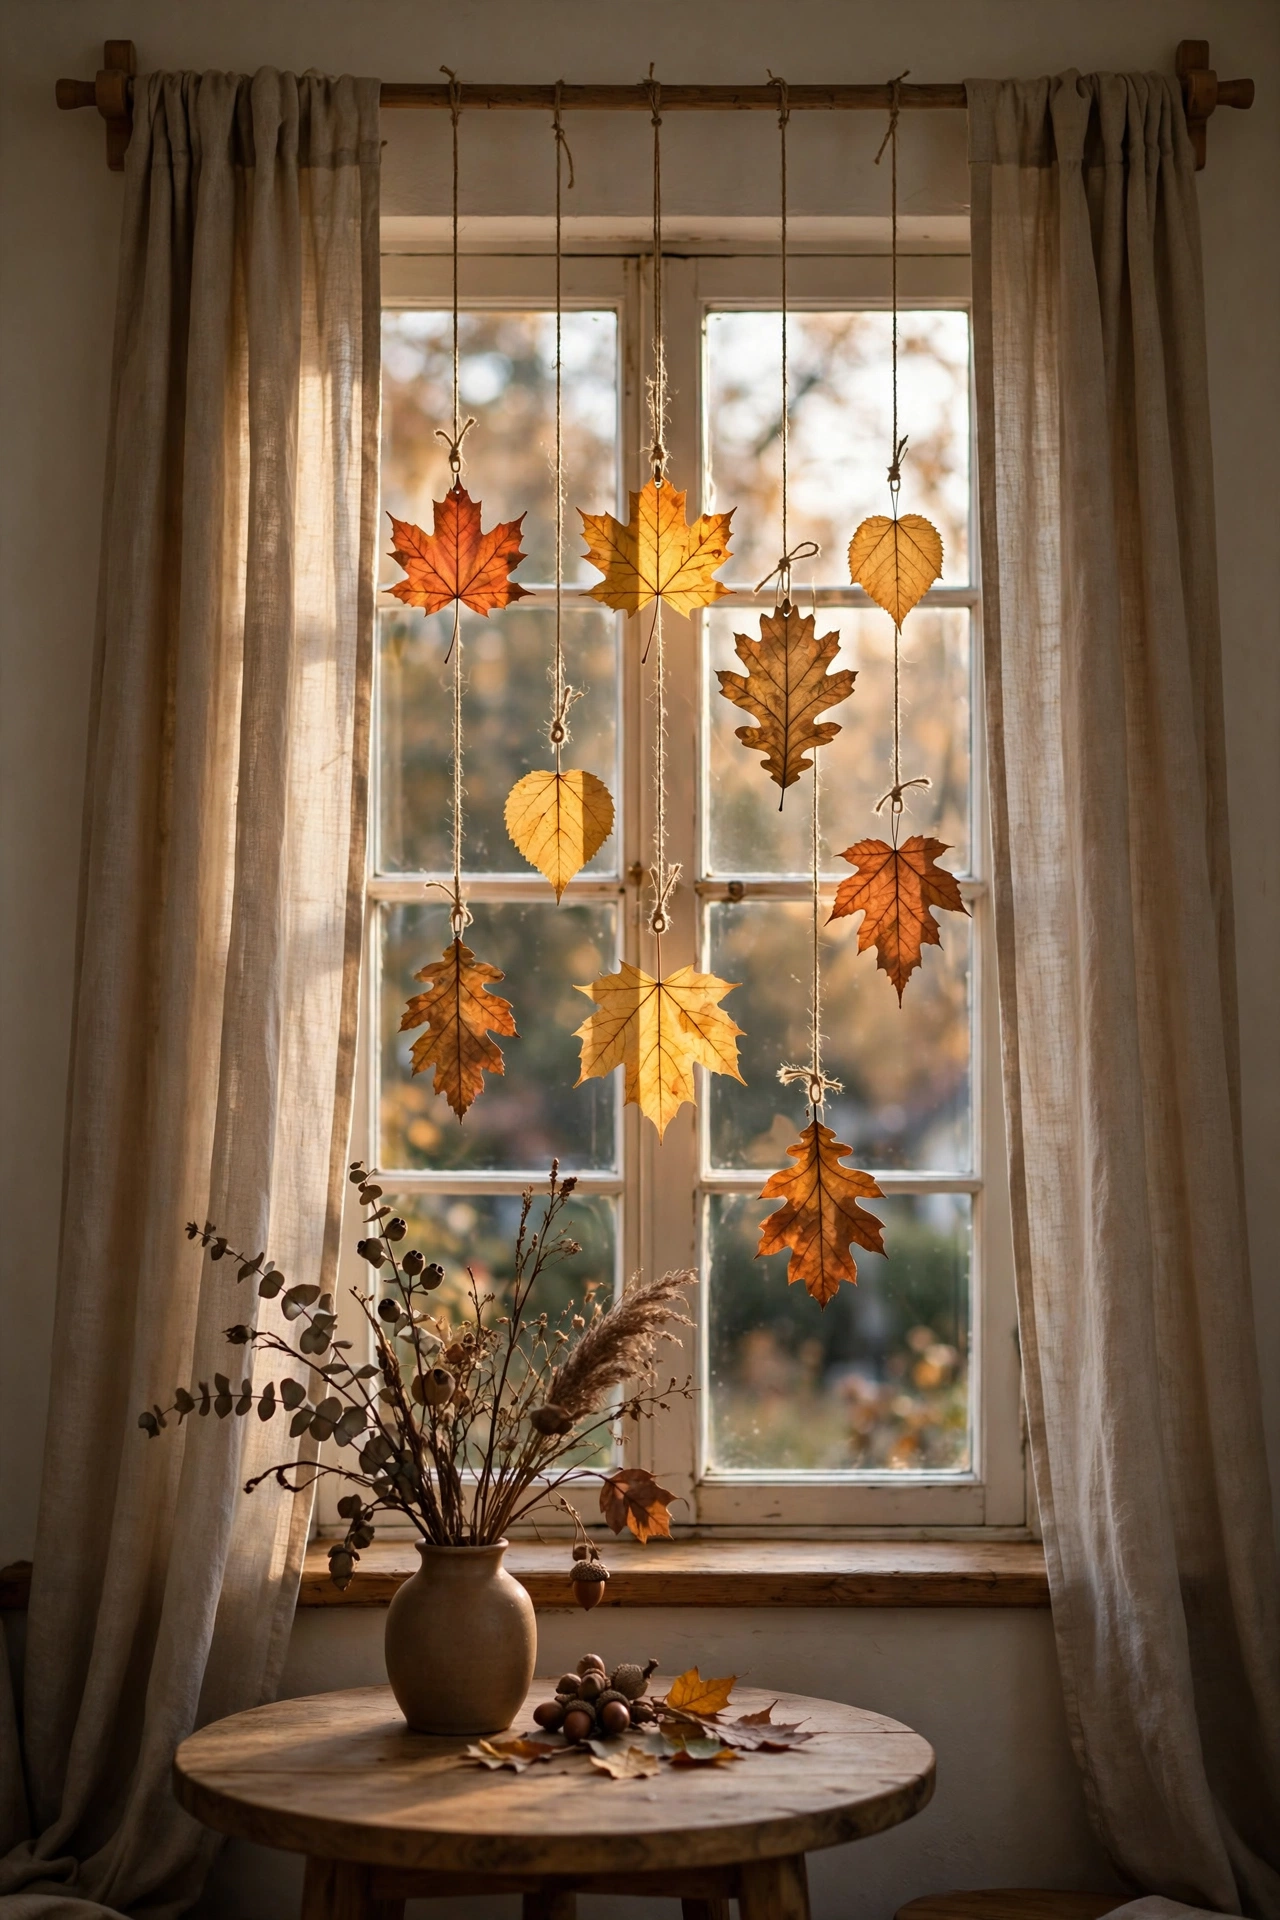
These glow like stained glass when the afternoon sun hits them and they could not be simpler. Press leaves flat for a few days, then sandwich each one between two pieces of clear contact paper or laminate sheets. Trim around the leaf leaving a small border, punch a hole at the top, and hang them in a window on twine at different lengths. The light shining through real leaves in rust and gold is genuinely beautiful. I hang ours in the dining nook window where we eat breakfast, and on gray October mornings they are the cheeriest thing in the room. Kids love choosing which leaf goes where, and there is no wrong answer.
5. Painted Acorn Collection
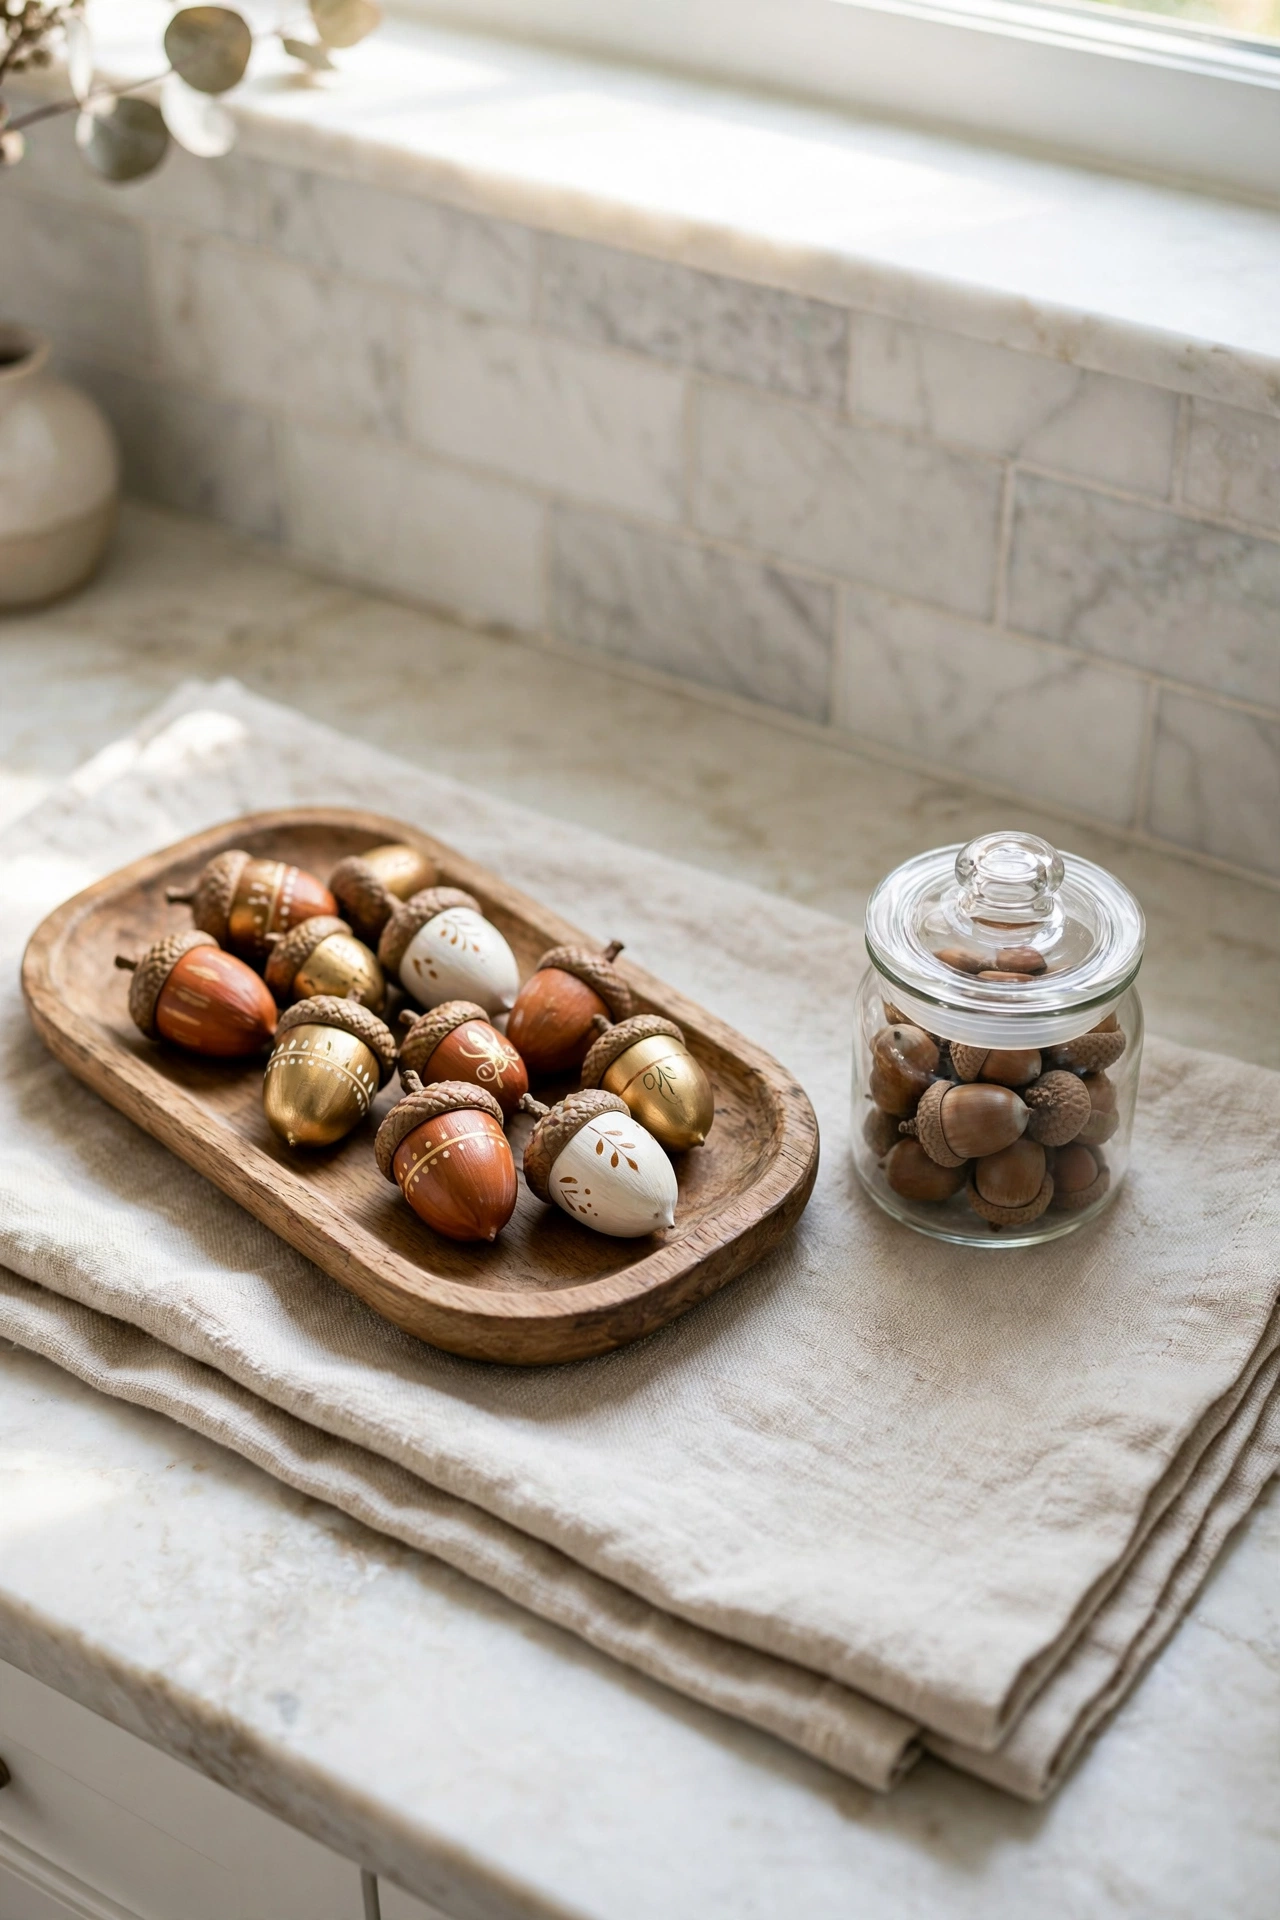
Acorns are nature’s perfect craft supply because they are small, sturdy, and endlessly paintable. Send the kids out with a bucket and see who can find the most, then set up a painting station with metallic brass paint, cream, rust, and burgundy. Paint the caps one color and the bodies another, or go full metallic for a jewelry box effect. Once dry, pile them in a wooden bowl or a glass jar on the kitchen counter and you have instant fall decor that the kids made themselves. I love this one for a rainy afternoon because the whole project lives on one tray and cleanup is just capping the paint.
6. Autumn Leaf Crowns
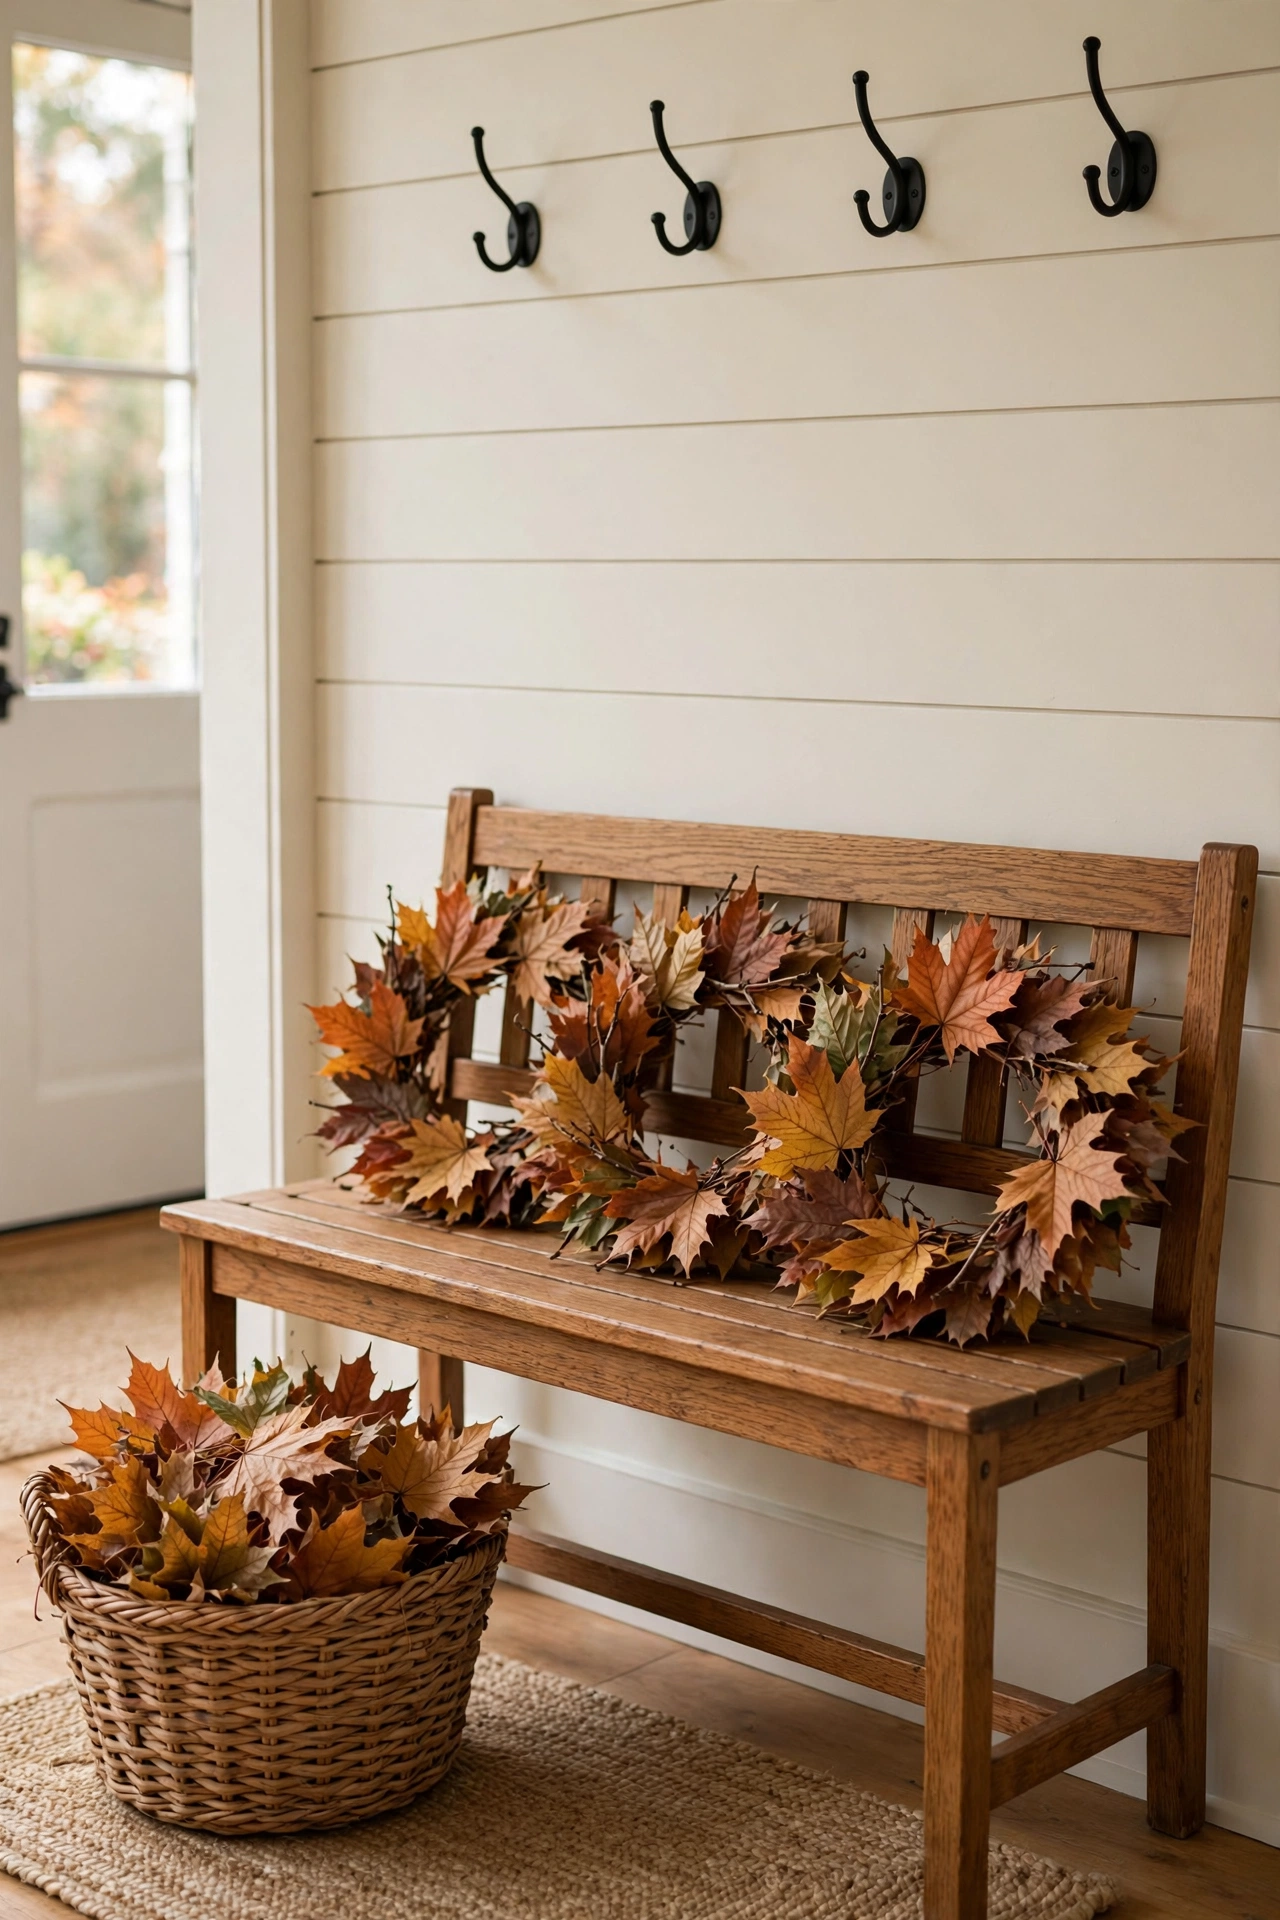
Every kid deserves to feel like royalty of the backyard at least once each fall. Cut a strip of card stock to fit around your child’s head and staple or tape it into a band. Then let them glue real or faux leaves all around it, overlapping like shingles, with a few berries or tiny pinecones tucked in for good measure. The result is a crown that smells like outside and looks straight out of a storybook. We wear ours on walks and for photos, and then they live on the entryway hooks as decor. Stick to your muted palette and the crowns look intentional and beautiful hanging by the door.
Pumpkin Crafts Without the Carving Mess
7. Painted Mini Pumpkins
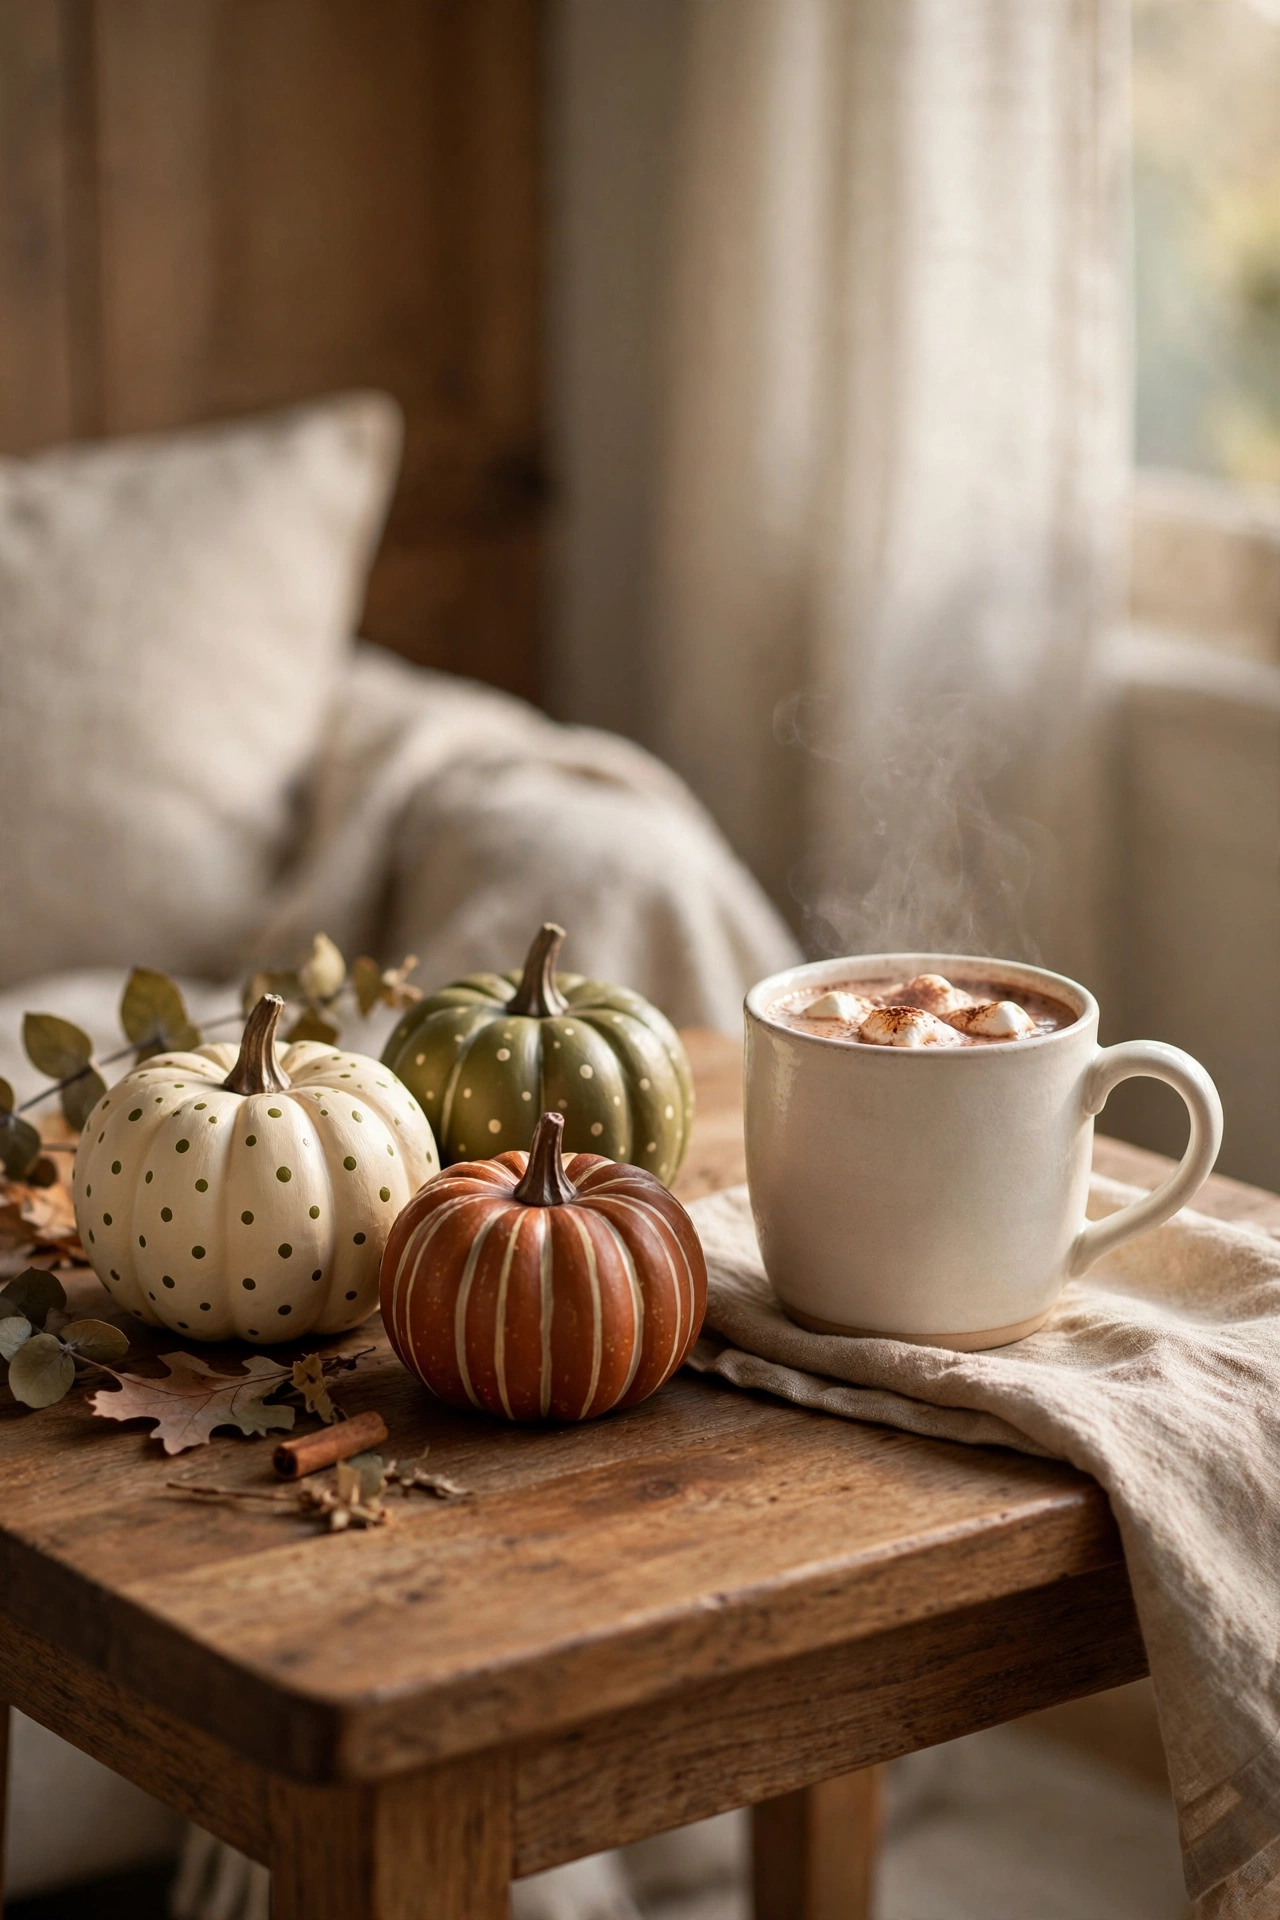
Carving pumpkins with kids is fun for exactly eleven minutes and then someone is crying about the slimy insides. Painted mini pumpkins give you all the charm with none of the drama. Buy a bag of mini pumpkins and set out washable paint in cream, rust, olive, and burgundy. Polka dots, stripes, little faces, solid colors, everything looks good on a tiny pumpkin. They dry fast, they last for weeks, and they are the perfect size for little hands. I cluster ours on the coffee table and the entryway console in odd numbers, and guests always assume they came from a boutique. Keep the palette tight and these read as decor, not daycare.
8. Apple Stamp Pumpkin Art
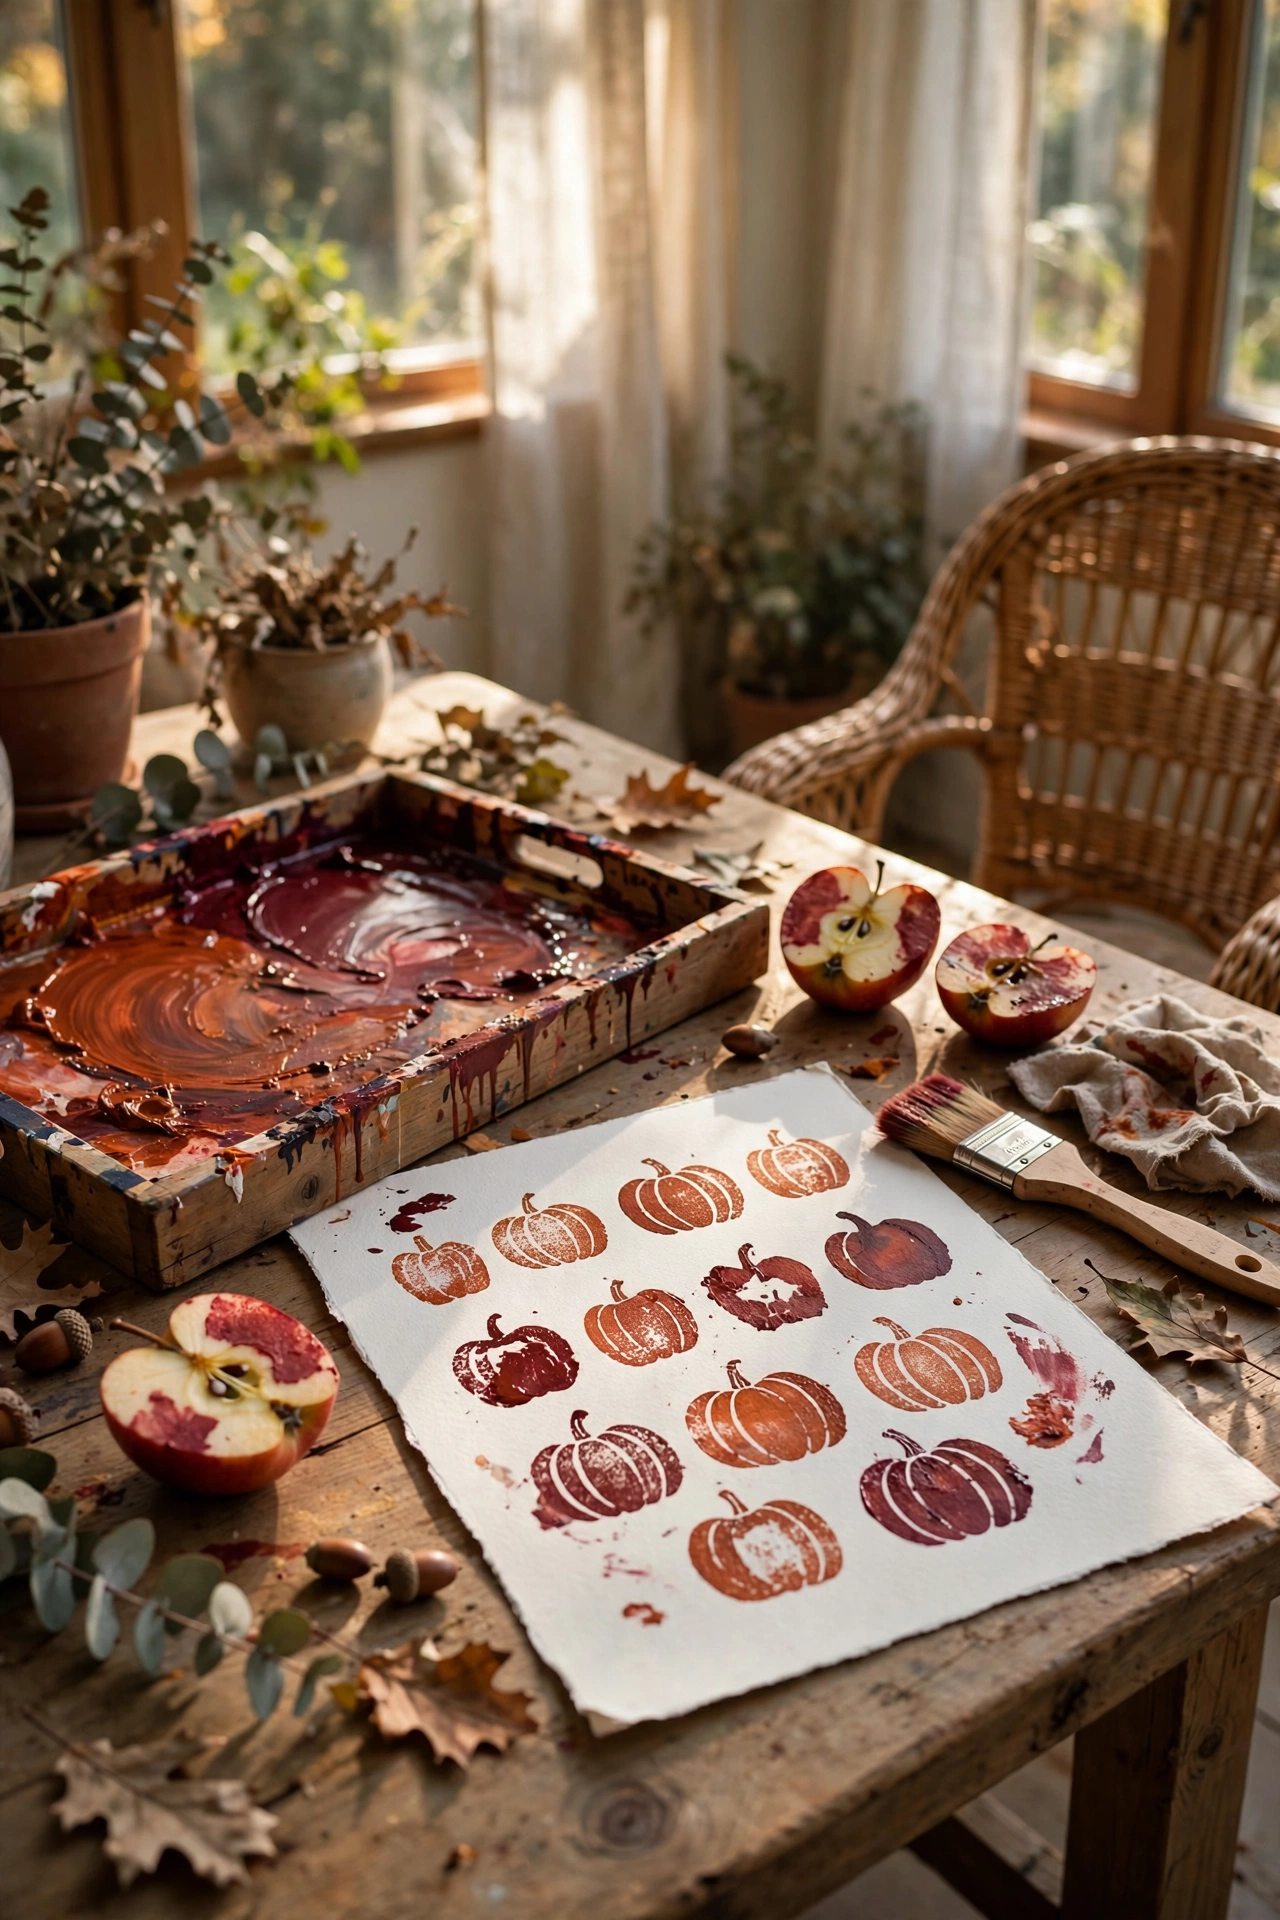
Cut an apple in half and you are holding a perfect pumpkin stamp, and kids lose their minds over this discovery. Dip the cut side in rust or burgundy washable paint, press it onto white or kraft paper, and lift to reveal a round pumpkin shape. Add a little green stem with a finger dab of paint and you have a whole pumpkin patch on paper. Make a bunch and string them into a banner, or frame one big sheet as wall art. This is my go to craft for playdates because every kid succeeds at it, the supplies cost almost nothing, and the results are genuinely frame worthy when you stick to warm fall colors.
9. Paper Plate Pumpkin Faces
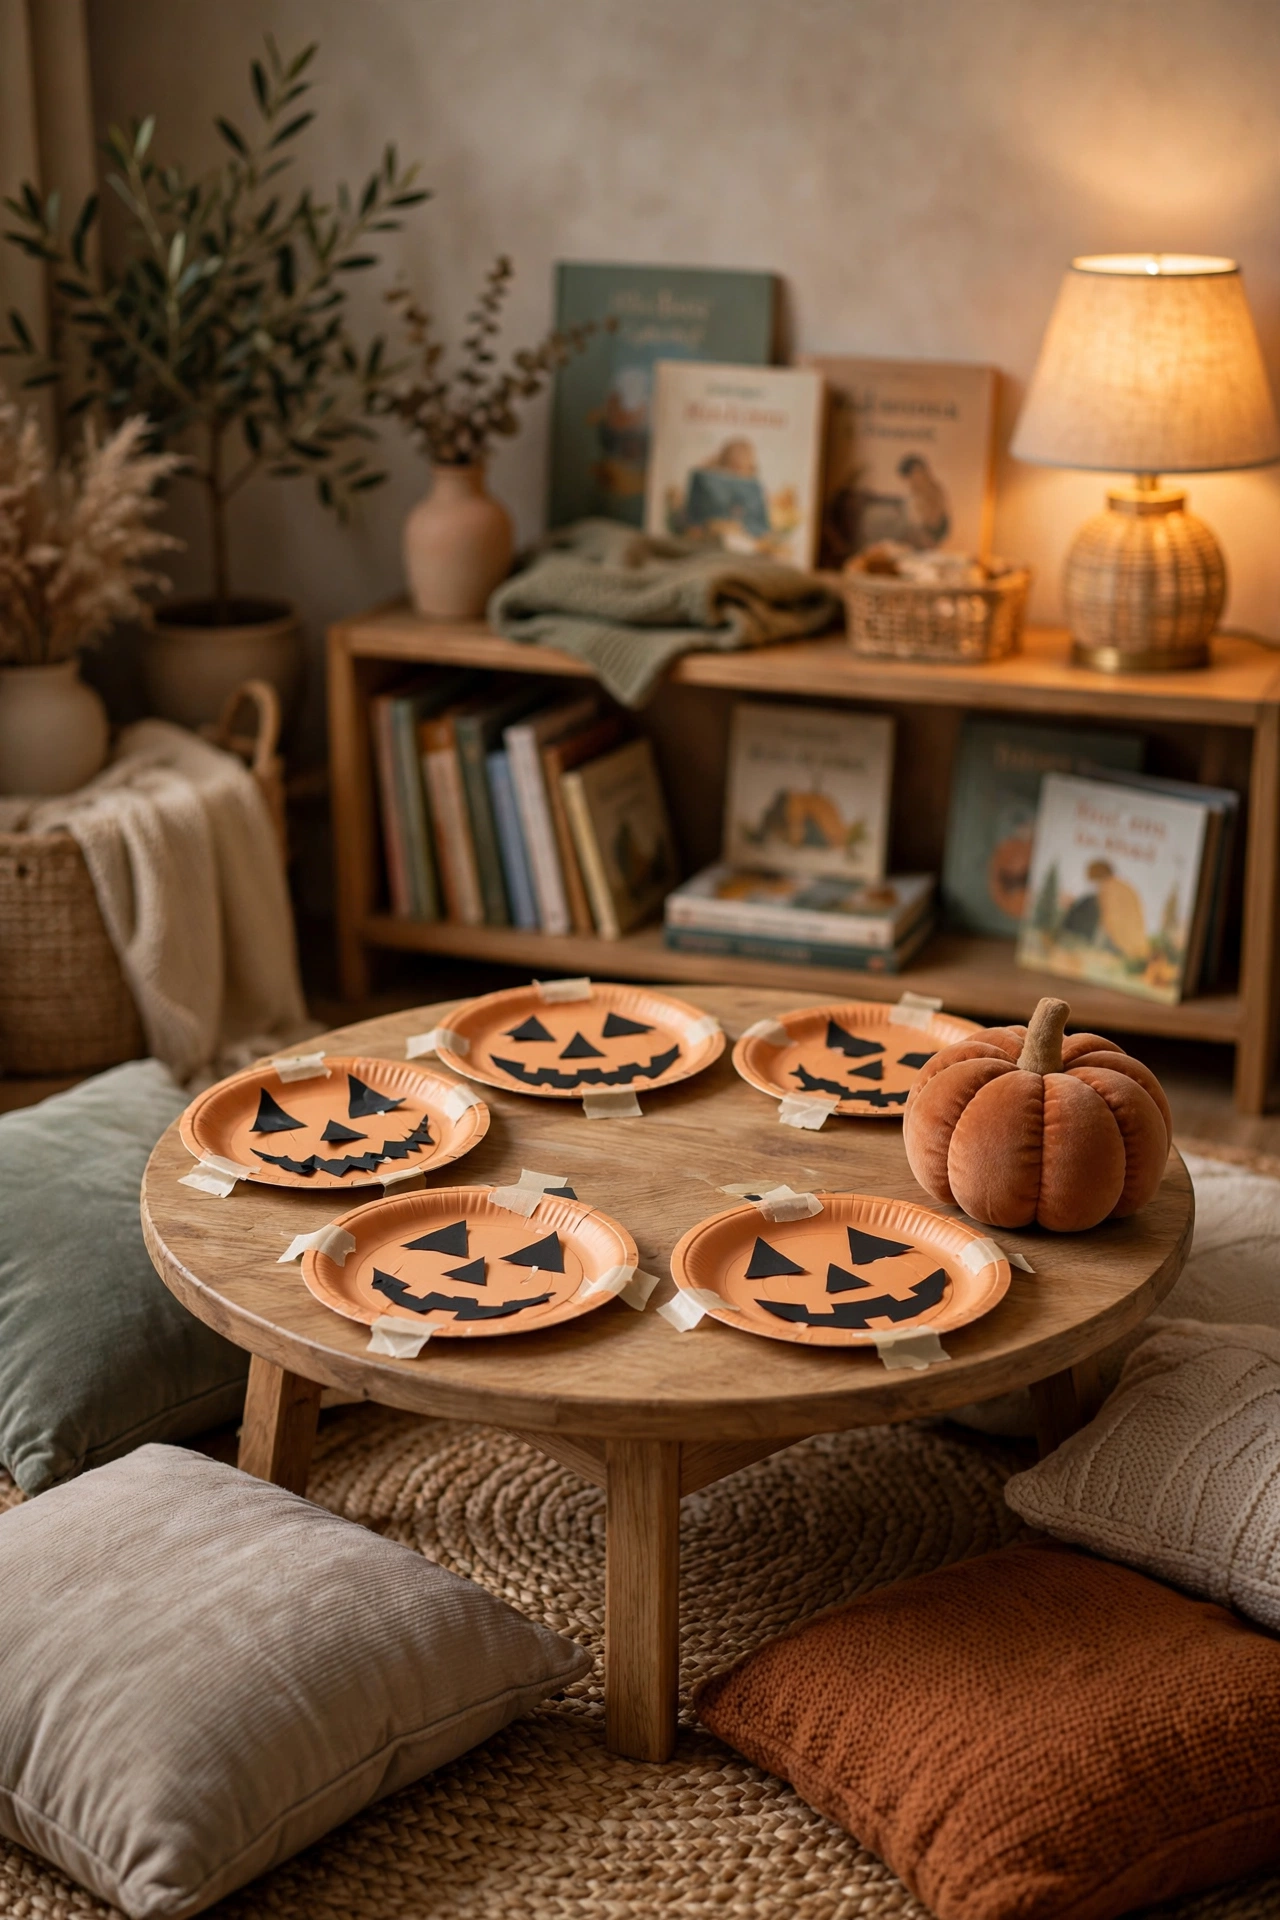
Give each kid a paper plate, some paint in a pumpkin shade, and black construction paper, and let them design their own jack o lantern face. No sharp tools, no guts, no stress. The plates dry quickly and you can tape them to windows, the fridge, or a bedroom door for instant Halloween cheer. I love this one for the under five crowd because there is no way to mess it up and they can do the whole thing themselves, which is the entire point at that age. Hang a row of them in a sunny window and the light makes the paint glow like real lanterns.
10. Pumpkin Seed Mosaics
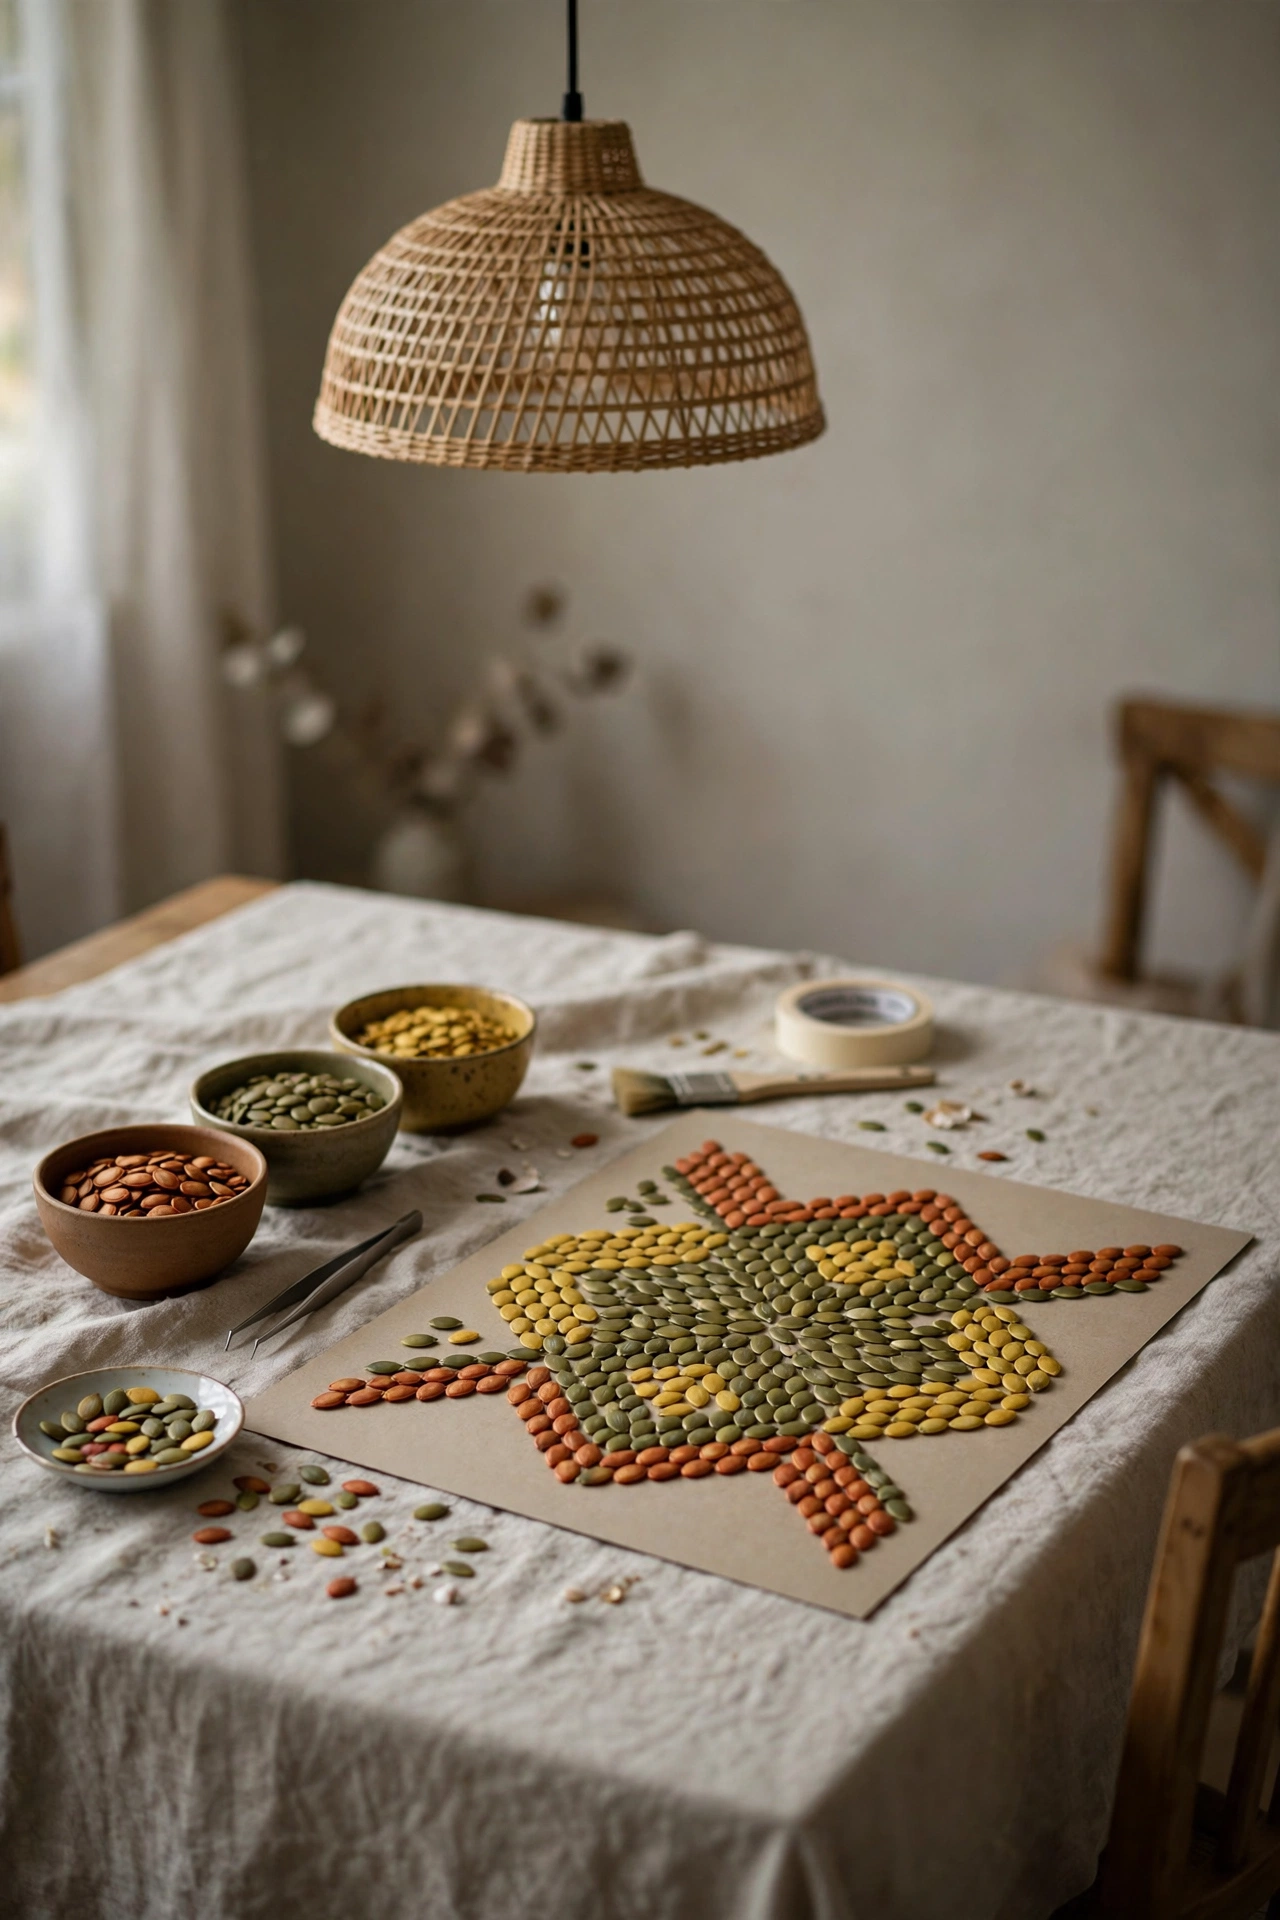
Save the seeds from your carved pumpkins instead of tossing them, because dyed pumpkin seeds make the prettiest mosaics. Rinse and dry the seeds, then shake them in bags with a few drops of food coloring in rust, olive, and mustard tones. Once dry, kids glue them onto card stock in patterns, pumpkin shapes, or abstract designs. The texture is so satisfying and the finished pieces have this lovely dimensional quality that flat crafts just do not have. Frame the best one and it passes as real art. This is also a brilliant quiet time activity for older kids who have outgrown the simpler crafts.
11. Decorated Velvet Pumpkins
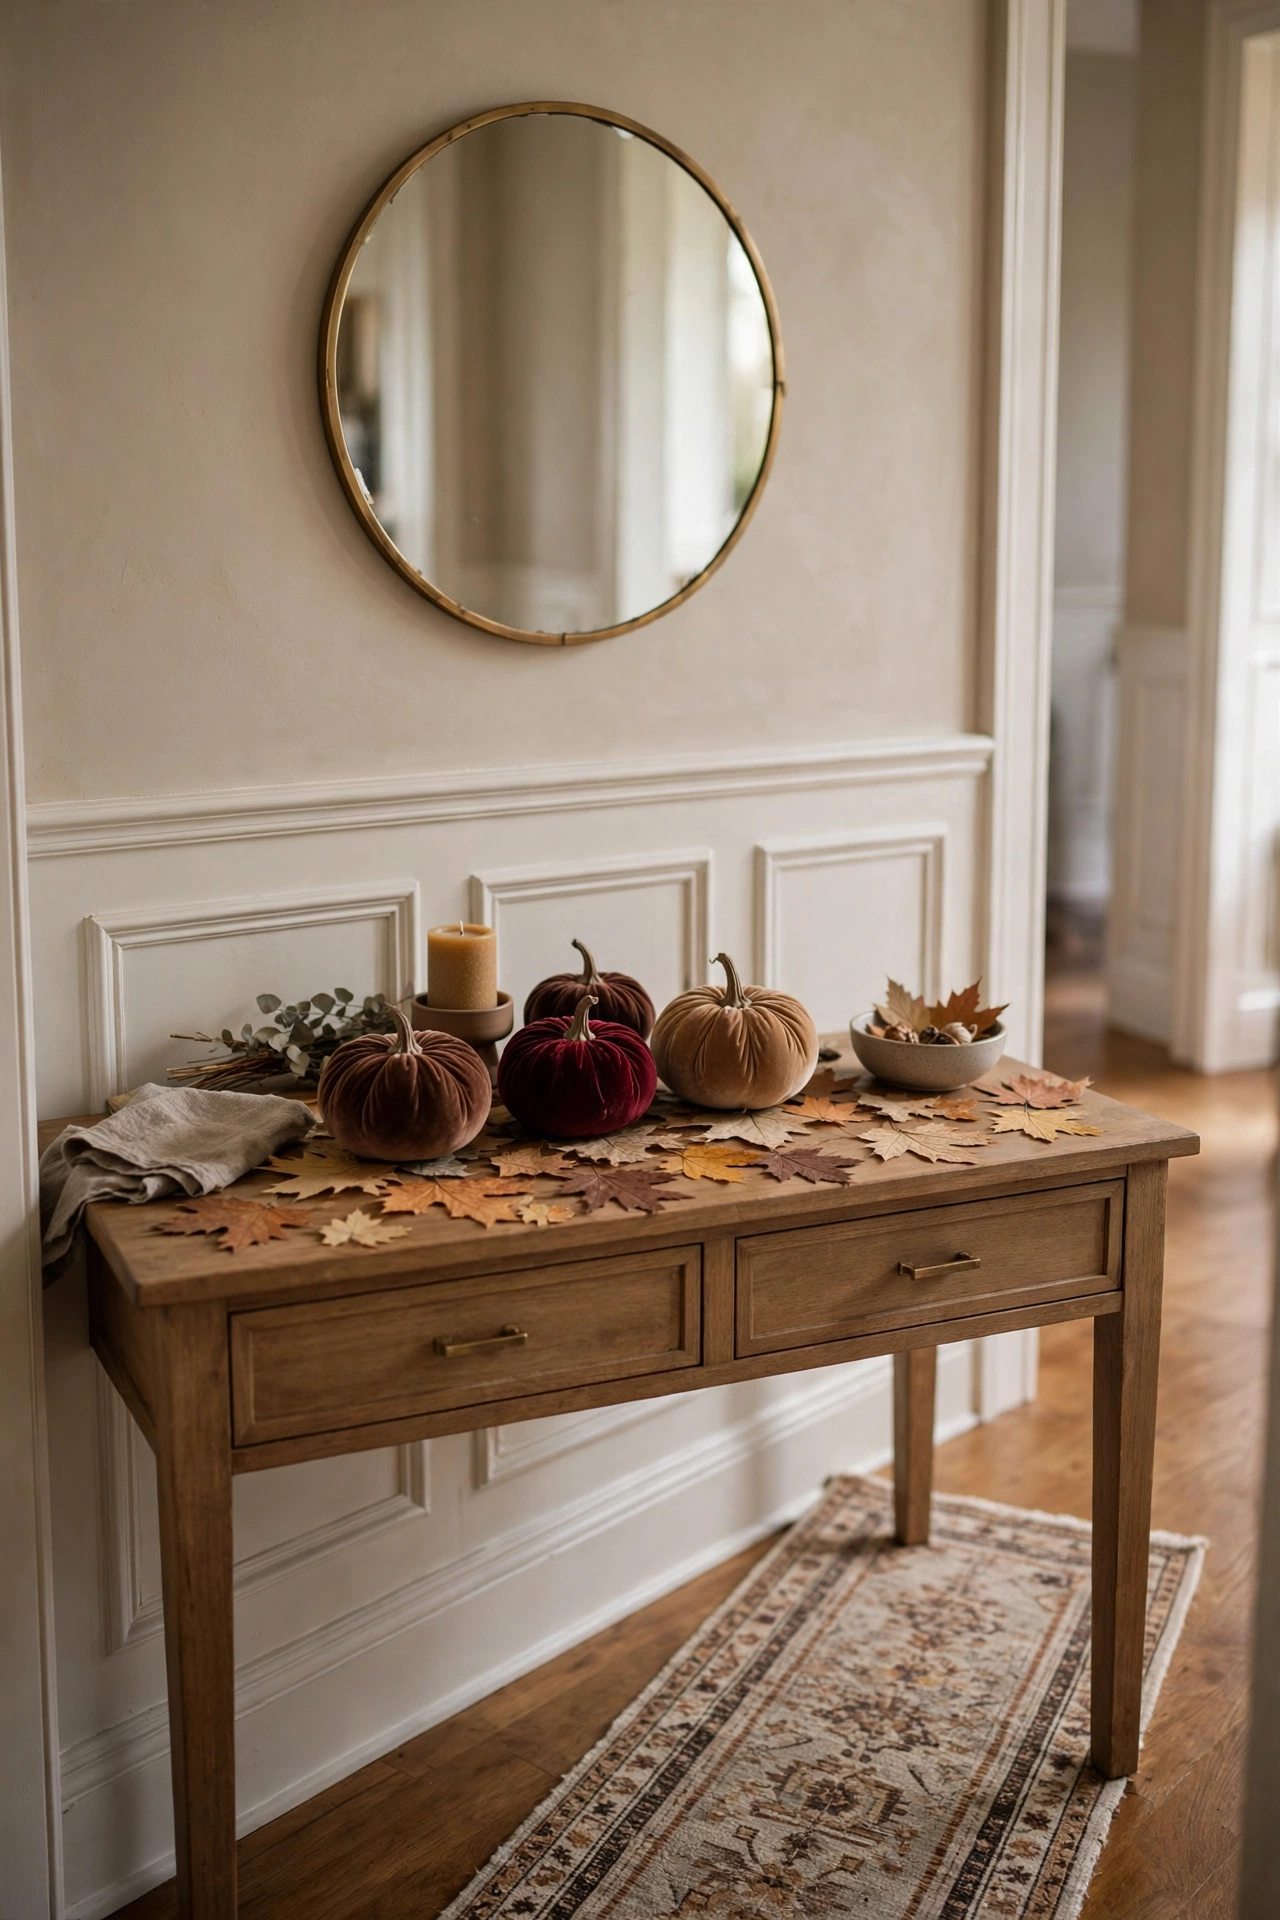
Those soft velvet pumpkins in chocolate, burgundy, and camel are everywhere each fall, and they make the most elegant kid craft base. Hand each child one pumpkin and a tray of pressed leaves, tiny dried flowers, and a glue stick, and let them decorate however they like. No paint, no mess, no drying time. The finished pumpkins go straight onto the hallway console or the dining table and they look like something from a home store. I keep a basket of these supplies out all October so kids can make one whenever a friend comes over. It is the rare craft that is equally fun for a four year old and a ten year old.
Cozy Indoor Craft Stations
12. Fall Playdough Station
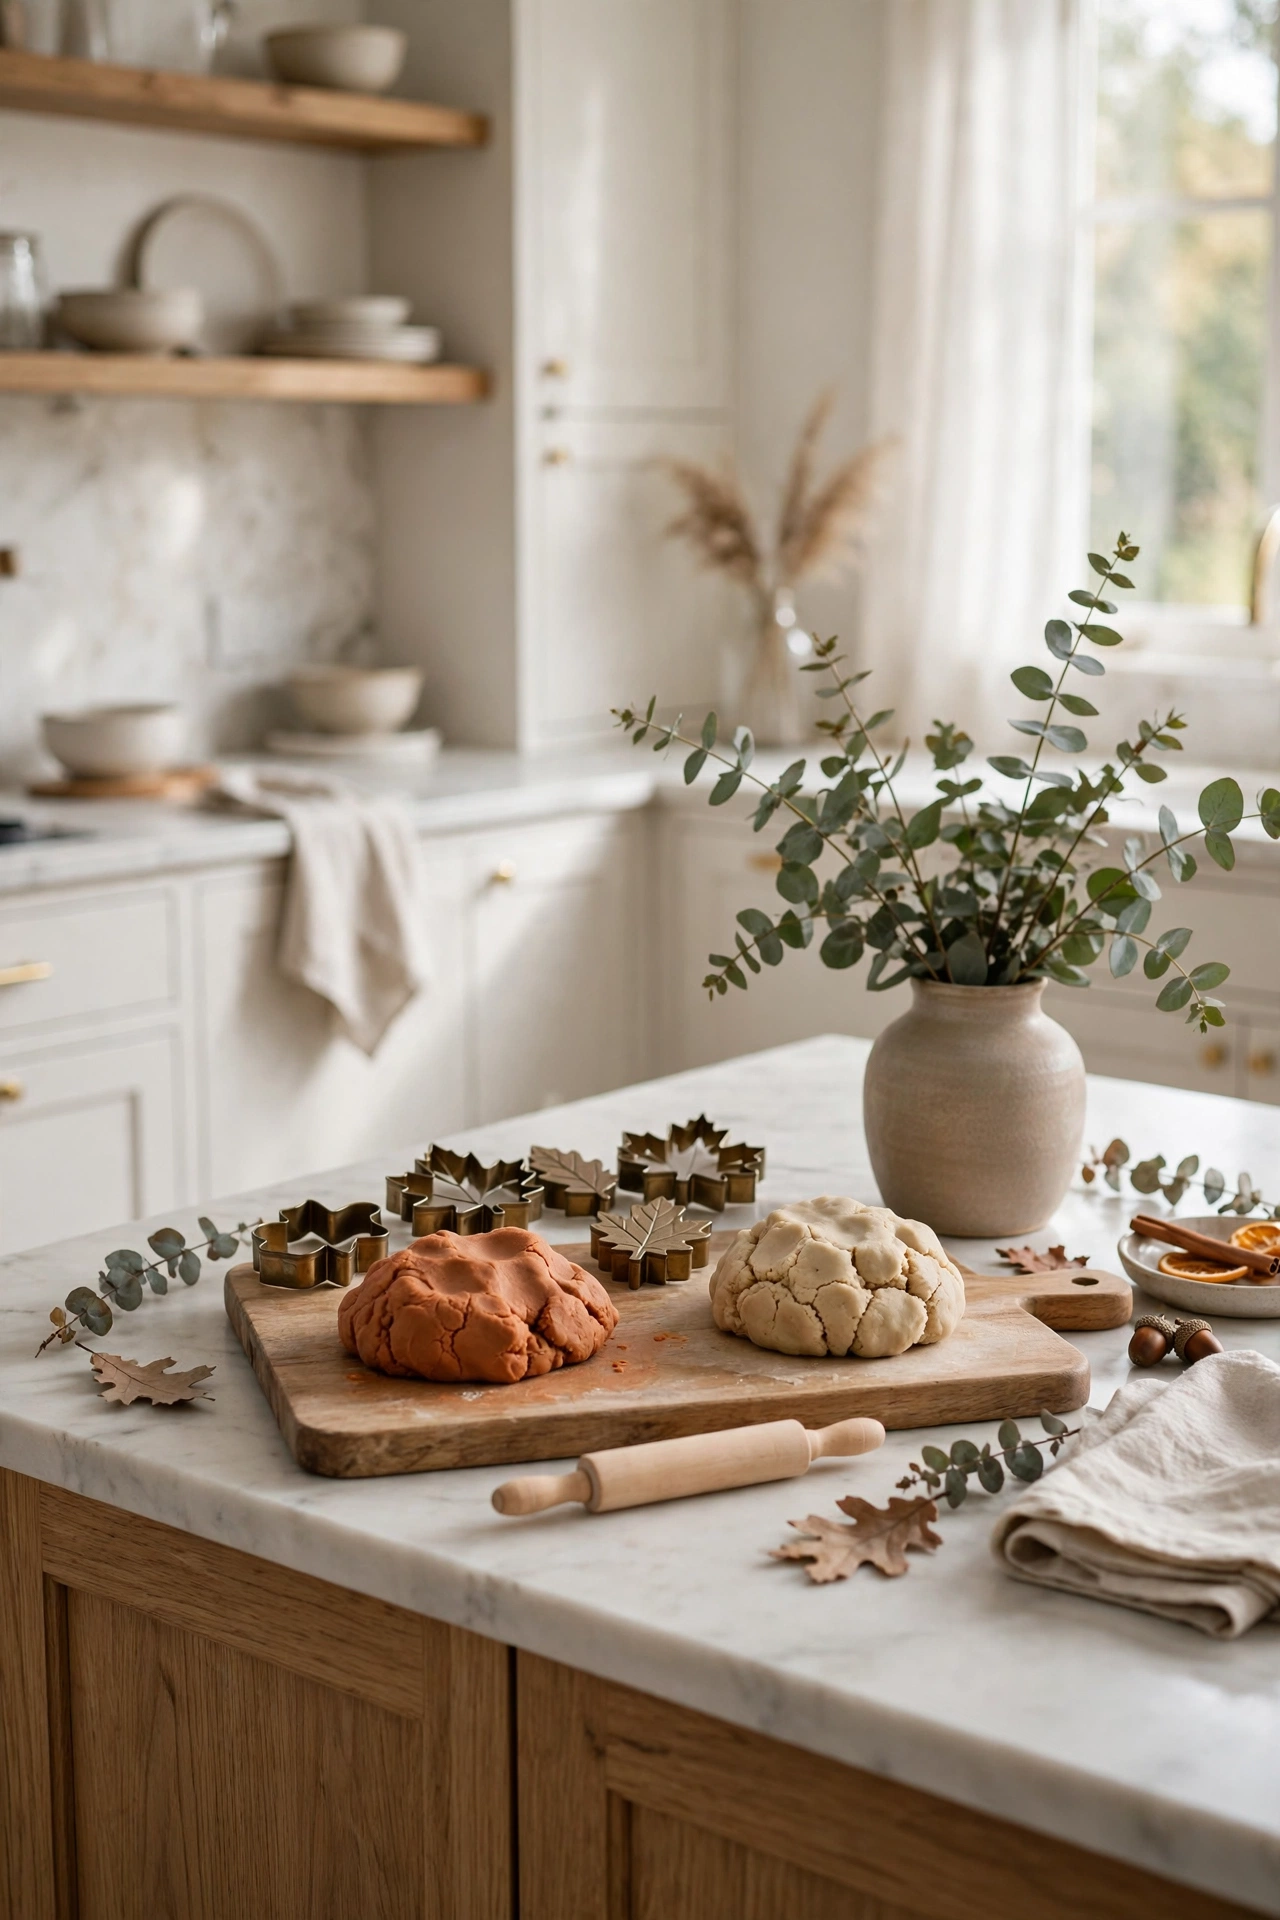
Homemade playdough in fall colors is the craft that keeps on giving, because it comes back out day after day. Make a batch in rust and oatmeal, scent one with cinnamon and one with a drop of vanilla, and set it on the kitchen island with leaf shaped cookie cutters, a small rolling pin, and some dried beans for pressing patterns. The whole station lives on one wooden board so it feels contained and calm instead of taking over the kitchen. Kids will play independently for an astonishingly long time with this setup, which makes it my number one recommendation for the witching hour before dinner. Store each color in a jar and it stays fresh for weeks.
13. Handprint Fall Tree Canvas
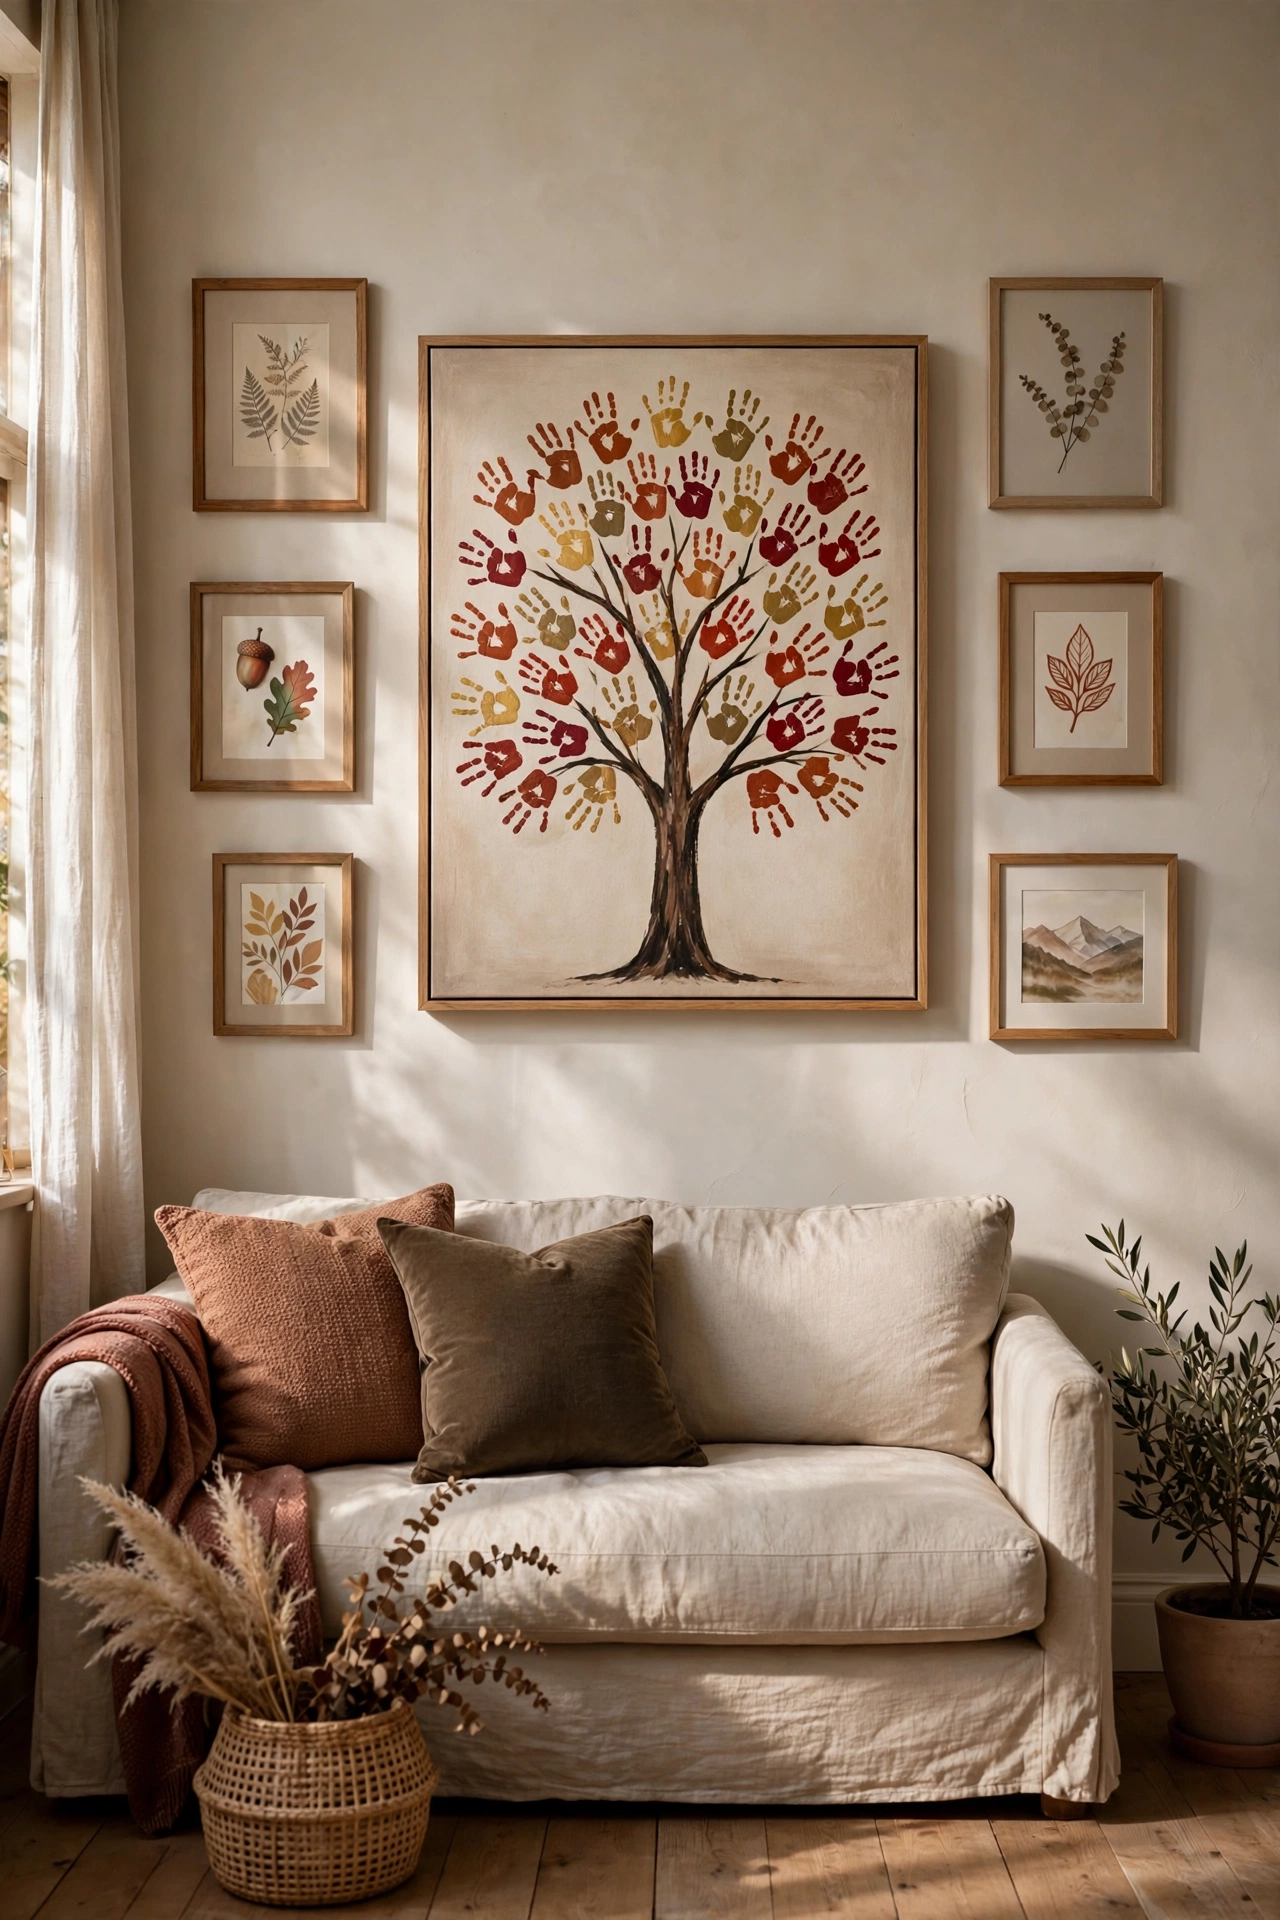
This is the keepsake craft I recommend to every parent, because you will cry happy tears looking at it in ten years. Paint a simple tree trunk and branches in chocolate brown on a canvas, then let each child press their painted hand in rust, gold, and burgundy all over the branches to make the leaves. Add names and the year in the corner. Frame it or hang it as is on the gallery wall. Every fall you can add a new round of handprints and watch the tree grow along with the kids. Use real artist canvas instead of paper so it survives the decades, because this one is going in the keep forever box.
14. Fall Sensory Bin
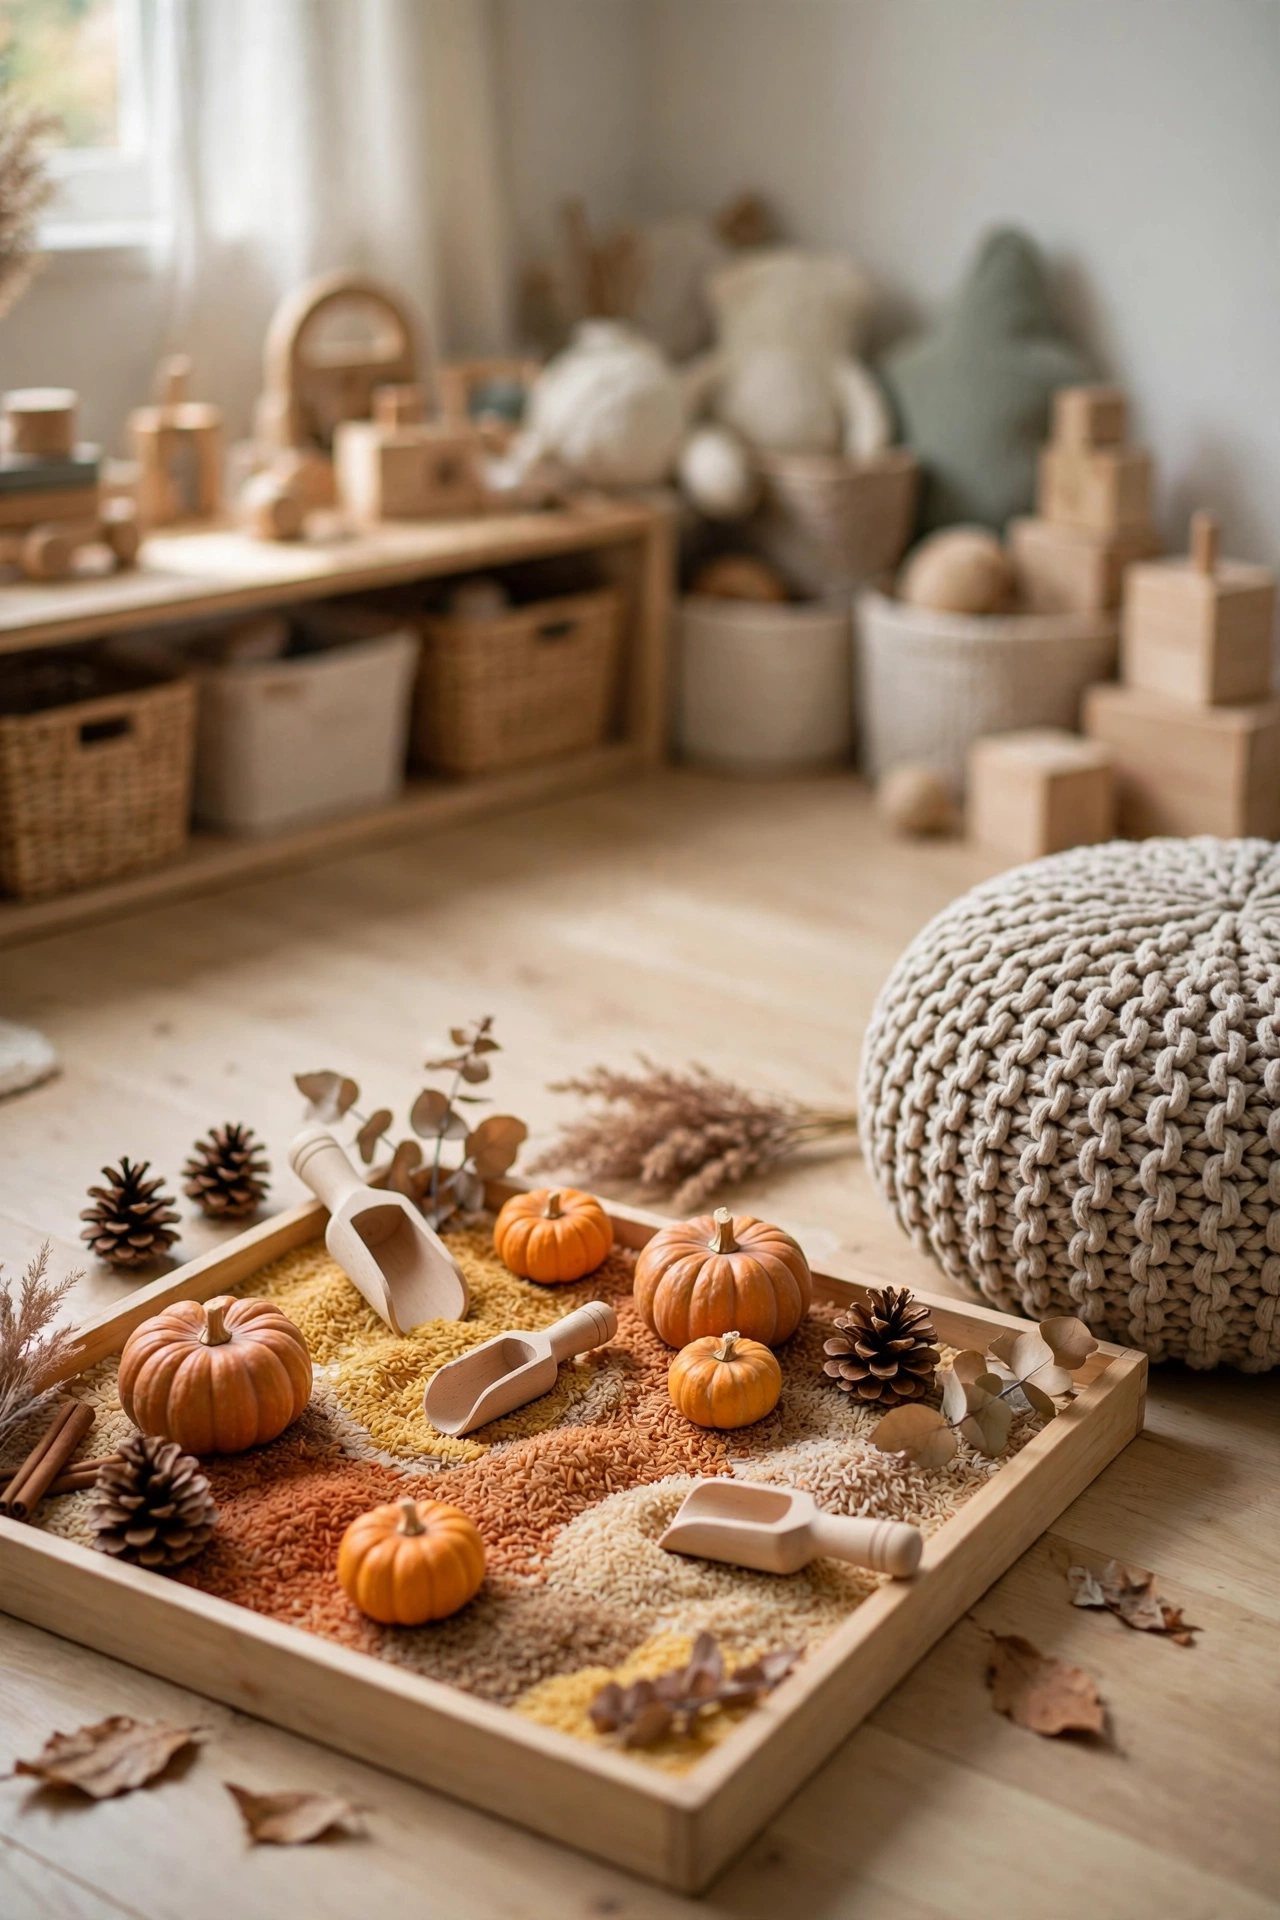
A sensory bin is basically a contained adventure, and the fall version is the best one of the year. Fill a low tray with dyed rice in warm tones, then bury mini pumpkins, pinecones, acorns, cinnamon sticks, and little scoops. Kids dig, pour, sort, and bury treasure for ages, and everything stays inside the tray because that is the rule that makes sensory bins work in a real house. Contain the craft to one surface so the house still feels calm, that is the principle that saves this from becoming a floor situation. Set it on the playroom floor on a washable mat and you have bought yourself a full quiet hour.
15. Coffee Filter Autumn Leaves
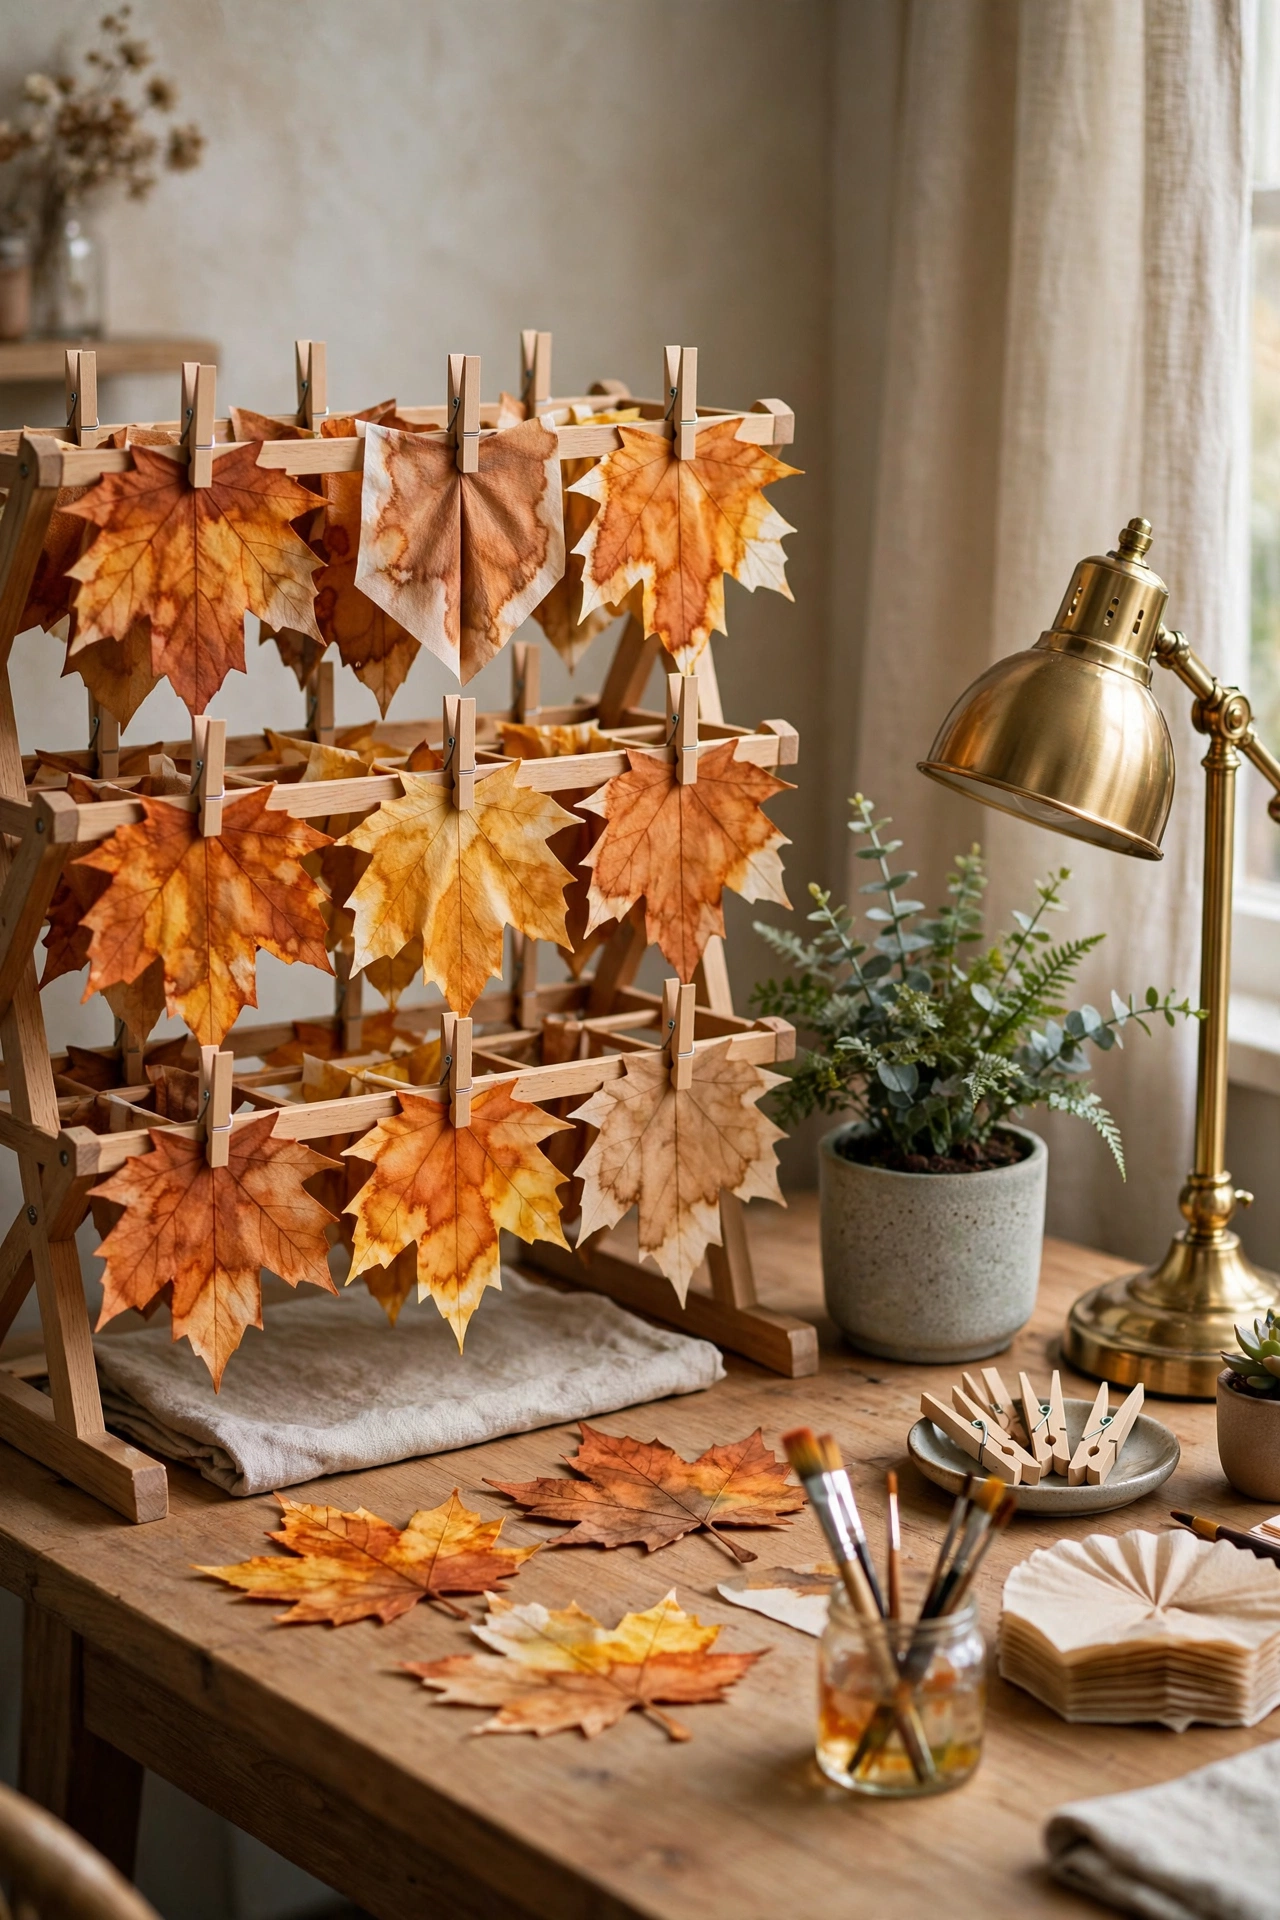
Coffee filters plus washable markers plus a spray of water equals the most beautiful tie dye leaves you have ever seen. Kids color the filters in rust, amber, and burgundy, spritz them lightly with water, and watch the colors bloom and blend. Once dry, cut them into leaf shapes or leave them round and string them into a garland. They look like real stained glass when they catch the light. I set this one up at the desk in the corner of my office so the kids craft beside me while I work, and the drying rack of colorful filters is honestly pretty enough to leave out.
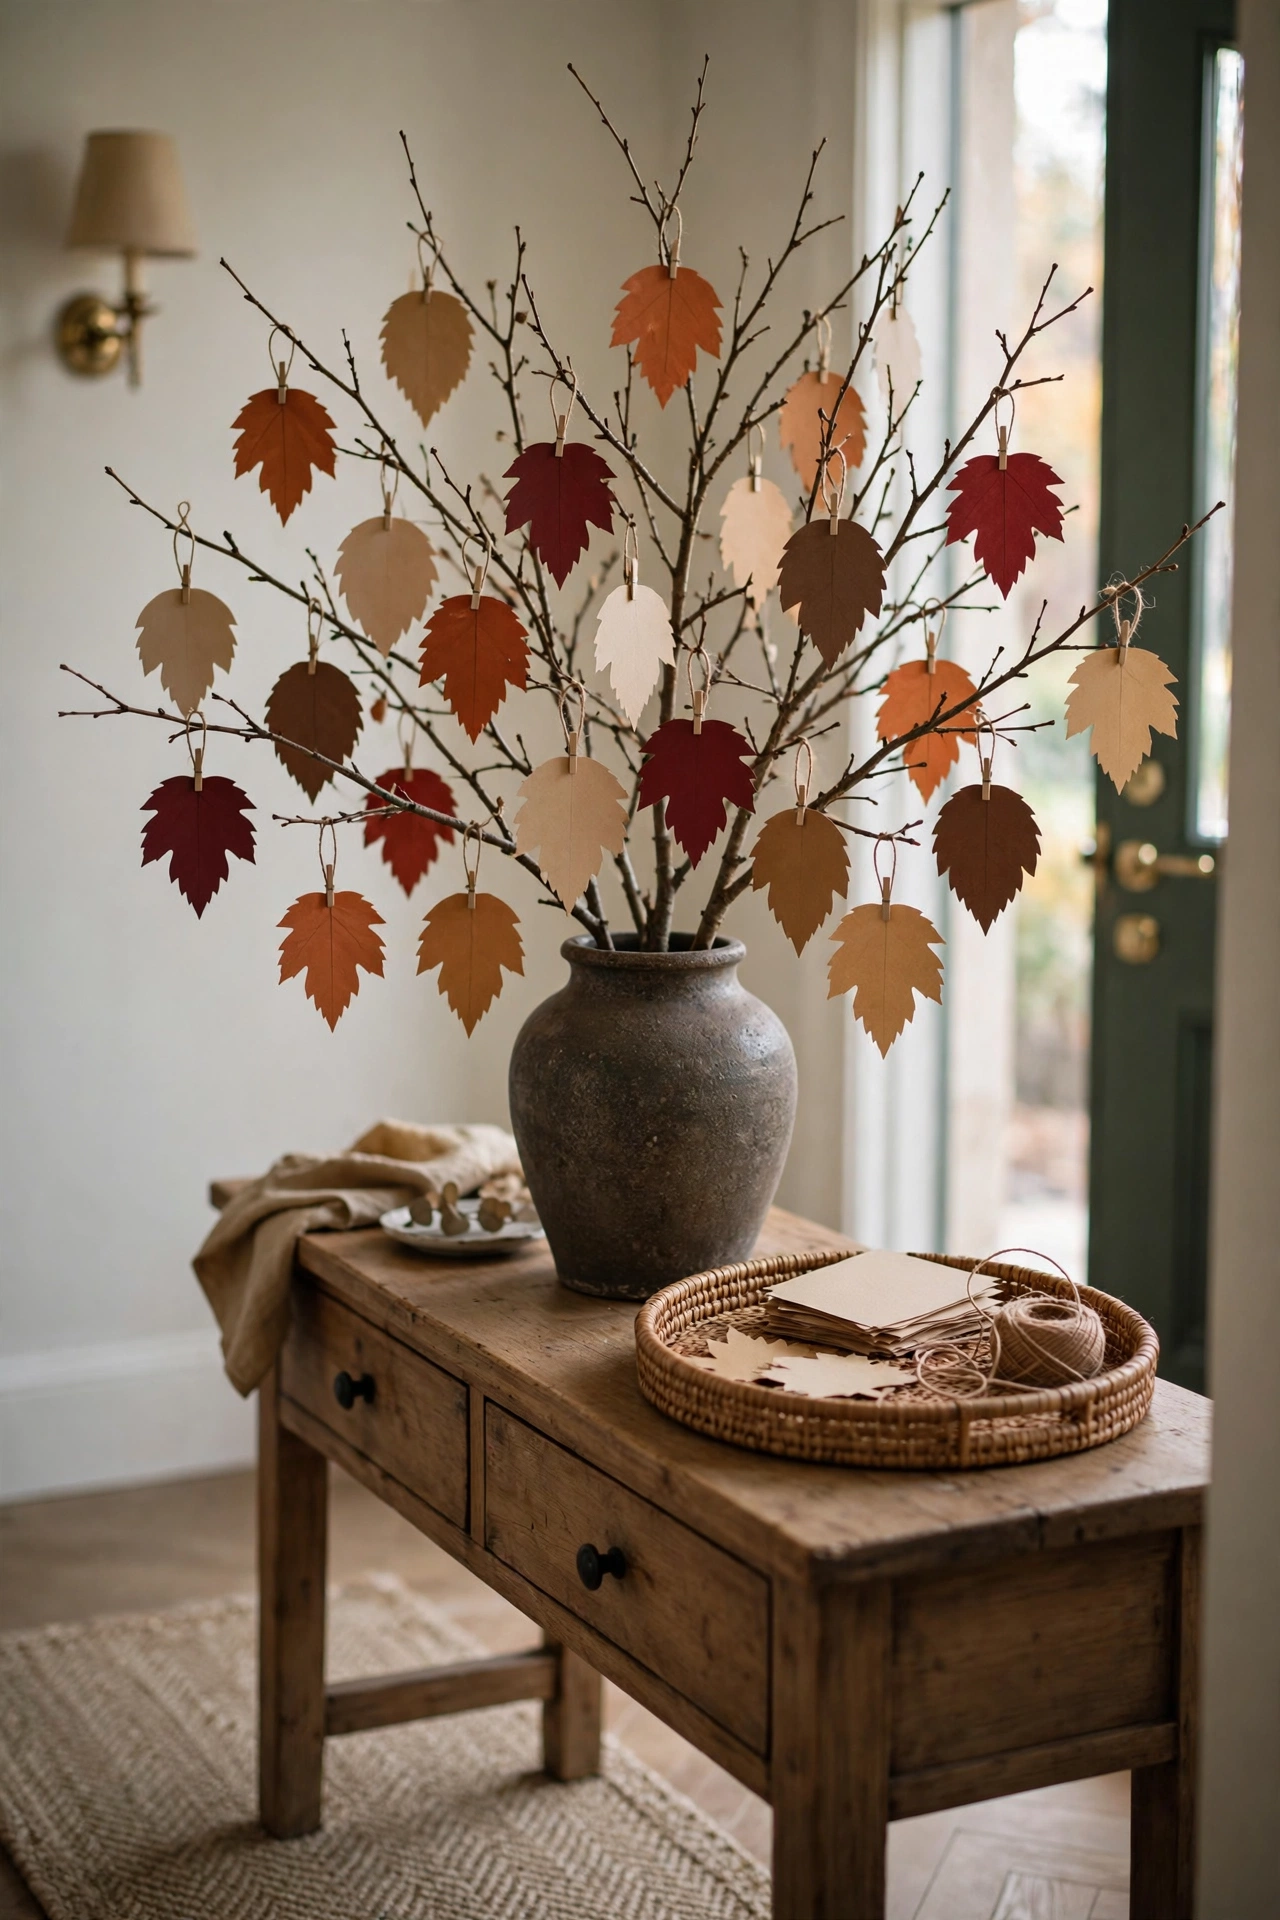
16. Gratitude Tree for the Foyer
November is coming and this is the craft that carries you straight into Thanksgiving with meaning. Find a nice branch outside, or a few, and stand them in a heavy vase on the foyer console. Cut leaf shapes from card stock in your fall palette, punch holes, and tie on twine loops. Each evening, everyone writes one thing they are grateful for on a leaf and hangs it on the tree. By Thanksgiving the tree is full and it is the most beautiful thing in the house. Kids take this one surprisingly seriously, and the leaves become keepsakes you will reread for years. Display what they make, because the fridge is a gallery too, but the foyer is even better.
Keepsakes and Little Gifts
17. Salt Dough Leaf Ornaments
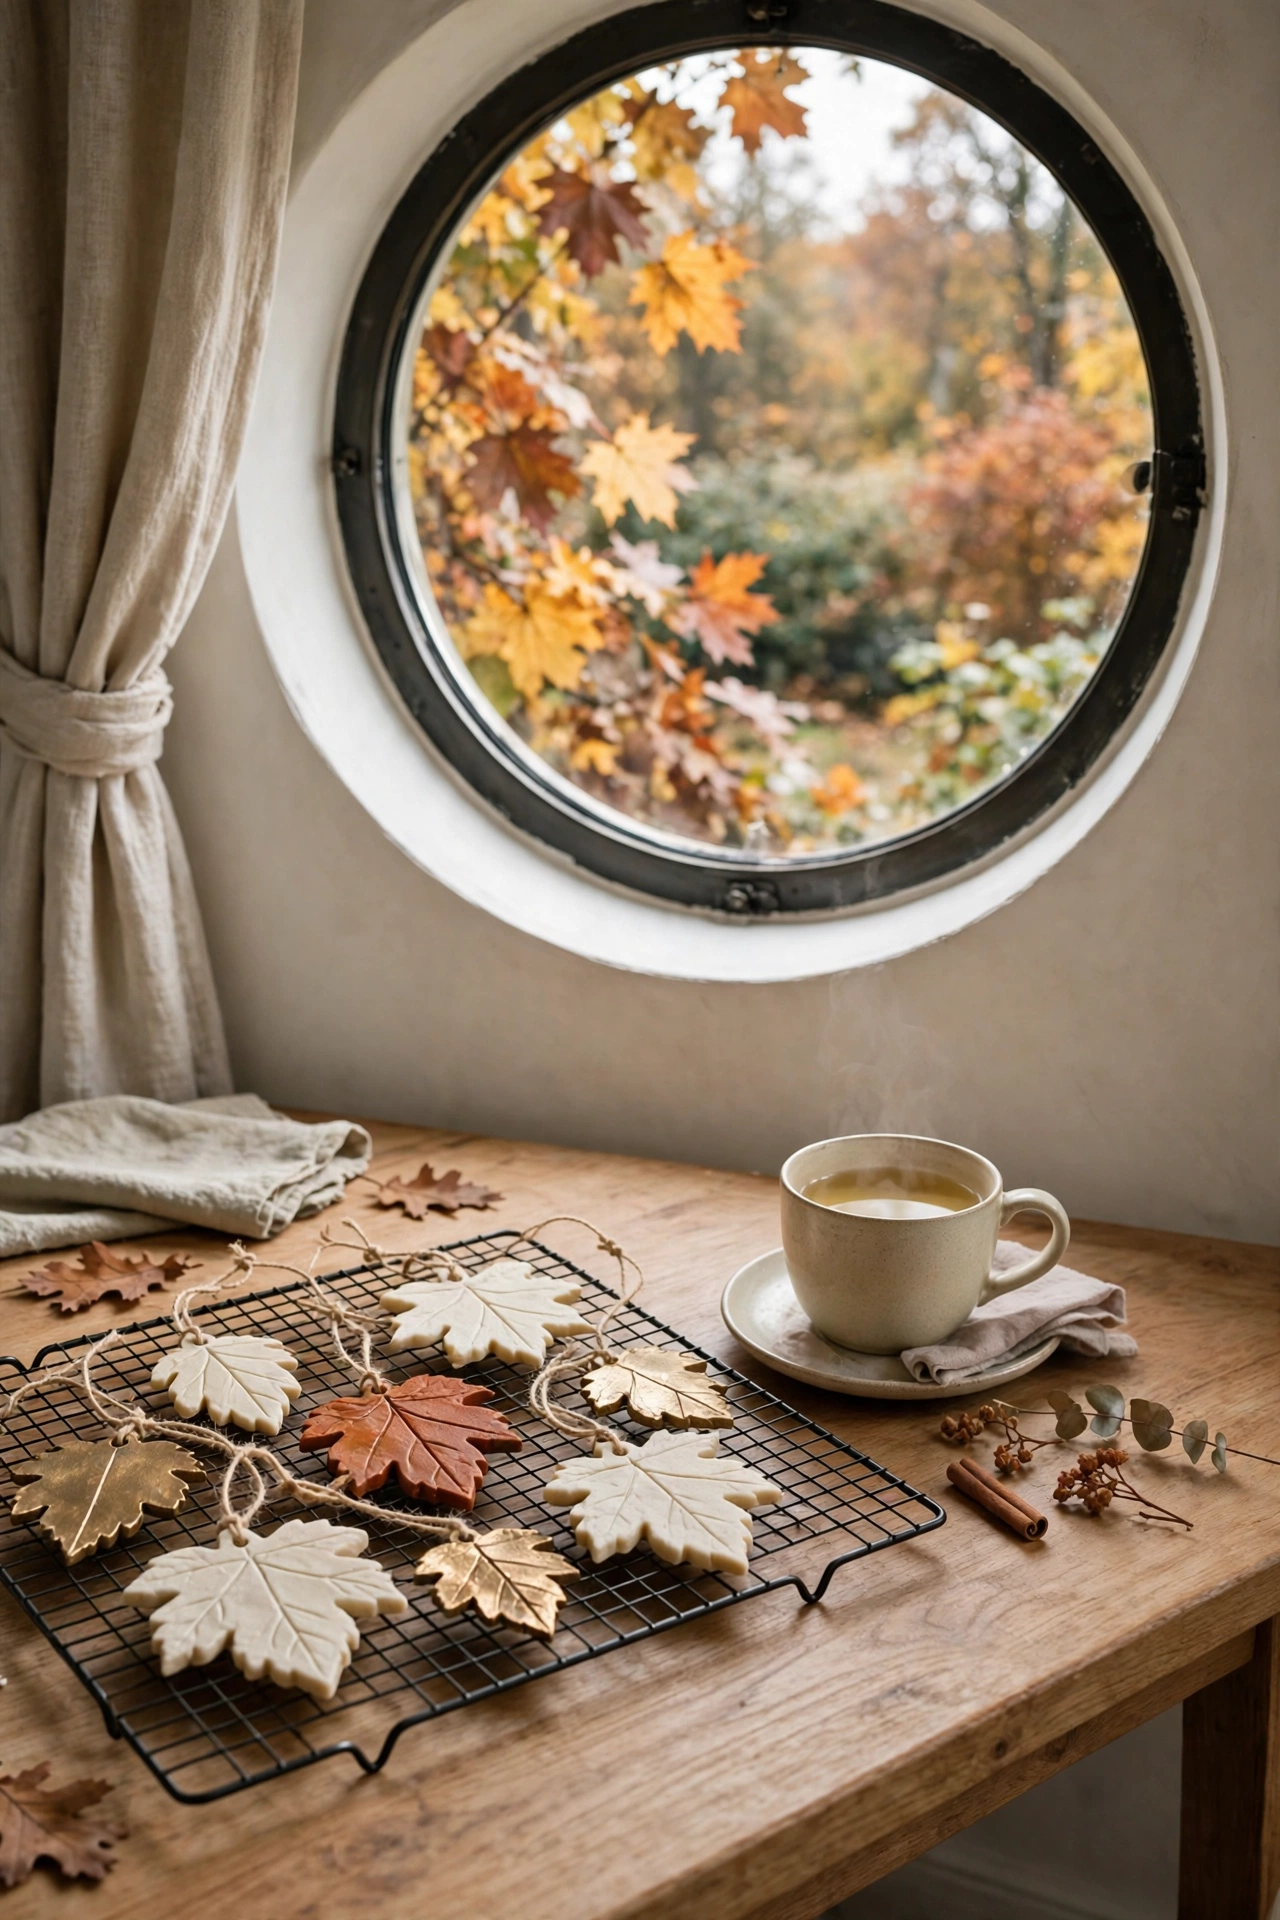
Salt dough is the old fashioned craft that never goes out of style, and leaf shaped ornaments are its perfect fall form. Mix the classic flour, salt, and water dough, roll it out, and let kids press real leaves into it for veined texture or cut leaf shapes with cookie cutters. Bake low and slow until hard, then paint in cream, rust, and metallic brass. Thread twine through the hole and you have ornaments for the fall tree, gift toppers, or a garland. They last for years if you seal them, and they make the sweetest grandparent gifts. Nothing says I love you like a lumpy handmade leaf in your favorite colors.
18. Pinecone Bird Feeders
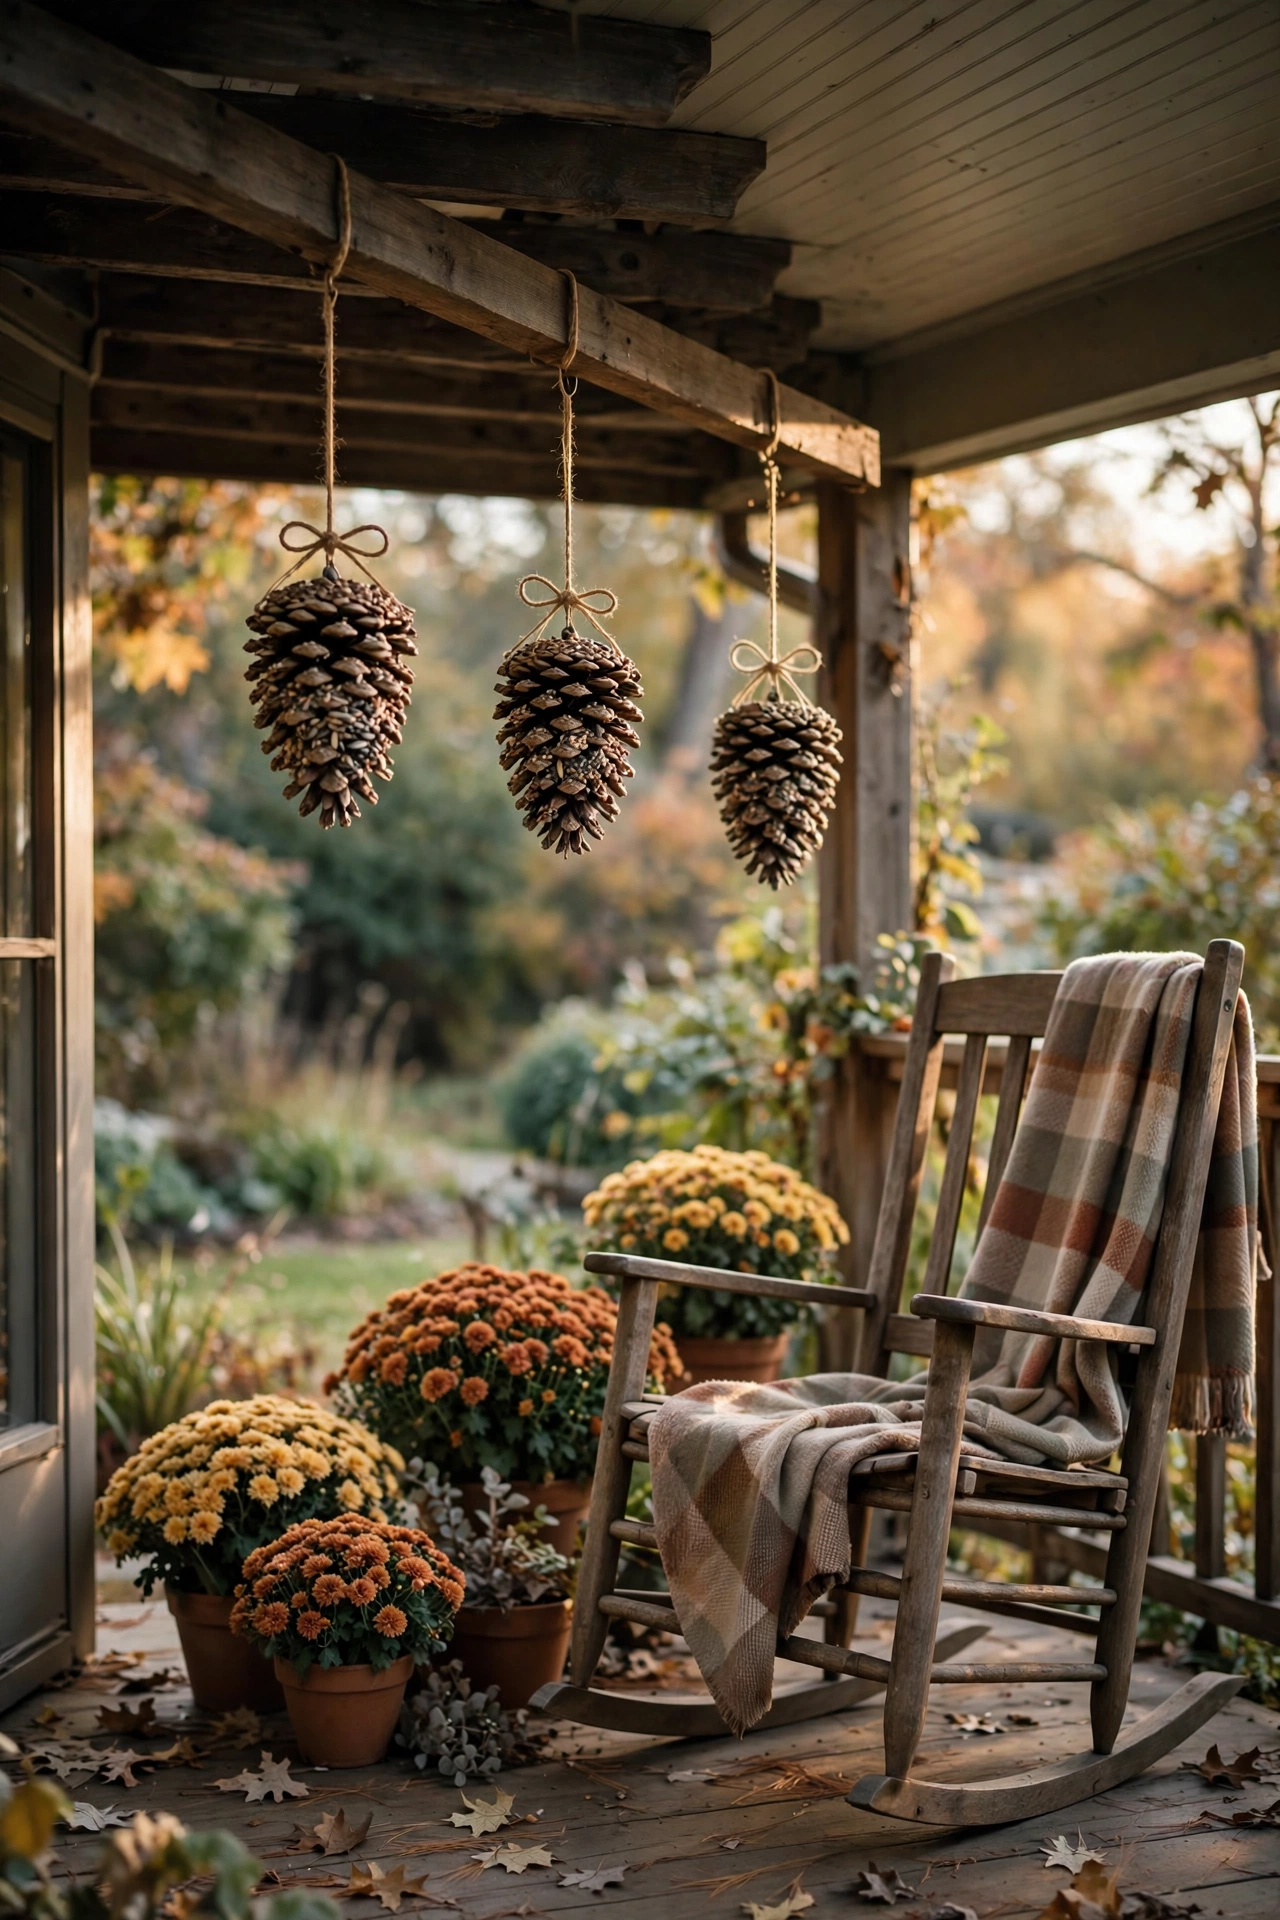
This is the craft that keeps giving long after craft time ends, because the birds show up. Tie twine around the top of a large pinecone, spread it with peanut butter or sunflower seed butter, then roll it in birdseed until fully coated. Hang them from a porch beam or a tree branch where you can watch from the window. Kids check for visitors every morning and learn the names of the birds that come. It is screen free entertainment that lasts for weeks. Use a nut free spread if there are allergies in the house, and hang the feeders where squirrels cannot stage a full scale heist.
19. Fall Footprint Art
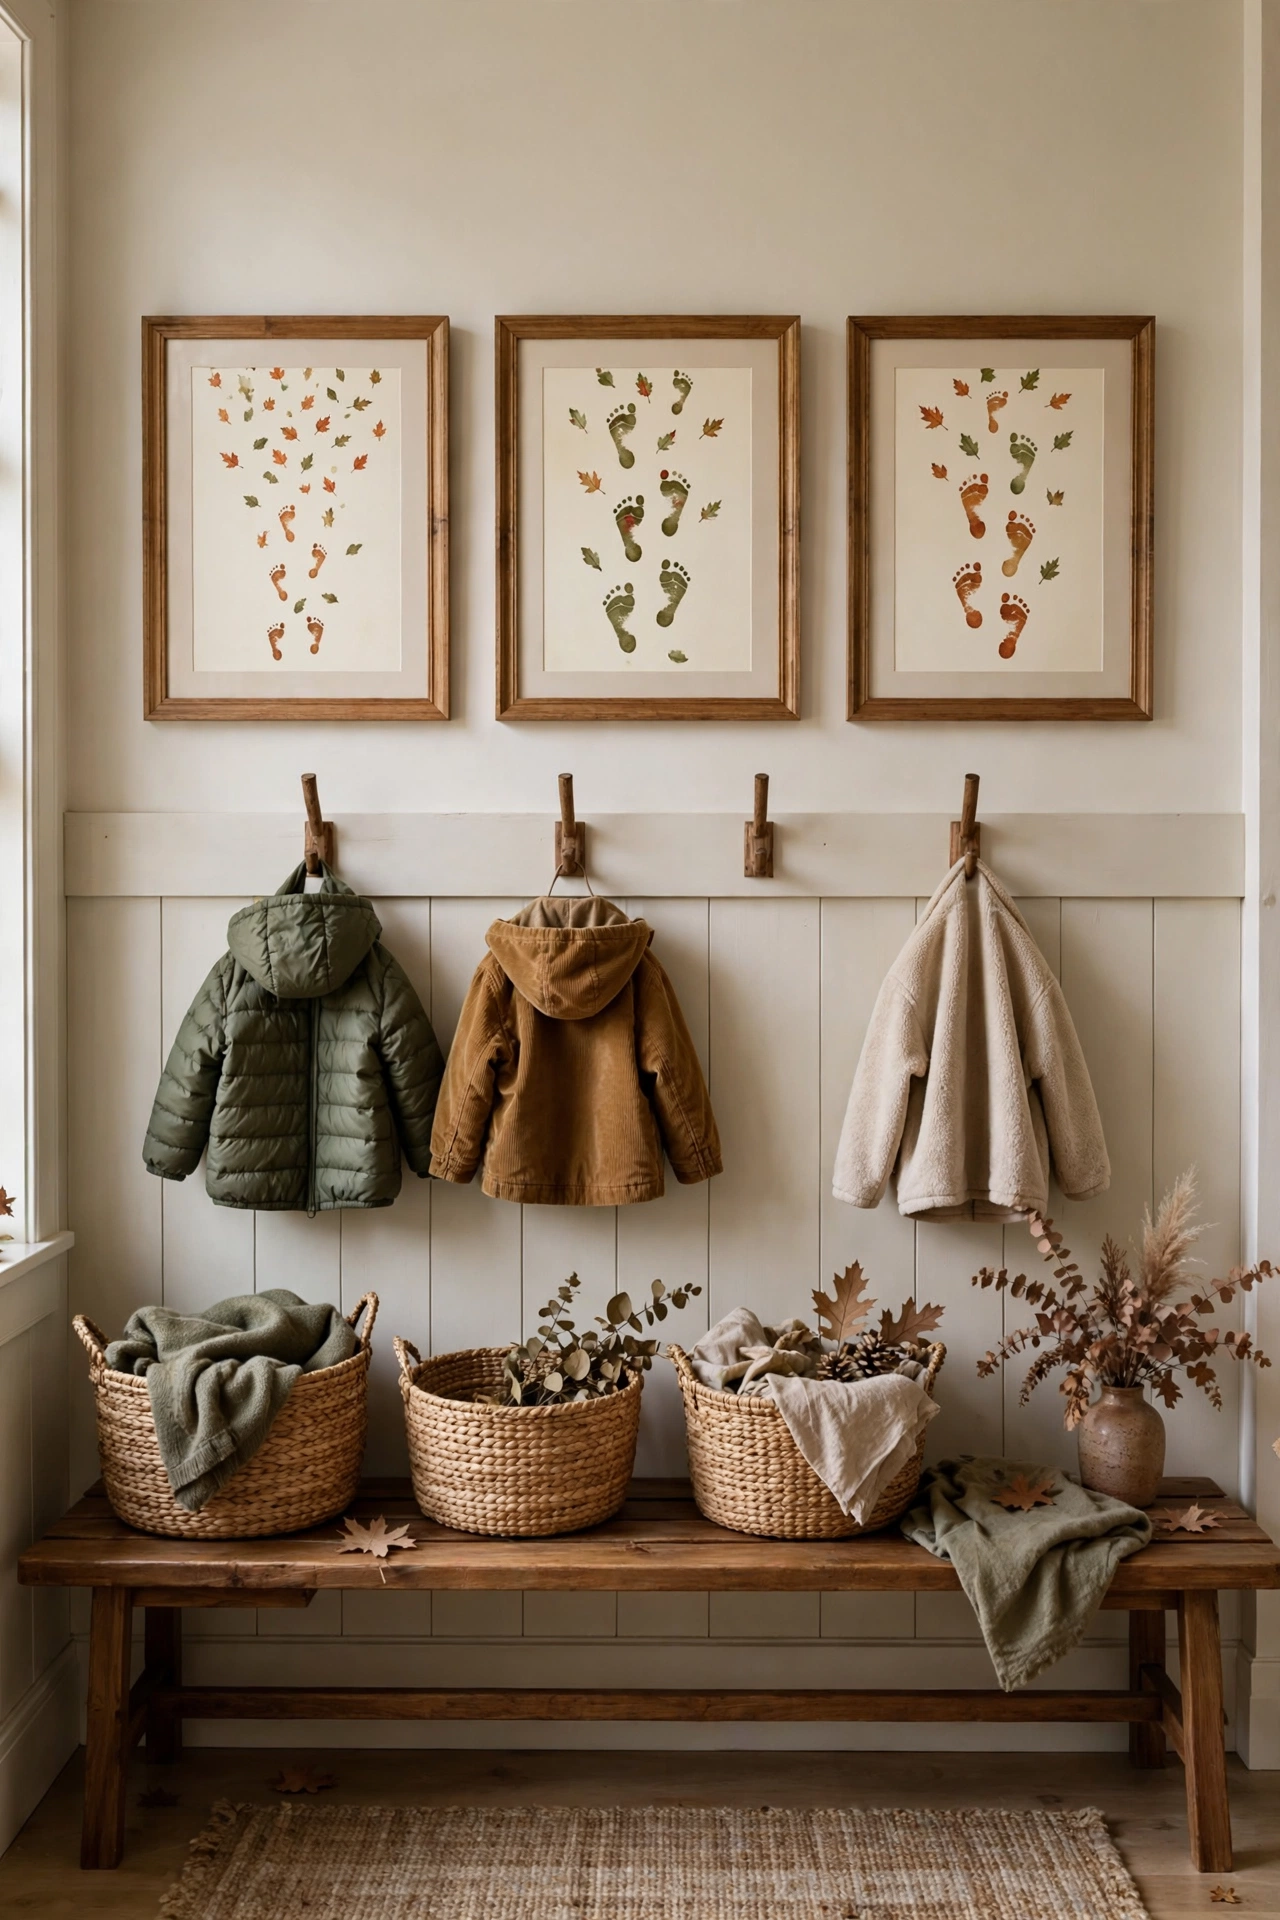
Paint the bottom of a little foot in rust or olive, press it onto cream paper at a jaunty angle, and you have a falling leaf. Add a stem with a marker, write the child’s name and age underneath, and frame it. That is the whole craft and it is perfect. These tiny footprint leaves lined up in a row make the sweetest mudroom or hallway display, and they capture a size that will be gone before you know it. I make one every fall and the collection on our wall is my favorite thing in the house. Simple, fast, and full of feeling, which is exactly what the best kid crafts are.
More Favorites
This post contains affiliate links. If you buy through them, I may earn a small commission at no extra cost to you.
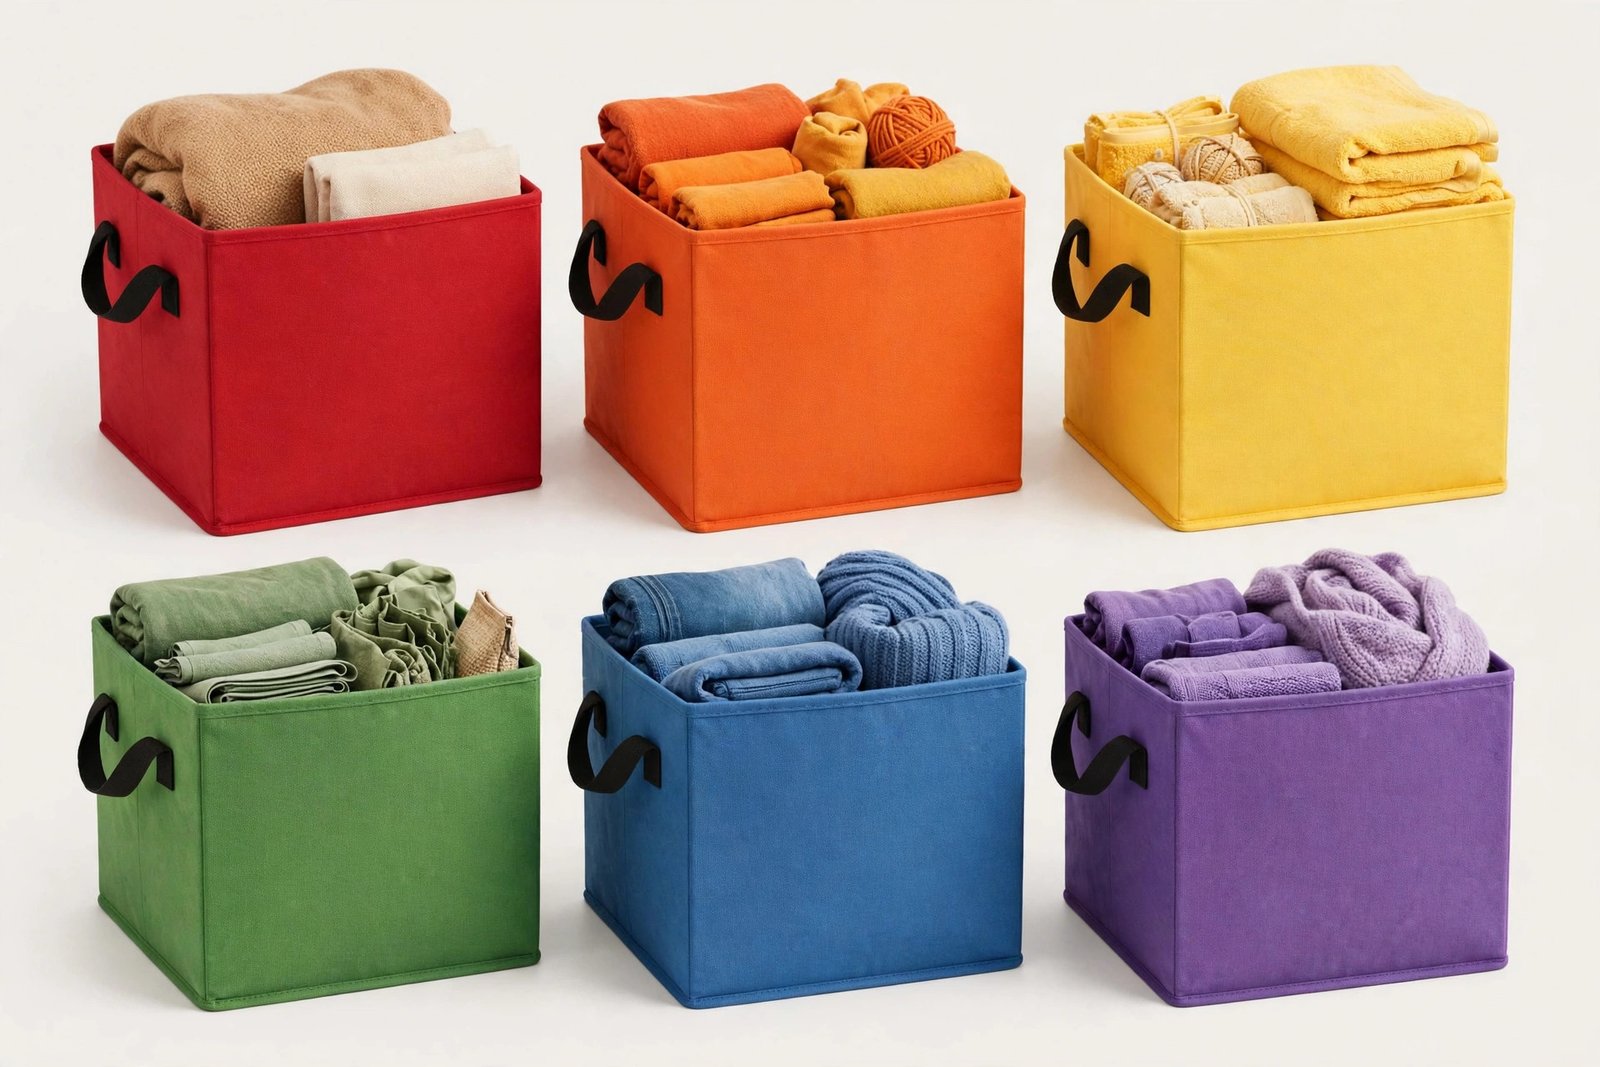
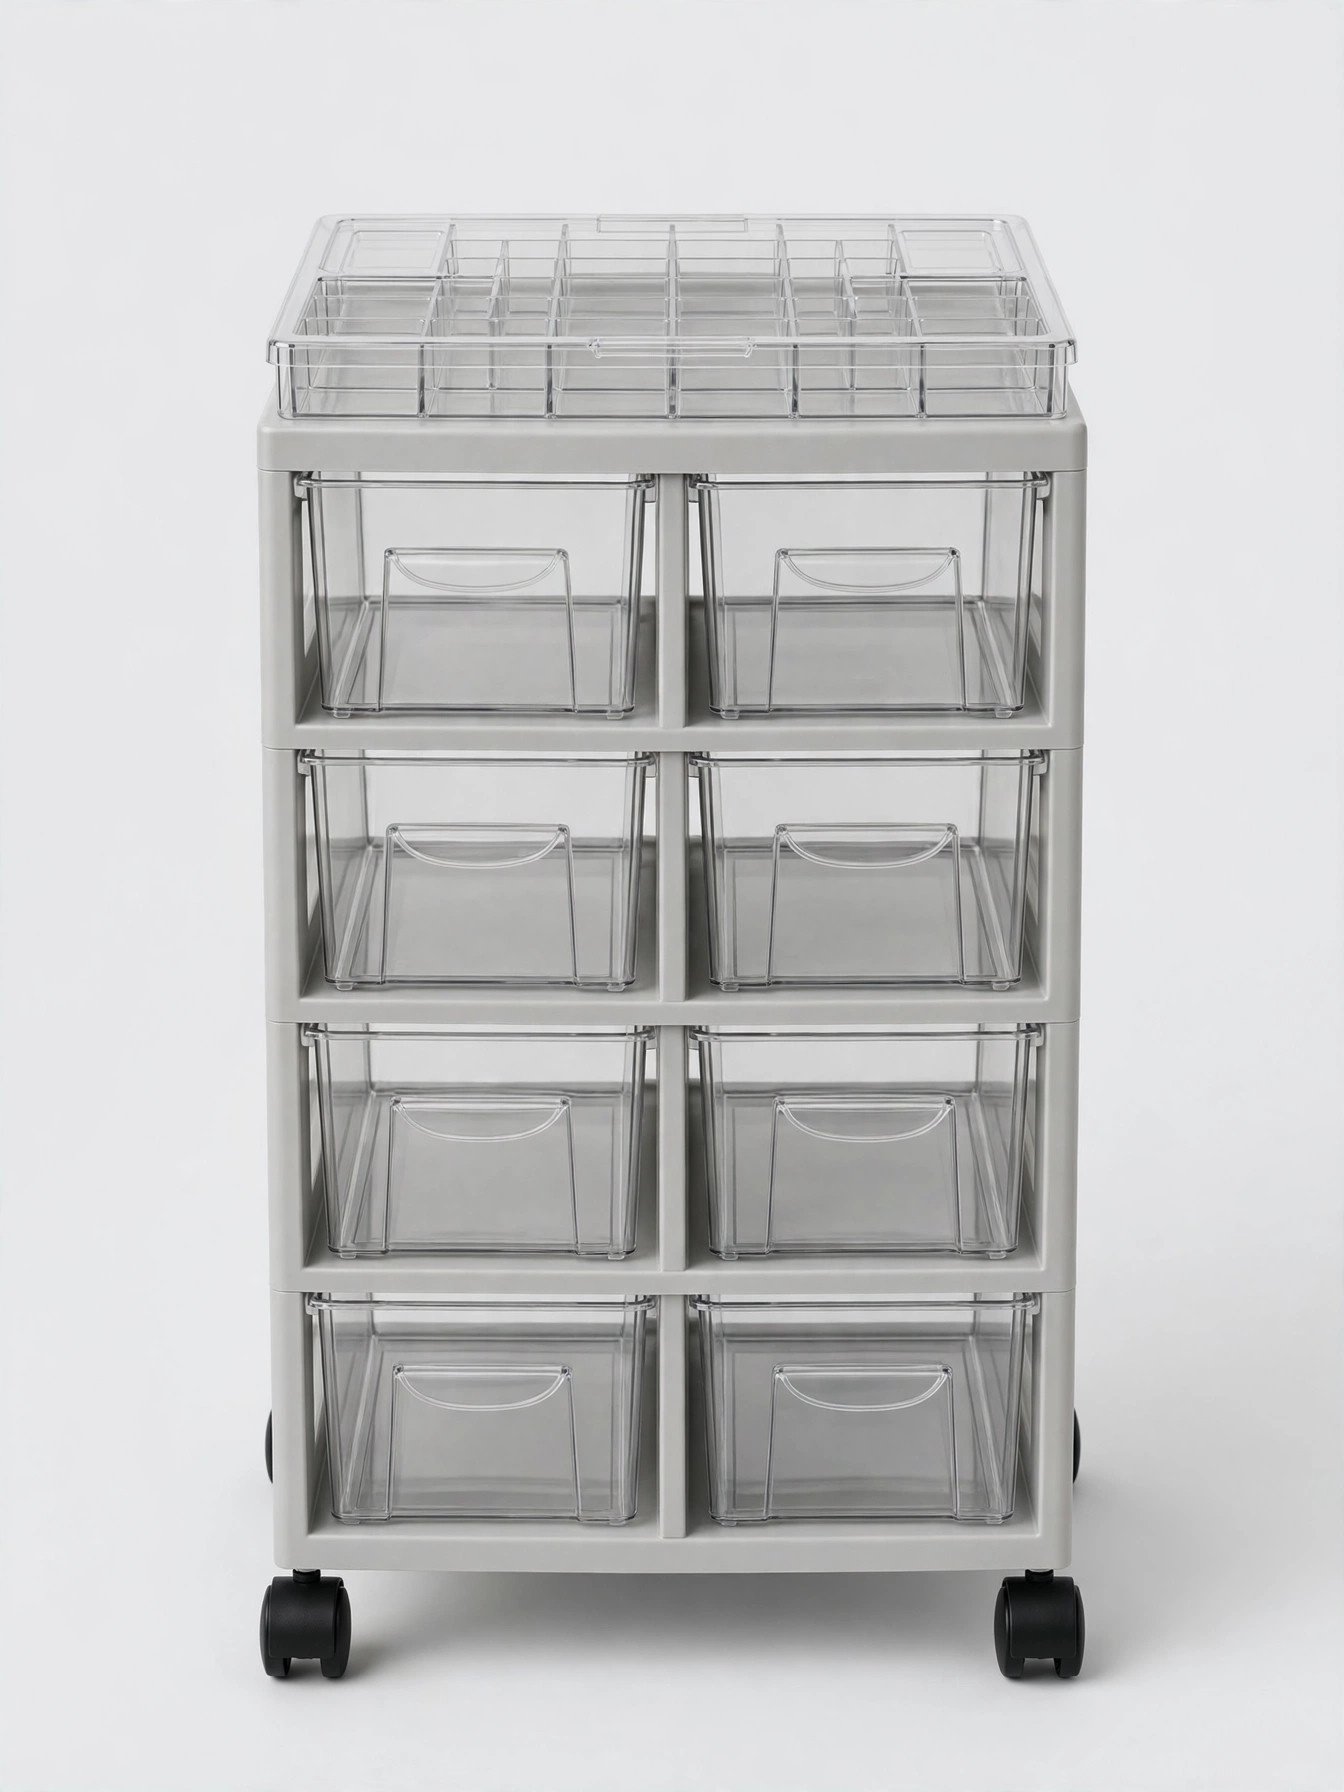
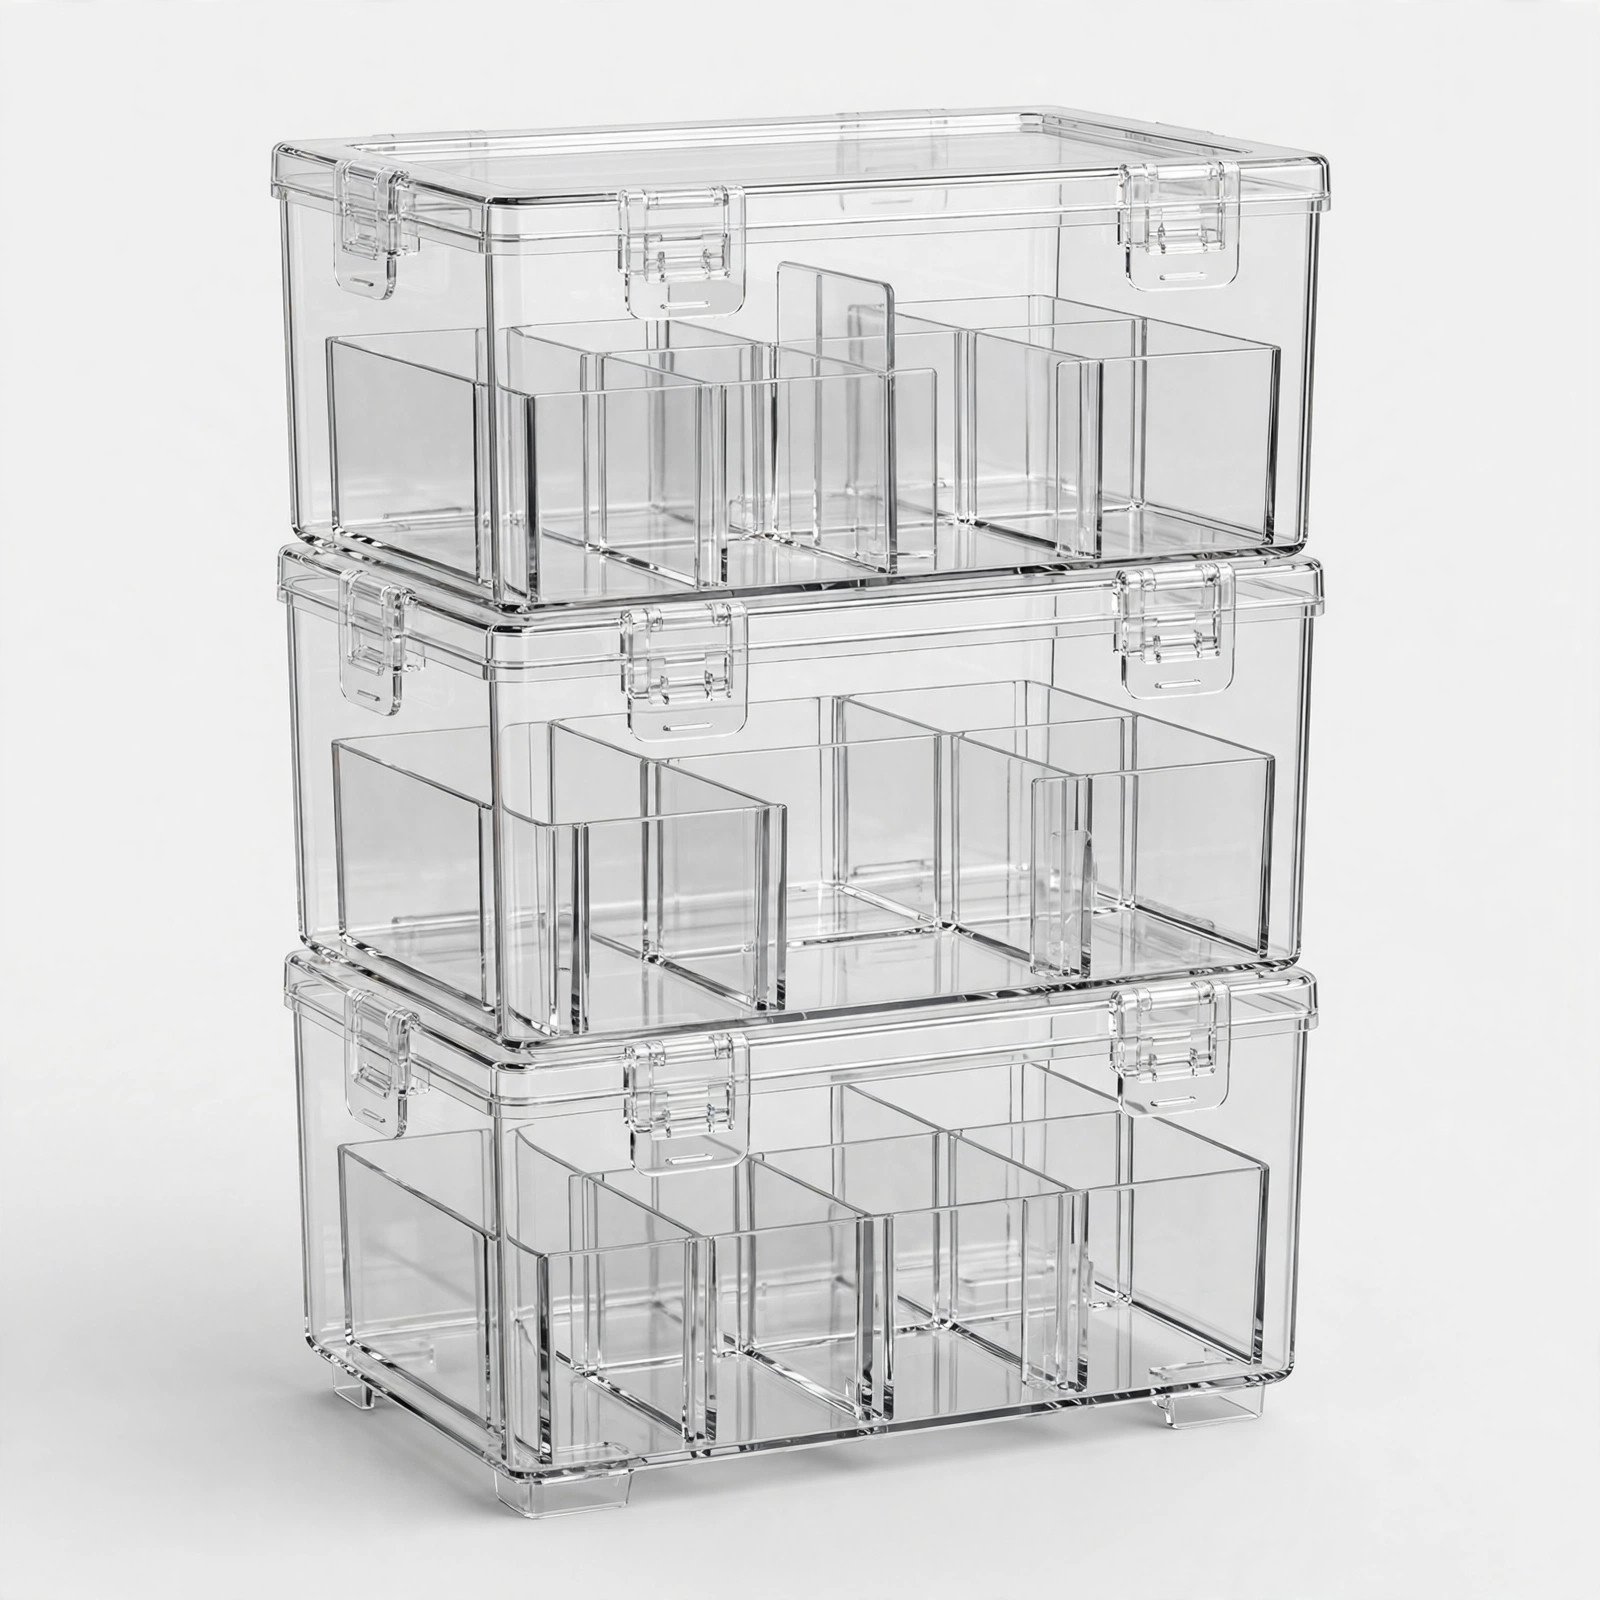
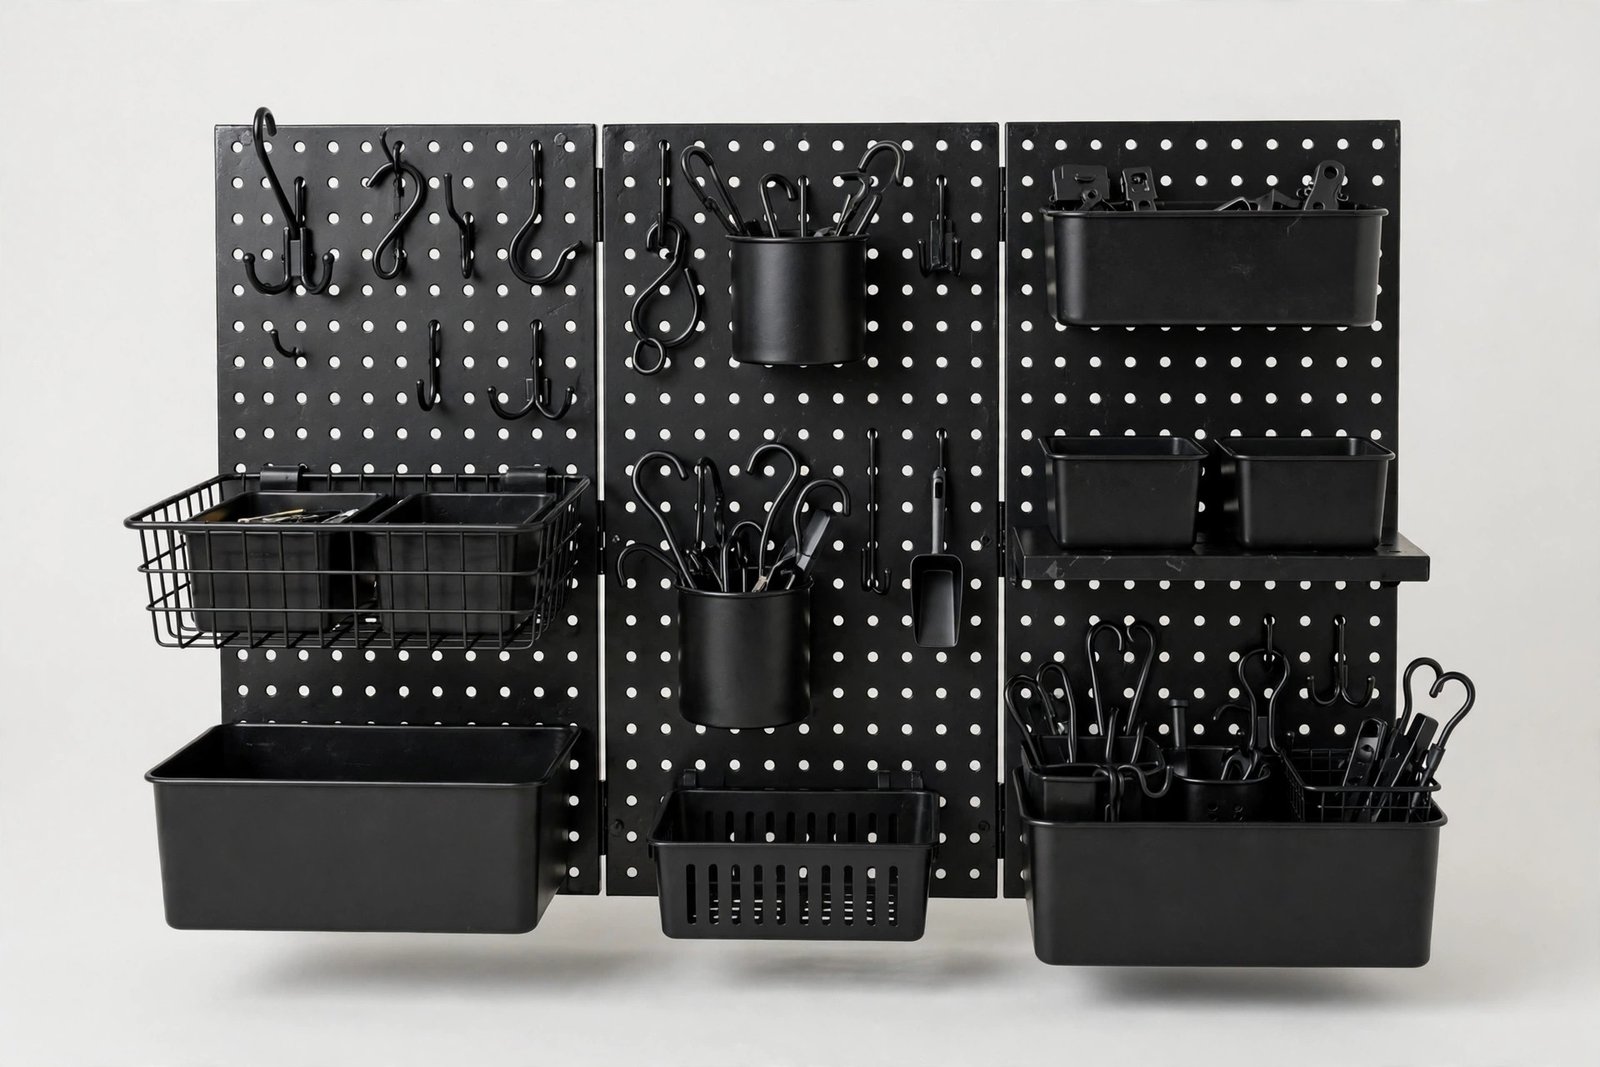
A few more favorites from the ideas above:
Here is what I want you to take away from all of this. The best fall crafts for kids are not the complicated ones. They are the ones where the supplies came from the backyard, the colors all belong to the same family, and the finished piece earns a real spot in your home. Start with one idea this weekend, just one, and see how it feels to have little hands making real decor beside you. That golden October light will not last forever, but the handprint tree on your wall will.
With love and light
Get Fresh Home Ideas Every Week
Seasonal decor ideas, organizing tips, and cozy home inspiration, straight to your inbox.
More Fall Ideas You Will Love
Keep browsing for more seasonal inspiration: