

There is a very specific heartbreak that only garland can give you. You spend an afternoon getting it just right. The swags are even, the lights glow, the whole room smells faintly of pine and feels like the cover of a December you actually want to live in. Then you sit down with a mug of something warm, the house goes quiet, and somewhere around nine in the evening you hear it. A soft slide. A sad little rustle. By morning your beautiful garland is on the floor in a heap, one stocking is face down in the hearth, and the mantel looks like it gave up. I have lived that morning more times than I care to admit, and I can tell you the garland was never the problem. The hanging was.
Here is what changed everything for me. Garland stays put when you treat it like weight first and decoration second. Every lush swag you admire in a magazine is held up by a small, boring, well planned support system that nobody photographs. Anchors close together. The right hold for the right surface. The pretty layers added only after the base can carry them. Once I started hanging garland the way builders frame a wall, in the right order with the load in mind, mine stopped falling. It stays through December, through kids brushing past the banister, through the cat making her annual inspection, through doors opening a hundred times a day.
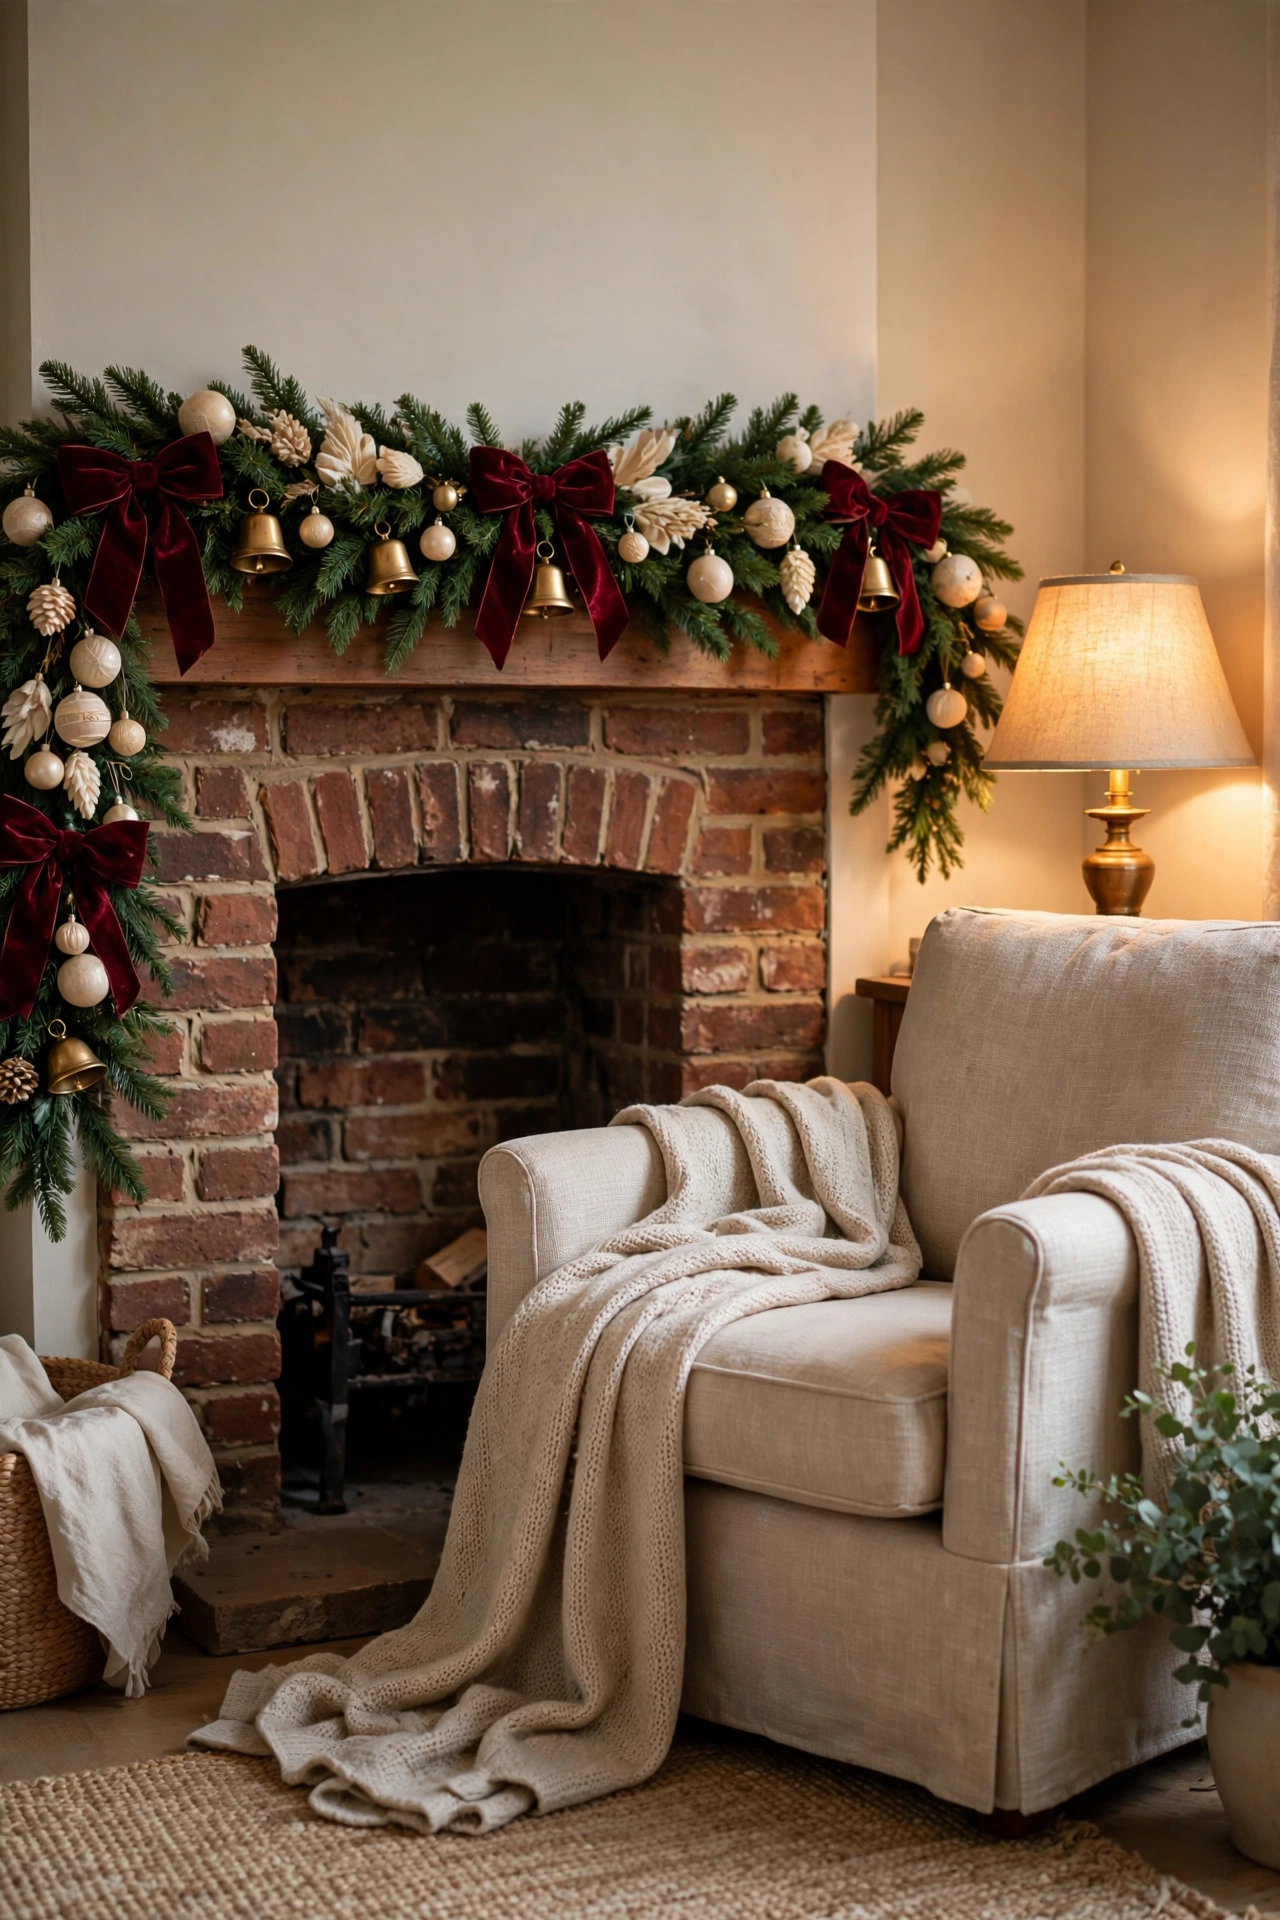
This year my garland leans into the direction Christmas is heading anyway, with oversized velvet bows, warm cluster lights, jewel tones like burgundy against deep green, and matte brass touching everything. You will see that mood in the room I styled in my elegant Christmas living room ideas, and the garland in this guide was hung to live in a room just like it. I work by three simple principles here. Support before styling, always. Small anchors close together beat one heroic anchor every time. And if a hold would embarrass you in daylight, hide it or change it, because December light is honest. Follow the nineteen steps in order and your garland will still be exactly where you left it on New Year’s Day.
Love these ideas? Get more every week.
Join the newsletter for seasonal decor and cozy home inspiration.
Start With a Plan That Holds
The first five steps happen before a single hook goes up, and they decide whether your garland survives December. I used to skip straight to the pretty part and then wonder why physics kept winning. Now I measure, I weigh, I fluff on the floor, and I mark my anchors like I mean it. Give yourself this slow start without resenting it. It is not the boring part. It is the part where the staying put actually happens.
1. Measure the Run and Buy Length for the Swag
A swag eats length, so buy more garland than the straight distance suggests.
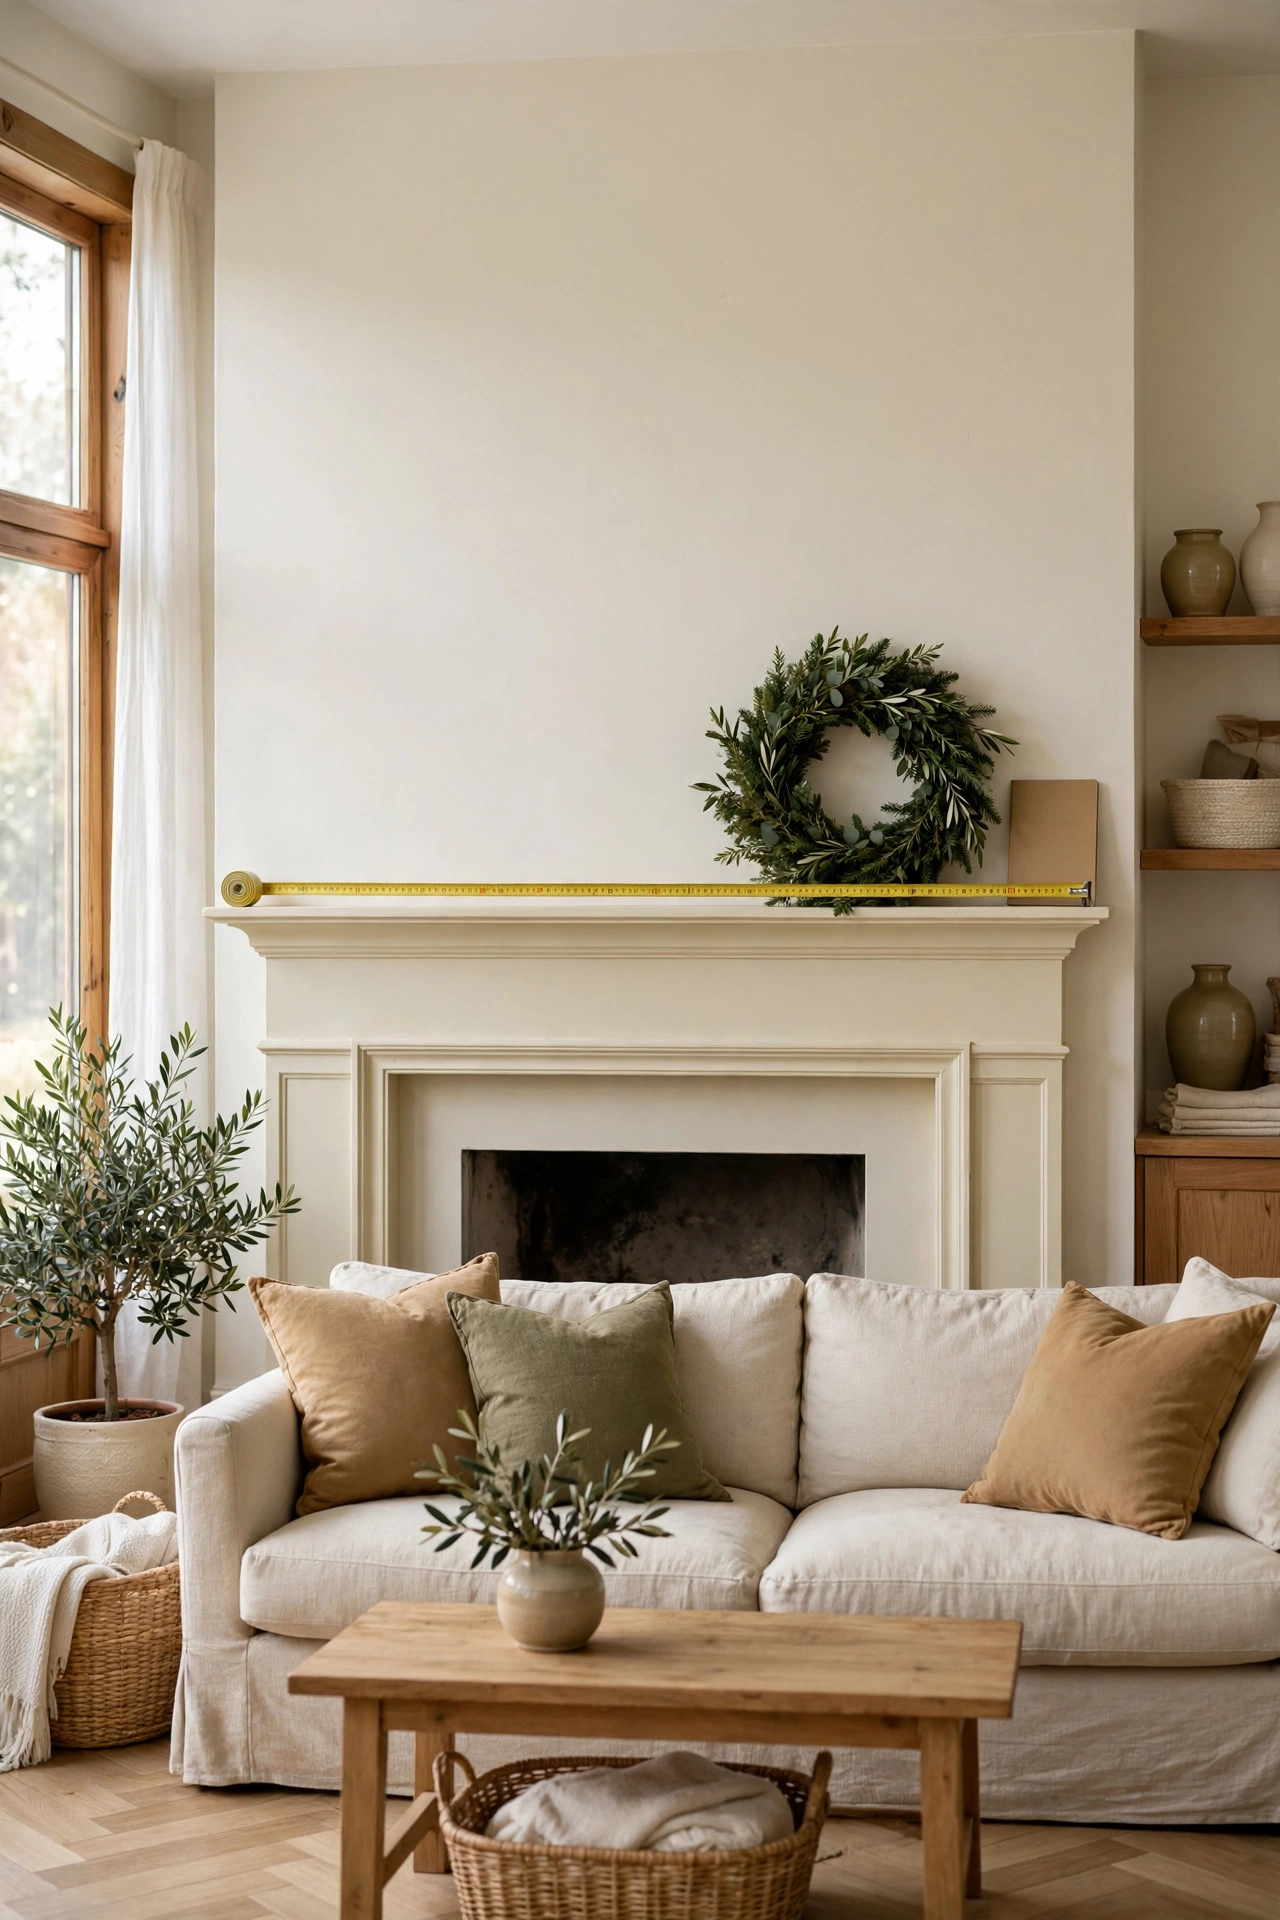
I measure every run with a tape and write the number down, mantel, banister, doorway, all of it, because my memory lies to me in the store every single year. Then I add length for the drape. A gentle swag across a mantel needs roughly one and a half times the straight distance, and a banister that dips between posts needs even more. If the run is six feet straight, I want nine feet of garland in my hands. That extra length is not waste. It is the difference between a swag that sags with grace and a garland pulled drum tight between two hooks, straining at both ends and plotting its escape. A tight garland pulls sideways on its anchors all day long, and sideways pull is what peels adhesive hooks off paint. Give the green room to hang and the anchors only have to hold weight straight down, which is the one job they are actually good at.
Shop This Look
This post contains affiliate links. If you buy through them, I may earn a small commission at no extra cost to you.
A few favorites featured in the ideas above:



2. Weigh the Garland and Count the Load Honestly
Hooks fail by weight, so know your number before you choose a single anchor.
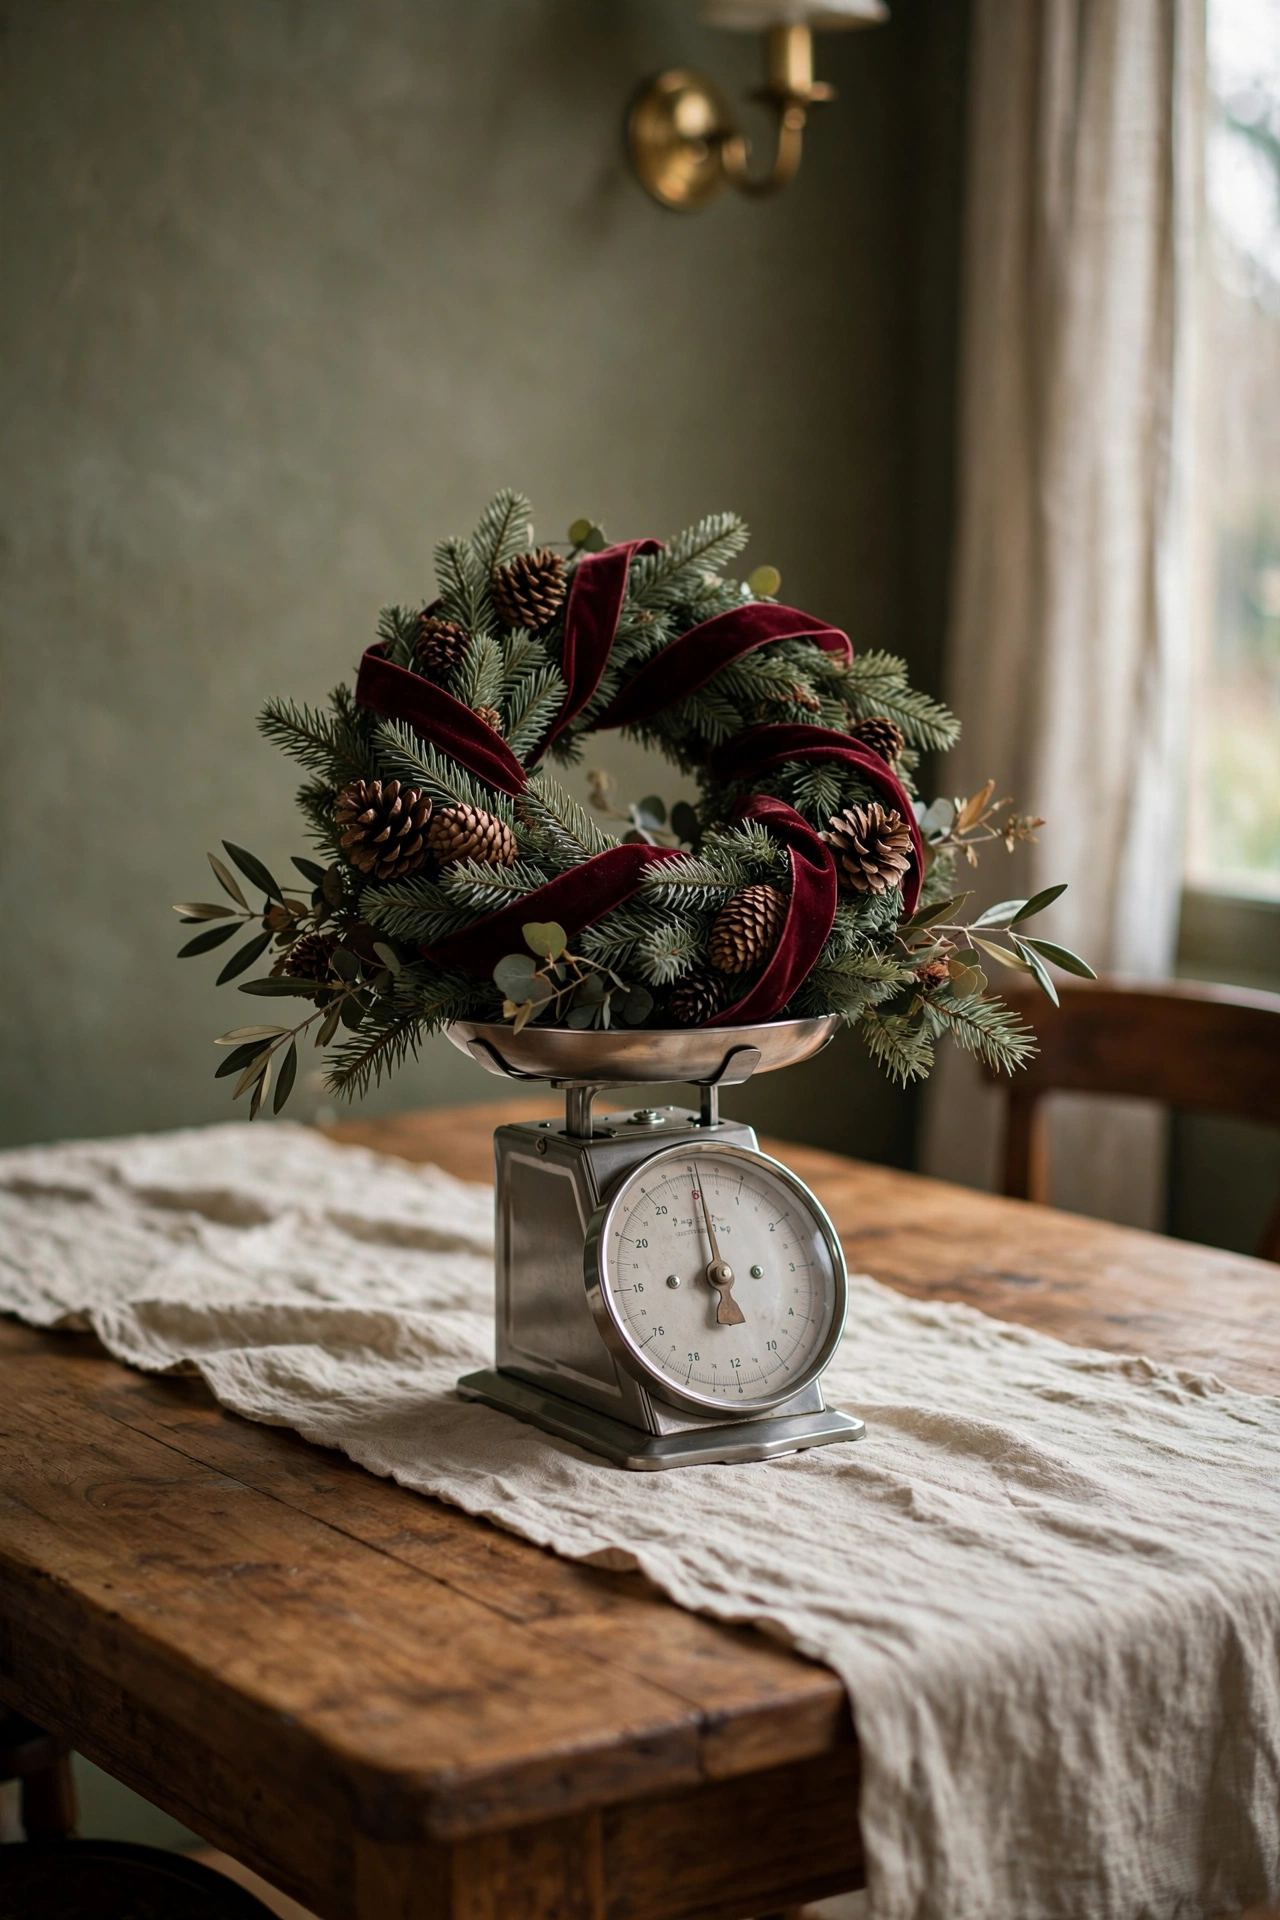
This is the step everyone skips and the one that matters most. I coil my garland and set it on the kitchen scale, lights and all, and I write the weight on a sticky note that lives with my hooks. A plain faux garland might weigh two pounds. The same garland loaded with pinecones, ornaments and a string of lights can weigh six, and fresh garland weighs more again as it drinks up nothing and simply starts heavy. Every hook and strip you buy states a limit, and that limit is per anchor, in perfect conditions, on a clean surface. I plan for each anchor to carry no more than half its stated limit, because December adds stockings, cards tucked into the green, and small hands tugging. Honest math at the table beats hopeful math on the ladder, and it takes ninety seconds.
3. Fluff and Shape the Garland Flat on the Floor
Garland shaped on the floor hangs evenly, while garland shaped on the wall fights you and its anchors.
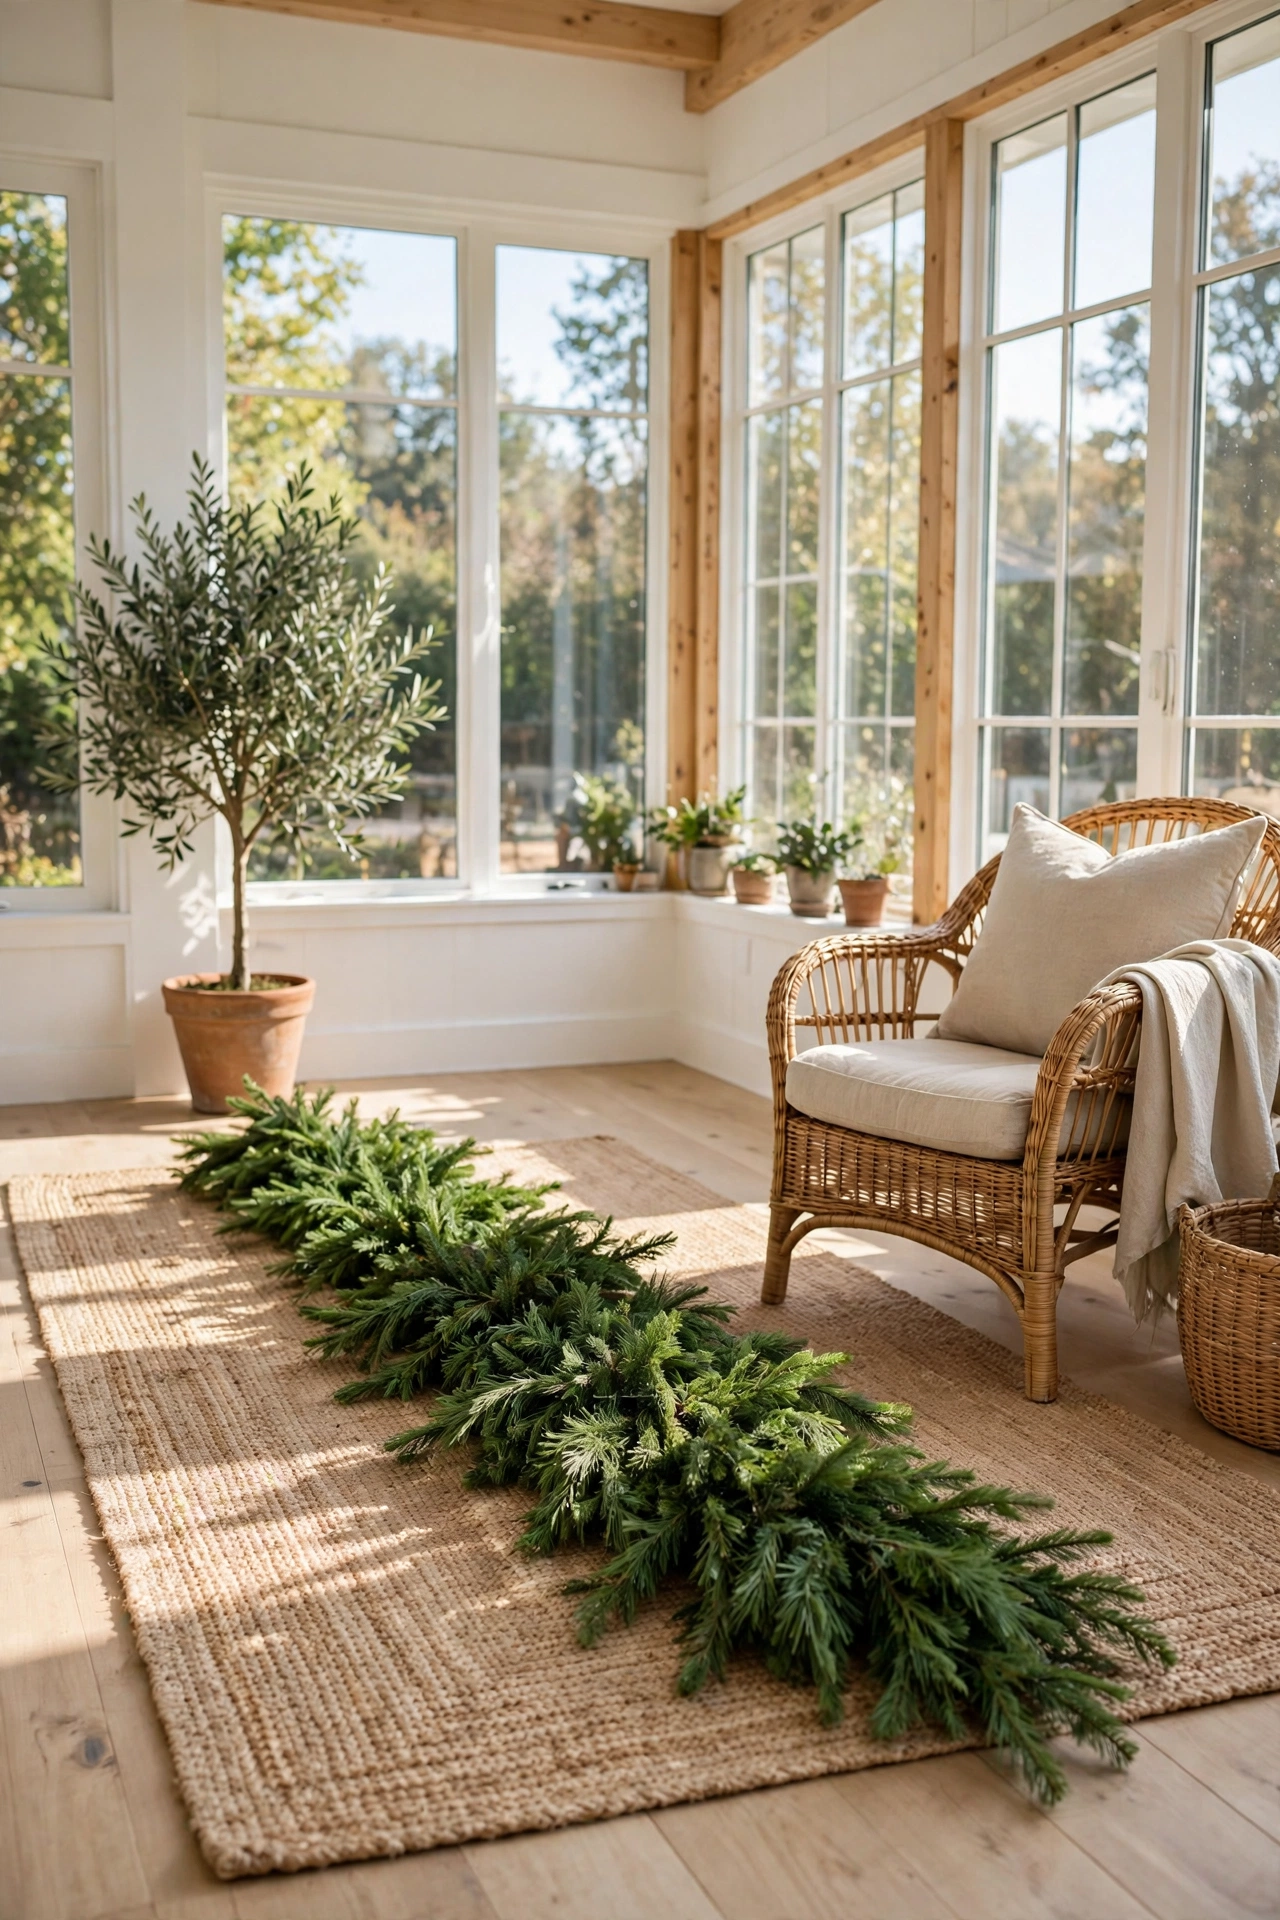
Fresh out of the box or the storage bin, garland arrives flat, sad and compressed, and if you hang it in that state you will spend an hour on a stool pulling branches around while everything you touch shifts the load. I lay mine out full length on the rug and fluff it there, bending every branch tip up and out, alternating directions, until it looks almost too full. On the floor I can also spot the thin patches and the one bent section that will look bald from the sofa. I mark the center of the garland with a small piece of ribbon at the back. That center mark is gold later, because hanging always starts from the middle in my house, and finding the middle while balancing on a step stool is nobody’s idea of a good afternoon. Ten calm minutes on the floor saves forty annoyed ones in the air.
4. Clean and Dry Every Surface Before Anything Sticks
Adhesive holds to the surface you give it, and dust and grease are not surfaces.
Most fallen garland I have ever mourned actually fell because of dust. Mantel tops collect a fine film of it, banister rails carry hand oils, and door trim near a kitchen wears an invisible layer of cooking grease. Adhesive strips bond to whatever they touch first, so if they touch dust, they hold dust, and dust holds nothing. I wipe every anchor spot with a cloth dampened with rubbing alcohol, then I let it dry fully, which takes about a minute and feels like forever when you are excited. I wait anyway. Then I press each strip or hook on with firm pressure for a full thirty seconds and, this is the part that feels excessive and works anyway, I leave the hooks empty for an hour before the garland goes up. The bond sets in that hour in a way it never does under load.
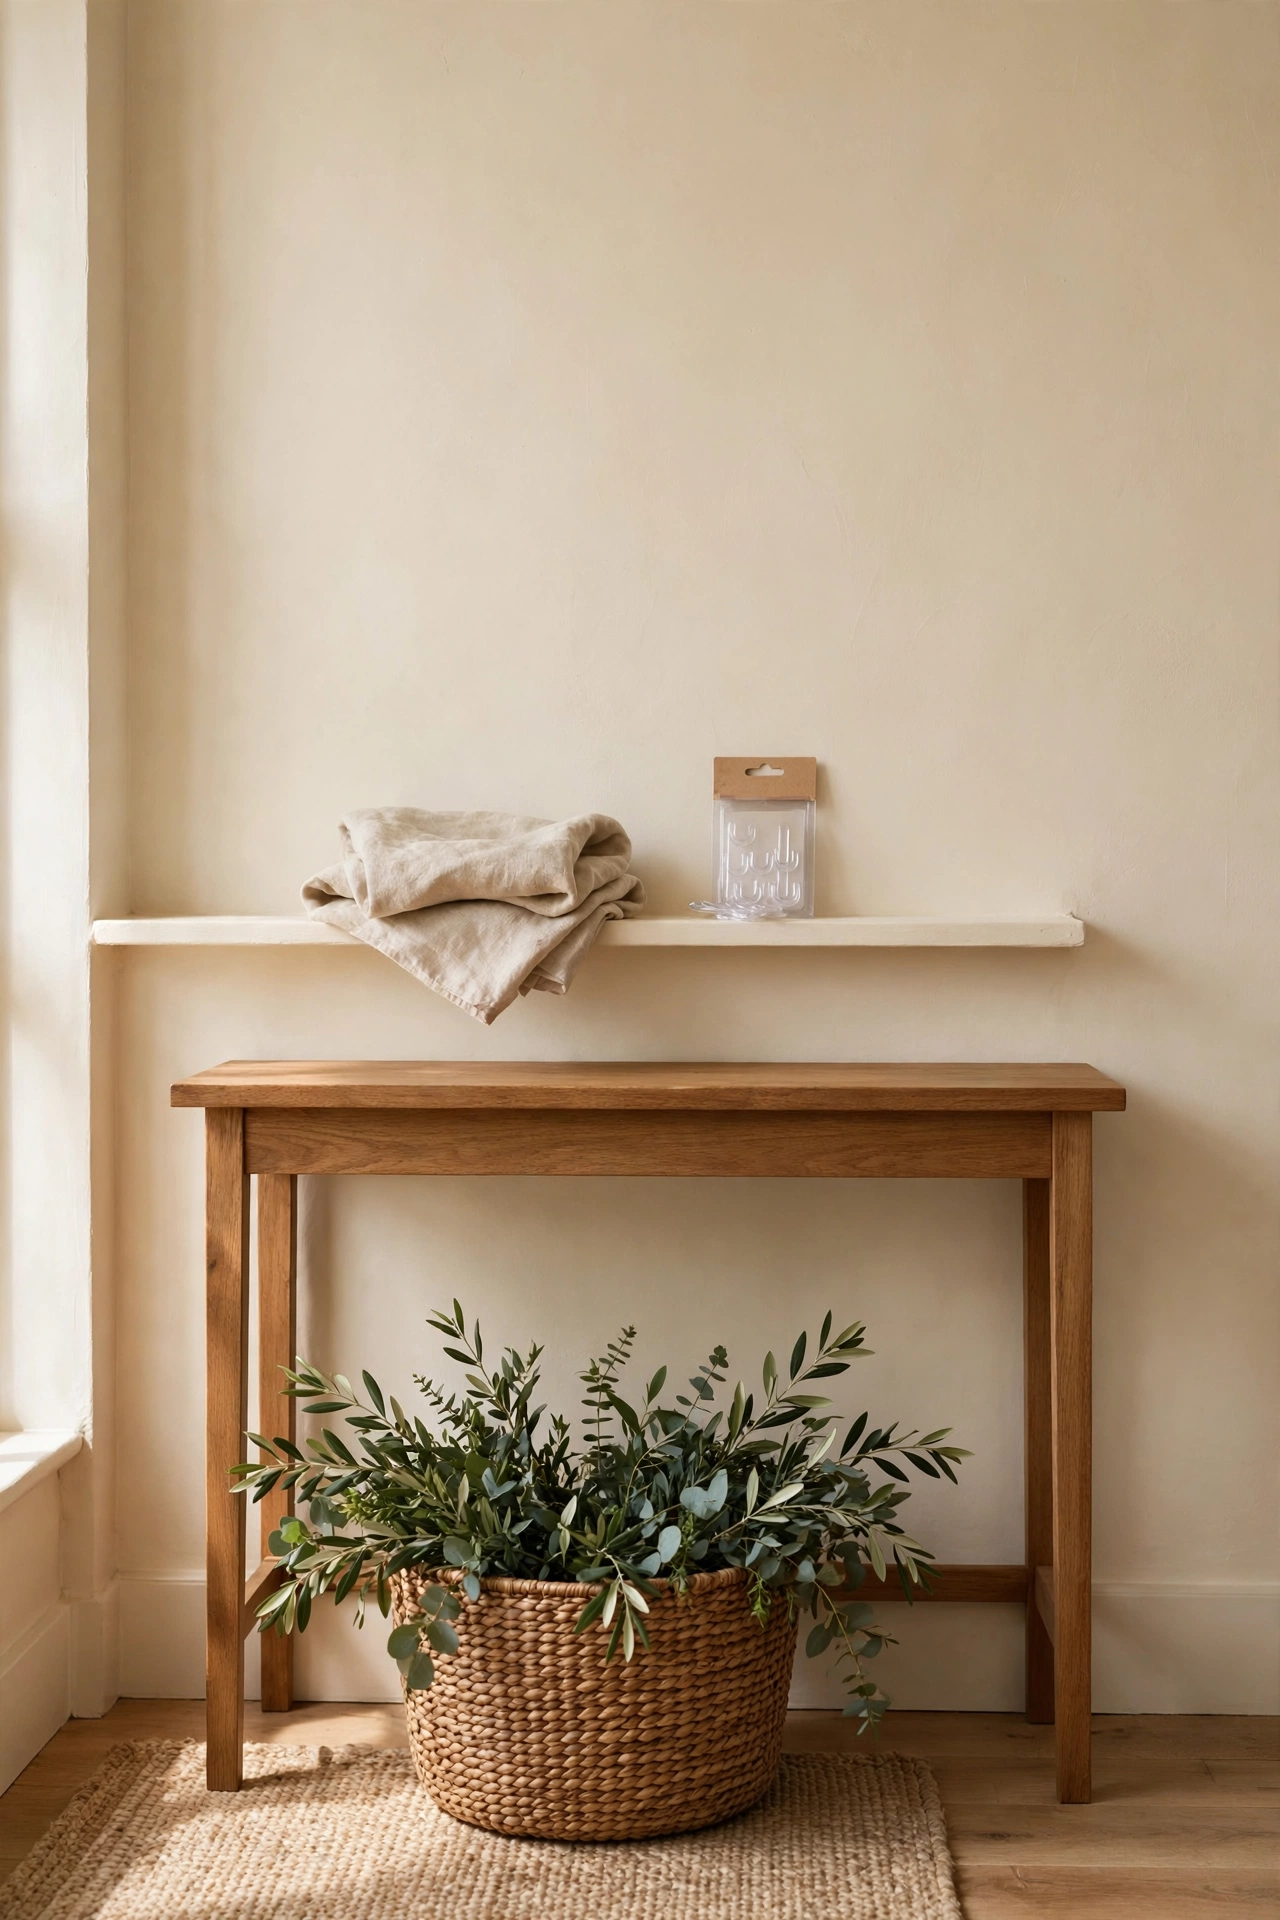
5. Mark Anchor Points Close Together
Anchors every two feet or closer turn one heavy garland into many light loads.
Here is my first principle in its purest form. Small anchors close together beat one heroic anchor every time. I place a small pencil mark every two feet along the run, and closer still, about every eighteen inches, at the low point of each swag where the weight gathers. Each anchor then carries a modest share, and if one ever does let go, its neighbors hold the line while I fix it, instead of the whole run cascading to the floor at midnight. On a banister I mark at every post and once between posts. Around a doorway I mark the corners first and fill in between. These marks feel fussy in pencil and invisible in practice, because the garland covers every one of them. What they give you is a plan your hands can follow without thinking, which matters when your arms are full of green.
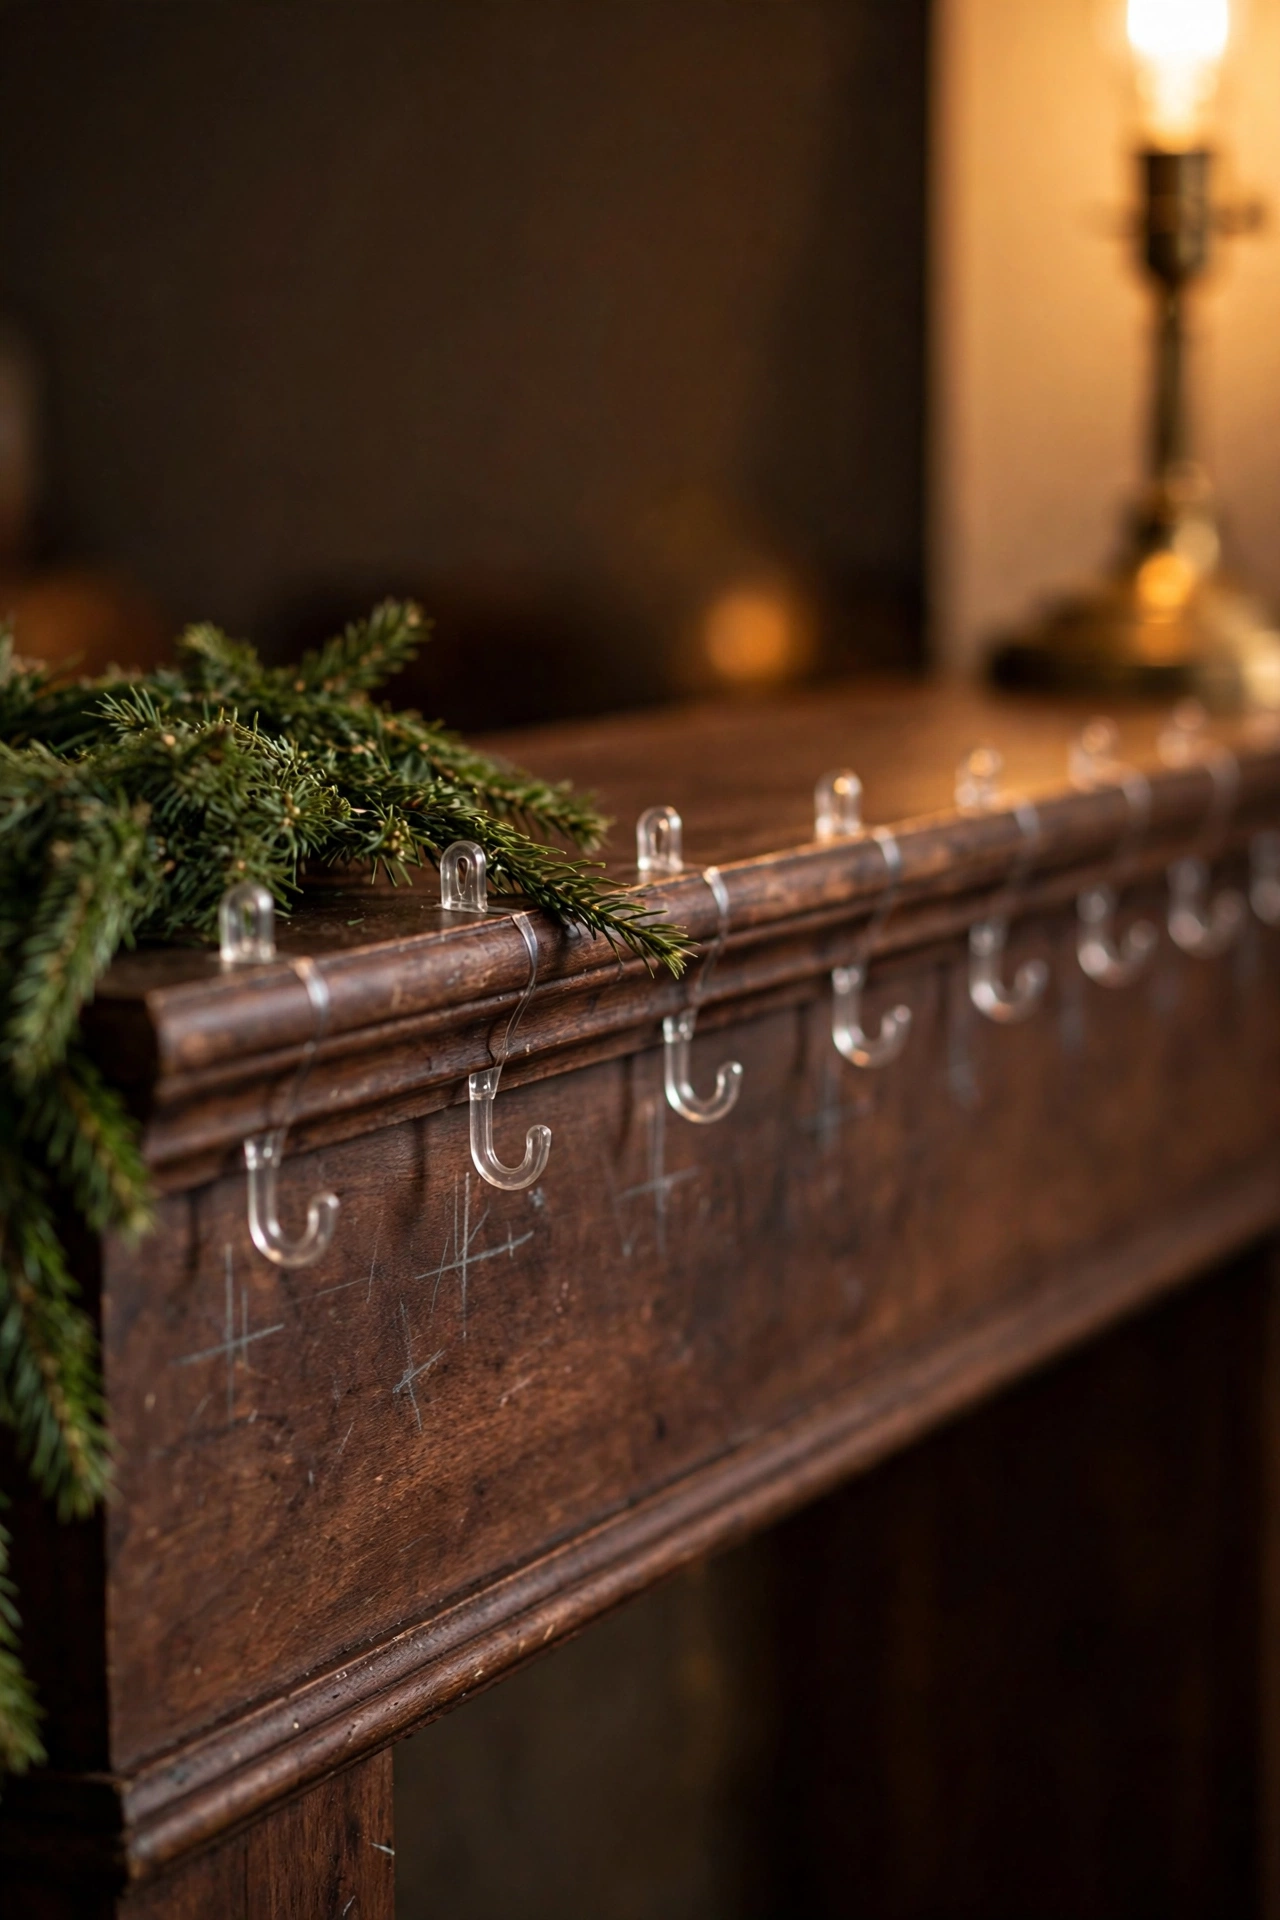
Anchor Each Surface the Right Way
Mantels, banisters, doorways, mirrors and shelves all fail in different ways, so each one gets its own method in this section. The common thread is respect for the surface. Painted wood, stone and plaster all hold differently, and a renter friendly hold that works on one will slide straight off another. Match the anchor to the surface and the garland stops being a gamble.
6. Use Clear Wire Hooks on Walls and Woodwork
Clear hooks disappear under green, hold honestly, and come off in January without a scar.
For painted walls, wood trim and smooth mantel faces, clear wire hooks are my default and have been for years. The hook itself flips up flat, the strip hides behind the garland, and from the sofa you see green and nothing else. I press them on at my pencil marks, respect the hour of rest, and hang the garland center first, working outward so each hook takes its share as I go. The wire hook shape matters more than people think. A wire hook cradles the garland core instead of pinching a few branches, so the load sits in the hook rather than tearing through foliage. On the fall mantel I styled in my fall mantel decor ideas, the same clear hooks carried a heavy dried garland all season and left the paint untouched, which is why I trust them with Christmas weight too.
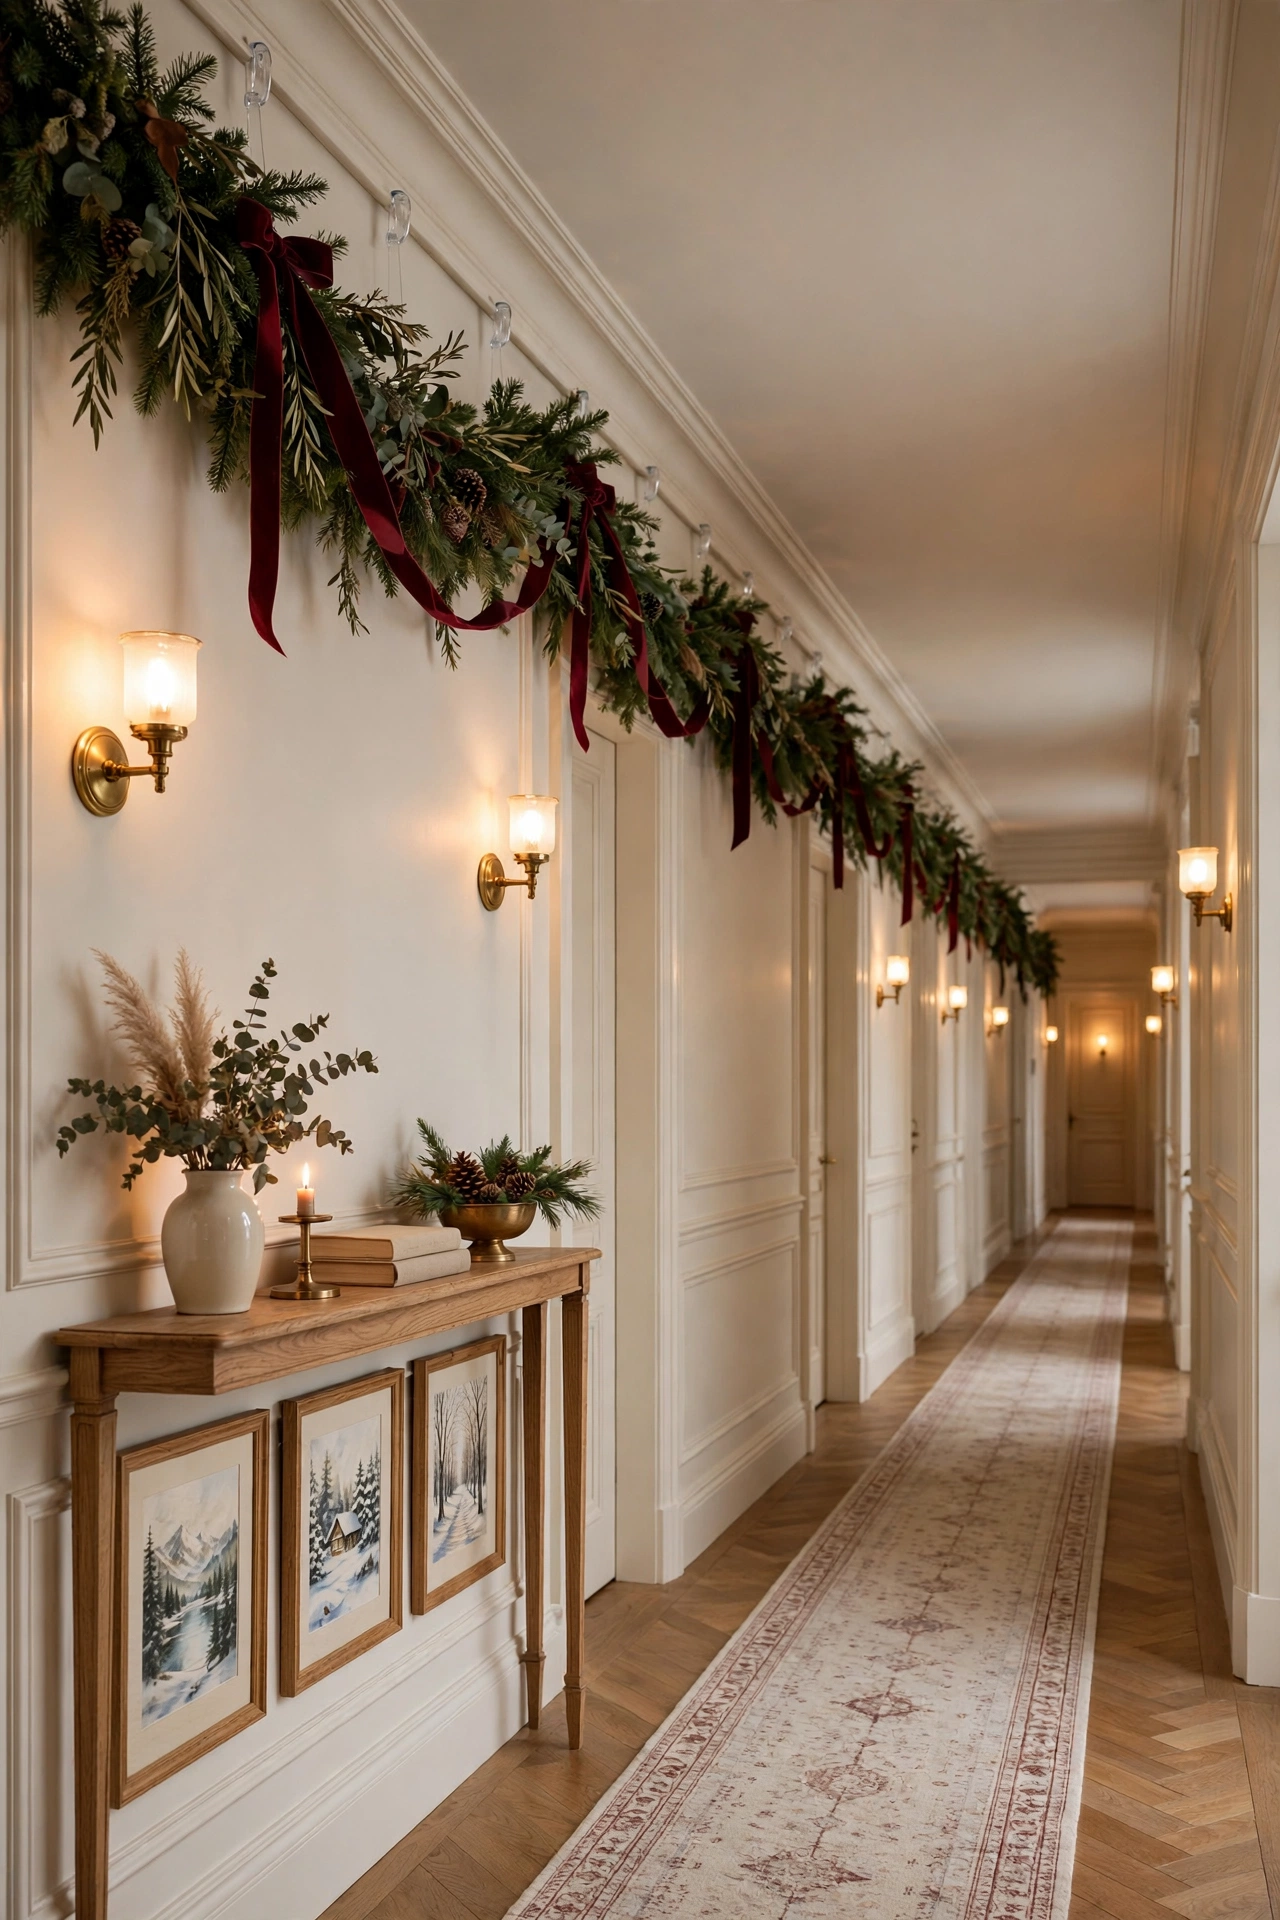
7. Hang a Mantel Garland From the Top and the Face
A mantel garland held on top and at the face cannot roll, slide or creep forward.
Mantel garland fails in a sneaky way. It rarely drops straight down. It rolls forward an inch a day, pushed by its own round shape and the stockings tugging below, until one evening the front half tips off the edge and takes everything with it. My fix uses two lines of hold. Flat strips or a couple of discreet hooks on the mantel top carry the main weight, laid along the back third of the shelf. Then two small clear hooks on the mantel face, hidden under the swag dips, act as a front fence that stops the roll before it starts. The garland sits settled between them like it grew there. I also keep the bulk of the green toward the back of the shelf and let only the soft front branches spill over the edge, because weight placed at the edge is weight already halfway to the floor.
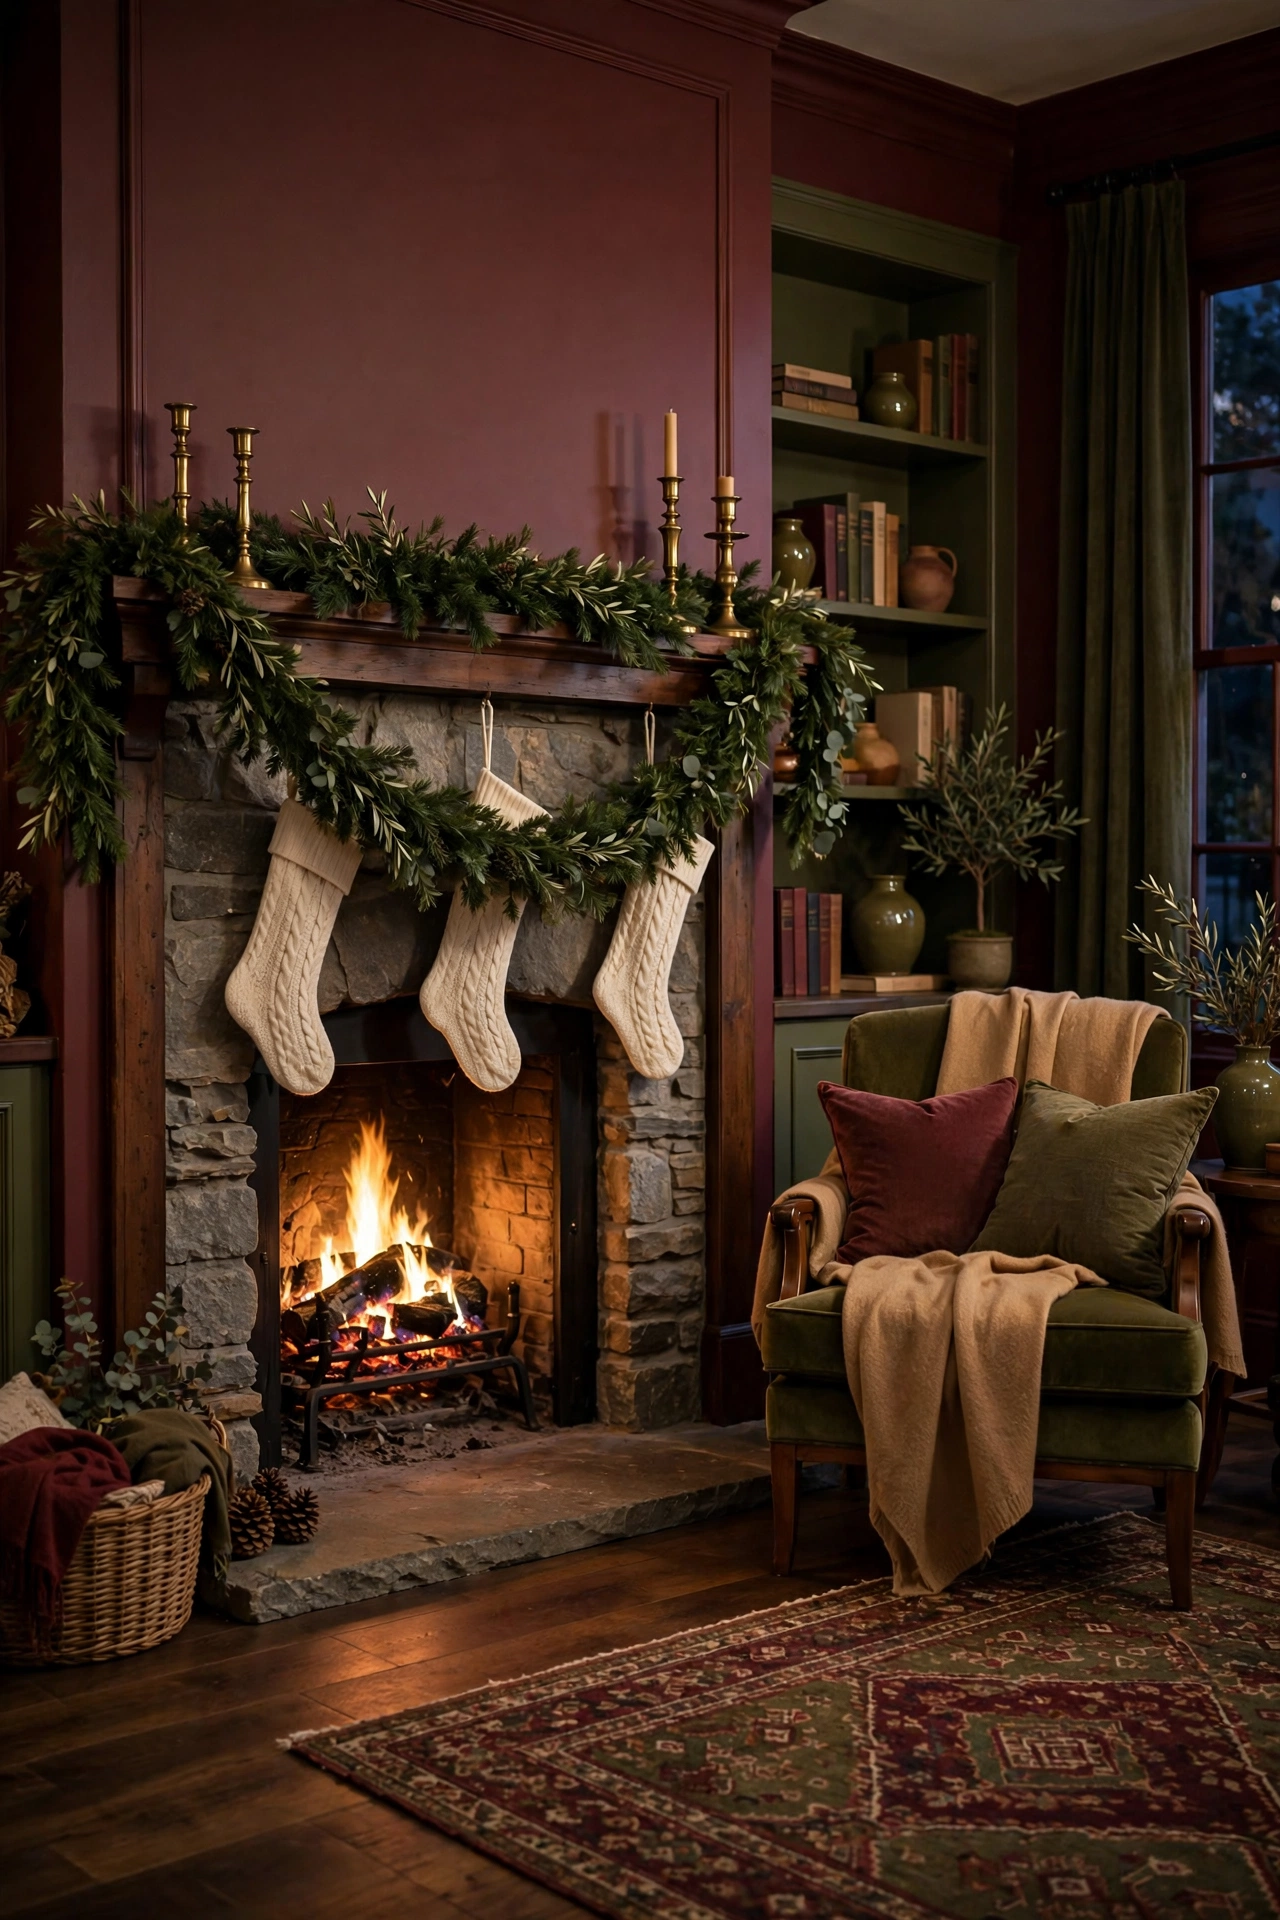
8. Secure a Banister Garland With Soft Ties at Every Post
Fabric ties at every post hold a banister garland without scratching the rail or slipping down it.
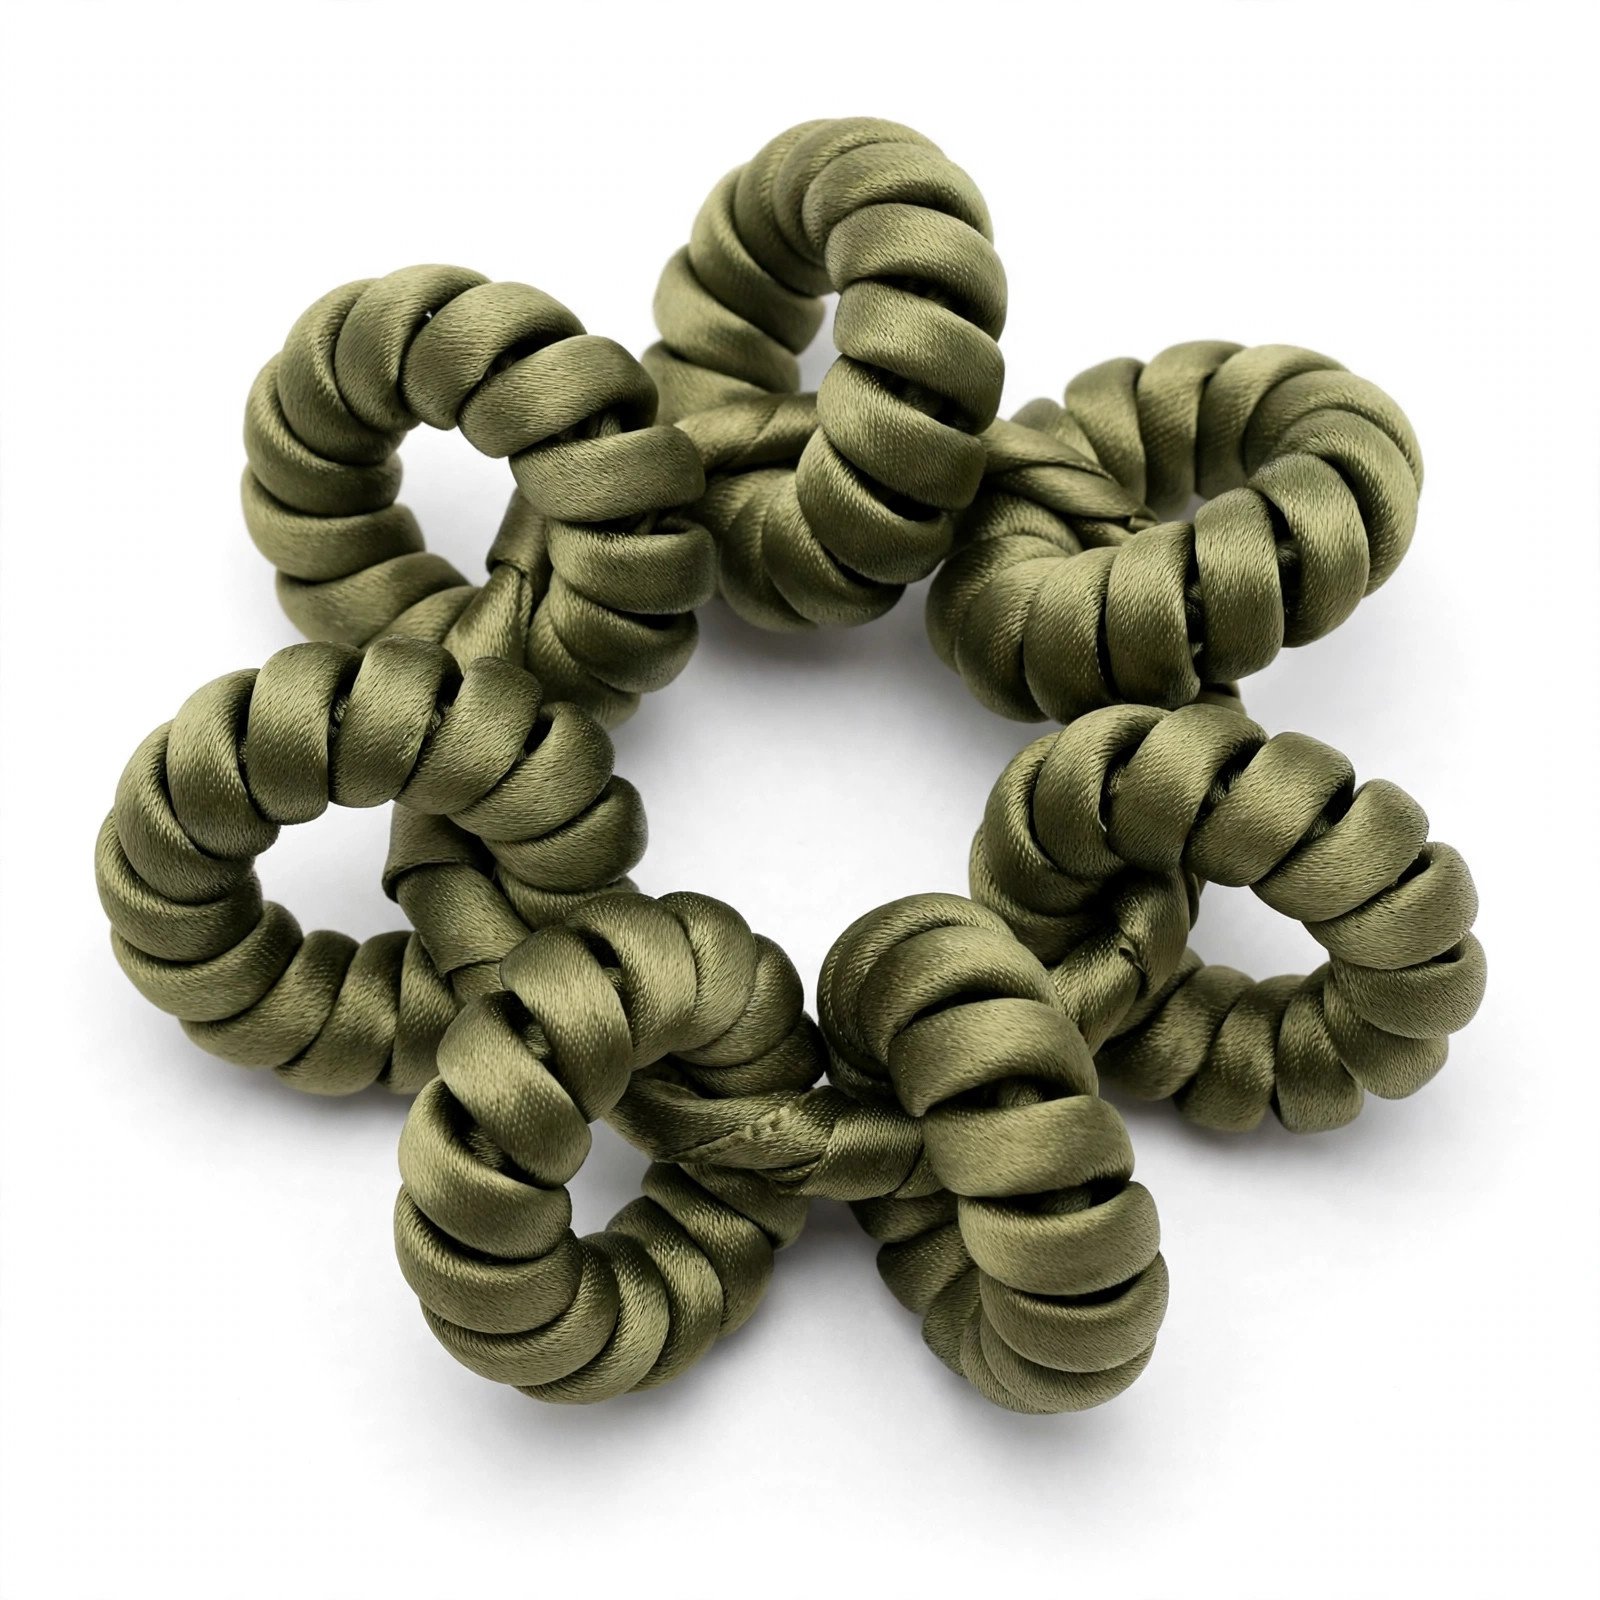
Banisters are where garland goes to slide. A smooth rail, a diagonal run and gravity all vote the same way, so adhesive alone loses and nails are out of the question on good wood. I use soft fabric twist ties, olive green ones that vanish into the foliage, at every single post and once between posts on long runs. The tie wraps the garland core and the rail together and twists at the back, where no guest will ever see it. Fabric matters here. Bare wire and plastic ties can bite into a varnished rail over a month of small movements, and they can also chew the garland core. The soft ties grip without damage and, my favorite part, they untwist in January without a fight. I tie the top post first, then the bottom, then fill in between, so the garland never hangs its full weight from one tie while I work.

9. Frame a Doorway With Corner Anchors First
Doorway garland stands or falls at its corners, so anchor the corners before the spans.
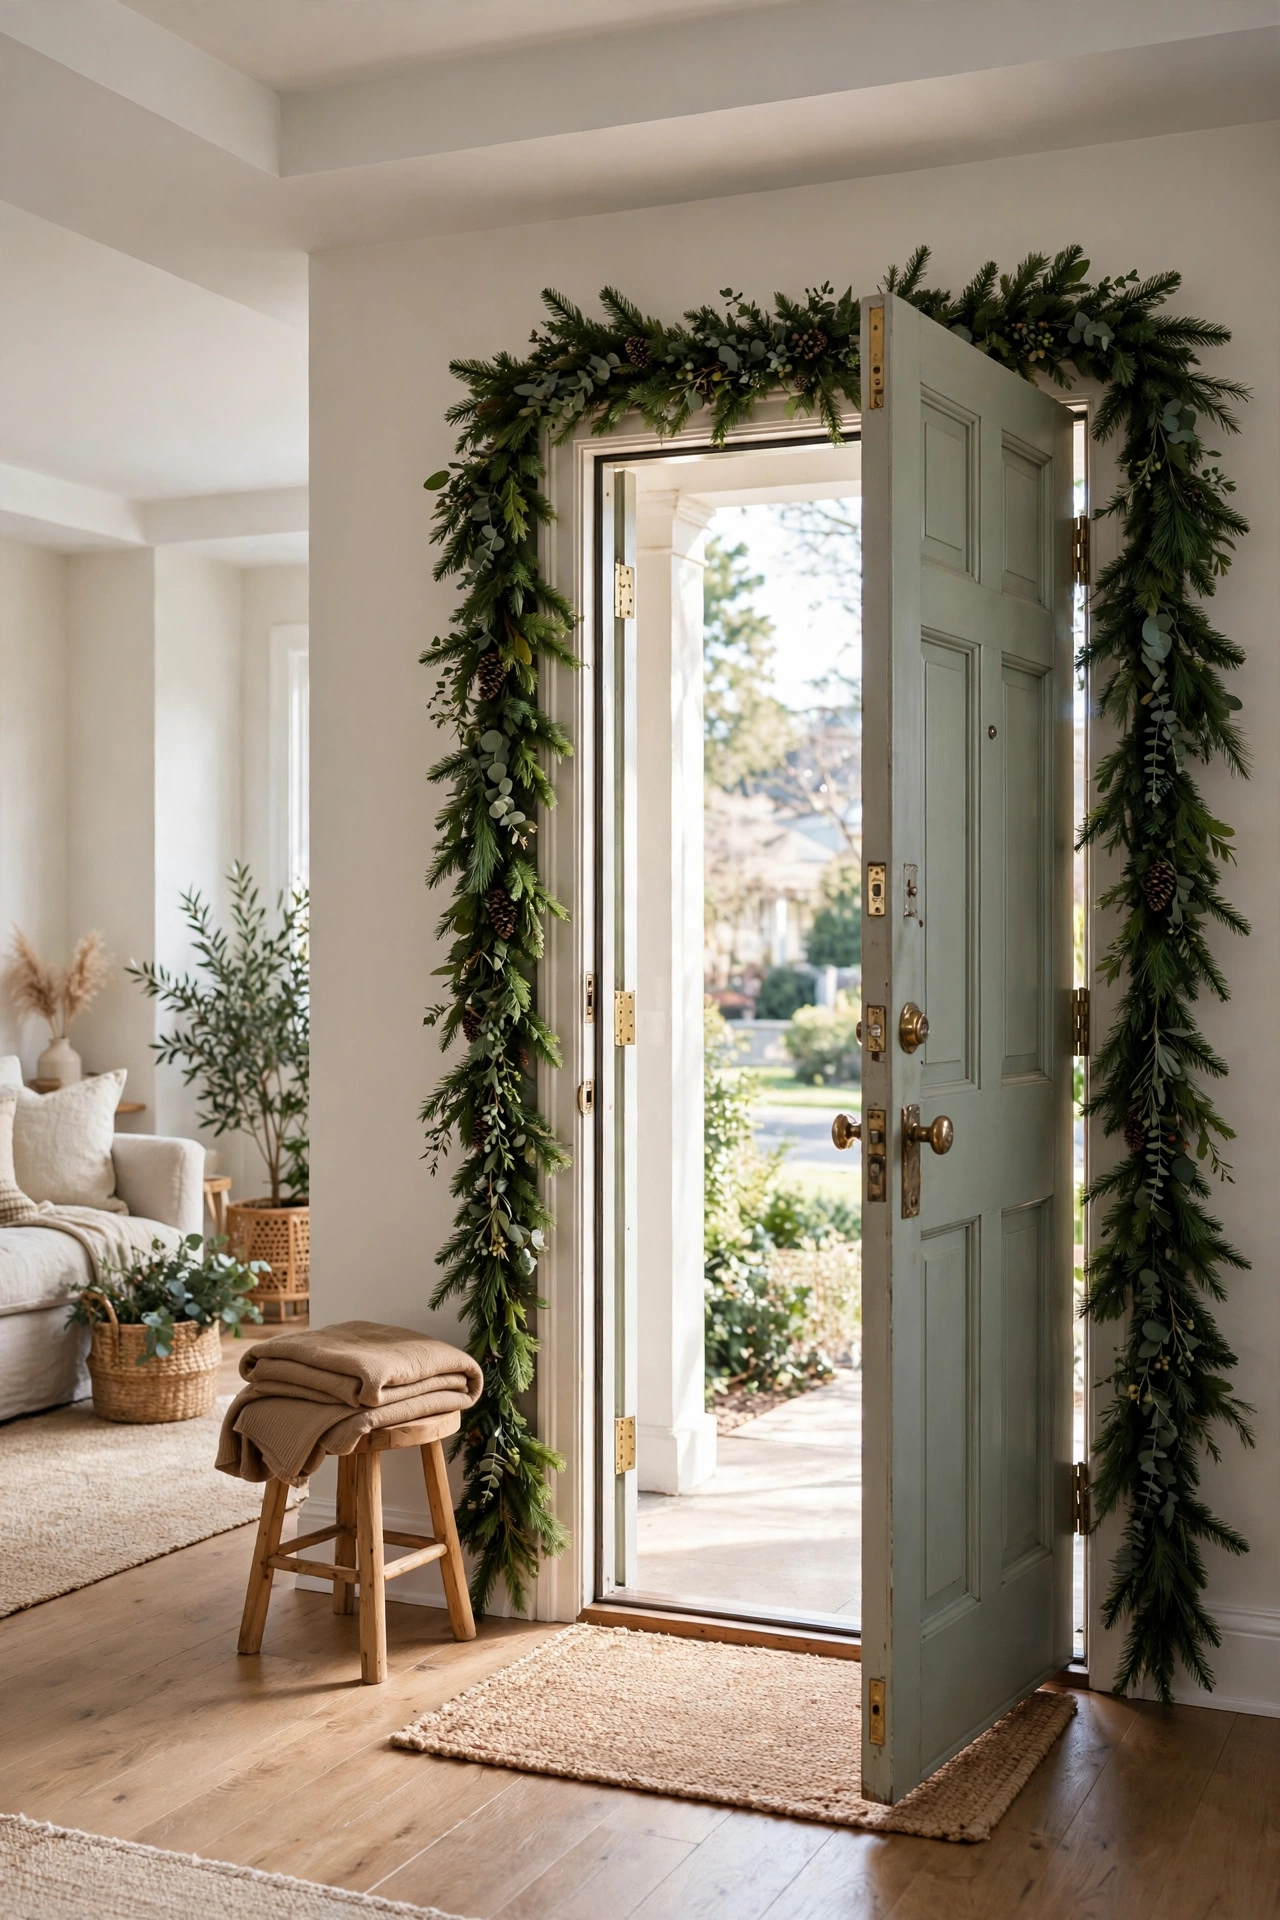
A doorway frame has three runs and two corners, and the corners carry a secret load, because the garland changes direction there and pulls both ways at once. I anchor the two top corners first with the strongest hold the trim allows, clear hooks on smooth painted wood, and I hang the top span between them. Only then do I run the sides down, with a hook at the top, middle and bottom of each leg. The side legs hang straight down, which is the kindest load an anchor can carry, so they rarely cause trouble once the corners are honest. I keep the green on the room side of the trim and off the door swing entirely, and I leave the bottom six inches of each leg slightly loose so the garland moves a touch instead of fighting the frame every time the door breathes on its hinges.

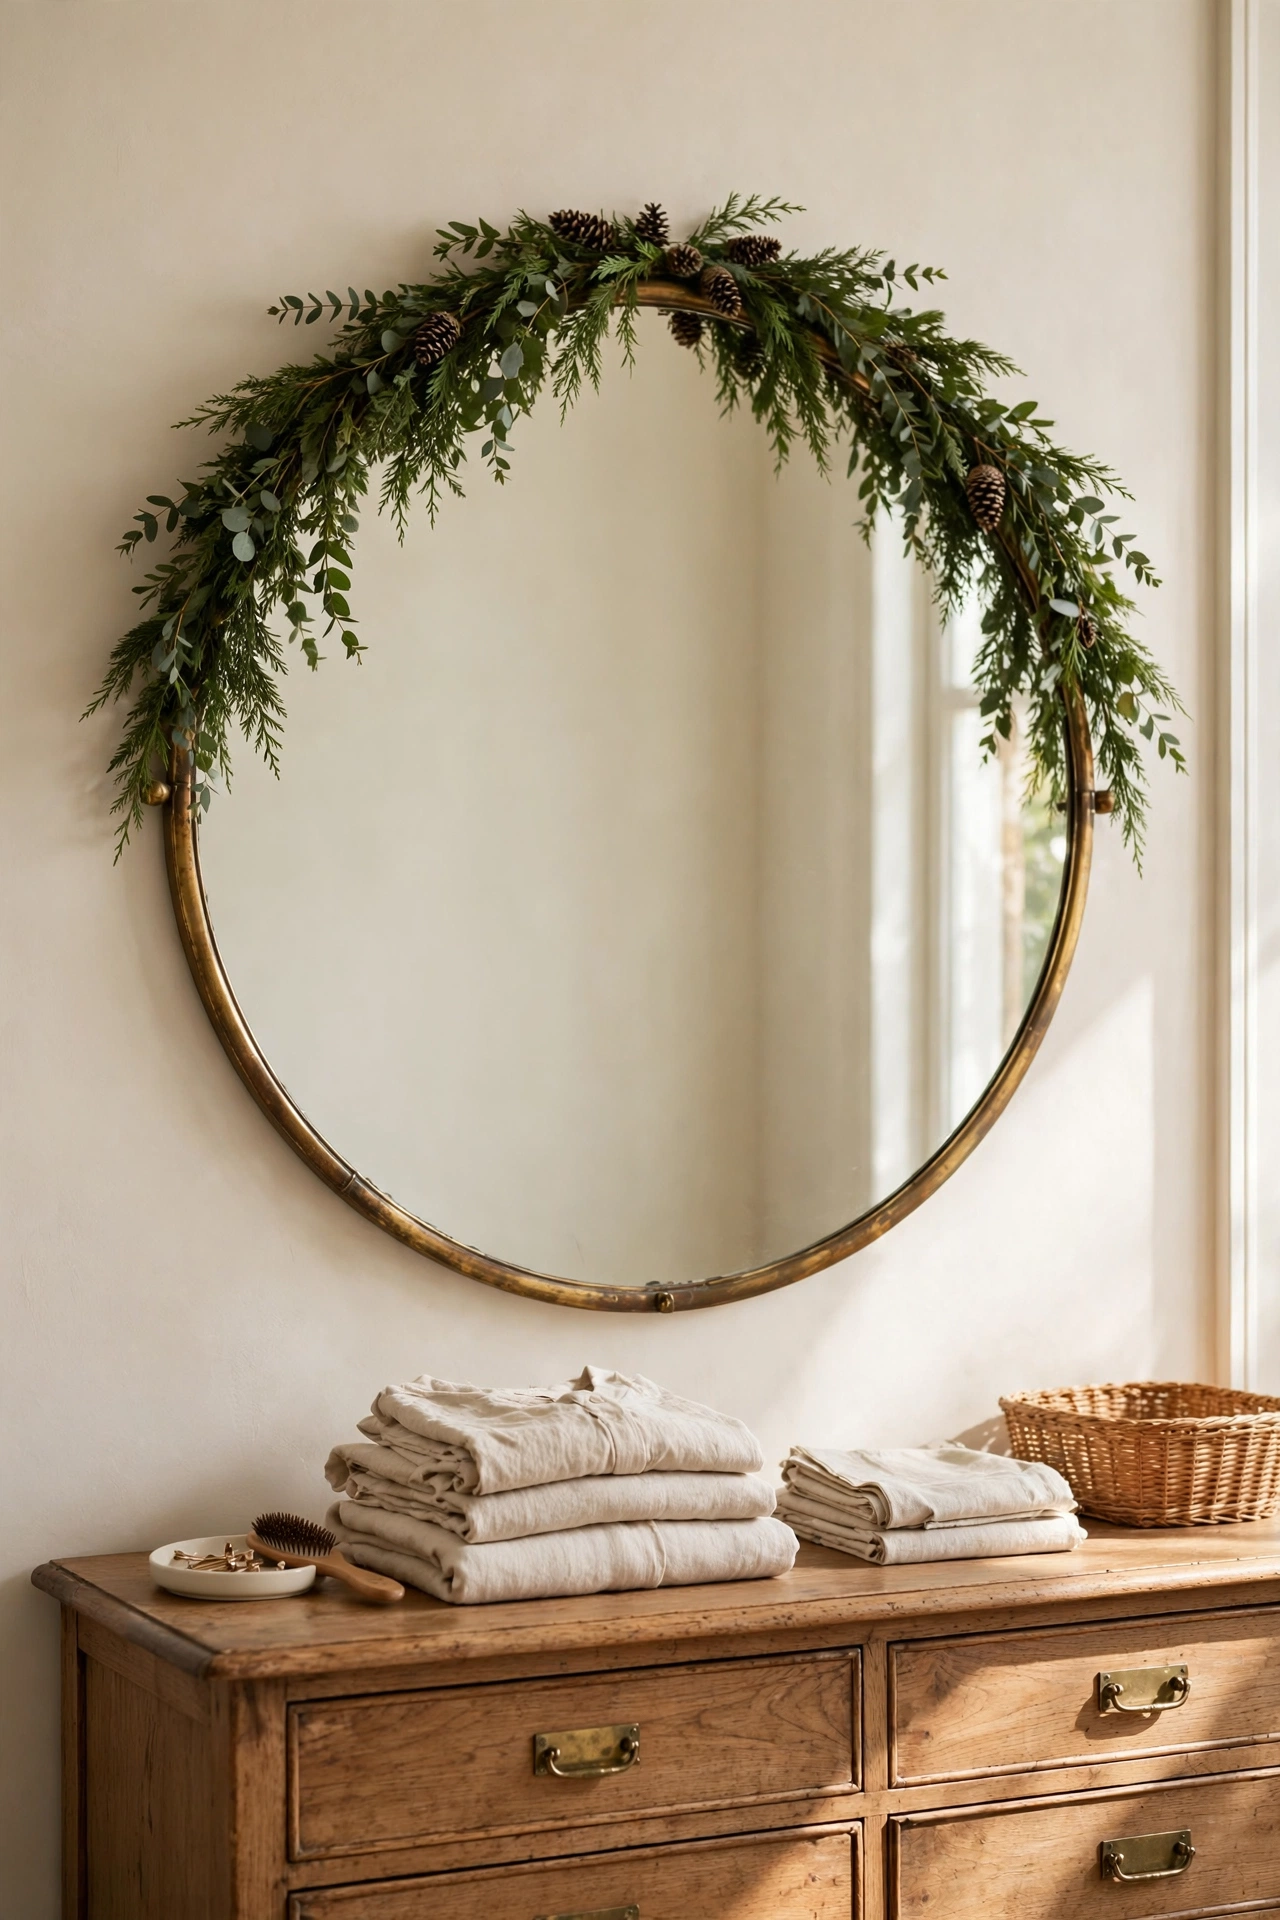
10. Dress a Mirror or Artwork Without Touching the Glass
Garland belongs on the frame, never on the glass, and the frame only carries what the wall hook behind it allows.
A garland over a mirror is one of the prettiest sights in a December house, and one of the riskiest, because people hang the green from the mirror itself and forget the mirror is hanging from one hook of its own. I anchor garland to the wall above the frame with clear hooks, or to the frame top only if the frame is deep and sturdy, and I let the garland rest across the top like a crown with one soft dip. Nothing sticks to the glass, ever, because adhesive on mirror backing can pull the silvering when it comes off. I also weigh the mirror total picture in my head. If the mirror is heavy and its wall hook is modest, the garland goes on the wall around it instead, tracing the frame from the wall side. The look is nearly identical and the mirror stays out of the load business entirely.
11. Run Garland Along Shelves and Bookcases With Hold at the Back
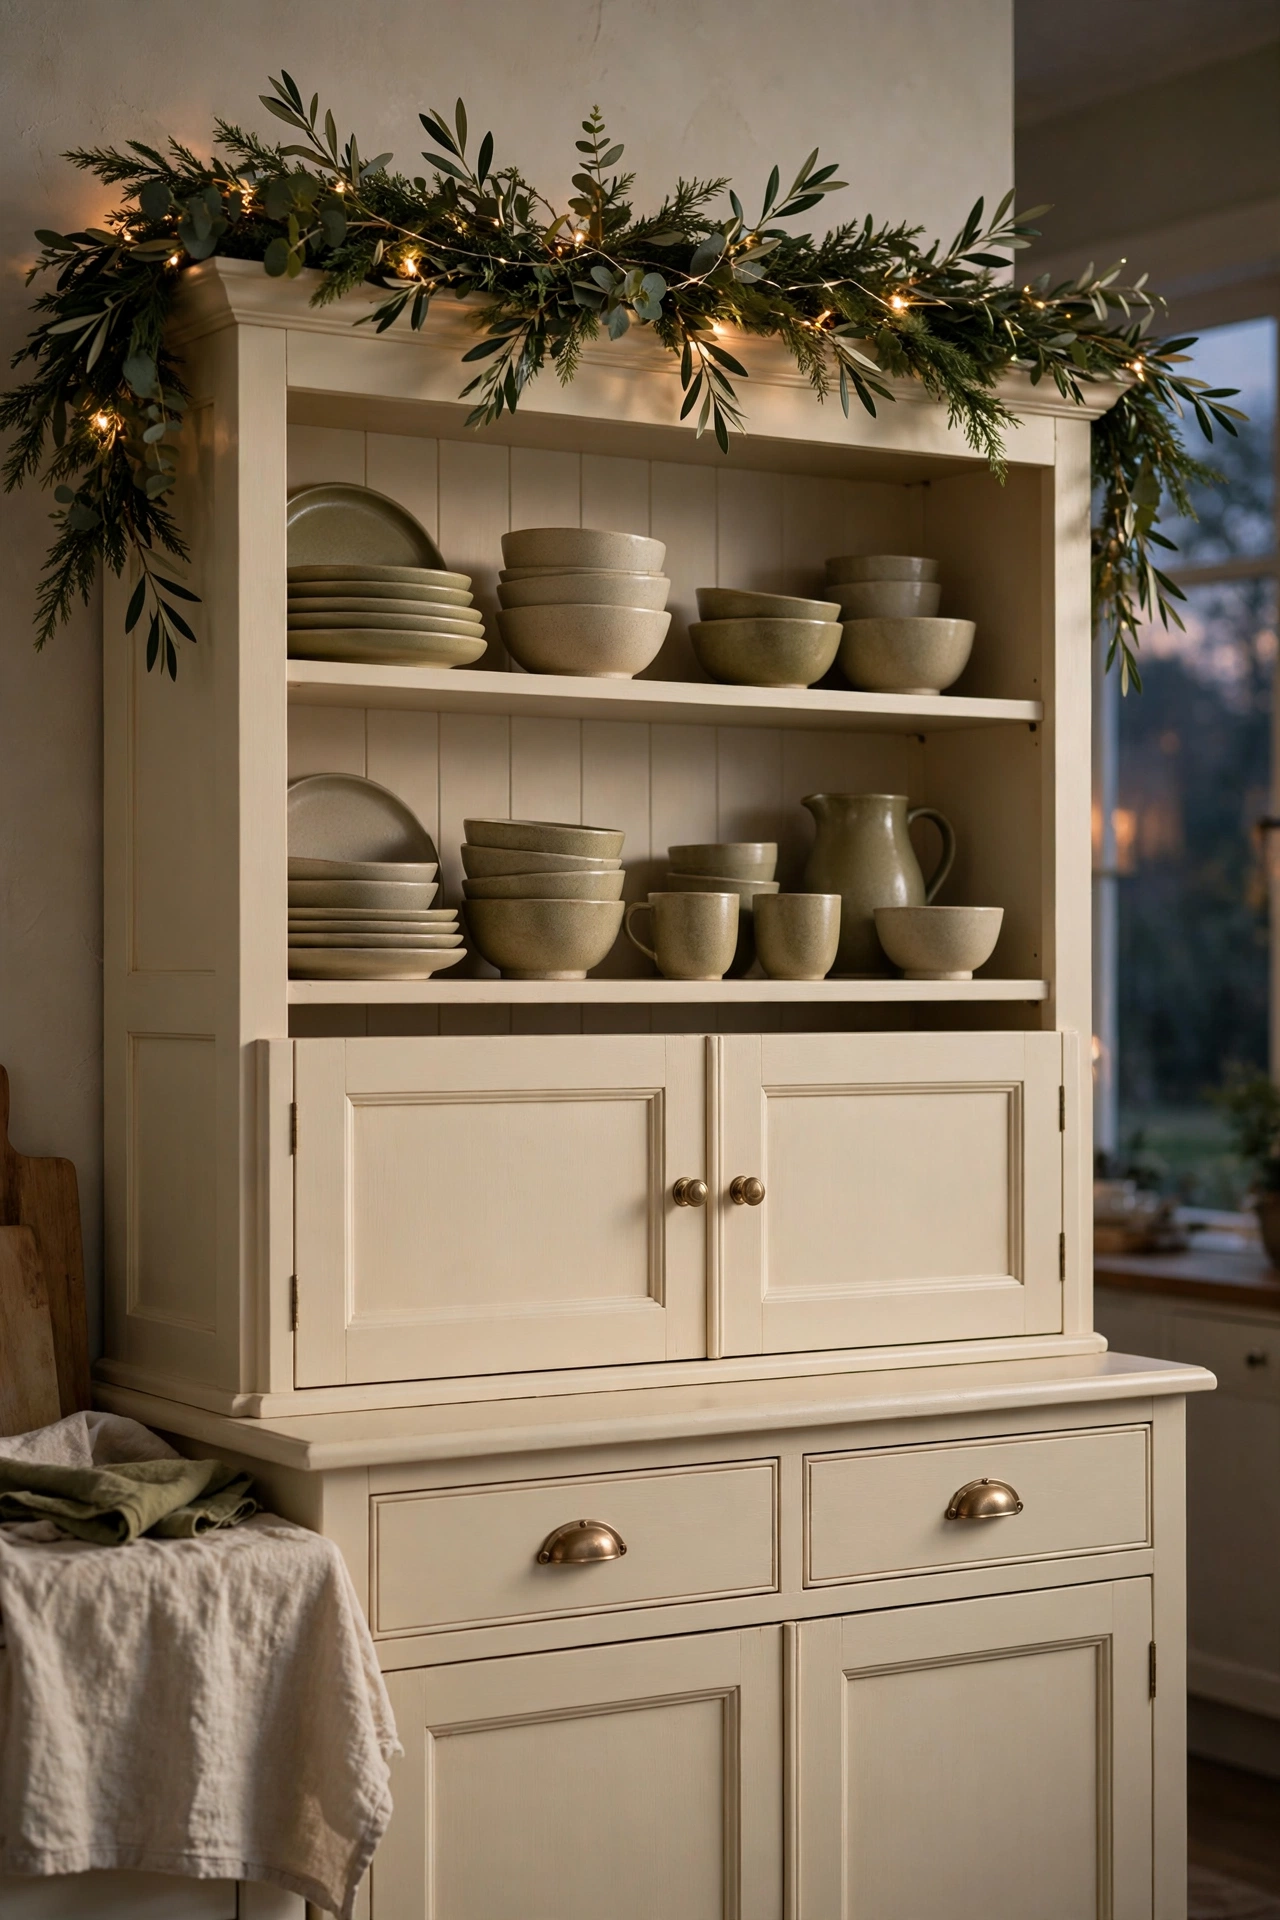
Shelf garland stays when it is held at the back edge and styled around the objects, never balanced among them.
Shelves tempt people into simply laying garland along the front edge and calling it done, and then the first book pulled from that shelf in December drags the whole run with it. I run shelf garland along the back of the shelf instead, tucked behind the book rows and frames, with a small clear hook or a flat strip at each end and one in the middle for long shelves. The green peeks through and over the objects rather than competing with them, which honestly looks more designed anyway, like ivy finding its way through a library. Where the garland crosses in front of objects, I choose sturdy ones, a stack of heavy books, a stoneware vase, things that act as friendly bookends for the green. Breakables get moved back or moved out for the season. A shelf is a working surface all December, and garland that respects that survives it.

Shape It Until It Looks Lush
A garland that is anchored well but shaped badly still looks tired, so this is where the styling earns its keep. Joins disappear, cords hide, swags even out, and only then do the bows and ornaments go on. I learned the order the hard way, by wiring a bow onto garland that later needed to move. Shape the green first. Decorate last.
12. Join Two Garlands With an Overlap and Hidden Wire
An overlapped and wired join disappears, while a butt joint announces itself and pulls apart.
Most runs need more than one garland, and the join is where amateur work shows. Two ends butted together leave a thin seam that catches light and, worse, a weak point that flexes every time the garland shifts. I overlap the ends by a full hand length instead, lay the branches in the same direction, and twist a short piece of green floral wire around both cores at the back of the overlap. Then I fan the branches of each garland over the join from opposite sides, so foliage crosses the seam in both directions and the wire vanishes completely. The finished join is actually fuller than the garland around it, which is the secret to placing joins well. I put joins at anchor points whenever I can, so the strongest part of the run is also the most supported, and I never place a join at the low point of a swag, where the pull is greatest.

13. Add Lights Before Ornaments So Cords Stay Hidden
Lights woven first sit deep in the green, while lights added last ride on top and drag the garland with their cords.
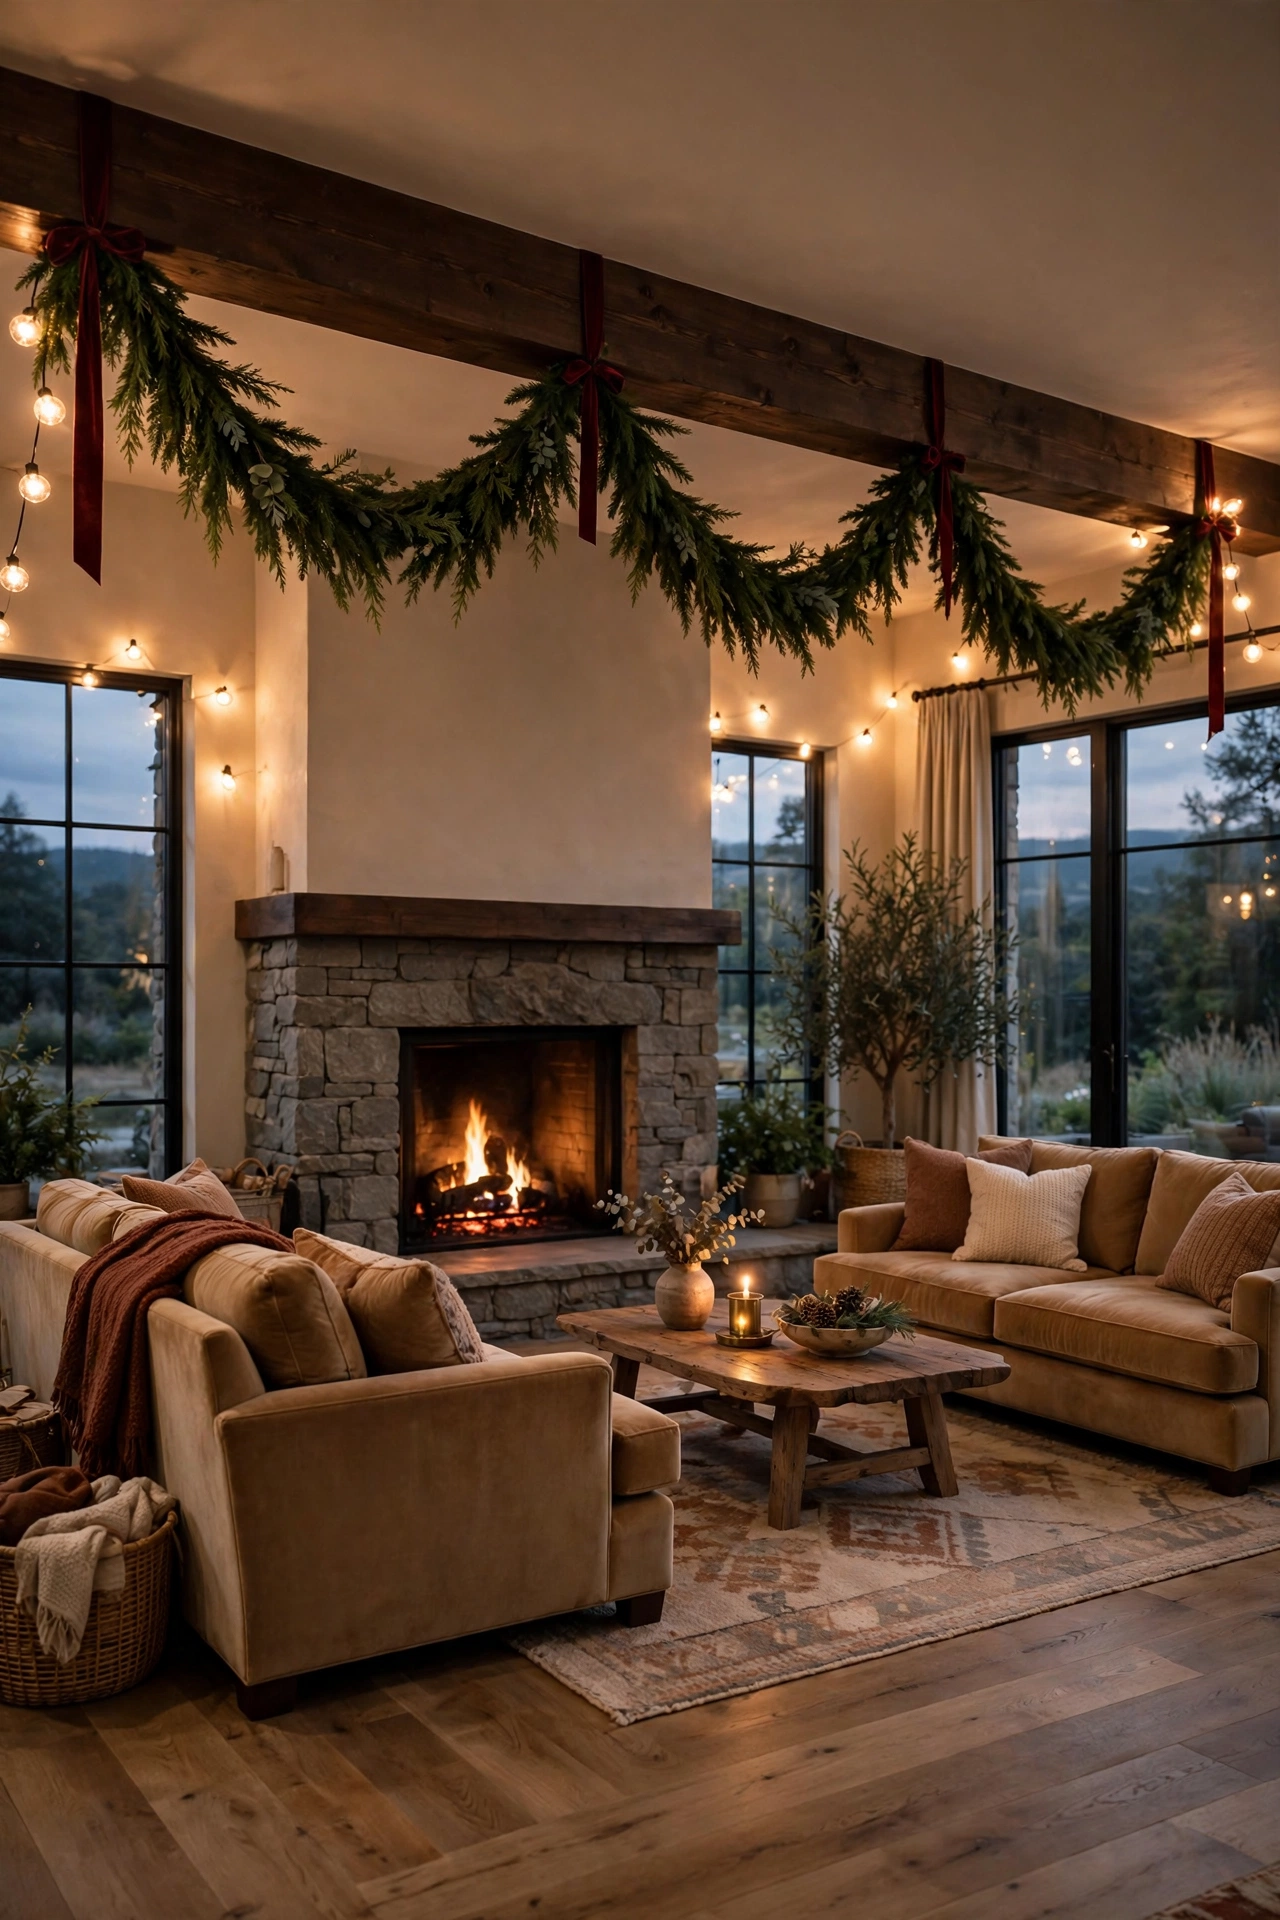
Order matters, and this order is lights before everything else decorative. I weave the light string through the hung garland slowly, pushing the cord deep toward the core and letting each bulb settle just inside the branch tips, so the glow seems to come from inside the green. Working this way means the cord becomes part of the structure instead of a net thrown over it. I plug in as I go and check the glow from across the room after every few feet, because even spacing is easy to judge at distance and impossible to judge with your nose in the branches. Warm cluster lights are the current favorite for a reason, they gather light into soft pools rather than a dotted line, and they suit the burgundy and brass mood of this season beautifully. Battery packs get tucked at the back of the mantel or behind a banister post, never left dangling as a slow pull on one end.
14. Build the Swag in Gentle Even Dips
Even dips share weight evenly, while one deep hero dip overloads its two anchors and sags further daily.
The swag is the look everyone wants and the load nobody plans. A dip of garland hangs from its two anchors like a hammock, and the deeper the dip, the harder those anchors work and the more the garland creeps downward overnight. I keep dips gentle, about a hand depth below the anchor line on a mantel, a touch deeper on a banister where the ties are stronger, and I make every dip on a run the same depth by measuring the first one with my hand and matching it. Matching matters for looks too. A run of even dips reads as calm and designed, while uneven dips read as an accident in progress, because honestly that is what they are. If you crave one dramatic deep dip, give it its own extra anchor at the center bottom of the dip, hidden in the green, so drama stops being a load problem.
15. Shape the Tails and Ends So They Look Intentional
Finished ends with a flare and a bow read as design, while blunt cut ends read as surrender.
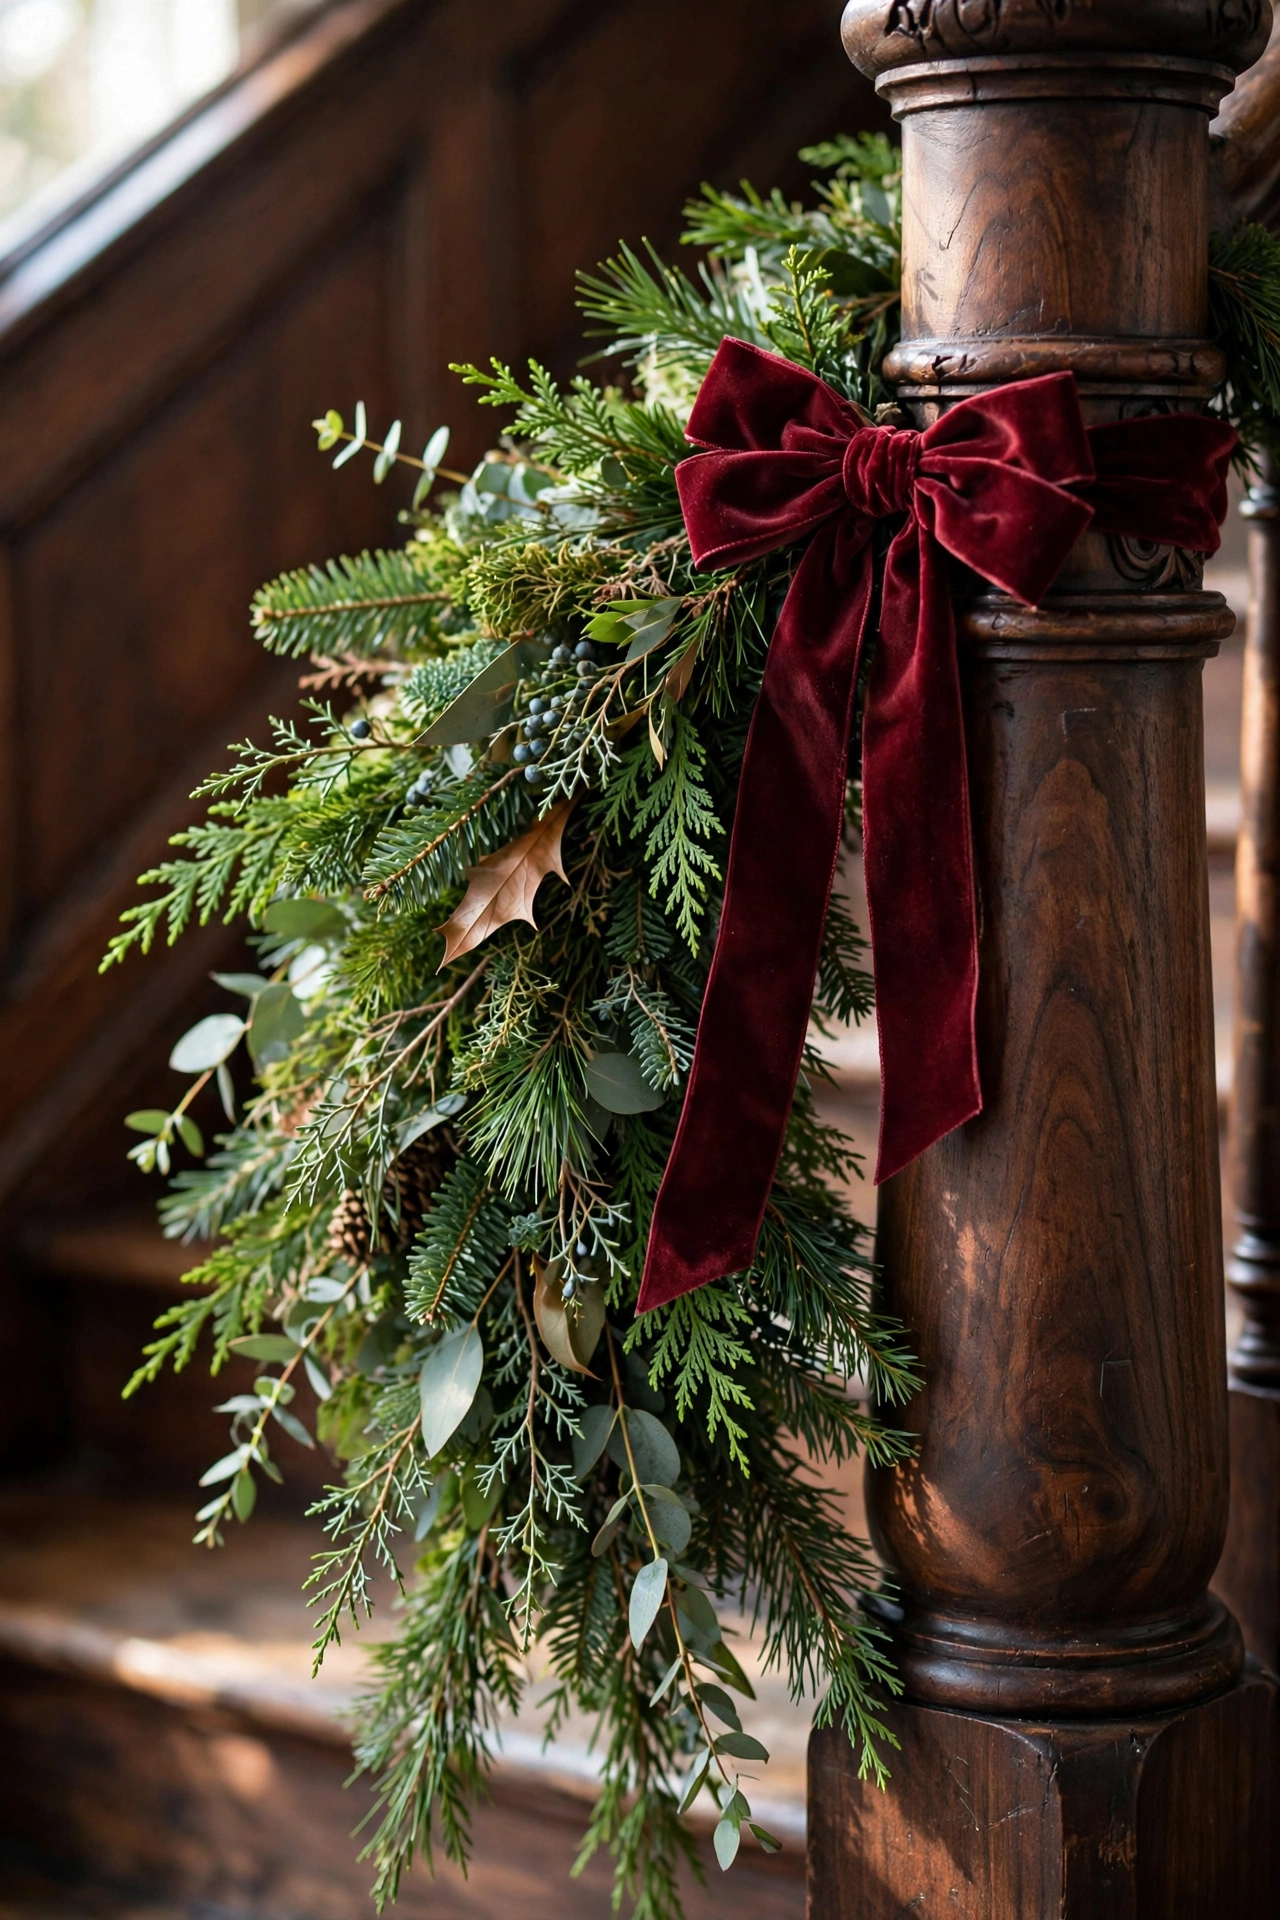
Where garland ends tells the whole story of whether a run was planned. A blunt chopped end, especially one hanging mid wall, makes even perfect work look unfinished. I finish every end on purpose. On a mantel the tails turn and trail a short way along the shelf, fanned wide and tucked behind a candlestick or a stack of books, so the green seems to settle rather than stop. On a banister the tail wraps once around the newel post and finishes with a bow, which also adds one more honest hold at the weakest point. Around a doorway the legs end just above the floor with the last branches fanned and lifted slightly off the ground, because garland that puddles on the floor collects dust, gets stepped on, and wicks up every mop splash in the house. Spend five minutes per end. Guests may never name what you did, but they feel it.
16. Layer Bows and Ornaments Only After the Base Holds
Heavy pretty things go on last, onto a base that has already proven it can carry plain green.
This is my second principle keeping its promise. Support before styling, always, and bows are styling. An oversized velvet bow is the look of the season and I adore them, burgundy velvet against deep green with brass bells at the knot, but a big bow is also a sail and a weight, and wiring six of them onto a garland that has not yet settled is how good garland ends up face down. I hang the plain garland, I live with it for a day, I do the tug test you will meet in step eighteen, and only then do the bows, ornaments and pinecones go on, each wired to the garland core with its own short twist of floral wire, never clipped to branch tips. Ornaments cluster near anchors, where the support is strongest, and the lightest pieces ride the middle of the swags. Your eye reads clusters as abundance and your anchors read them as mercy.
Live With It, Then Put It Away Well
The last three steps are about December itself and the January that follows. A garland has to survive real life, real heat and real doors, and then it has to come down without becoming next year’s tangled regret. Finish this section and you do not just have garland that stays put this season. You have a system you will reuse for a decade.
17. Keep Garland Clear of Heat and Open Flame
Garland that stays put must also stay safe, with clear space from fireboxes, candles and heaters all season.
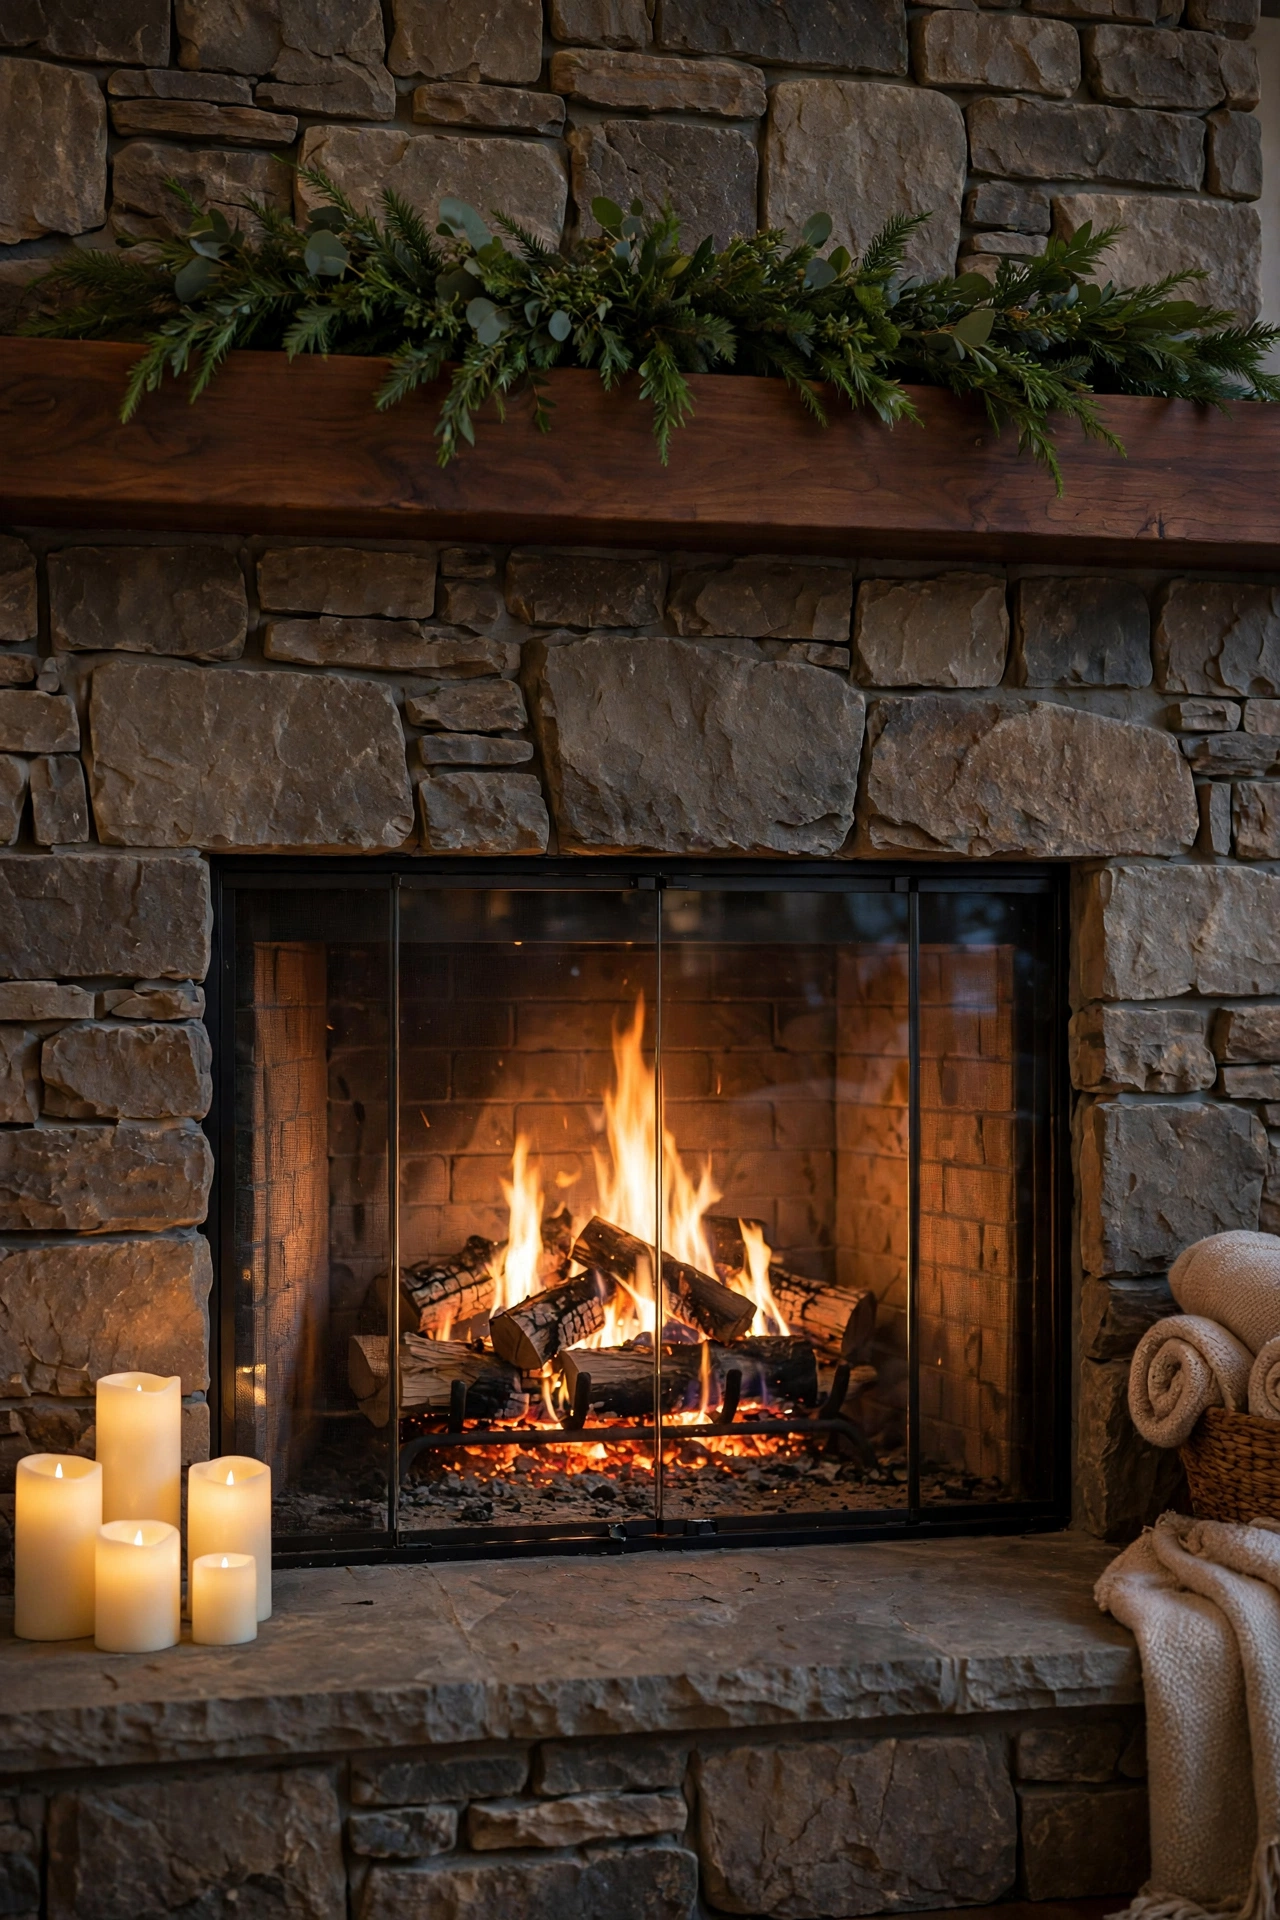
A garland can hang perfectly and still be wrong, if it hangs too close to heat. I keep a clear hand span and more between green and any firebox opening, and I never let a tail or a low dip hang in front of a working fireplace, no matter how pretty the silhouette. Faux garland softens and fresh garland dries near heat, and dried fresh garland above a fire is a risk I simply do not take in a house with a kid and a December full of distractions. Candles on the mantel move to the hearth or the table when the garland goes up, or they become flameless for the season, which honestly suits me fine because the warm glow is the point and nobody has to remember to blow anything out. Heat vents get the same respect. Garland draped over a vent dries out, blows about, and heats a room unevenly all at once.
18. Do the Tug Test and the Door Test
A garland that survives a firm tug and a day of real doors today will survive December.
Before I style a single bow, every run in my house passes two tests. The tug test is simple. I grip the garland at each swag low point and pull down firmly, about the force of a curious child or a stocking being stuffed, and I watch the anchors. Anything that shifts, peels at a corner or creaks gets reinforced now, with one more hook at that spot, while the failure is still a warning instead of a midnight event. The door test matters for doorway and entry runs. I open and close the door ten times at normal speed, then twice at teenager speed, and I watch for brushing, catching or a slow creep at the corners. Real life will repeat that test a thousand times in December, so the garland has to pass it bored, not barely. Ten quiet minutes of testing is the cheapest insurance in this whole guide, and it is the step that turned my garland from annual drama into annual routine.
19. Store It Rolled With Its Ties So Next Year Starts Easy
Garland stored in a loose roll with its ties tucked in comes out next year ready to hang, not ready to untangle.
The last step happens in January and it decides how next December begins. I take garland down in the reverse order I hung it, bows and ornaments off first, lights unwoven gently, anchors last, and I never yank a run down in one pull, because that bends the core wire into shapes no fluffing can fix. Then I roll each garland into a loose coil, about the size of a wreath, and drop it into a cotton storage bag with its own ties and a small note about where it hung and how long the run was. That note is next year’s step one already done. Stored flat in a bin, garland crushes on one side and comes out lopsided. Stored rolled, it keeps its roundness, and my future self opens the bag to find a garland that needs ten minutes of fluffing instead of an hour of apology. Good storage is just good hanging, started early.

More Favorites
This post contains affiliate links. If you buy through them, I may earn a small commission at no extra cost to you.
A few more favorites from the ideas above:


If your garland has spent past Decembers sliding, sagging and staging its little midnight escapes, I hope this guide retires that tradition for good. None of these steps is hard. Together they are simply a system, measure honestly, anchor closely, match the hold to the surface, shape before you style, and test before you trust it. The garland itself almost does not matter. I have hung five dollar garland that stayed like a champion on good anchors, and I have watched expensive garland pool on the hearth because it was hung on hope.
Start with one run this year, the mantel is the most forgiving teacher, and let it prove the system to you. Next year the banister and the doorway will take you half the time, because your hands will already know the order of things. Then pour something warm, turn the lamps low, and enjoy the room the way December intended, green and glowing and exactly where you left it. If cozy rooms are your love language the way they are mine, you will find more of that feeling waiting in my cozy fall bedroom ideas for the quieter corners of the house.
With love and light
Get Fresh Home Ideas Every Week
Seasonal decor ideas, organizing tips, and cozy home inspiration, straight to your inbox.
More Christmas Ideas You Will Love
Keep browsing for more seasonal inspiration: