
Two more principles I live by. Start with the bones, finish with the garnish. That means the structure and the big stems go in first, and the delicate pretty bits go in last so they never get crushed. And leave breathing room. Negative space is what makes a wreath look elegant instead of crowded, so resist the urge to fill every gap. The base showing through is a feature, not a mistake.
These 19 ideas all follow that method. Pick the one that matches your door, grab the stems, and give yourself an hour. You will be amazed what happens in forty five minutes when you stop overthinking it.
Love these ideas? Get more every week.
Join the newsletter for seasonal decor and cozy home inspiration.
Start with the Classics
These are the wreaths I come back to every single year. They are simple, they never look dated, and each one is genuinely finishable in under an hour. If you are new to wreath making, start here and build your confidence.
1. The Bare Grapevine Wreath That Does All the Work
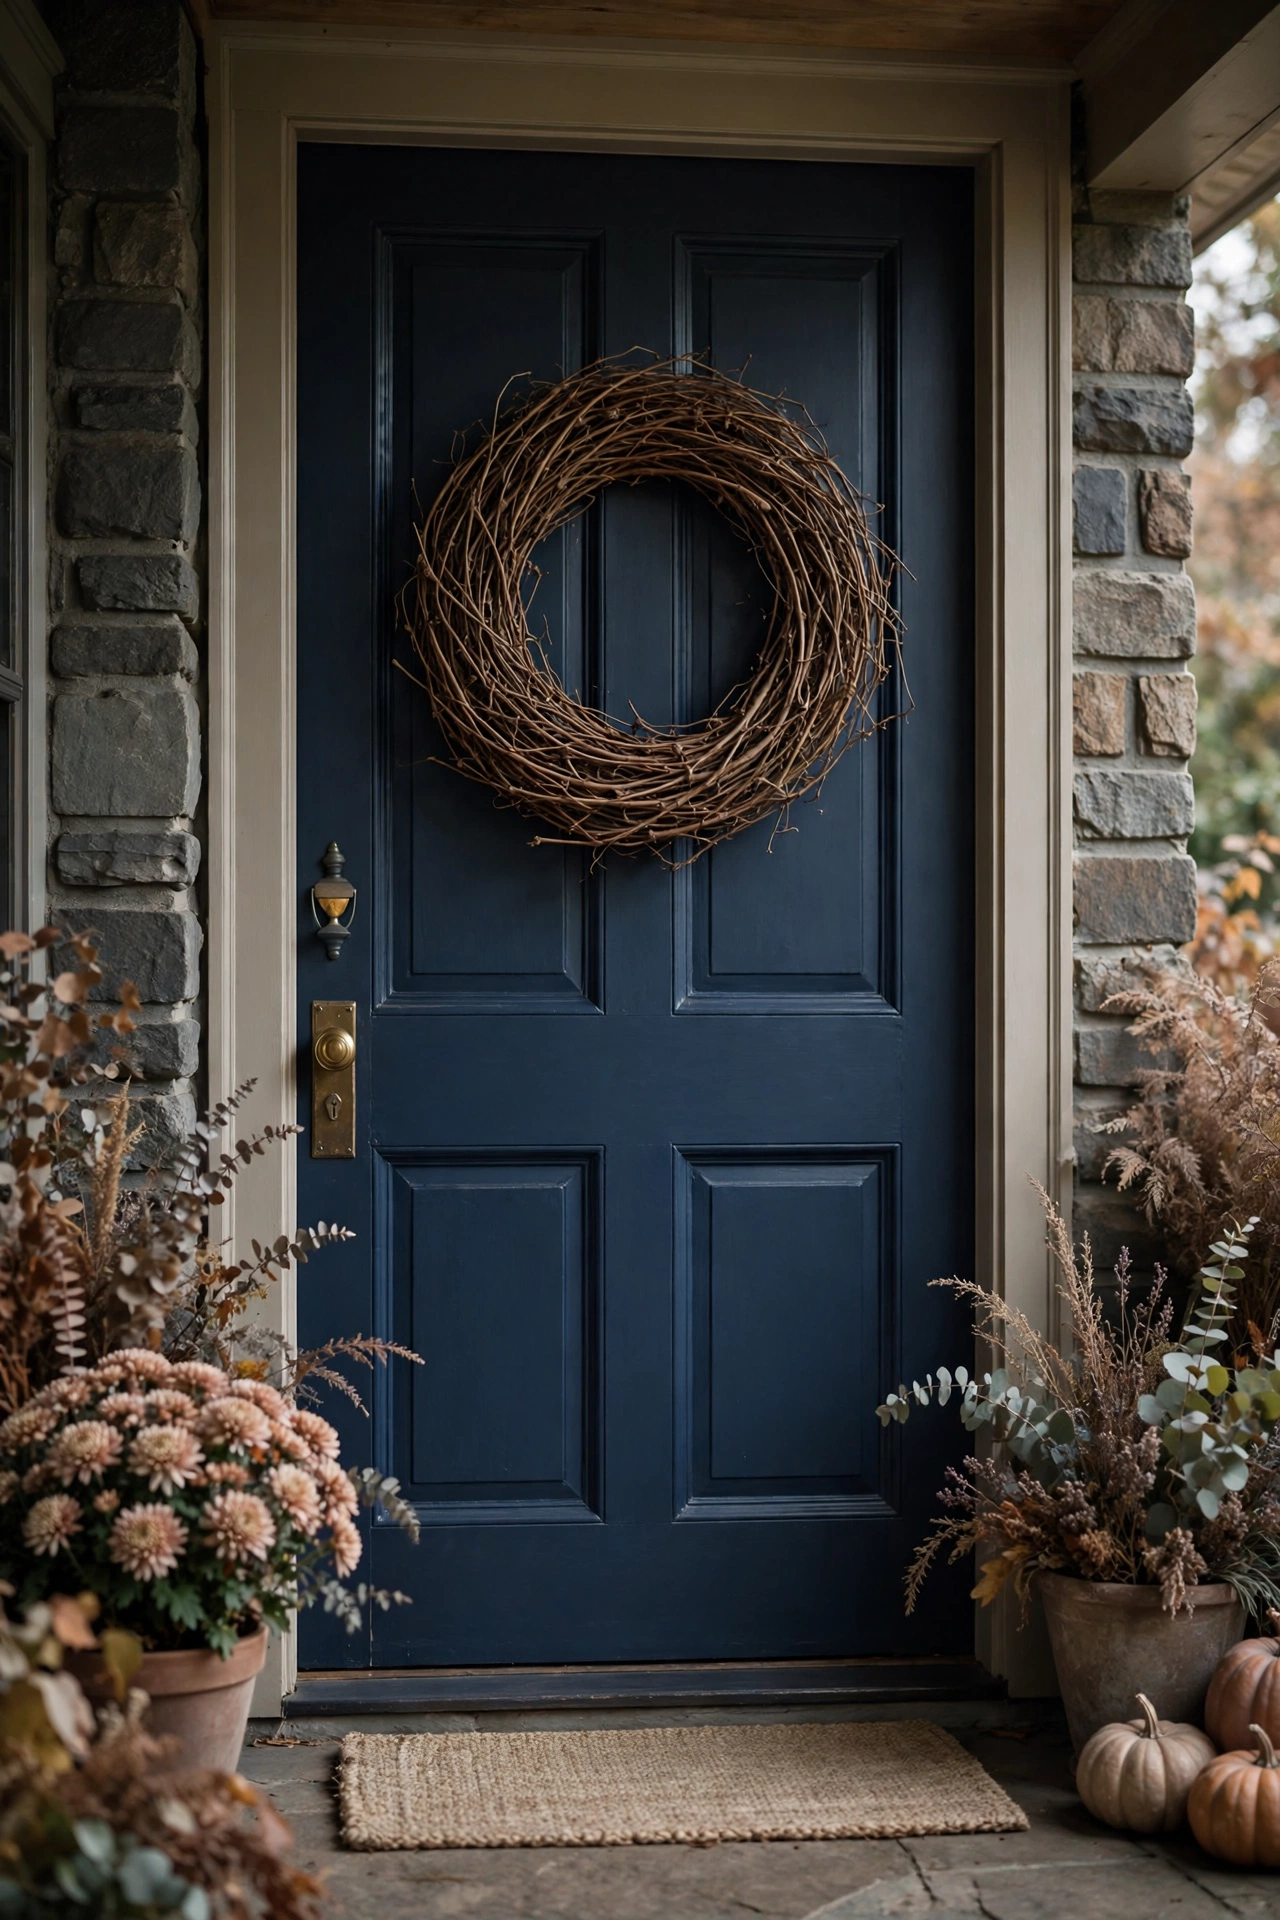
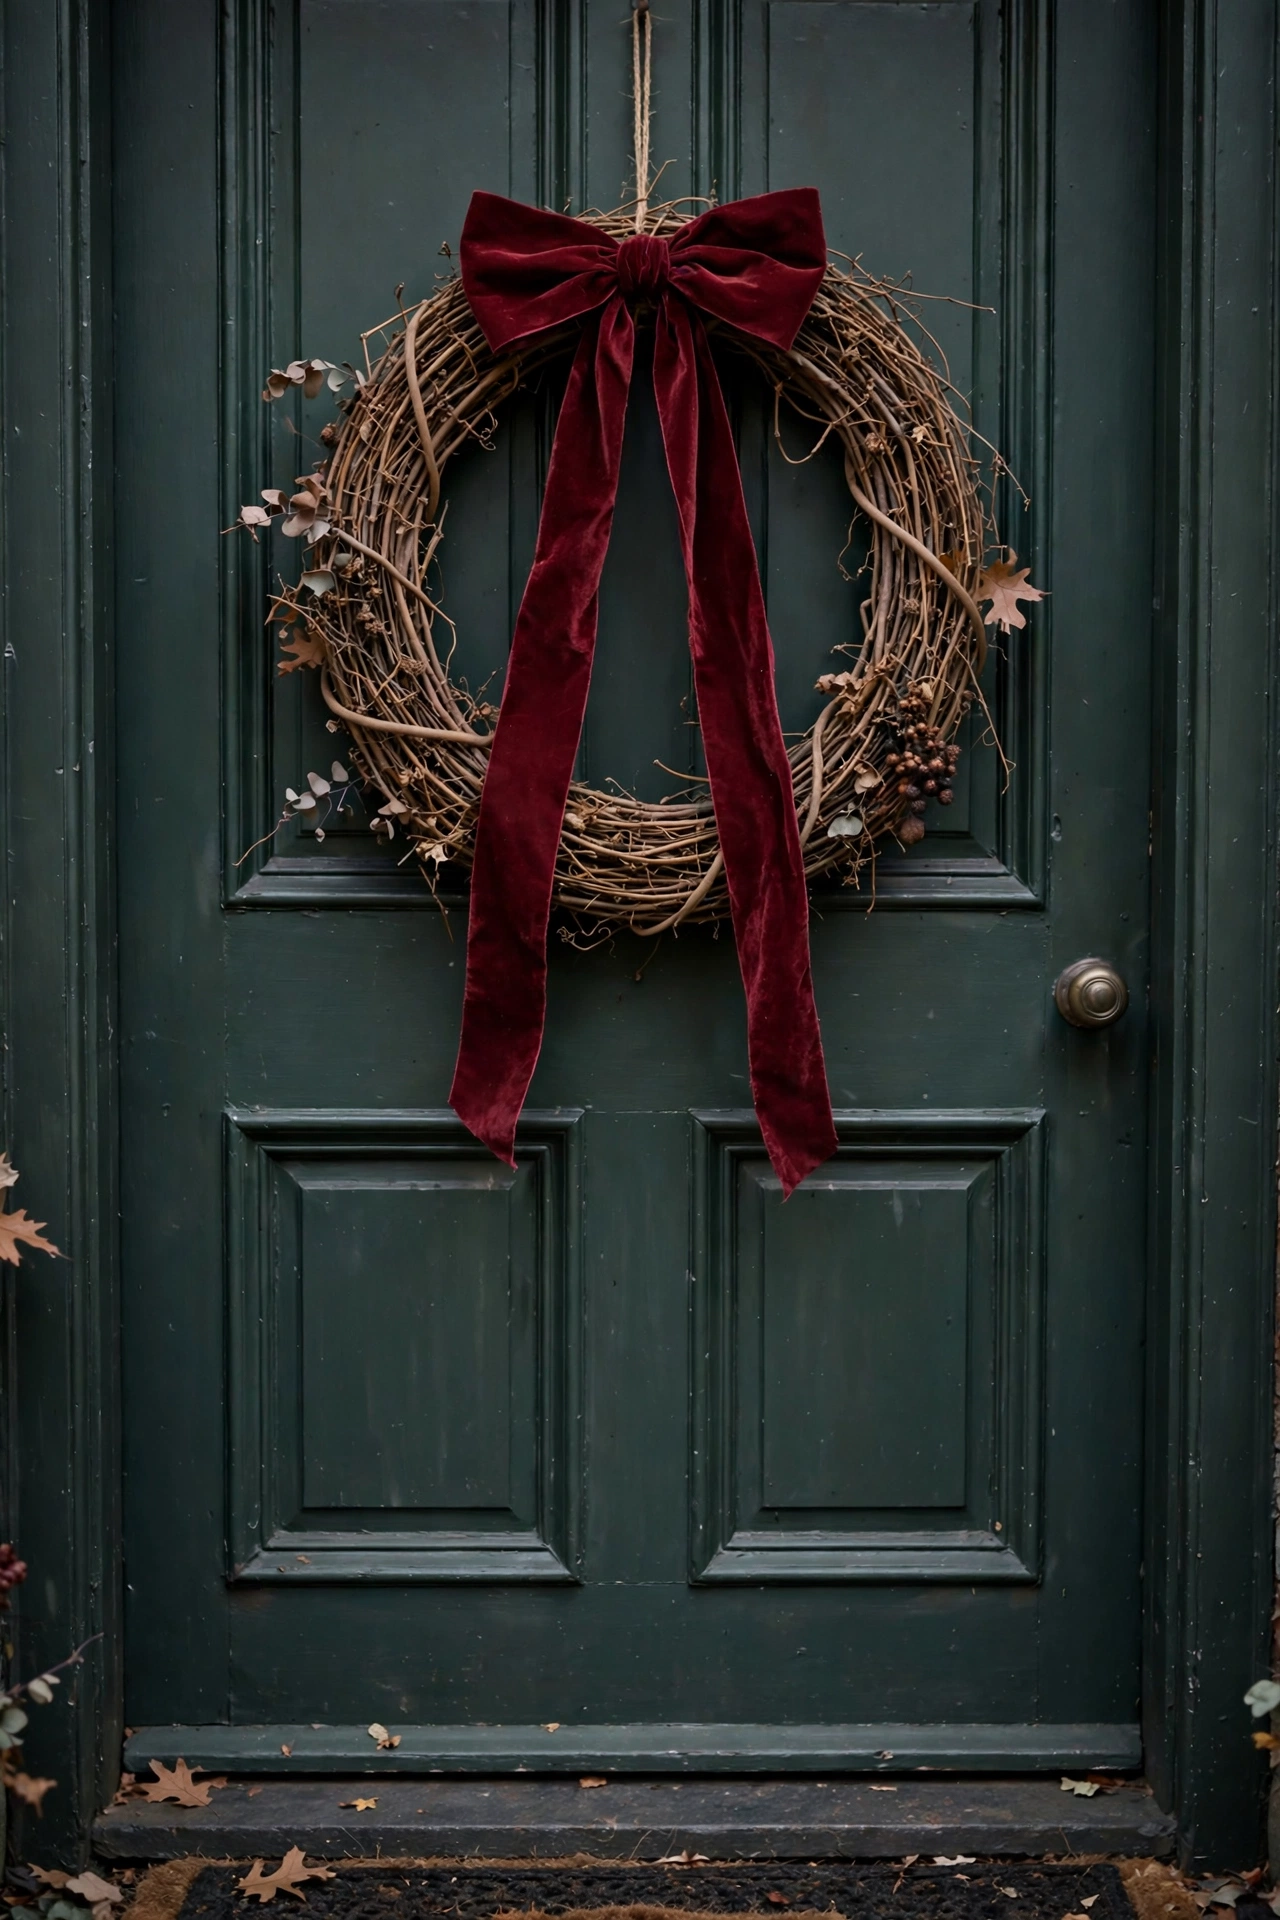
Sometimes the bravest choice is the simplest one. A plain grapevine wreath hung on a deep colored door is one of my favorite looks in the whole fall season, because the twisted texture does all the talking and you do almost none of the work. I hung a bare one on my navy door last October and three neighbors asked where I bought it. Nobody believes it cost nine dollars and took four minutes. The trick is scale. A big wreath, at least twenty four inches across, has enough presence to hold the door on its own. Anything smaller gets lost. This is my answer to anyone who says they are not crafty. You can absolutely hang a beautiful wreath. The wreath is already beautiful. You are just the person who puts it on the door.
Shop This Look
This post contains affiliate links. If you buy through them, I may earn a small commission at no extra cost to you.
A few favorites featured in the ideas above:
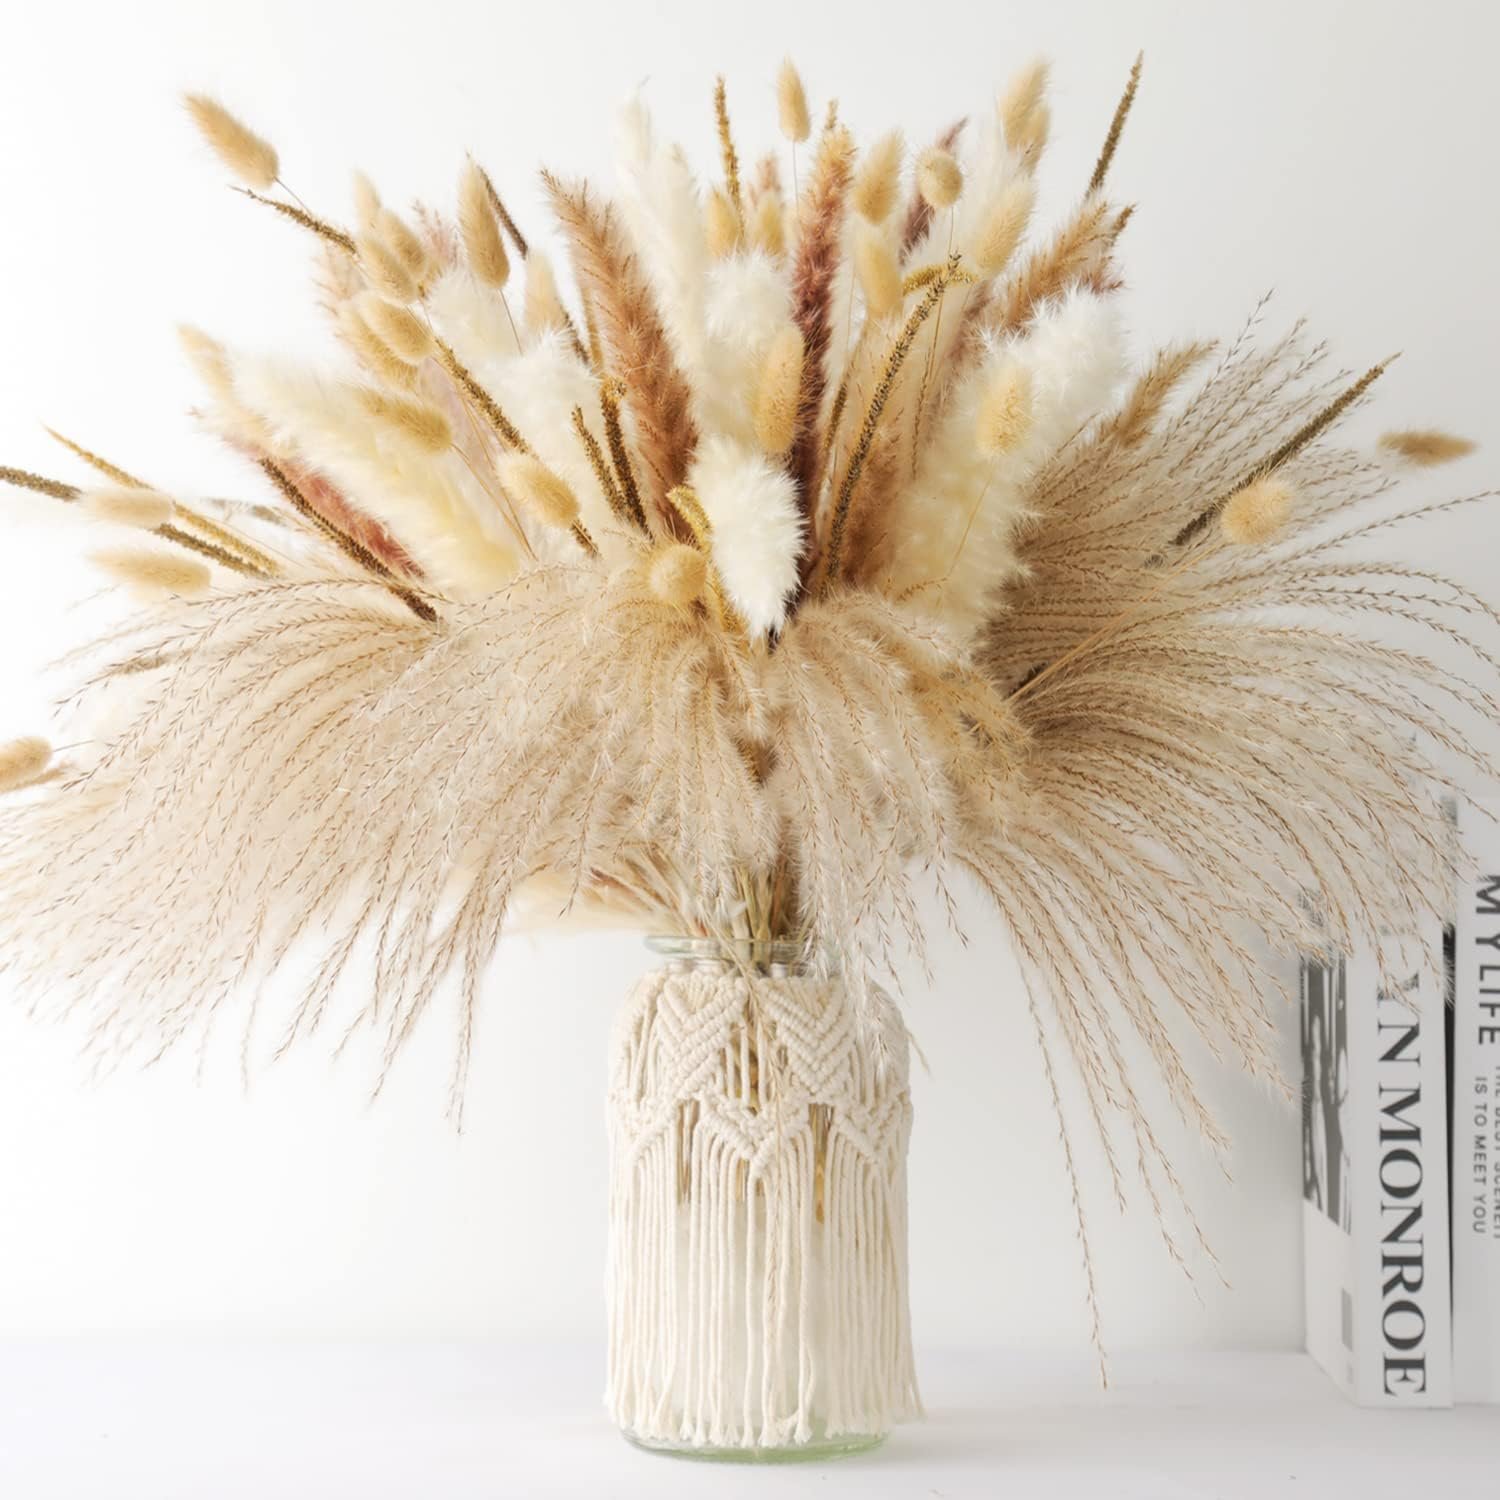
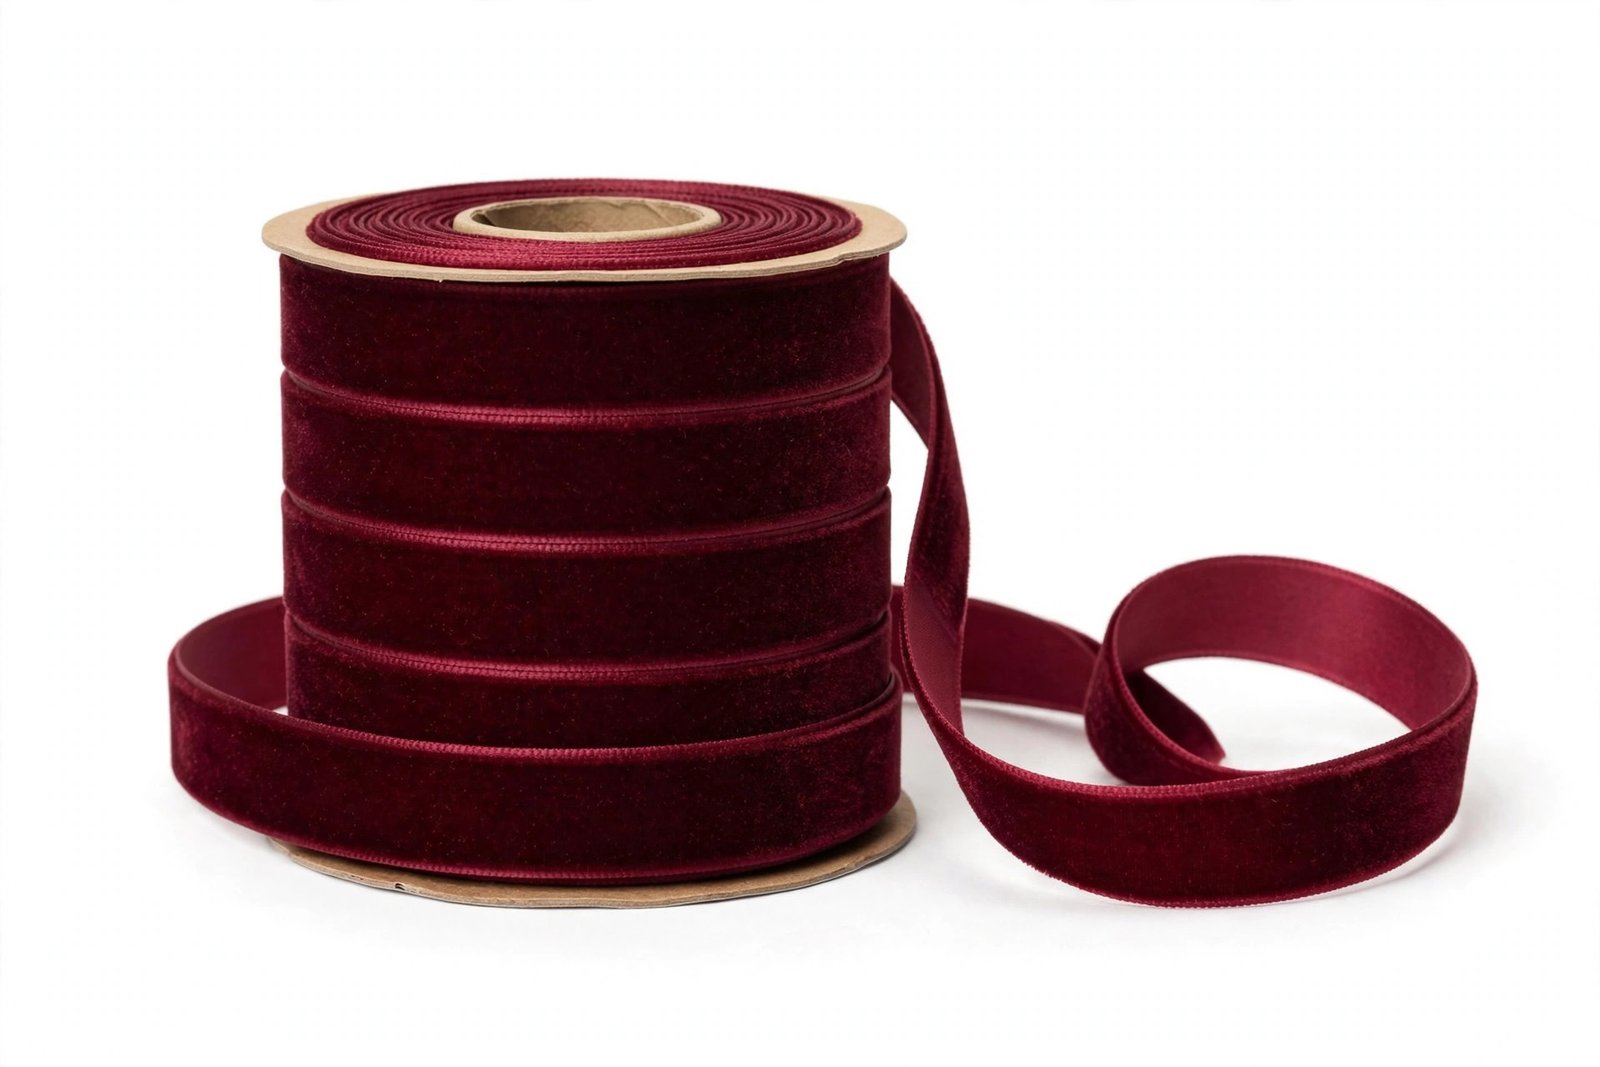
2. The Wheat and Eucalyptus Half Wreath
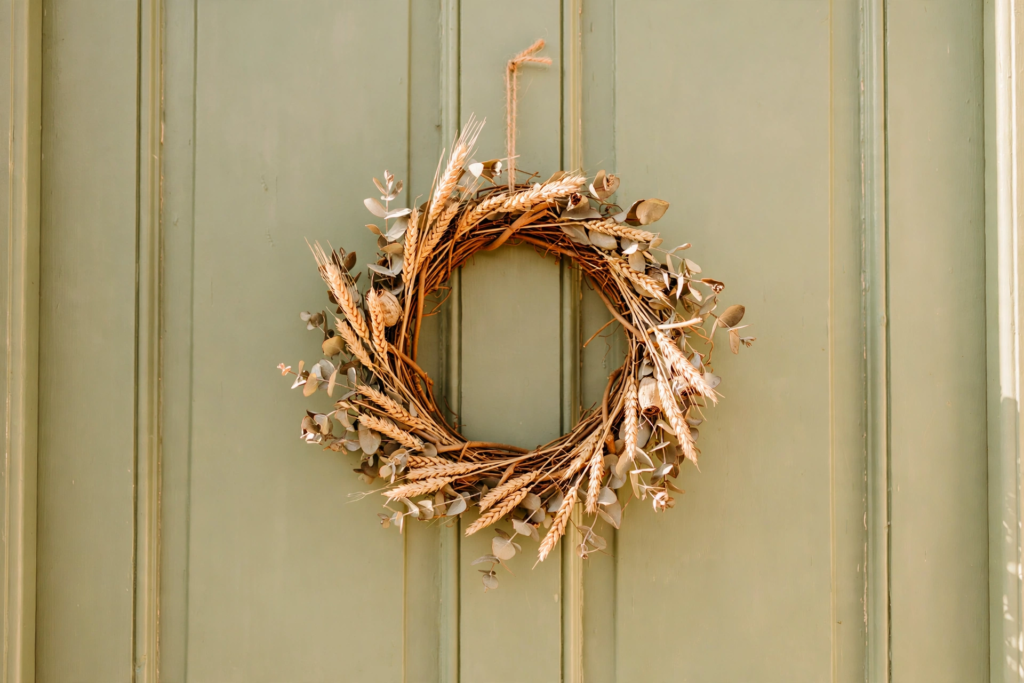
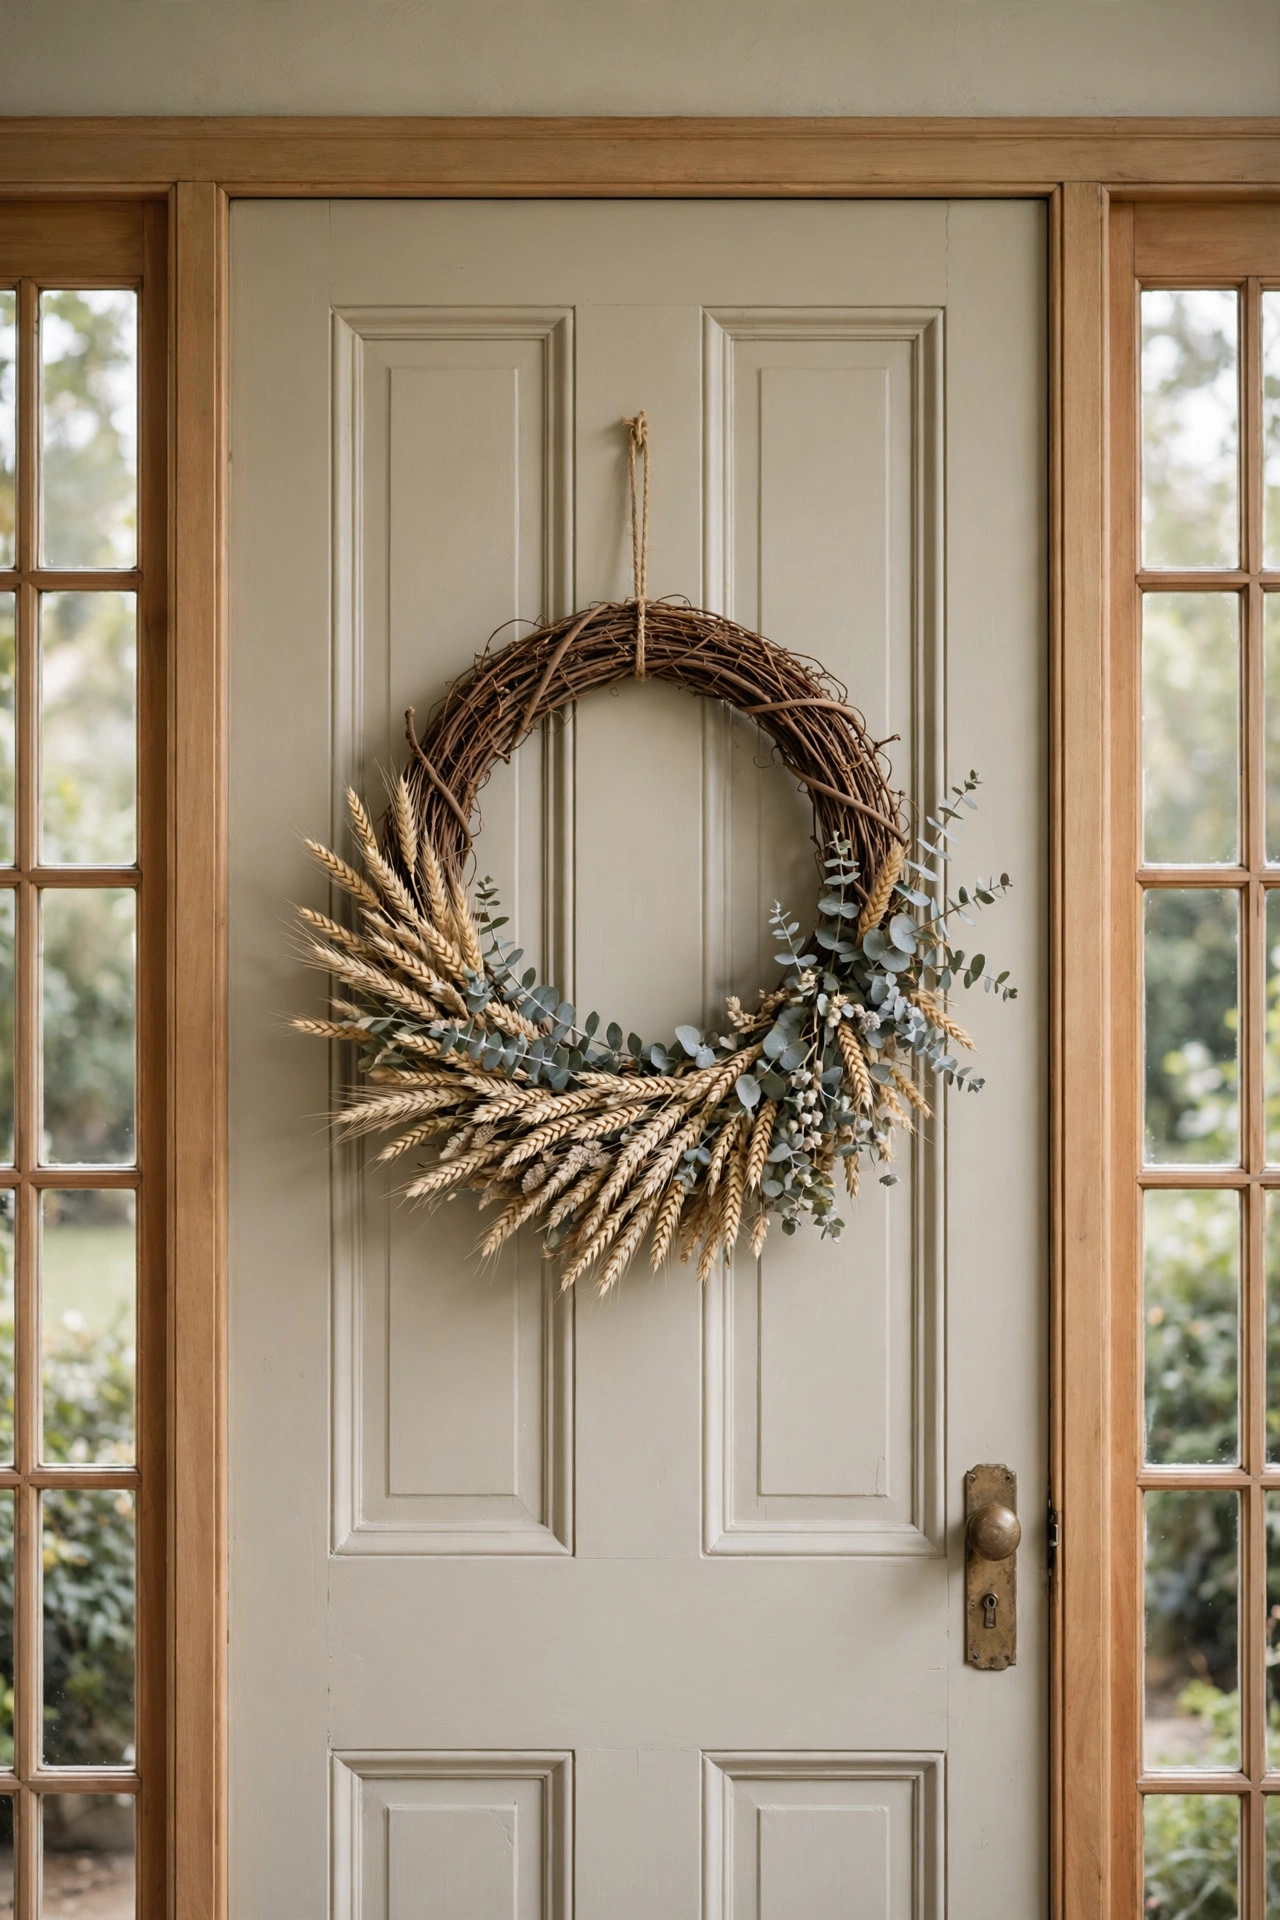
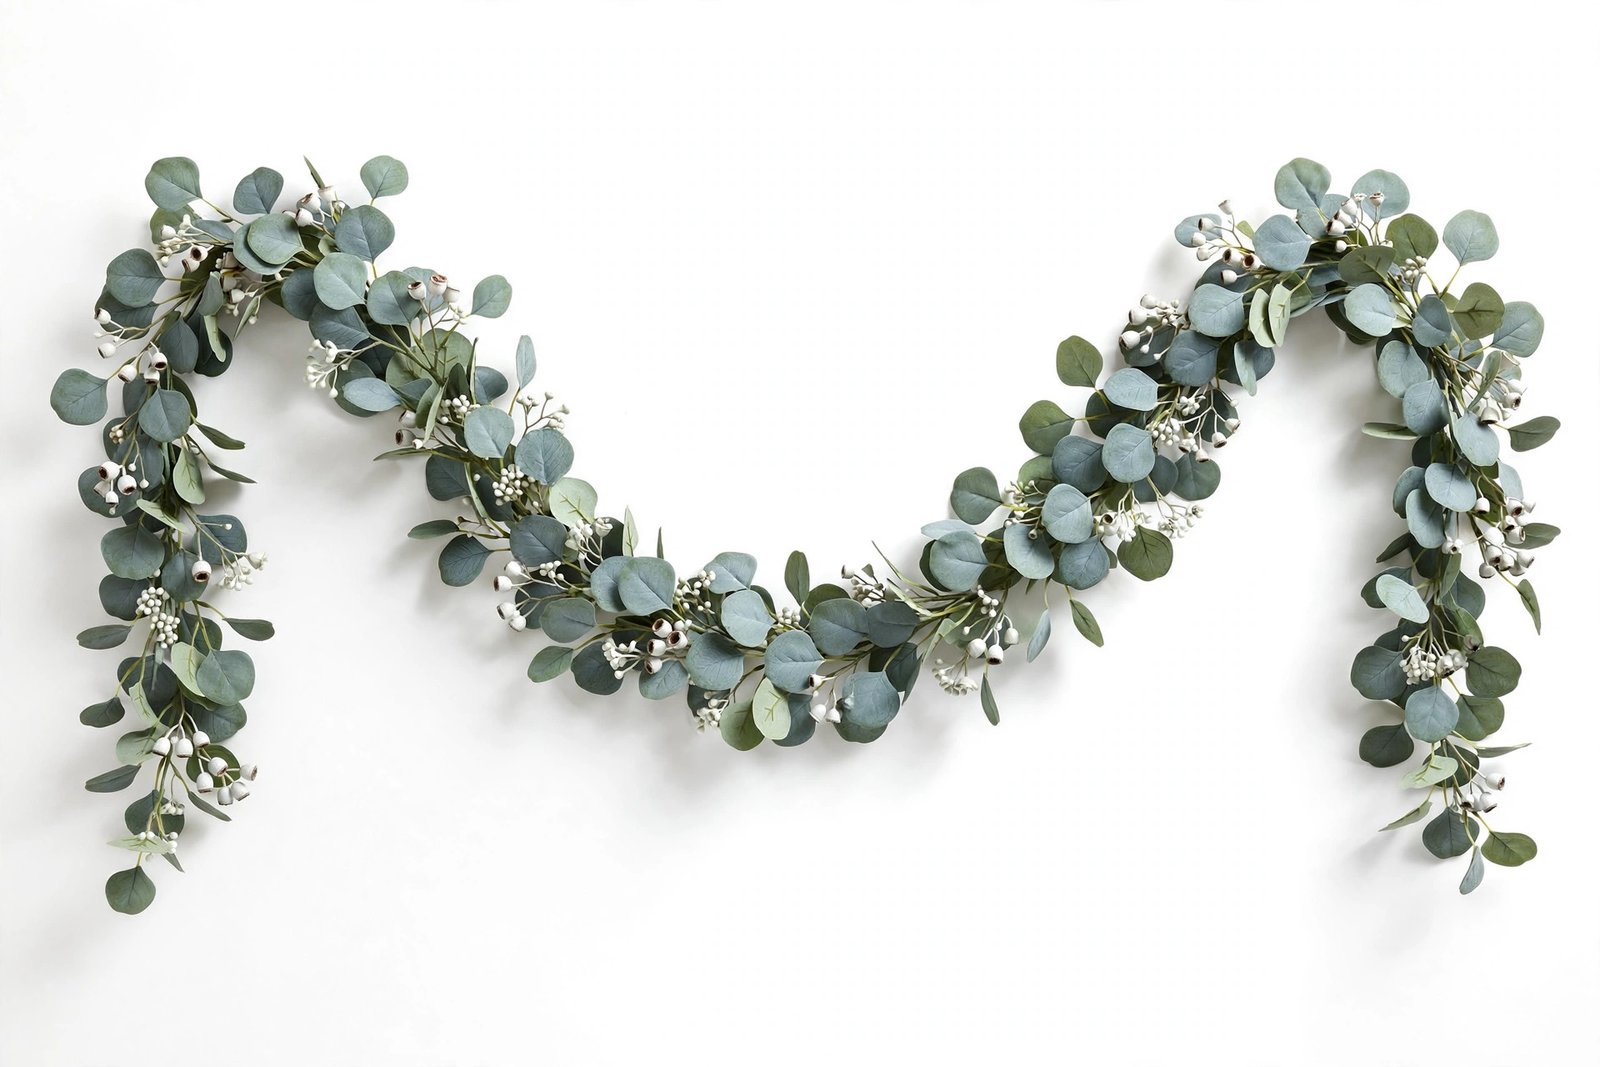
This is the wreath I make for friends when they ask for something easy, because it is almost impossible to mess up. You cover only half the grapevine base, which means you use half the stems, half the time, and you still get a wreath that looks like it came from a boutique. Lay your dried wheat stems along the bottom half all flowing in one direction, then tuck sprigs of eucalyptus over them so the silvery green breaks up the gold. The half covered look feels modern and intentional, like you made a design decision instead of running out of supplies. I love this one on a soft beige door with sidelights because the oatmeal tones of the wheat pick up the warm trim around it. Thirty minutes, start to finish, and that includes the time you spend admiring it on the door.
3. The Asymmetric Crescent Swag
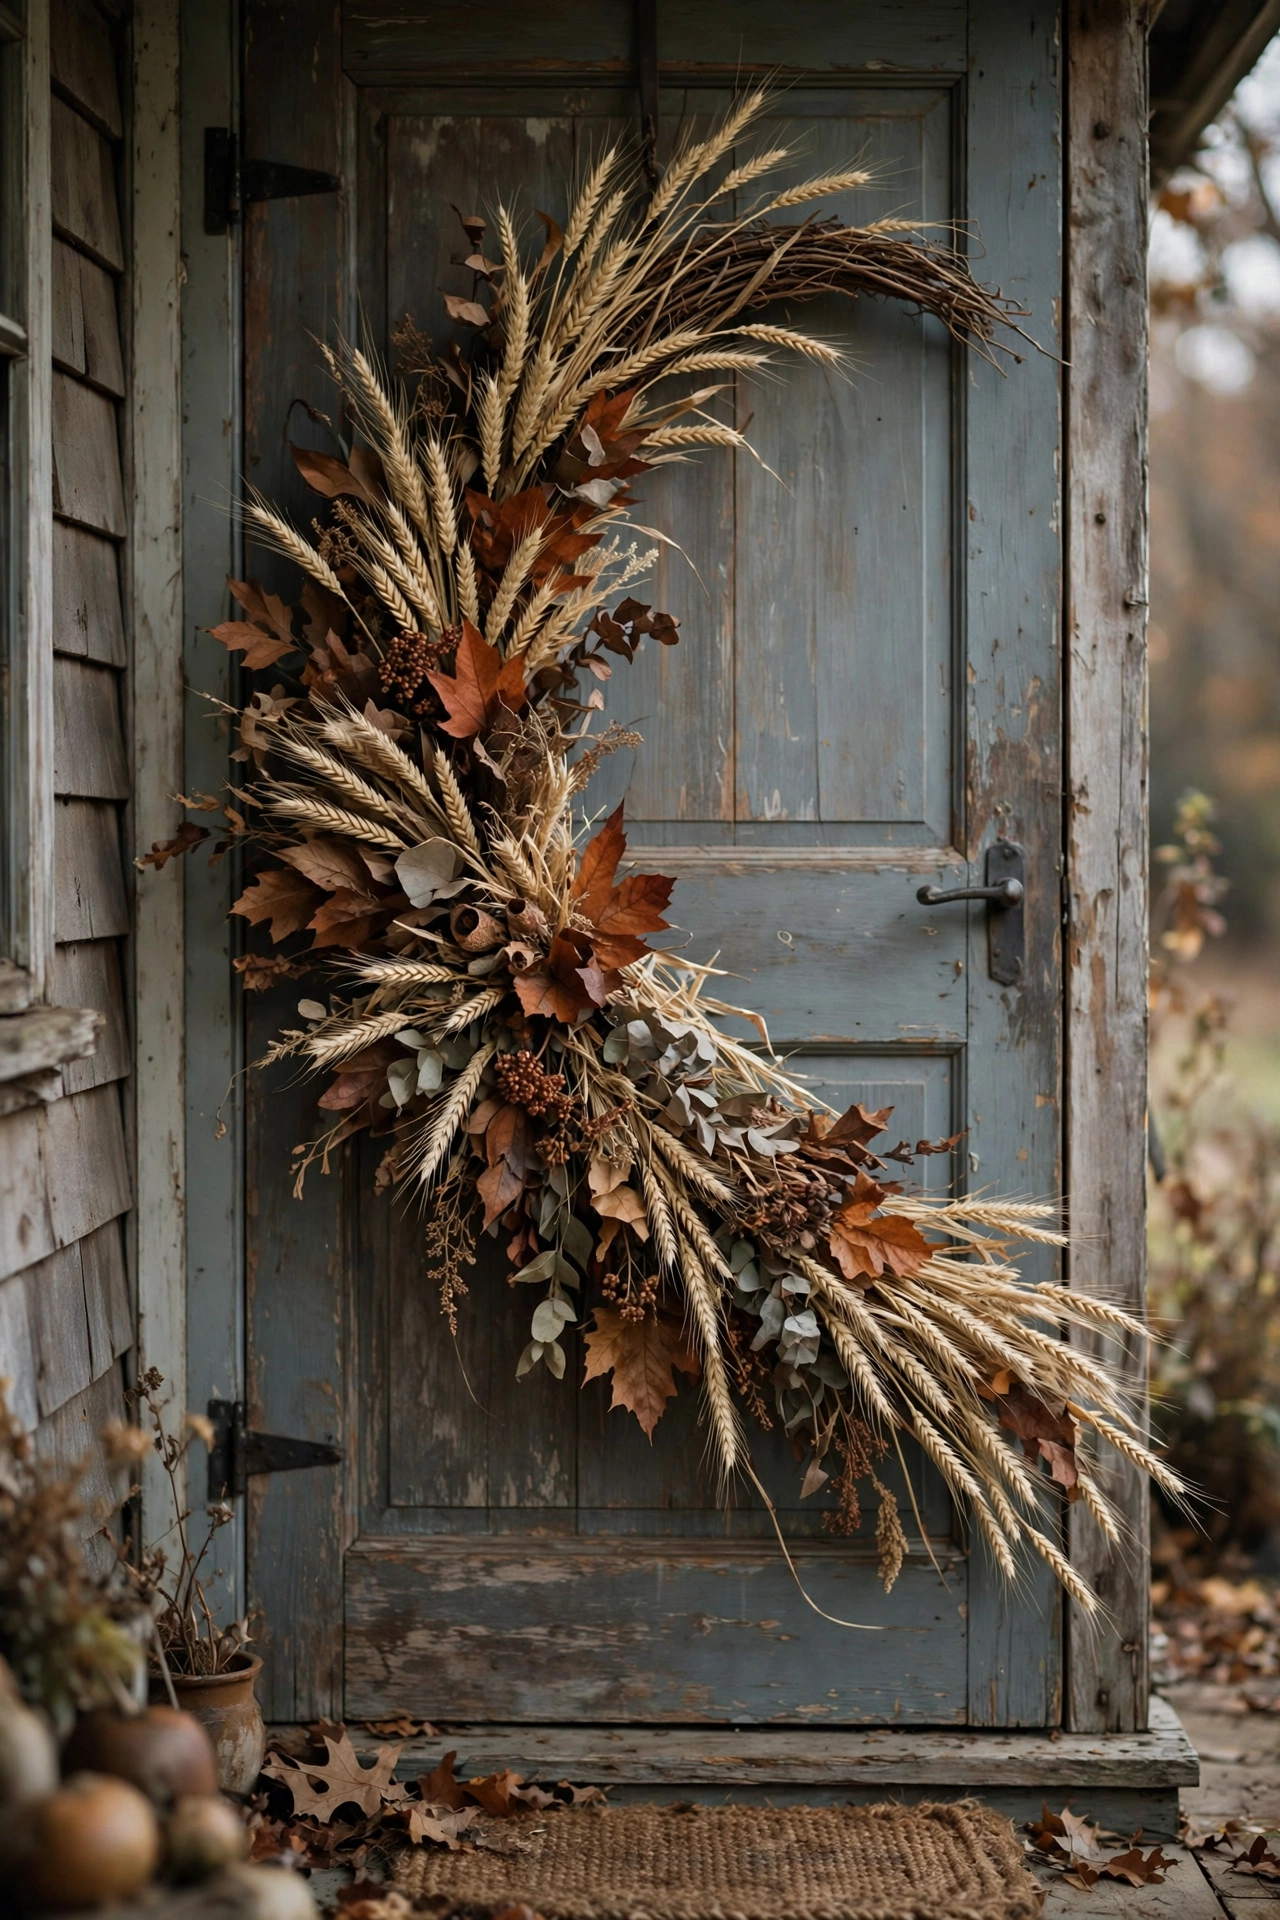
Not every fall wreath needs to be a circle. The asymmetric crescent, where you dress up one sweeping arc and leave the rest bare, looks like it belongs in a design magazine and takes less time than a full wreath. I like to start at the bottom left and sweep up the right side, layering dried wheat, a few rust colored leaves, and one chunky stem like pampas grass for height. The diagonal line draws the eye across the door and gives the whole entryway a sense of movement. This one shines on a farmhouse porch because the casual shape matches the relaxed setting. And here is the practical win. You need fewer stems than a full wreath, so one bundle of wheat and a few sprigs is genuinely enough.
4. The Five Minute Bow Refresh
Every October I buy one good velvet bow and consider my wreath making done for the season. This is the lowest effort idea in the entire post and I refuse to apologize for it, because a rich burgundy or camel velvet bow tied onto a plain grapevine wreath genuinely transforms the whole door. The secret is in the bow itself. Wide ribbon, at least two inches, and long tails that fall down the wreath. Skinny ribbon reads gift wrap. Wide ribbon reads interior design. I tie mine with a simple loop and two tails, fluff the loops a little, and let it be slightly imperfect. Perfect bows look stiff. Slightly crooked bows look handmade in the best way. If you have a wreath from last year sitting in a closet, this is its second life.
5. The White Pumpkin Tuck
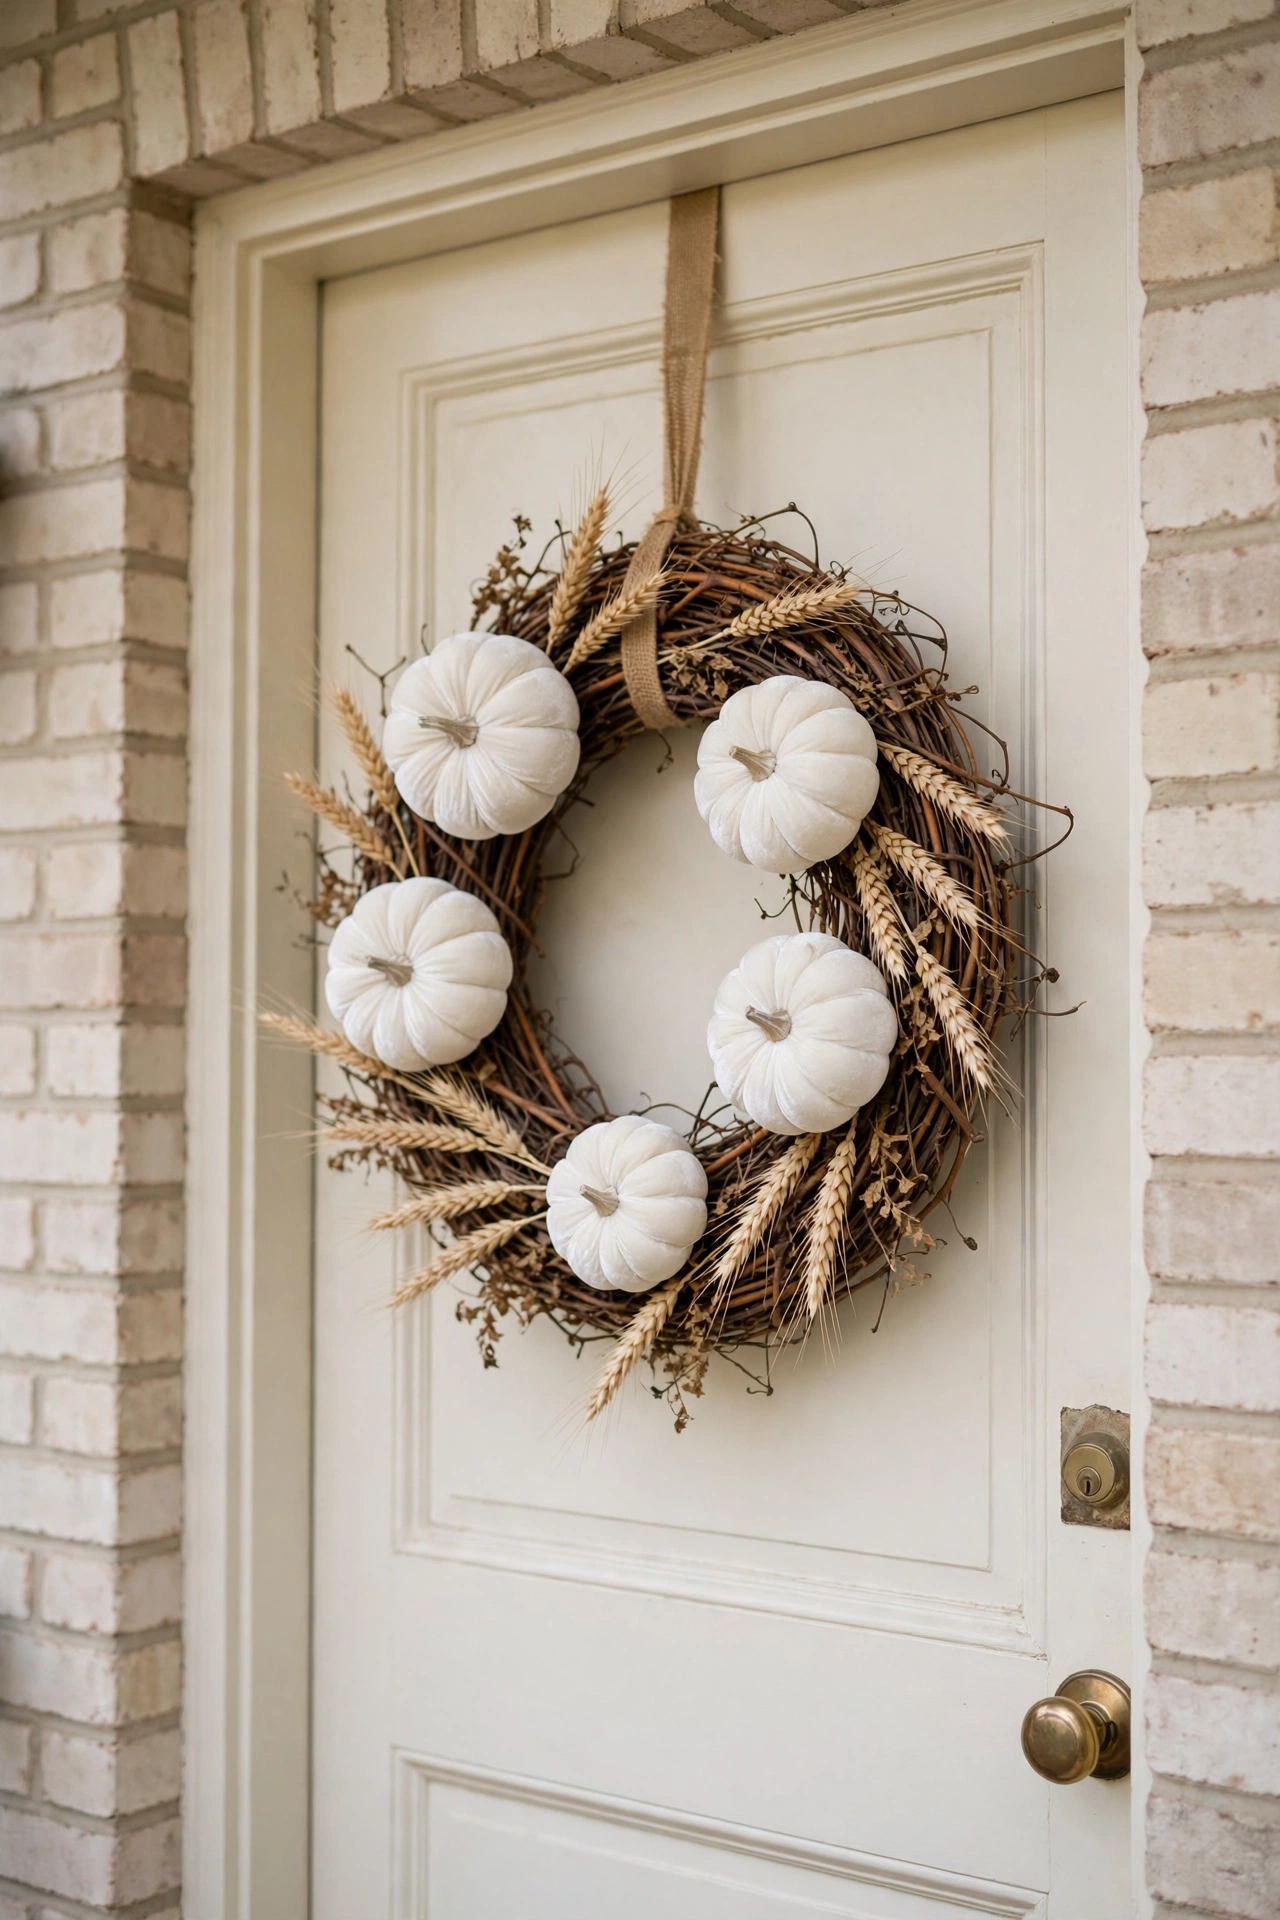
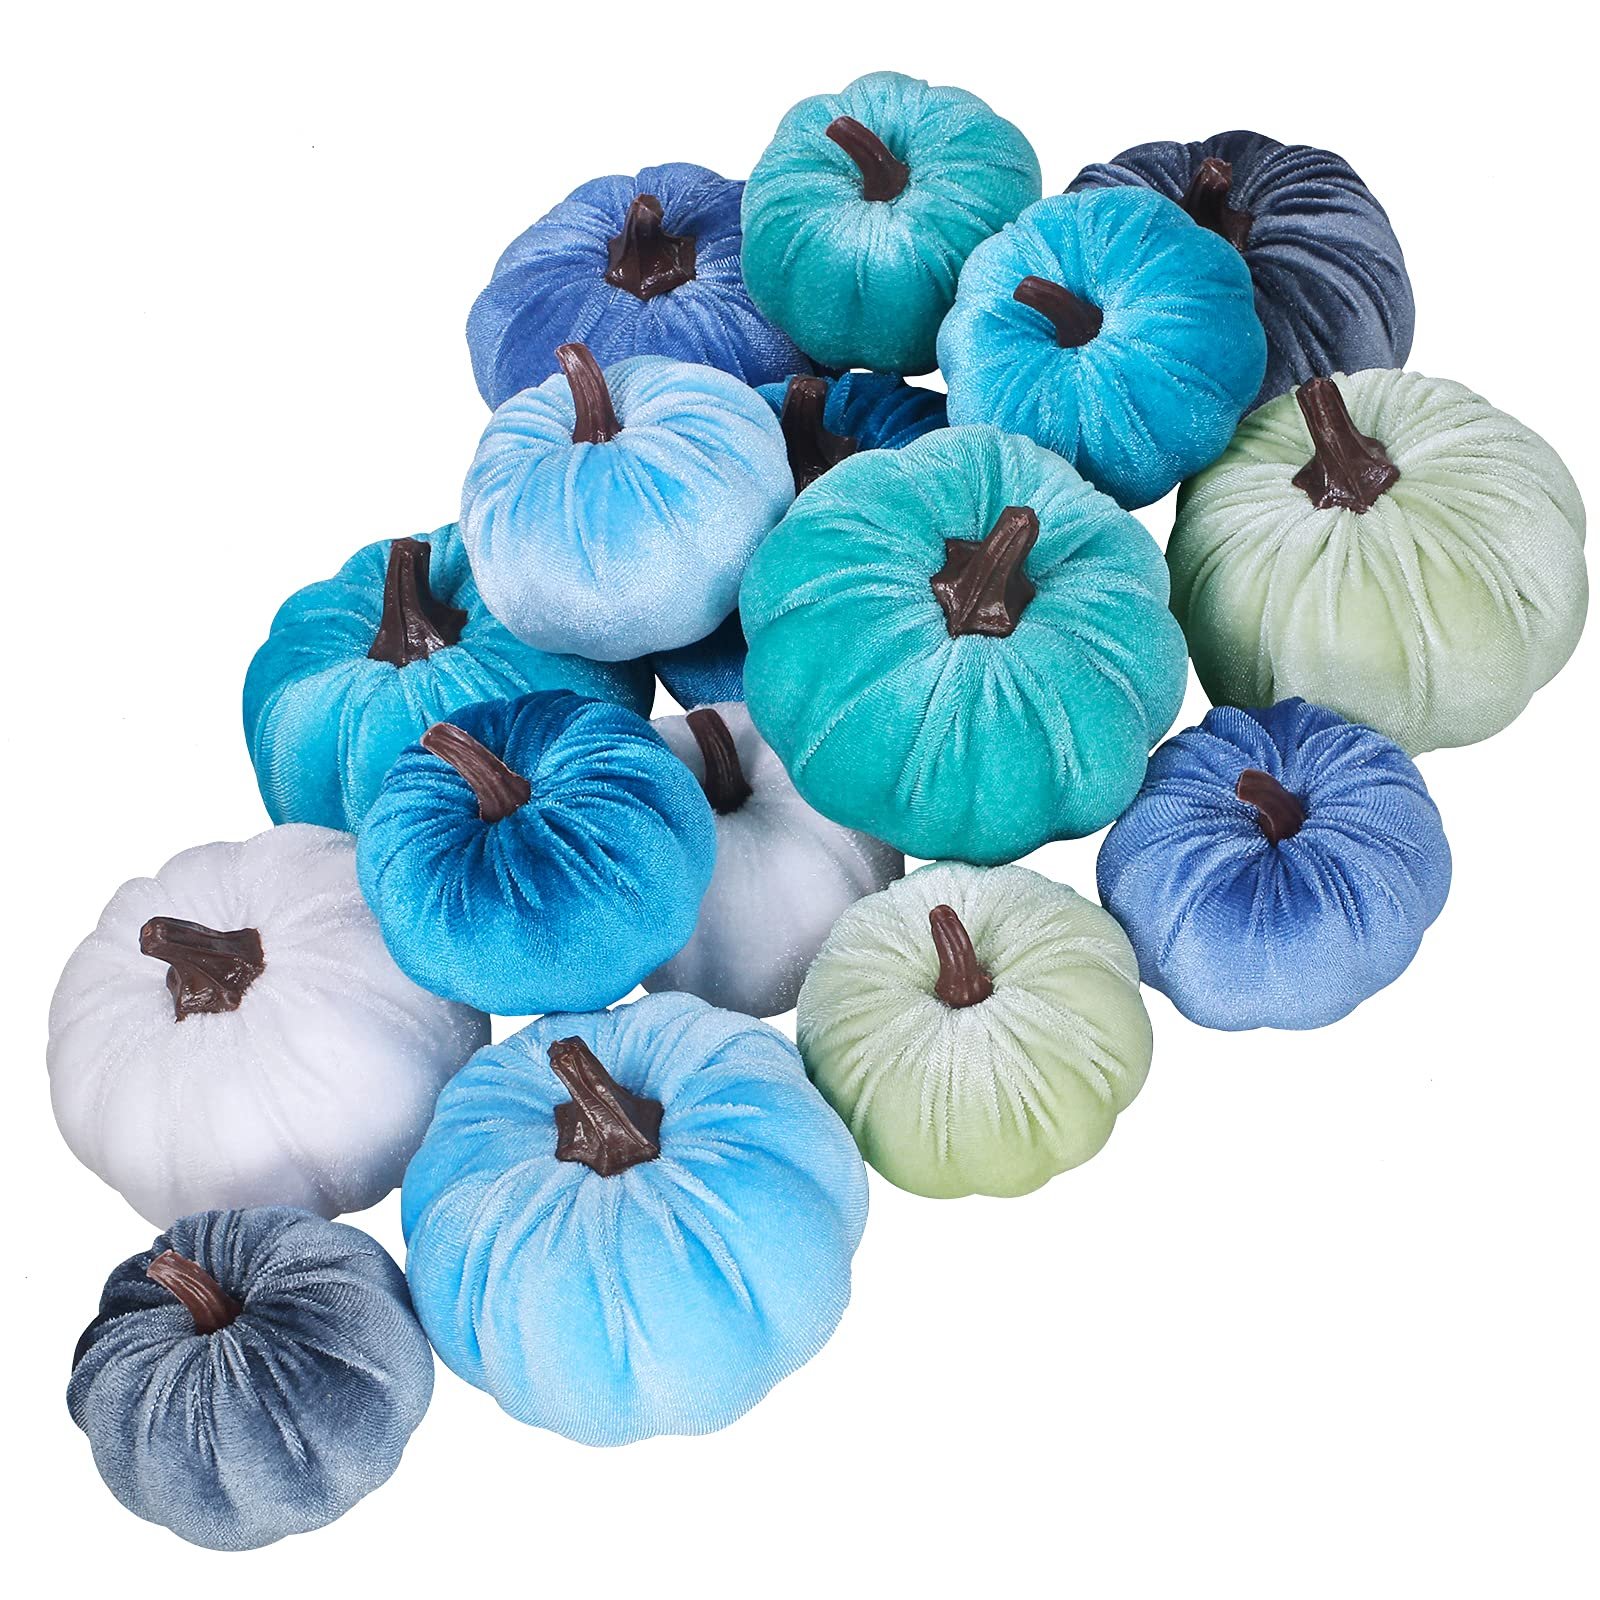
If your wreath base feels a little plain but you do not want to start from scratch, tuck in five small white velvet pumpkins and call it a day. I am obsessed with this trick because it bridges the gap between a summer door and a full fall door in about ten minutes. Nestle the pumpkins into the grapevine at slightly different depths so some sit proud and some peek out, then tuck a few sprigs of dried wheat between them to tie the colors together. The cream and ivory pumpkins keep the whole thing soft and elegant, nothing orange shouting at you. This pairs beautifully with a warm and welcoming front entryway layered with lanterns, because the pumpkin repeats in the decor and the door feels like part of a bigger plan.
Dried Botanical Wreaths
Dried botanicals are the trend that finally made wreath making foolproof. They do not wilt, they do not need water, and their muted tones do the sophisticated color work for you. If you buy one thing for this project, make it a big bundle of dried stems.
6. The Pampas Grass Cloud
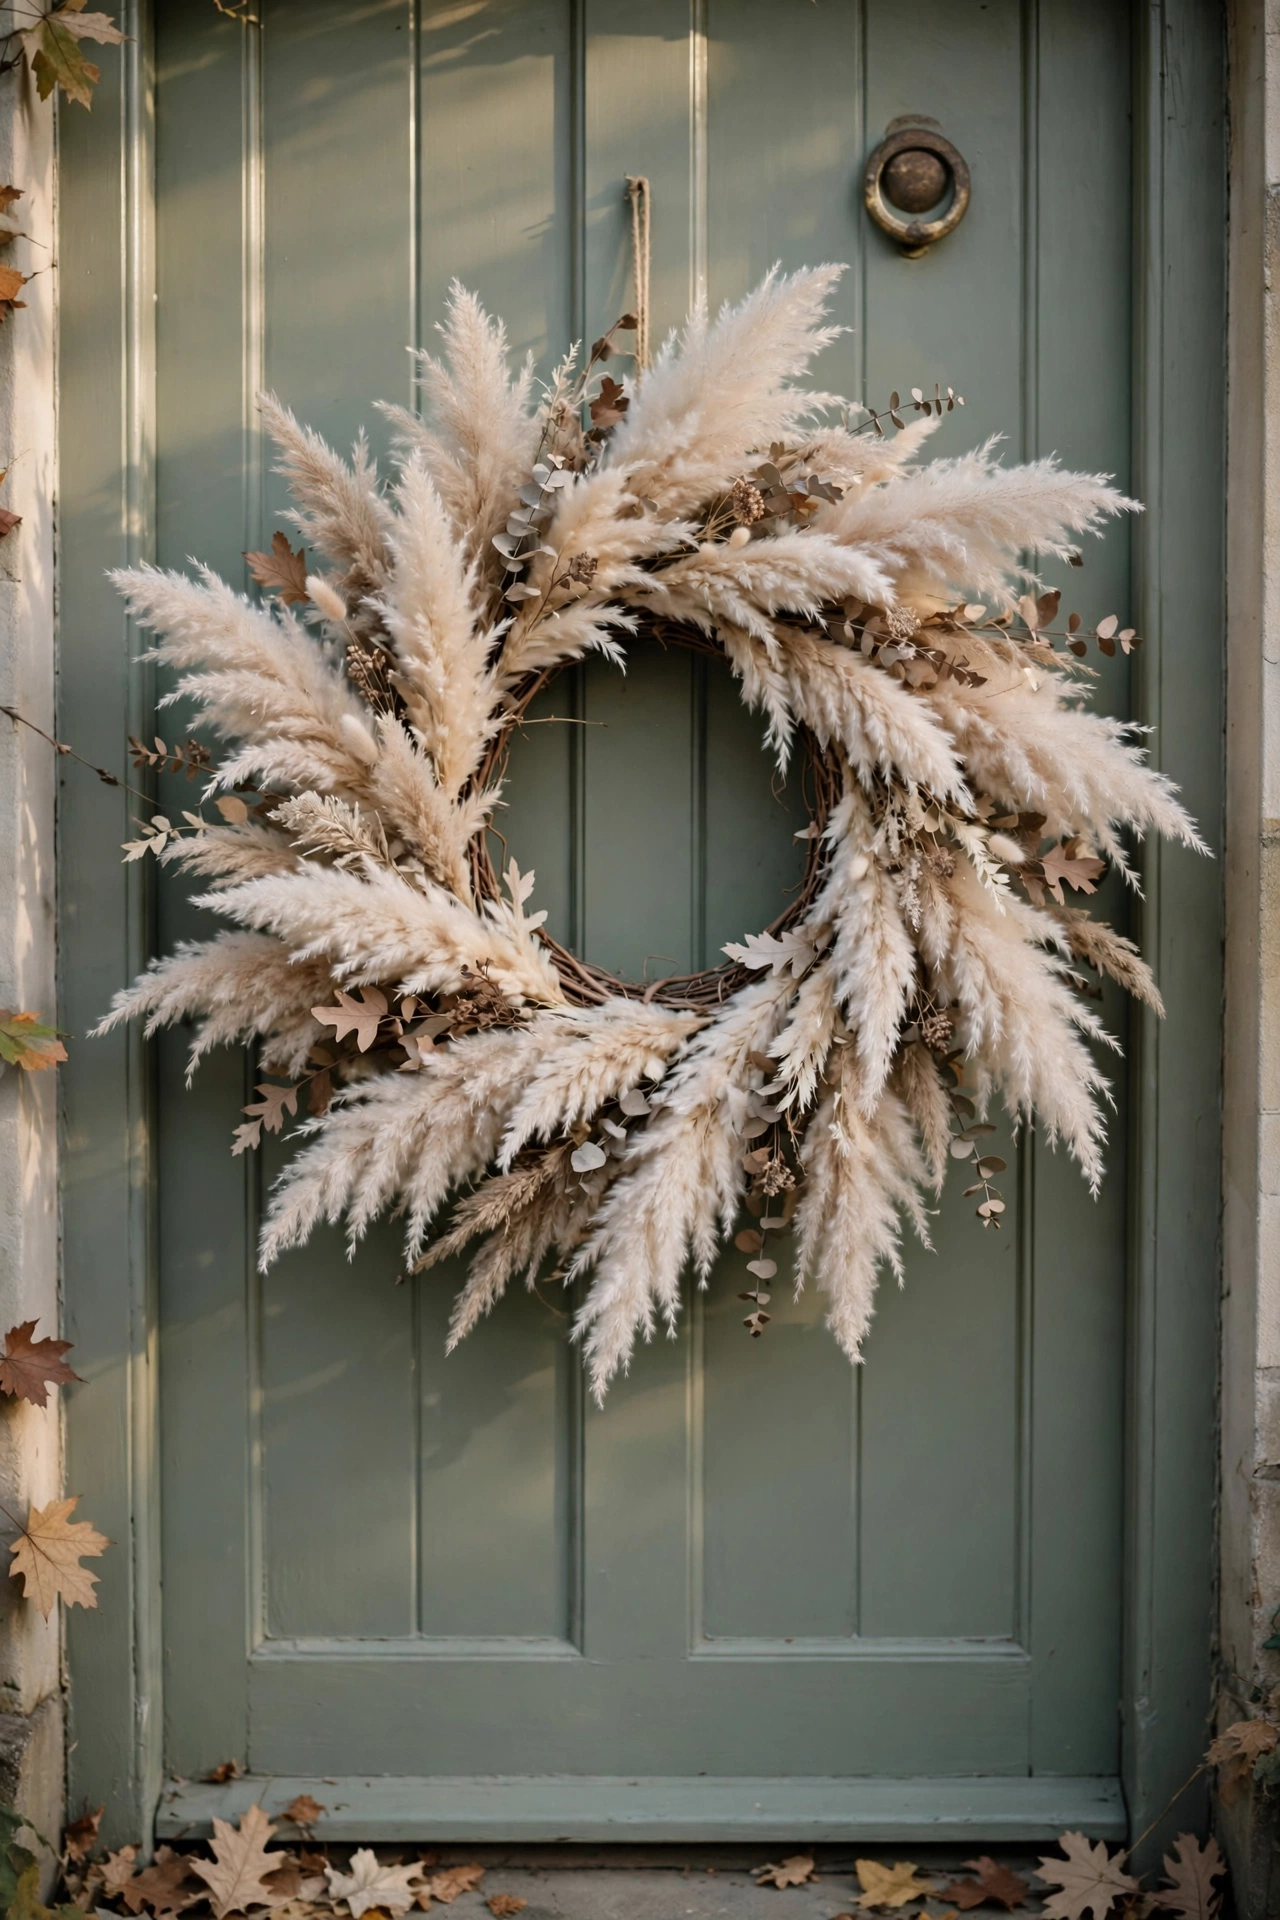
Pampas grass on a wreath is pure drama in the softest way. I cluster about a dozen plumes on a grapevine base, all flowing in one direction, and the result is this billowy cloud of oatmeal and cream that catches the light every time the sun moves. The trick is to strip the stems down to just the fluffy part so they are not poking out at weird angles, then tuck them deep into the grapevine so the base disappears under the fluff. I love this on a sage green door because the green and cream play so nicely together. One honest warning. Pampas sheds. Do your assembly outside or over a sheet, and shake each plume out before you start, or you will be finding fluff in the hallway for a month.
7. The Wheat Sheaf Bundle Wreath
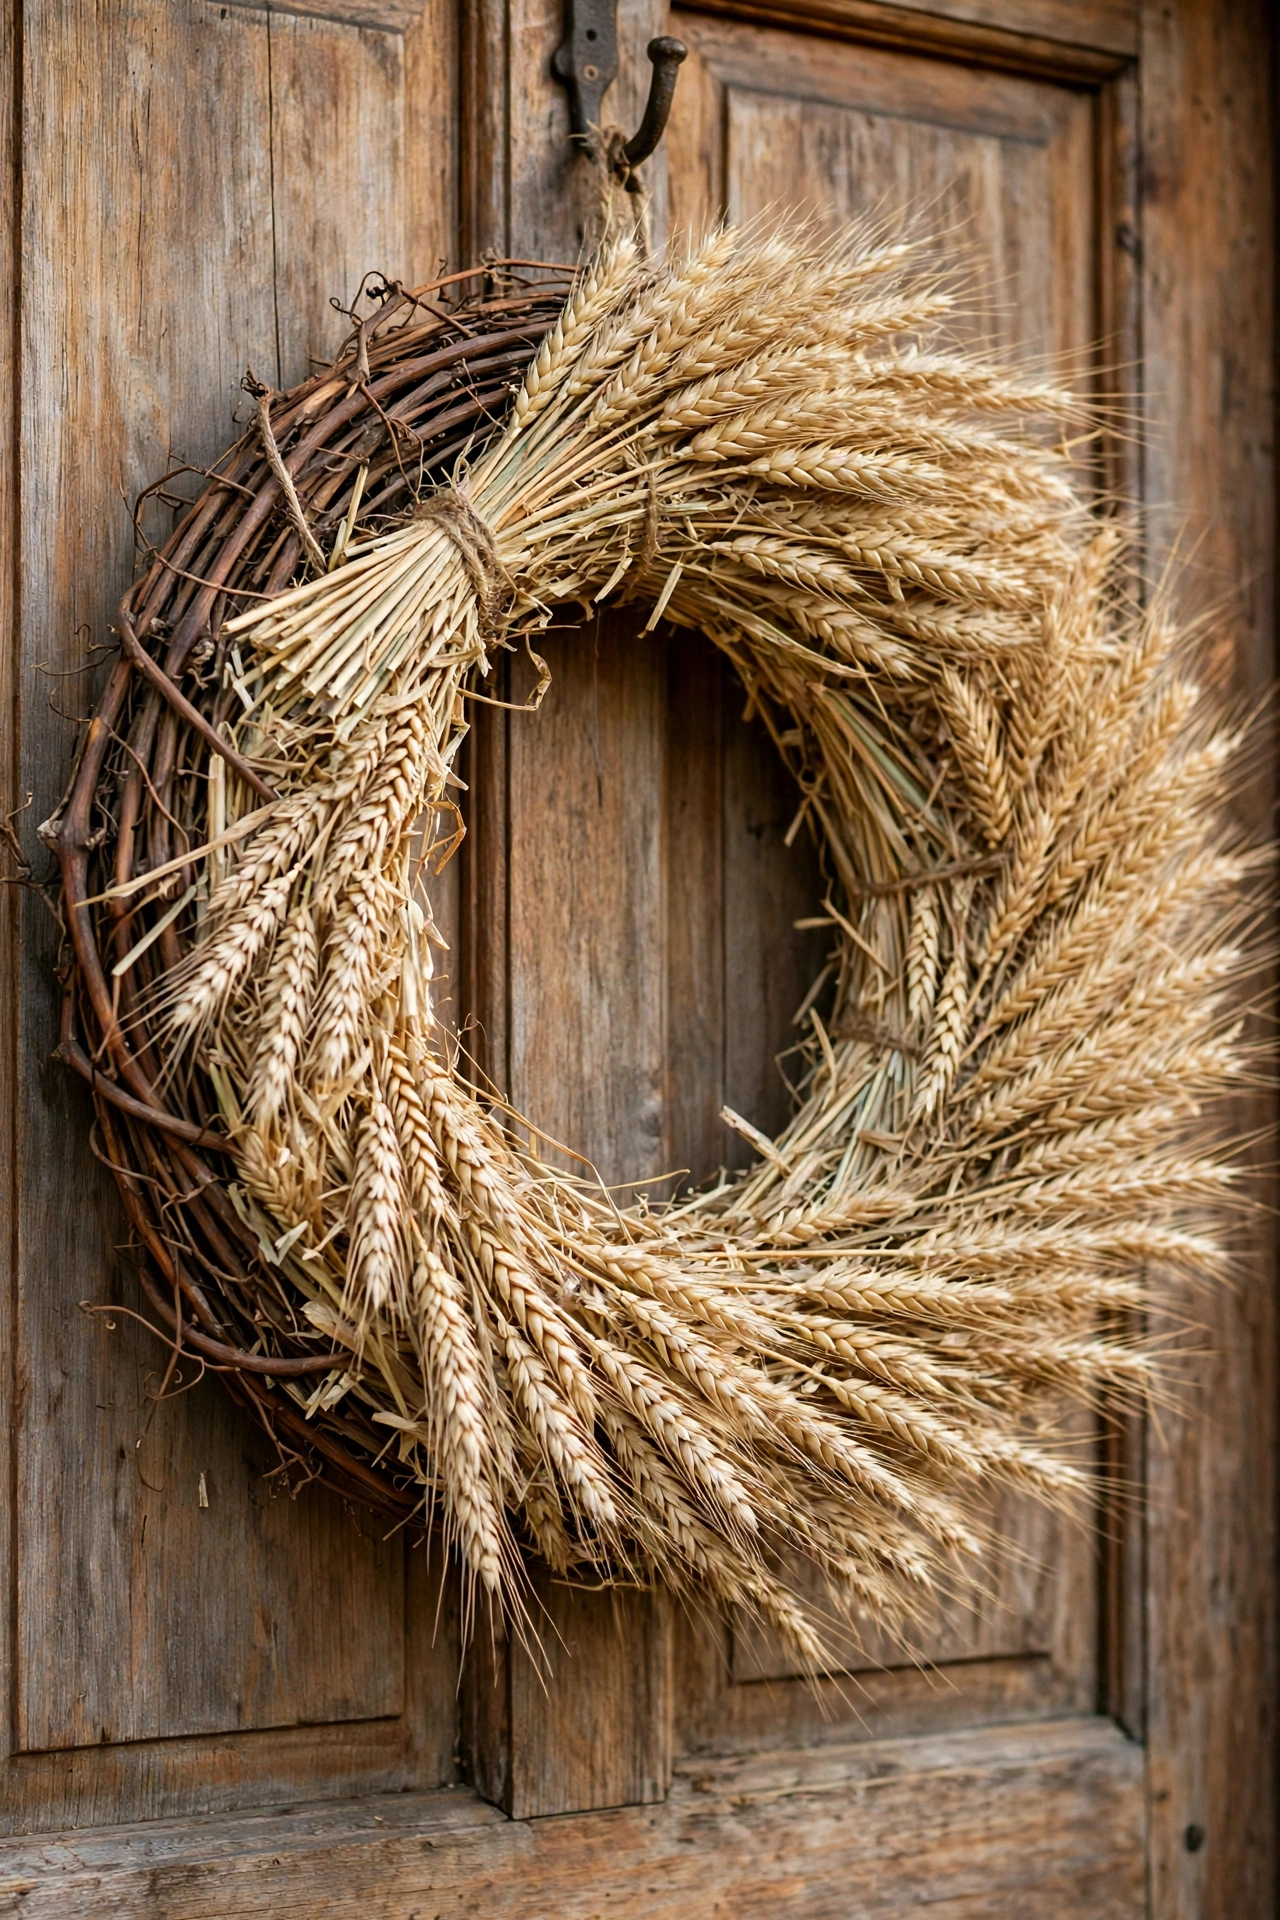
There is something deeply satisfying about a wreath made from nothing but wheat. It feels harvested and honest, like the season itself showed up on your door. I take about thirty dried wheat stems, bundle them in groups of five with floral wire, and wire the bundles around a grapevine base with all the heads pointing the same way. Overlapping each bundle slightly creates that beautiful layered grain pattern you see in fields. The whole thing takes maybe forty minutes, and most of that is just repeating the same simple step. Hang it on a wooden door and the warm browns of the wheat against the wood are perfection. This is the wreath that makes people knock and then stand there admiring it instead.
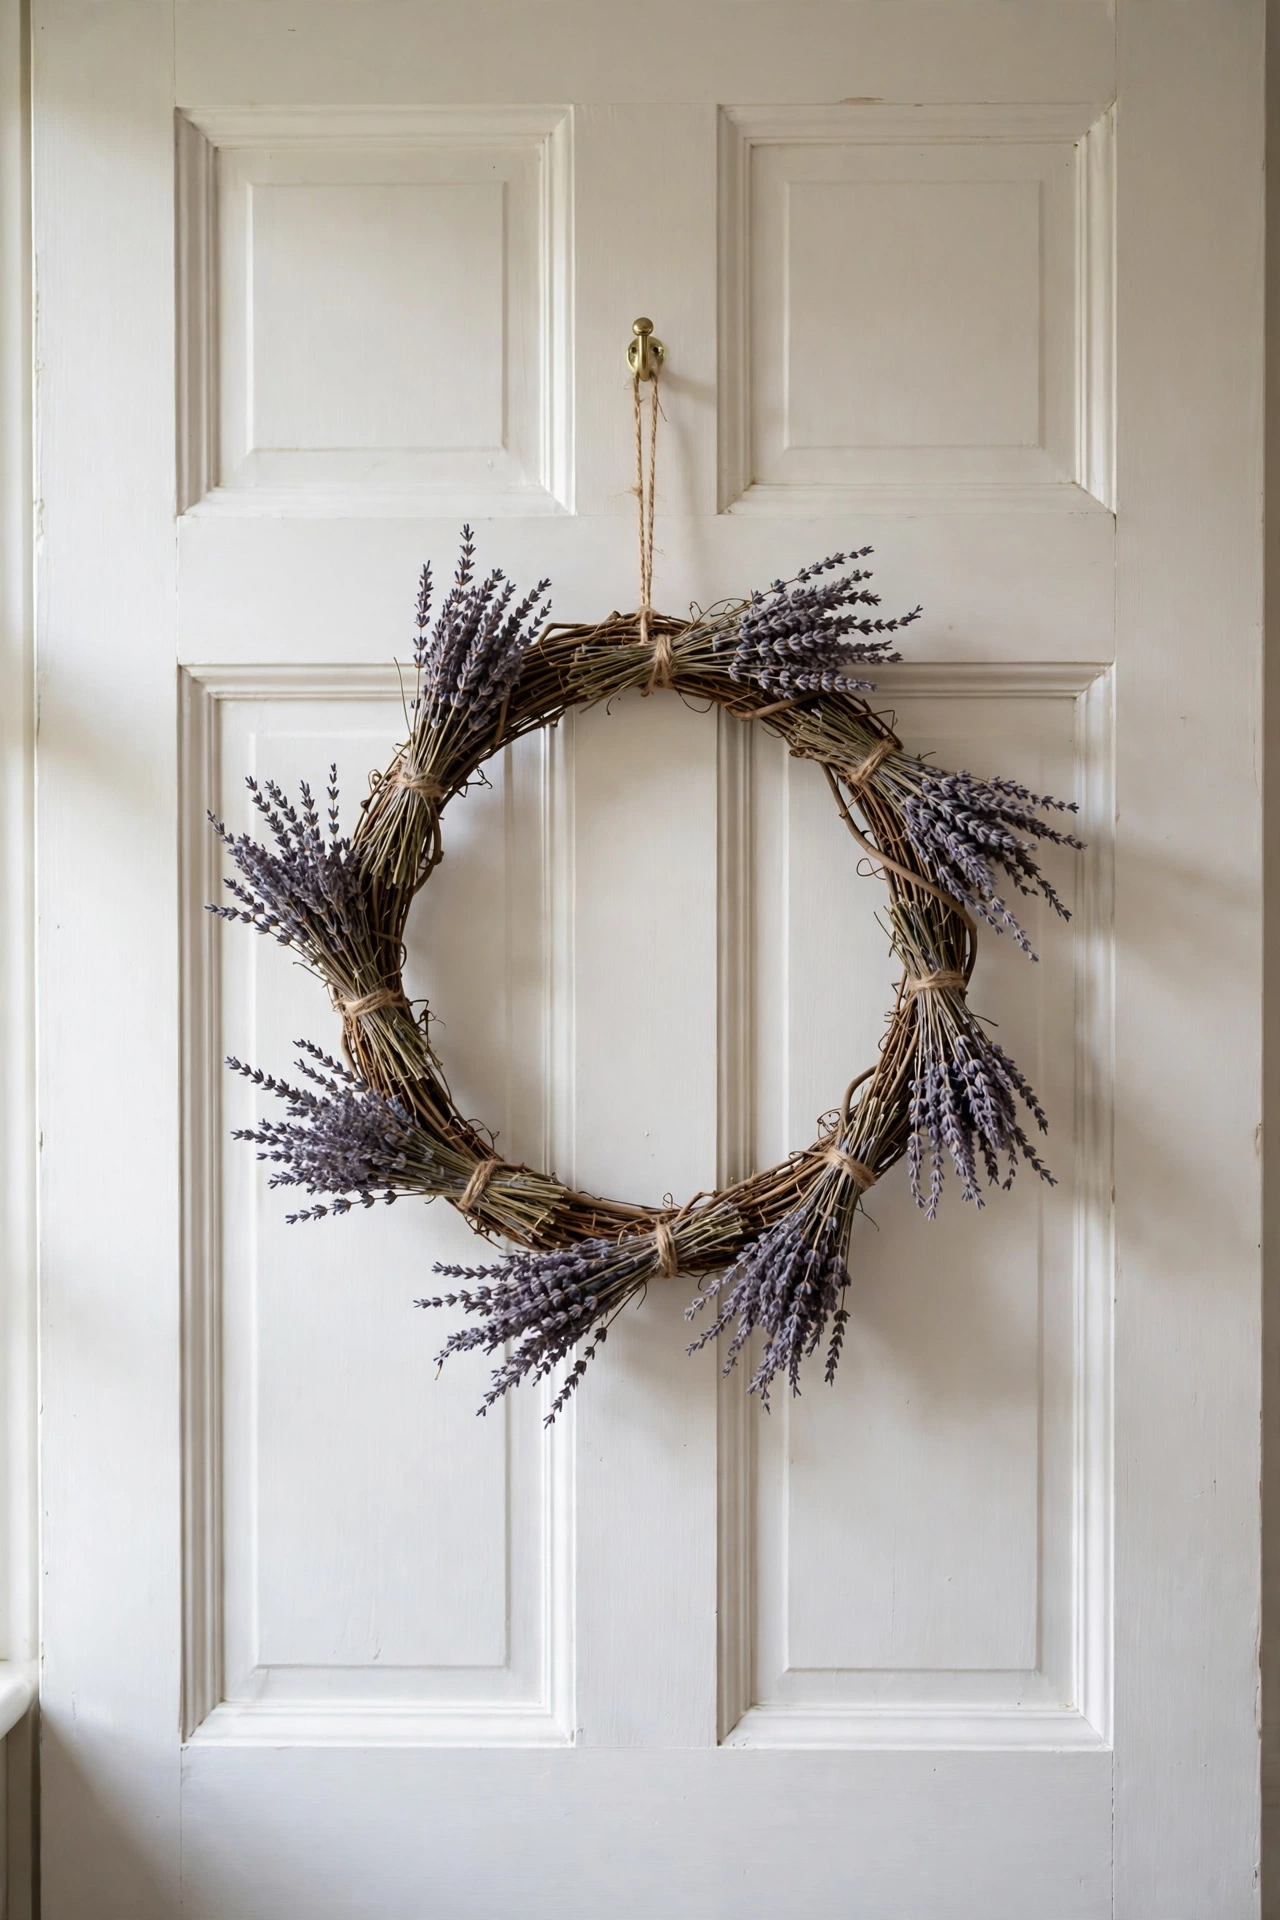
8. The Dried Lavender Whisper
Not every fall wreath needs to shout. This one is all whisper. Bundles of dried lavender wired onto a slim grapevine base give you the prettiest muted purple gray, and the scent is the real gift. Every time the breeze hits the door you get this gentle waft of lavender that makes the whole entryway feel calm. I cluster the lavender in groups of seven stems, which sounds fussy but goes fast once you get a rhythm, and I leave plenty of the grapevine showing between clusters. Remember the breathing room rule. The negative space is what makes this look elegant instead of busy. This is my pick for a back door or a kitchen door, somewhere you will walk past it a dozen times a day and catch that scent.
9. The Dried Hydrangea Bloom
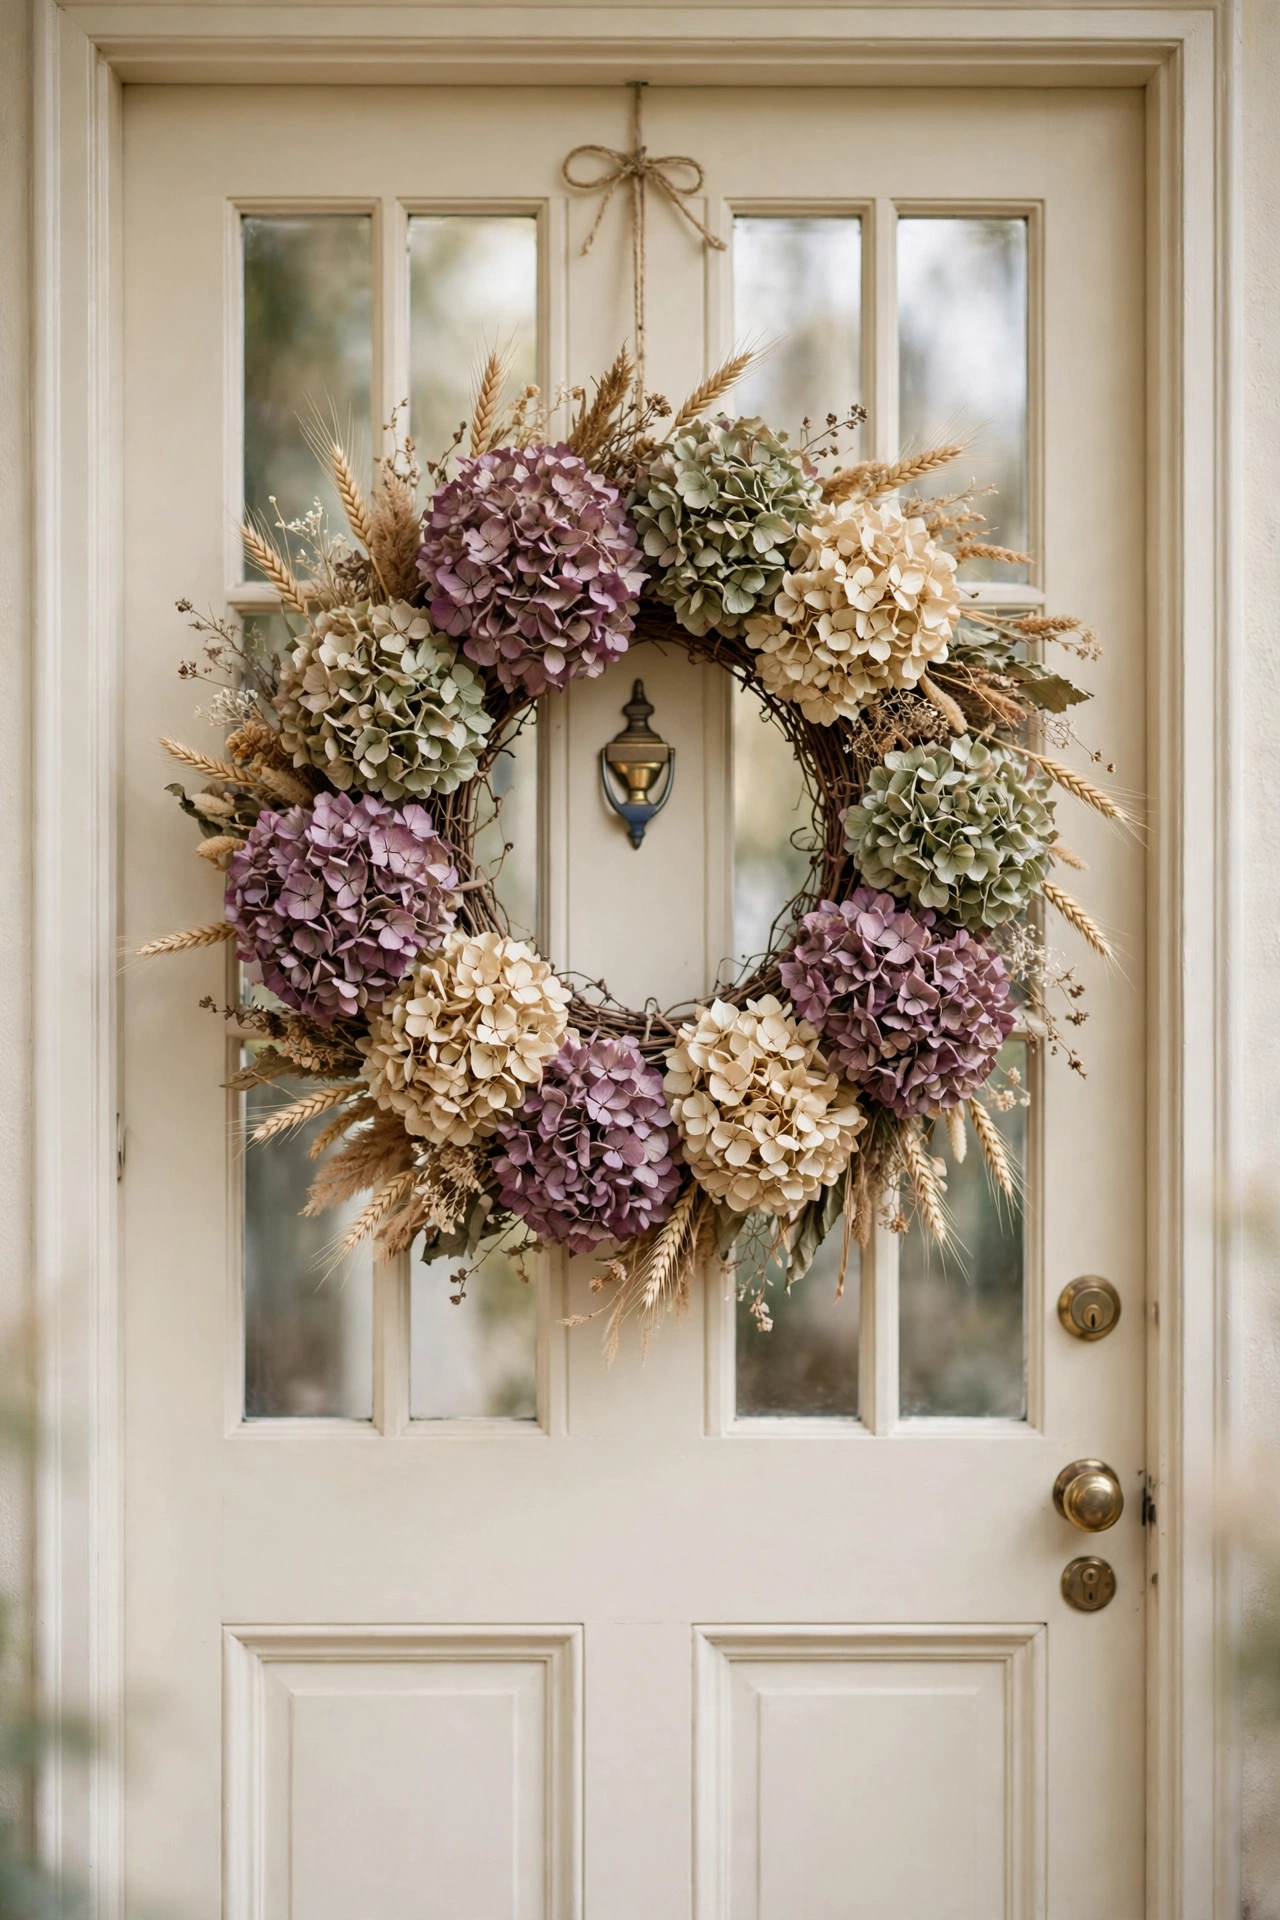
Dried hydrangeas are the secret weapon of fall wreaths because they give you big soft blooms without any of the fuss of fresh flowers. The colors dry into the most beautiful dusty mauve, sage, and cream, and a few big heads can fill a wreath faster than any other stem I know. I tuck five or six large hydrangea heads into a grapevine base, nestled at different angles, then fill the gaps with dried wheat so nothing looks sparse. The contrast between the round soft blooms and the straight crisp wheat is what makes this one special. Hang it on a white or cream door where the muted colors can glow. My honest opinion is that this is the prettiest wreath in the whole post, and it took me thirty five minutes.
10. The Meadow Bouquet Wreath
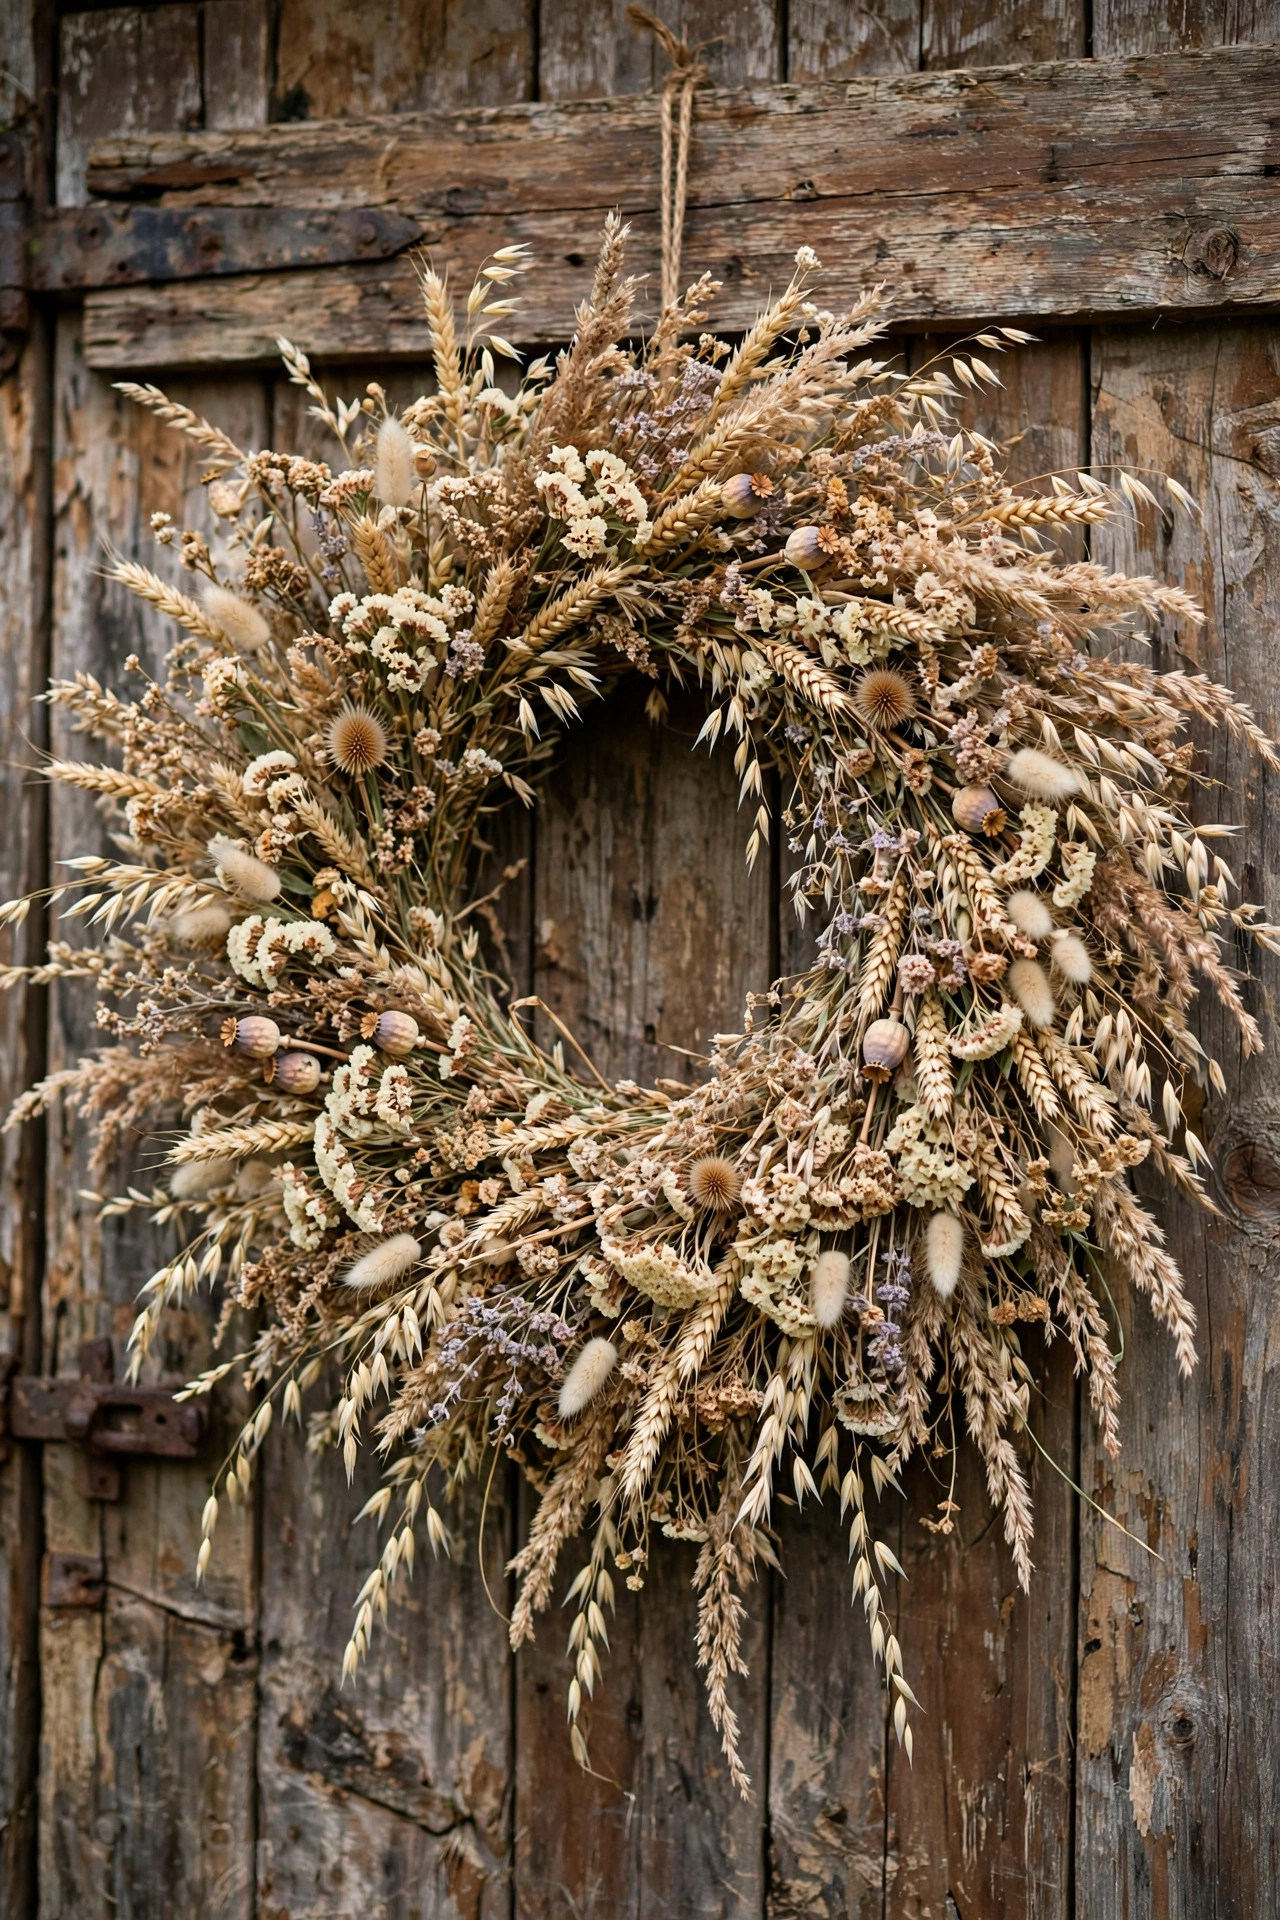
This is the wreath for the maximalist who also wants it done by dinner. You take every dried stem you own, wheat, lavender, grasses, seed heads, dried wildflowers, and you wire them into the base in big mixed handfuls. The trick that keeps it from looking chaotic is the palette. Stay in one family of muted tones, creams, oats, soft browns, a little dusty rose, and the variety of shapes reads as texture instead of mess. Work big to small here. Lay the tallest stems first so the silhouette is generous, then tuck the smaller fillers into the gaps. I love this one on a rustic porch with a rocking chair nearby because it feels like you just walked in from the fields with an armful of stems.
11. The Olive Branch and Rust Leaf Wreath
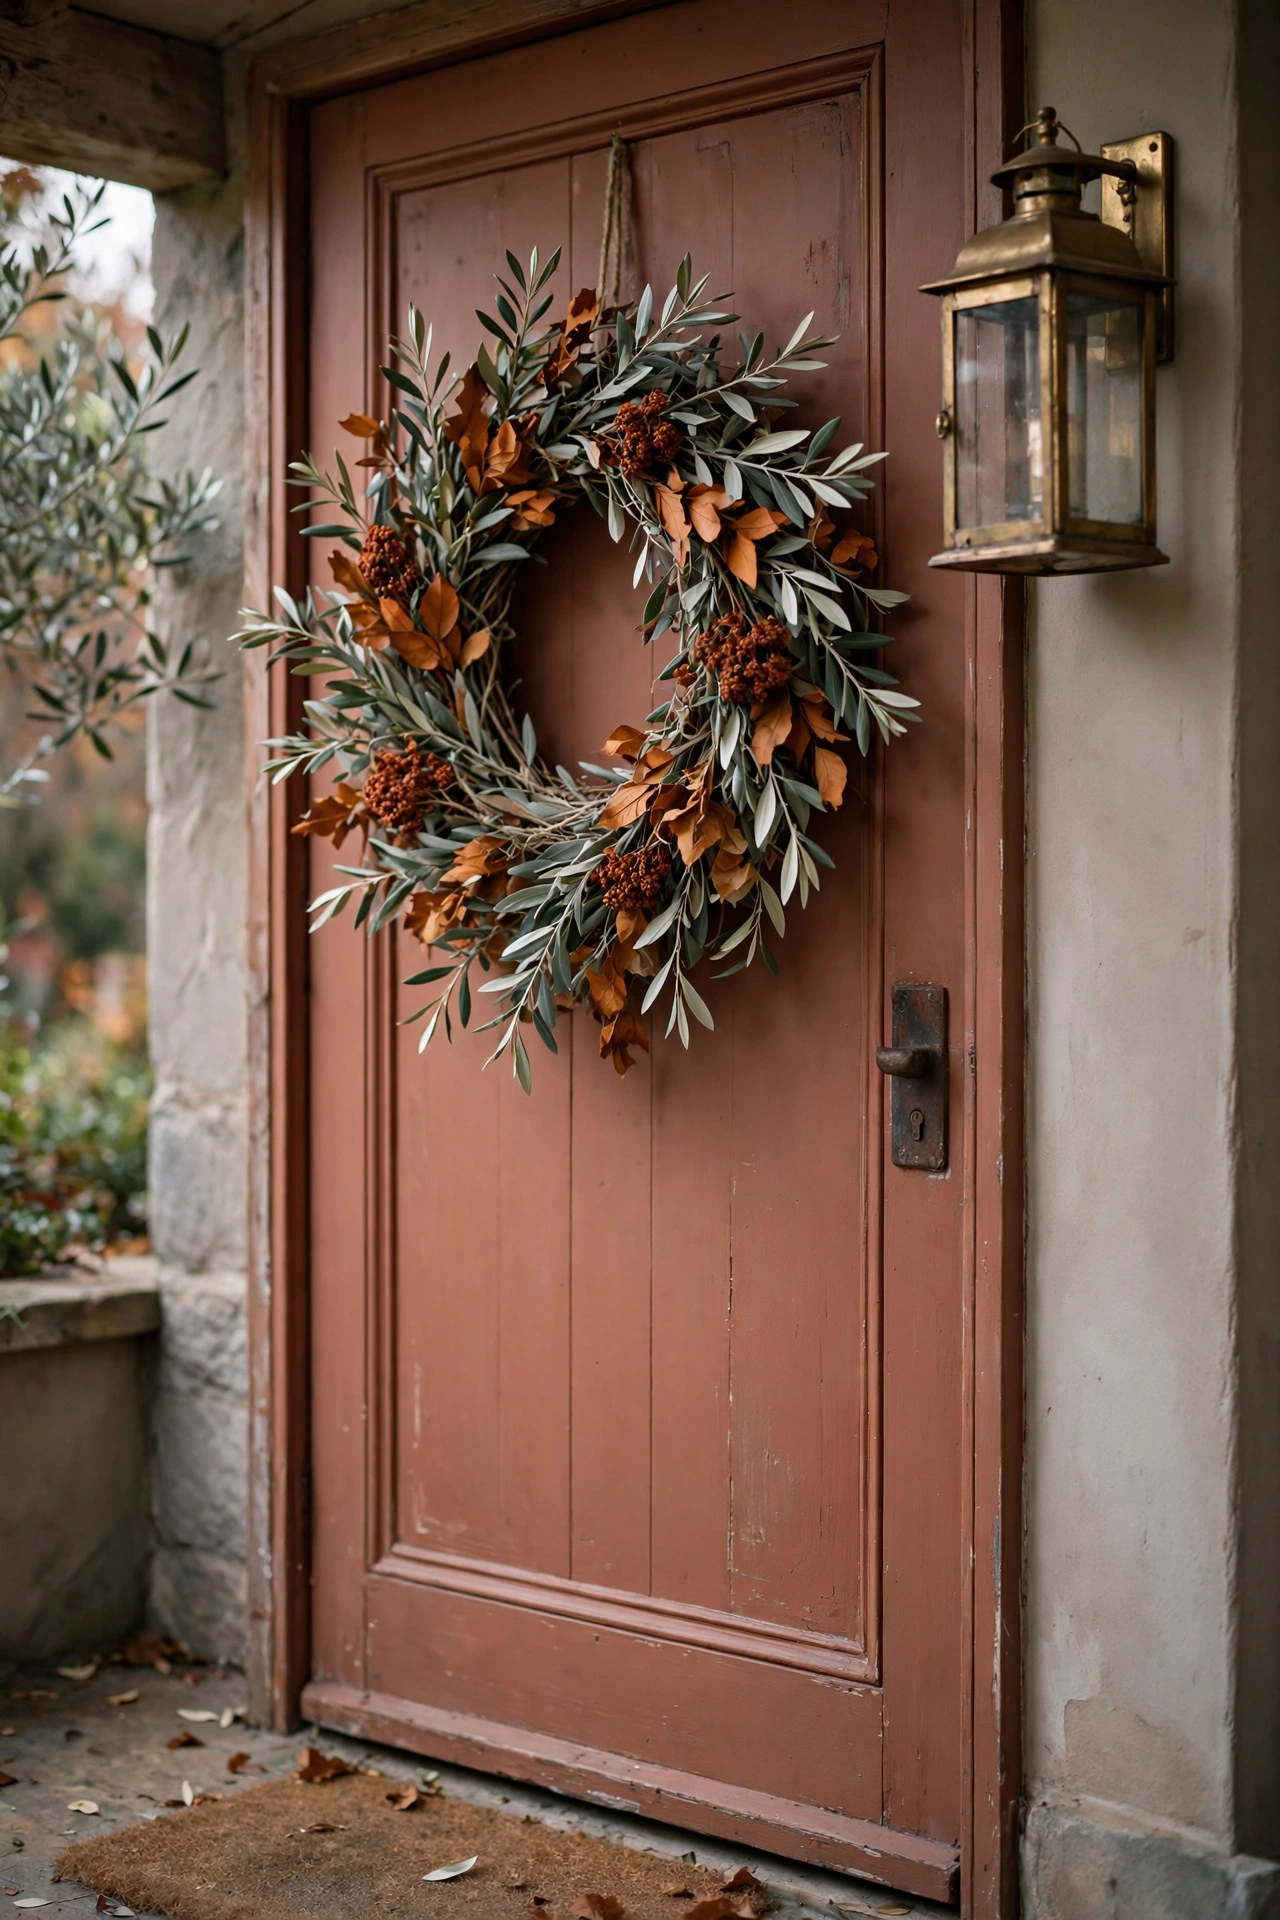
Olive branches bring the coolest muted green to a fall wreath, and paired with a few rust colored preserved leaves they hit the exact sophisticated palette I am always chasing. I wire olive sprigs around the full base first, all flowing one way, then tuck in the rust leaves in clusters of three at slightly uneven intervals. The odd numbers rule strikes again. Three clusters here, three clusters there, and suddenly the whole thing looks designed instead of decorated. The silvery olive leaves against the warm rust is one of my favorite color combinations in all of fall decorating. This wreath hung next to a brass lantern on the porch is a whole mood.
Rich and Moody
Fall does not have to be bright. These wreaths lean into the deep end of the palette, chocolate browns, burgundy, rust, and dark greens. They look incredible on dark doors and they photograph like a dream.
12. The Burgundy and Chocolate Wreath
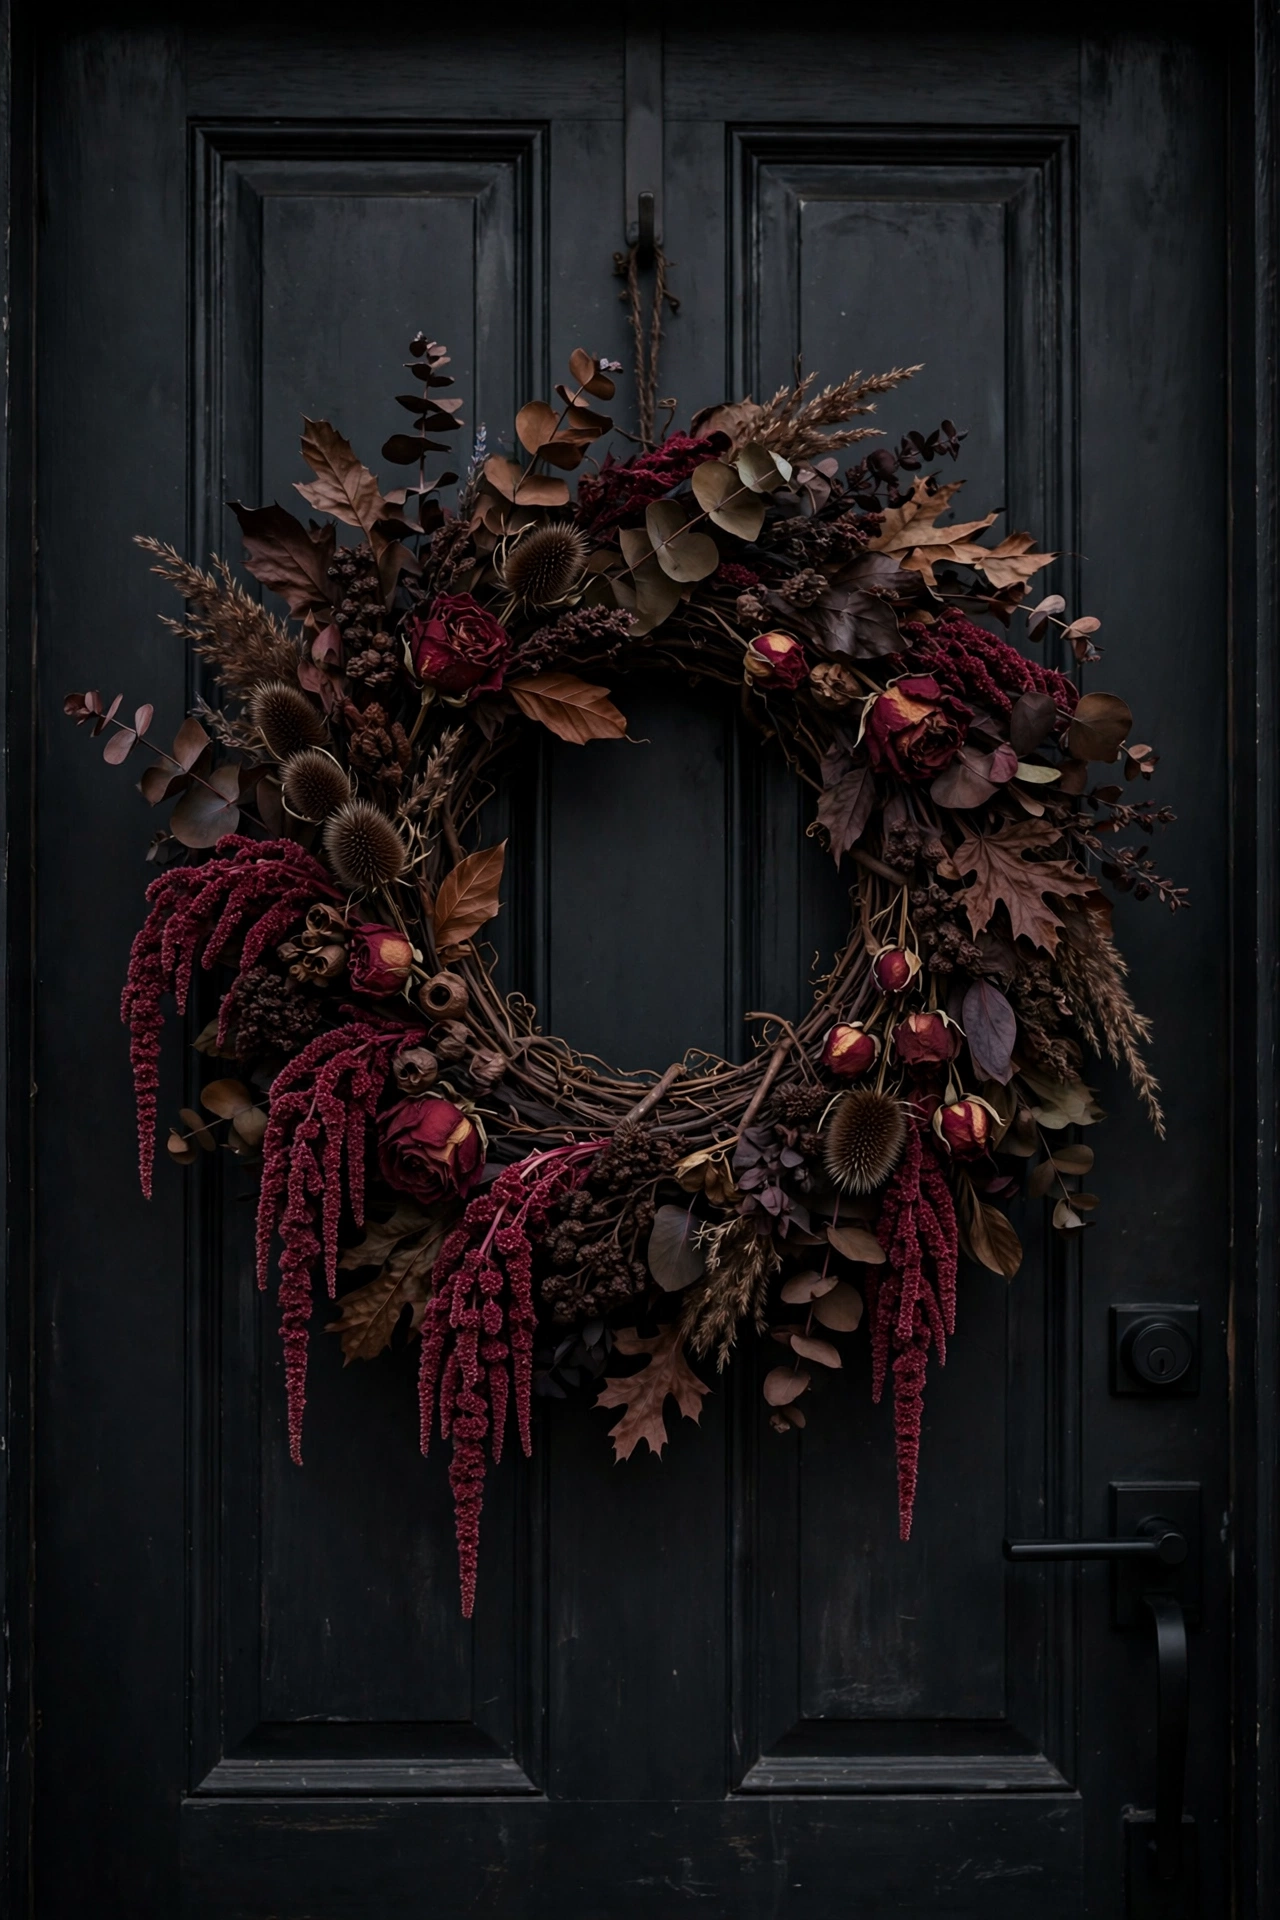
This is the wreath I hang when I want the house to feel like a glass of red wine. Deep burgundy dried blooms, chocolate brown preserved leaves, and a base of dark grapevine create a wreath that is rich without being heavy. The key is mixing textures. Velvety dried blooms next to papery leaves next to the rough grapevine keeps all that dark color from feeling flat. I cluster the burgundy stems in groups of three around the base and let the chocolate leaves fill the spaces between. On a black or charcoal door this looks absolutely stunning, like the wreath and the door were made for each other. Add one brass element nearby, a lantern or a house number, and the whole entryway glows.
13. The Black Door Copper Leaf Wreath
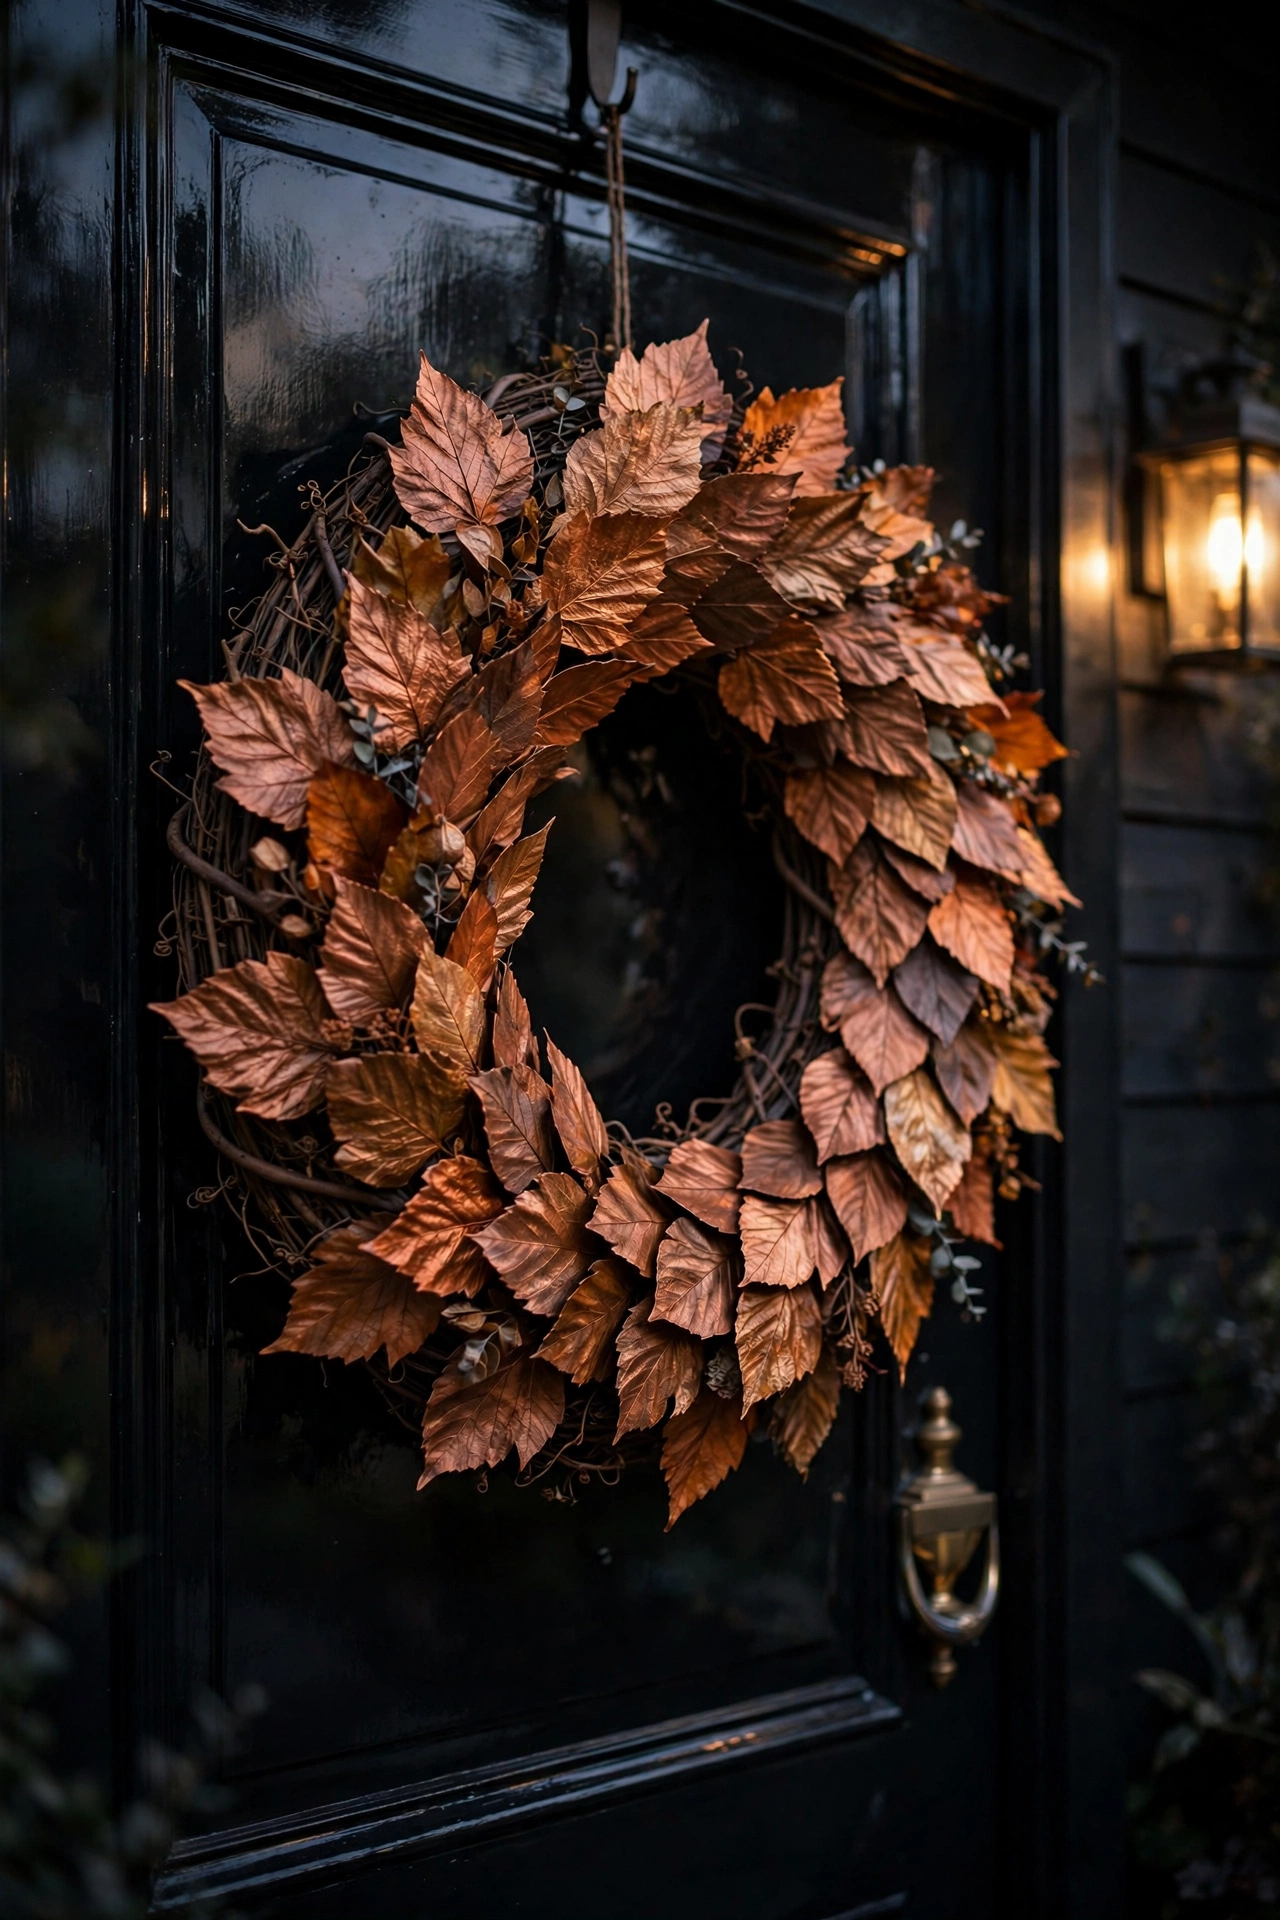
A black front door is a gift to fall decorating, and this wreath is how you use it. Copper toned preserved leaves wired onto a dark grapevine base look almost metallic against the black paint, and the effect is pure luxury. I love this one because it is so simple. Leaves, wire, base, done. The copper catches the porch light in the evening and the whole wreath seems to shimmer. Work the leaves in one direction, overlapping like shingles, and let a few stems stick out past the edge for an organic feel. Perfectly trimmed wreaths look store bought. A few wild edges look hand gathered. If your door is not black, this still works on navy or deep green. Dark doors make warm metallics sing.
14. The Camel and Rust Texture Wreath
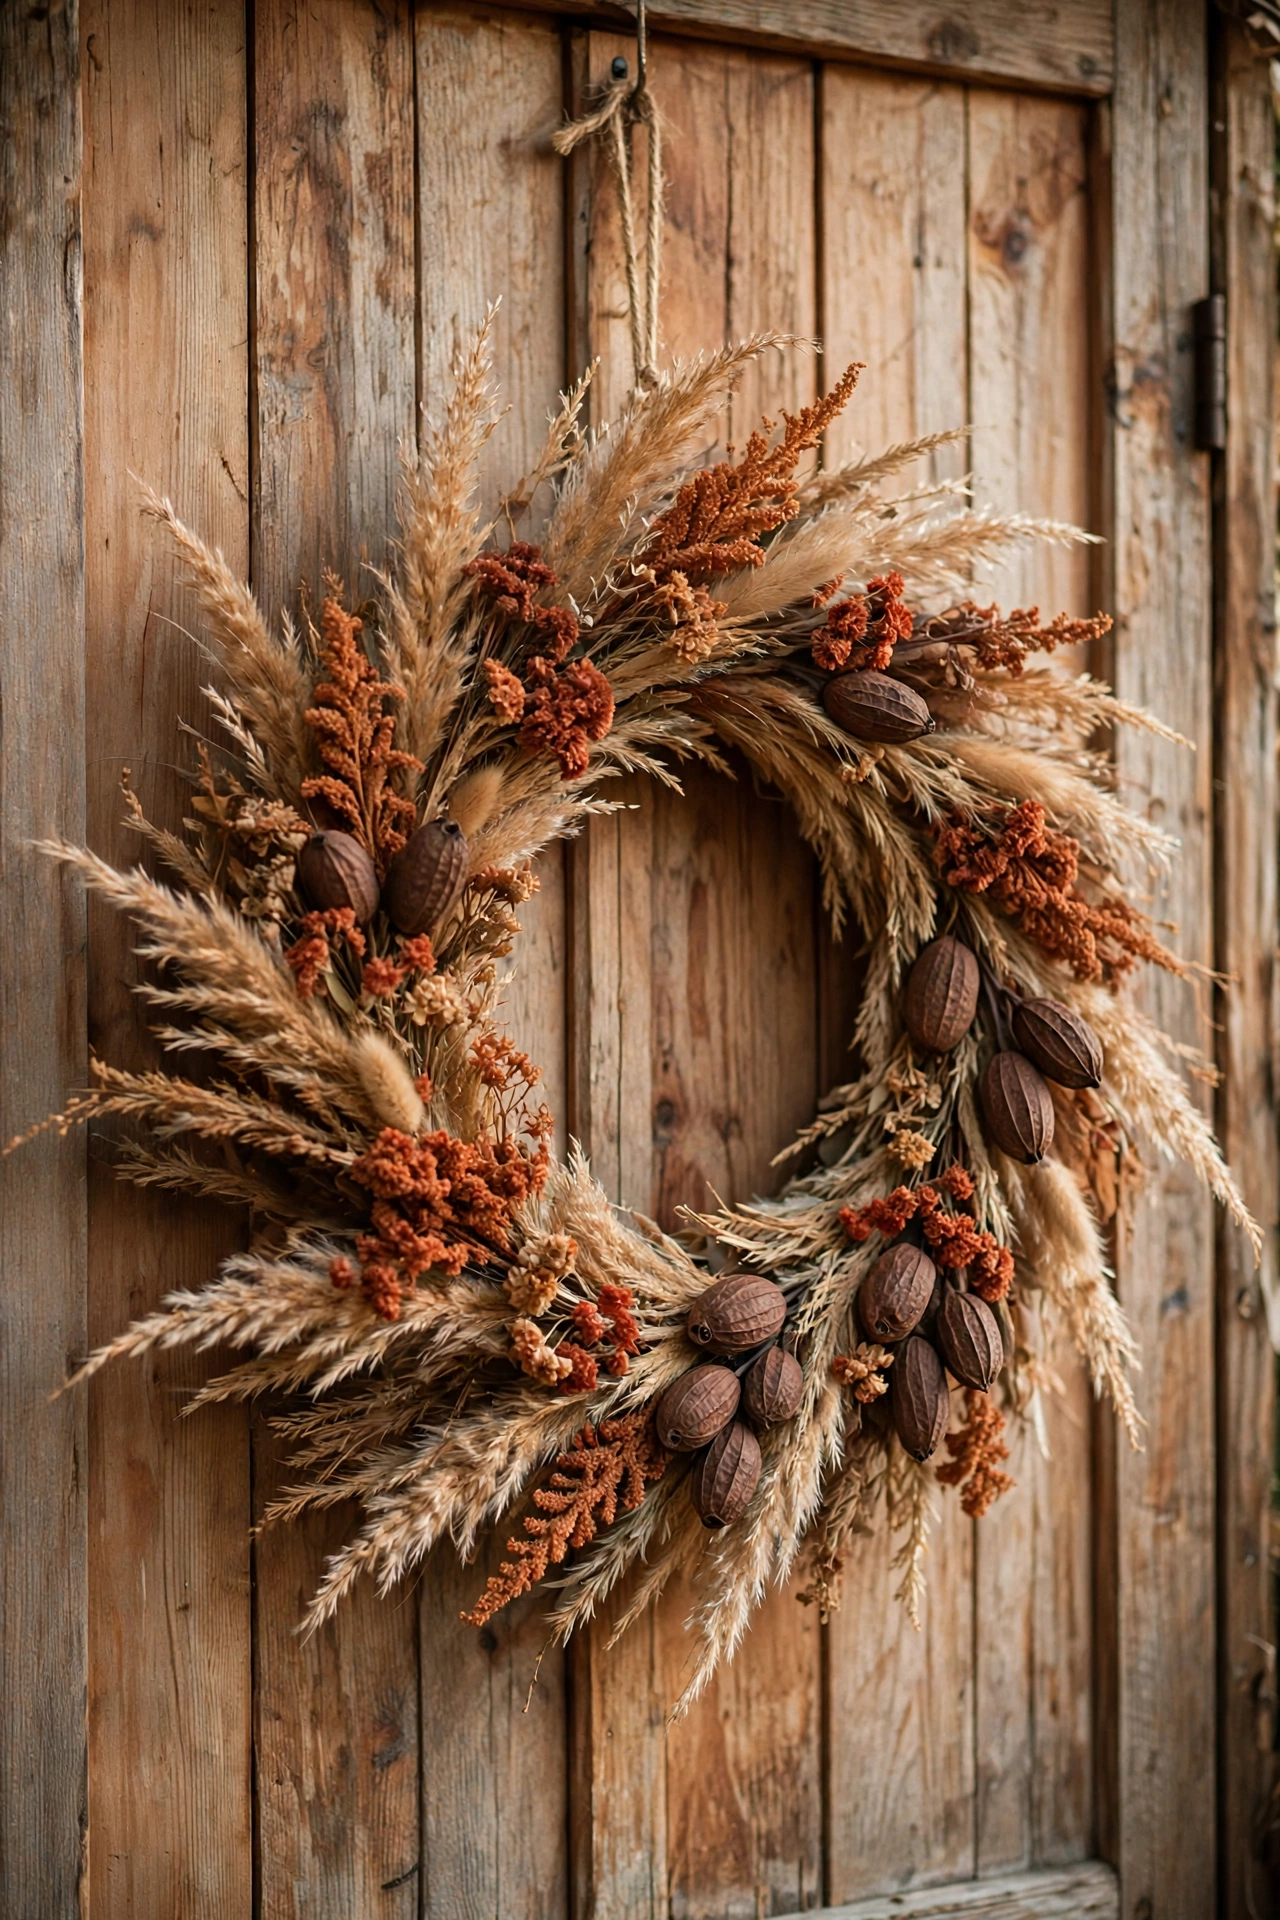
Camel and rust is my forever fall palette, and this wreath is basically that palette in a circle. I layer dried grasses in camel tones as the base, then add rust colored dried blooms in clusters, then finish with a few chocolate seed pods for depth. Three textures, three tones, one very cohesive wreath. The bones to garnish method really matters here. Get the camel grasses established first so the shape is full and generous, then the rust blooms go in as the garnish on top. I hang this on a natural wood door and the whole thing feels like an extension of the timber. Warm on warm on warm. If your house leans farmhouse or rustic, this is your wreath.
15. The Farmhouse Dried Corn Husk Wreath
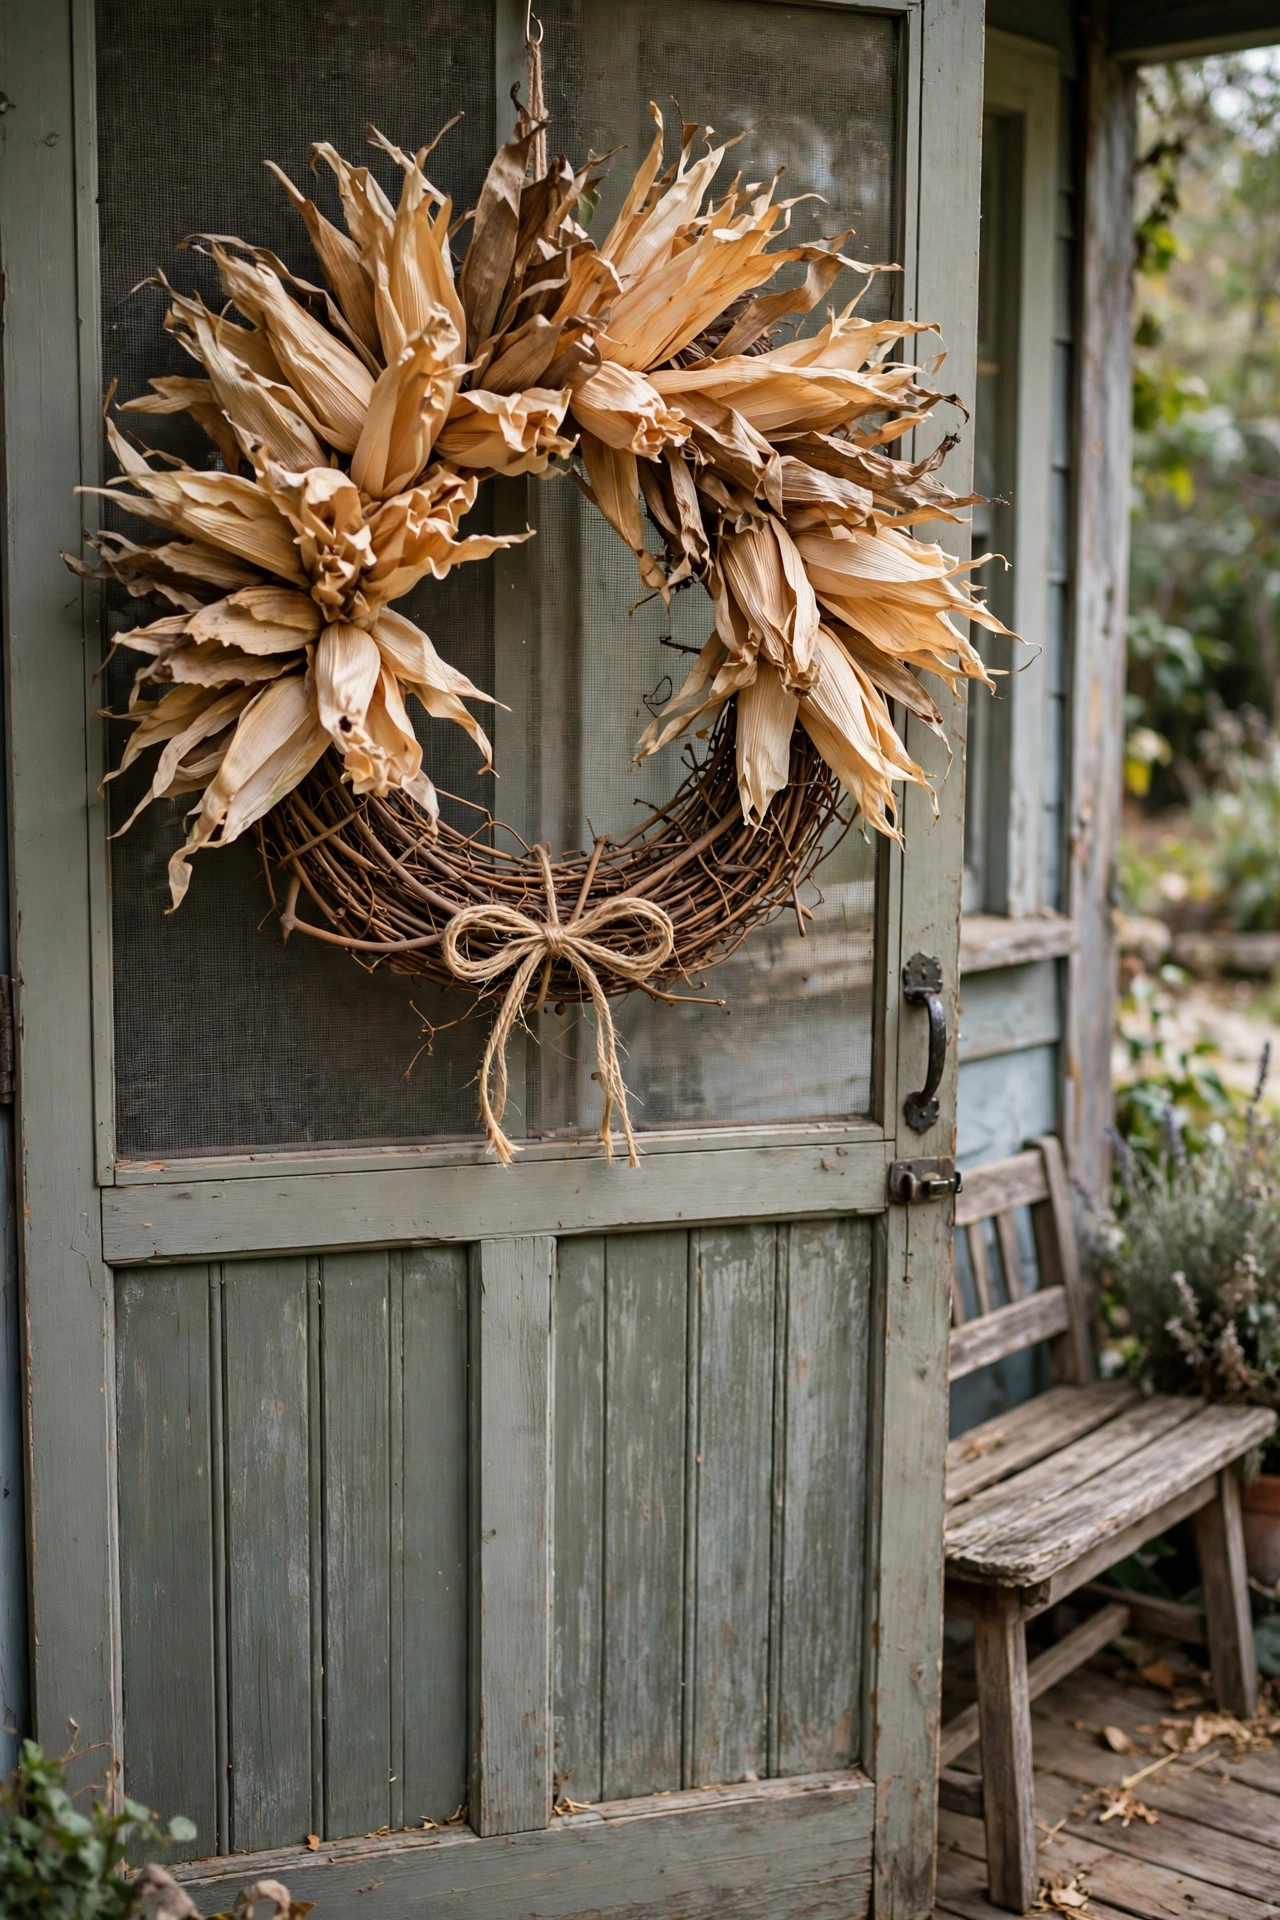
Dried corn husks make the most charming farmhouse wreath, and nobody else on your street will have one. I fan the husks around a grapevine base in overlapping layers, all pointing outward, and the result is this beautiful ruffled ring in shades of tan and gold. It takes a little patience to get the first layer even, but once the pattern is set you just repeat it all the way around. A simple twine bow at the bottom finishes it. No ribbon, no fuss, just twine. This wreath belongs on a farmhouse porch next to a wooden bench and a plaid throw. It is humble and gorgeous at the same time, which is basically my definition of farmhouse style.
Little Twists That Feel Special
These last four are the ideas that make people stop and ask how you did it. Each one takes a classic wreath and adds one unexpected element. They are still under an hour, I promise.
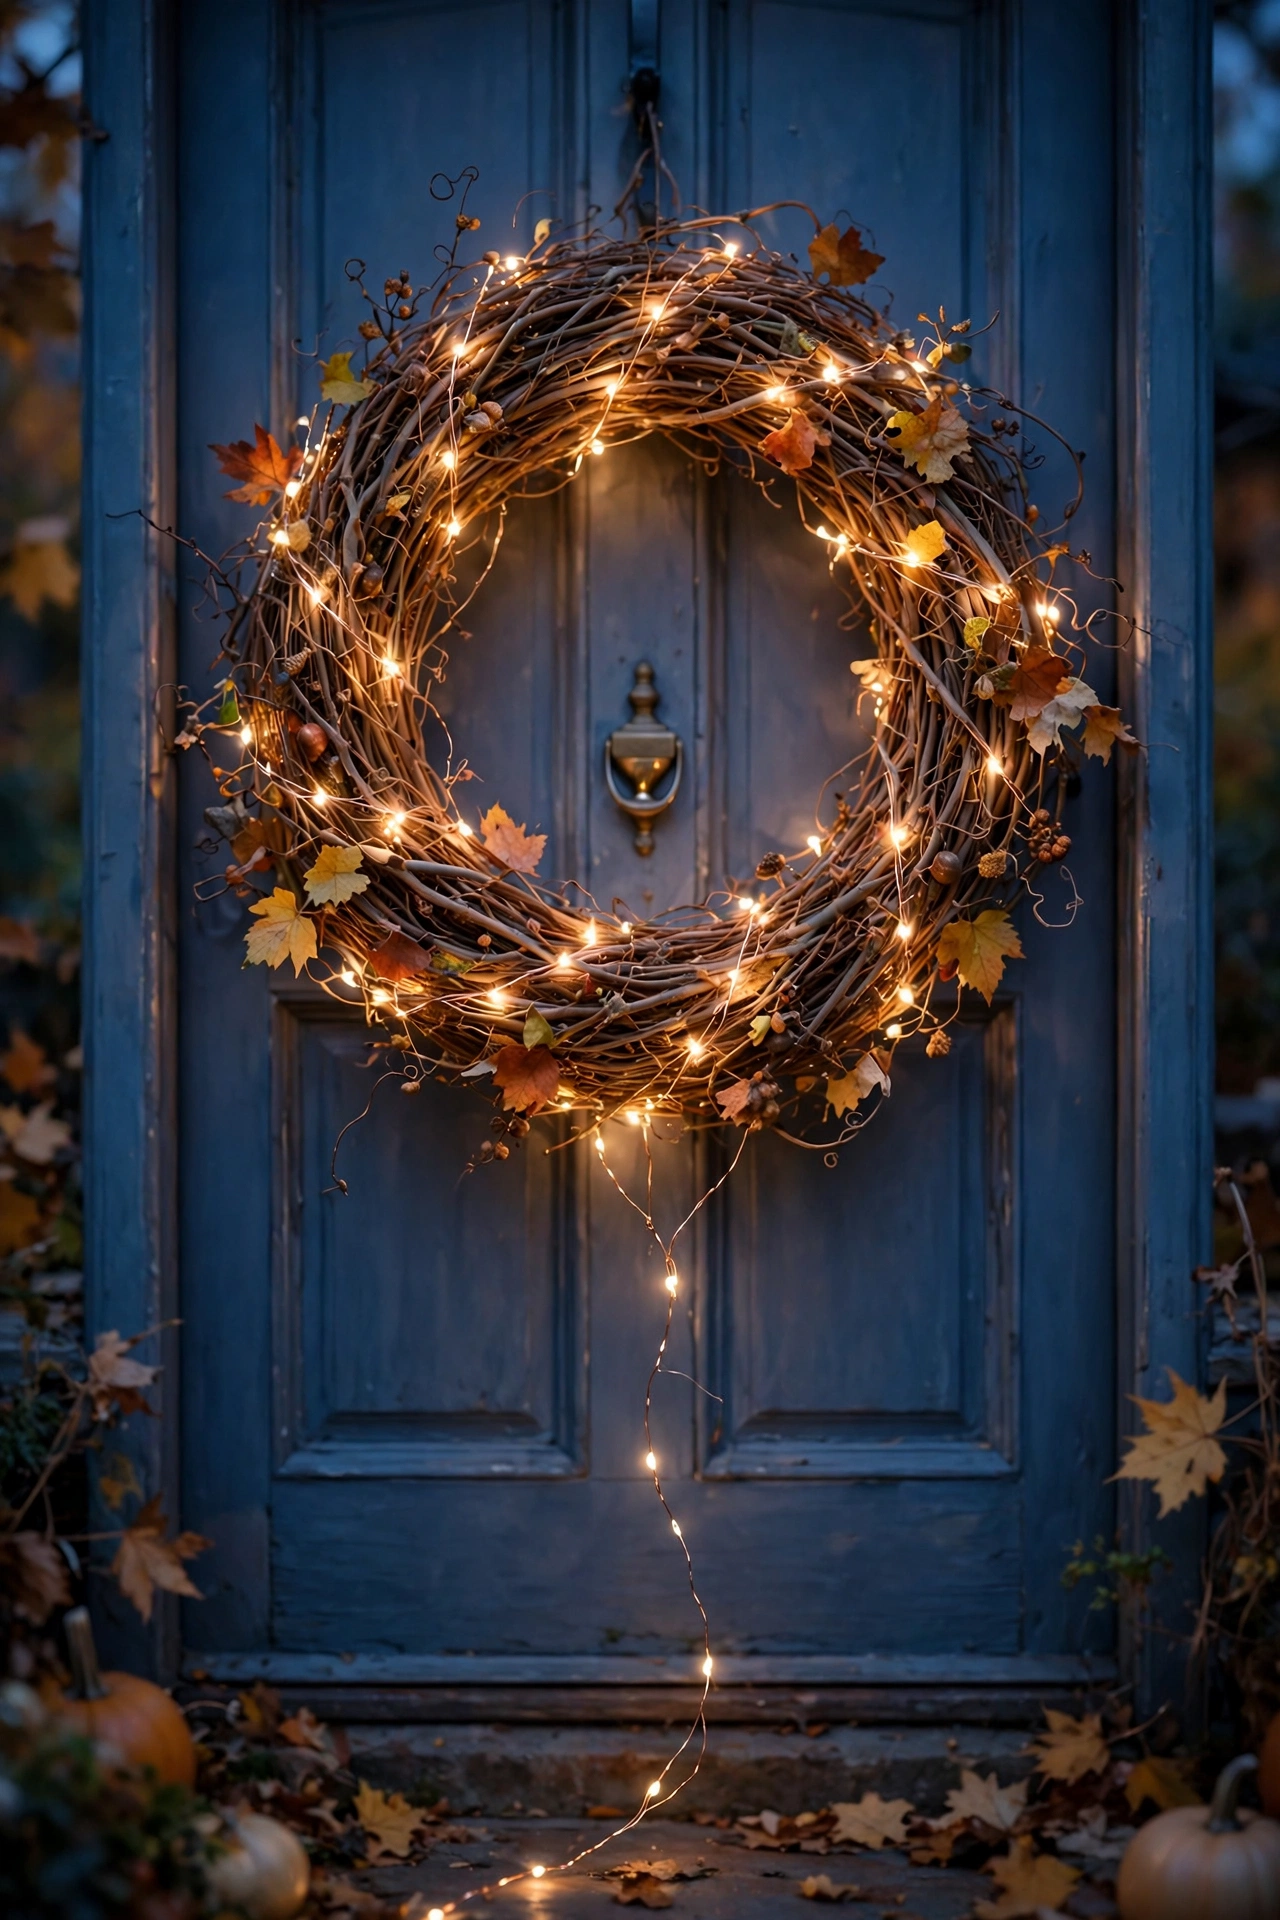
16. The Fairy Light Glow Wreath
A wreath that glows after dark is pure magic, and it is easier than you think. Wrap a strand of warm white fairy lights around your finished grapevine wreath, tucking the tiny wire deep into the base so it disappears, and let the little bulbs peek through the texture. The copper wire versions are my favorite because the wire itself is beautiful. When the lights come on at dusk, the wreath turns into a lantern for your front door. I set mine on a timer so it glows from six to ten every evening. It is the coziest thing. Pair it with the warm candlelight of your Thanksgiving table later in the season and the whole house feels like one glowing story.
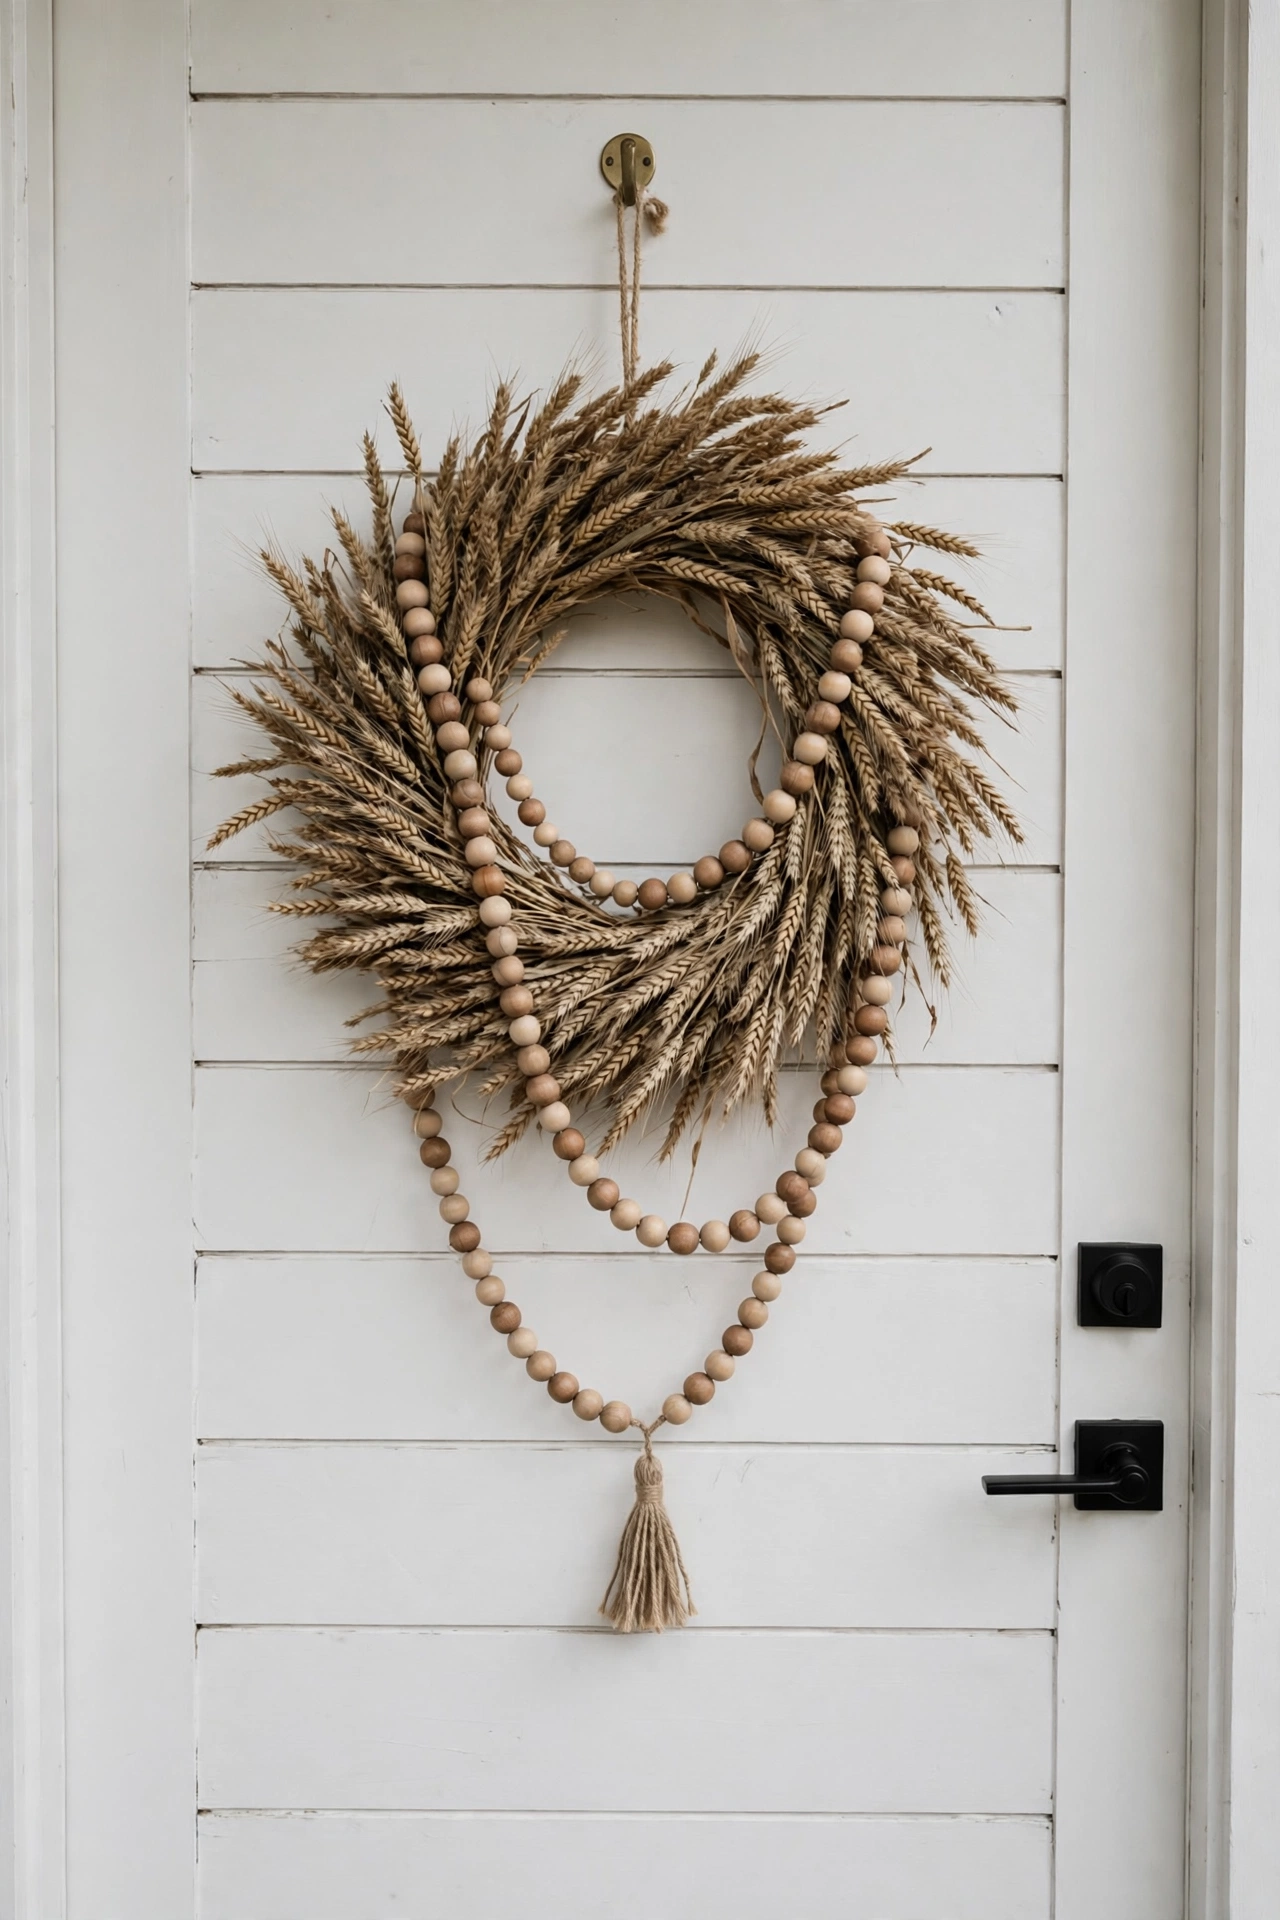
17. The Wood Bead Garland Wreath
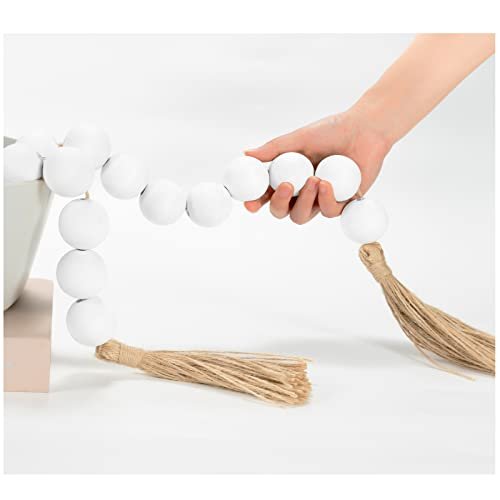
Draping a wood bead garland over a finished wreath is the kind of detail that looks expensive and takes about ninety seconds. I loop a natural wood bead garland loosely around a simple wheat wreath, letting it dip and drape like a necklace, and the whole thing instantly looks styled. The beads add this beautiful organic texture against the soft wheat, and the little tassel at the end is the perfect finishing touch. You can also weave the garland in and out of the grapevine for a more integrated look. Either way works. This is my favorite trick for upgrading a wreath I made last year without making a whole new one. New garland, same wreath, completely different look.
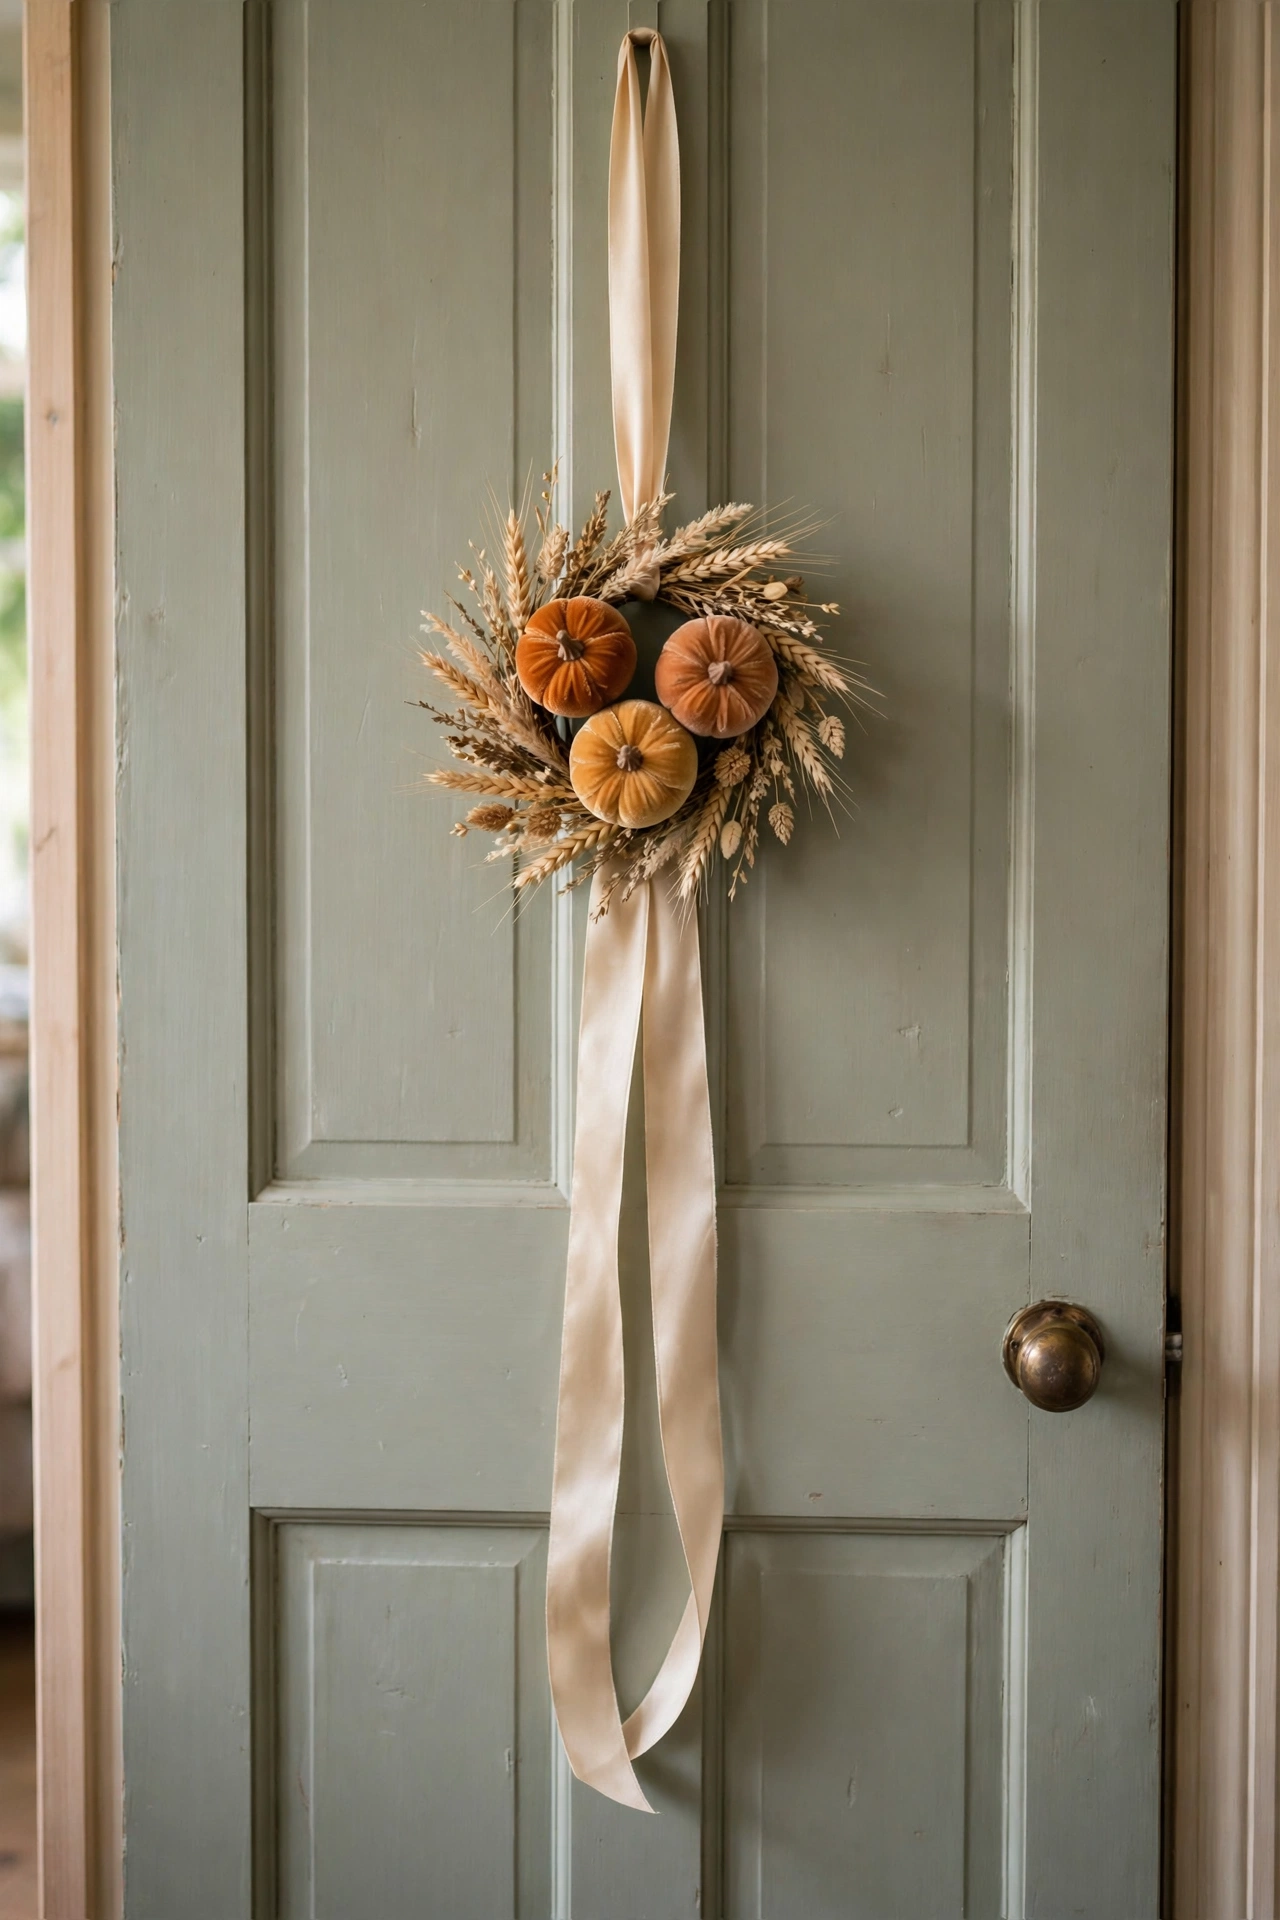
18. The Velvet Pumpkin Mini Wreath
Not every wreath needs to be front door size. This mini version, about twelve inches across, is perfect for an interior door, a kitchen cabinet, or hung in a window with a long ribbon. I make it the same way as the full size pumpkin tuck, just scaled down, with three tiny velvet pumpkins and a few sprigs of dried wheat. Small wreaths are actually harder to make look full, so this is where the odd numbers and breathing room rules really earn their keep. Three pumpkins, five wheat sprigs, done. I hang one on the pantry door every fall and it makes me smile every single time I reach for a snack. Little moments of pretty in the middle of ordinary days. That is what decorating is for.
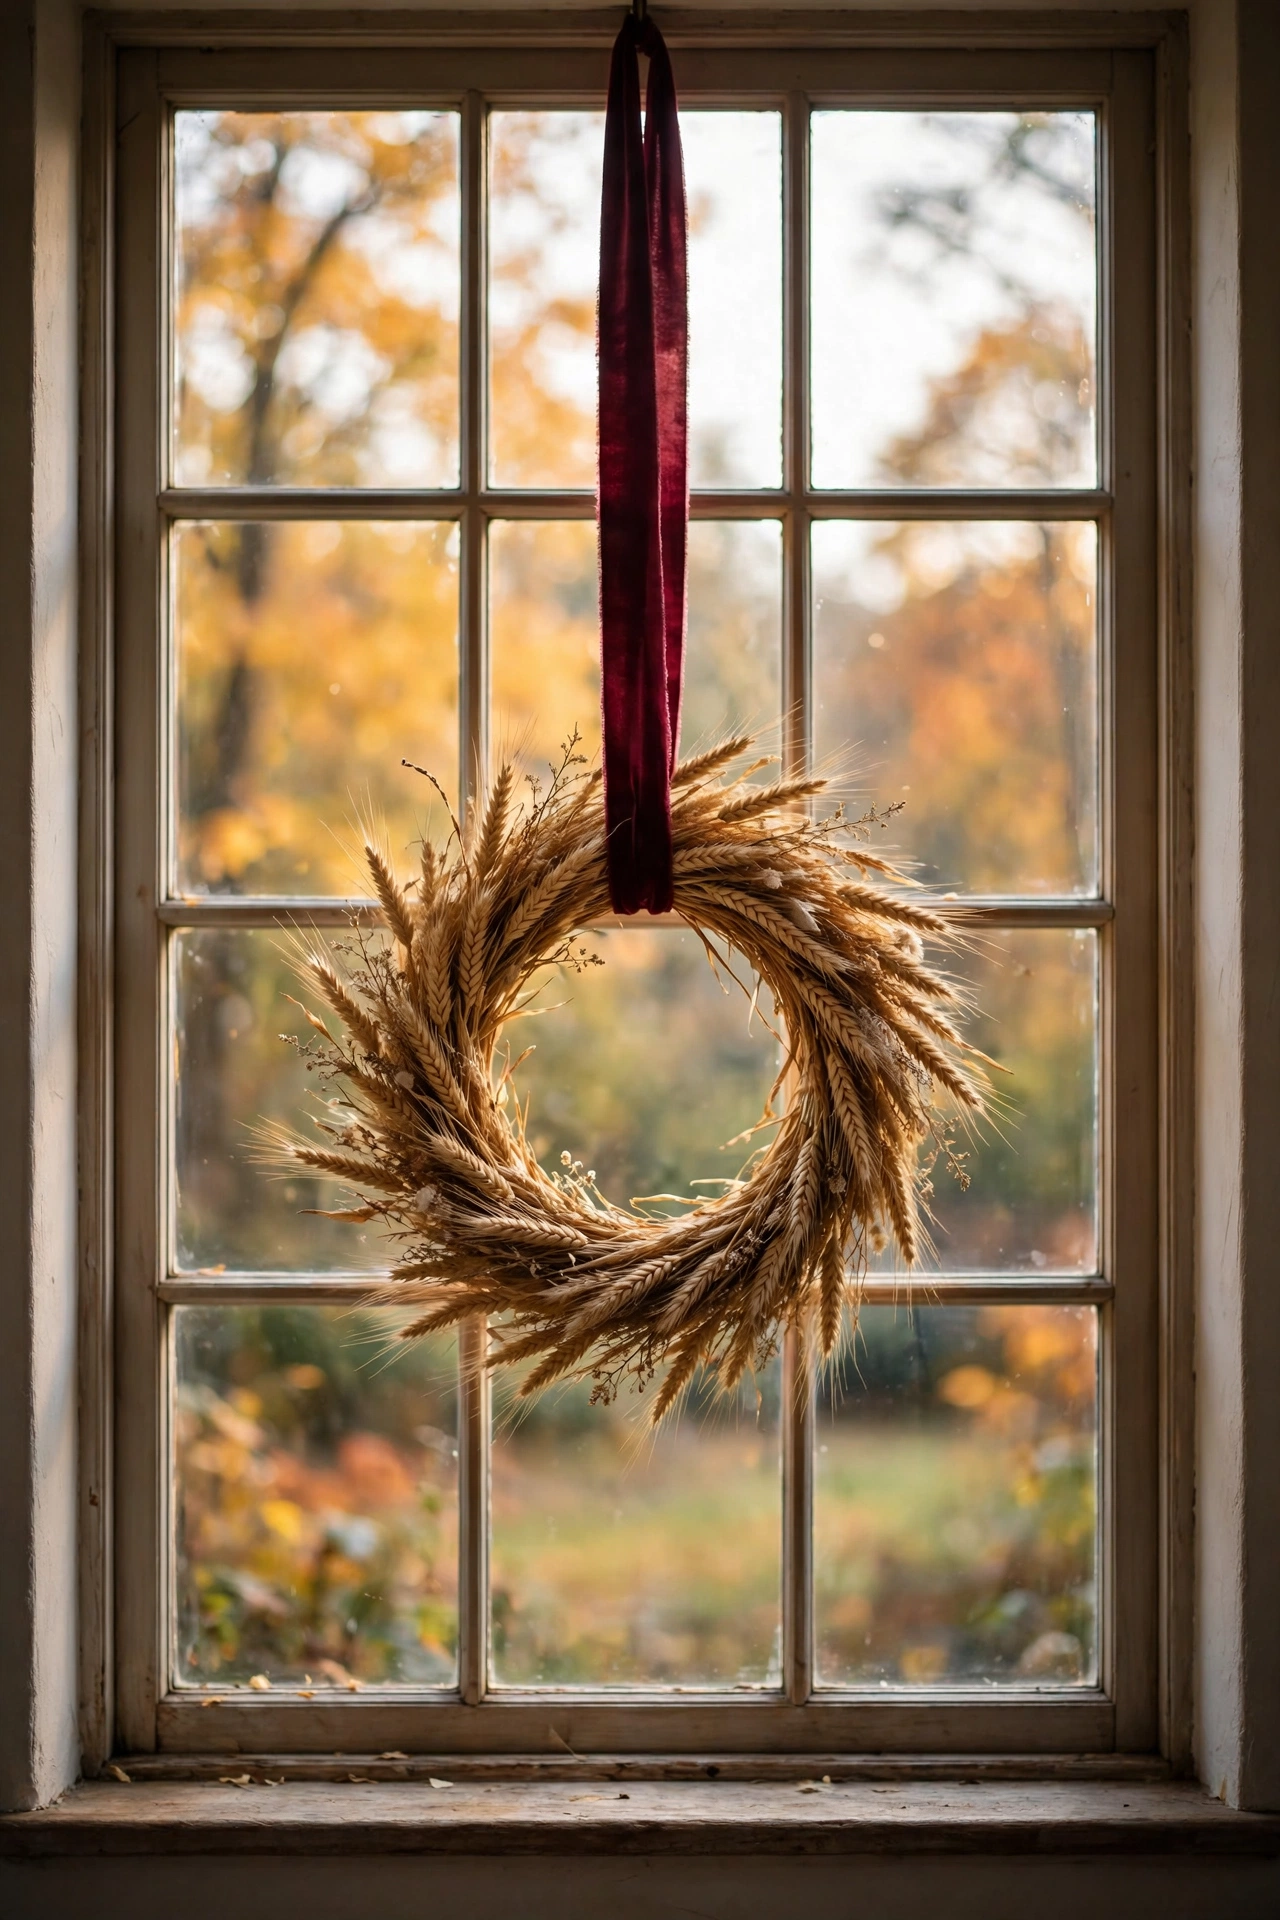
19. The Ribbon Hung Window Wreath
My favorite wreath trick of all has nothing to do with the wreath itself. It is how you hang it. A simple wheat wreath suspended in the middle of a window on a long burgundy velvet ribbon, seen from the street through the glass, is one of the prettiest sights in fall decorating. From outside it looks like the wreath is floating. From inside you get this beautiful framed view of it against the autumn light. I hang mine from the curtain rod with the ribbon, which keeps the glass free of hooks. The ribbon length matters. Hang it so the wreath sits right in the center of the window, not up at the top. Centered reads intentional. Top cornered reads like you gave up.
More Favorites
This post contains affiliate links. If you buy through them, I may earn a small commission at no extra cost to you.
A few more favorites from the ideas above:

That is the whole thing. A base, a bundle of stems, and one good bow, and your front door feels like the warmest house on the street. Start with the bones, finish with the garnish, and leave that breathing room. The wreath does not need to be perfect. It needs to be yours, hung with love, glowing a little when the porch light comes on. Now go clear off the kitchen table and give yourself that hour. You will not regret it.
With love and light
Get Fresh Home Ideas Every Week
Seasonal decor ideas, organizing tips, and cozy home inspiration, straight to your inbox.
More Fall Ideas You Will Love
Keep browsing for more seasonal inspiration: