
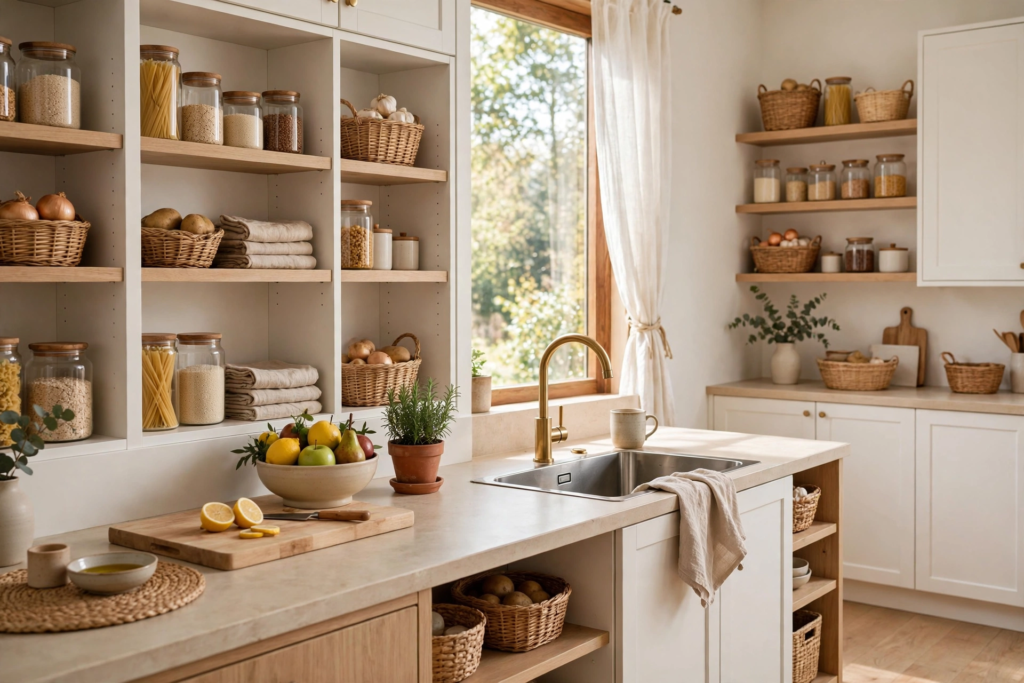
I want you to picture this. It is 6:40 on a Tuesday morning and the kitchen already feels calm. Warm light pools across the counters. The oatmeal colored bins on the pantry shelves line up like a little chorus. Somewhere a kettle hums. Your oldest pours cereal without asking where the bowls live because the bowls live exactly where small hands can reach them. Nobody is digging. Nobody is yelling about a missing lunchbox lid. That is what a well organized family kitchen feels like. It is not a showroom. It is a room that forgives you.
I used to think kitchen organization was about buying the right bins. Then I lived through the phase where my toddler dumped an entire snack drawer on the floor while I was on a work call, and I learned the truth. A family kitchen has to be organized for the people who actually use it, sticky fingers and all. The best systems are the ones your kids can follow without a lecture. The best drawers are the ones that stay divided even when life gets loud.
My guiding rule these days is simple. Everything earns an address. If the spatula has a home, it goes home. If the snack bags have a zone, kids learn the zone. I also live by a second rule. If you can see it, you will use it. Clear bins, open zones, labels you can read from across the room. And a third rule I whisper to myself when I am tempted to buy something cute but impractical. Store it where the smallest user can reach it. Your kitchen is not a museum. It is the hardest working room in the house, and it should feel like a deep breath at the end of a long day, especially when dinner needs to happen in thirty minutes flat.
These nineteen ideas are built around zones and drawer dividers, the two trends that actually changed how my kitchen runs. Work through them one weekend at a time. You do not need all nineteen at once. Start with the zone that hurts the most and let the calm spread from there.
Love these ideas? Get more every week.
Join the newsletter for seasonal decor and cozy home inspiration.
Set Up Zones That Do the Heavy Lifting
1. Create a Breakfast Zone That Runs Itself
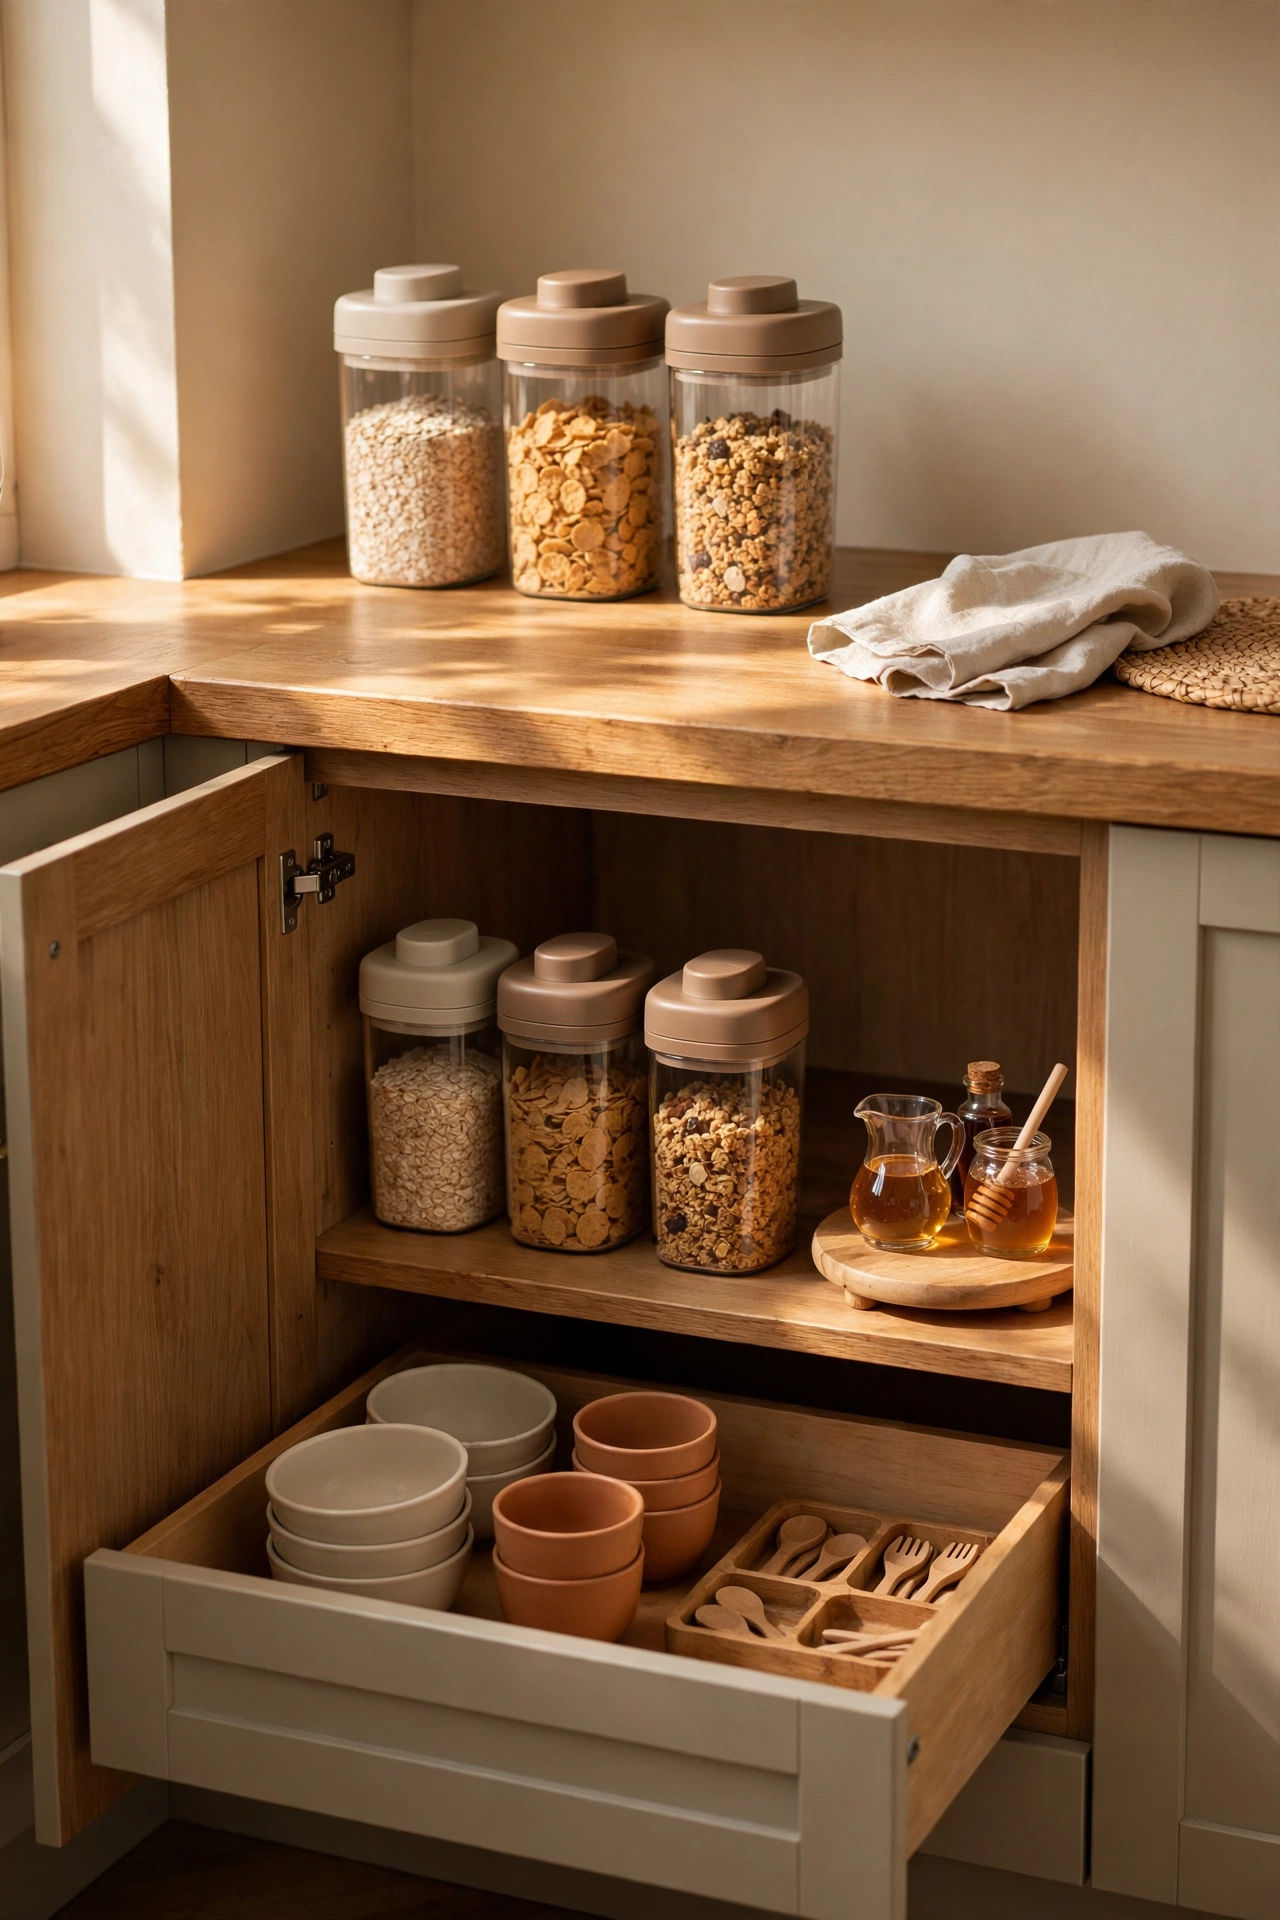
Mornings are the boss level of family life, so I gave breakfast its own corner and it changed everything. One lower cabinet holds the cereal containers, the oatmeal canister, and the granola jars, all decanted into matching airtight containers so I can see at a glance what needs restocking. The bowls and kid cups live in the drawer right underneath, and the spoons sit in a small divided tray beside them. My son can make his own breakfast now without climbing a single thing, which means I can drink my coffee while it is still hot. I chose containers with simple push button lids because little hands can manage them, and I keep the whole zone in soft oatmeal and camel tones so it looks intentional instead of chaotic. The trick is keeping it tight. Only breakfast things live here. The moment the pancake mix sneaks in, the zone loses its magic.
Shop This Look
This post contains affiliate links. If you buy through them, I may earn a small commission at no extra cost to you.
A few favorites featured in the ideas above:


2. Build a Lunch Packing Station
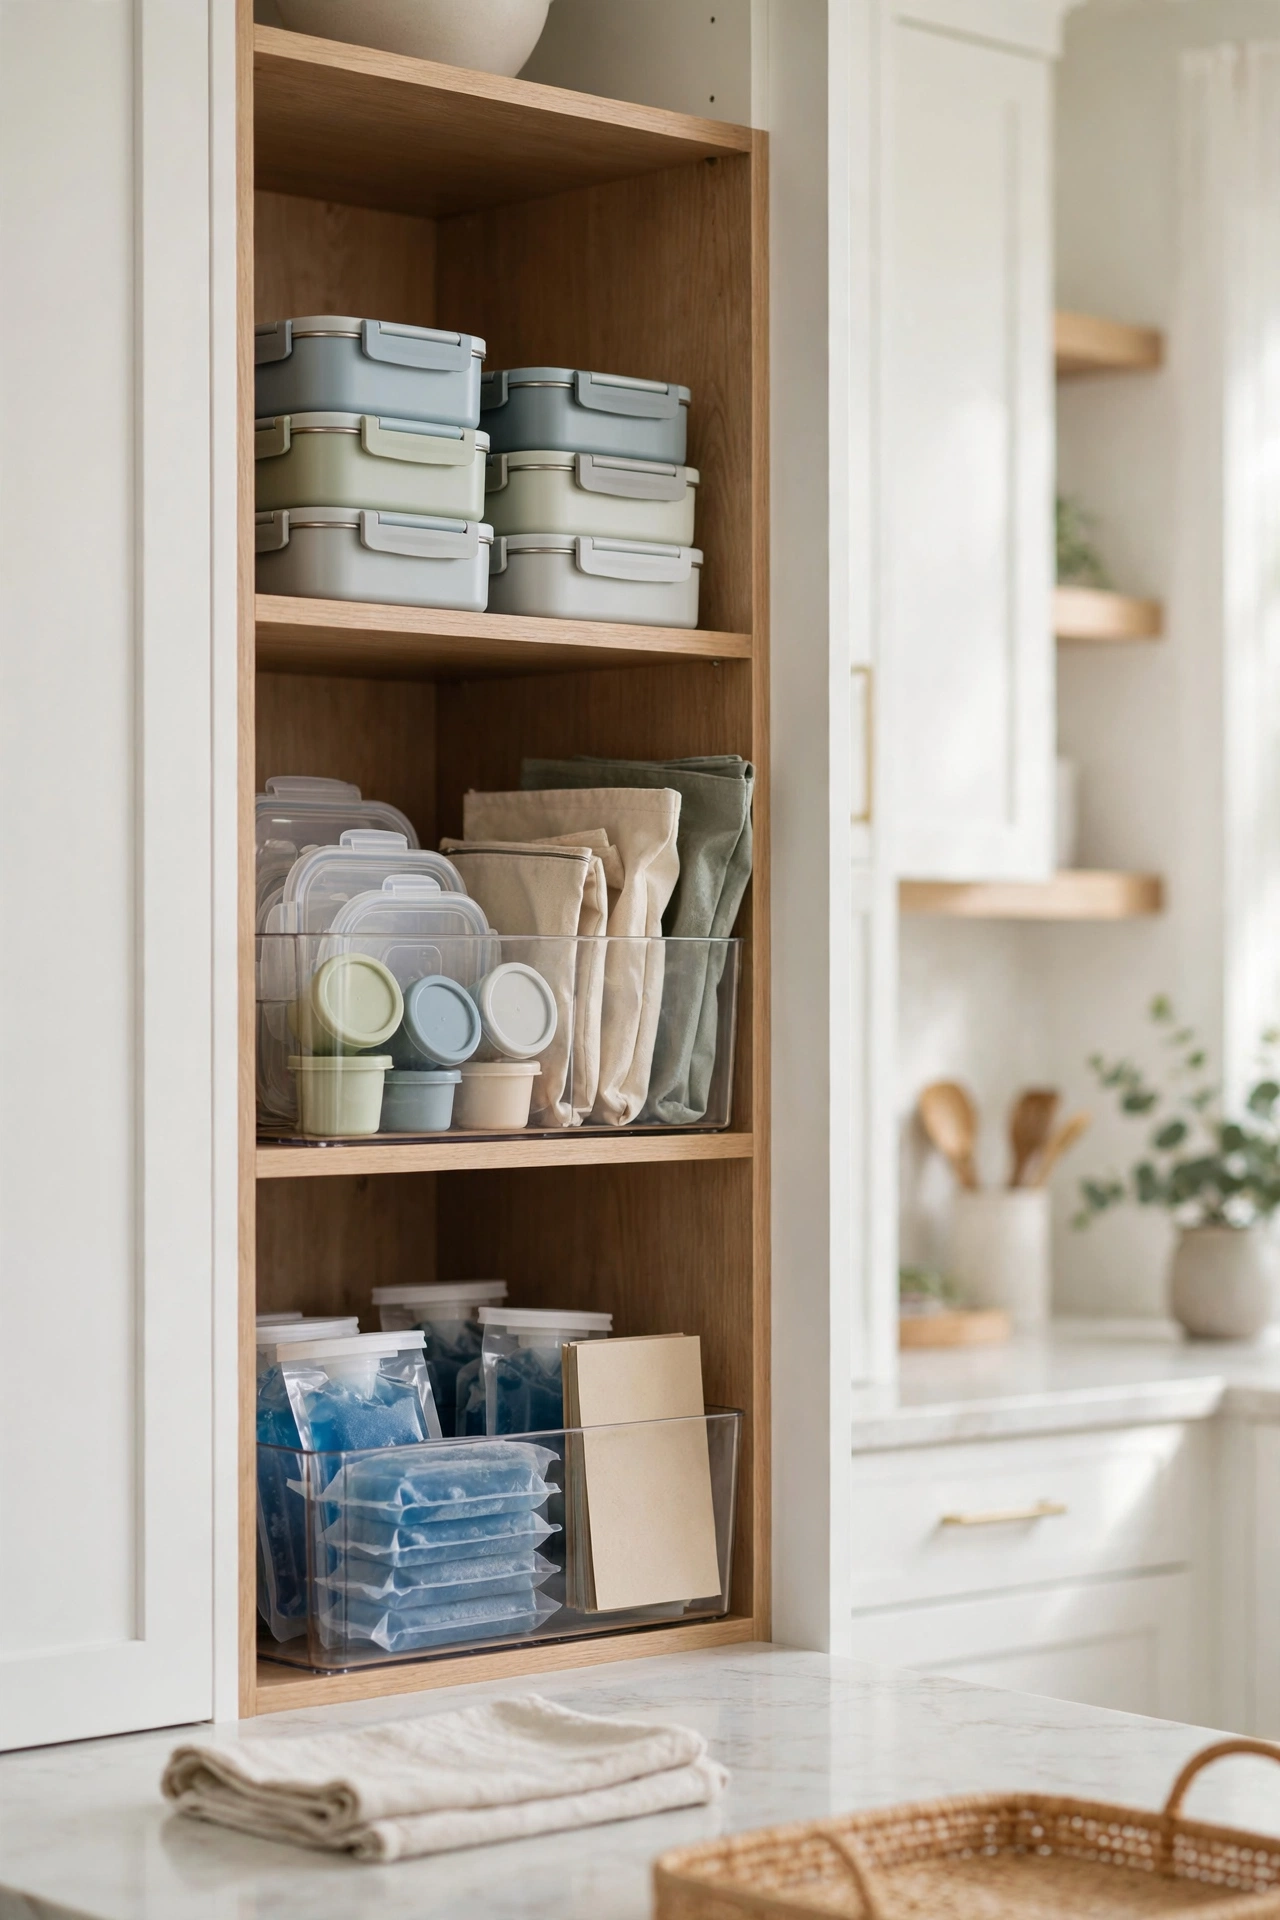
If you pack lunches, you know the 8pm scramble. Containers here, lids there, ice pack somehow in the junk drawer. I fixed it with a single station. One cabinet shelf holds the lunchboxes, and a clear bin beside it holds lids, small dip containers, and reusable snack bags. Another bin holds the ice packs, which live in the freezer door but get pulled to this exact spot each night. Everything for lunch lives in one vertical column, so packing takes minutes instead of a scavenger hunt. I also keep a little notepad tucked in the bin for the grocery list, because running out of bread at 8pm is a special kind of heartbreak. The kids help now because the system is obvious. Lunchbox on the left, lid from the bin, done.
3. Give Snacks a Kid Level Home
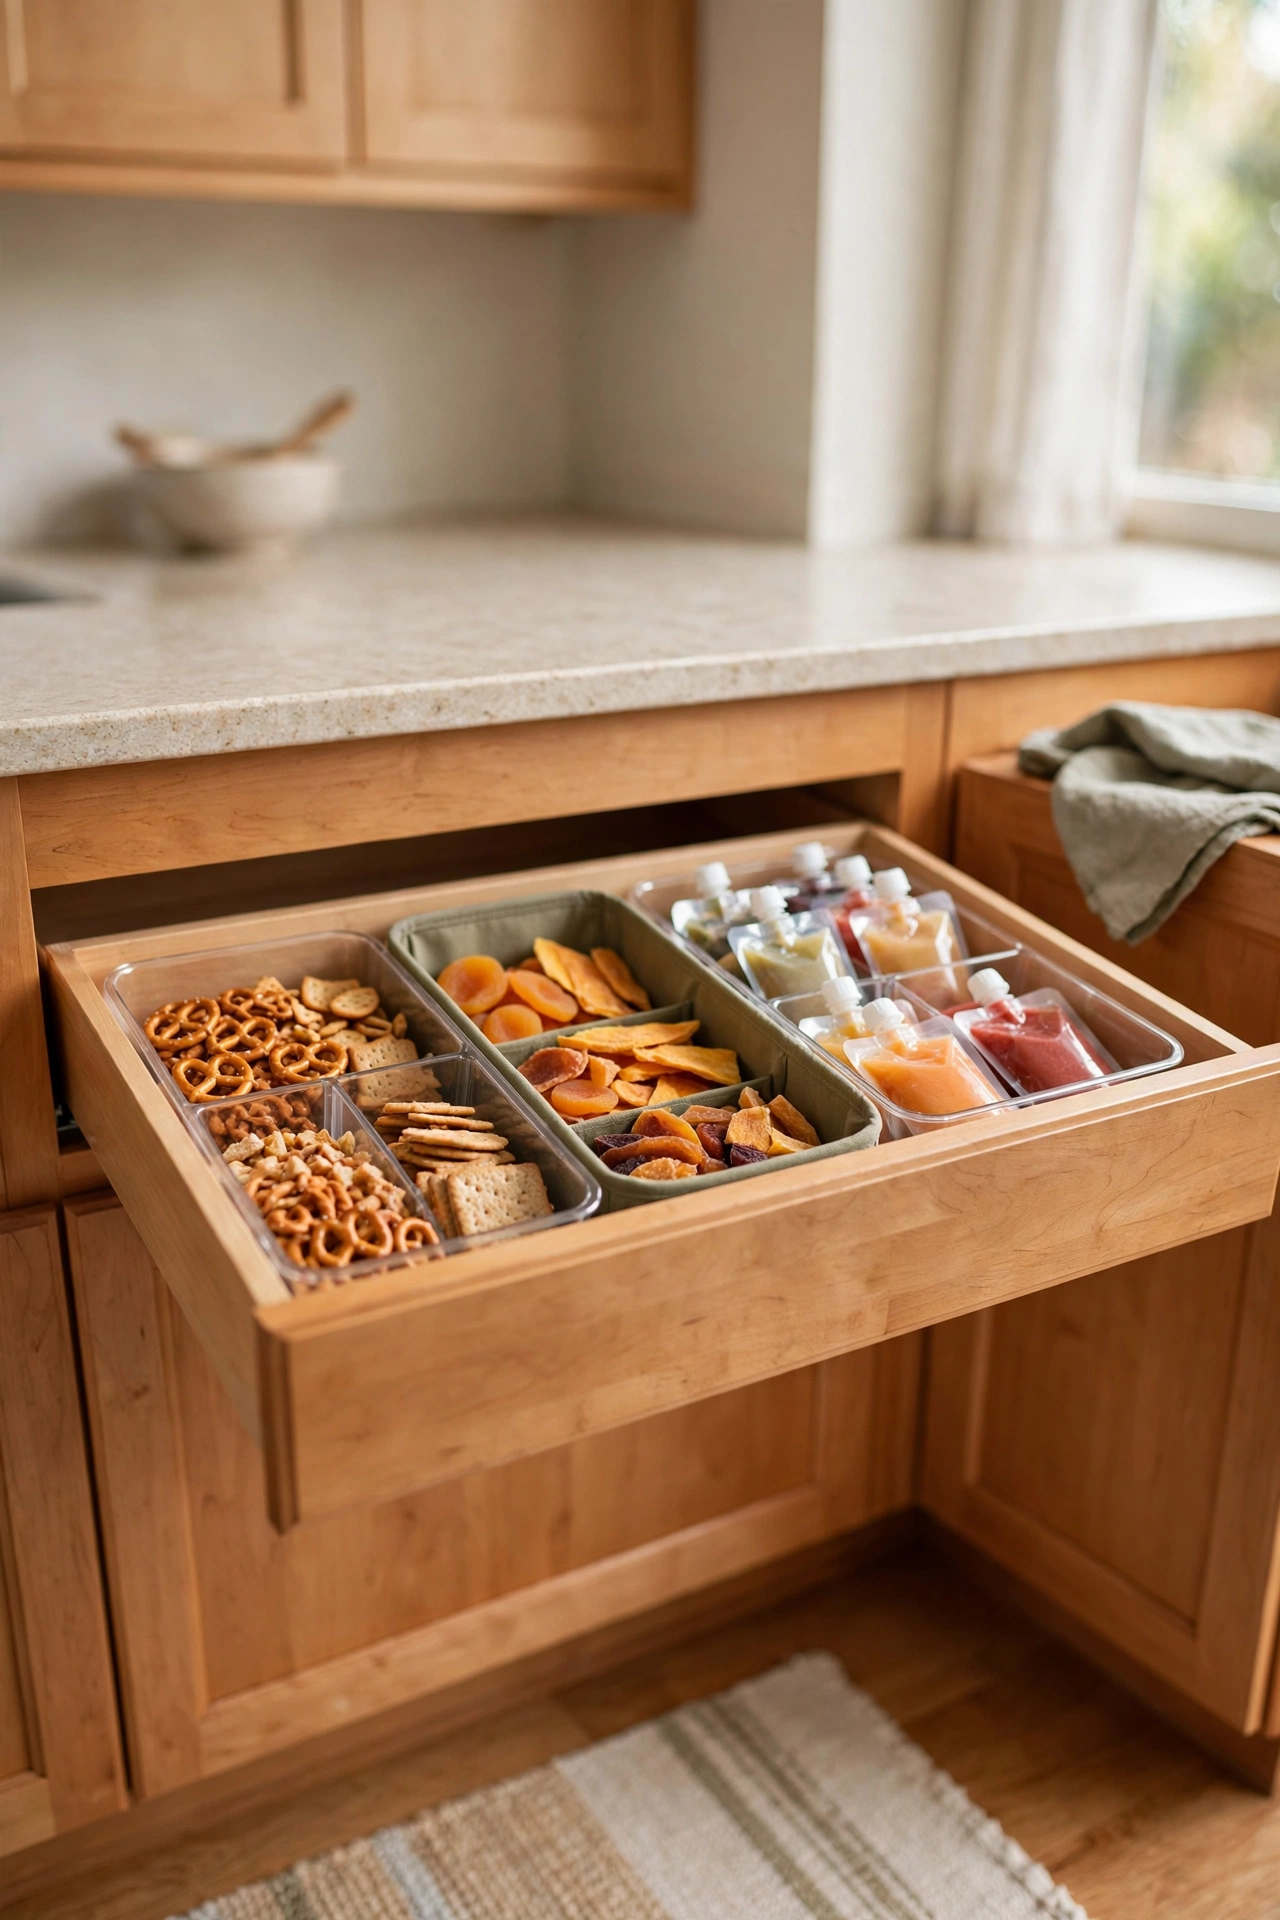
Here is the thing about snacks. If kids cannot reach them, they will ask you a hundred times a day. If they can reach them, they help themselves and you get your afternoon back. I gave snacks a low drawer with clear divided bins, one bin for crunchy, one for chewy, one for fruit pouches. The bins are shallow enough that small hands can see everything. I refill it once a week and the kids know the rule. They can choose from this drawer any time, and anything else needs a grown up. It cut the constant asking down to almost nothing. I love how the bins look in clear plastic with a few in soft olive, and I keep portions reasonable so nobody is eating a family size bag of anything at 4pm. This is also where my rule about storing things where the smallest user can reach them really shines. Independence is the reward.
4. Carve Out a Coffee and Tea Corner
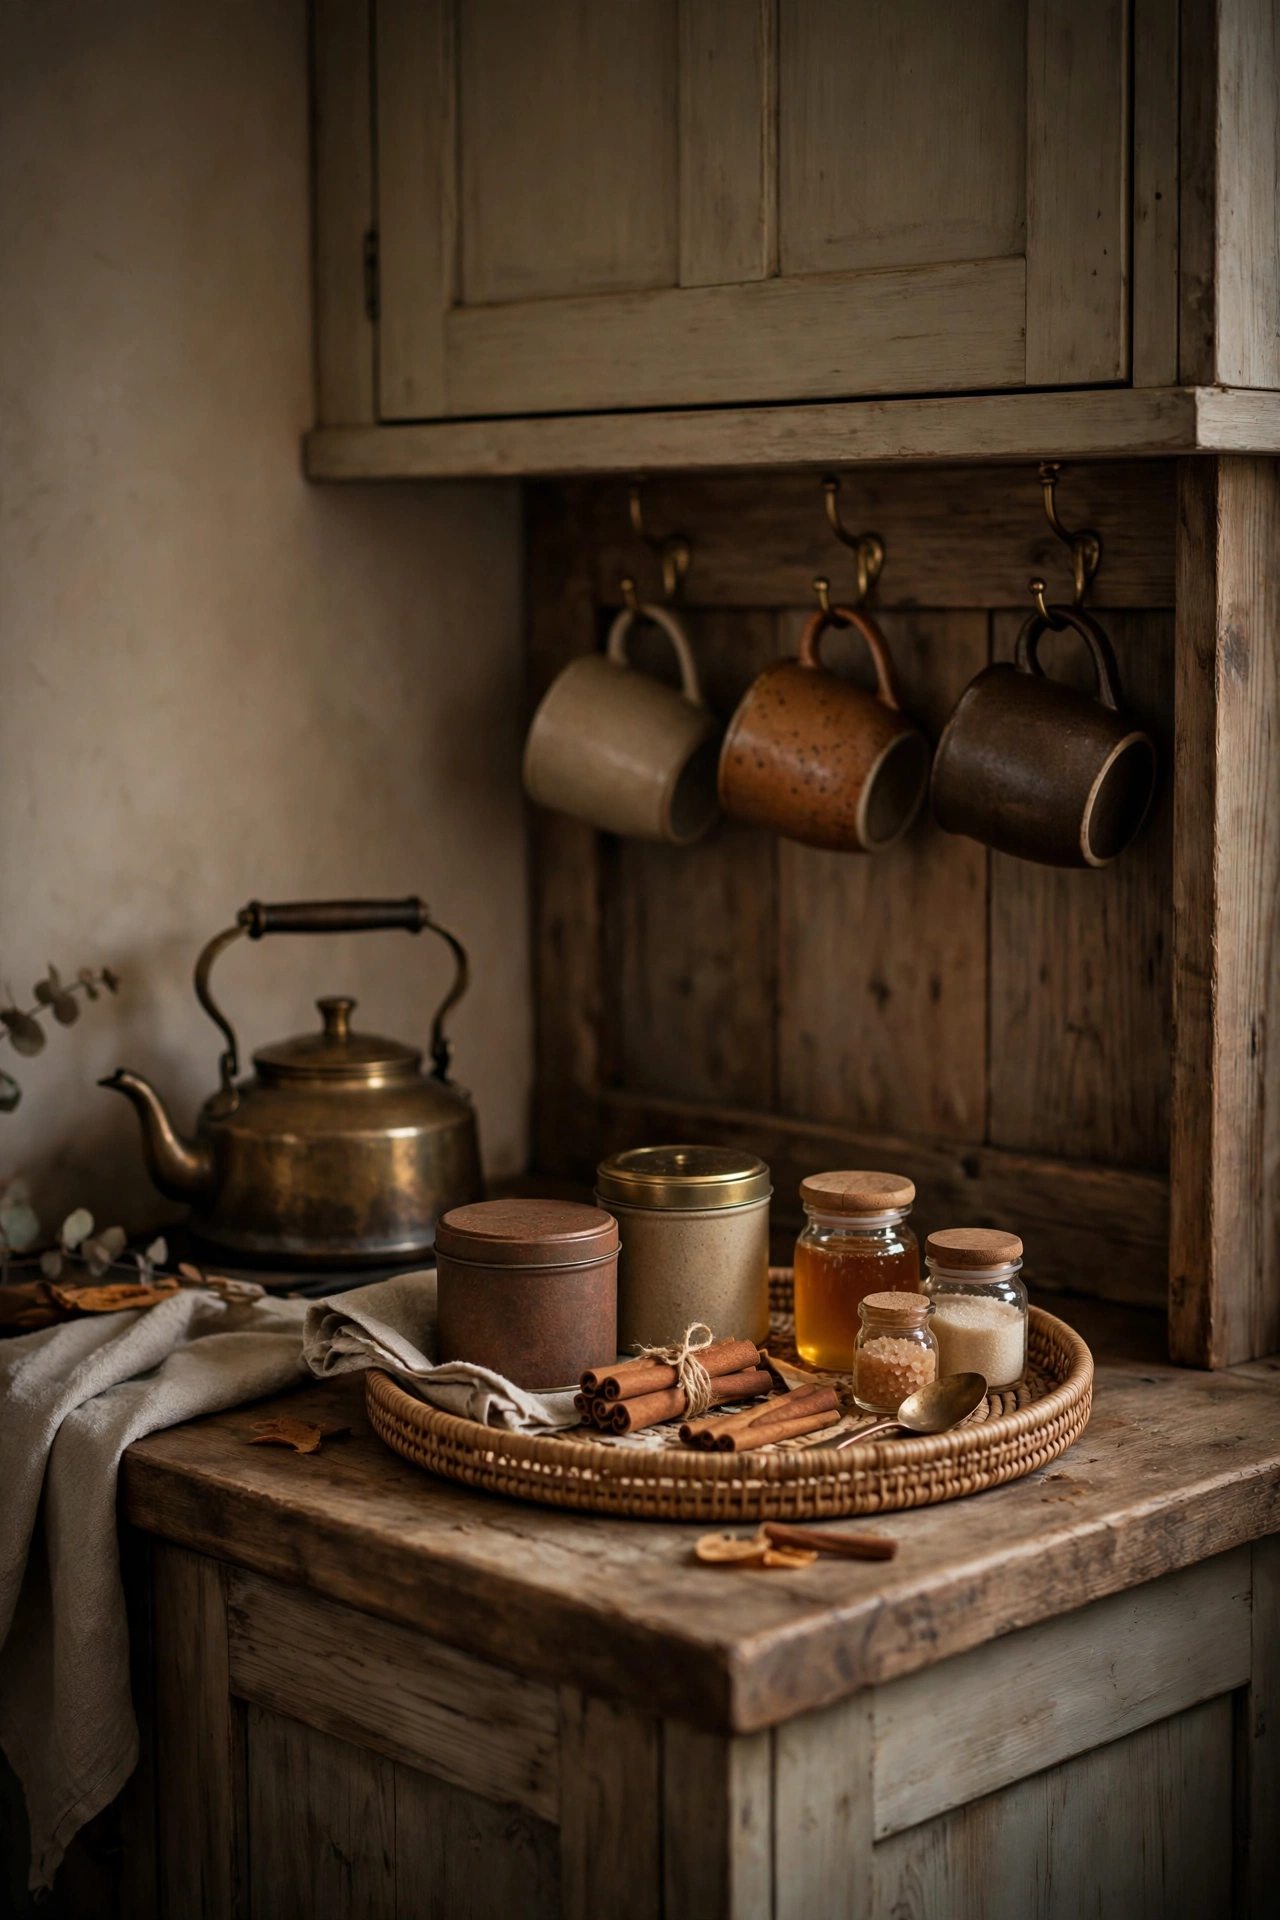
Every busy parent deserves a corner that feels like a small luxury. Mine is a little stretch of counter near the kettle with the coffee, the tea tins, the mugs on hooks underneath the cabinet, and a small tray that keeps it all corralled. The tray is the secret. It turns five loose items into one intentional vignette, and it makes wiping the counter a one lift job. I keep the sugar and the good honey in tiny jars on the tray, and everything else lives in the cabinet above. In the fall I lean into my fall coffee bar and hot cocoa station ideas and add cinnamon sticks and a little brass spoon, because a kitchen should have at least one spot that makes you happy for no reason. Keep this zone small. A coffee corner that sprawls across the whole counter is just clutter with better branding.
5. Keep Dinner Prep Close to the Stove
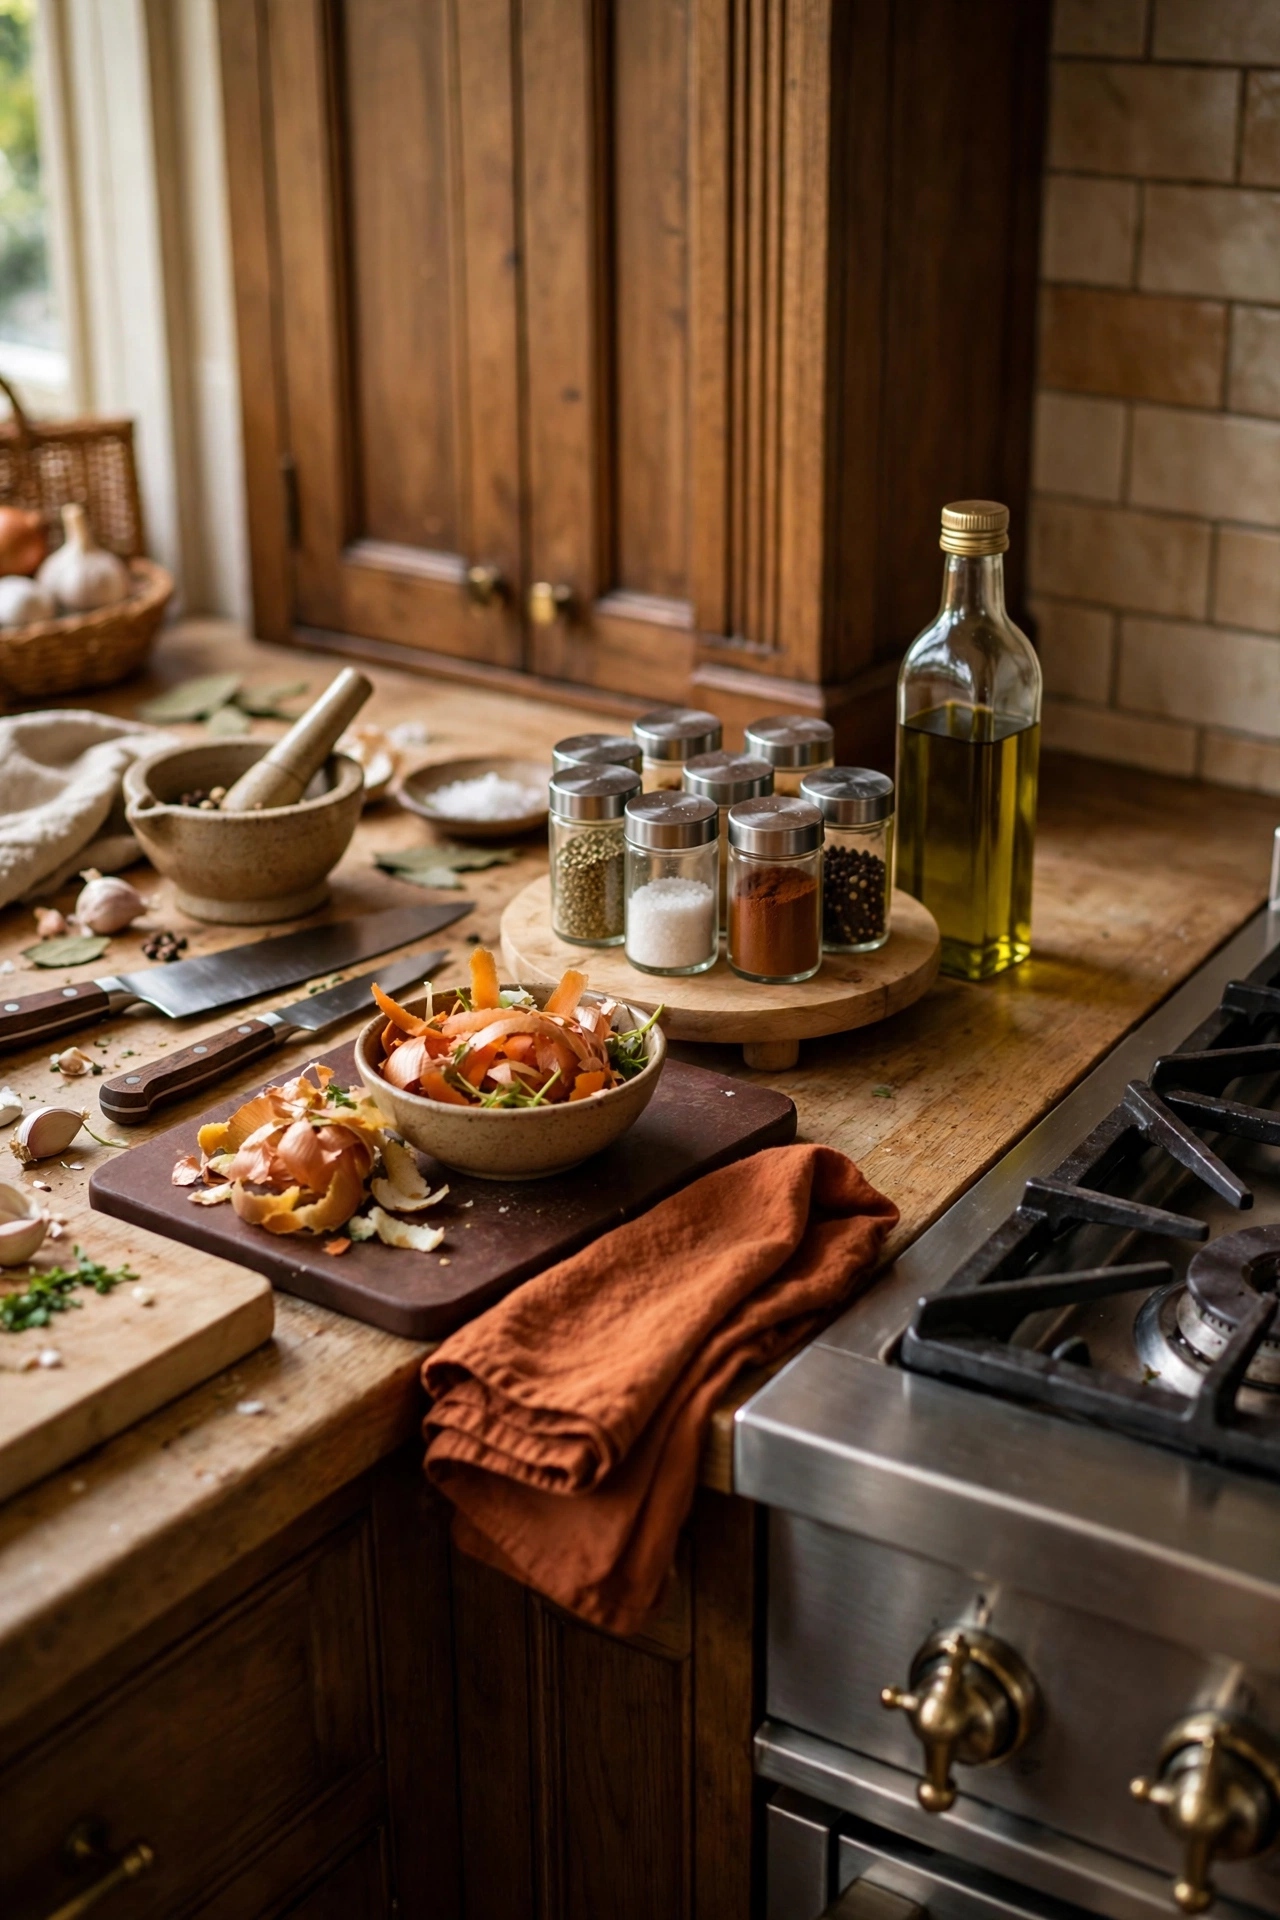
Weeknight dinners live or die by how fast you can move. I keep a prep zone right beside the stove with the cutting boards, the good knives, the olive oil, and the everyday spices in a small turntable. Everything I touch in the first ten minutes of cooking is within one pivot. The trash bowl habit changed my life too. A bowl on the counter for peels and scraps while I chop, then one trip to the trash. No more fifteen walks across the kitchen. I also keep a folded kitchen towel in this zone at all times because spills happen fast when dinner is a race. The colors here lean warm and earthy, with a chocolate brown cutting board and a little rust colored towel, so even a rushed Tuesday dinner looks like it belongs in a kitchen I love.
Make Every Drawer Earn Its Keep
6. Divide the Utensil Drawer With Bamboo
This is the trend that started it all for me. Adjustable bamboo drawer dividers turned my utensil drawer from a tangled mess into a grid where every tool has a lane. The spring loaded kind are brilliant because they fit whatever drawer you have, no measuring drama, and the bamboo looks warm and calm every time you open the drawer. I gave the spatulas one lane, the wooden spoons another, the tongs their own slot, and the odd gadgets a short section at the end. When everything has a lane, putting things away takes seconds and the drawer stays tidy on its own. I chose bamboo in a natural finish because it warms up the inside of the drawer and matches the camel and oatmeal tones running through my kitchen. This is also the cheapest transformation on this whole list, and honestly one of the most satisfying.

7. Switch to a Tiered Cutlery Tray
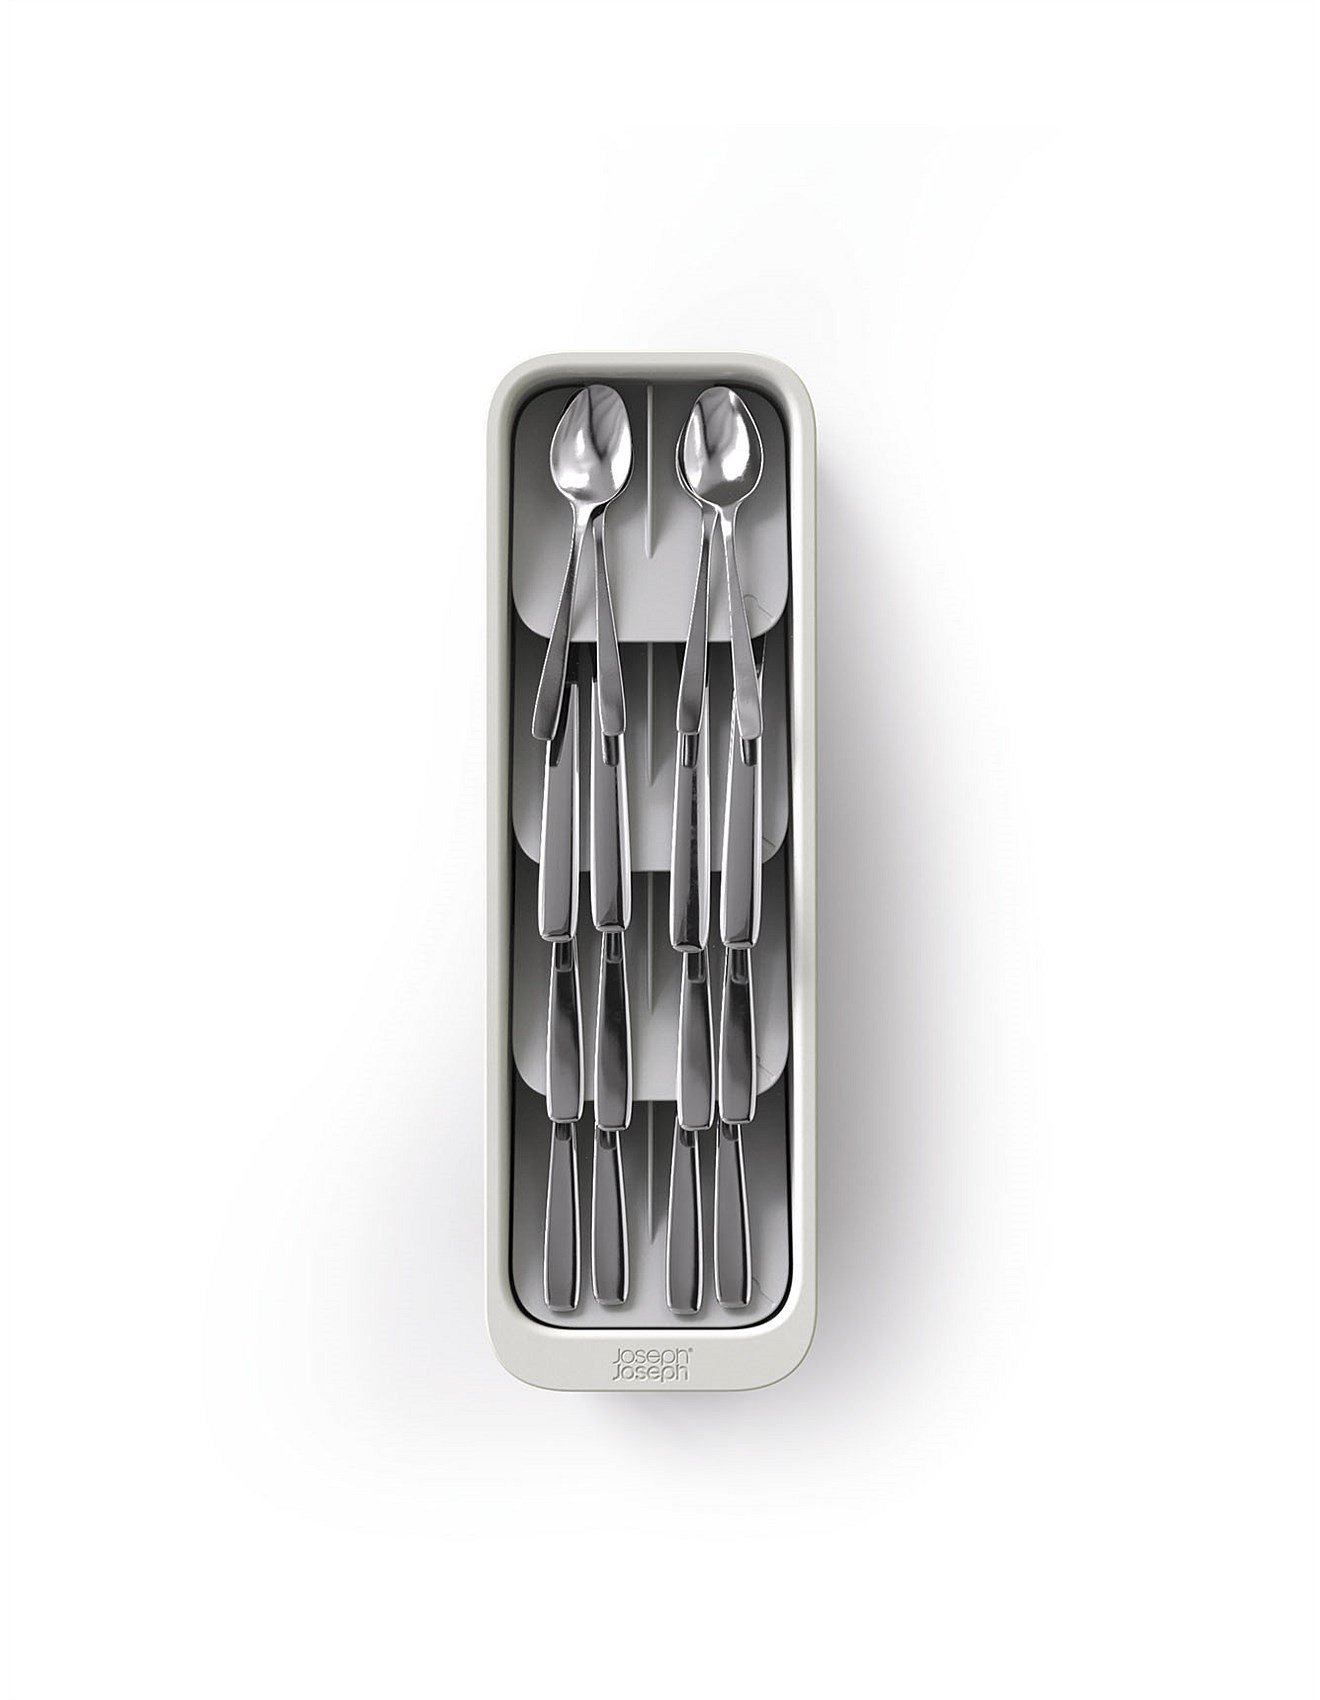
A regular cutlery tray wastes the vertical space inside the drawer, and in a family kitchen that space is precious. A tiered tray stacks the compartments so a full set of cutlery fits in half the footprint, which leaves room for the serving spoons and the kids’ extra forks. I love the kind with little icons showing what goes where, because then anyone unloading the dishwasher can get it right, including the kids. Ours is a soft gray that disappears into the drawer, and the non slip feet keep it from sliding around when the drawer slams. Which it will. This is one of those small upgrades that makes the whole kitchen feel more grown up, even though it costs less than a takeout dinner.

8. Tame the Junk Drawer With Little Trays
Every family has a junk drawer. Mine holds batteries, tape, rubber bands, the mystery keys, and at least one thing I am afraid to throw away. The fix is not to eliminate it. The fix is to give the chaos some structure with small trays inside the drawer. I used a set of little divided trays, one for batteries and chargers, one for tape and tools, one for the random small stuff. The rule is simple. If it does not fit in a tray, it does not live in this drawer. I go through it every few months and it takes ten minutes because the trays lift out. The junk drawer is never going to be beautiful, and that is fine. It just needs to be searchable.

9. Store Lids and Wraps Upright in a Deep Drawer
Pot lids used to live in a terrifying stack in my lower cabinet, and getting the right one out sounded like a cymbal crash. Now they stand upright in a deep drawer with simple dividers, filed like records. I can see every lid at a glance and grab the right size without the avalanche. The same drawer holds the plastic wrap, foil, and parchment in a row at the front, standing on end so the boxes do not slide around. This works because of my visibility rule. If you can see it, you will use it, and you will put it back. Deep drawers are gold in a family kitchen, so do not waste them on things you rarely touch. Give the deep drawers to the bulky everyday stuff.

10. Give Every Kid a Dinnerware Drawer
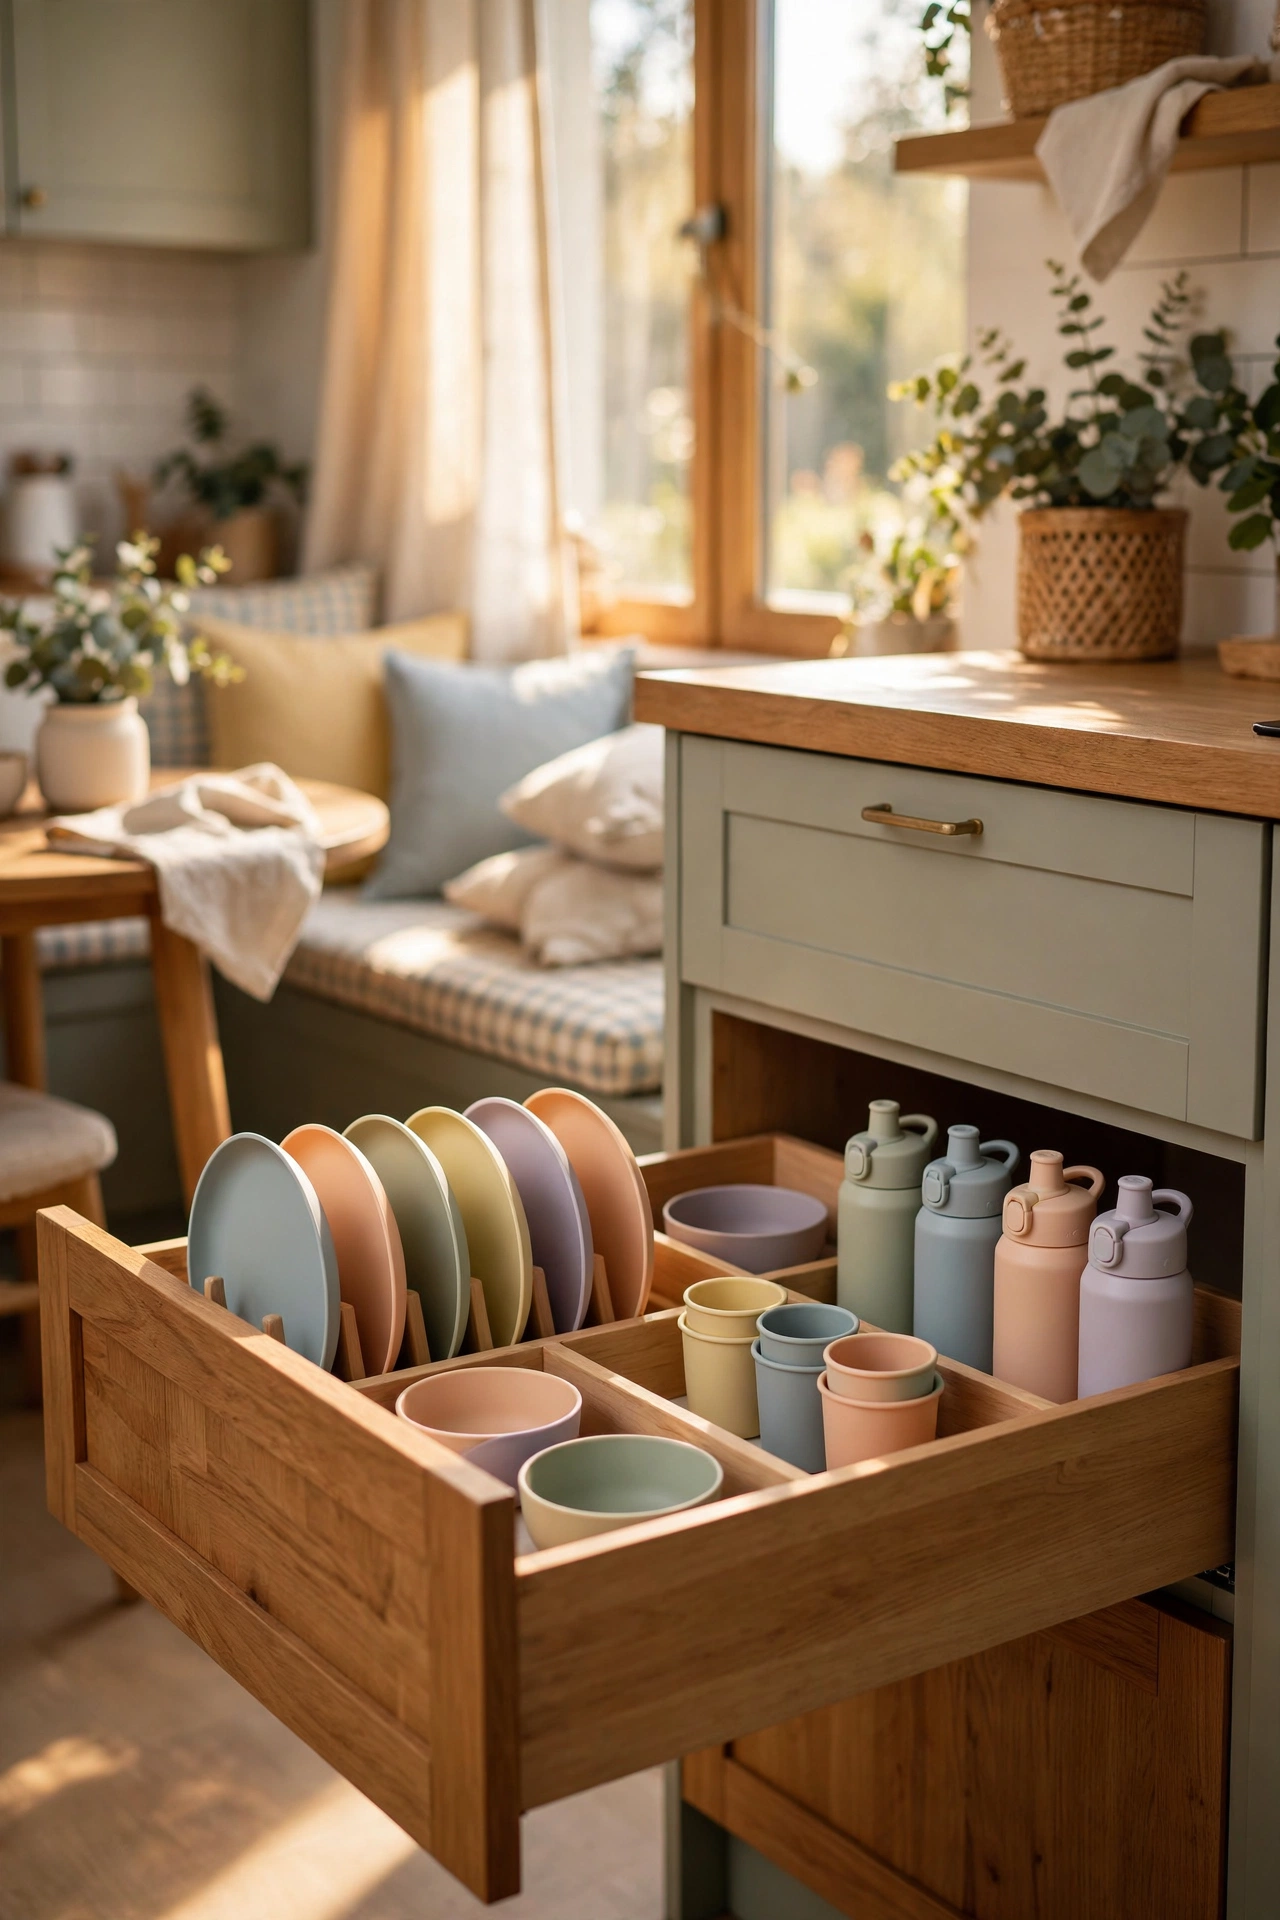
This might be my favorite idea on the list. I cleared a low drawer and gave it entirely to the kids. Plastic plates, bowls, cups, and their water bottles all live here at their height. They set their own places at the table. They get their own water. They clean up their own spots. It is independence in drawer form, and it follows my third rule perfectly. Store it where the smallest user can reach it. The drawer has simple dividers so the plates stand in a row and the cups nest in their section. If you want help getting little ones to own their part of the routine, my post on how to get your kids to tidy up without nagging has the whole philosophy. Start with the kitchen, and the rest of the house follows.
A Pantry and Cabinets That Stay Put
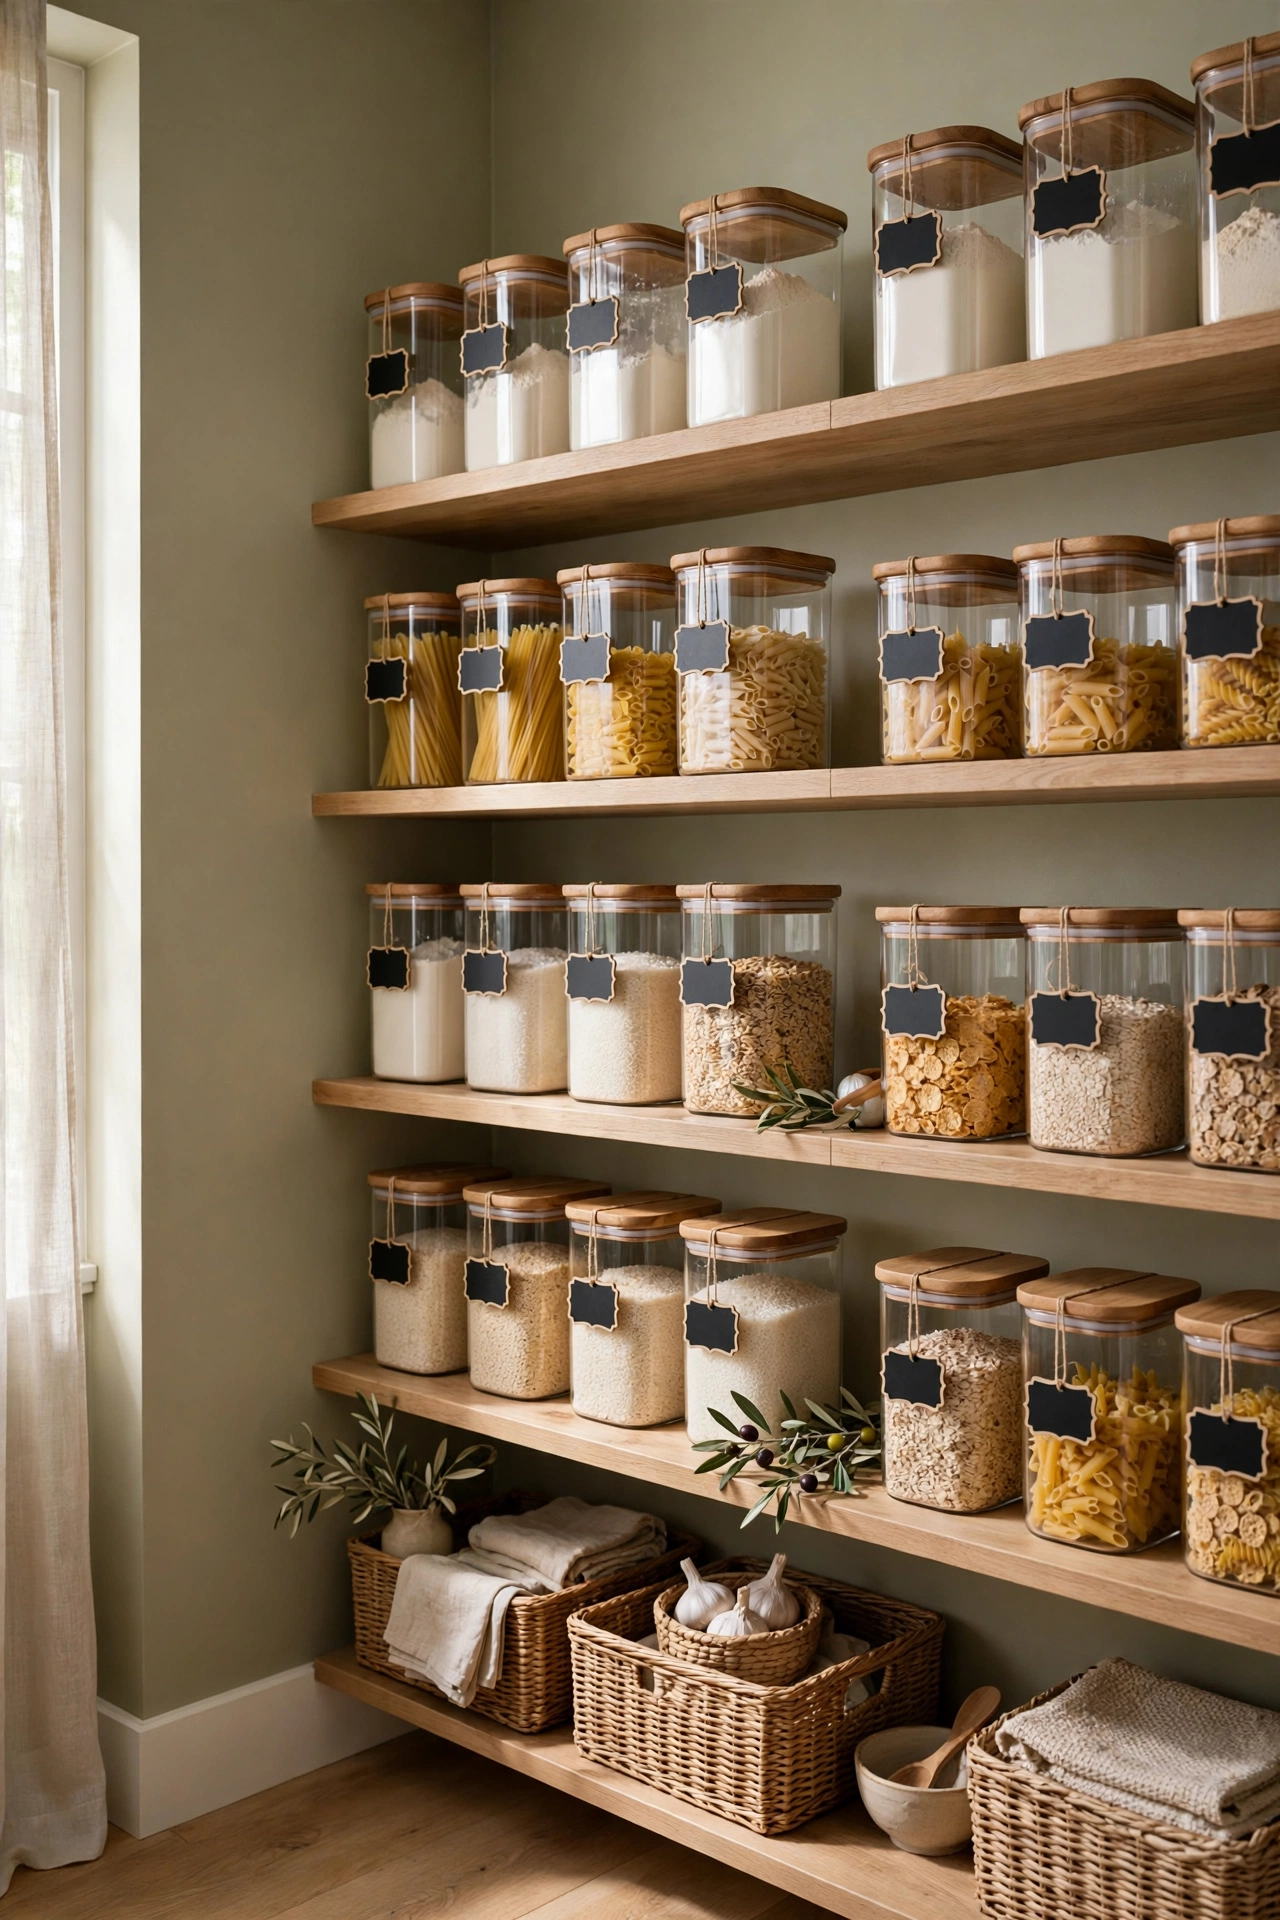
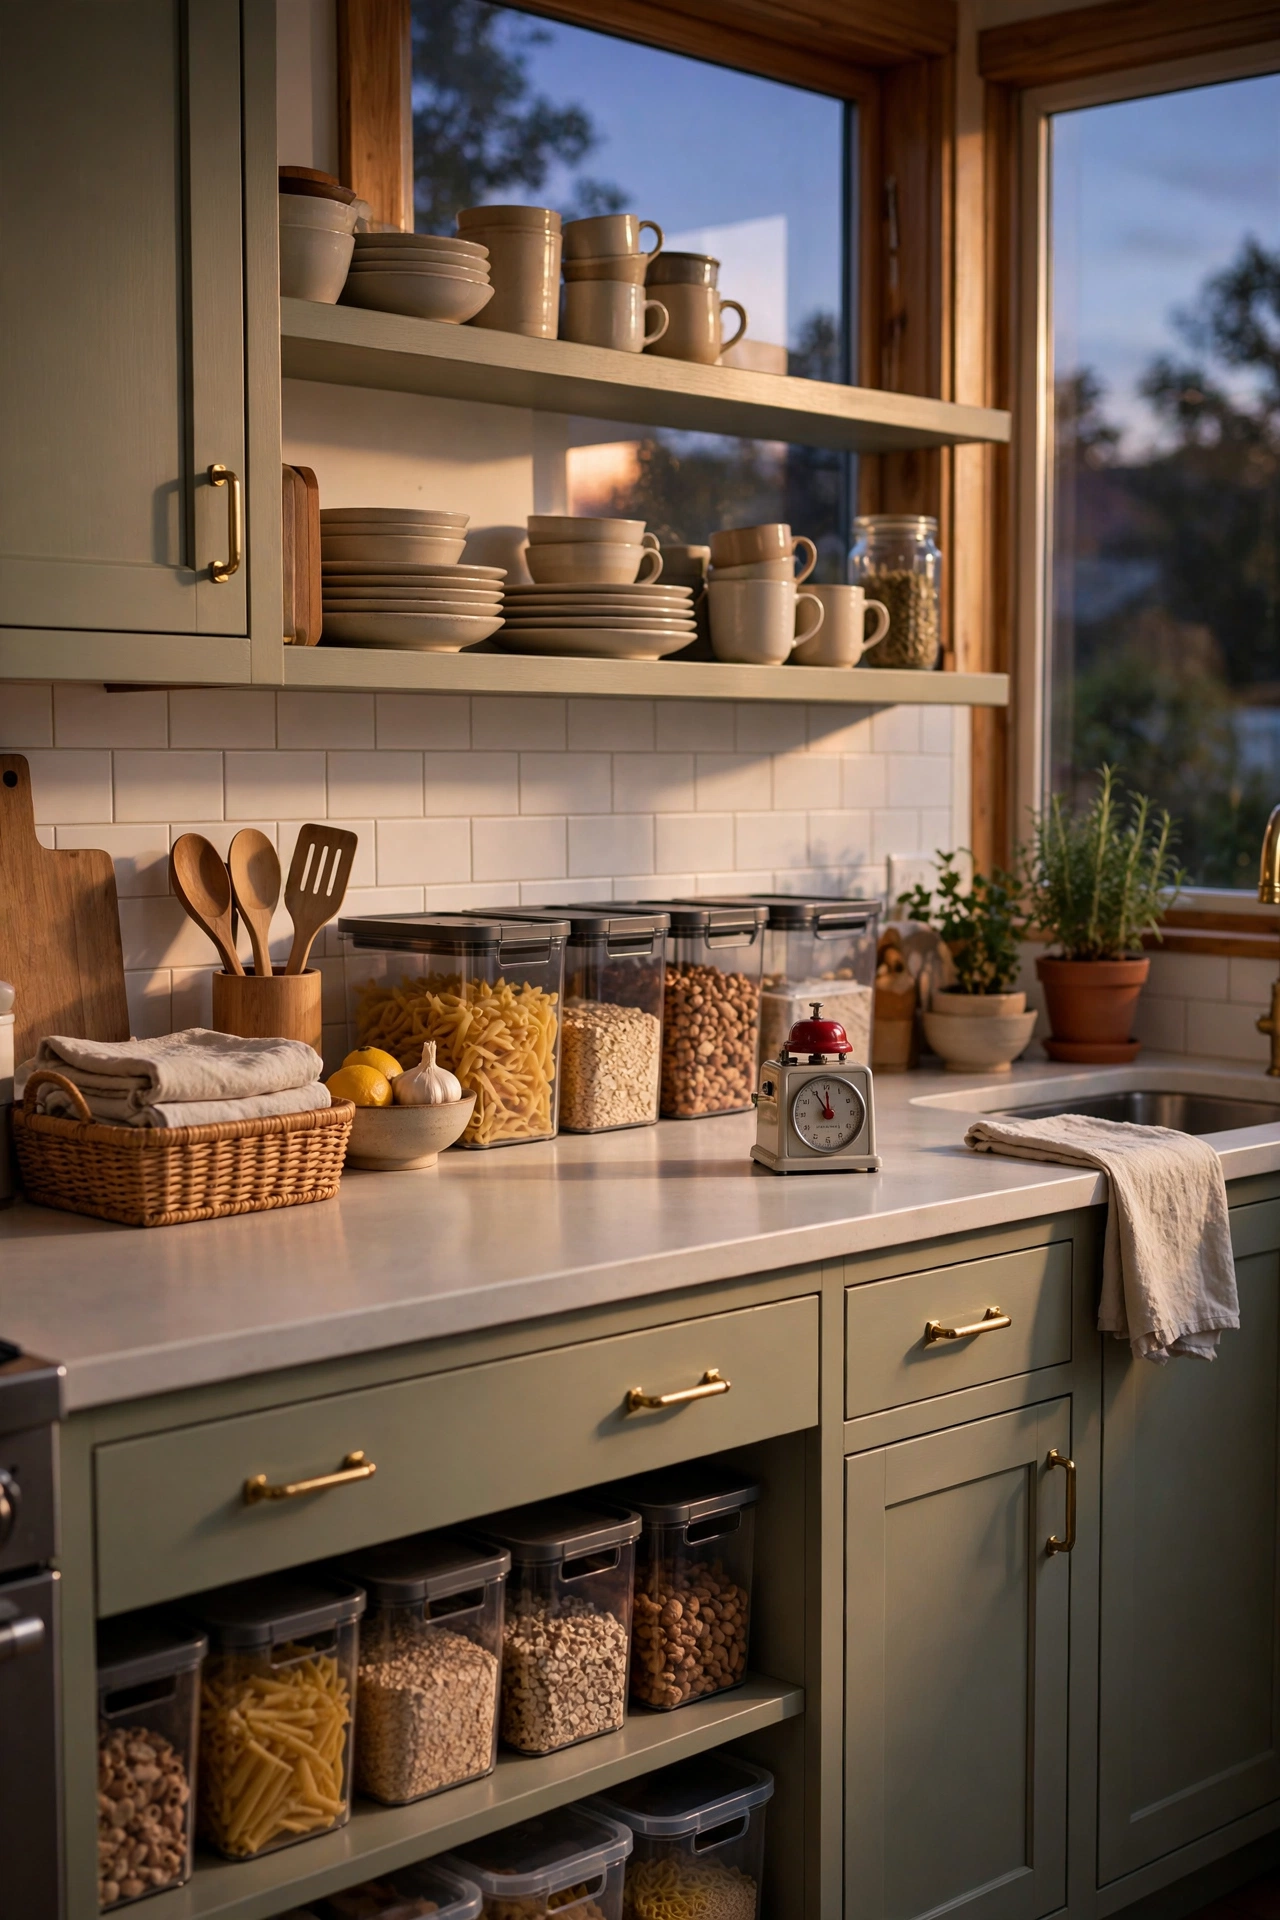
11. Decant Daily Staples Into Matching Jars
I resisted decanting for years because it felt fussy, and then I did it and understood. Matching airtight containers turn a chaotic pantry shelf into something that looks calm and works better. You can see exactly how much flour, rice, cereal, and pasta you have, so you stop buying duplicates and you stop running out. The airtight seal keeps everything fresher, which matters when a bag of cereal sits open for two weeks in a house with kids. I keep the look simple with clear containers and warm wood lids, and I label the fronts with a chalk marker so the contents are obvious. Only decant the things you buy on repeat. The once a year specialty flour can stay in its bag. Decanting is for the workhorses.
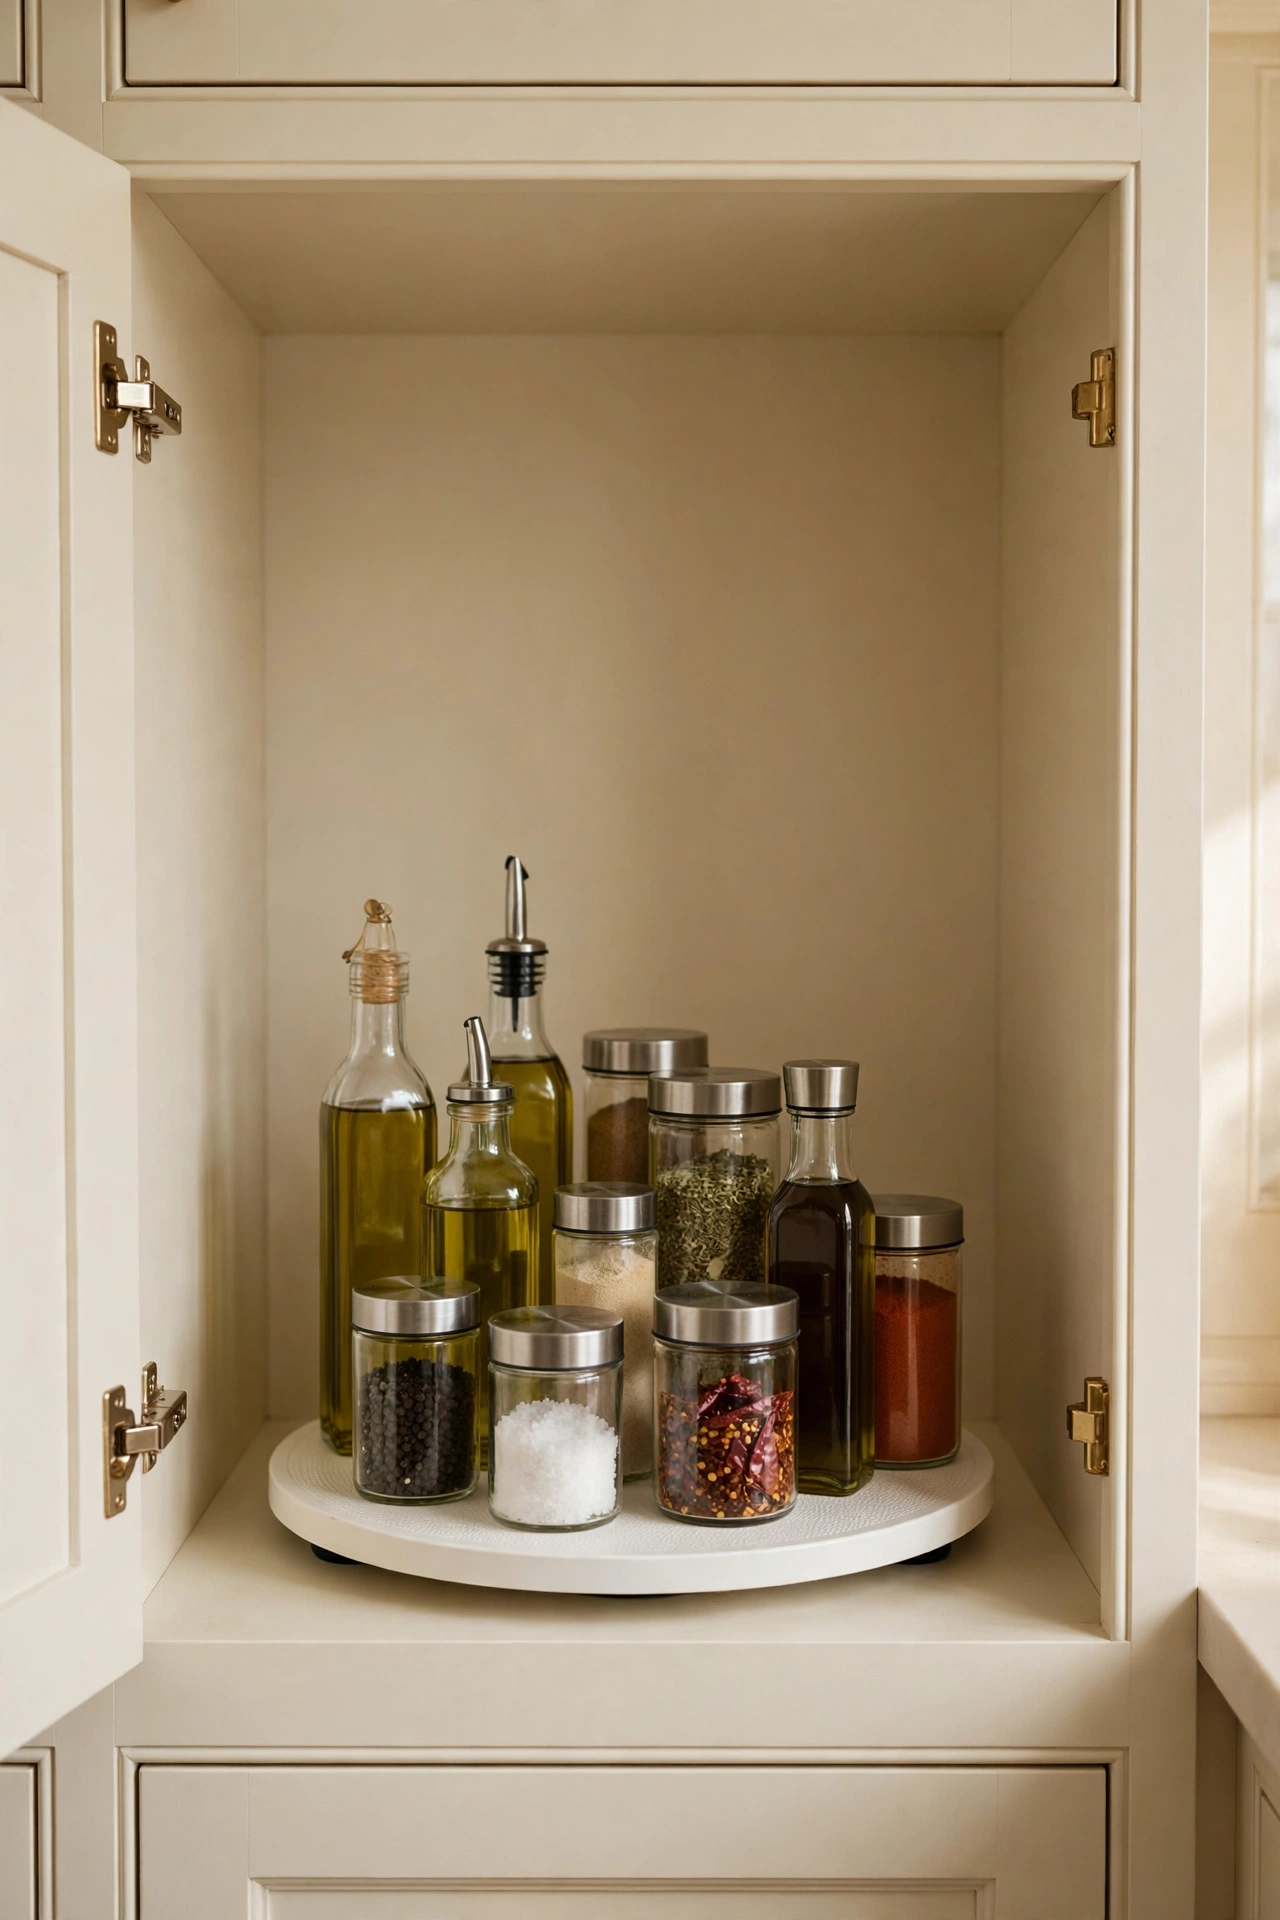
12. Spin Your Way to the Back of Deep Cabinets
Deep cabinets are where good intentions go to expire. The rice vinegar from 2019. The third bottle of soy sauce. A turntable fixes this completely. I have them in the spice cabinet, under the sink for cleaning supplies, and in the pantry for oils and vinegars. One spin brings the back row forward, so nothing hides and nothing gets bought twice. The non skid surface keeps bottles from sliding, which matters when a kid gives it an enthusiastic whirl. I like the simple white ones because they disappear into the cabinet and let the bottles be the visual. This is my visibility rule in physical form. If you can see it, you will use it, and a turntable makes sure you can see all of it.
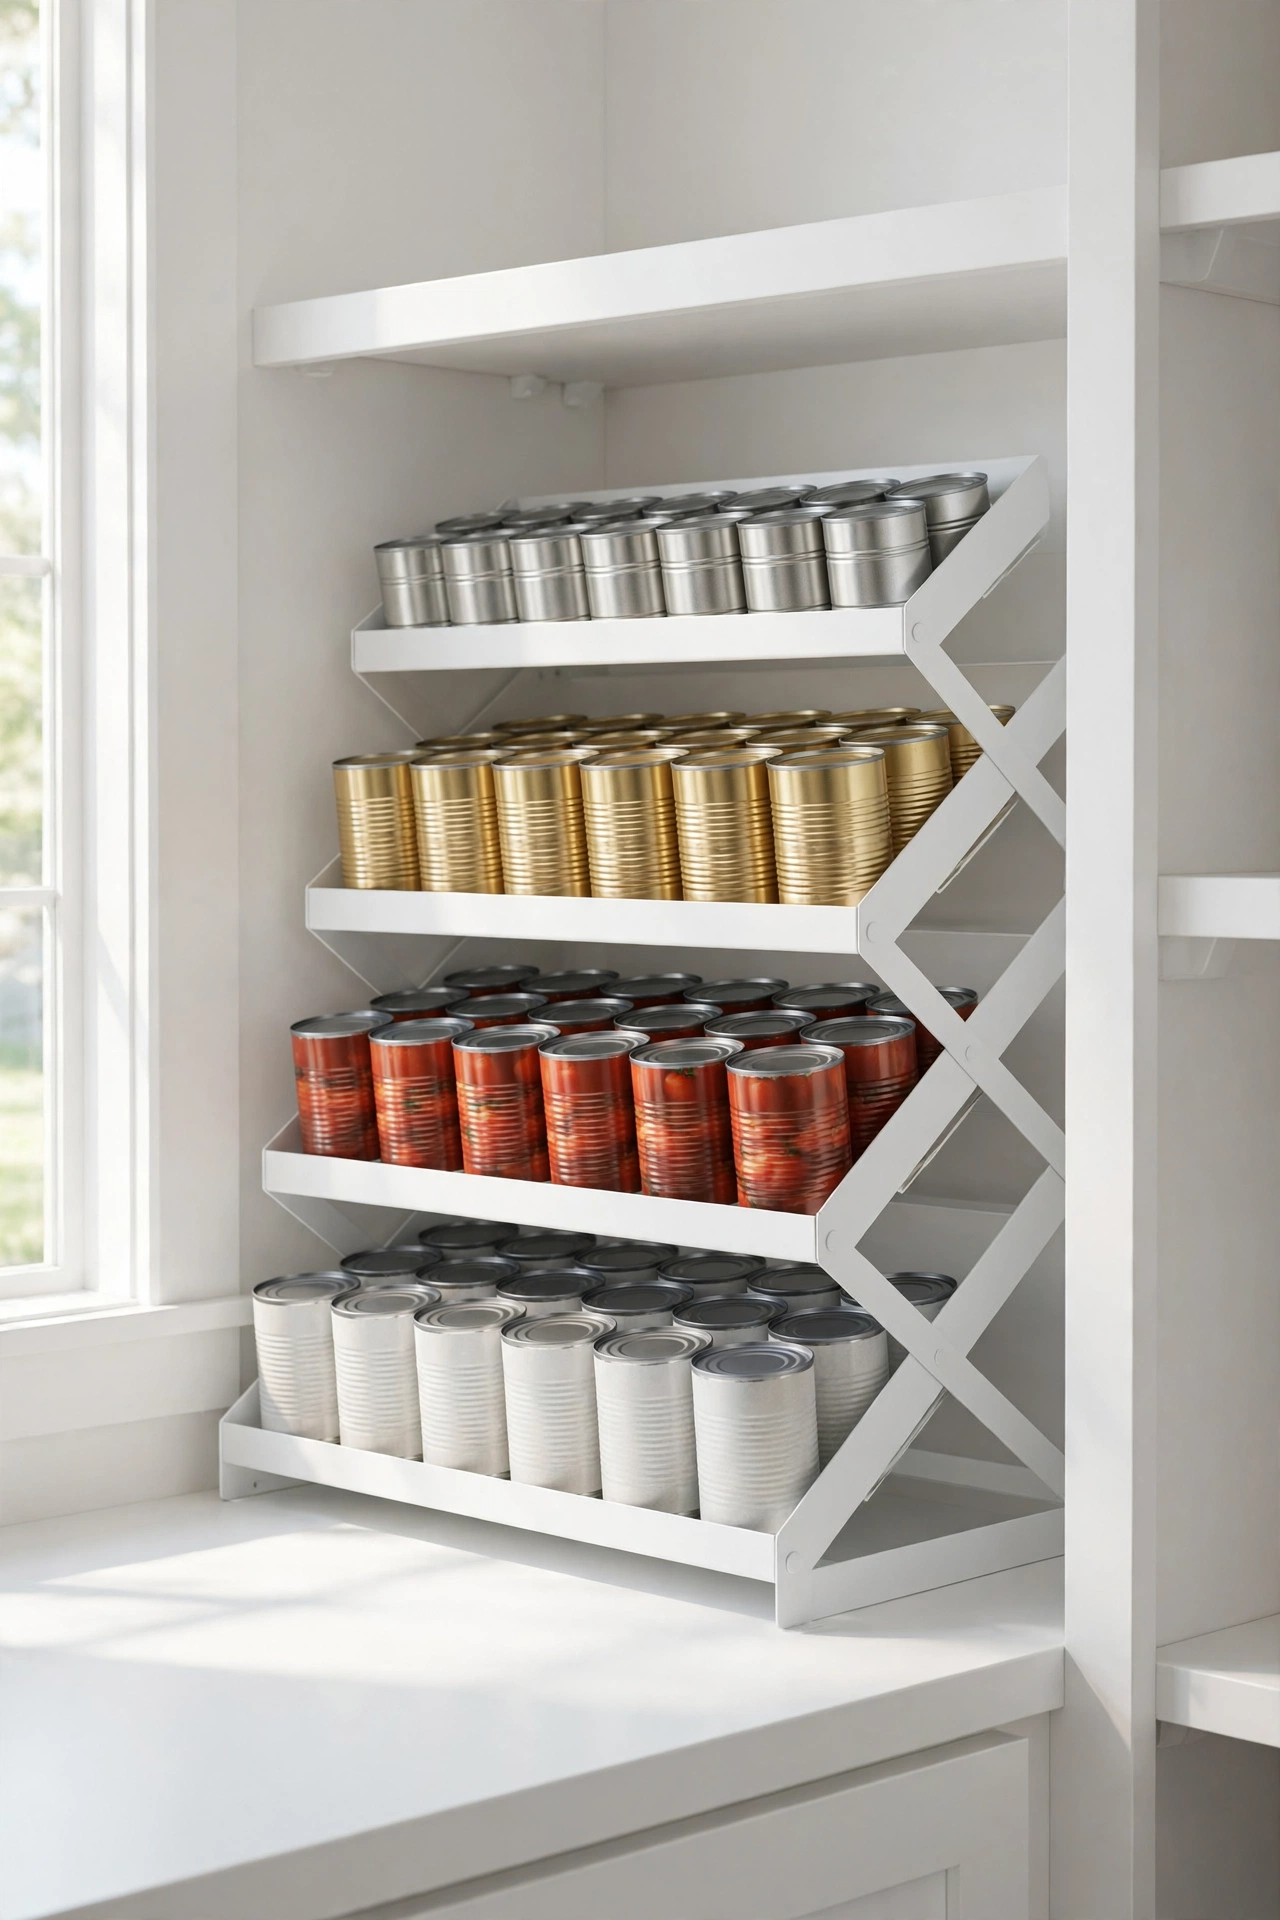
13. Rack Your Cans So Nothing Expires in the Dark
Canned tomatoes are the backbone of my weeknight cooking, but cans are sneaky. They roll to the back, they hide behind the soup, and you discover three expired cans of chickpeas during a deep clean. A stackable can rack with angled tiers keeps every can visible and lets you load new cans from the top so the oldest ones get used first. It is the grocery store shelf trick, right in your pantry. Mine holds the tomatoes, the beans, the coconut milk, and the tuna, all in neat rows. I love the clean white finish because it keeps the pantry feeling bright, and the whole thing assembles without tools. If your family goes through a lot of canned goods, this one pays for itself in food you no longer throw away.
14. Sort the Pantry Into Clear Bins by Category
Bins are the backbone of a pantry that stays organized, and the system is dead simple. One bin for baking, one for pasta and grains, one for snacks, one for breakfast, one for the random packets that multiply in the dark. Clear bins with handles are my pick because you can see inside and you can pull the whole bin down like a drawer. I label each one, and the labels are the real magic. Labels turn a bin from a container into an address, which brings us back to my first rule. Everything earns an address. When the baking bin says baking, nobody puts the crackers in it. I keep the palette calm with clear bins and a few soft olive and camel accents, because a pantry you enjoy looking at is a pantry you will keep tidy.

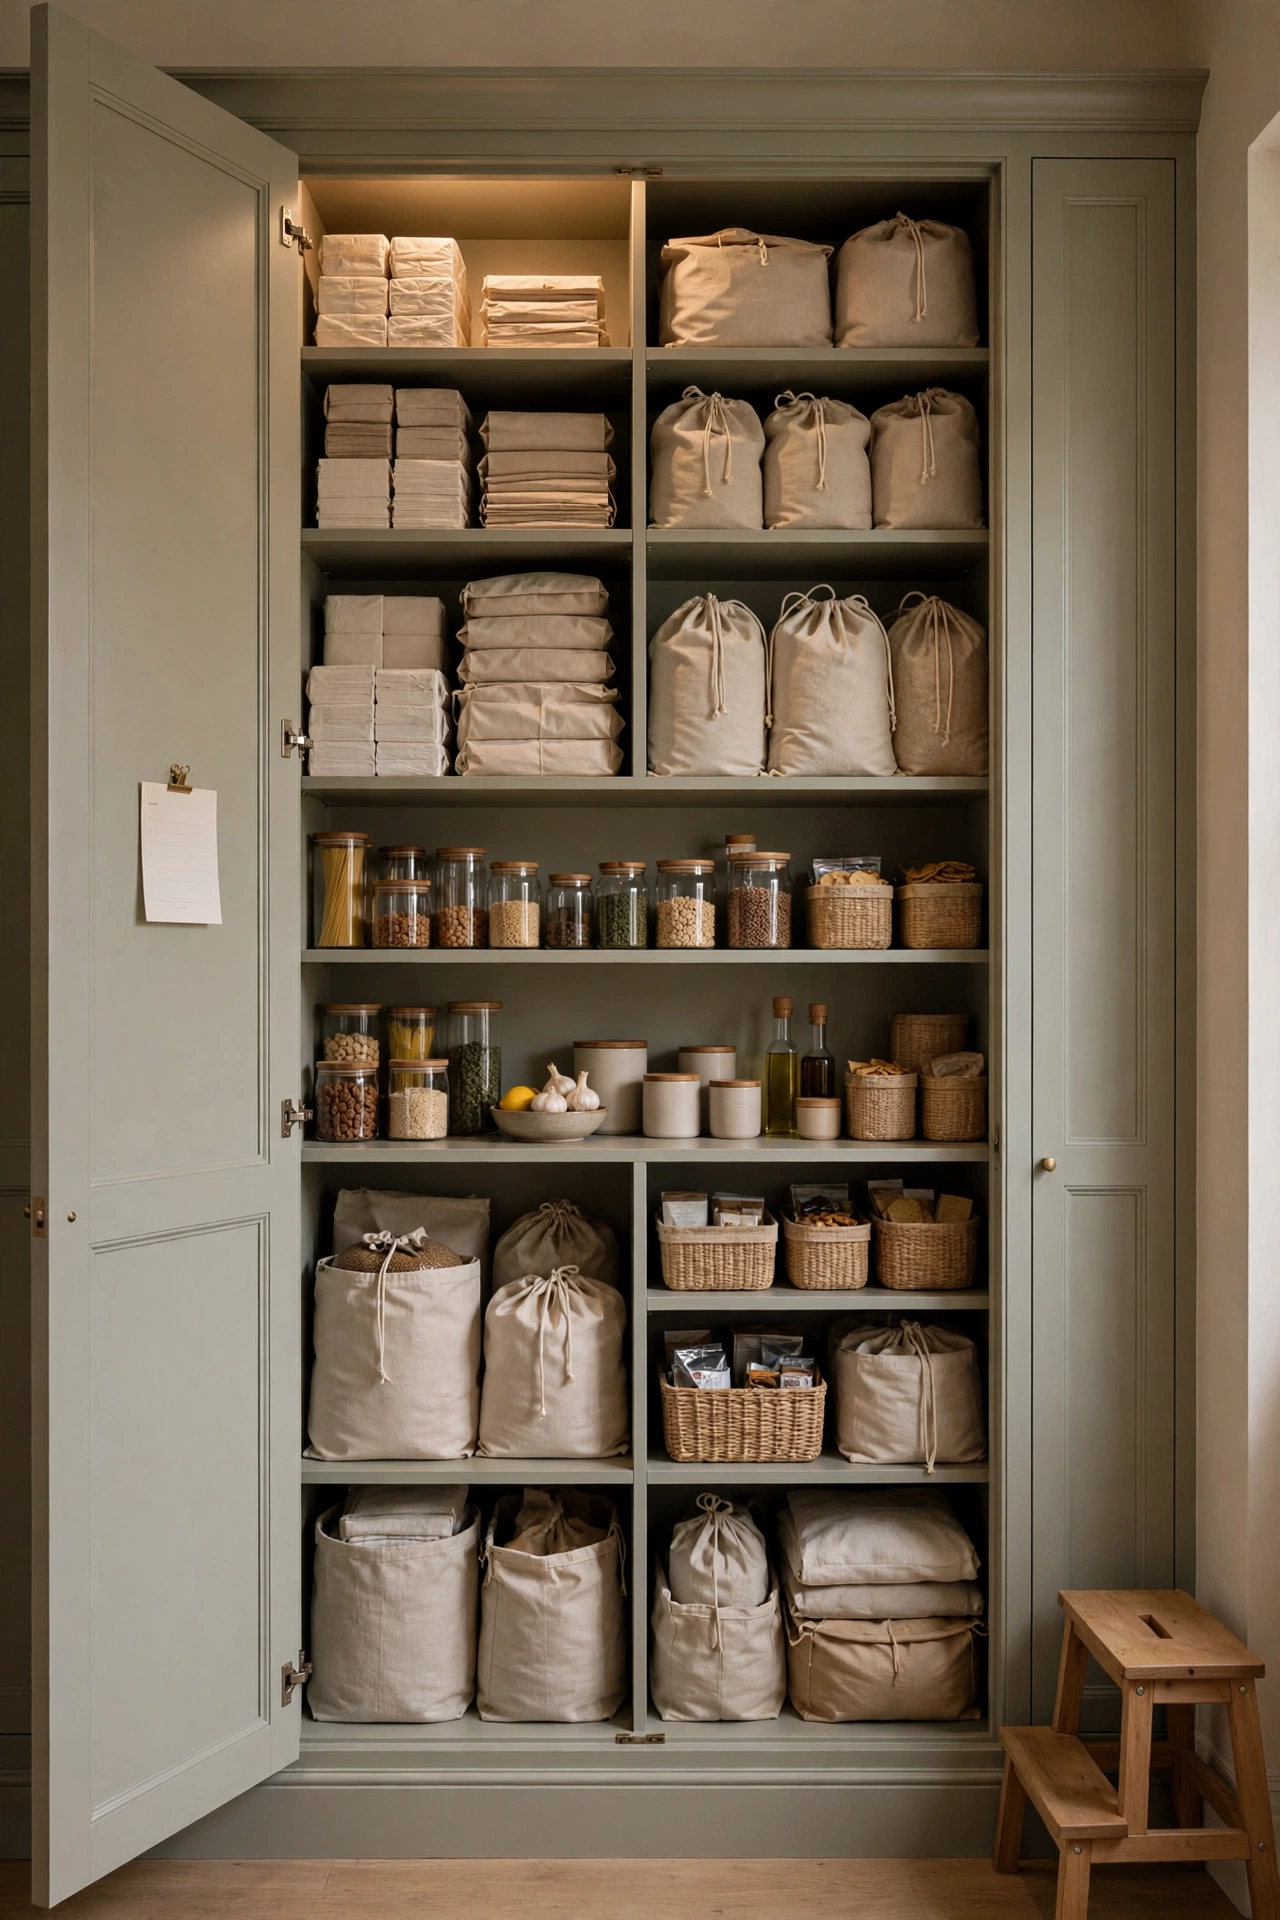
15. Put Backstock High and Daily Grabs at Eye Level
This is pantry feng shui, and it matters more than it sounds. The things you reach for every day live between your knees and your eyes. The backstock, the extra paper towels, the bulk bags, the holiday baking supplies, all live up high or down low. I keep a small step stool tucked beside the pantry because the top shelf is real storage, not decoration. When you shop, the new stuff goes up top and the open stuff stays at eye level. This one habit cut my grocery waste noticeably because I finally use what I have before I buy more. It also makes the pantry feel calmer. The everyday shelf looks edited and intentional, and the chaos of bulk buying hides politely up high where it belongs.
Conquer the Tricky Spots
16. Roll a Caddy Under the Sink
The cabinet under the sink is the Bermuda Triangle of every kitchen. Pipes eat the space, bottles fall over, and the dish soap migrates to the back like it is avoiding you. A rolling caddy with adjustable dividers solved it for me. Cleaning sprays stand upright in their lanes, sponges and brushes ride in the little hanging basket, and the whole thing rolls out on wheels so I can actually reach the back. The dividers mean bottles stop toppling like dominoes every time I grab the dish soap. I keep only the daily cleaners here. The specialty stuff lives in the laundry room. Under the sink is prime real estate, so it earns its keep with the things you touch every single day.
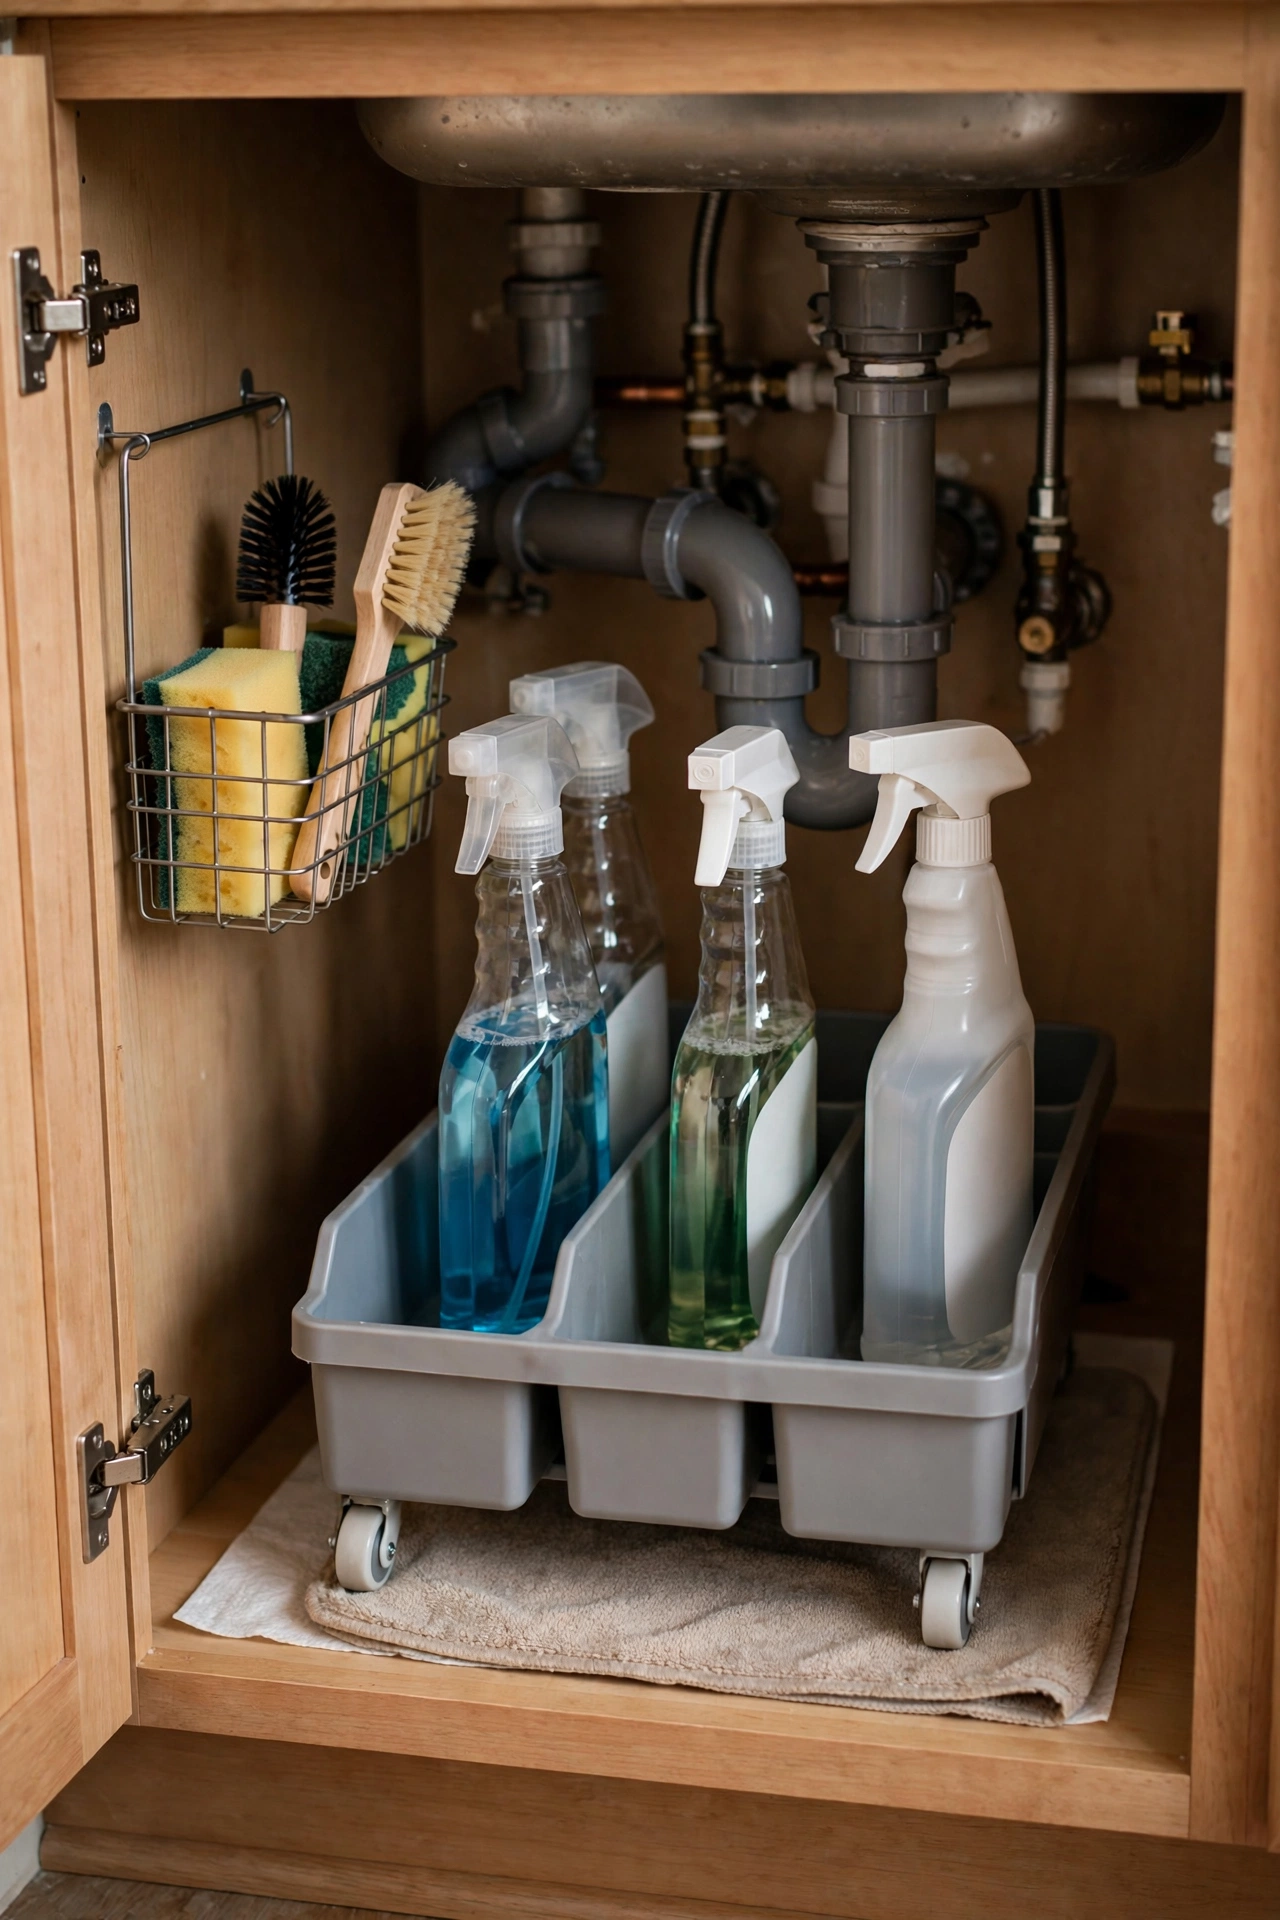
17. Use the Inside of Cabinet Doors
Cabinet doors are free real estate that most of us ignore. The inside of the door under my sink holds a small rack for the dish brush and gloves. The inside of the spice cabinet door holds my most reached for measuring conversions on a little card. You can mount slim racks, hooks, or a cork board, and suddenly the dead space becomes storage. The key is keeping it slim. Anything bulky will bang against the shelves when the door closes. I love this trick in small kitchens especially, because it adds storage without taking a single inch of shelf space. Just check the clearance first. Close the door slowly the first time and listen for the telltale thunk.

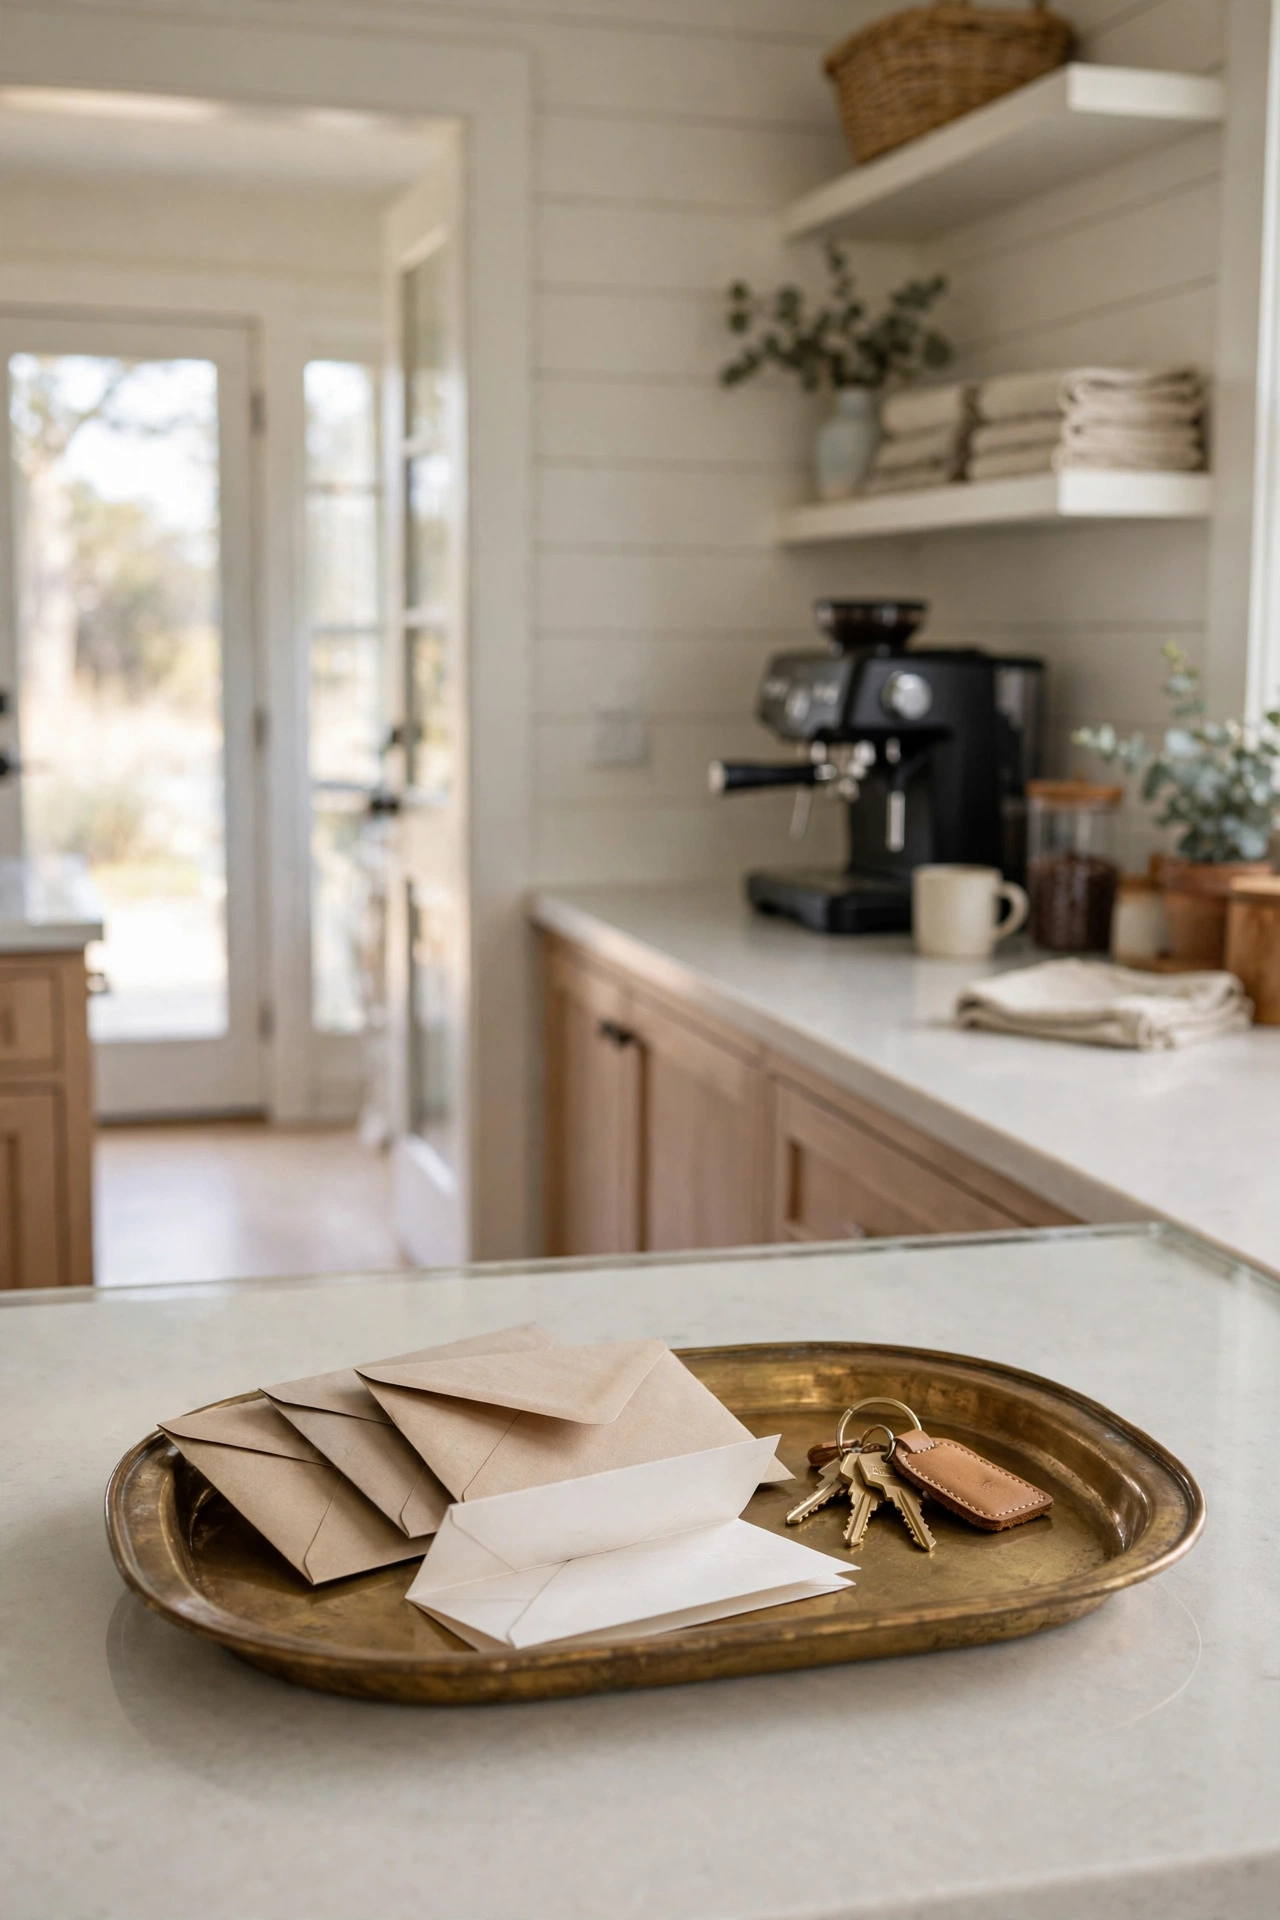
18. Clear the Counters With One Landing Tray
Counters are where kitchen calm goes to die, because every flat surface attracts mail, keys, permission slips, and random kid treasures. My fix is a single landing tray by the kitchen entrance. Everything that is not cooking related lands in the tray, and the tray gets sorted once a day. It sounds too simple, but containing the drift is the whole battle. The rest of the counters stay clear except for the coffee corner and one cutting board, which makes the kitchen feel twice as big. I chose a tray in warm brass tones with a little weight to it, because a pretty tray gets respected and a flimsy one gets ignored. If you love a calm, uncluttered look, my airy coastal kitchen ideas post is full of the same less but better energy for the whole room.
19. Do a Ten Minute Weekly Reset
Here is my honest confession. No system stays perfect. Kids happen. Busy weeks happen. The reset is what keeps all eighteen ideas above working, and it takes ten minutes, not a whole Saturday. I set a timer on Sunday evening. Toss the expired stuff from the fridge door. Put the wandering items back in their zones. Wipe the snack drawer. Refill the bins that are running low. Done. The timer matters because it keeps the job small in your head. Ten minutes feels doable even on the most chaotic week. Systems beat willpower every time, which is the same reason my laundry system that actually works for busy moms runs on autopilot instead of motivation. Build the reset into your week and the kitchen mostly takes care of itself.
More Favorites
This post contains affiliate links. If you buy through them, I may earn a small commission at no extra cost to you.
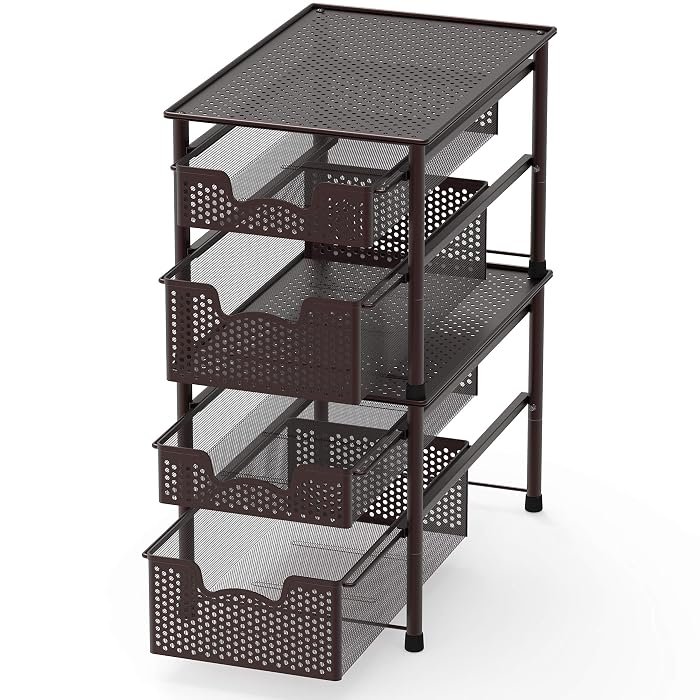
A few more favorites from the ideas above:



Your kitchen does not need to be perfect. It needs to work for the people who live in it, on the mornings when everyone is running late and the evenings when dinner needs to happen fast. Pick the one zone that stresses you out the most and start there. Add the drawer dividers. Set up the snack drawer. Give the turntable a spin. Small systems stack up into a kitchen that feels calm, looks warm, and forgives the beautiful chaos of family life. You have got this, mama.
With love and light
Get Fresh Home Ideas Every Week
Seasonal decor ideas, organizing tips, and cozy home inspiration, straight to your inbox.
More Organization Ideas You Will Love
Keep browsing for more seasonal inspiration: