

I want my home to feel like a warm hug in December. The lamps are low. The tree is glowing in the corner. A knit throw is waiting on the sofa arm. Something gentle is simmering on the stove and the whole house smells like orange and spice. I used to think that feeling cost real money. It does not. It costs a plan, a little patience, and the courage to use what you already own before you buy a single new thing.
Here is the honest truth I learned the slow way. A small budget is not a smaller Christmas. It is a clearer one. When money is tight, every choice has to earn its place, and that discipline is exactly what makes a home look calm and intentional instead of crowded. My rules for this plan are simple. Repeat one color in three places so it looks intentional. Add texture before you add more decor. Put light first and ornaments second. And shop your home first, because the best pieces in this whole plan cost nothing at all.
So here is my real $100 plan, all nineteen steps in the order I do them. The first steps are free. I shop my own bins, I write the plan down, and I pick one color story. Then the money goes where it matters most. Light and green come first. A few thrifted and dollar store finds carry the middle. Soft layers and a simple table finish the house. Five dollars stays in my pocket until the very end for the small things I forgot. Follow the steps in order and the dollars add up to $100 exactly, not a penny more.
Love these ideas? Get more every week.
Join the newsletter for seasonal decor and cozy home inspiration.
Start Free, Then Spend on Light First
The first steps in this plan happen before any money moves, and they are the steps that save the whole budget. I do them at the kitchen table with coffee, in daylight, while the bins are still open on the floor. Once the plan is written and the colors are chosen, the first real dollars go to light, because glow is what people actually feel when they walk into a room in December.
1. Shop Your Home First and Spend Nothing at All
Your own bins, closets and kitchen drawers already hold half of this Christmas, for free.
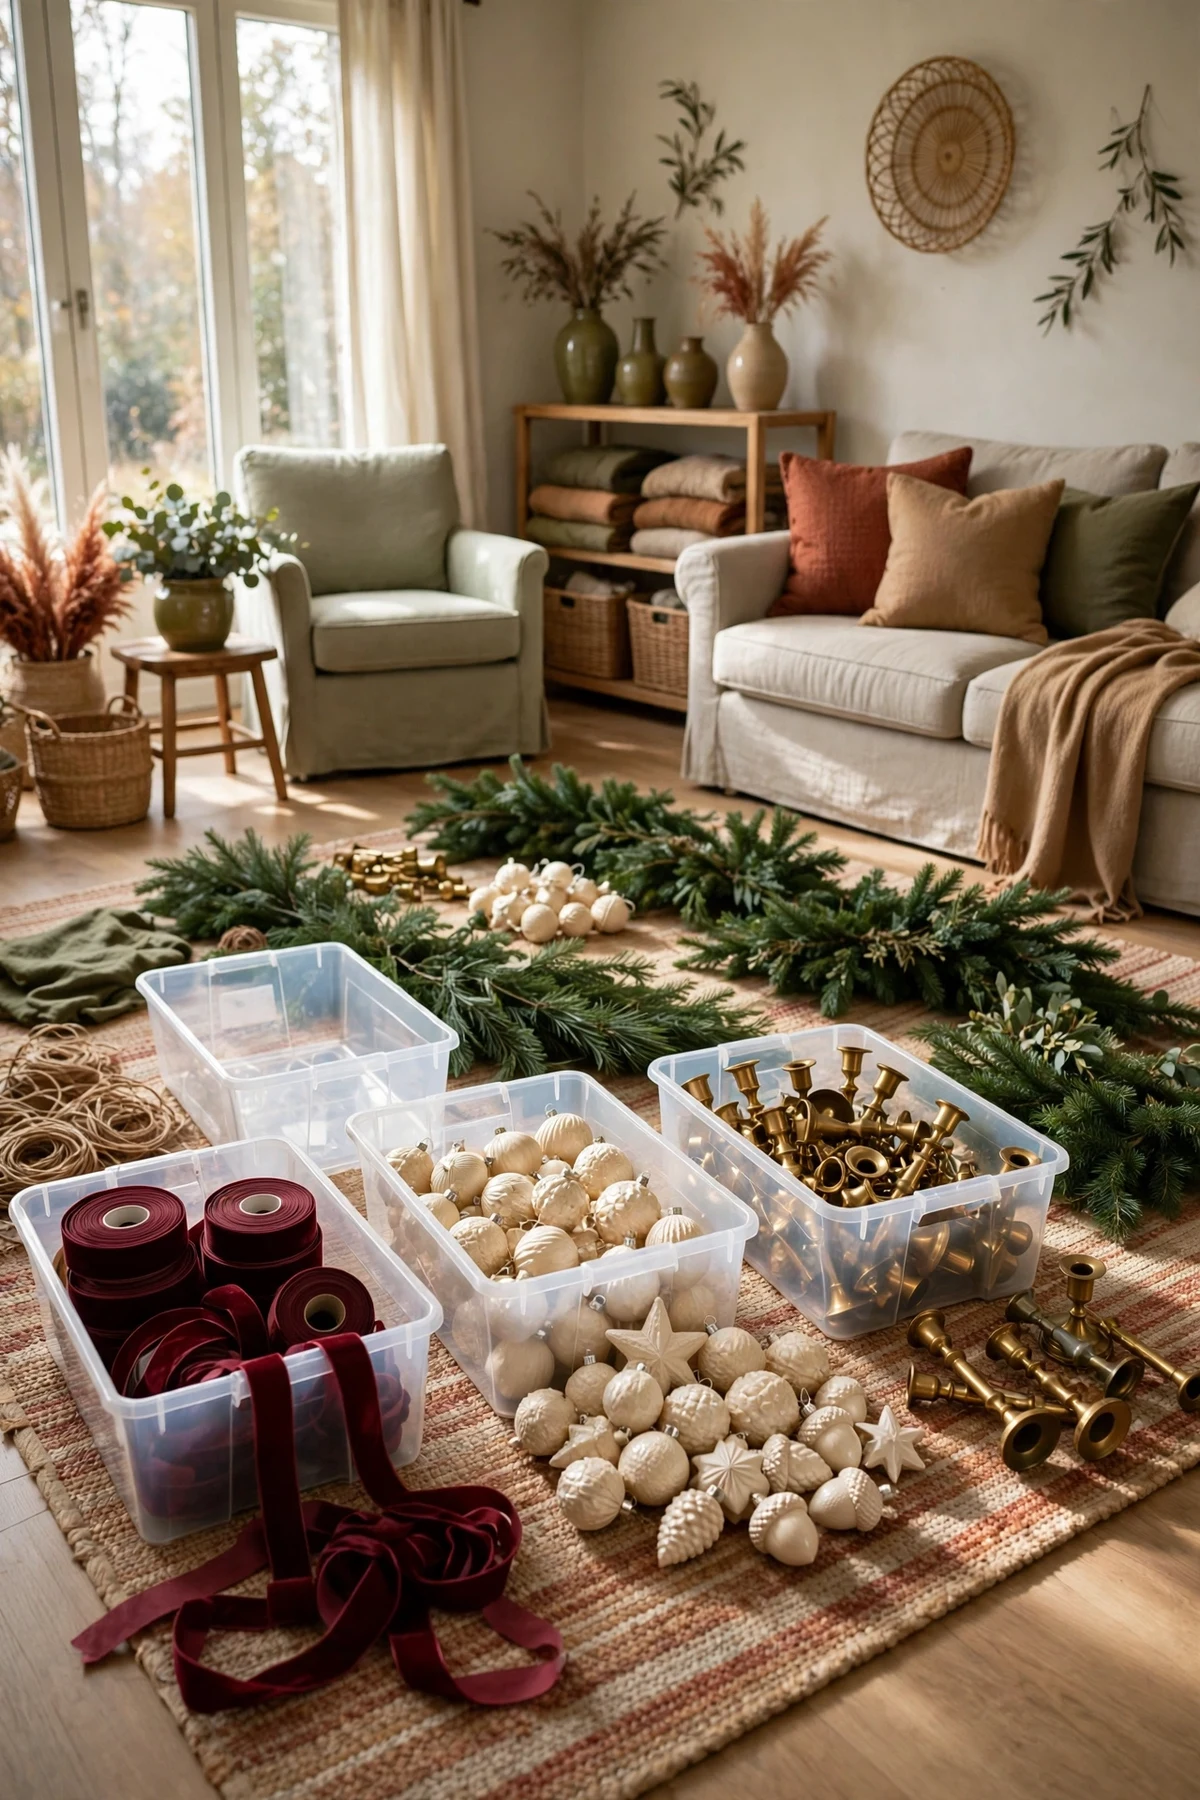
This step costs 0 dollars, and it is the most important step in the whole plan. I open every storage bin on the living room floor and I look properly, piece by piece. I make three piles as I go. Keep and love. Keep but tired, which usually means it needs a fresh ribbon or a new room. And let go, for the pieces that belong to a theme I no longer live in. Then I raid the rest of the house with the same eyes. Brass candlesticks hiding in a cupboard. A woven basket doing nothing in a closet. Cream blankets folded in the linen press. A wooden tray, a stack of old books in warm cloth tones, jars that can hold candles or pinecones. In my house the free haul is always bigger than I expect, and every piece I rescue is a piece the $100 never has to buy. I write the good finds on my list, because a find I forget is a find I will buy again by accident.
Shop This Look
This post contains affiliate links. If you buy through them, I may earn a small commission at no extra cost to you.
A few favorites featured in the ideas above:


2. Write the $100 Plan Down and Rank Your Rooms
A budget on paper spends slower and better than a budget in your head.
This step also costs 0 dollars, and it protects every dollar that follows. I write the total at the top of a page, large and plain. $100. Then I rank the rooms by how much December actually happens in them. Living room first, because that is where the tree glows and the evenings land. Entry second, because it greets everyone who walks in. Dining table third. Kitchen, bedroom and bathroom last, with small touches only. The ranking matters more than people think. Without it, the money spreads thin and even, and every room ends up a little bit decorated and none of them feel finished. With it, the living room gets to feel truly done, and the small rooms get one kind touch each, which is honestly all they ever needed. I keep this page on the fridge all season. Every possible purchase gets checked against it before it happens, and most purchases quietly fail the test.

3. Pick One Color Story and Let It Do the Expensive Looking Work
Four calm colors, repeated everywhere, will make $100 look like far more.
This step is free too, and it is the cheapest luxury in the whole plan. I pick one color story and I refuse to stray from it. Mine is deep green, burgundy, cream and warm brass, with oatmeal and camel in the soft layers underneath. That story comes straight from what I already own, which is the whole point. A tight palette makes thrift finds and dollar store pieces look like they were chosen by a designer, because they all agree with each other. A loose palette makes even pricey pieces look random. When I hold something in a store, the story answers for me. If the color is not in it, the piece stays on the shelf and my money stays in my pocket. If you want proof of how far one calm palette can stretch, my neutral Christmas tree ideas use this same discipline, and the thinking in my guide to minimalist Christmas decorating with less will help if your home wants an even quieter version.

4. Put Light First and Spend the First Real Dollars on Warm White Lights
Glow is the feeling guests remember, so light gets the first $15 of the plan.
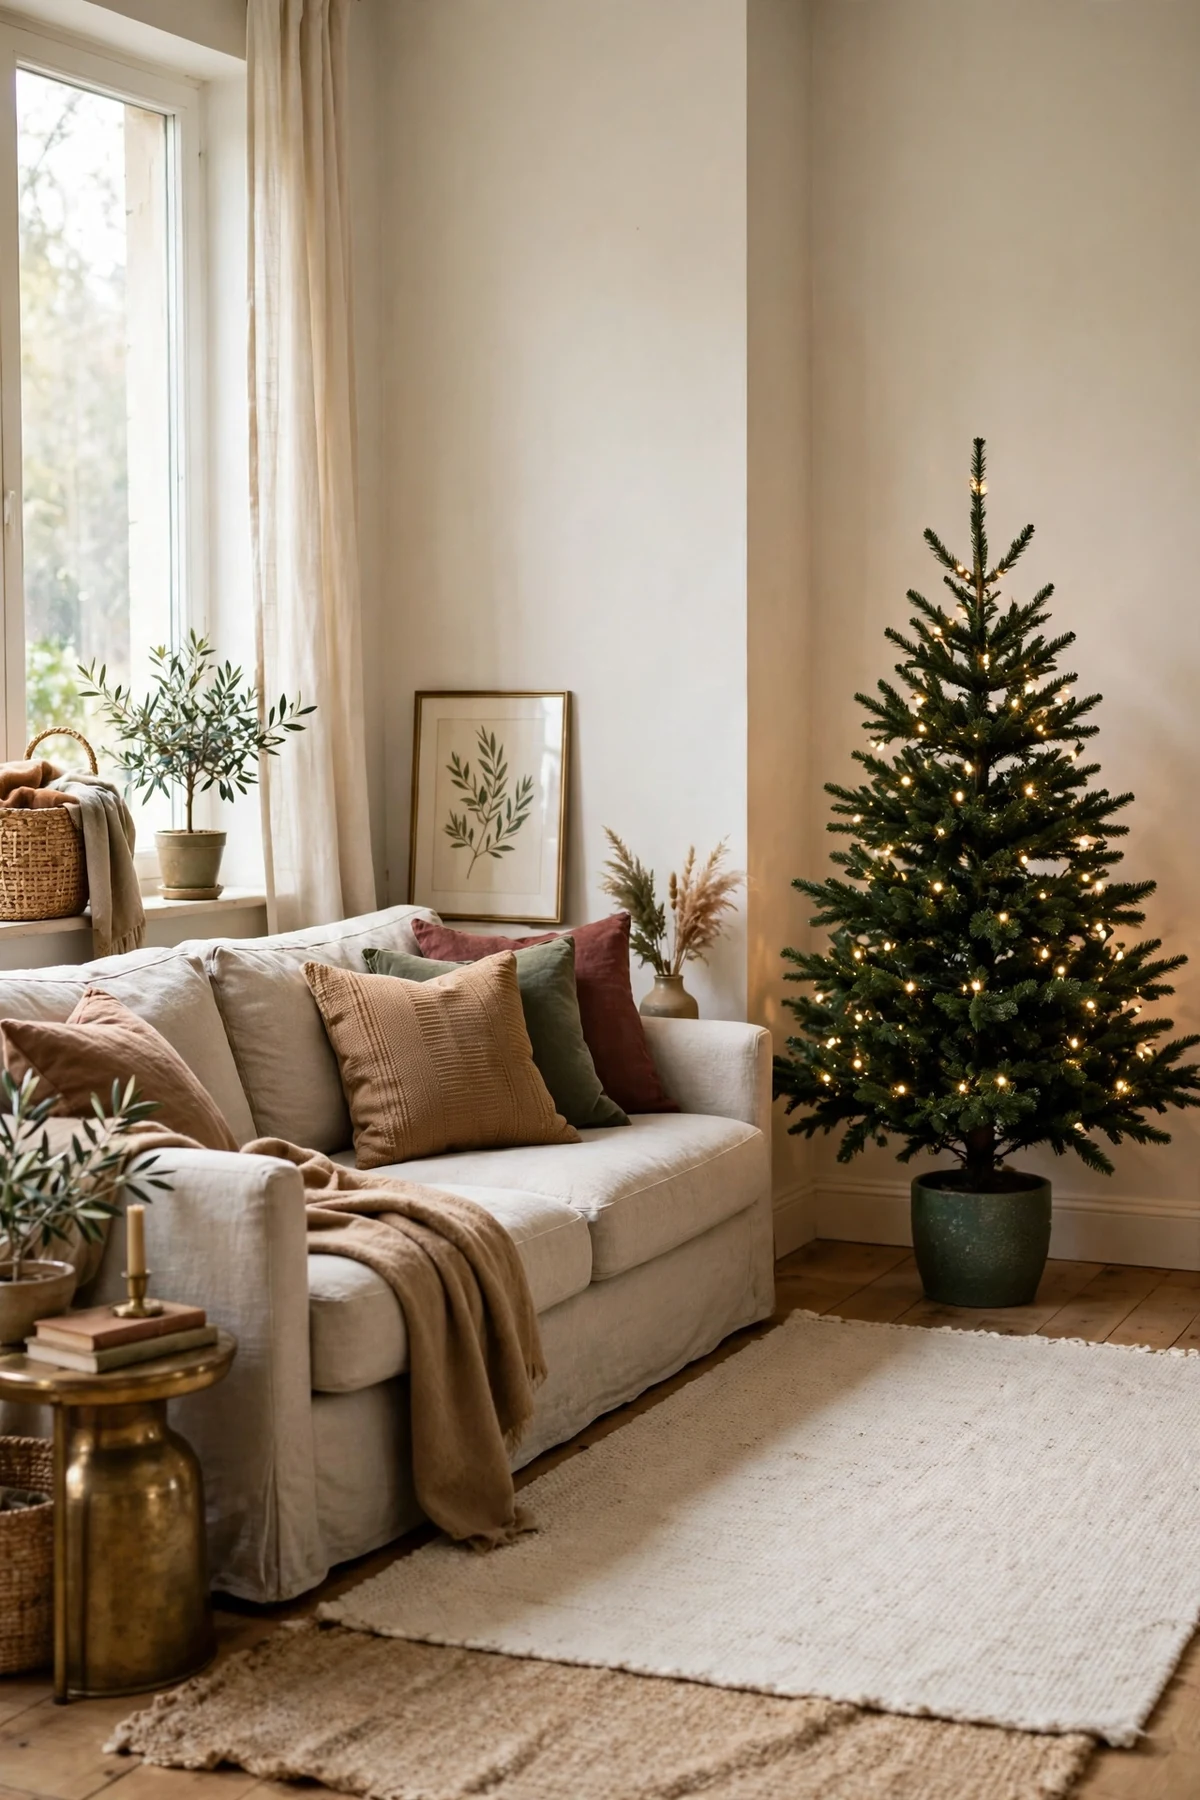
This is the first money step, and I give it 15 dollars for warm white string lights. I test every string I already own before I buy, because a working string in a bin is a free string. Whatever is missing, I buy in one warm tone only. Mixed light temperatures are the fastest way to make a pretty room feel faintly wrong, and no ornament can fix that. I put the best string on the tree, the second on the mantel garland, and I save a short length for the entry or the table, wherever the evening feels darkest. If your tree is small, one good string may be enough, and any dollars saved here roll forward to the soft layers later. Light first, ornaments second is the order I never break now. People forgive a sparse tree in warm light. Nobody remembers a crowded tree in cold light as cozy.
Green, Ornaments and Glow for Less
With the free steps done and the lights sorted, the middle of the budget buys the bones of the look. One long piece of green instead of many small ones. One calm set of ornaments instead of a crowd. One spool of ribbon that shows up everywhere. And glow that is safe, warm and cheap to run all season long.
5. Buy One Long Garland Instead of Many Small Greens
One generous length of green, moved to where eyes land, beats small sprigs scattered everywhere.
I spend 12 dollars here on one long garland, and I choose length over fullness every time. A long garland can dress the mantel properly, and its offcuts can trim the entry console and the dining table later in this plan. Small greens bought one by one always cost more in the end, and they never add up to one calm, generous sweep. I fluff the garland on the floor first, shaping it with my hands, because cold and stiff garland styled in place never relaxes properly. Then it goes on the mantel where our evenings actually happen. If your home has no mantel, the same length works along a shelf, a stair rail or the top of a bookcase. The rule travels. One big green moment, placed where the light and the people are, does more for a room than five timid ones hiding in corners.

6. Choose One Calm Set of Shatterproof Ornaments
One set in the palette, in mixed sizes, will dress the whole tree without a fight.
Ornaments get 10 dollars in this plan, and I spend them on one shatterproof set in cream, burgundy and brass tones rather than on single pretty pieces. Singles are charming and expensive per piece, and they rarely agree with each other. A set arrives already agreeing. I hang the largest ornaments first, low and deep inside the branches, where they fill the dark gaps and give the tree its depth. Medium ones fill the middle layer. The smallest and shiniest go last, out on the branch tips where the warm light catches them. Sentimental ornaments in wild colors still get honored in my house. They live on a small hallway tree or in a bowl on the table, where they are the whole point. On the main tree, calm wins, and calm is what makes a $100 tree look like a magazine tree by lamplight.

7. Let One Spool of Velvet Ribbon Work in Every Room
Burgundy velvet ribbon on the tree, the mantel and the gifts is the hardest working $8 in this plan.
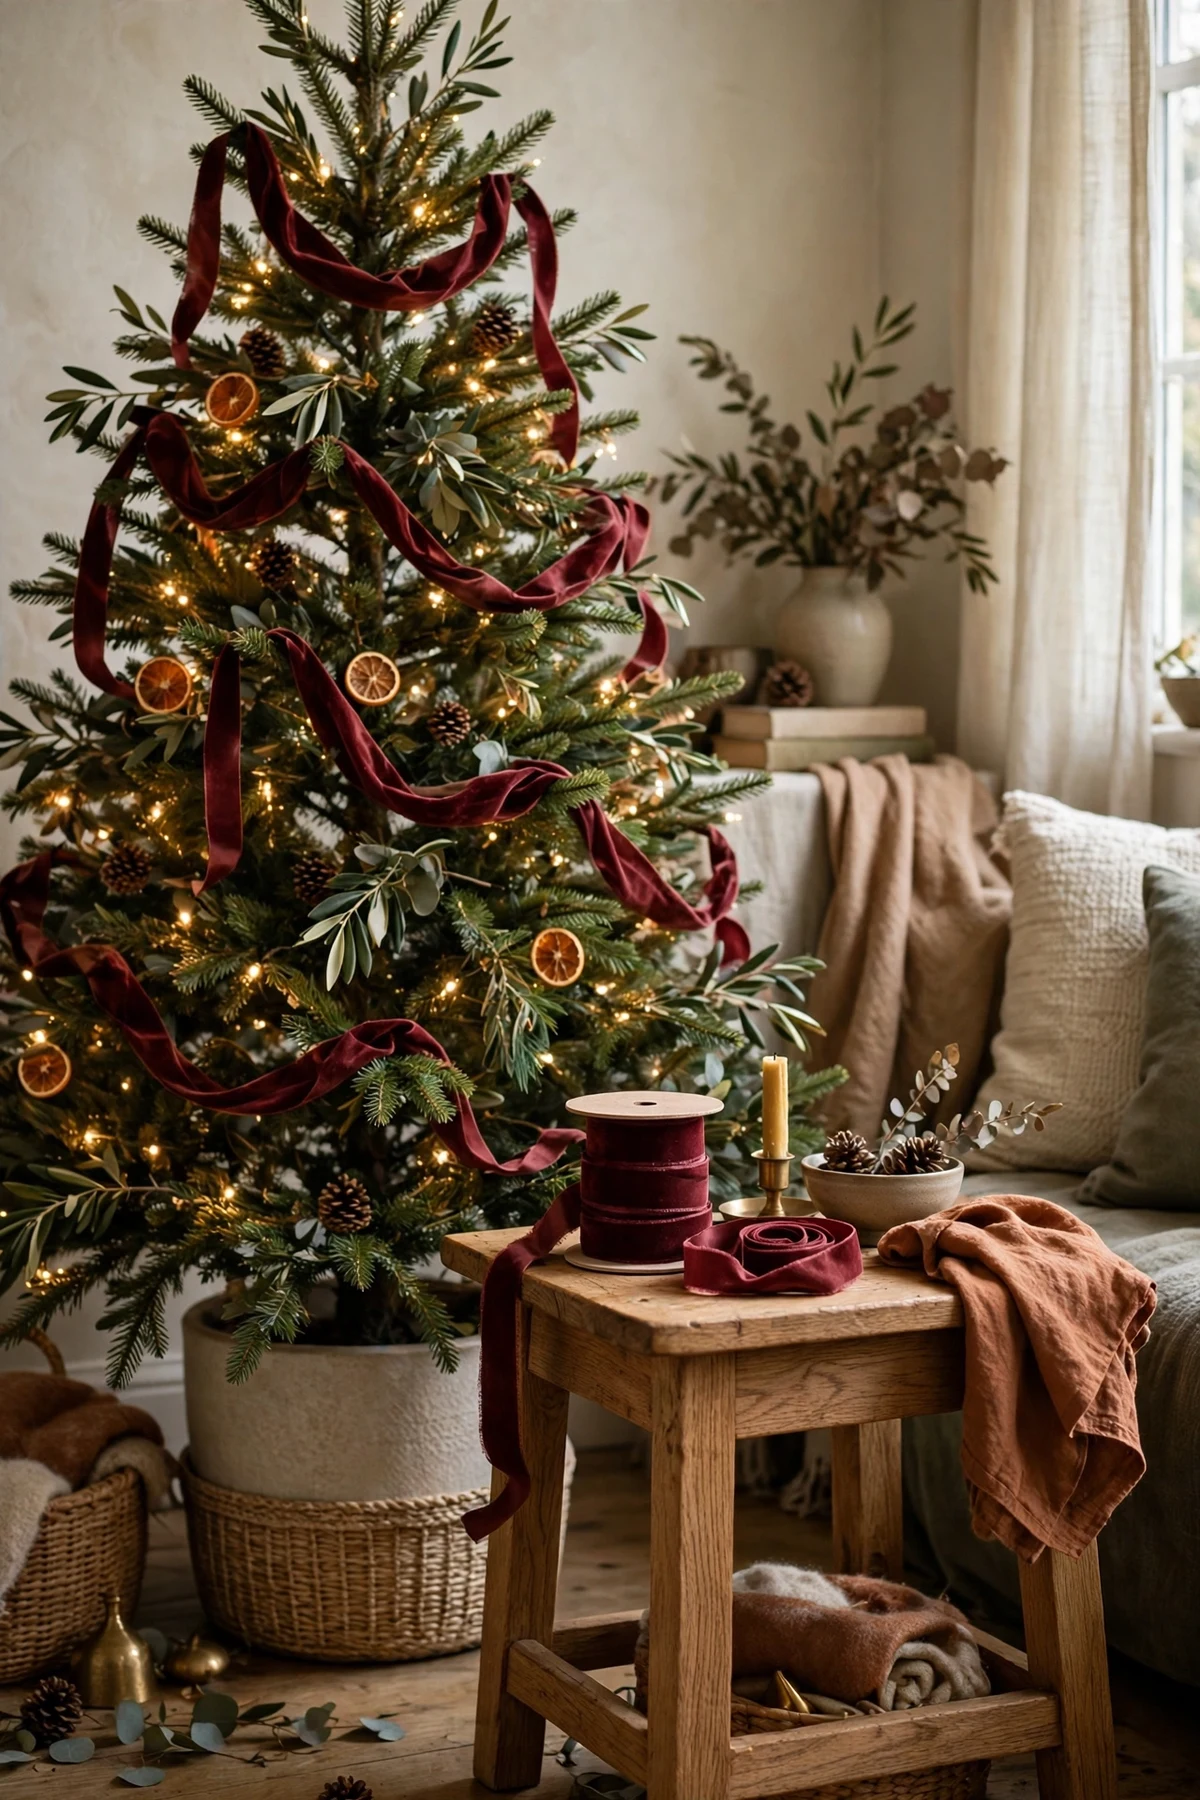
I spend 8 dollars on one spool of burgundy velvet ribbon, and I make that spool report for duty everywhere. On the tree it goes in loose loops, tucked deep into the branches and allowed to billow out before it tucks in again. On the mantel it becomes one generous bow above the stockings. On the entry console it ties a small bundle of green. In the final week it wraps the gifts under the tree, in the same burgundy, so even the presents join the color story. This is my favorite budget lesson of all. Repetition is what money usually buys, a matched and coordinated look across a whole home. One spool of ribbon buys that same coordination for the price of a coffee. Steam the ribbon gently before you start, because creases from the spool are what make ribbon work look cheap, and they vanish with a little steam and patience.
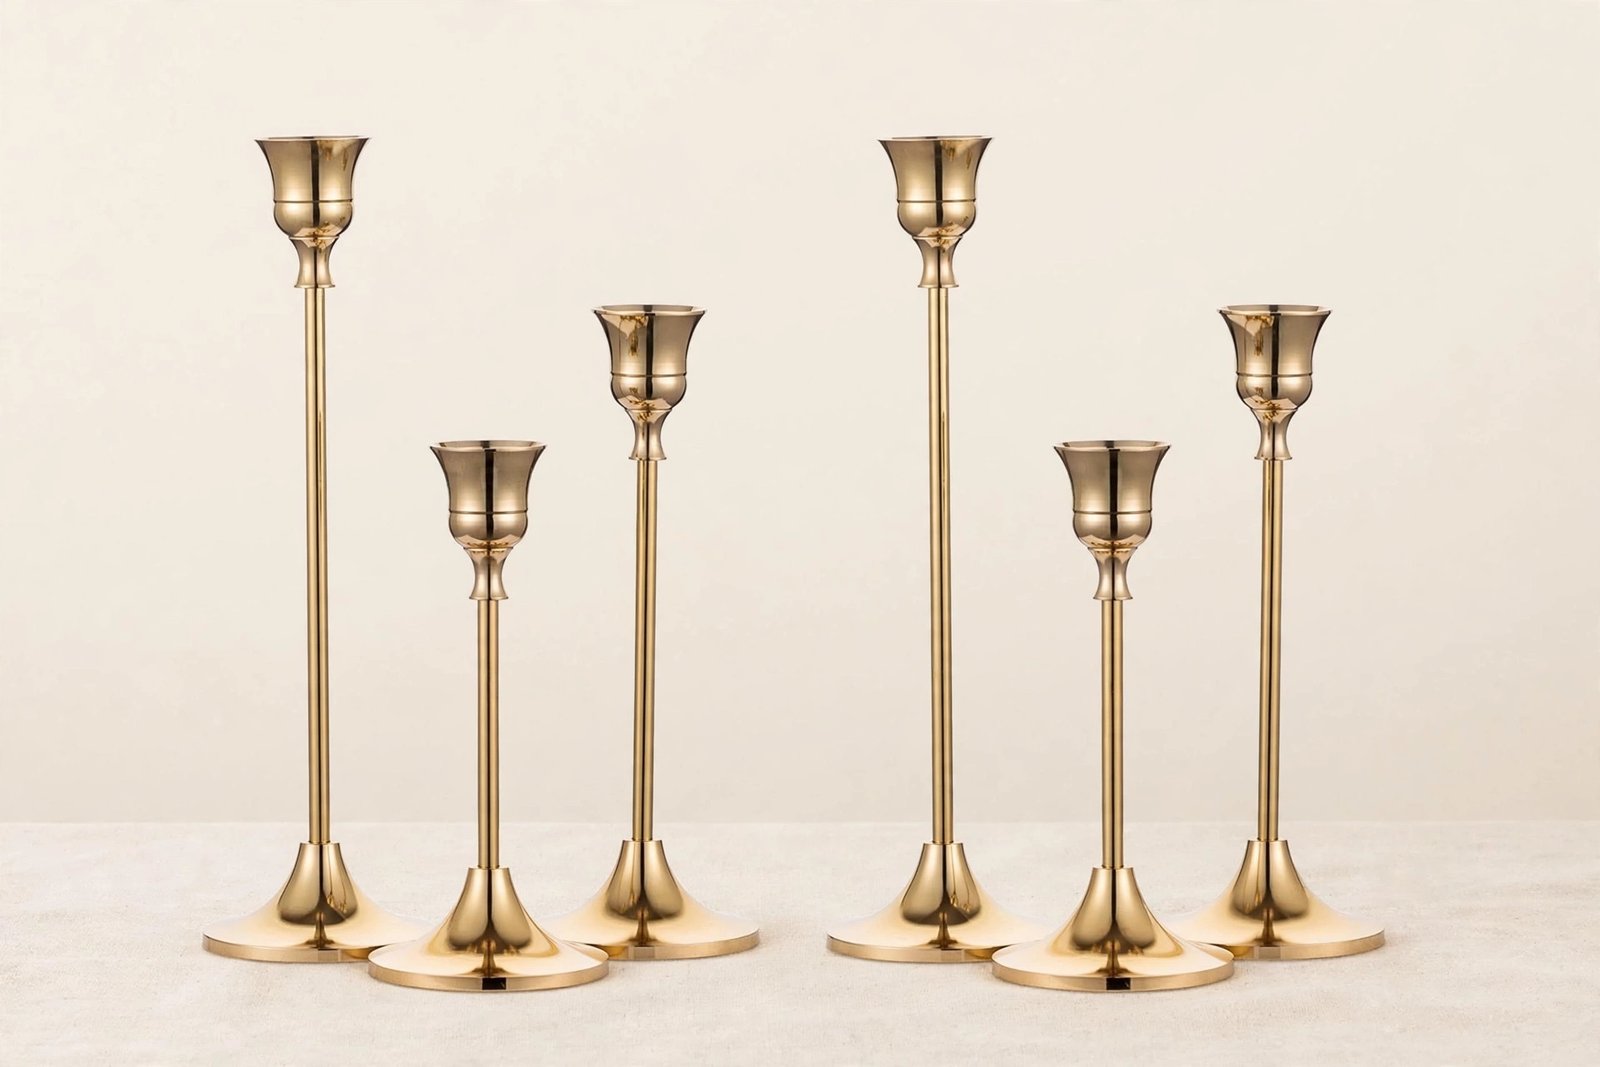
8. Thrift the Brass and Warm Wood Pieces
Thrifted brass candlesticks look like heirlooms, and nobody will ever guess the $7.
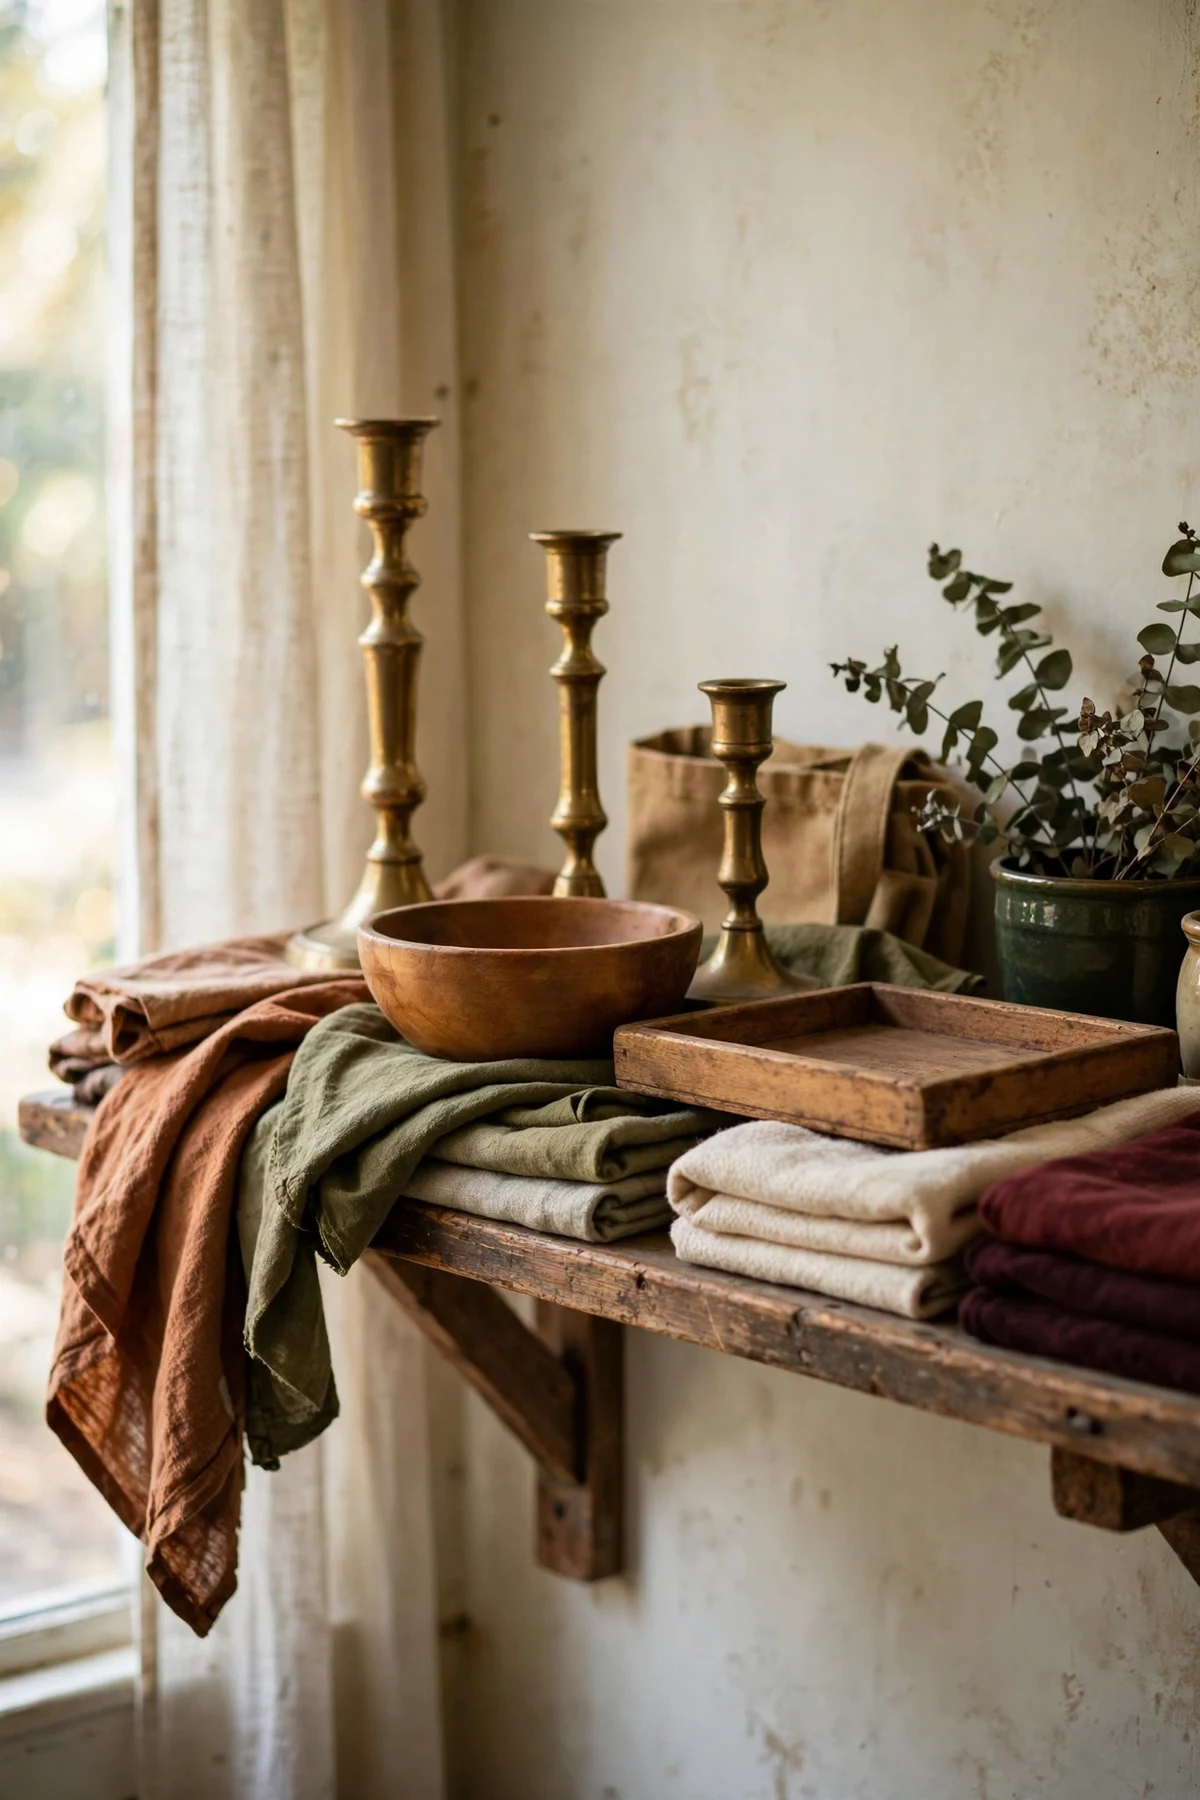
The thrift store gets 7 dollars in this plan, and I hunt for weight and warmth. Brass candlesticks first, in varied heights, because brass is forgiving, timeless and almost always waiting on a thrift shelf for very little money. Then warm wood. A small bowl, a short stack of boards, a tray that can hold a candle and a sprig of green on the coffee table. I shop with my color story in hand and I leave anything cold or shiny behind, however cheap it is. One honest warning from experience. Go early in the season, because every decorator in town has the same idea by mid December. Clean brass with a soft cloth and warm water when you get home, and let small tarnish stay. A little age is exactly what makes a thrifted piece read as an heirloom beside new garland and fresh ribbon.
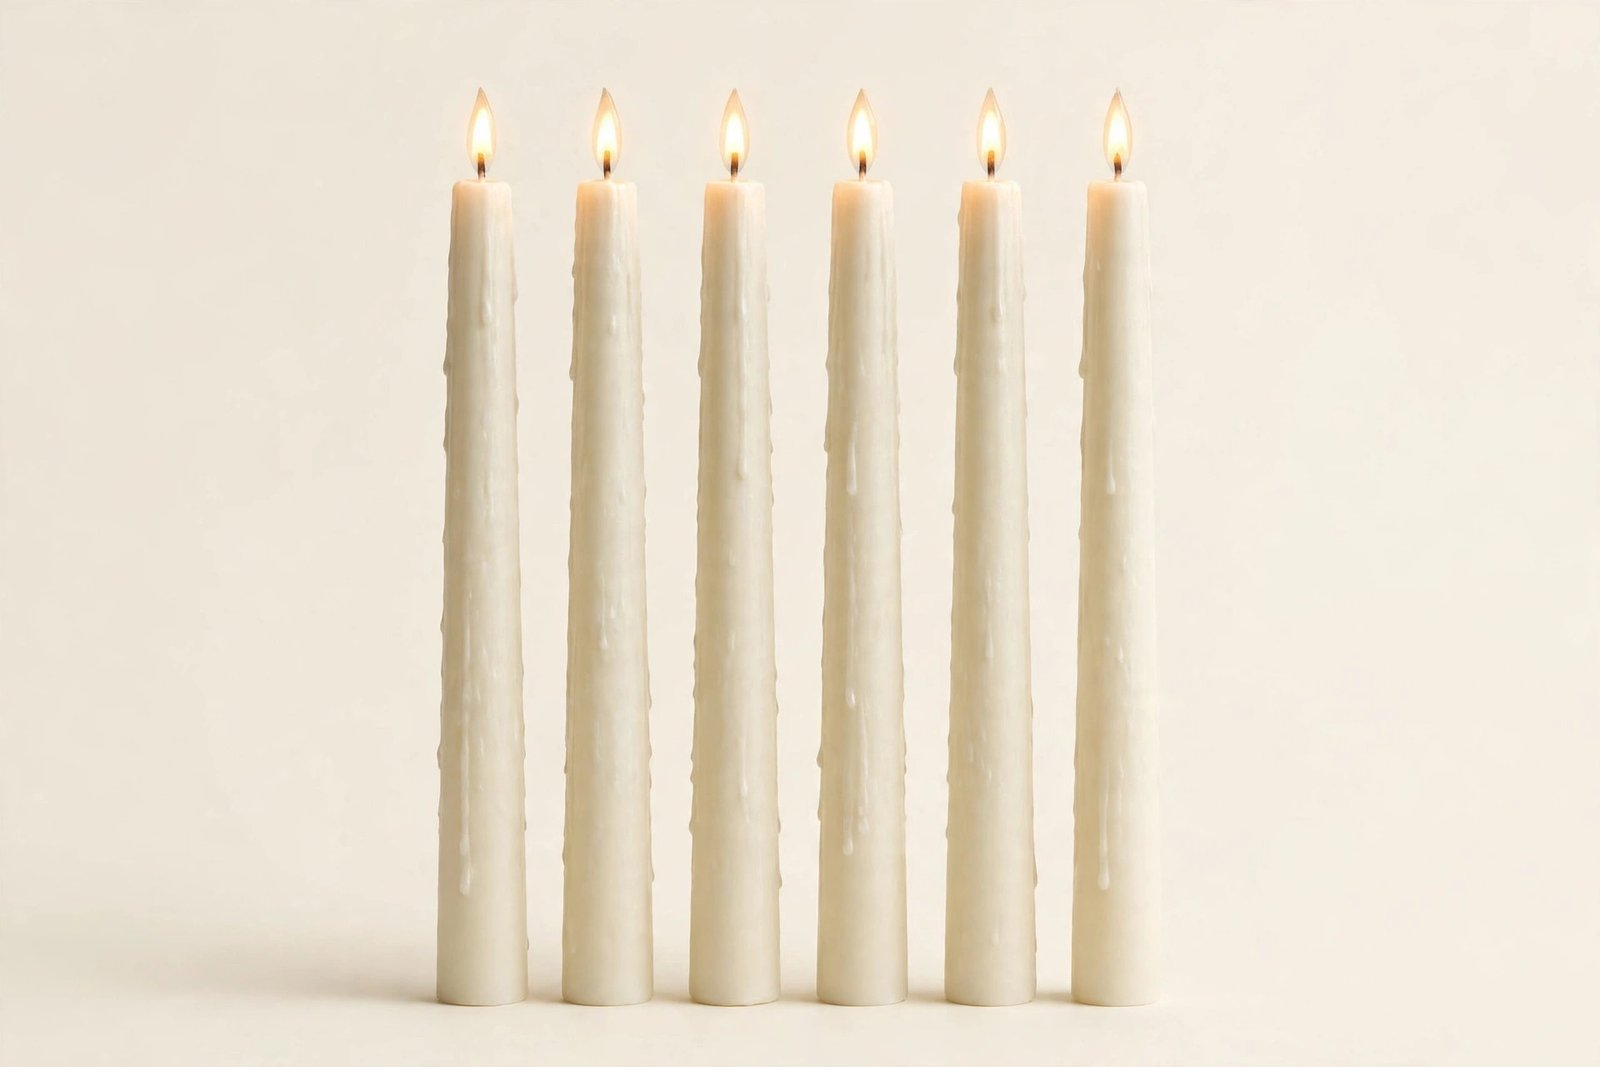
9. Add Flameless Candles for Glow You Can Leave On
Flameless tapers in the thrifted brass give you candlelight at dusk, every night, for $9.
I spend 9 dollars on flameless candles, and they earn it back in pure evenings. Real candles are lovely, but on a budget they are a slow and steady spend, and they cannot be left glowing while I cook or while the kids run past the table. Flameless tapers in the brass holders from the last step go on the mantel and the dining table, set to come alive at dusk. The glow is warm, the wax looks real from across the room, and the house feels lit and loved on an ordinary Tuesday without me striking a single match. I keep the tones ivory and cream so they sit calmly inside the color story. If you already own real candles, save this money and roll it forward. The plan bends. What matters is that some kind of soft glow joins the string lights in at least two rooms, because two sources of light are what make a room feel layered instead of lit.
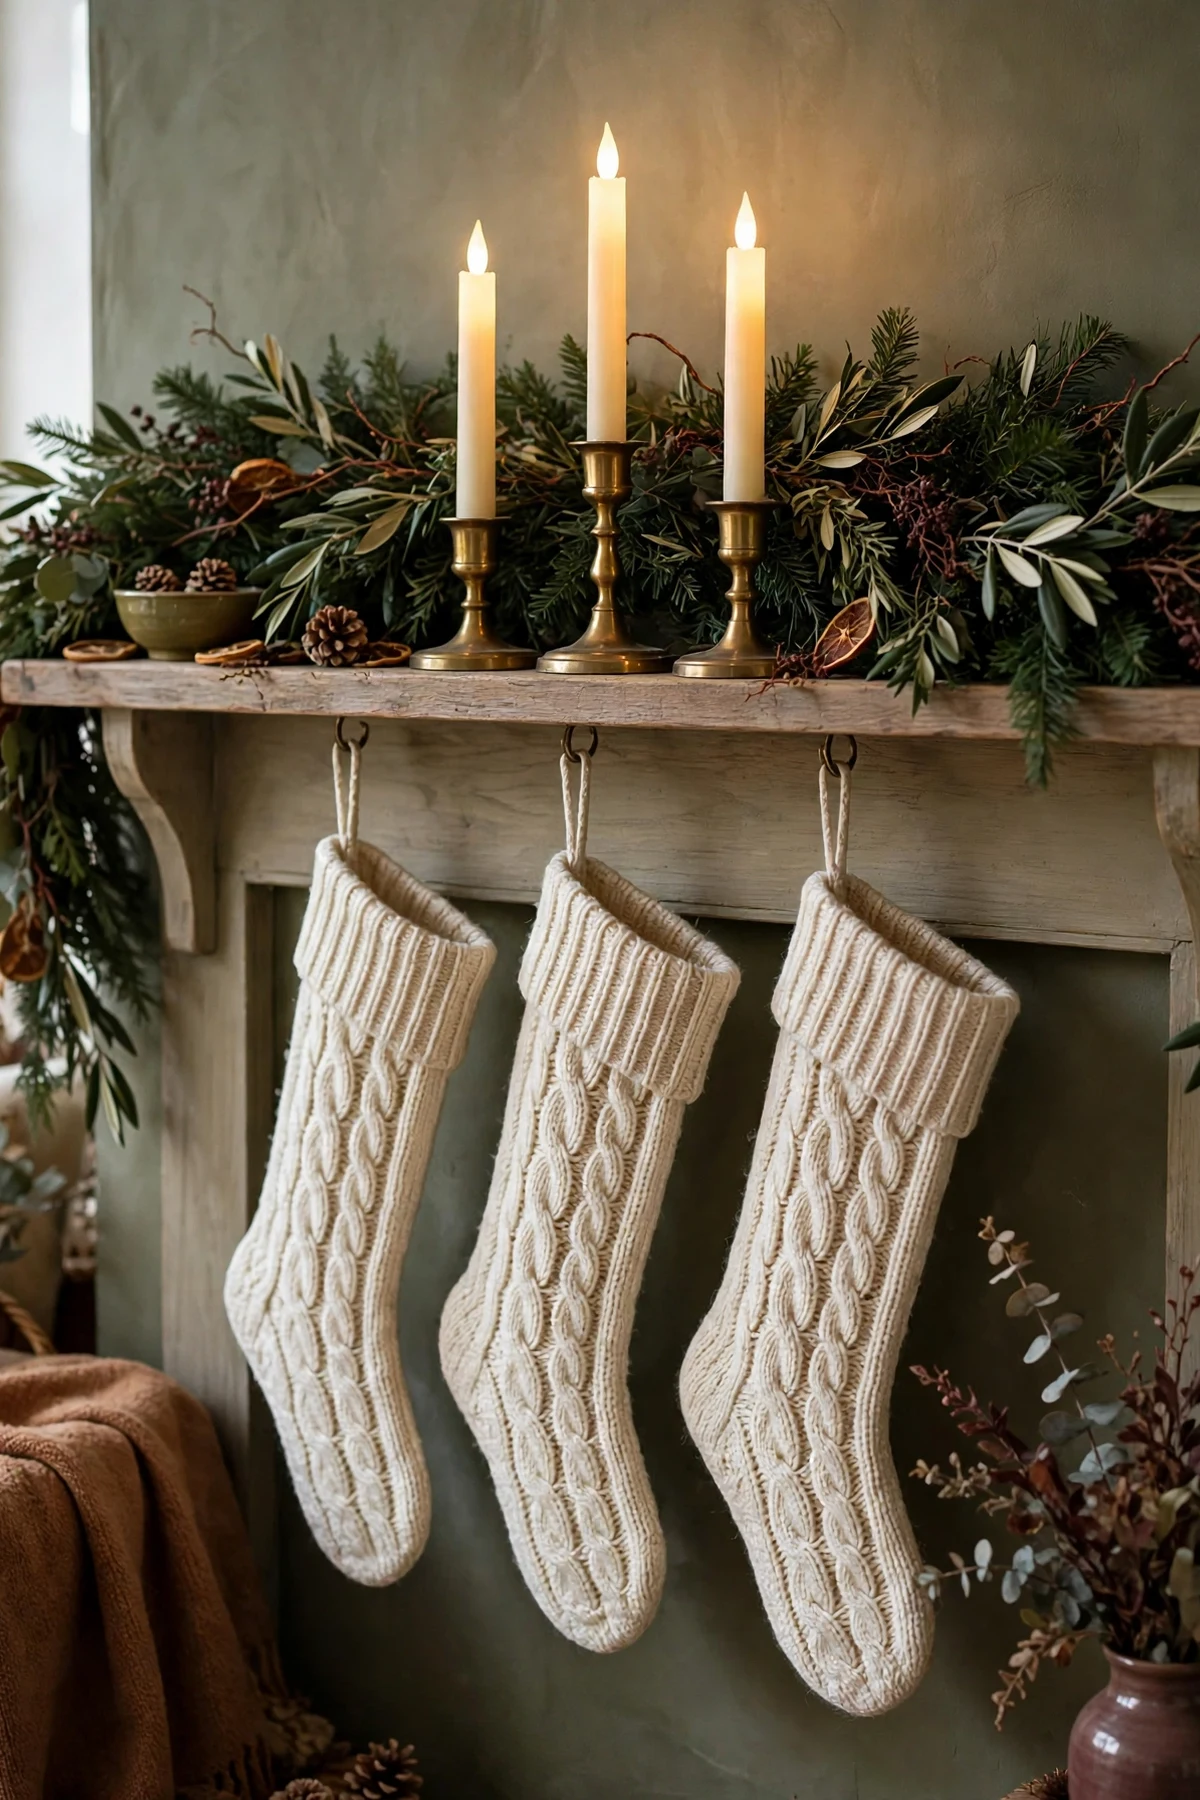
10. Forage Pinecones and Branches for Free Texture
A basket of pinecones and a few cut branches give you texture no store sells as well.
This step costs 0 dollars, and it might be my favorite one. I take a basket on a walk and I gather what the season is already offering. Pinecones for a bowl on the coffee table and a pile at the tree base. A few fallen branches with a good shape, which go into a tall jar in the entry or lie along the mantel under the garland. Texture before more decor is one of my standing rules, and nature hands out texture for free to anyone willing to look down. I shake everything well outside, let it dry indoors for a day, and keep the best pieces where the light can rake across them. A cone in lamplight has more honest beauty than most ornaments I have ever bought. If you live where gathering is not allowed, ask a neighbor with a pine tree. In my experience people are delighted to share what their lawn gives them too much of.

Make It, Swap It and Layer the Soft Things
Now the plan turns to the cozy layer, and this is where small budgets shine brightest. Paper, pillow covers and one good throw do the work that expensive decor tries to do. These steps are about touch. December is a season you feel with your hands as much as you see with your eyes, and soft things in the palette will make the whole house feel generous.
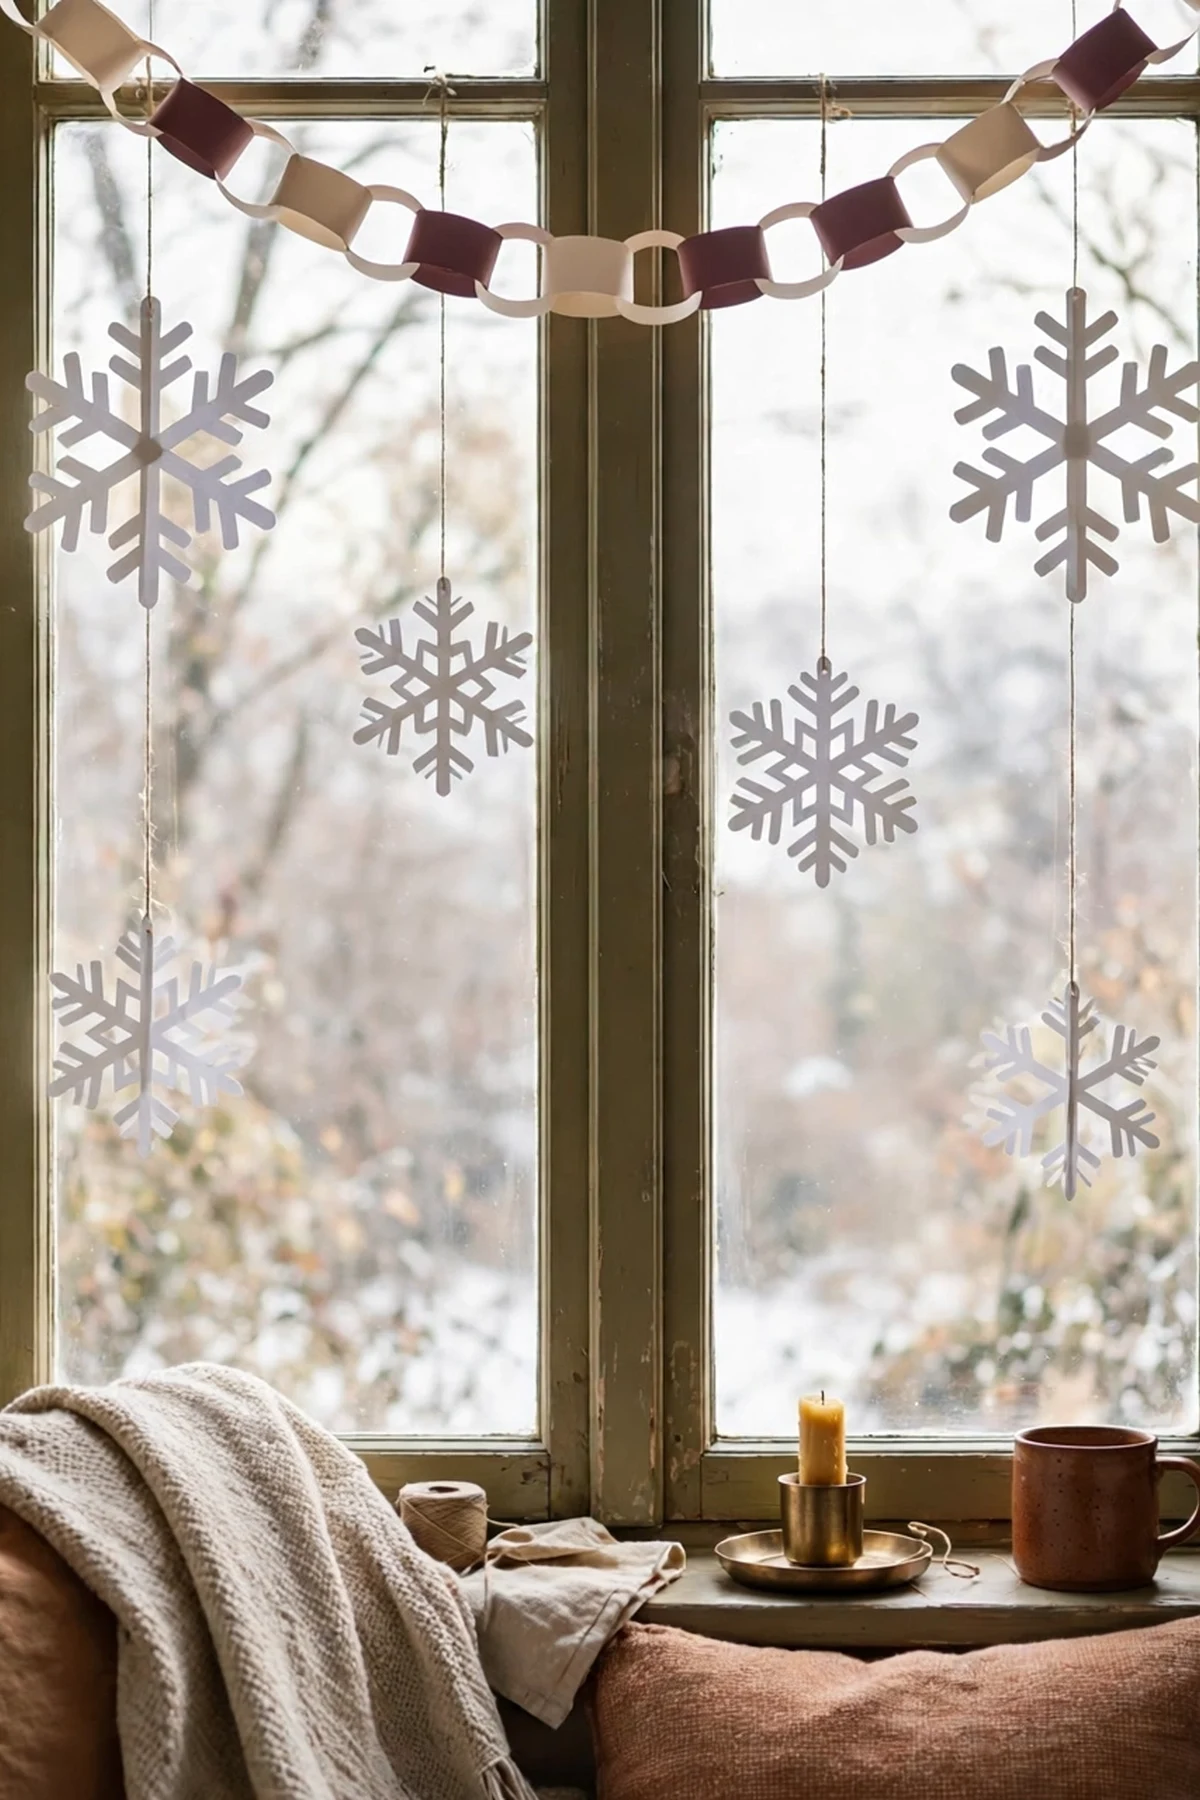
11. Make Paper Snowflakes and Paper Chains
Paper, scissors and one quiet evening give you handmade charm for $3.
I spend 3 dollars on good paper, and I make two classics. Snowflakes for the windows, cut large and simple, because bold shapes read as design while tiny fussy ones read as clutter. And a paper chain in cream and burgundy for the hallway or the tree, which looks far more expensive than it has any right to. I make these at the table with music on and something warm to drink, because the making is part of the decorating for me. Kids are genuinely brilliant at both of these, and slightly uneven chains have a warmth that no store bought garland has ever matched in my house. Keep the colors inside the story and the shapes generous. Hung with a little space around them, paper decorations look intentional and sweet. Crowded together, even lovely handmade pieces start to look like a school hallway in the last week of term.
12. Dress the Tree in Layers With What the Plan Already Bought
Lights, ribbon, ornaments, then quiet space. In that order, a budget tree looks full and calm.
This step costs 0 dollars, because the tree uses only what earlier steps already bought and found. I work in a strict order and I do not rush it. Fluff first, because a well fluffed tree needs half the ornaments of a flat one. Lights second, wound deep into the branches so the glow seems to come from inside the green. Ribbon third, in the loose loops from step seven. Ornaments last, in size order, with the foraged pinecones tucked into the widest gaps. Then I stop, which is the hardest part of the whole step. A budget tree fails by addition, never by restraint. Every ornament I leave in the box is a choice the tree thanks me for. If you want to see how this layered order looks on a calmer palette, my Christmas mantel decor ideas show the same garland, height and glow thinking working above the fireplace.

13. Build the Mantel From Garland, Ribbon and Leftovers
Garland first, height second, glow last, and the mantel builds itself for $0.
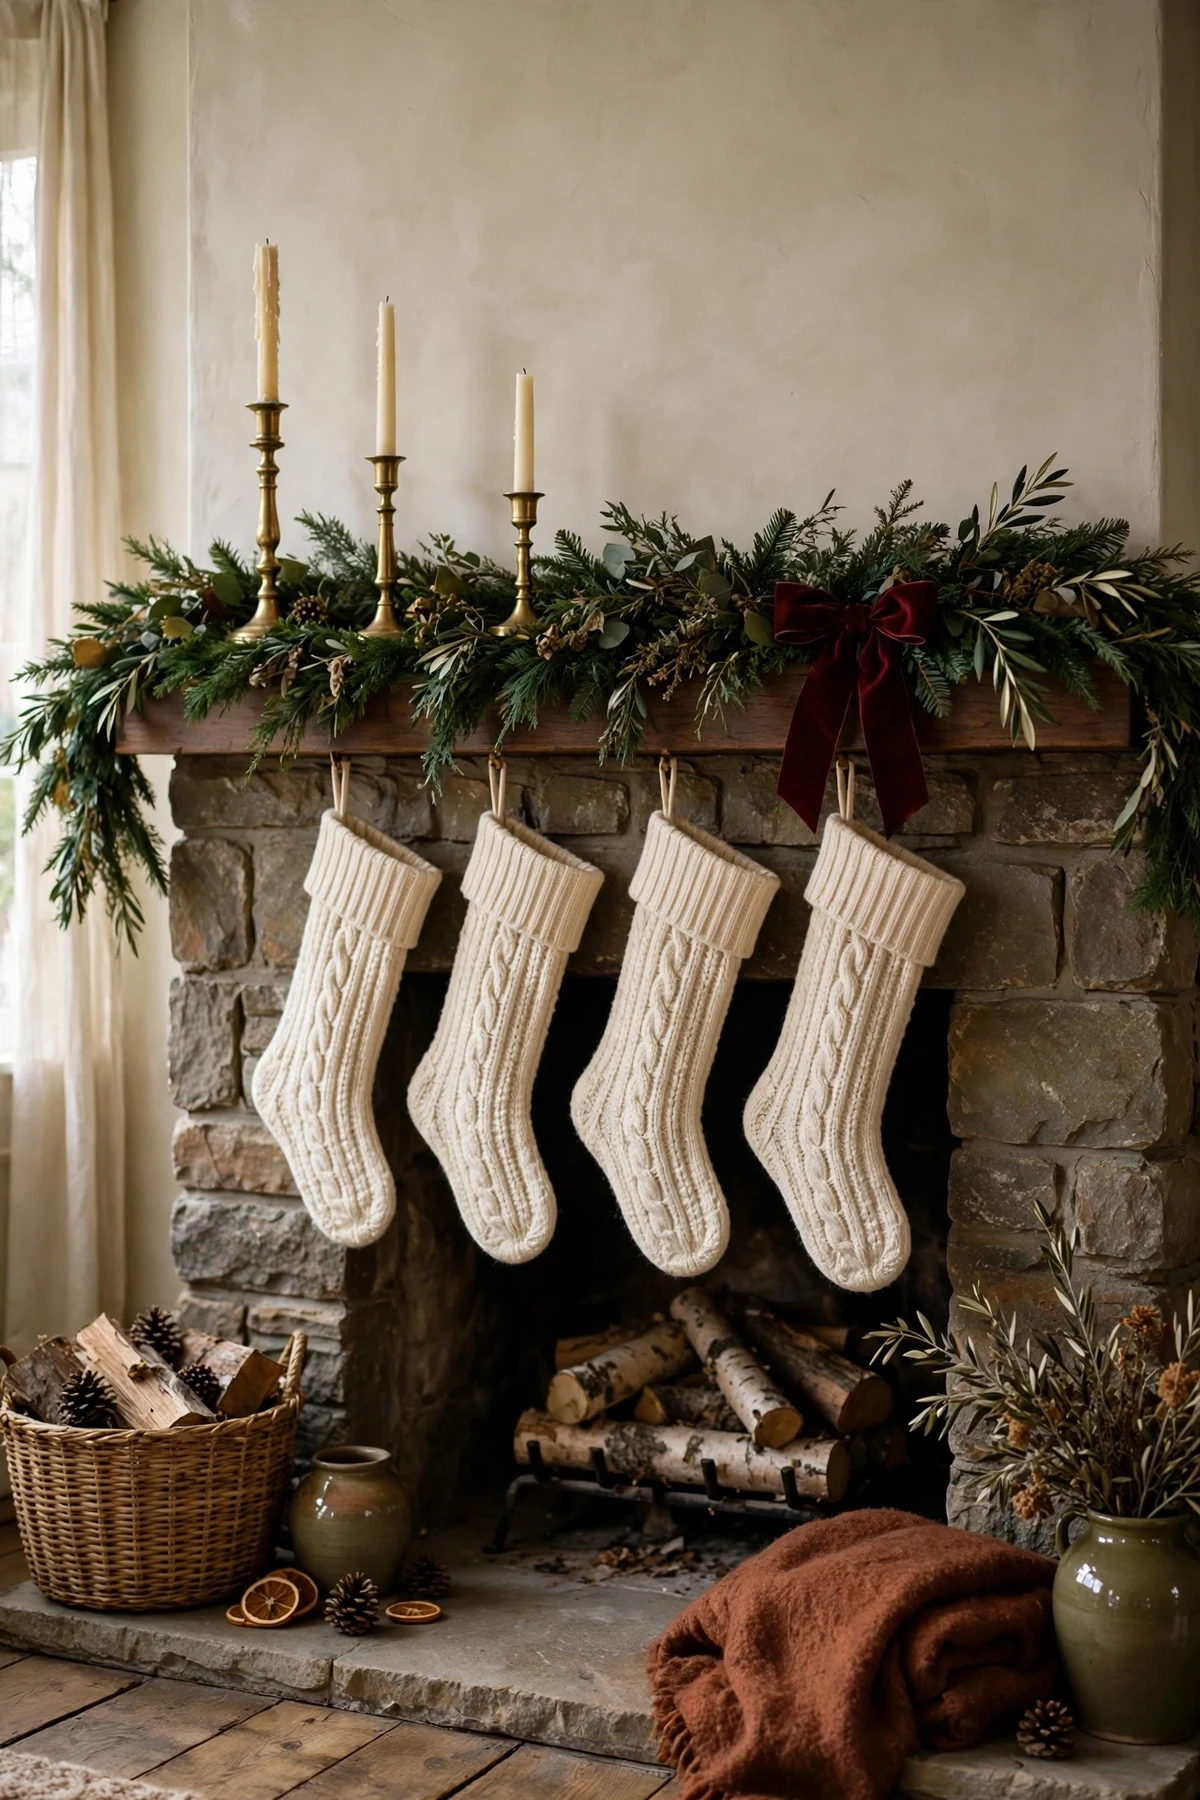
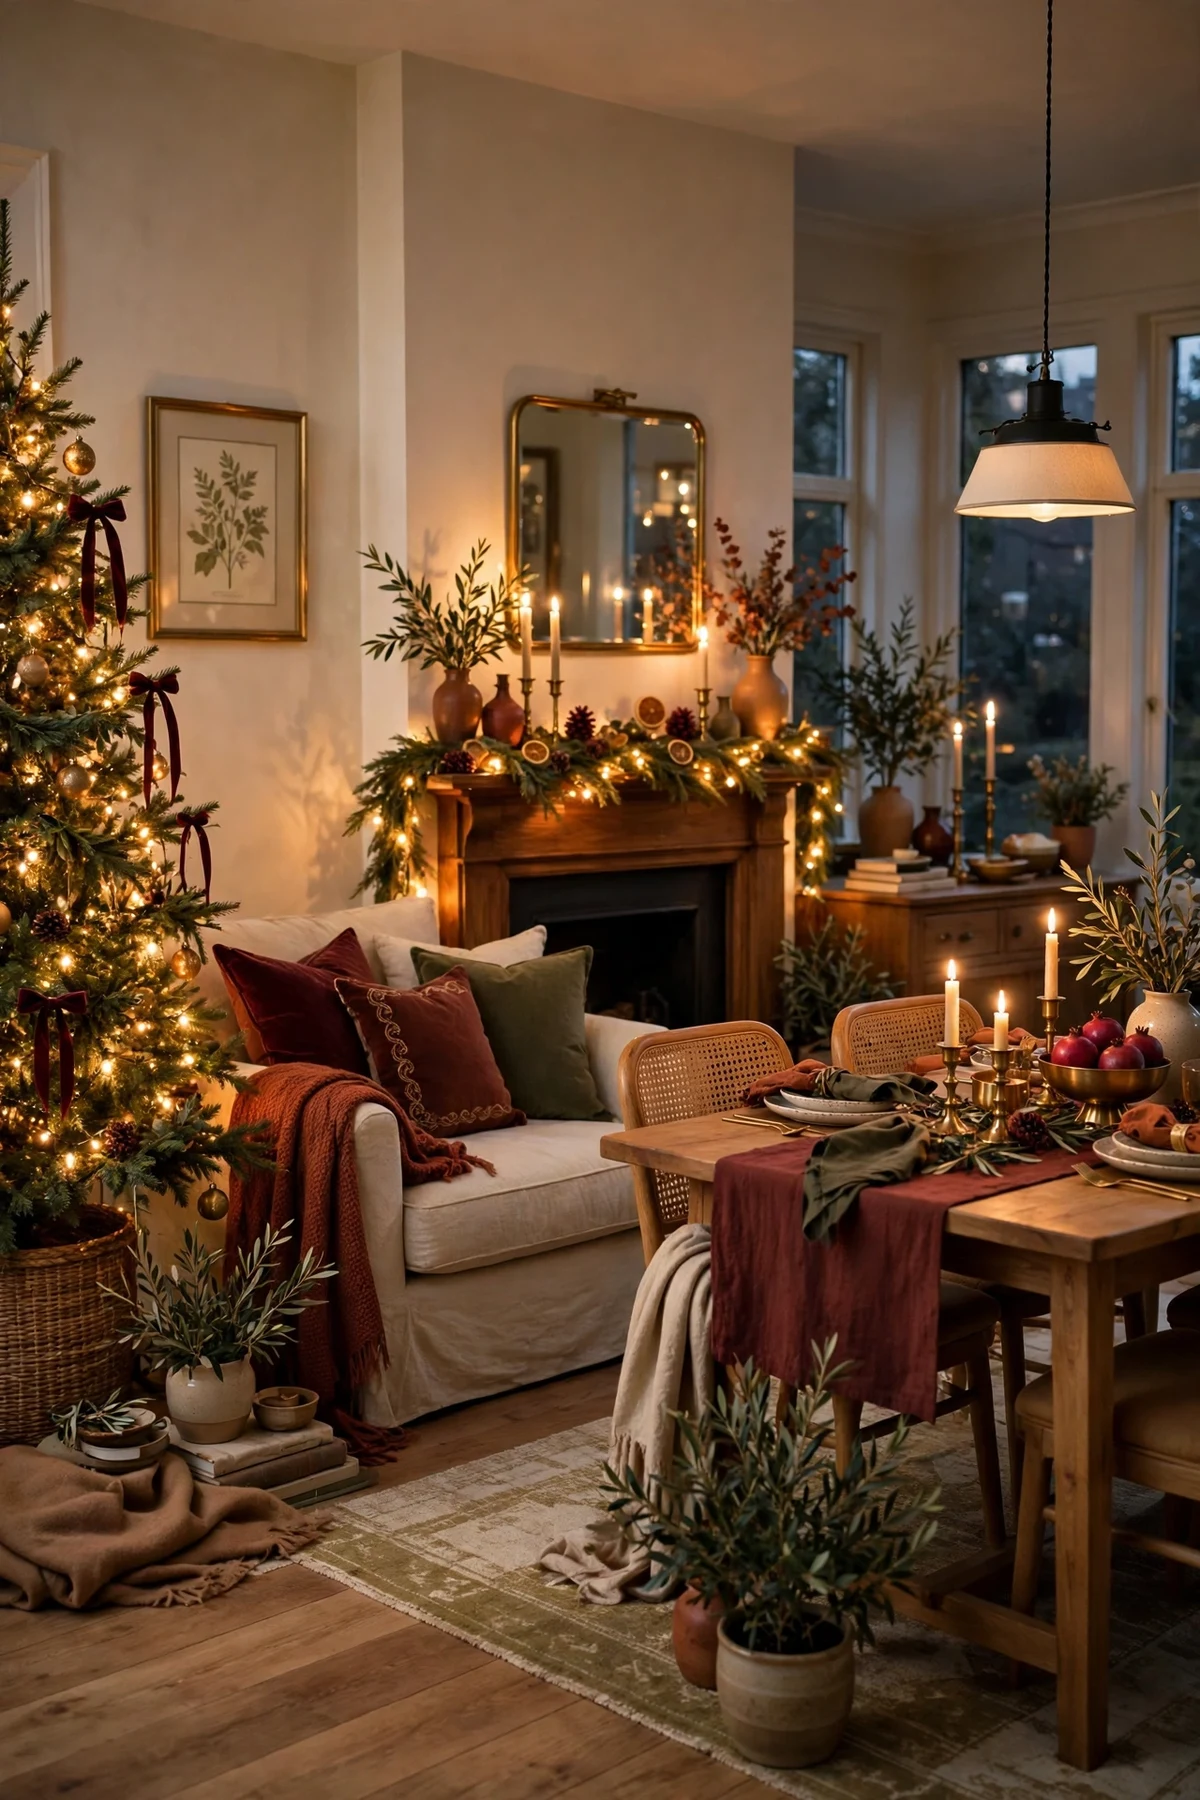
The mantel costs 0 dollars in this plan, because every piece on it has already been bought, thrifted, foraged or rescued from a bin. I lay the long garland from step five across the mantel and let it fall in soft swags. Height comes next. The thrifted brass holders at varied heights, tall at the ends and shorter toward the middle, with the flameless tapers from step nine standing in them. Then the burgundy bow from the same ribbon spool as the tree, tied once and left alone. Stockings the family already owns hang last of all, because they are loud and beloved and they will rearrange the whole picture if they go up first. Leftover ornaments tuck into the green where it looks thin, and a few pinecones settle along the base. When I stand in the doorway and see tree and mantel agreeing in green, burgundy and brass, I know the room is done.
14. Swap Pillow Covers Instead of Buying New Pillows
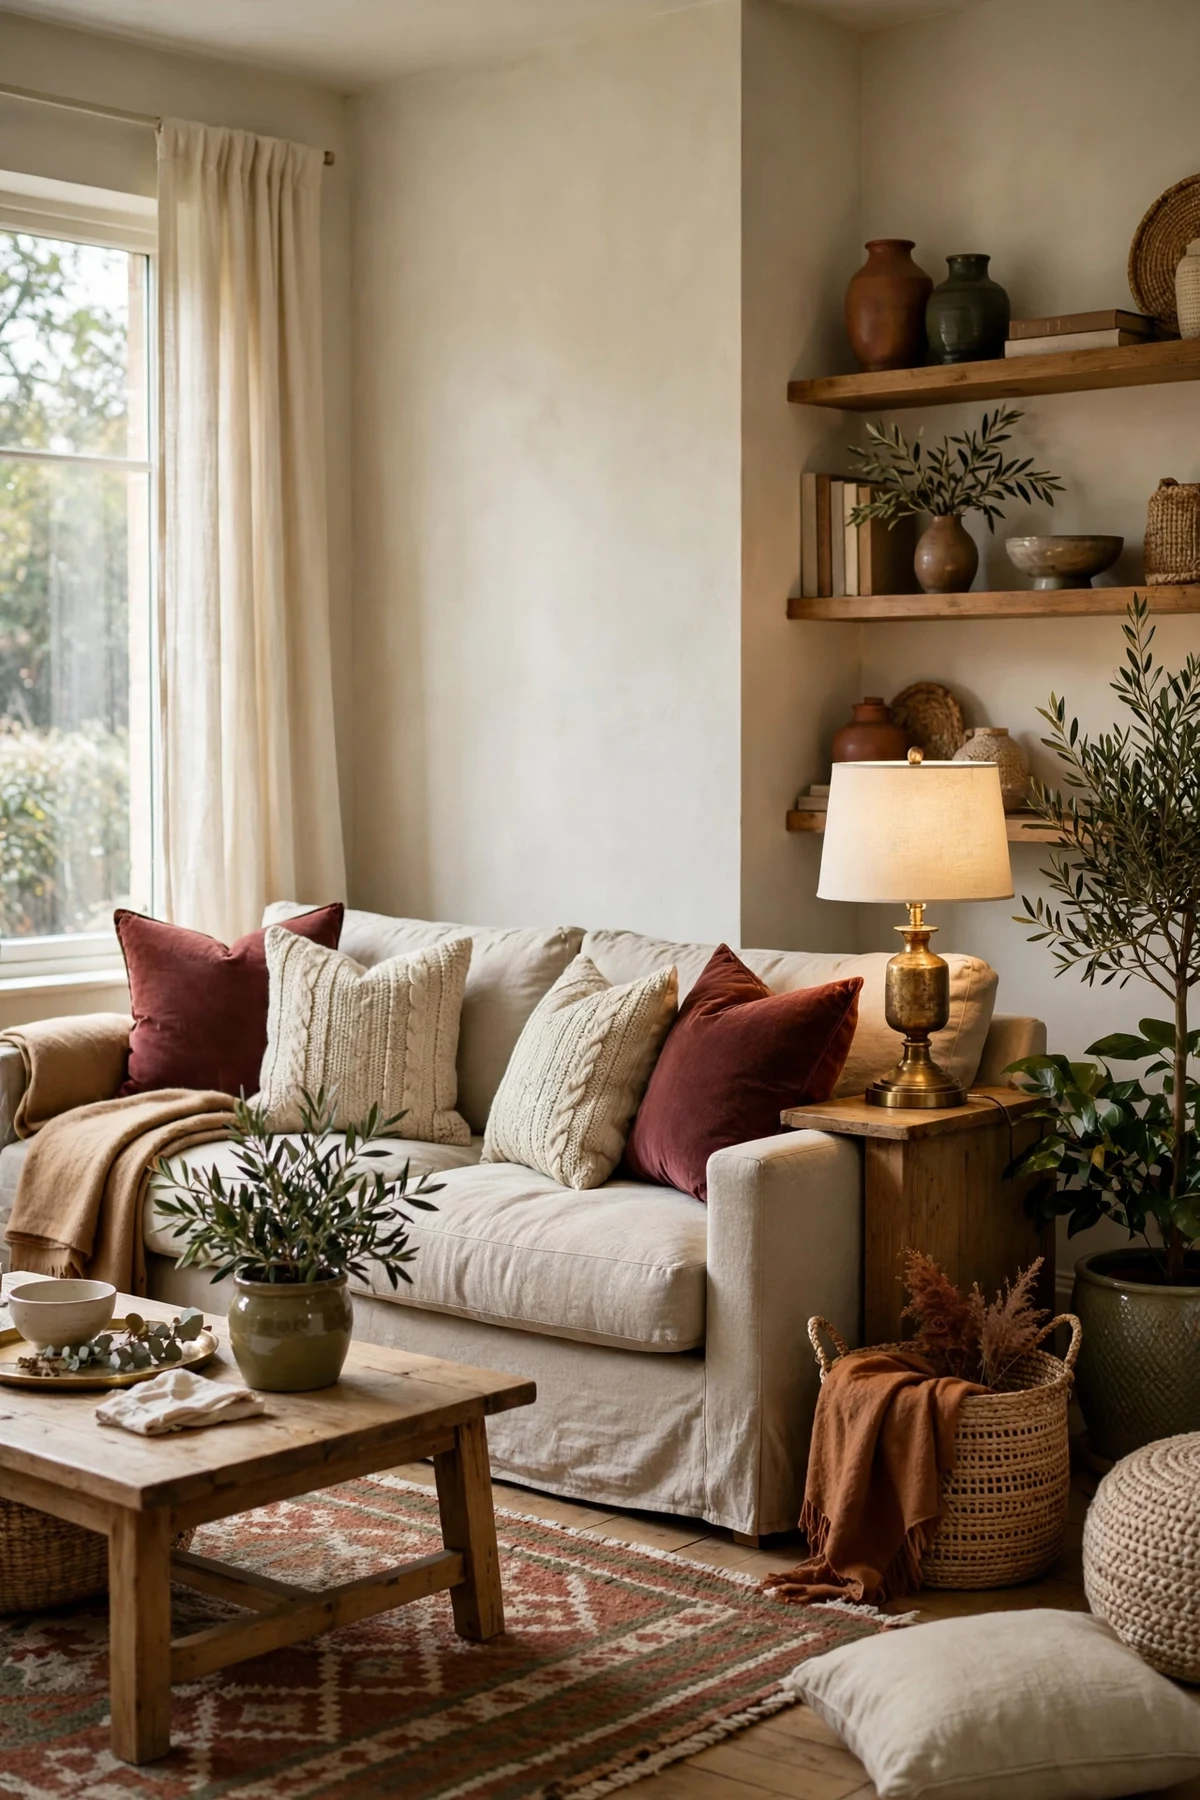
Fresh covers in the palette wake up the whole sofa for $10, using pillows you already own.
I spend 10 dollars on pillow covers, and this small step changes the sofa more than any other money in the plan. New pillows are bulky and pricey. Covers are neither, and they store flat in January, which my closets bless me for. I choose covers in burgundy velvet and oatmeal knit, echoing the ribbon on the tree and the throw that is coming in the next step. Texture before more decor, always. Two festive covers among the calm everyday ones look designed. A whole sofa of novelty prints looks like a display in a shop window. I wash and fluff the inserts I already own, because a plump insert in a fresh cover reads as a brand new pillow to every eye that matters. If sewing is your joy, covers from thrifted sweaters and fabric scraps cost even less, and the handmade ones are always the covers guests ask about.
15. Add One Cozy Throw and Keep It Within the Story
One good throw in camel or cream does more for December evenings than a cart of small decor, for $12.
The last soft layer gets 12 dollars, and I spend it on one throw with real texture. A chunky knit if I can find it on sale or thrifted in good condition, in camel, cream or soft oatmeal. I fold it over the sofa arm nearest the tree, where the light can catch its texture, and I let it be the only throw in the room. One throw invites. Three throws argue, and they slide, and they end up in a heap that looks tired by the second week. This is also the piece that gets used the most in our house. It covers laps during films, shoulders during late talks, and knees at the breakfast table on cold mornings. When a single purchase can look beautiful and be loved daily, that is a budget working exactly as it should. Wash it gently before its first evening, and let it dry flat so the knit keeps its shape all season.

Table, Welcome and the Final Edit
The plan finishes where guests actually gather. A table set with everyday dishes and a little thrifted help. A scent that comes from the stove, not a pricey candle. A welcome at the door built from leftovers. And one honest evening edit, with a few dollars still in hand for whatever the season surprises me with.
16. Set the Table With Everyday Dishes and Thrifted Napkins
Your own dishes, a garland offcut down the middle and $6 of thrifted linen will set a table guests remember.
I spend 6 dollars here, on cloth napkins from the thrift store in burgundy or deep green, and everything else on the table is already in the house. Everyday white or cream dishes are perfect. Please hear me on this. Nobody has ever loved a Christmas dinner less because the plates were the Tuesday plates. Down the middle of the table I lay a garland offcut from step five, with spare ornaments tucked into the green and the brass holders standing at intervals with their flameless tapers. My Christmas tablescape ideas show how far this same low and calm centerpiece thinking can go. I set the table a day early when I can, because an early table looks beautiful for two evenings instead of one, and it turns the biggest hosting job into a small one. On the day itself I only add glasses, water and the food, and I actually get to sit down.

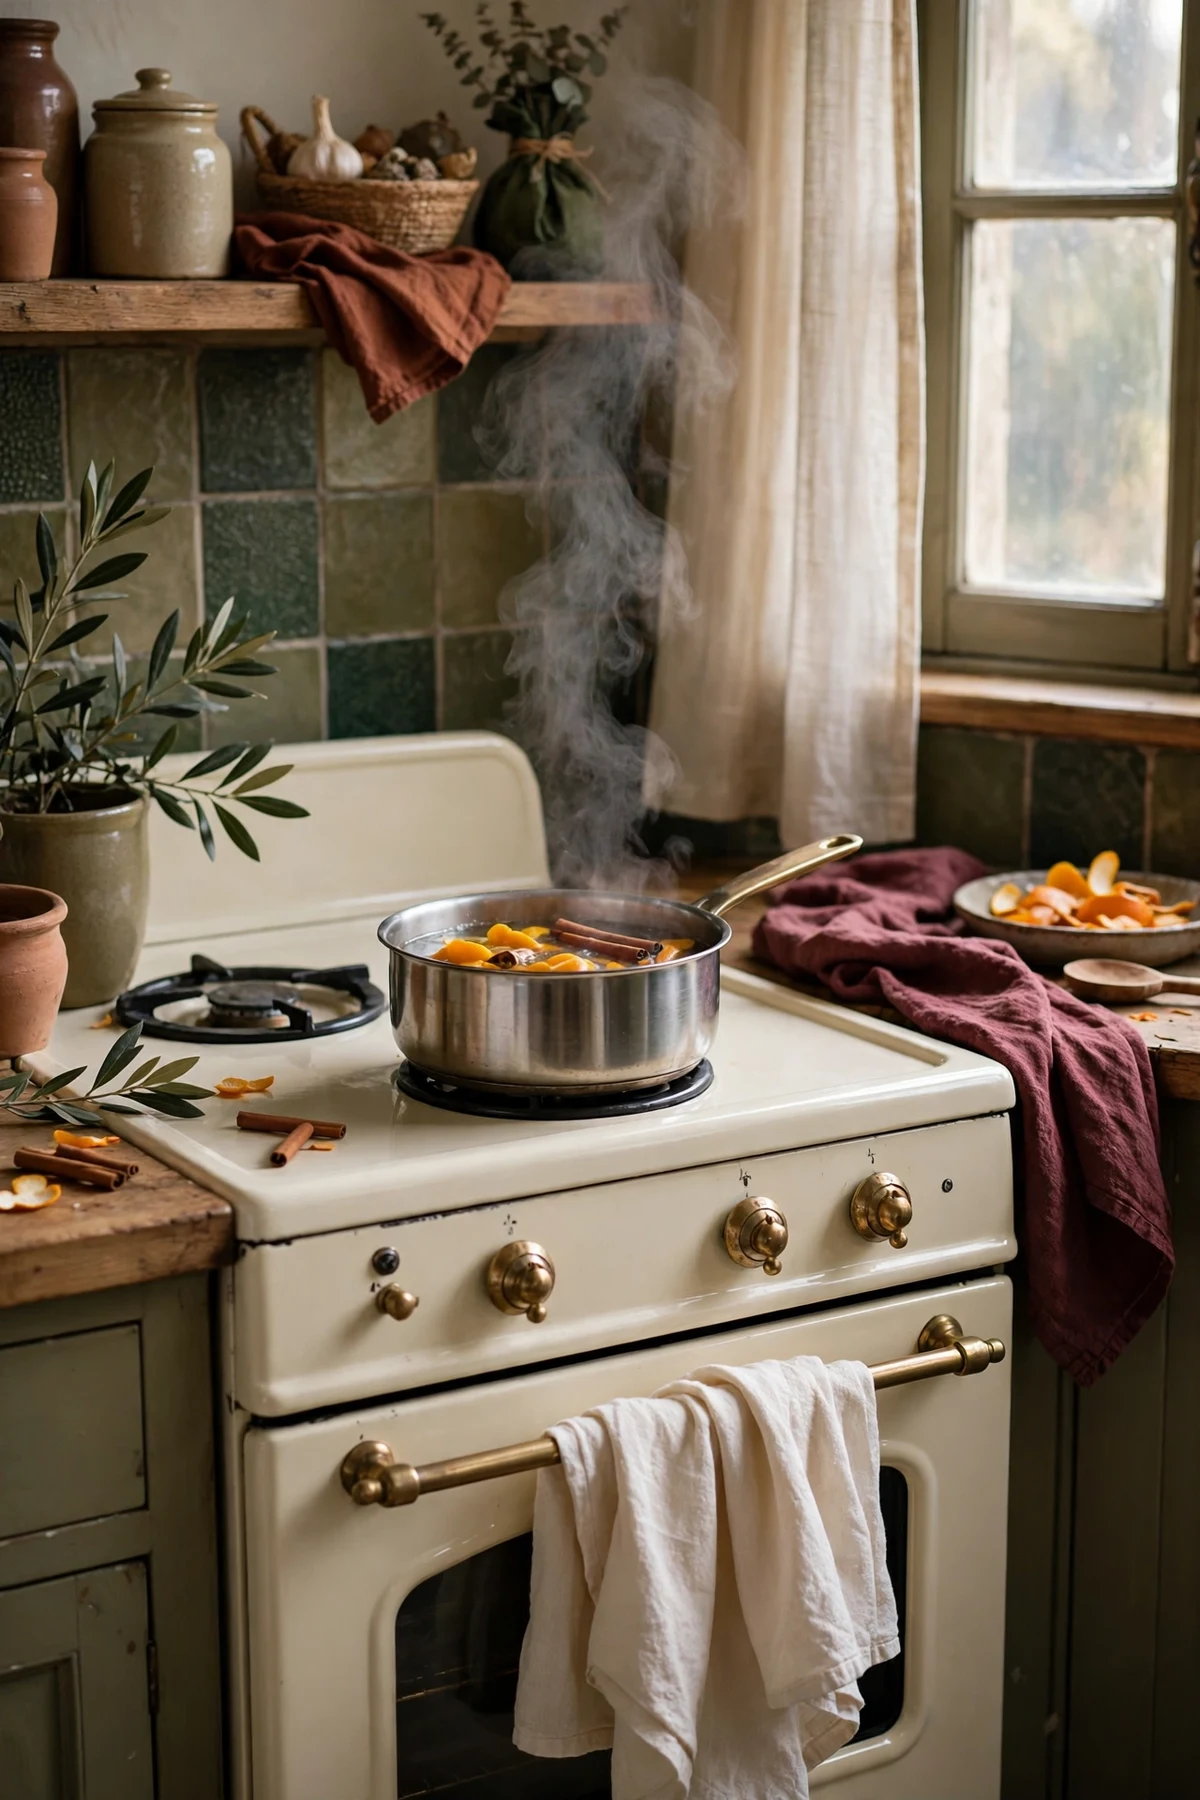
17. Simmer the Scent of Christmas on the Stove
Orange peel, spice and water on a low heat will scent the whole house for $3.
Scent gets 3 dollars in this plan, for a small bag of whole spices if my cupboard is bare, and often it costs nothing at all. I save orange peel from breakfast, add a cinnamon stick and a few cloves if I have them, and let the pot barely simmer while the house wakes up or while guests are on their way. The smell is honest and warm, and it drifts into rooms no candle reaches. One scent story at a time is my rule. A simmer pot plus a pine tree plus a baking tray will happily agree with each other, because they all come from a real kitchen and a real season. Three competing perfumed products will not. If dried orange slices appear as the simmer cools, I thread a few on string for the tree, which gives this tiny spend a second job. Small money, many evenings, zero waste. That is the spirit of this entire plan in one little pot.
18. Welcome Guests at the Door With Leftovers and One Lantern
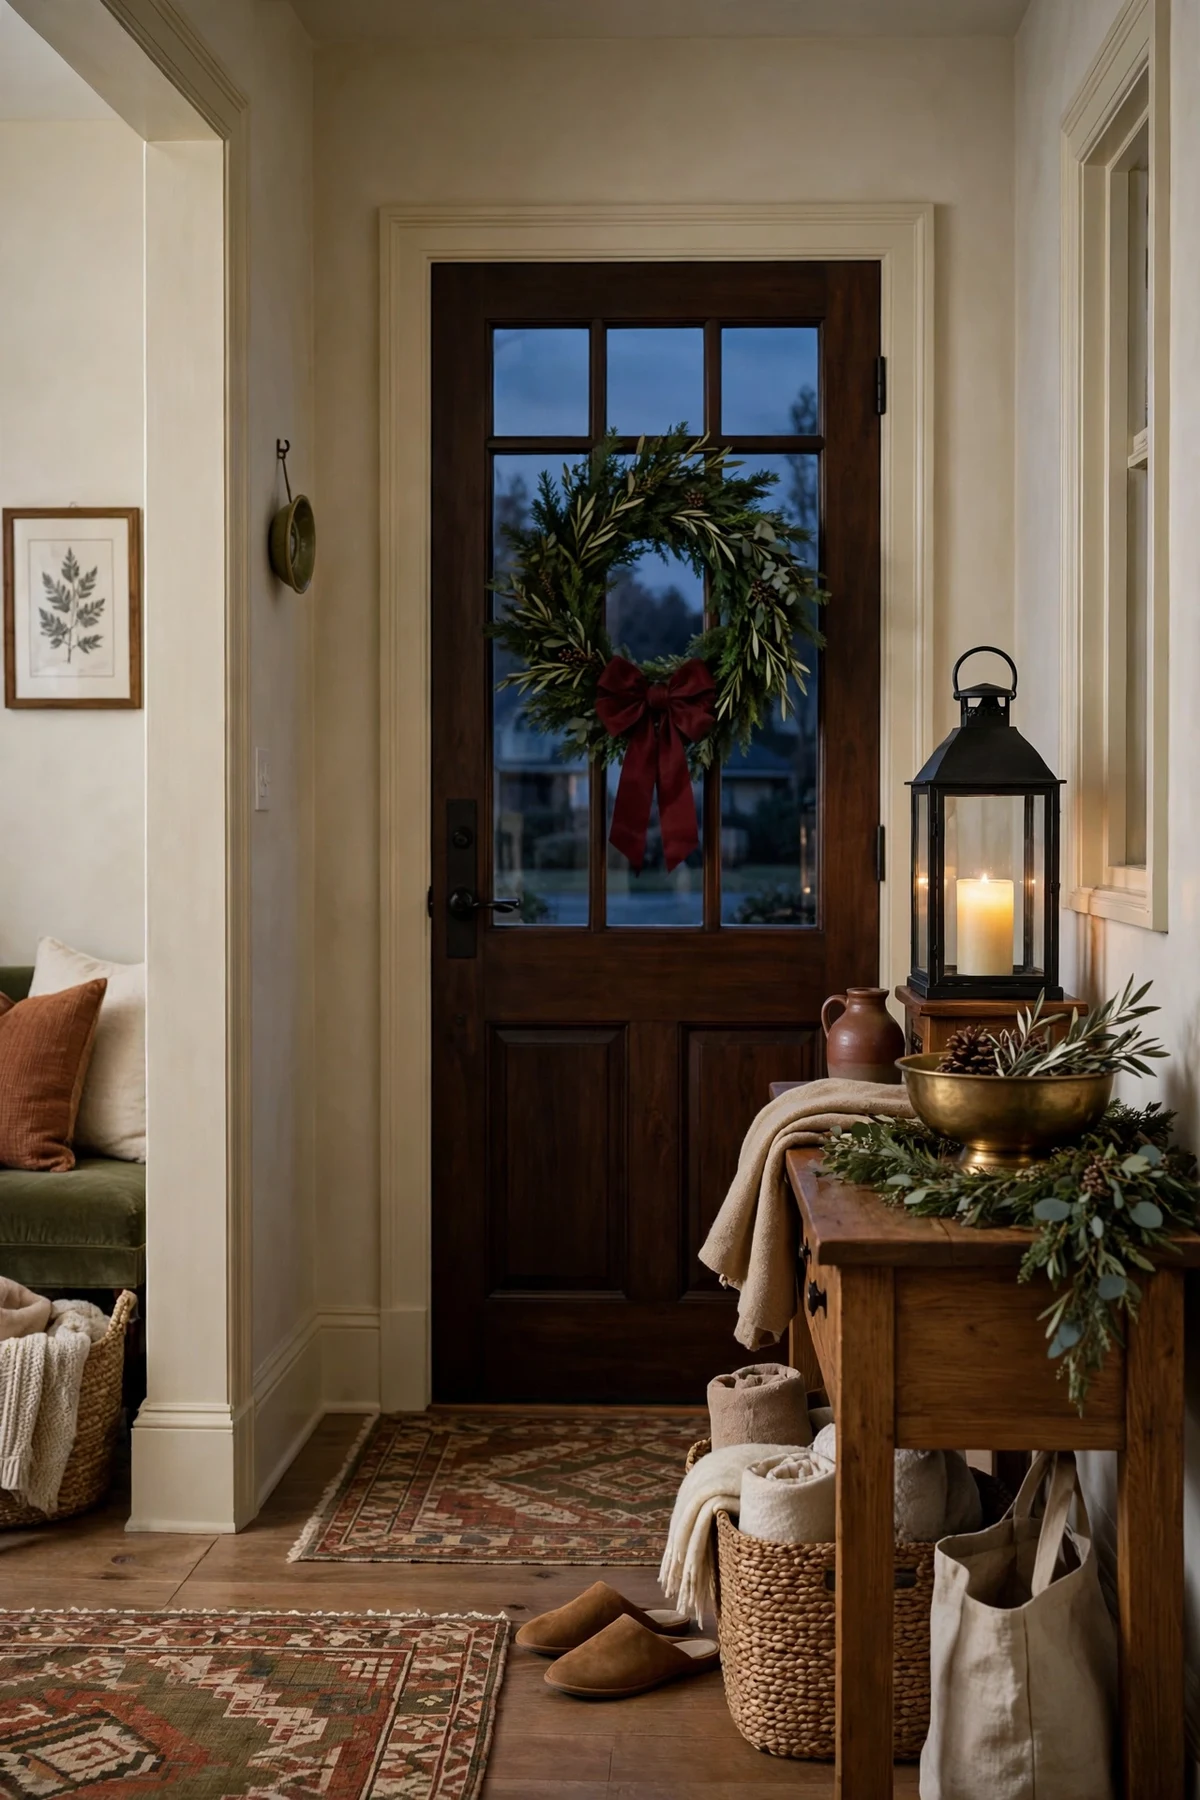
The entry and porch get the welcome job for $0, built entirely from what the plan already has.
This step is free, and it proves the plan has depth. The door gets a simple green wreath if one came out of the bins in step one, dressed with one burgundy bow from the ribbon spool. If no wreath exists, a bundle of foraged branches tied with that same ribbon does the job with real charm. Beside the door I place one lantern or jar I already own, with a flameless candle inside on the dusk schedule, so the welcome glows as guests arrive. Inside, the entry console holds a short garland offcut, a small bowl for keys, and one leftover ornament resting in it like it always lived there. My Christmas front porch ideas are full of bigger statements, and I love them, but on this budget the quiet version wins my heart. One door moment, one glow, one place for keys. Guests feel welcomed, not overwhelmed, and the story of the house starts exactly where it should.
19. Walk the House at Dusk, Edit Honestly and Keep the Last $5 in Reserve
The final edit costs nothing, and the last 5 dollars wait for batteries, hooks or one true need.
I keep 5 dollars in reserve until the very end of the plan, and most years it buys the unglamorous heroes. Batteries for the flameless candles. Hooks for the stockings. One replacement bulb. The edit itself is free. When everything is up, I make tea and wait for dusk. Then I walk the route a guest walks. Door, entry, tree, mantel, sofa, table, kitchen. I check the color story first. Burgundy in the ribbon, the bow and the napkins. Brass in the holders, the bells and the tray. Cream in the ornaments, the covers and the paper chain. Three sightings make a pattern, and a pattern is what makes a home look designed on purpose. Then I remove the few things that argue. There is always something. A cushion in the wrong red. One bright ornament that snuck onto the tree. Each one gets moved or quietly retired, and the whole house settles. This is the step that makes $100 look like a choice instead of a limit.
More Favorites
This post contains affiliate links. If you buy through them, I may earn a small commission at no extra cost to you.
A few more favorites from the ideas above:


If a small budget has ever made you feel like Christmas would be smaller this year, I wrote this plan for you, because I have stood in that exact spot with a cart I could not afford and a house I wanted to feel loved. The fix was never a bigger cart. It was an order. Shop your home first. Write the plan down. Let one color story do the expensive looking work. Spend first on light and green, thrift the warm pieces, make the paper things, and layer the soft things last. Then walk the house at dusk and take a few things away.
Add the steps up and you will see the whole story in numbers. Free steps at the start. Careful dollars in the middle. Five dollars still waiting at the end for whatever December surprises you with. Start this week with the bins on the floor and the coffee on. When you are ready to dream a little bigger for the mantel, my Christmas mantel decor ideas pick up right where this plan leaves off. Then pour something warm, settle into that throw, and enjoy the part this was all for. A home that glows, on a budget that lets you sleep well.
With love and light
Get Fresh Home Ideas Every Week
Seasonal decor ideas, organizing tips, and cozy home inspiration, straight to your inbox.
More Christmas Ideas You Will Love
Keep browsing for more seasonal inspiration: