
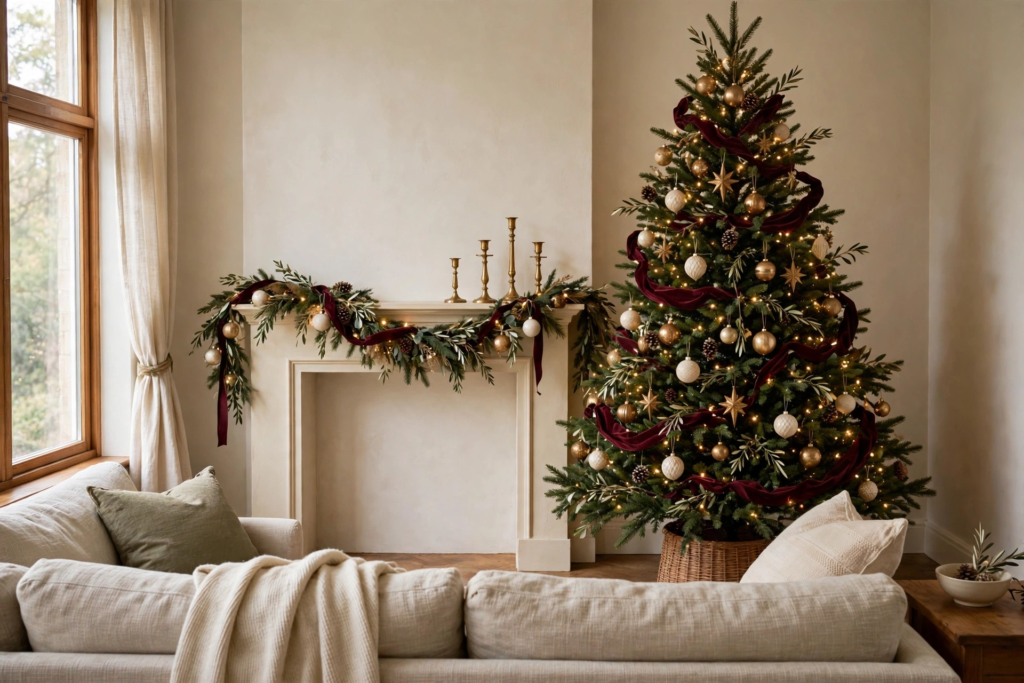
I want my home to feel like a deep breath in December. The lamps are low. The tree is glowing in the corner. There is a faint smell of pine and something warm in the oven. The mantel candles are lit before supper, not because guests are coming, but because the house deserves that glow on an ordinary Tuesday too. Now it takes one calm plan and one checklist I actually follow.
For years I decorated by mood. I would hang the garland because I found the garland box. I would buy ornaments because they were pretty in the store light. The turning point was simple. I stopped decorating task by task and started working room by room, in a set order, from a list I could print and carry with me. I shared the color side of that system in my guide to how to create a cohesive Christmas theme, and this checklist is the practical half of the same idea.
So this is my free printable checklist, all nineteen steps in the order I do them. Save this page, print this checklist, and tick each step off as you go. The whole list fits the way I think about Christmas now. Decide once at the start so every room agrees. Repeat a color in three places so it looks intentional. Add texture before you add more decor. And edit at the end, with honest eyes. Oversized velvet bows. Jewel tones. Artisan glass. Matte ceramics. Warm cluster lights. Follow the steps in order and the house comes together quietly, one finished room at a time.
Love these ideas? Get more every week.
Join the newsletter for seasonal decor and cozy home inspiration.
Start With a Plan, Not a Panic Buy
The first four steps happen before a single decoration goes up, and they save more money and stress than everything else on this list combined. I do them at the kitchen table with coffee, in daylight, while the bins are still closed.
1. Inventory What You Already Own Before You Buy Anything
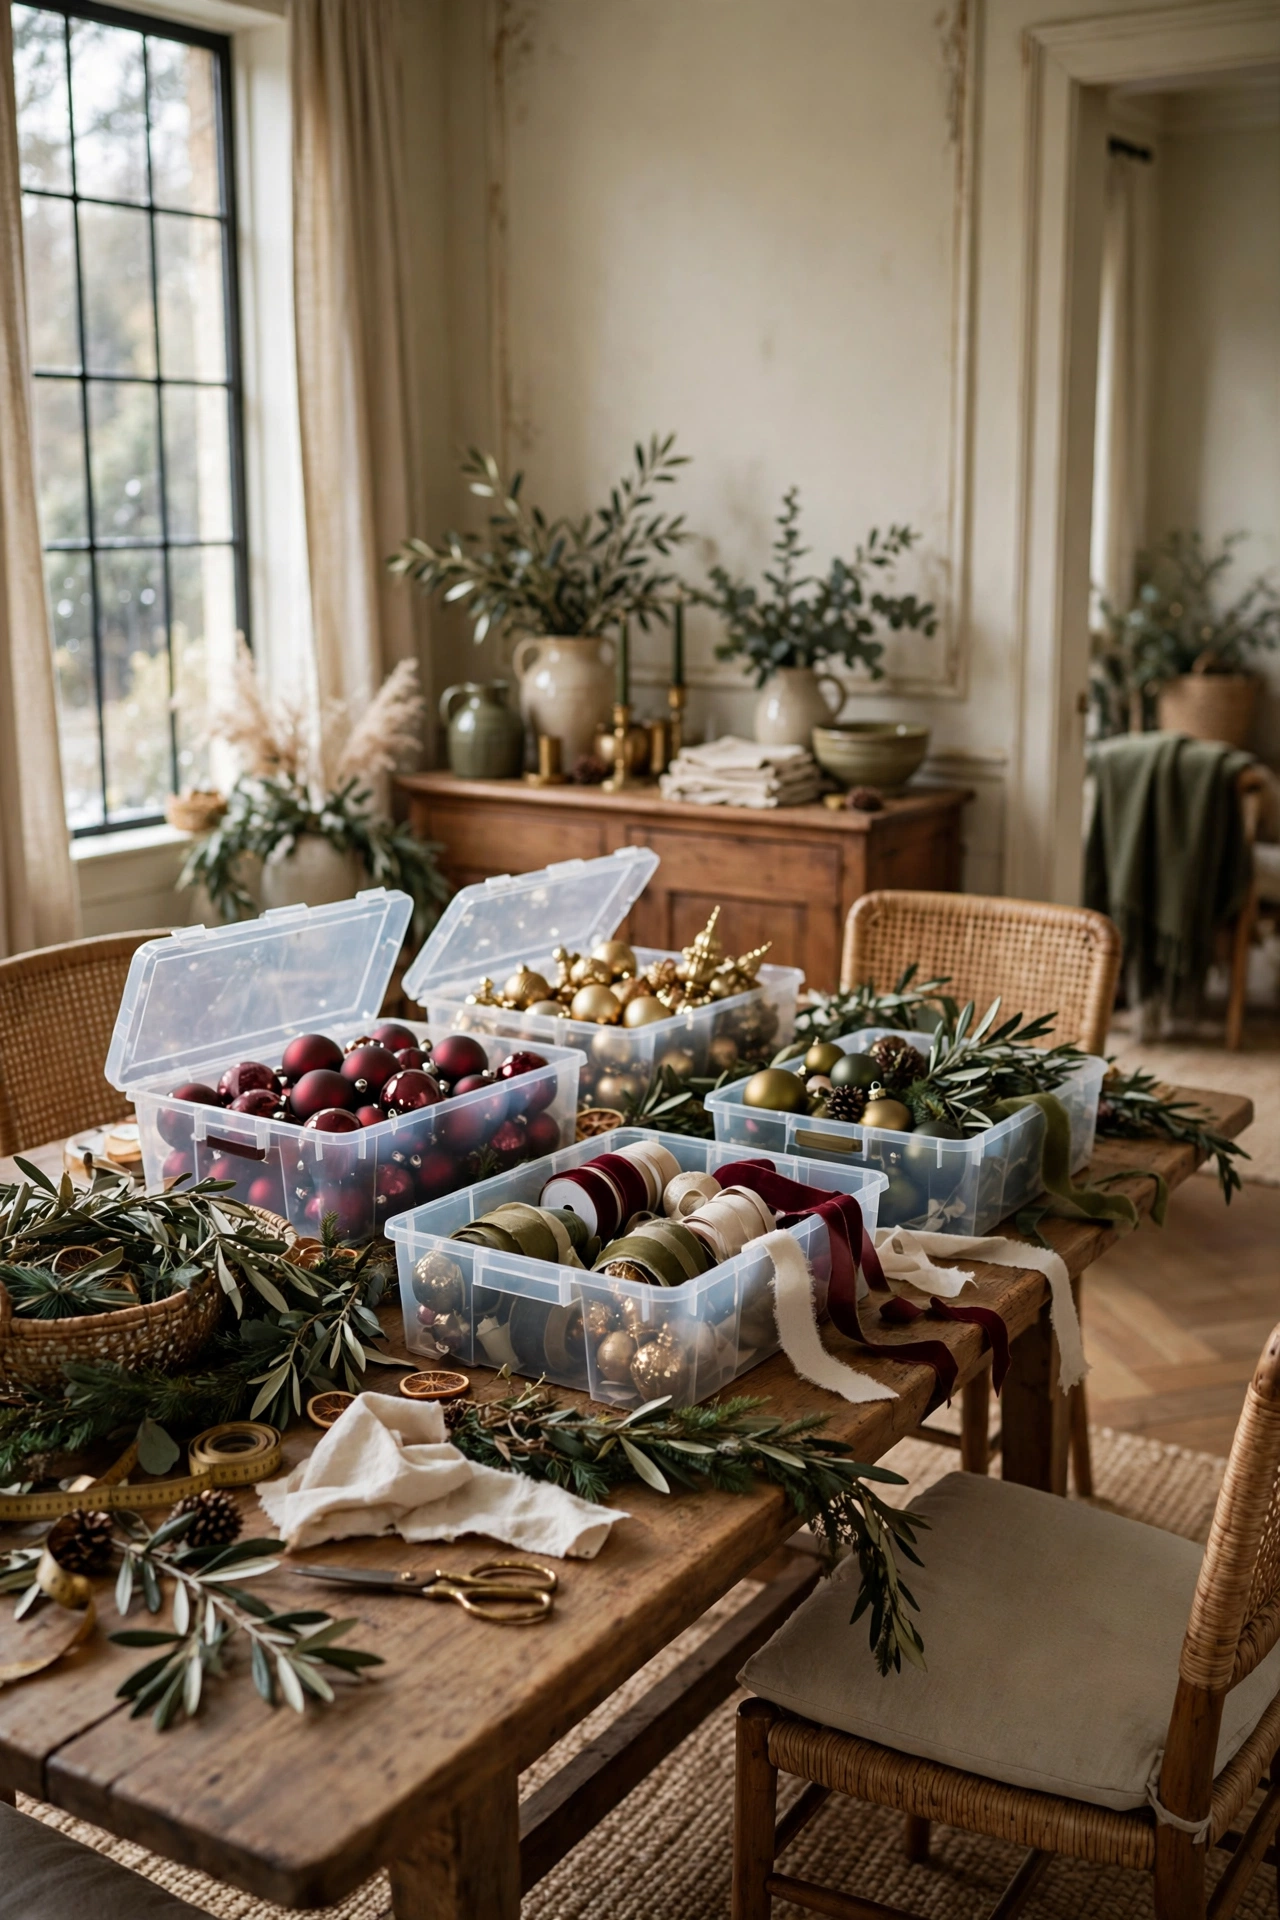
Shop your own bins first, because most of us already own a beautiful Christmas.
I open every storage bin on the floor of the living room and I actually look. Not a glance. A real look, piece by piece. I make three piles as I go. Keep and love. Keep but tired, which usually means it needs a new ribbon or a new room. And let go, for the pieces that belong to a theme I no longer live in. That third pile is the most valuable one.
Then I write down what I truly have. How many ornament sets. How much garland, in rough feet. Whether the lights worked when they went away last year. The house I want is already mostly in the bins. It just needs an order to arrive in.
Shop This Look
This post contains affiliate links. If you buy through them, I may earn a small commission at no extra cost to you.
A few favorites featured in the ideas above:




2. Pick One Theme Sentence and a Tight Color Palette
One sentence and four colors will make every later decision for you.
Before I touch the tree I write one theme sentence. Mine this year is deep green, burgundy velvet, warm brass and cream, calm and a little old world. That sentence is a filter, not a poem. When I hold something in a store, the sentence answers. If the color is not in it, the piece stays on the shelf.
My tight palette is burgundy, brass, cream and oatmeal, with deep green underneath doing the quiet work. Four colors plus the green is plenty. No bright red beside the burgundy, because the two reds argue. No icy blue, no silver that leans cold. If you want a softer version, the approach in my notes on minimalist Christmas decorating with less works beautifully with camel and olive swapped in. The colors matter less than the discipline.
3. Set a Budget and a Room Priority List
A budget written down before the bins open is the kindest gift you give January.
I name a real number for the whole season and I write it at the top of the checklist. Then I list the rooms in the order they matter to our family. Living room first, because that is where December actually happens. Entry next, because it greets everyone. Dining table third. Kitchen, guest room and bathroom after that, with smaller touches and smaller spending. The porch gets what is left, and it always turns out to be enough.
The budget changes my behavior in the best way. I repair before I replace. If money is tight this year, please hear this from me. A short list done calmly beats a long list done in a panic.

4. Print the Checklist and Work Room by Room, Not Task by Task
Print this page, carry it room to room, and finish one space before you start the next.
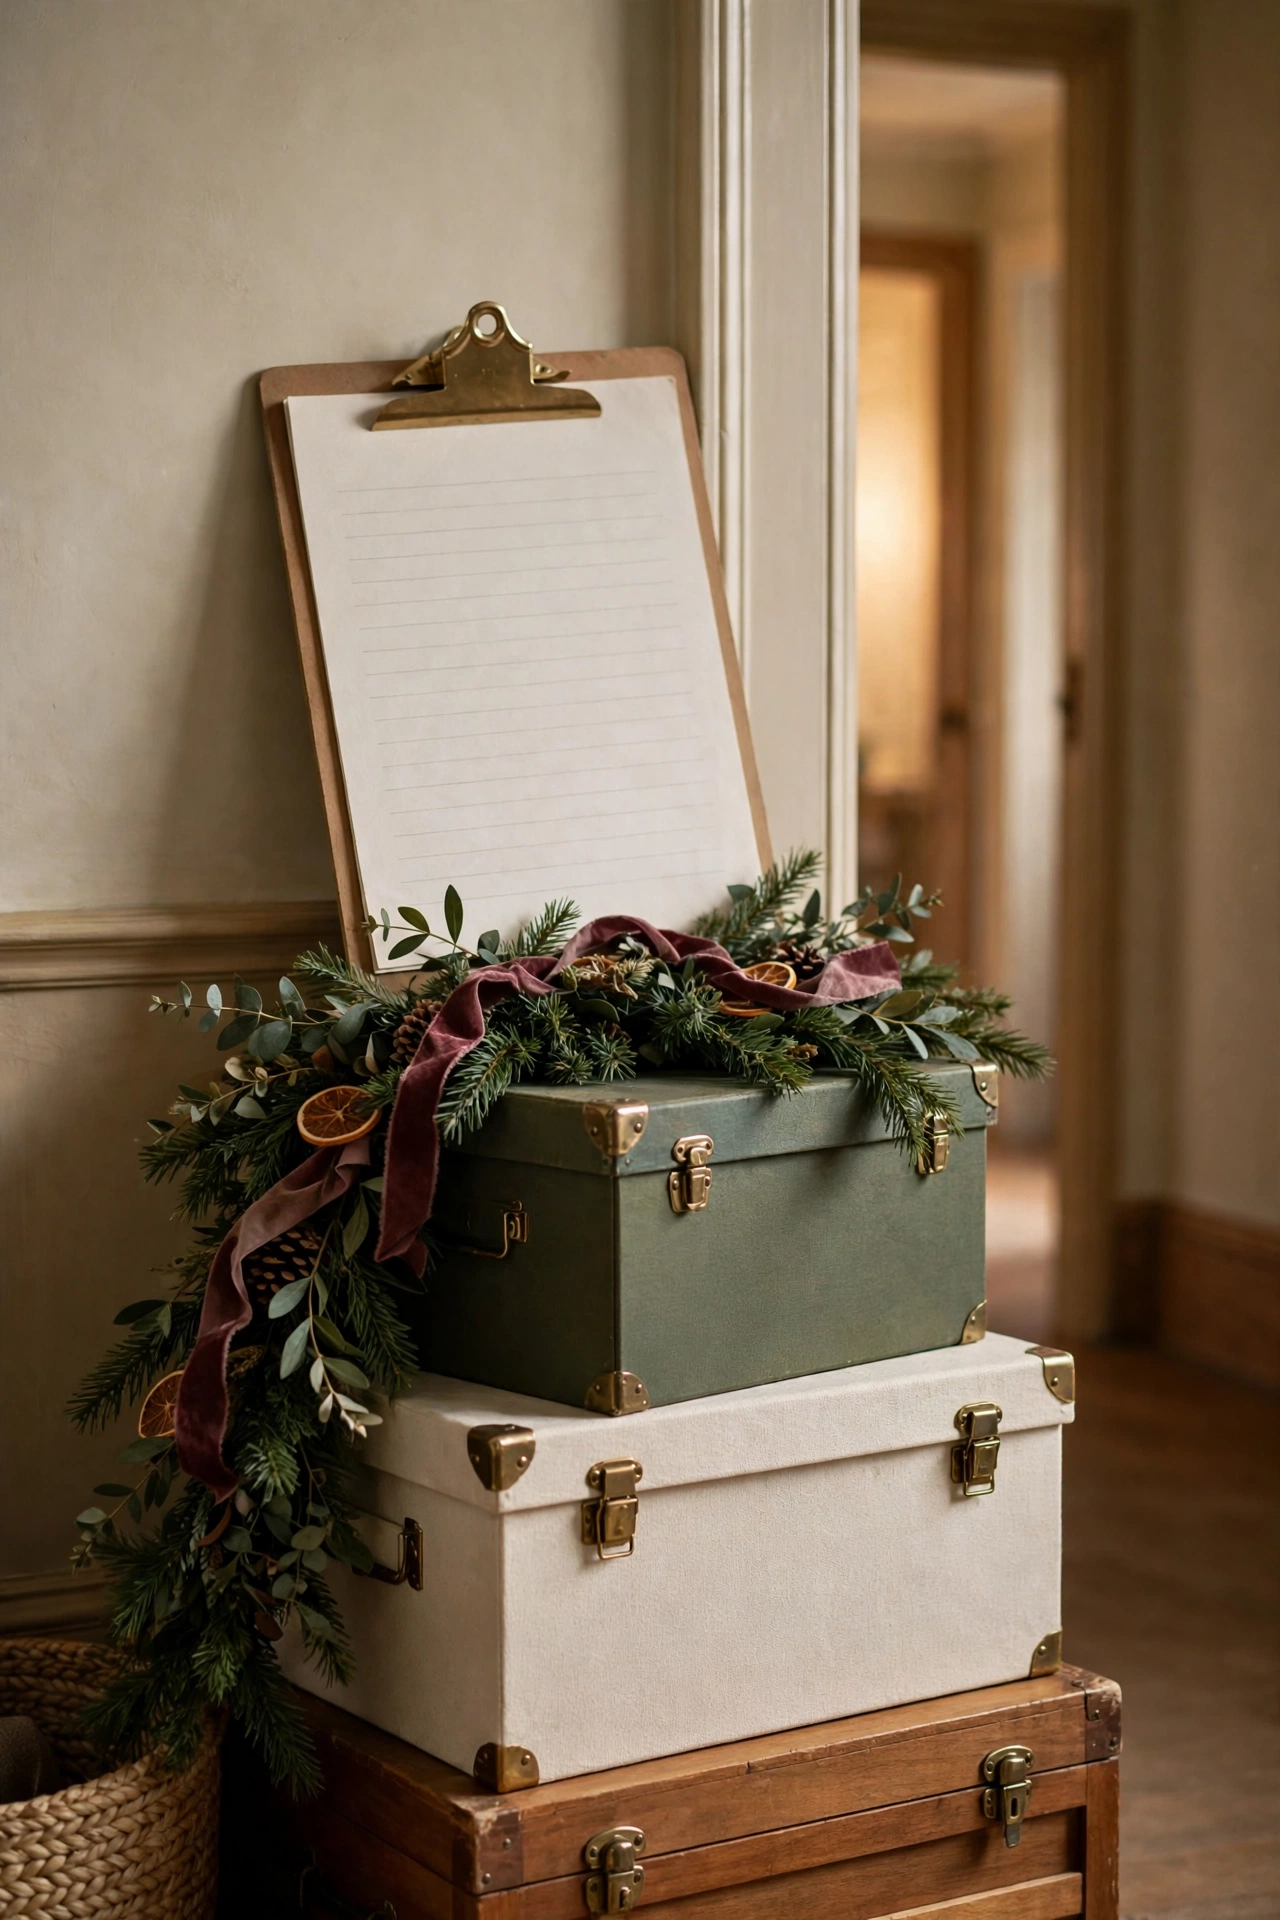
Here is the heart of the whole system. This checklist is written as a one page, room by room list you can print or save on your phone. Tree and lights first. Then the living room layers. Then the table and kitchen. Then the small welcome rooms. Outside near the end. One evening walkthrough to finish. When you work in that order, every room you complete stays complete.
The task by task way was my old way, and it scattered me. All the ribbon in one day, across five rooms. All the candles in another. Room by room is slower on paper and faster in real life. Tick each step off with a pen. That small tick is doing real work.
Tree and Lights First, Always
The tree is the biggest decorated object in the house, so it goes up first and it sets the terms for everything else. Lights tested before anything. Tree fluffed before lights. Ribbon before ornaments. Ornaments in size order. And a quiet, finished base at the bottom. Do these five steps slowly and the rest of the checklist honestly feels easy, because the headline of the house is already written.
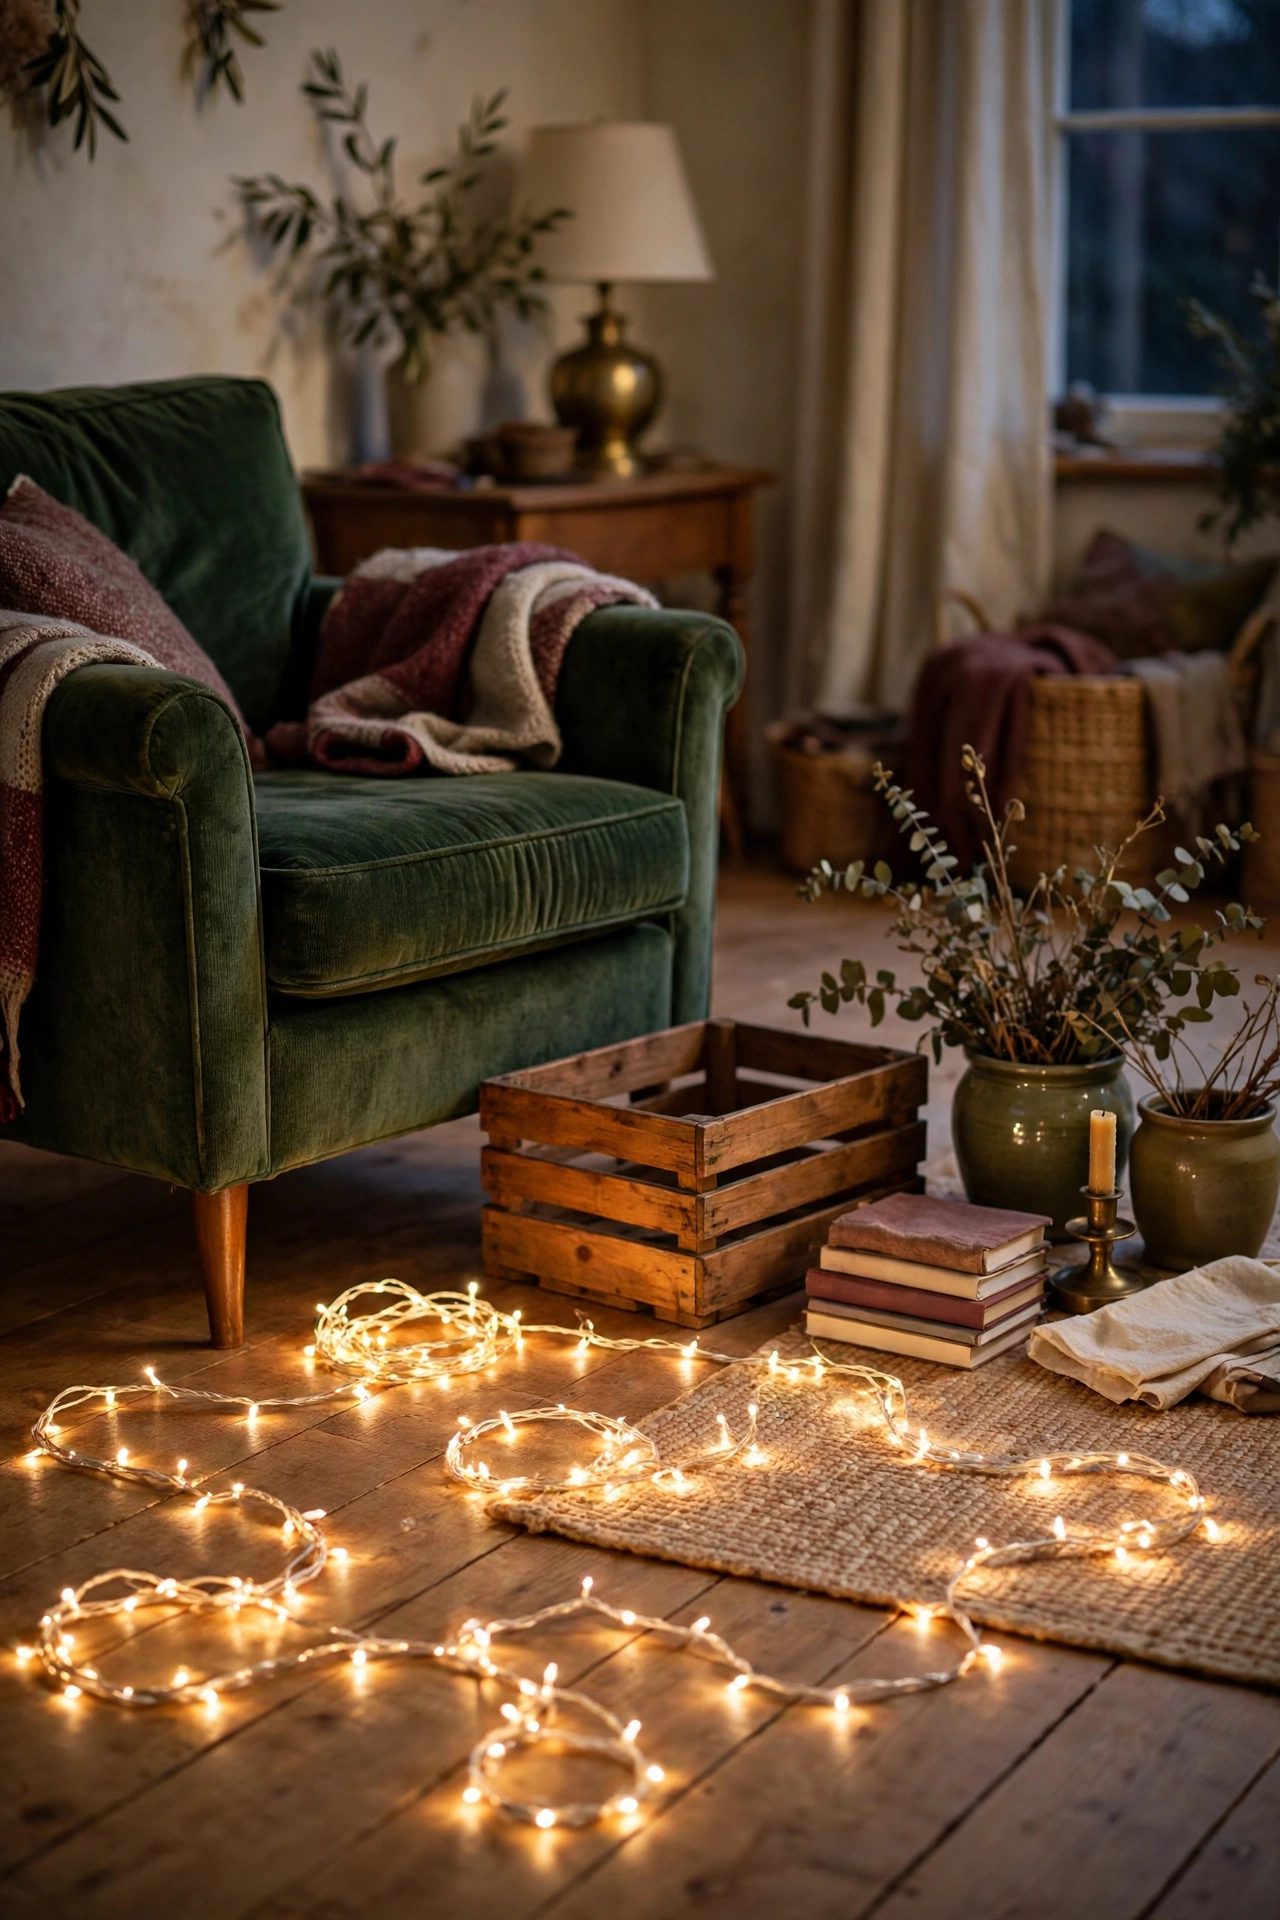
5. Test Every Light String Before Anything Goes Up
Ten minutes of testing now saves the worst evening of December later.
I plug in every single string on the floor before the tree is even in the stand. Dead sections, flickering bulbs, one strand that has drifted cooler than the rest. Strings that pass get coiled separately, warm white only, because every light in my house shares one warm tone. Mixed temperatures are the fastest way to make a pretty room feel faintly wrong.
This step feels skippable every year, and every year I am grateful I did not skip it. A dead section discovered on a finished tree means undecorating in the dark with a ladder and a mood. Tree, mantel garland, one cluster for the table.
6. Put the Tree Up First and Fluff It Properly
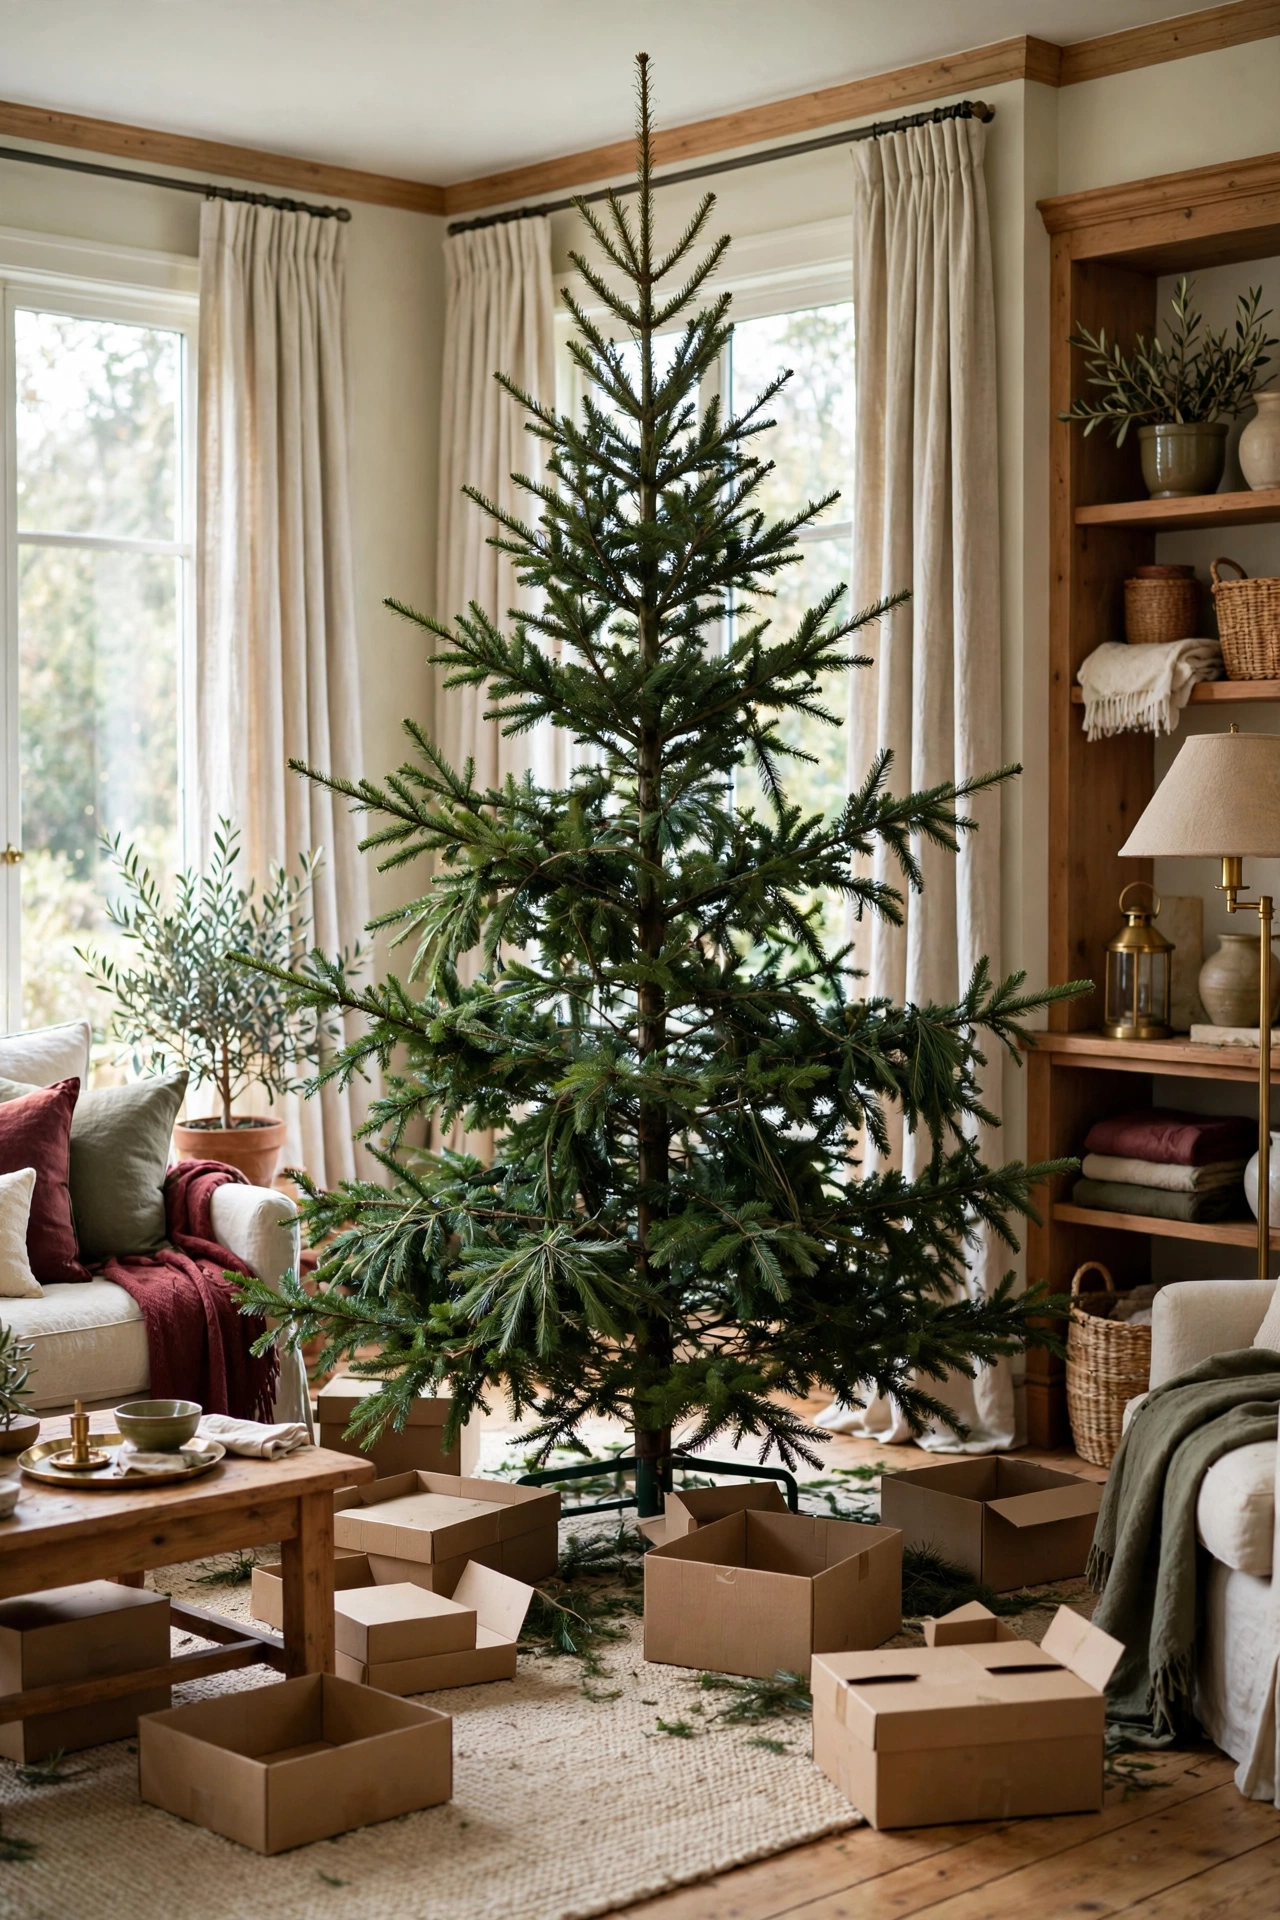
A well fluffed tree needs half the ornaments of a flat one.
The tree goes up before any other decorating, and I give the fluffing real time. Every branch gets pulled apart and shaped, tips fanned up and out, working from the inside of the tree toward the ends and from the bottom up. It takes longer than I want it to. It also does more for the final look than any ornament I own. Gaps close. The silhouette fills out. The tree starts to look like a tree instead of a storage shape.
Stand across the room every few minutes and squint. The flat spots show themselves from a distance, never from up close where your hands are. If your tree is real, this step is a good watering and a patient turn instead. Either way, resist the urge to rush to the pretty part. The pretty part only works because this part was done properly.
7. Add Ribbon and Garland to the Tree in Loose Loops
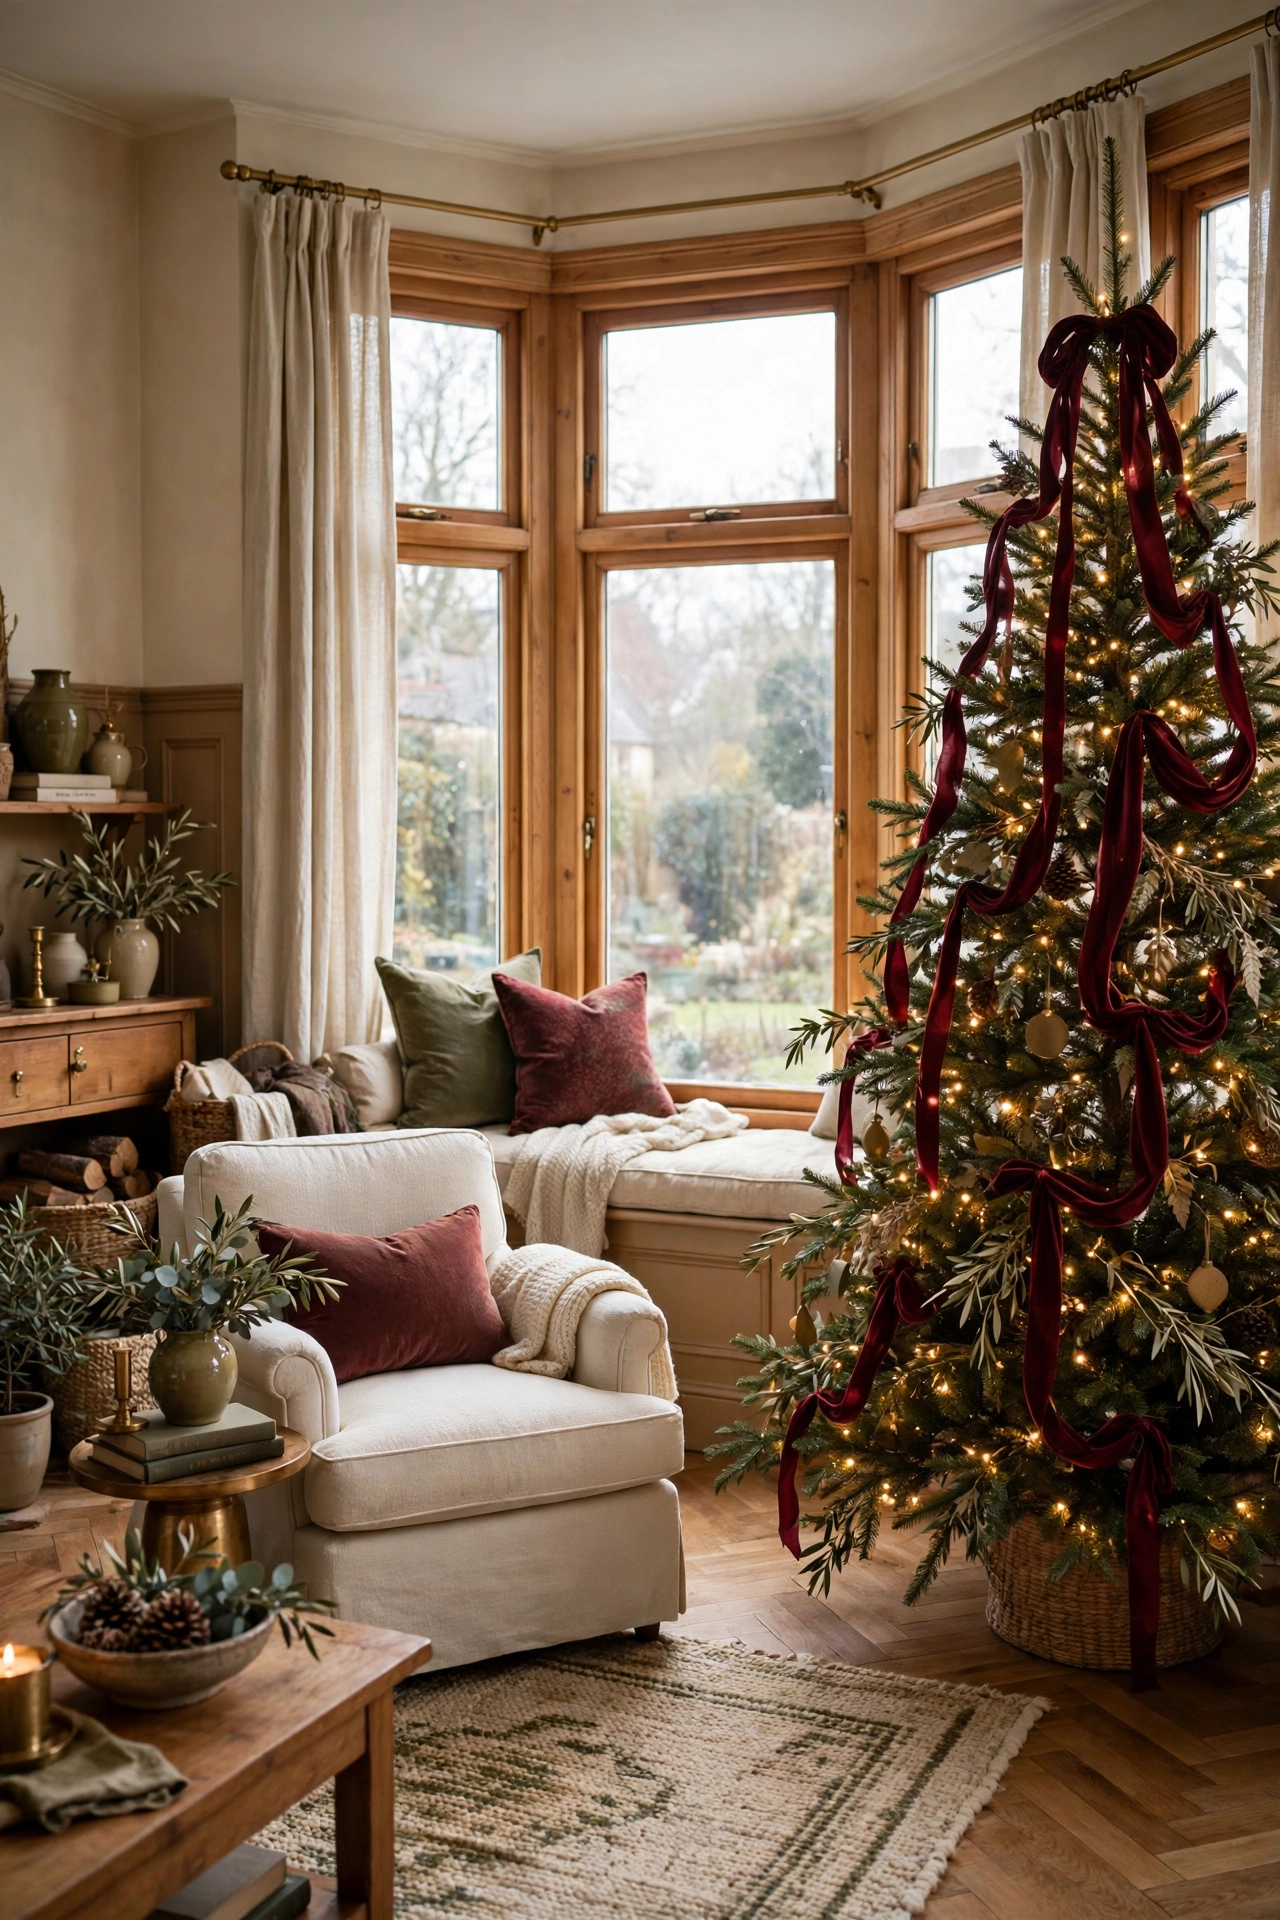
Ribbon worked in loose loops gives the tree its soft, generous movement.
Ribbon goes on after the lights and before a single ornament, and this order is not negotiable in my house. I cut my burgundy velvet ribbon into lengths of about a meter. Then I tuck each length deep into the branches and let it billow out in a loose loop before tucking it in again.
One bow is a statement. I keep the rest of the ribbon quiet so the bows can speak. If garland belongs on your tree, it follows the same rule. Loose, deep, and in the palette. A thin strand of warm brass beads can sit inside the green beautifully. What I skip is tinsel and anything that fights the velvet for shine. Texture first, sparkle second, and the tree stays calm.
8. Hang Ornaments in Three Sizes, From Deep Inside to the Surface
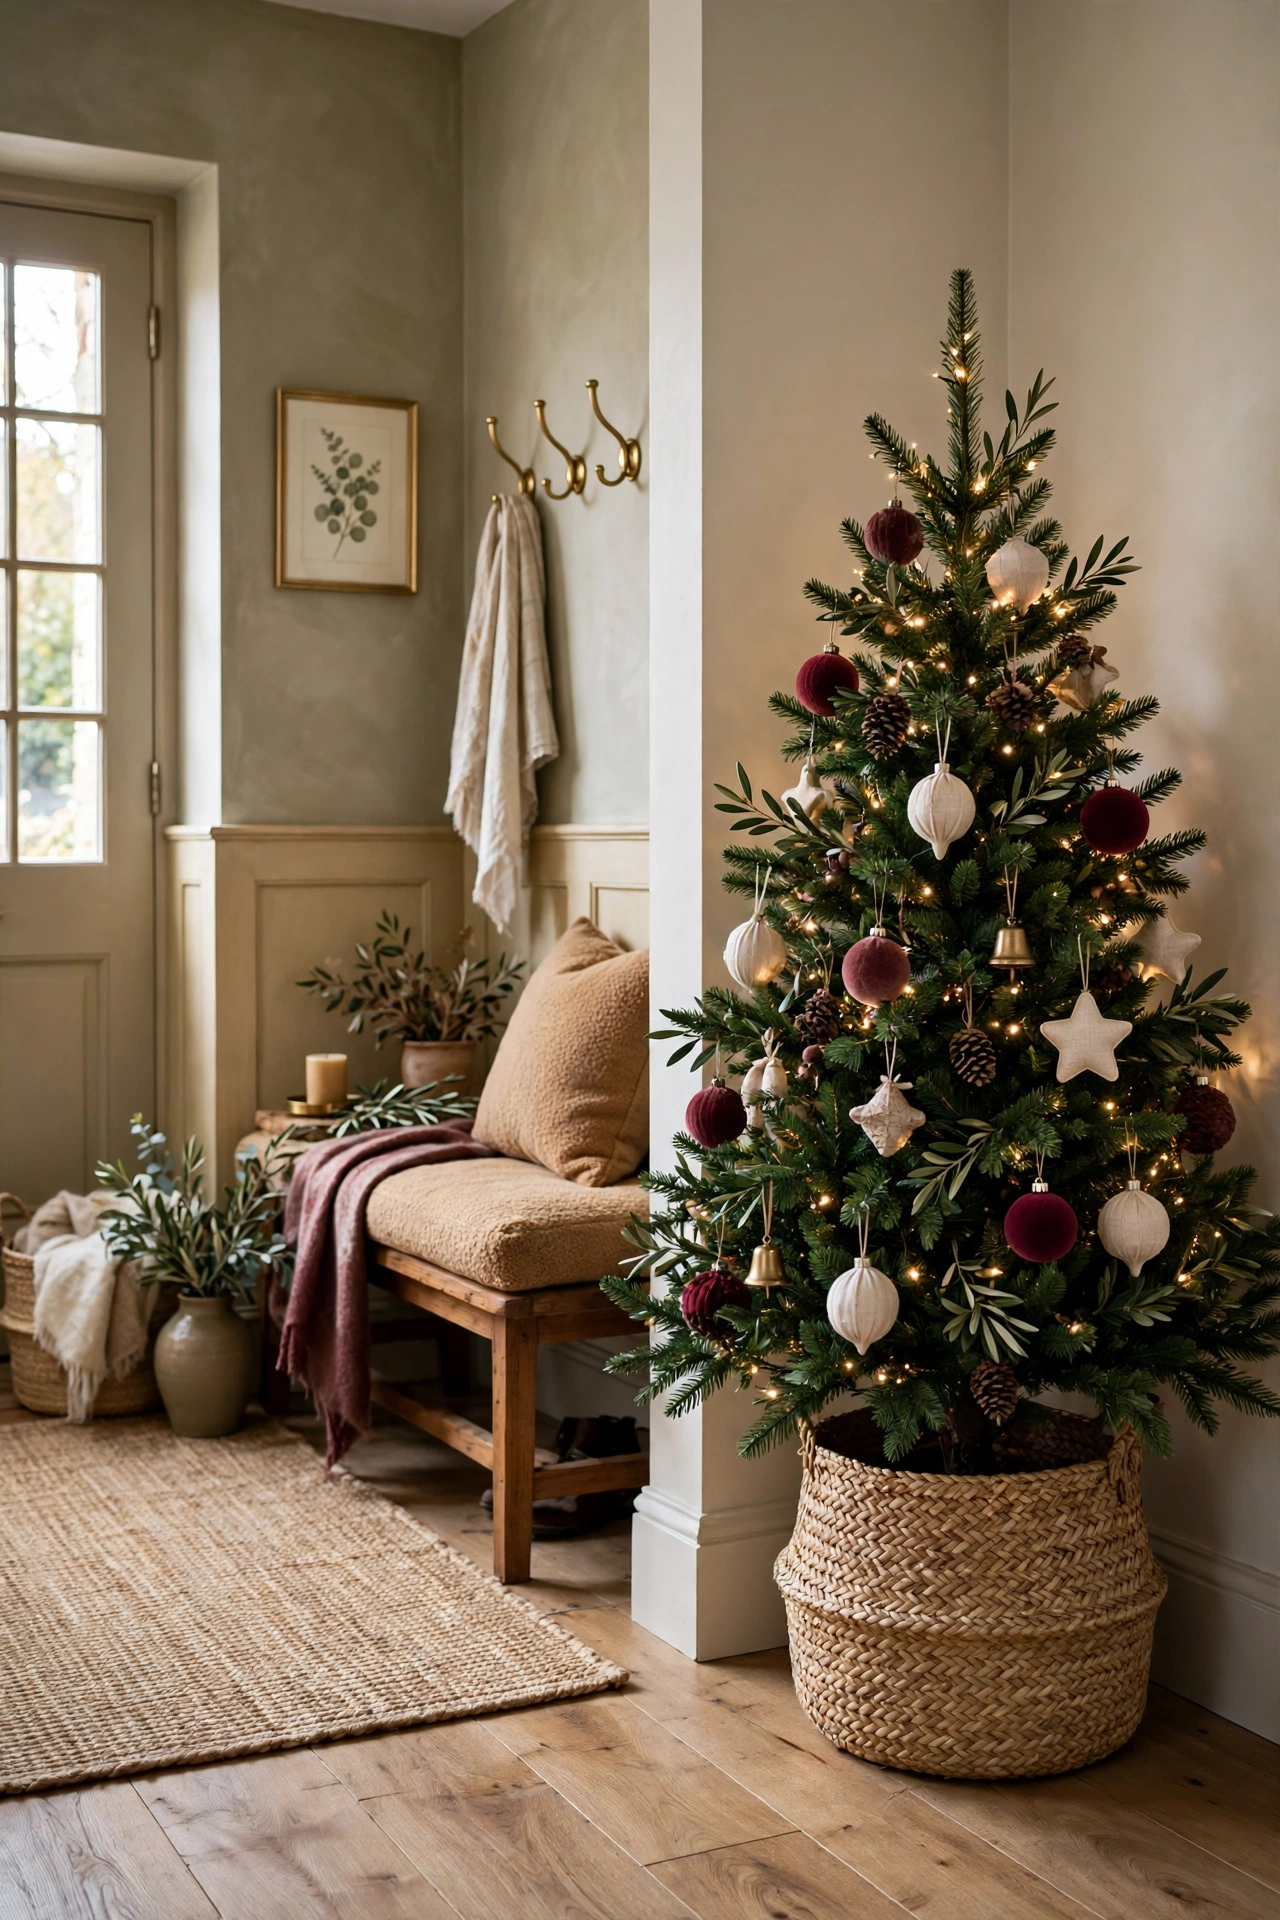
Large deep, medium in the middle, small and shining out on the tips.
Ornaments go on in size order, and the order is the whole trick. The largest pieces hang first, low and deep inside the branches, where they fill the dark gaps and give the tree its depth. Medium ornaments fill the middle layer. The smallest and prettiest go last, out on the branch tips where the warm light catches them.
Sentimental ornaments in wild colors get honored in my house, just not on this tree. They live on a small hallway tree where they are the whole point. On the main tree I also steal ideas from my favorite neutral Christmas tree ideas, because a calm base lets the burgundy and brass read as rich instead of busy. Step back often.

9. Finish the Tree With a Topper, a Collar and One Quiet Moment at the Base
The top speaks the theme one last time, and the base keeps the promise quietly.
The topper is the full stop at the end of the tree. Mine is a simple brass star with a burgundy velvet bow tied just beneath it, so the metal and the hero material both get the last word. Hold your topper up against the finished tree in daylight before you climb anything. One idea at the crown, said clearly, is always enough. A star, a bow, or a spray of branches. Never all three stacked in hope.
At the base I use a woven collar that echoes the baskets and the rug, so the tree looks like it grows out of the room. Then I add one quiet moment. A small stack of books in the palette. A basket of pinecones. Nothing that performs.
Mantel, Entry and the Living Room Layers
With the tree finished, the living room only needs to agree with it. Same greenery. Same ribbon family. Same brass. Same warm light. I build the mantel in a strict order, dress the entry so the welcome starts at the door, and then layer the soft furniture with pillows, throws and small quiet vignettes. Nothing in this section should introduce a new color. This is where the house starts to feel like one story.
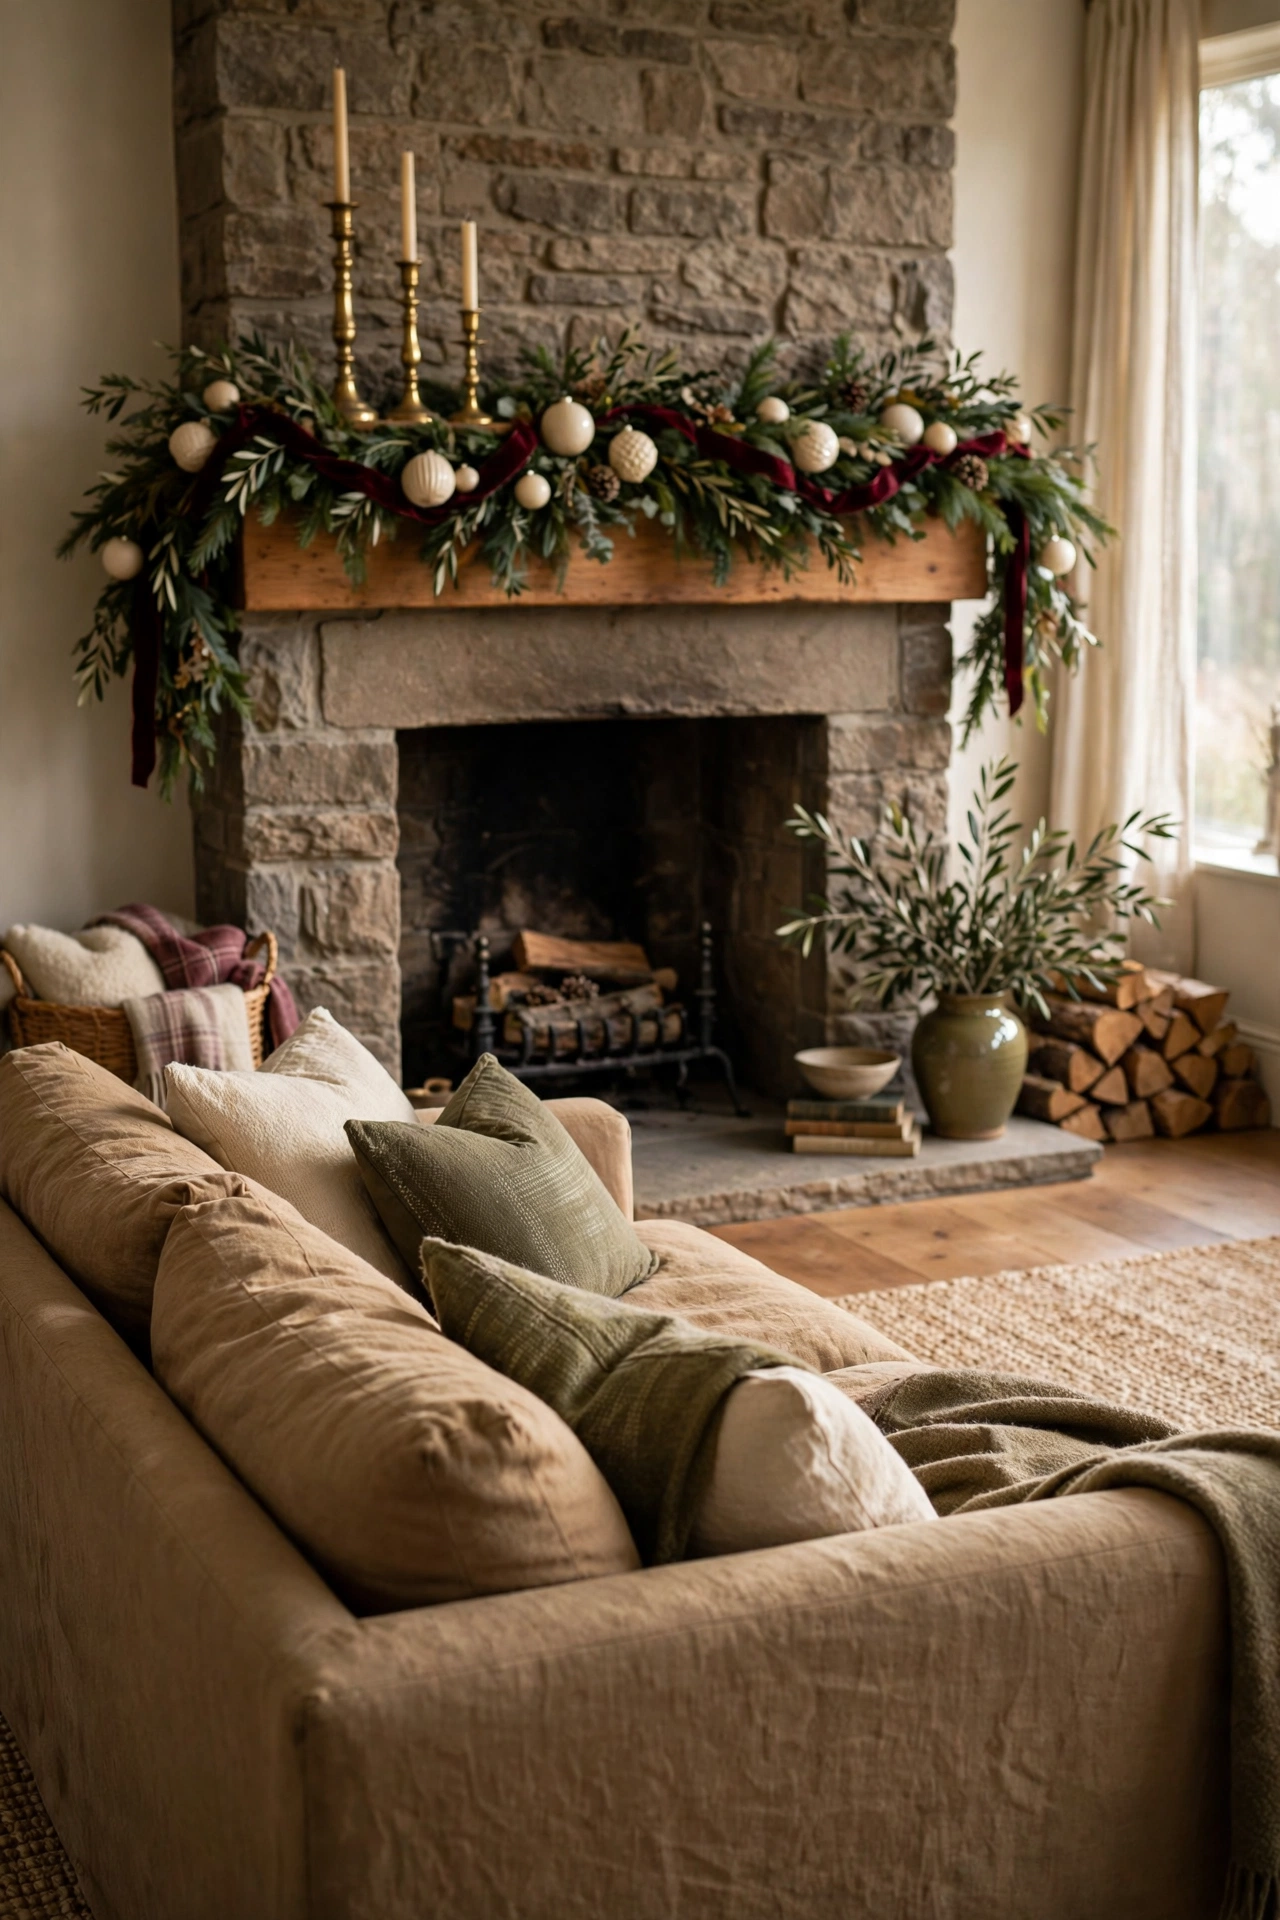
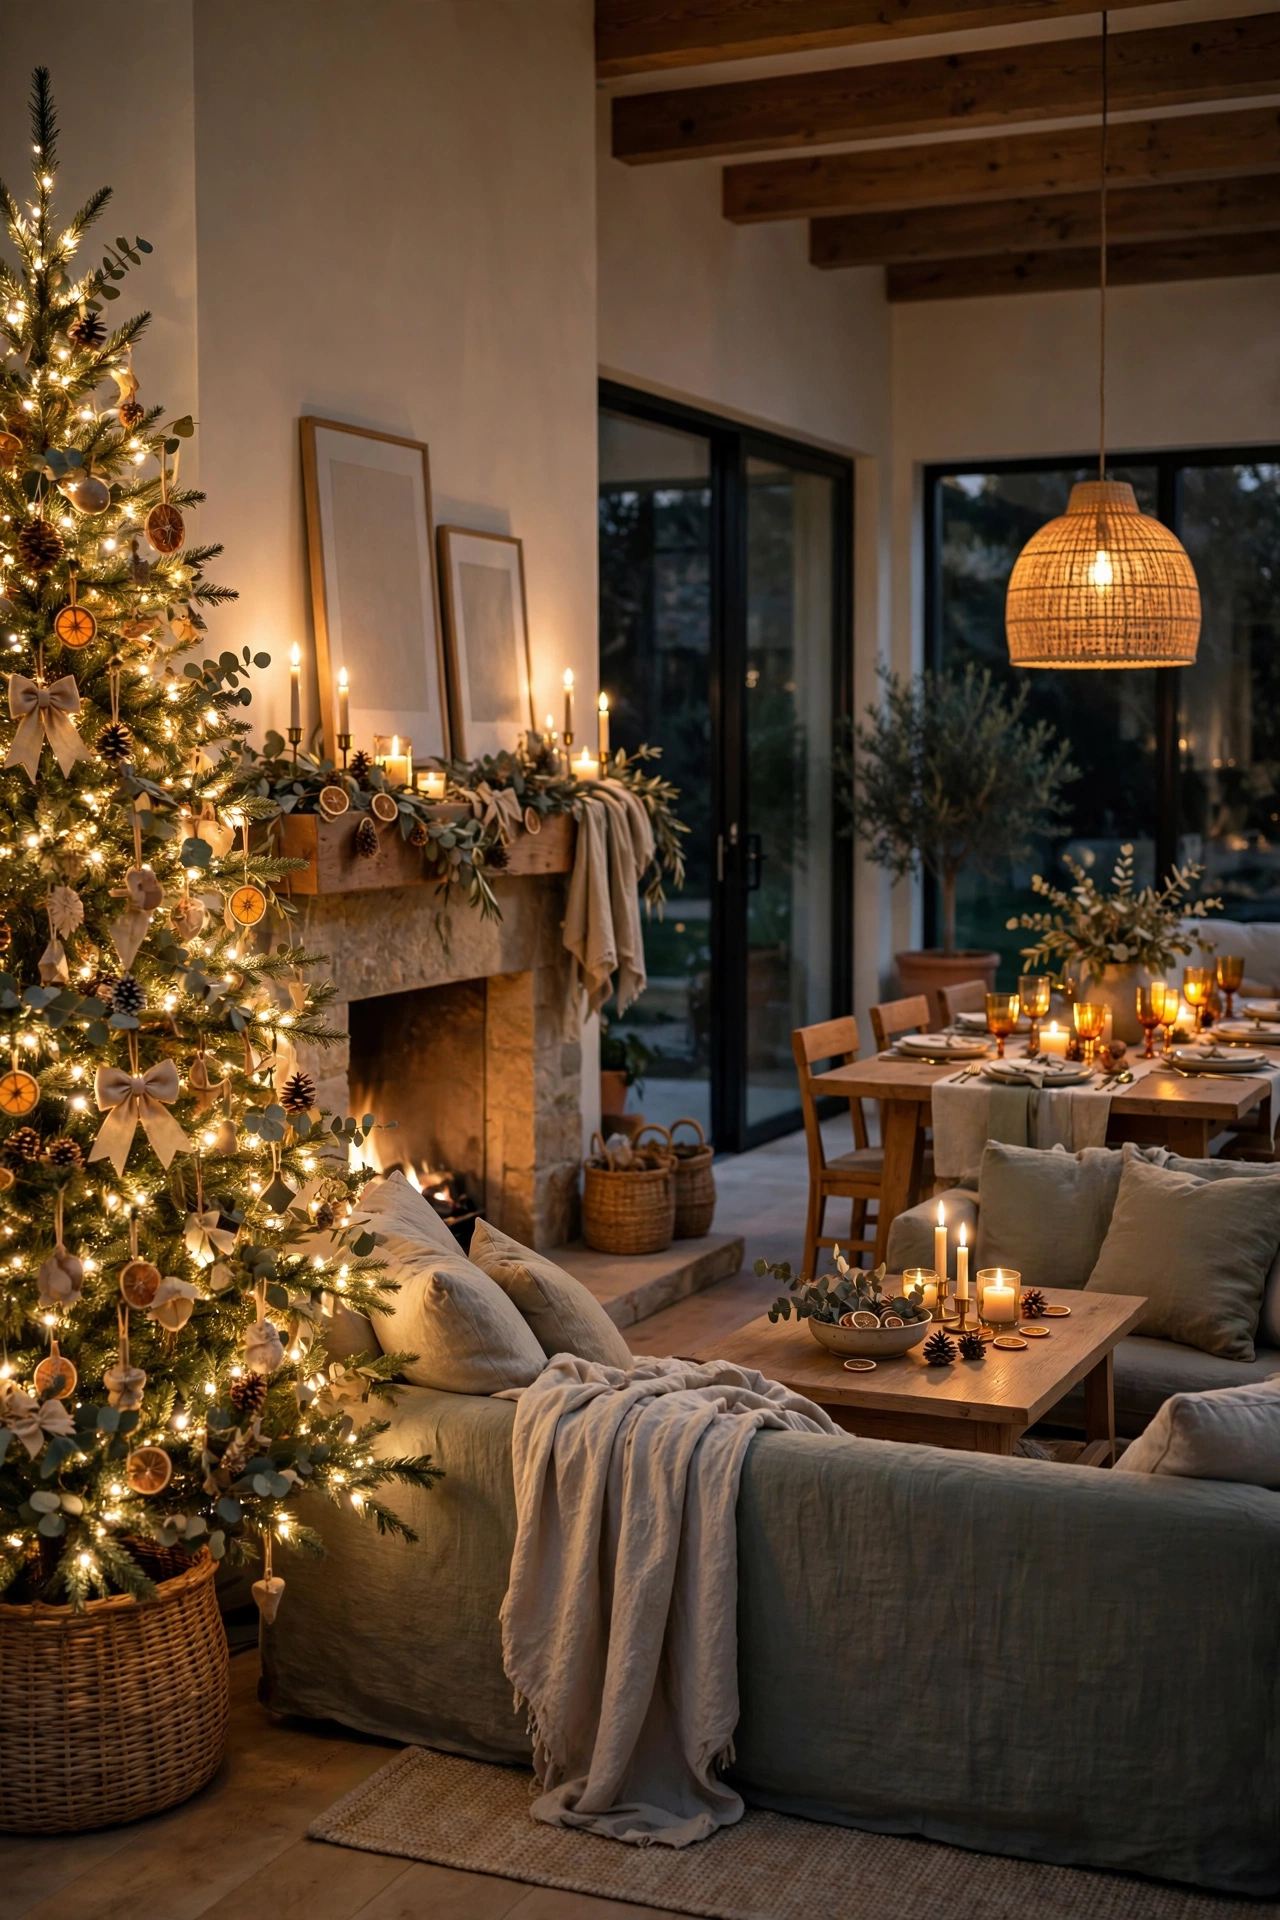
10. Build the Mantel in Order: Garland, Height, Then Glow
Garland first, height second, candlelight last, and the mantel builds itself.
I lay the garland on the floor and fluff it there, shaping the swags with my hands before it goes up. Cold, stiff garland styled in place never relaxes properly. My hanging method follows the same approach I use in my guide on how to hang Christmas garland that actually stays put, with proper hooks doing the work instead of hope and tape.
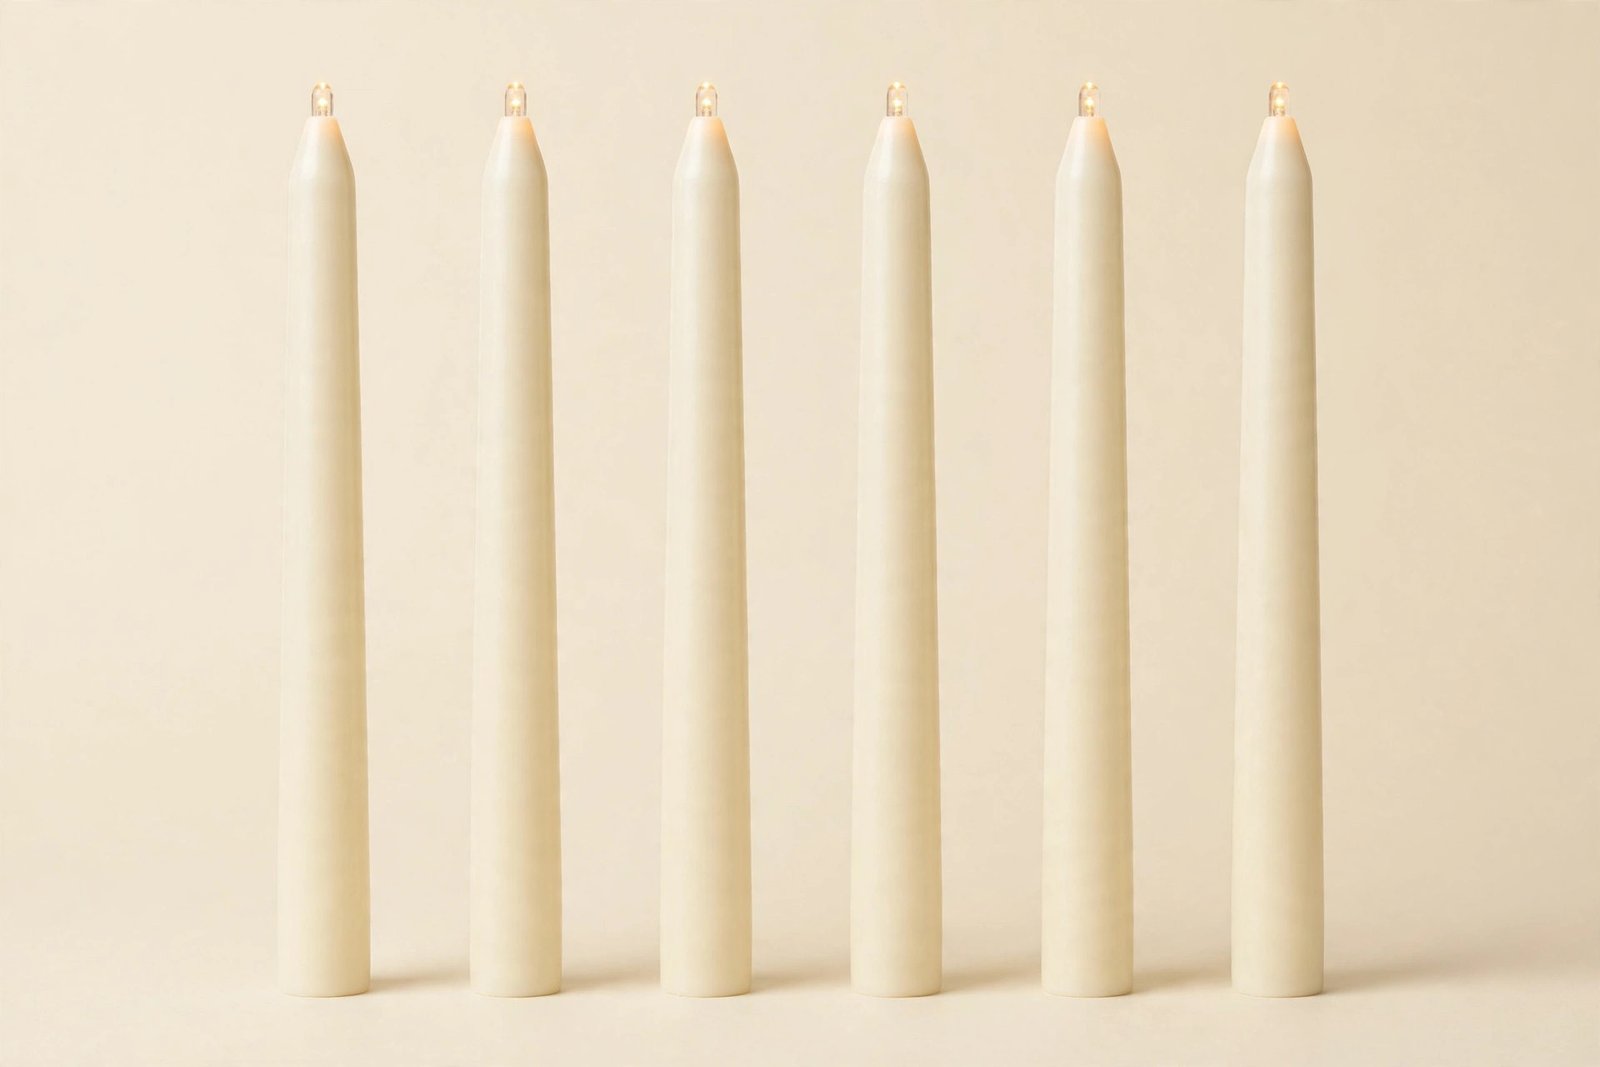
Height comes next. Brass candlesticks at varied heights, tall at the ends and shorter toward the middle. Then glow. Warm lights woven through the green, matched to the tree strand for strand, and ivory tapers in the holders. If you want more mantel variations, my Christmas mantel decor ideas show how far this same order can stretch.
11. Hang the Stockings Last, Once the Mantel Is Balanced
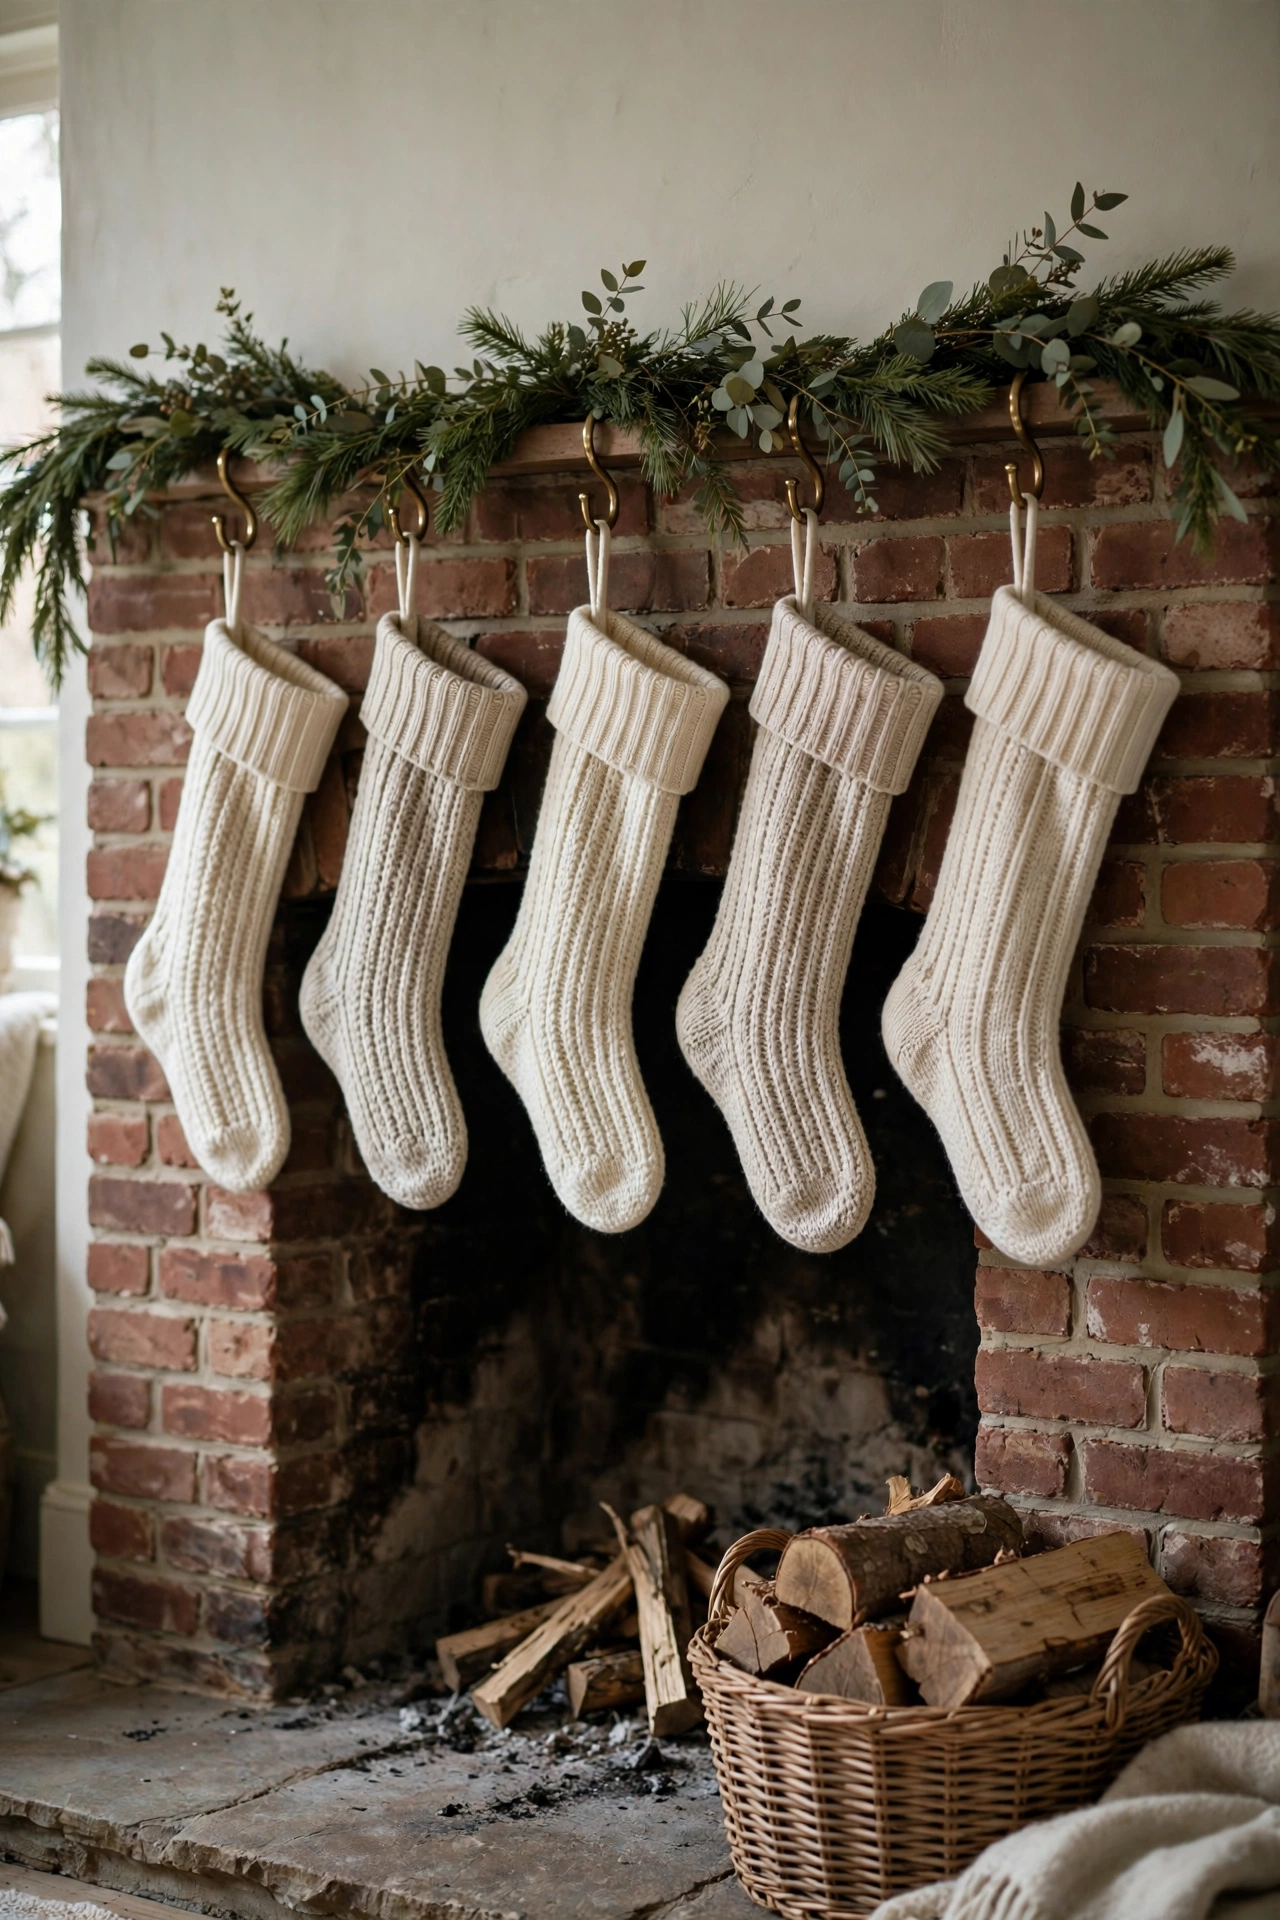
Stockings are the final word on the mantel, so they wait until the sentence is written.
It is tempting to hang the stockings first because they are beloved. I resist, and here is why. Stockings hang at exact eye level in the center of the mantel picture, which makes them some of the loudest textiles in the room. If they go up early, I spend the whole mantel step decorating around them. Mine are cream and oatmeal knit, quiet and nubby, supporting the palette while the burgundy bow above them does the performing.
A row measured to the millimeter looks tense. A row spaced by a relaxed eye looks like a family lives here. Leave them empty until close to Christmas. Filled stockings sag, the knit stretches, and the whole row pulls uneven by the second week. The mantel set can be the calm one. Both can be loved in the same house.
12. Dress the Entryway So the First Ten Steps Feel Festive
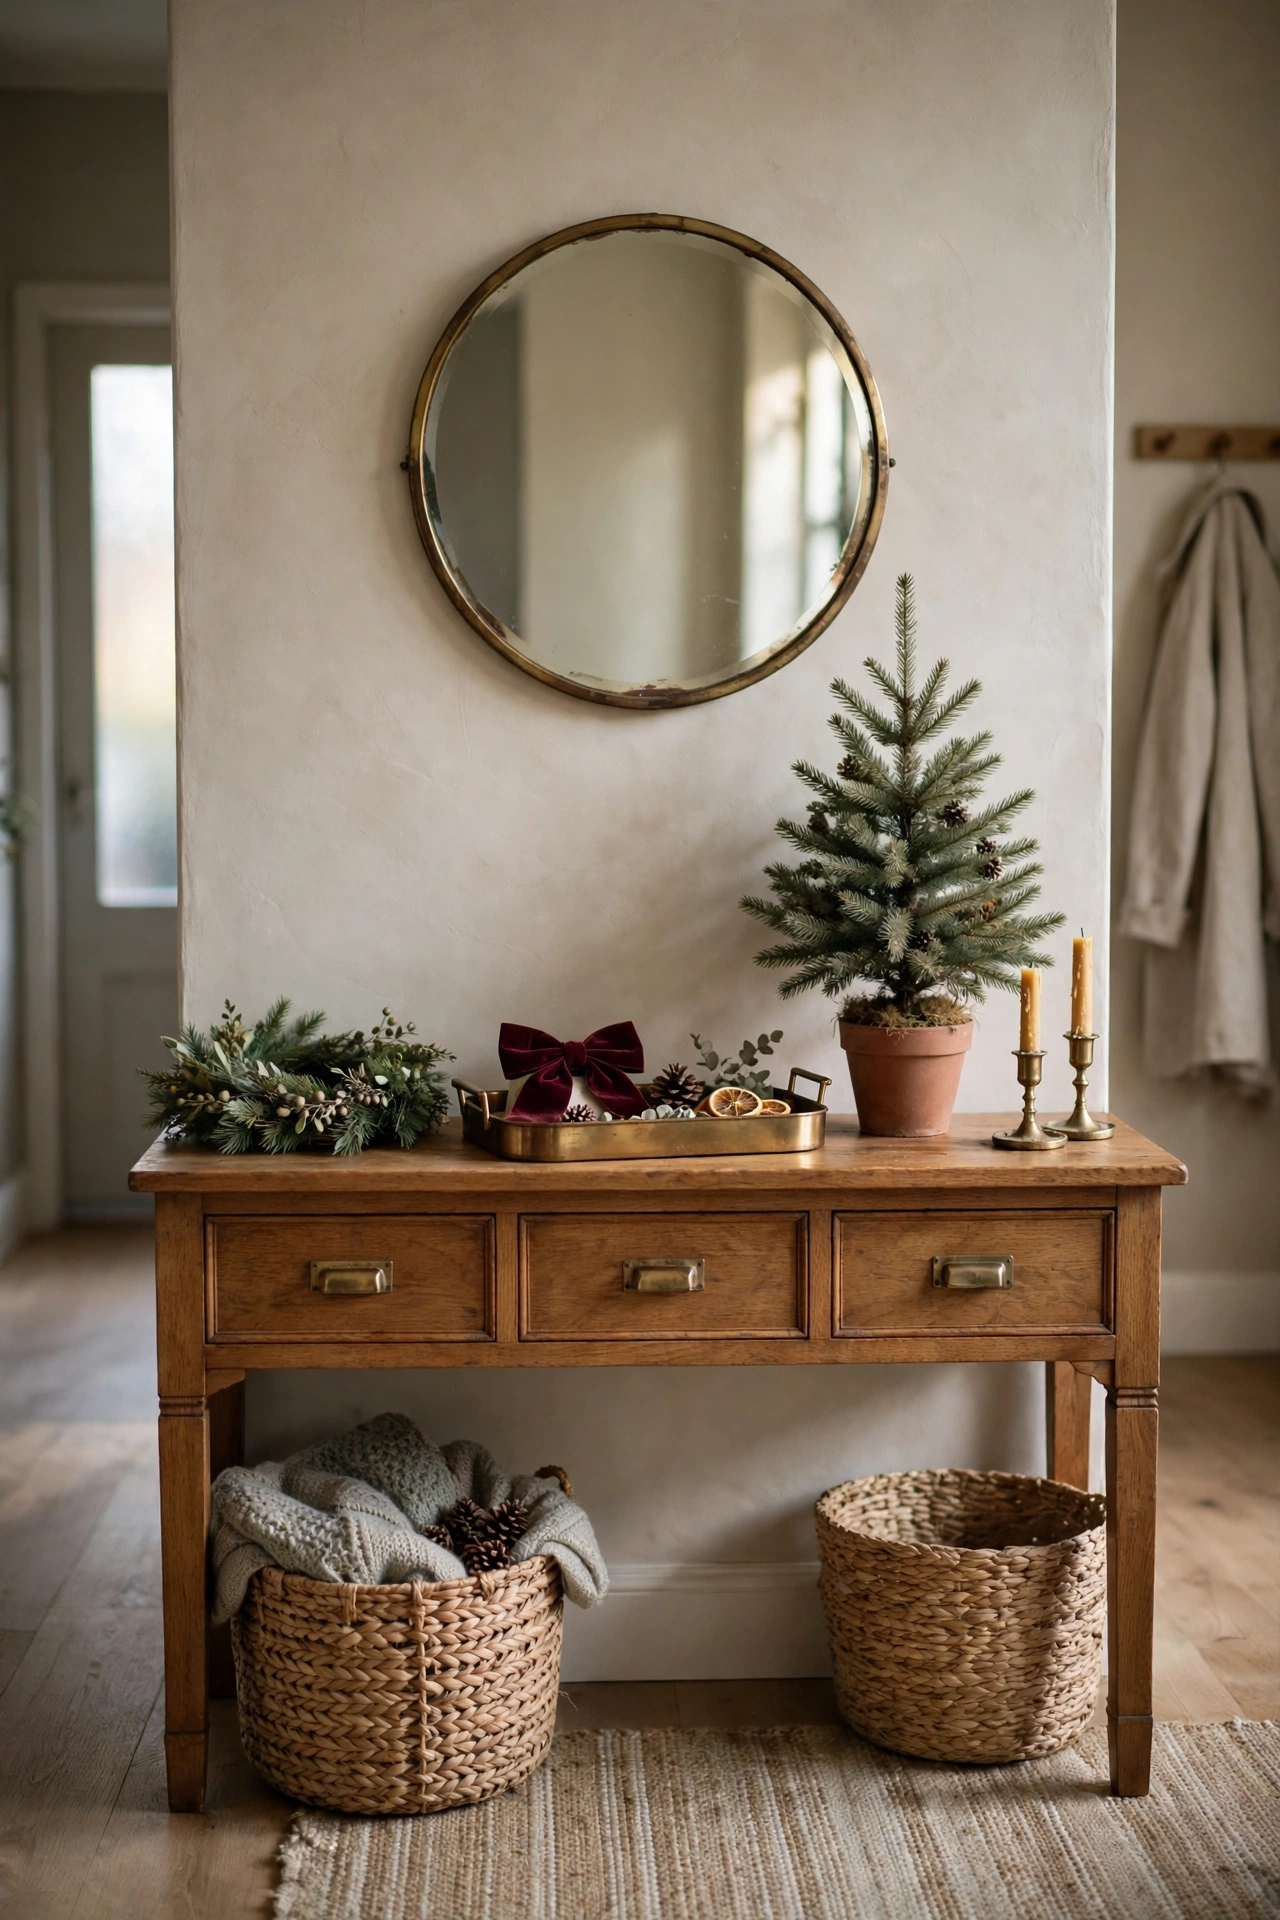
The entry has ten steps to make a promise, and the rest of the house keeps it.
I think about the entry as the first ten steps a guest takes. Coat down. Boots off. First breath of the house. A wreath on the inside of the door or above the console. A length of the same greenery along the console edge. One brass tray for keys that also holds a small ornament. A basket with a folded knit throw in cream or oatmeal.
My method here borrows from the routine I shared for how to style a Christmas entryway in an hour, because the entry should be a one hour job, not a weekend. It doubles the glow of every candle and light strand near it. Keep the floor clear. Festive never needs to mean tripping over a basket on the way in.
13. Layer the Sofa With Pillows, a Throw and One Tray
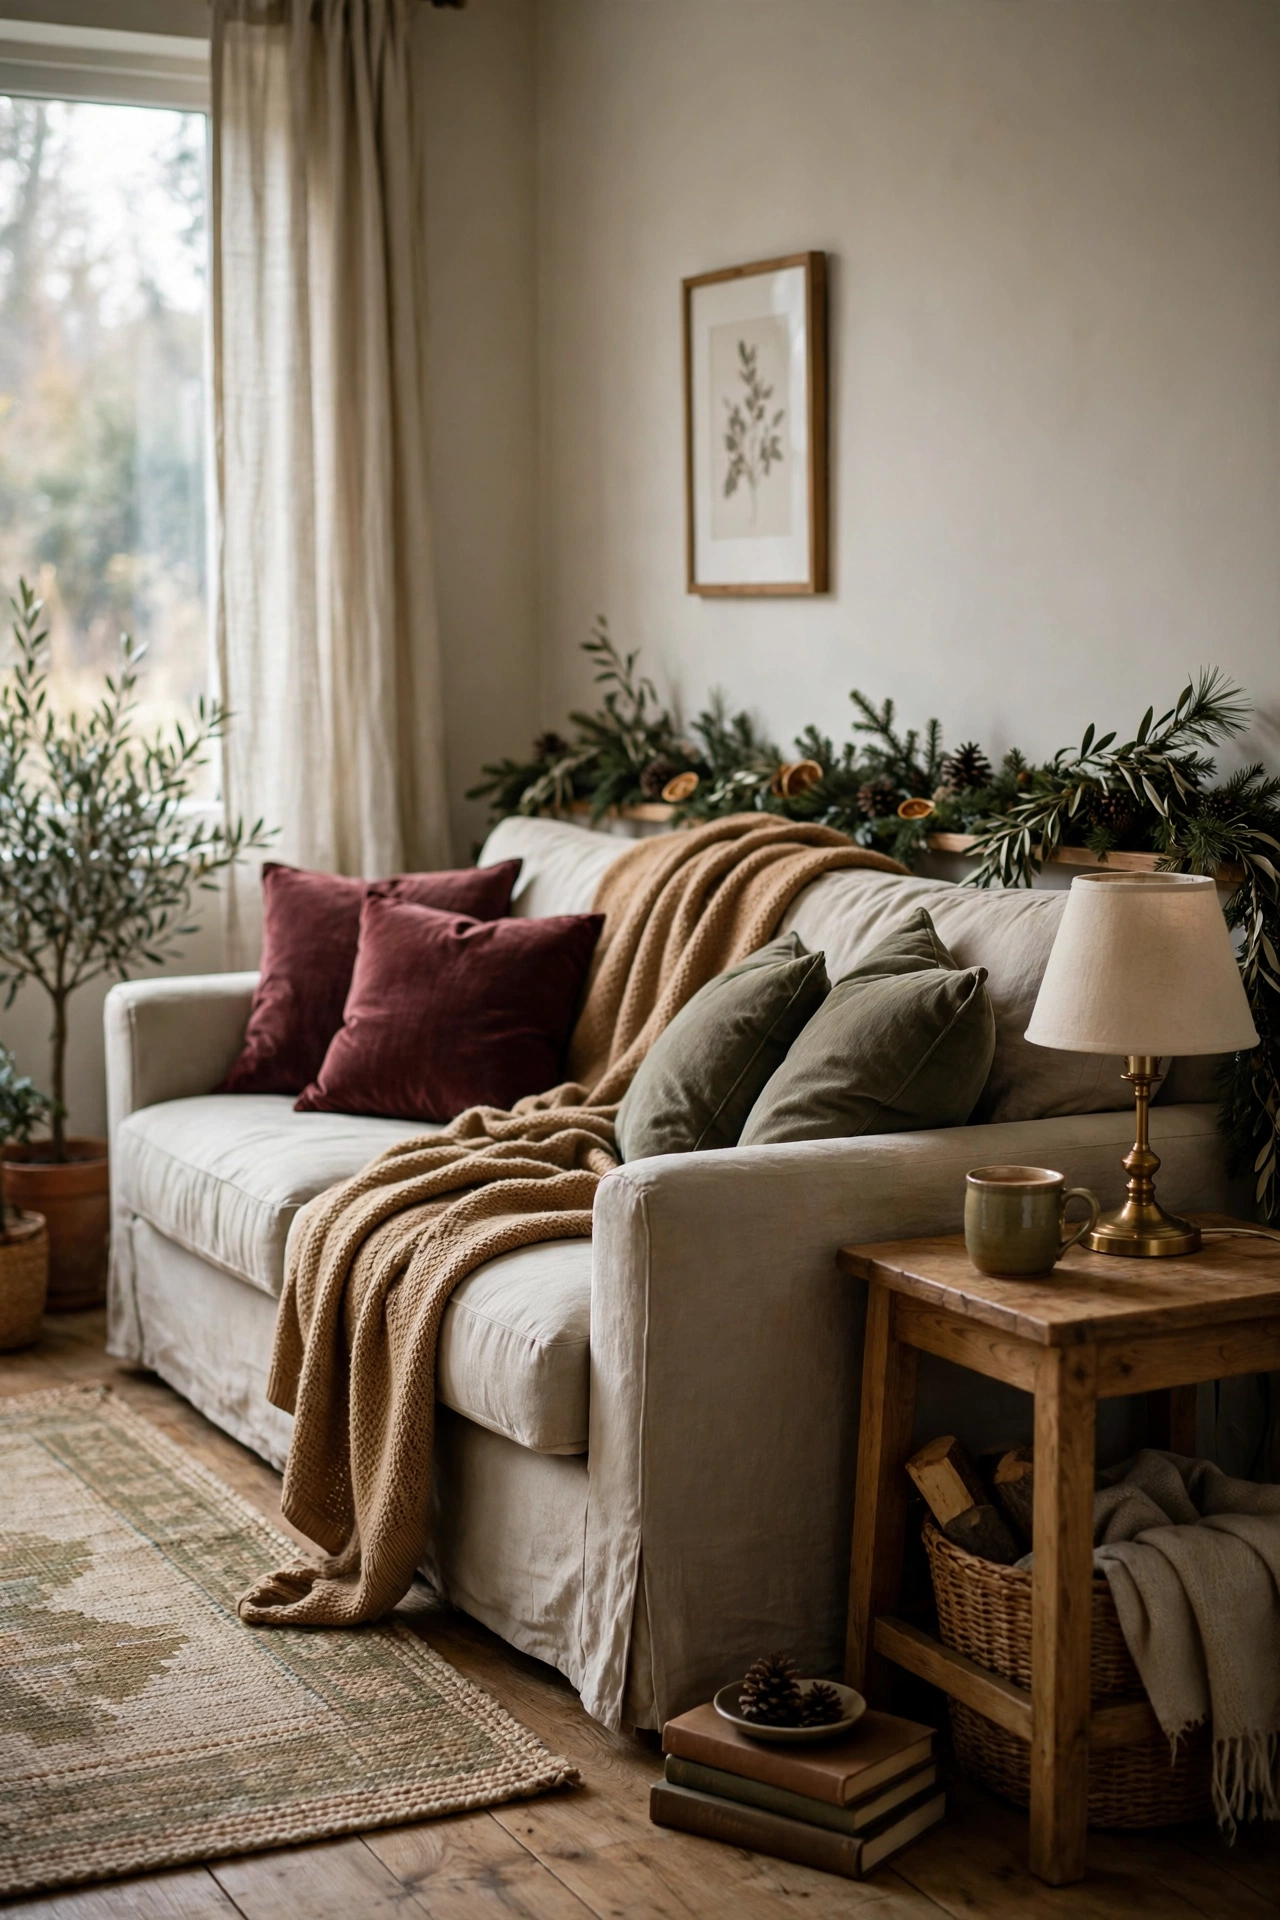
Pillows in the palette, one good throw, and a tray to hold the evening together.
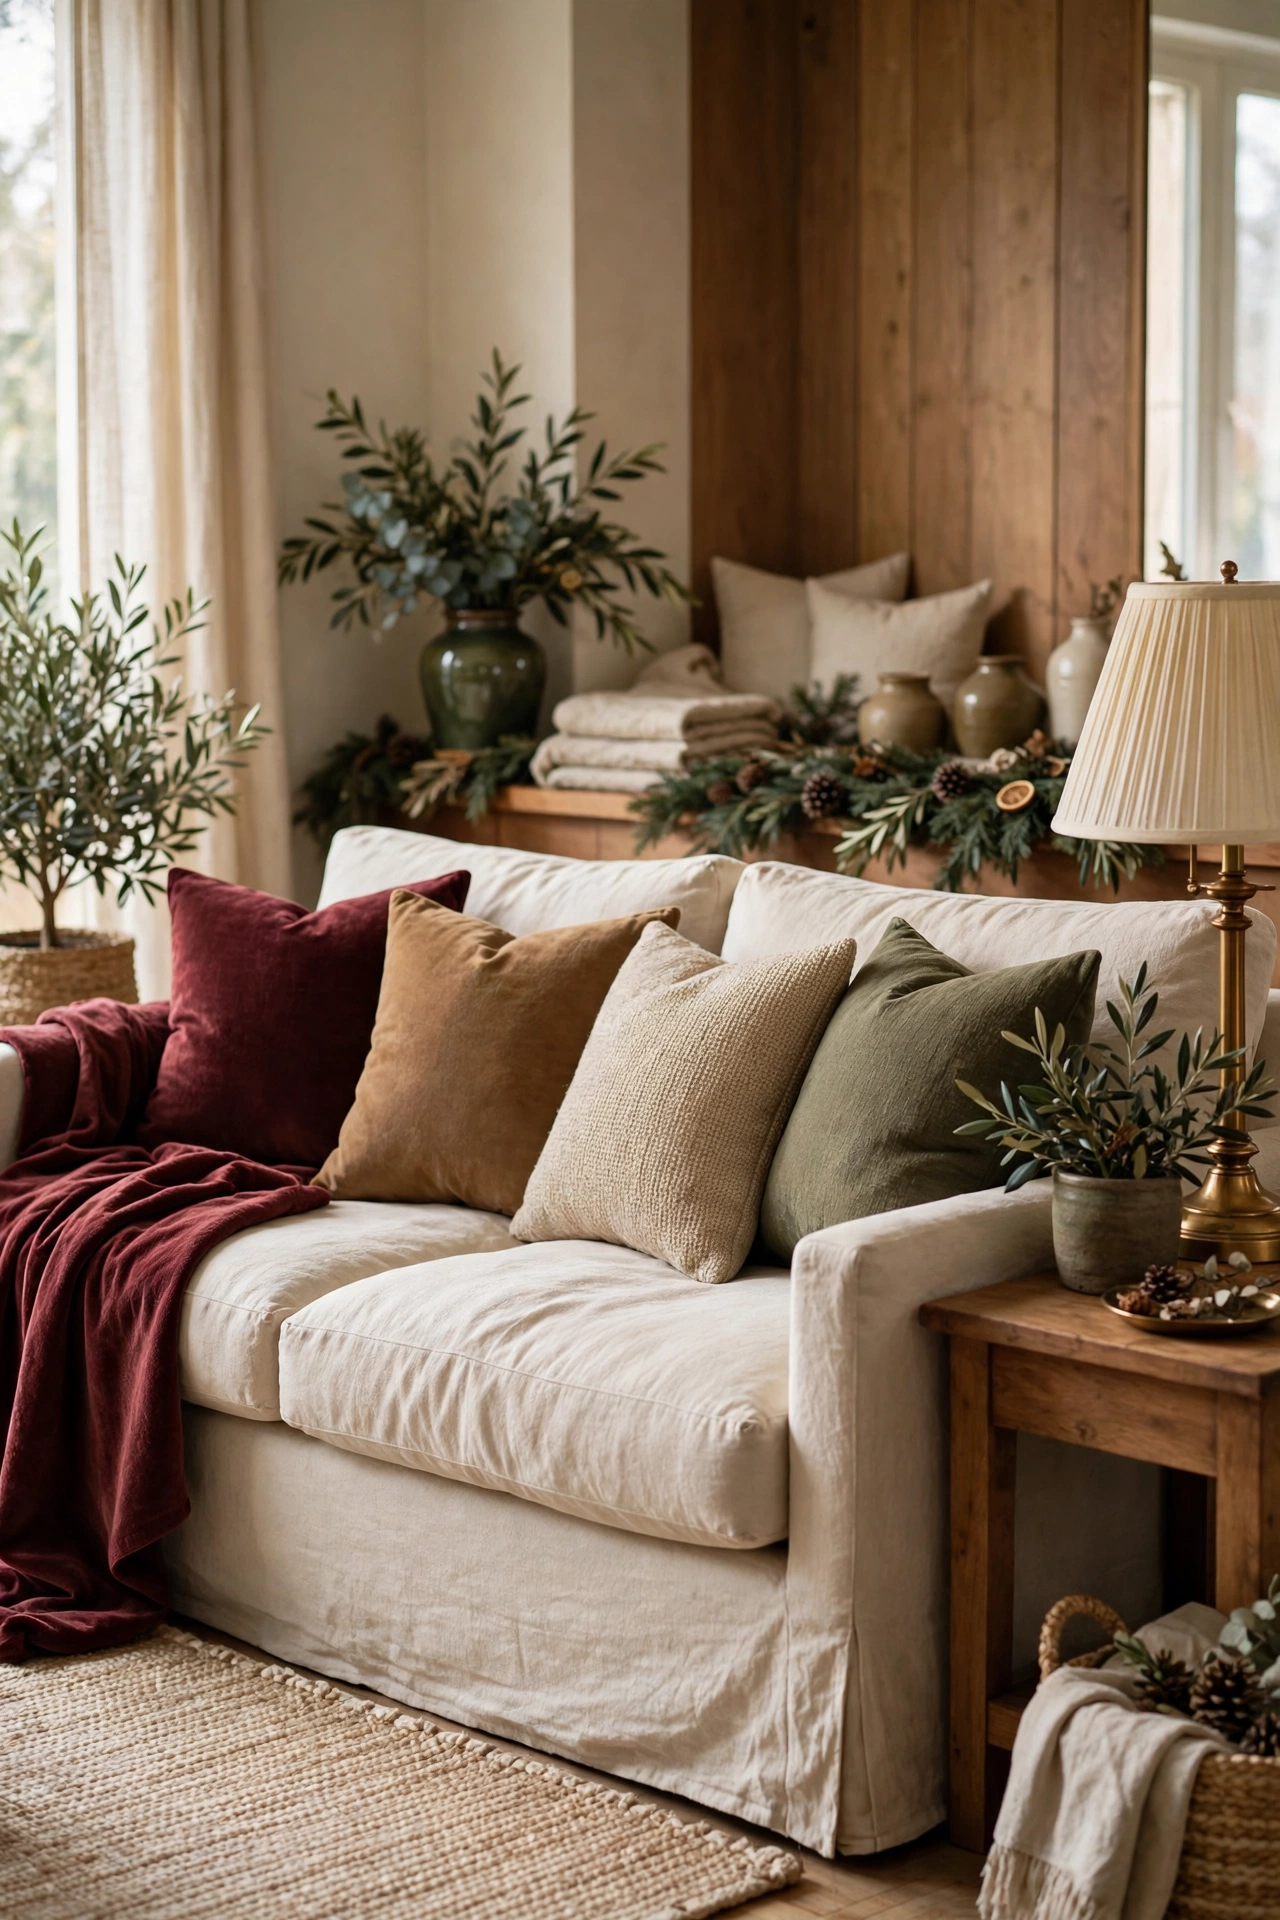
The sofa is where the room gets touched, so I layer it like I mean it. Pillows first, in the palette and in mixed textures. Velvet in burgundy. A knit in oatmeal. A plain cream linen behind them so the rich colors have somewhere calm to sit.
The tray is the step people skip, and it quietly changes everything. A candle, lit only when someone is in the room. A small bowl for the remote and the coasters. Maybe one tiny sprig of green. On a tray they read as a vignette. The sofa rarely needs a new thing. It needs its things gathered, layered, and lit.
14. Style Coffee Tables and Shelves as Small, Quiet Vignettes
Three things, at three heights, with room to breathe around them.
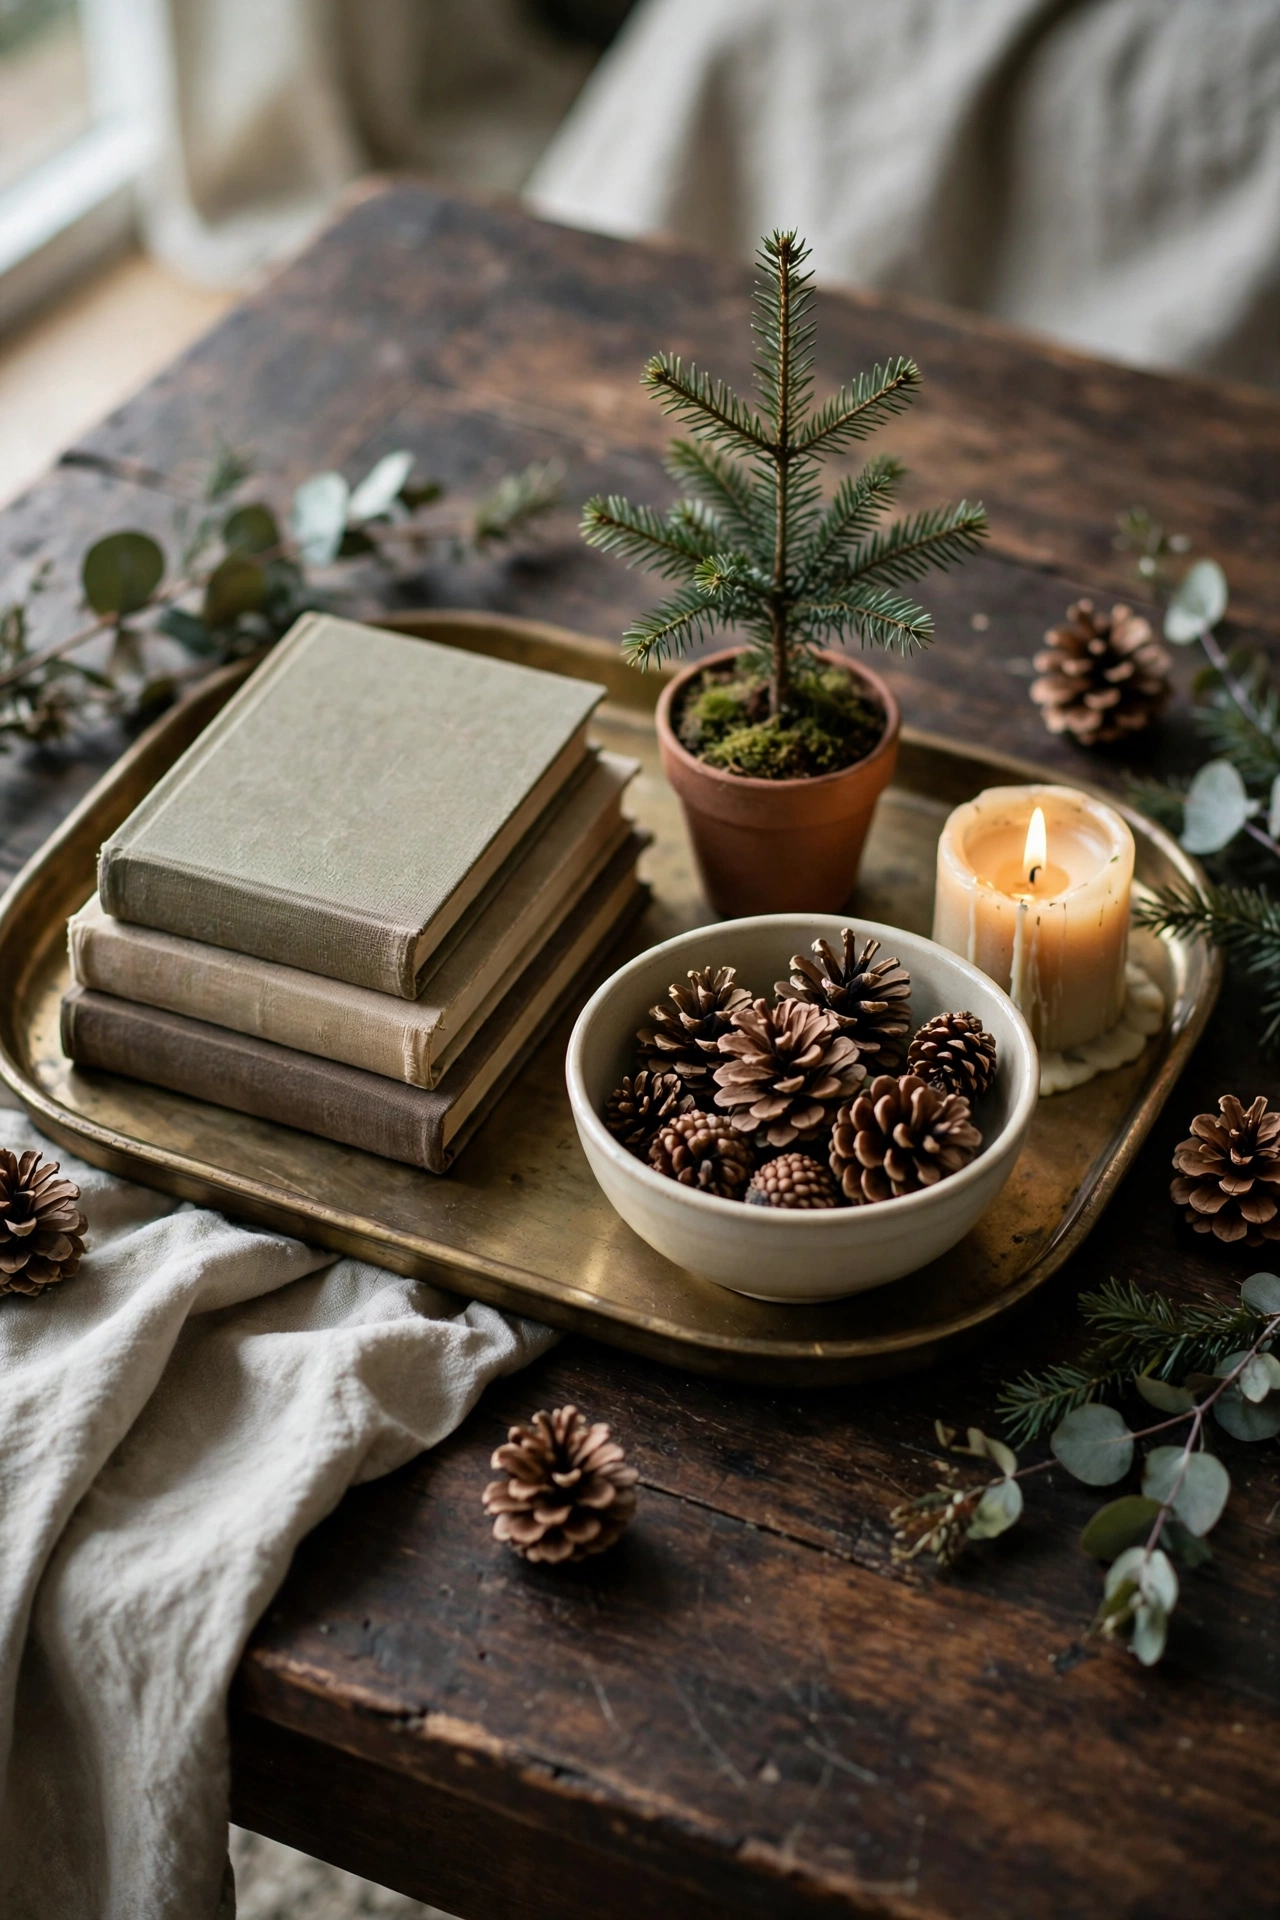
Tabletops and shelves are where Christmas clutter is born, so I style them with a strict little formula. A vignette is three pieces at three heights with empty space around them. A short stack of books in cloth tones. One small green or brass touch on top. Then I step back and I remove one thing I was about to add. That removal is the step.
Shelves ask for even more restraint. I swap only a few everyday pieces for seasonal ones, in the palette, and I leave whole stretches of shelf exactly as they are all year. If you collect a village, give it one dedicated surface with its own little landscape and light, and let it be the joyful exception. Every other surface stays quiet.
Table, Kitchen and the Welcome Details
Now the checklist moves to the rooms where people eat, cook and stay over. I set the dining table far earlier than feels sensible, and it rewards me every time. I touch the kitchen lightly so it can still do its job. And I carry the same colors into the guest room and bathroom in small ways, because a guest who finds the theme in the bathroom believes the whole house was decorated with love.
15. Set the Dining Table Early, Even If Dinner Is Weeks Away
An early set table is not showing off. It is one big job already done.
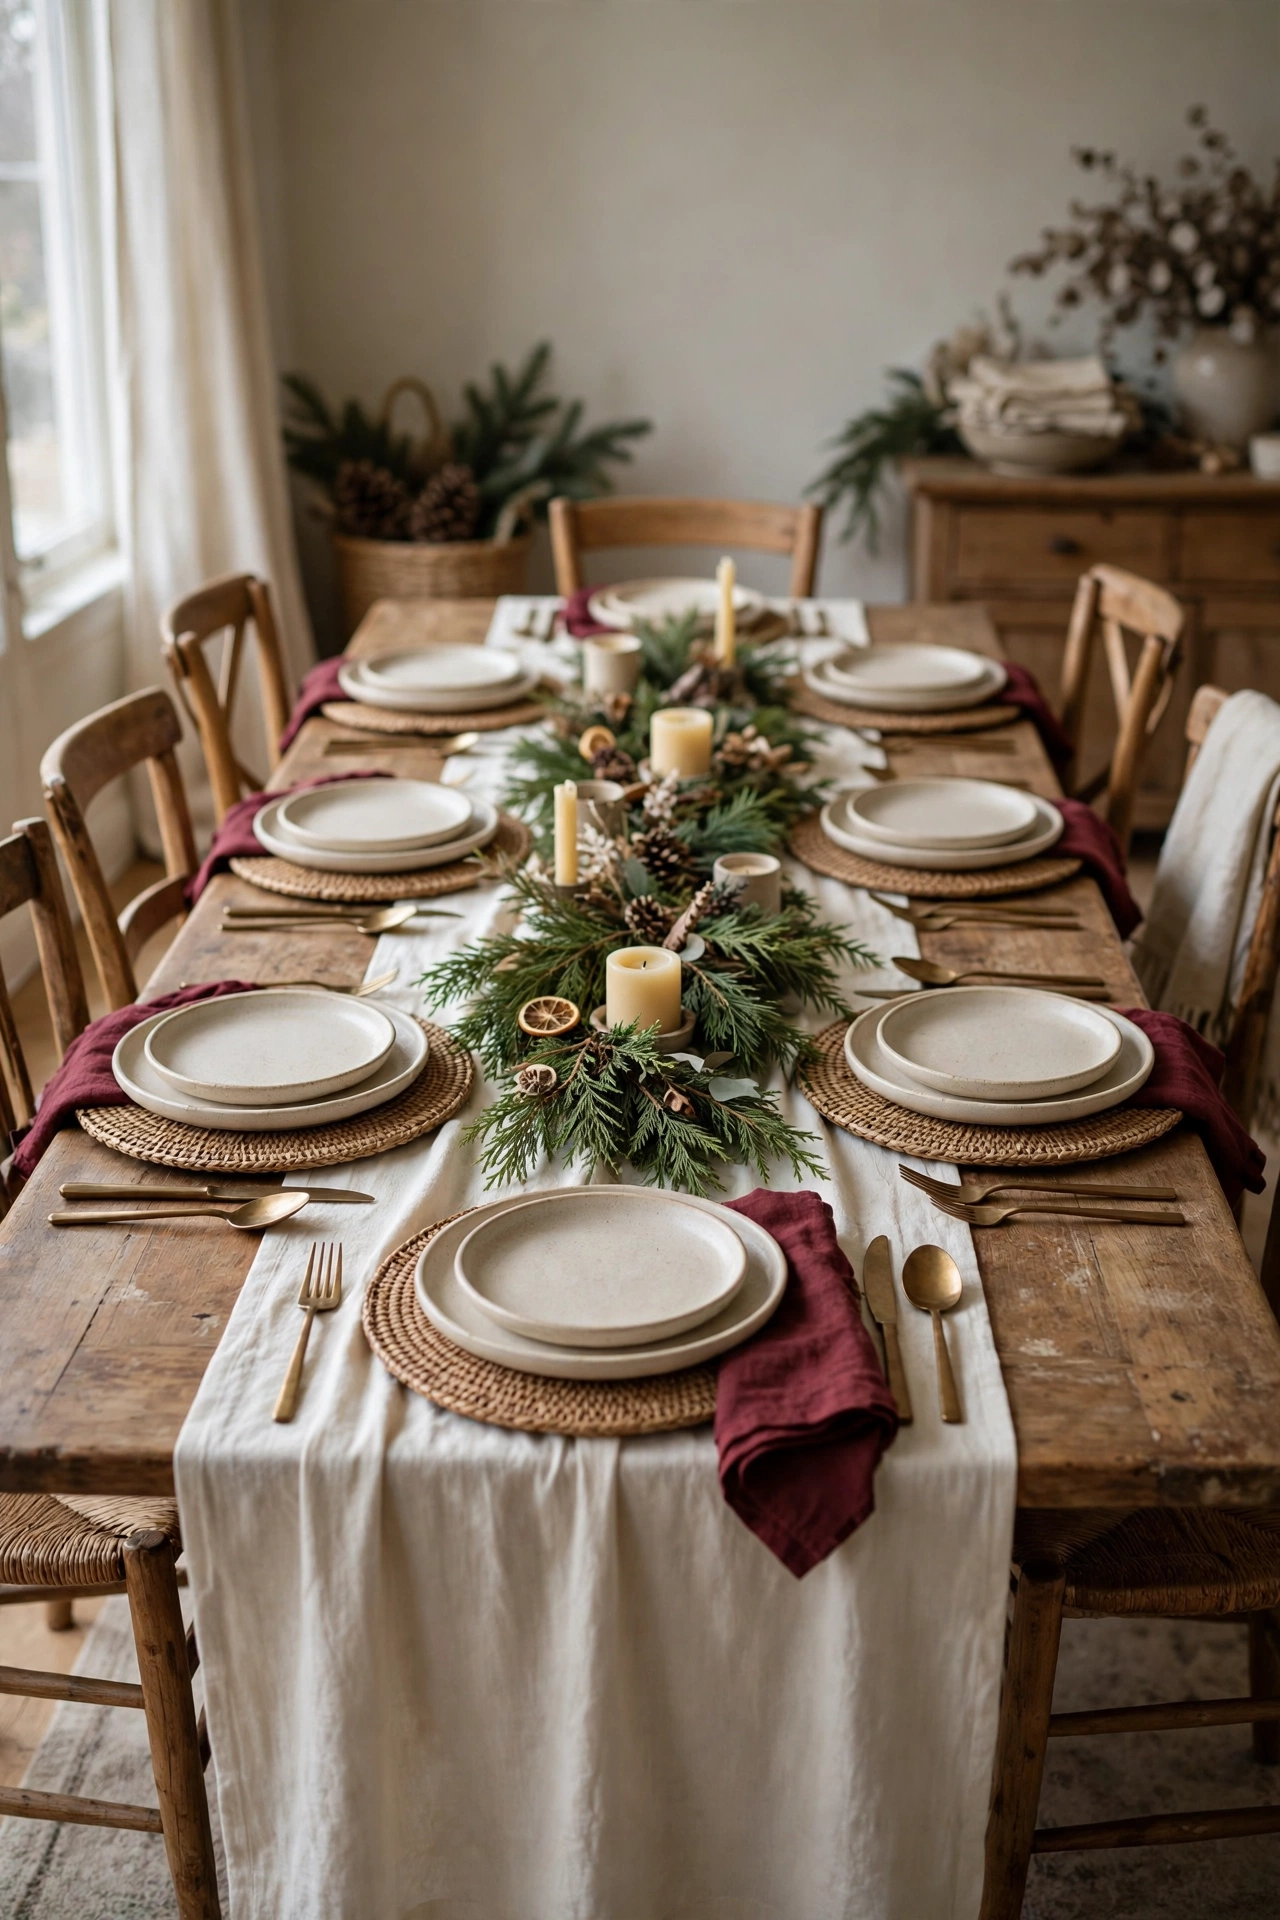
I set the Christmas table the weekend the tree goes up, even when dinner is weeks away. Cloth first. Then a low centerpiece built from the same greenery as the tree and mantel, with spare cream and burgundy ornaments tucked into the green and small brass holders at intervals. Nothing tall enough to block a face across the table. A centerpiece you peer around is a guest repellent in a pretty disguise.
An early table pays me back daily. It looks beautiful every evening for weeks, not just on the day. And it turns the biggest hosting job into a small one. On the day itself I only add glasses, water and the food.
16. Give the Kitchen Festive Touches Without Losing Counter Space
The kitchen earns Christmas in small, movable touches that respect the cooking.
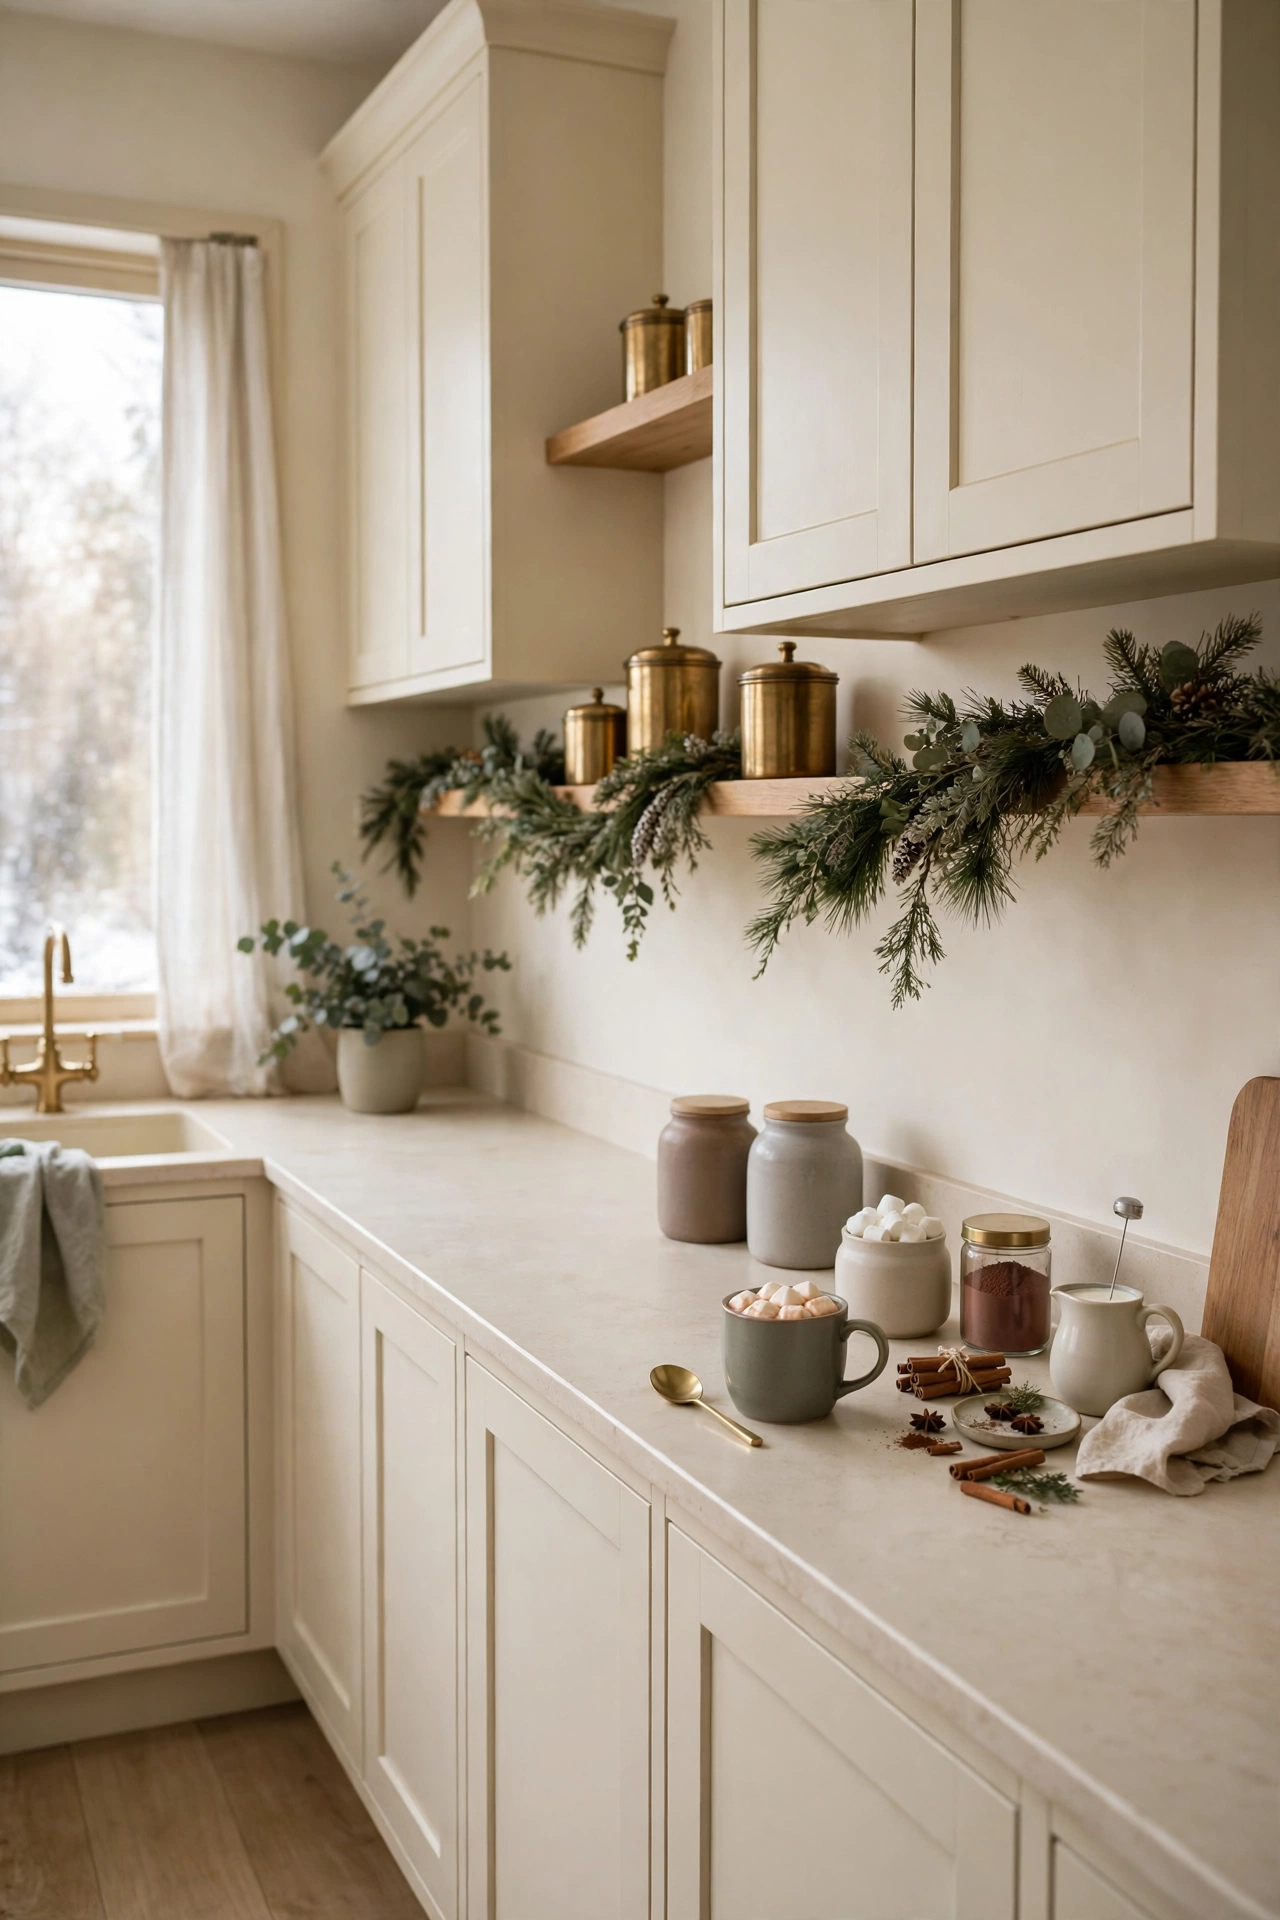
The kitchen is a workshop in December, so I decorate it like one. Nothing precious lives on the main counter where flour and trays need to land. A small wreath on a cupboard door or over the sink window. A short length of garland along the top of the cabinets or the open shelf.
Towels carry more Christmas than people expect. A set in the palette, folded on the oven handle, quietly repeats the whole scheme for a few dollars. What I protect fiercely is one completely clear stretch of counter. Baking season is coming whether the house is decorated or not, and a kitchen that still works feels more festive than a beautiful one that fights the cook.
17. Add Small Welcome Touches to the Guest Room and Bathroom
A guest who finds one festive touch in their room feels thought of, not decorated at.
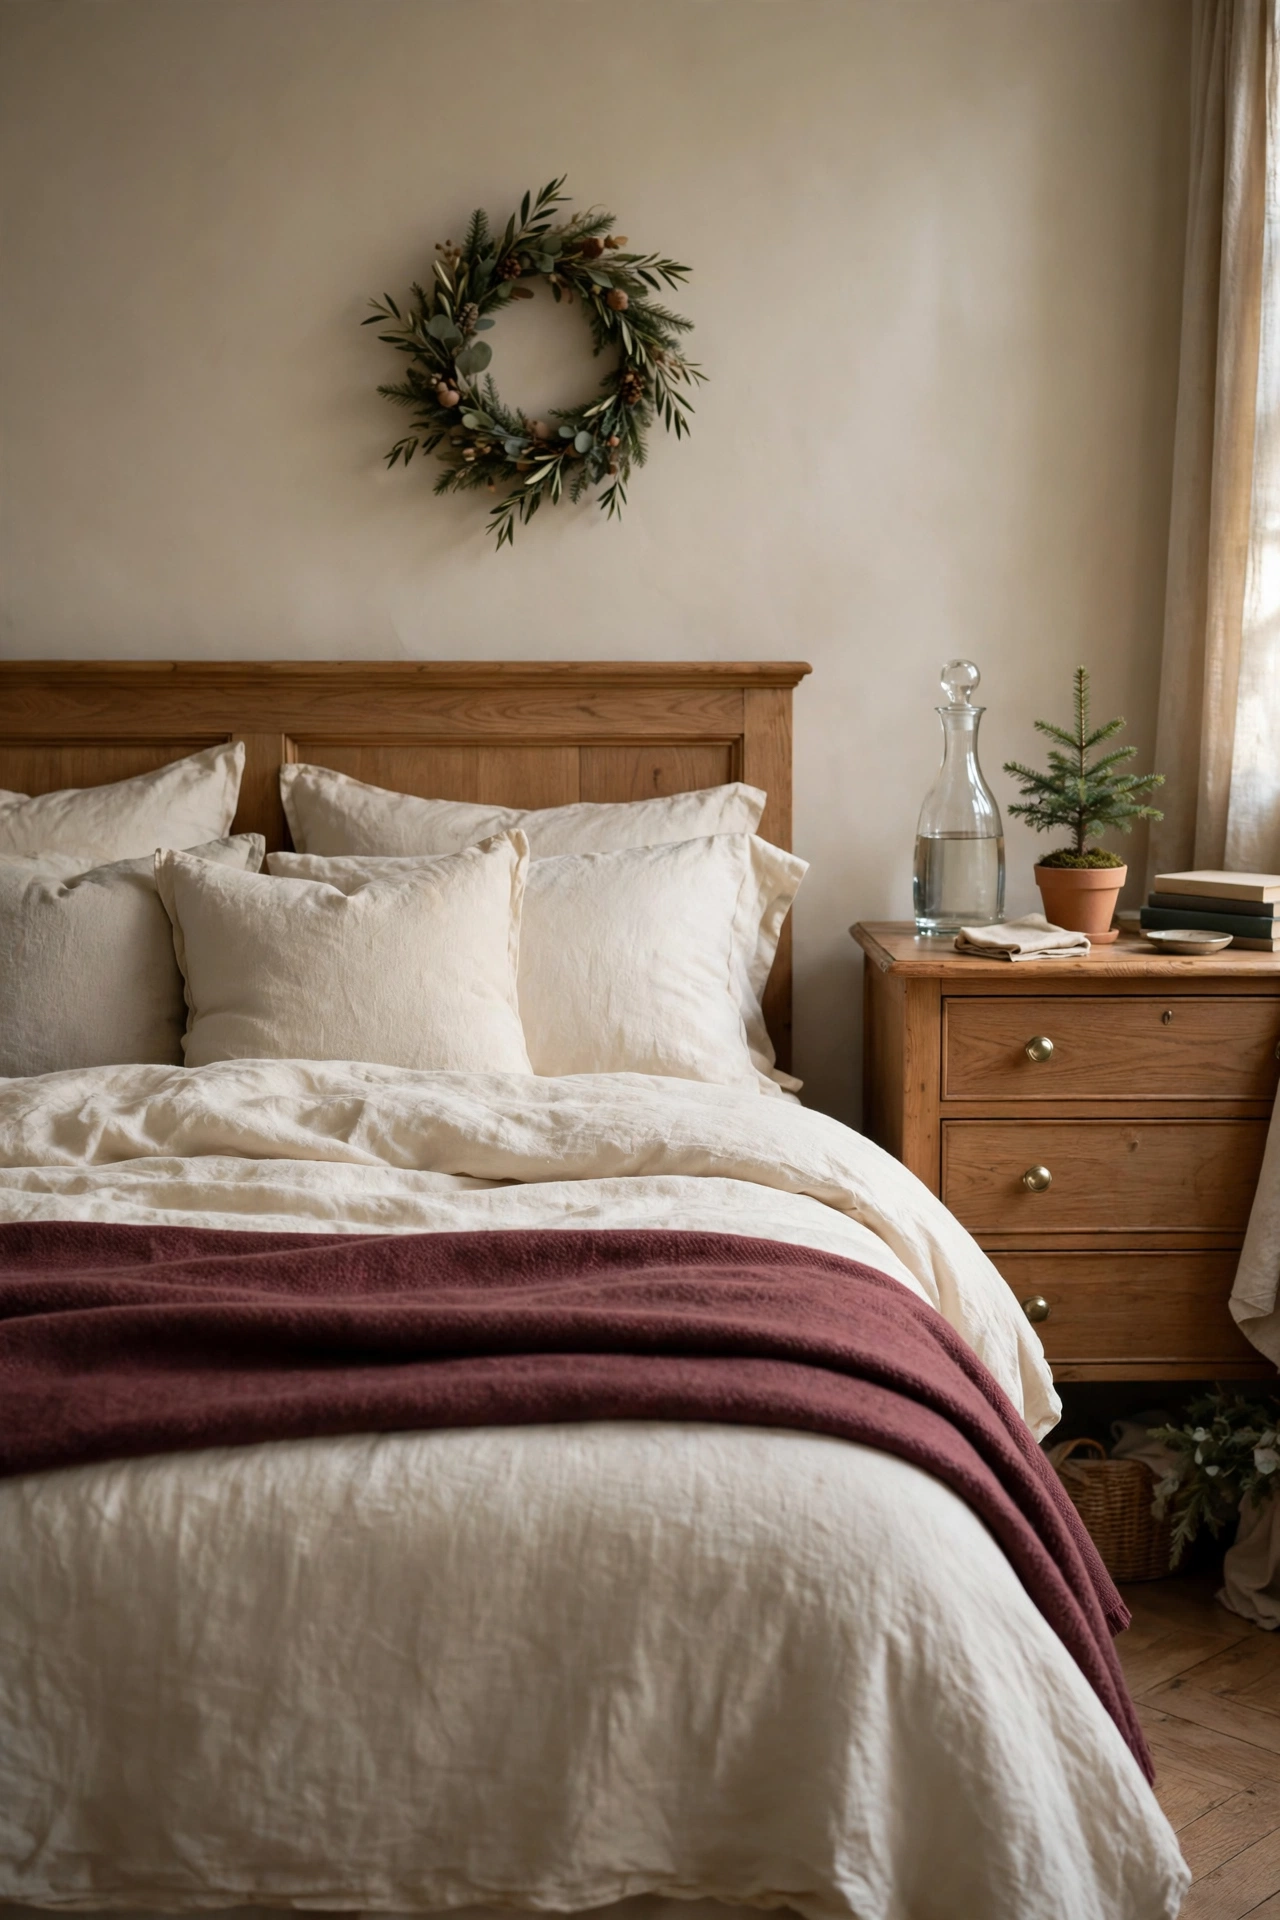
These rooms need the lightest hand on the whole checklist. In the guest room I add a small sprig of the same green on the dresser, one cream knit throw across the bed in the palette, and a candle that stays unlit unless they choose it. Fresh towels folded at the foot of the bed finish it.
The bathroom gets even less, and it matters just as much. A hand towel in burgundy or deep green. A small jar with a few stems of green beside the sink. One unscented or gently pine candle on a tray with the spare soap. These small rooms are also where a compact home proves the system, and the thinking in my guide to small space Christmas decorating applies here too.
Outside, Then the Final Evening Edit
The last two steps take the checklist out the front door and then bring it home again at dusk. Outside gets a short, honest version of the indoor story. One door moment, one porch layer, one good string of lights. Then I walk the whole house in the evening, the way a guest would, and I edit. The edit is not an extra step. The edit is the step that makes everything before it look designed.
18. Take the Checklist Outside: Porch, Door and One Good String of Lights
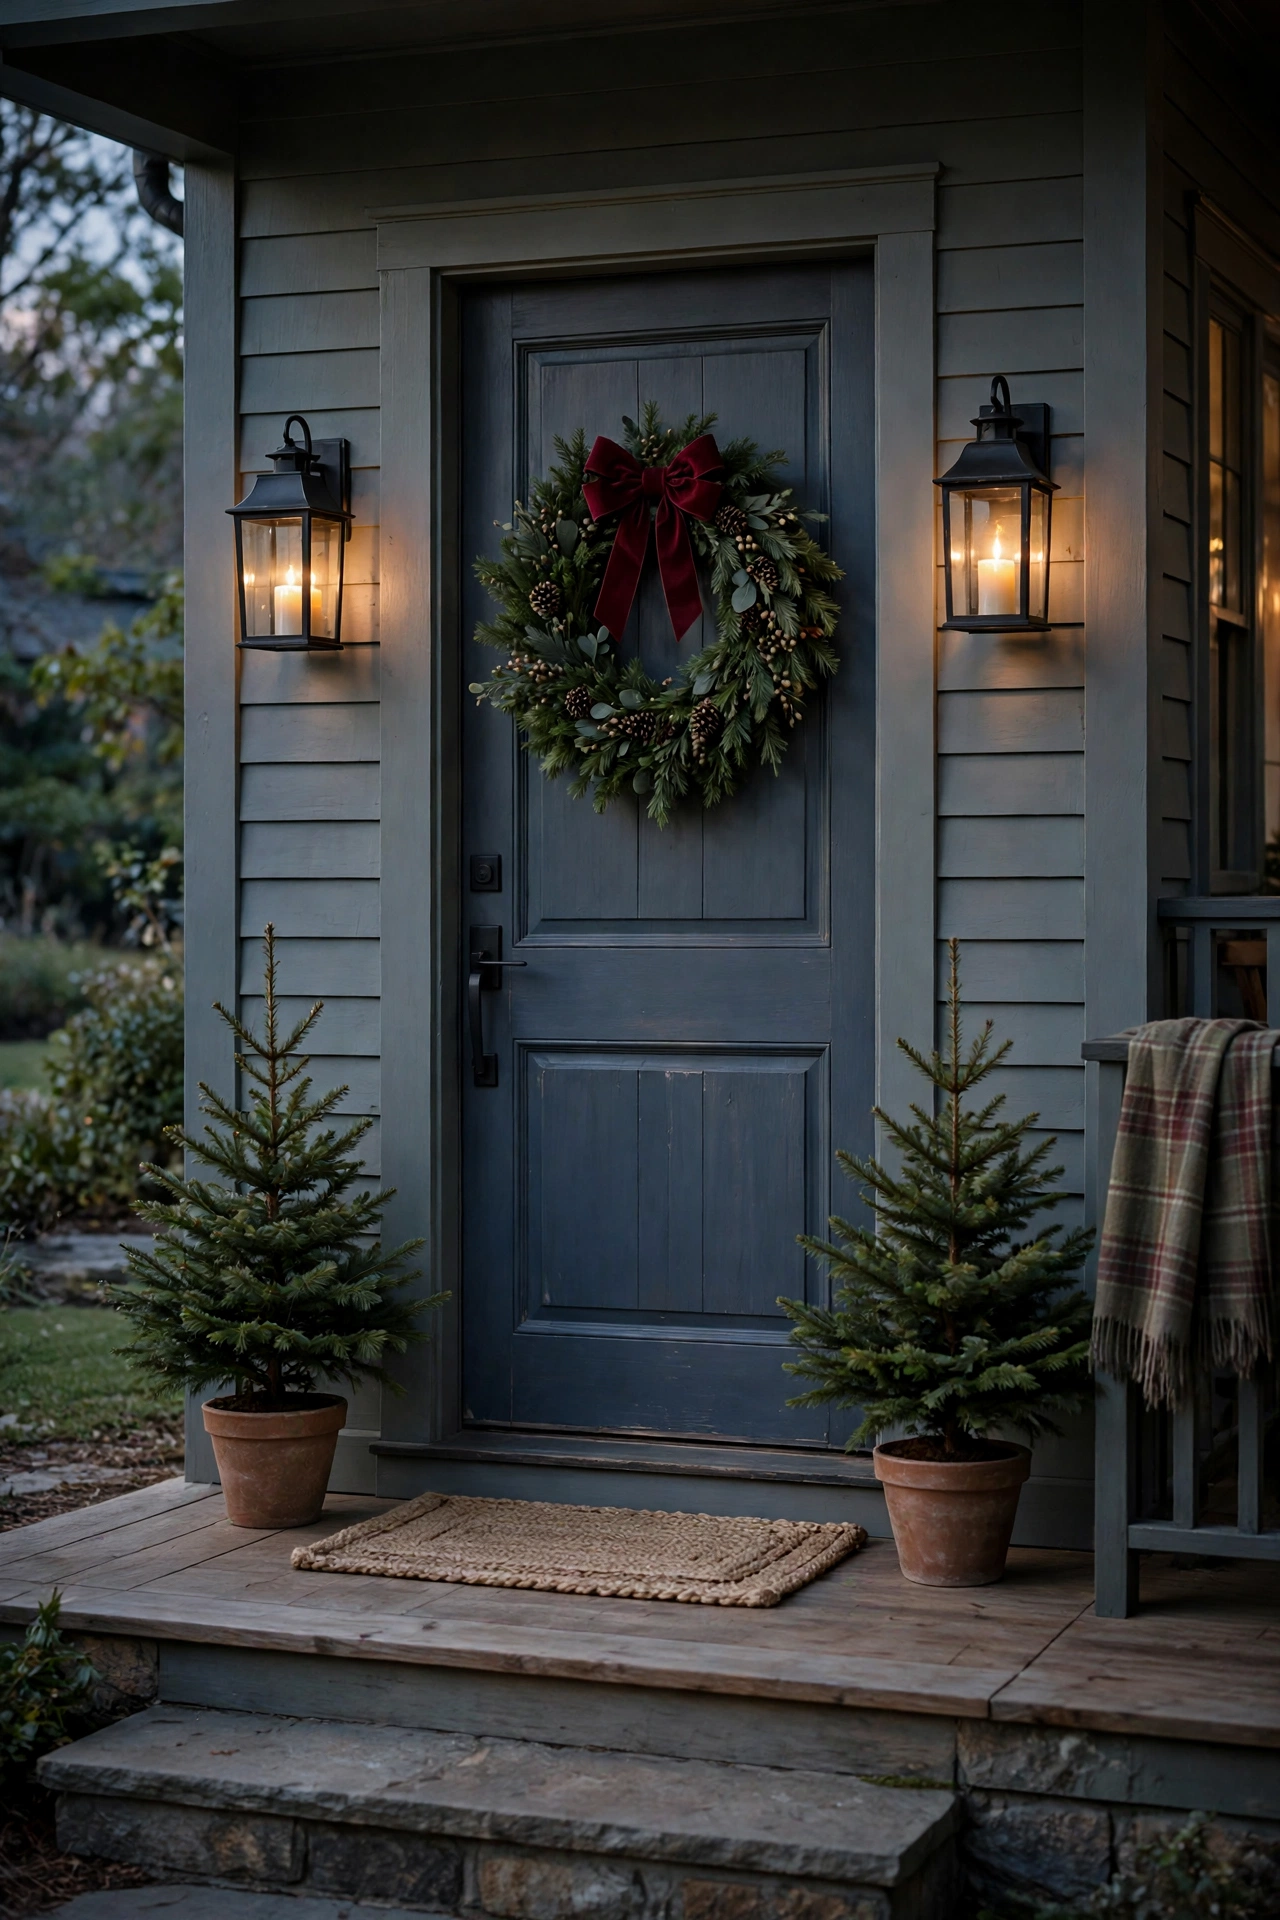
One wreath, one layered porch corner, one warm string of lights, and the outside agrees.
I keep the outdoors simple on purpose, because December weather edits harshly on its own. The door gets the wreath, in the same deep green as the house, with one burgundy velvet bow that matches the mantel bow. When I want fresh variations I borrow from my favorite Christmas front porch ideas, but I always come back to this short list. Beside the door I build one corner, not a whole scene. A lantern with a flameless candle on a timer. A basket or pot with green branches.
Lights follow the indoor rule. One warm tone, tested before they go up, and fewer than my first instinct wants.
19. Do the Evening Walkthrough: Scent, Glow and the Final Edit
Walk the house at dusk with honest eyes, and remove the few things that argue.
When everything is up, I make tea and wait for dusk. Then I walk the route a guest walks. Front door, entry, tree, mantel, sofa, table, kitchen, and the small rooms. I am checking three things. Scent first. One gentle scent story at a time, pine and something warm from the kitchen, never three candles competing in three perfumes. Glow second.
The edit is third, and it is the heart of this step. Every year there is a piece that breaks the sentence. A silver frame I forgot. A bright cushion. One ornament in a color I swore off in step two. Each one gets moved, turned, or quietly retired to another room, and the whole house tightens like a belt. Then I check my own rule. Burgundy in the tree ribbon, the mantel bow and the napkins. Brass in the bells, the candlesticks and the holders. Cream in the ornaments, the stockings and the runner. Three sightings make a pattern, and a pattern is what makes a home feel designed on purpose.
More Favorites
This post contains affiliate links. If you buy through them, I may earn a small commission at no extra cost to you.
A few more favorites from the ideas above:



If December has ever left you standing in a half decorated house at midnight with ribbon in your hair, I wrote this checklist for you, because I have been that person more years than I will admit. The fix was never more decorations or more money. It was an order. Inventory first. One sentence and one palette. The tree before everything. One room finished before the next one starts. And a slow evening walk at the end, with the courage to take a few pretty things away.
Start this week, before the first bin comes down. When the table needs its own deeper plan, my Christmas tablescape ideas pick up right where step fifteen leaves off. Then pour something warm, light the tapers, and enjoy the part this was all for. A home that feels like one story, told in every room, at a pace that lets you actually live in it.
With love and light
Get Fresh Home Ideas Every Week
Seasonal decor ideas, organizing tips, and cozy home inspiration, straight to your inbox.
More Christmas Ideas You Will Love
Keep browsing for more seasonal inspiration: